Replacing old radio with wiring diagrams, and NO changes to old facia
#1
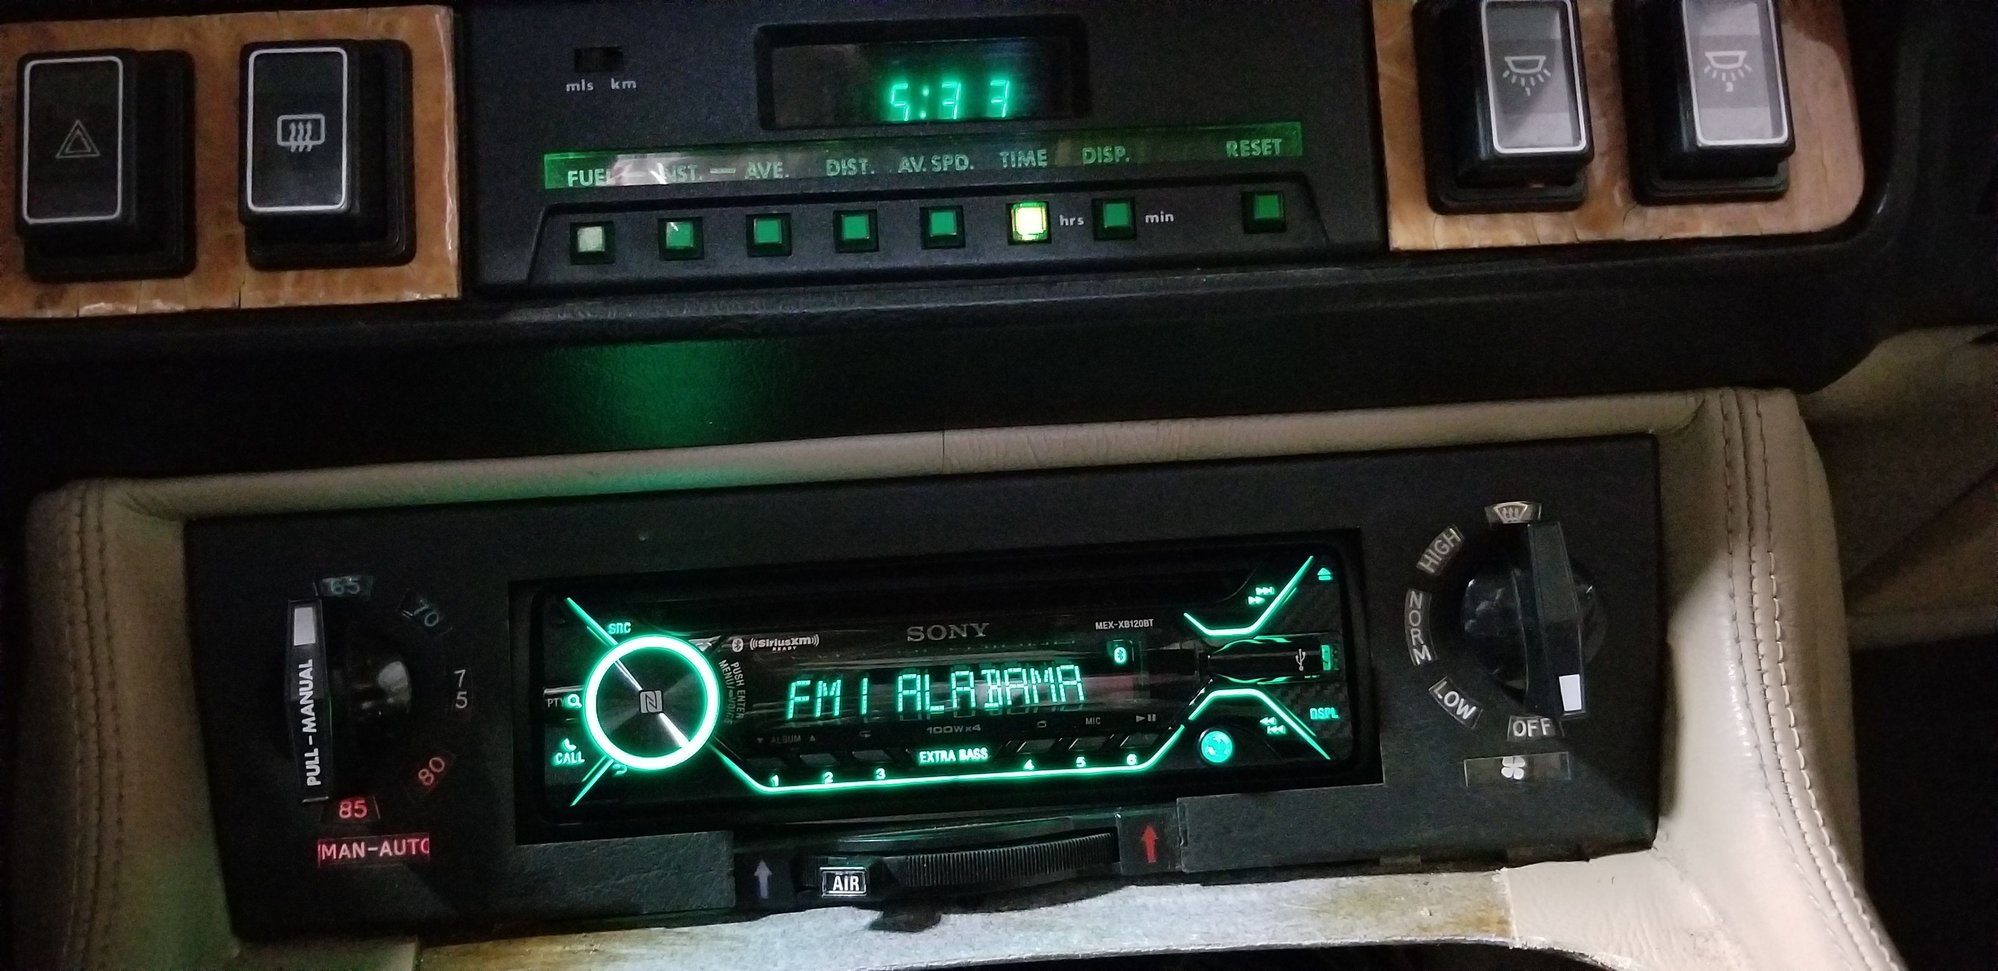
I found a Sony MEX-XB120BT 40W X 4 @ <1%THD on eBay for $ 131.00, factory refurb, with 3 year factory warranty, (open box)
The Pioneer DEH-4800FD is similar, with 50W X 4 @ <1% THD, for ~$ 200.00. Hands free with visor mic, BT, USB, aux, Sirius, Pandora, color change, etc.
Best solution without using a trunk mounted amp and all that wiring. Sounds FAR better than the usual 20W X4 stereos out there. Has RCA outputs if you want to add an amplifier.
Detachable faceplate, pressed Reset to get started. Set clock, FM stations, then set both color selections to Green, and Brightness to 5 to match trip computer.
Hands free mic works well on calls. Also has an IR remote for CD, etc.
Radio wiring diagram:
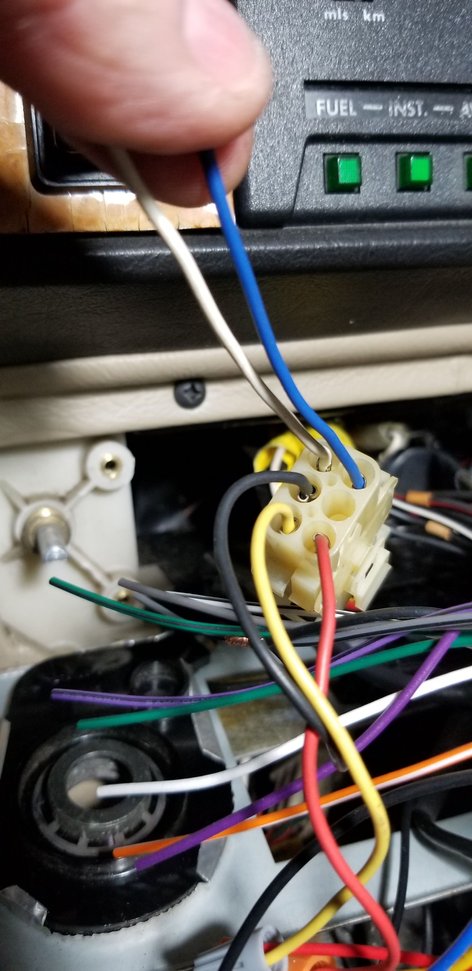
Harness 1
Yellow - Switched 12V with Accessory or on
Red - A12V from battery (always +12VDC for station memory) NOTE: I had to replace the 1A inline fuse, which I found BELOW the radio compartment. (Had to pull the ski slope to find it)
My new radio uses this as the PRIMARY power to the radio's amp section using the yellow wire to the new radio, and is fused at 15A on the back of the radio, so I used an AGC14A glass fuse.
Black - GND - I used an AWG 12 gauge wire with a spade lug to a good ground on the trans tunnel, as this wire also needs to carry 15A to ground.
Blue - illumination from the light switch on parking and main headlights
White - +12V from radio to antenna relay
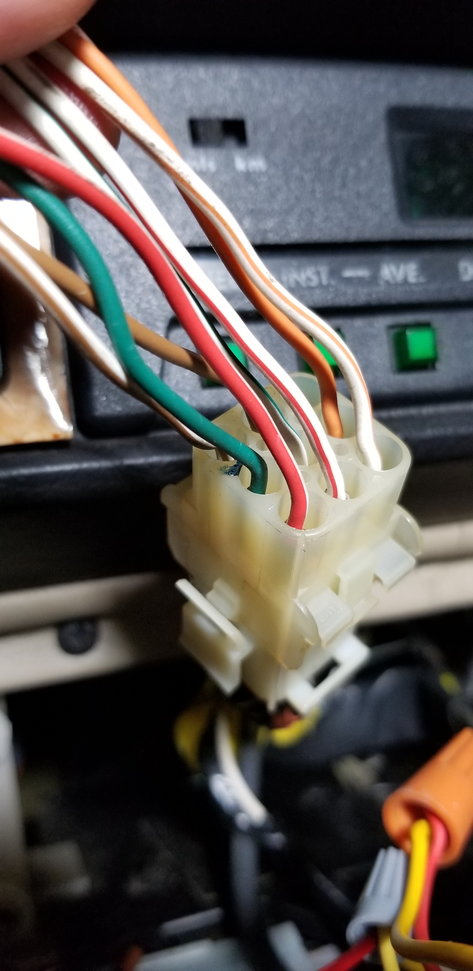
Harness 2
Orange - Fr L+
Wht/Or - Fr L-
Red - Fr R+
Wht/Red - Fr R-
Grn - Rear L+
Wht/Grn - Rear L-
Brn - Rear R+
Wht/Brn - Rear R-
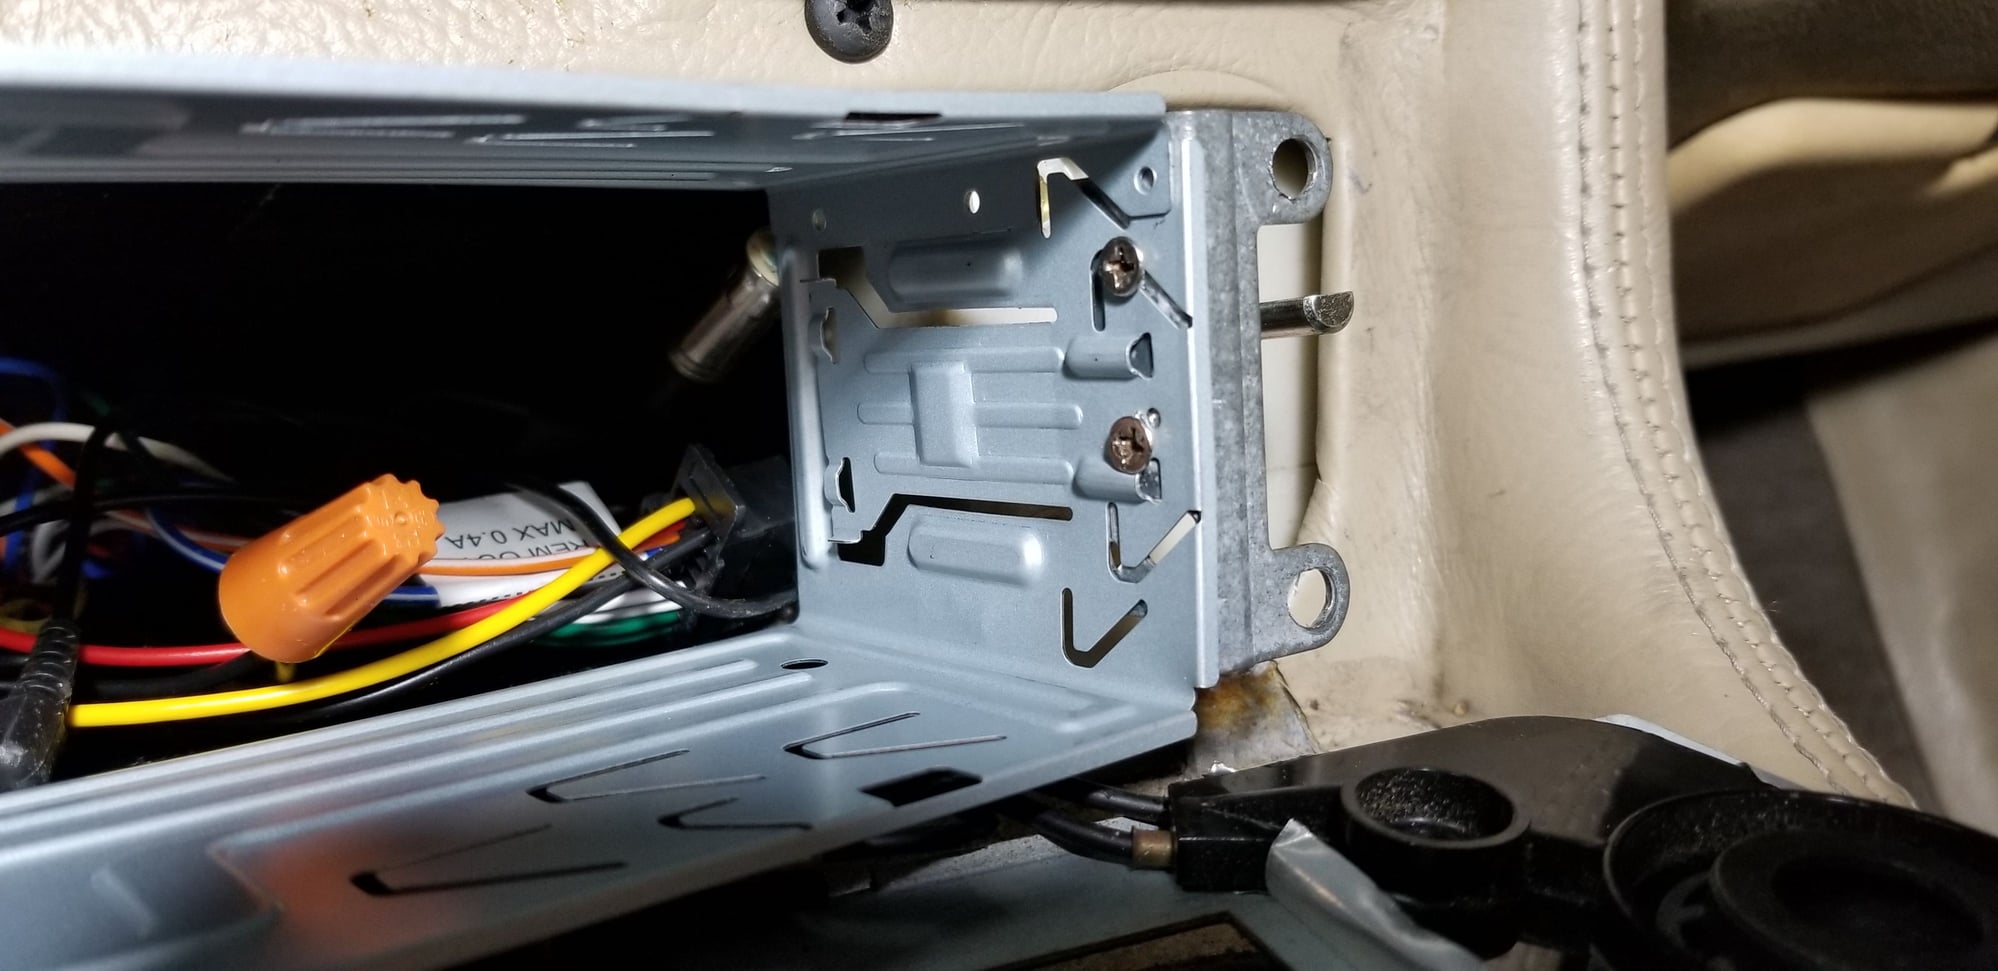
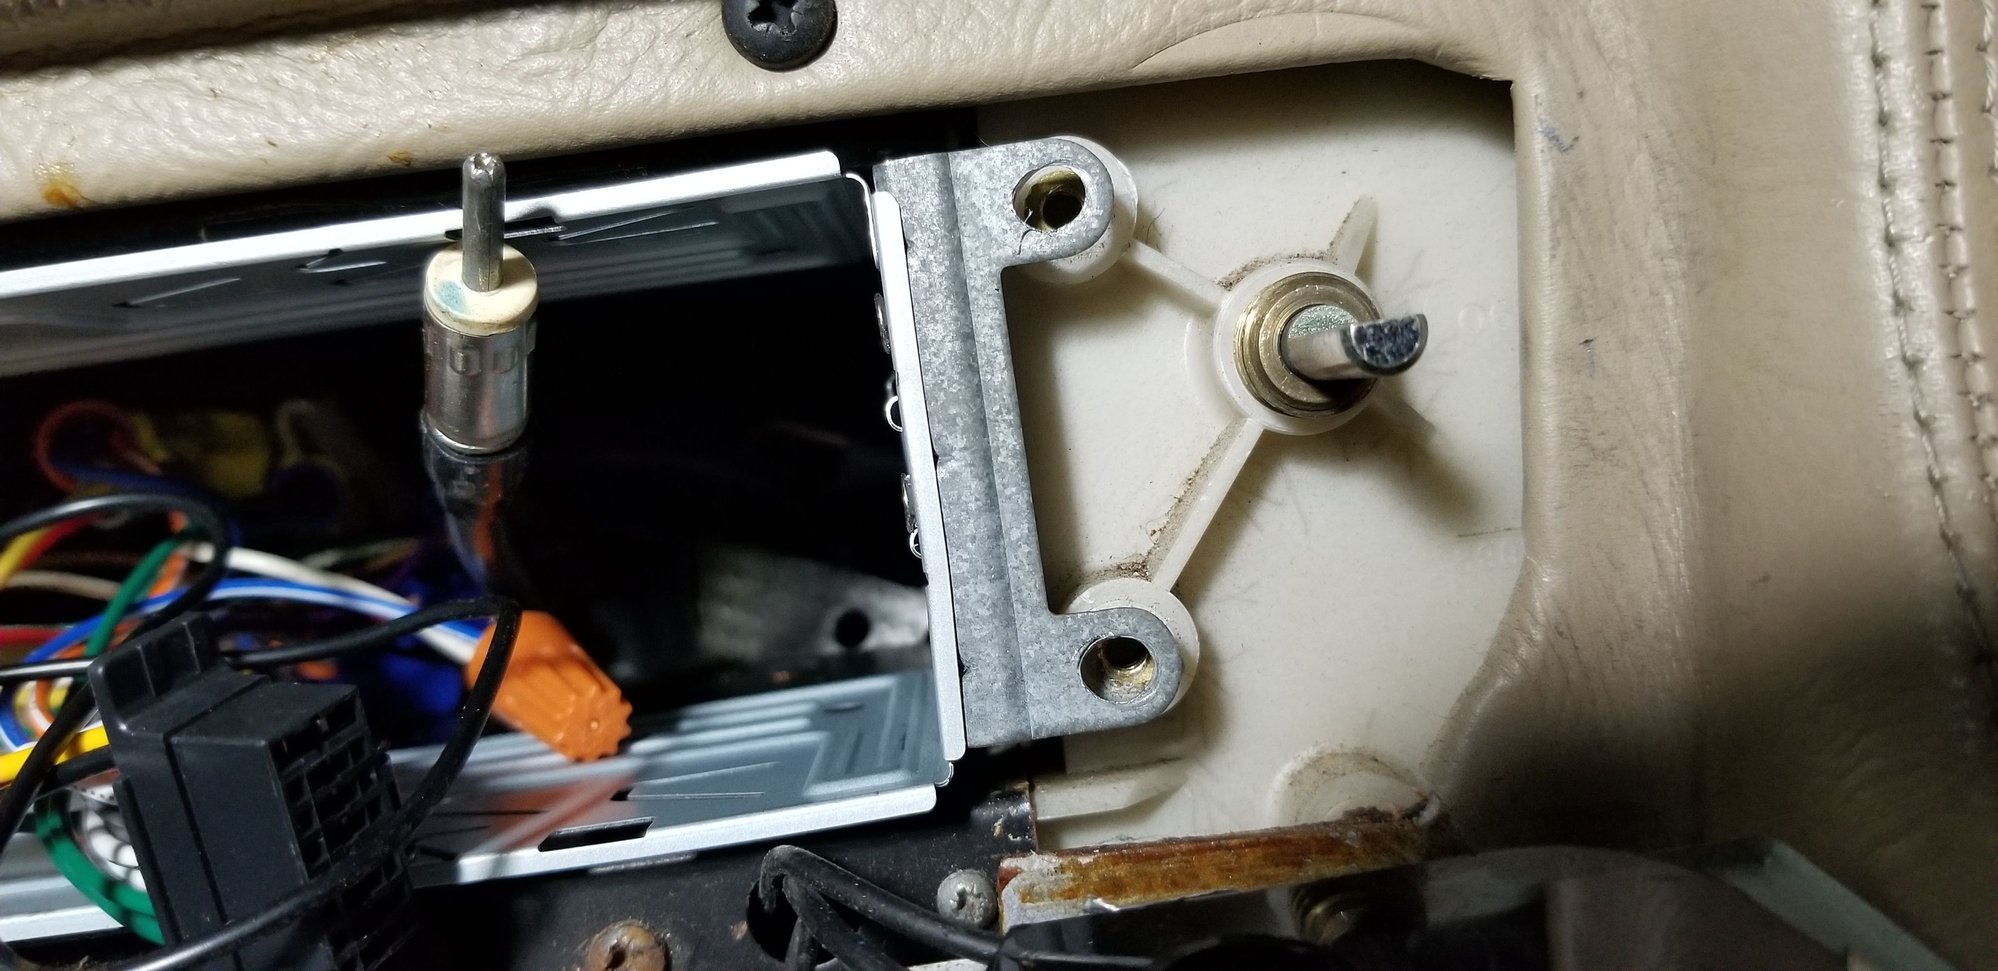
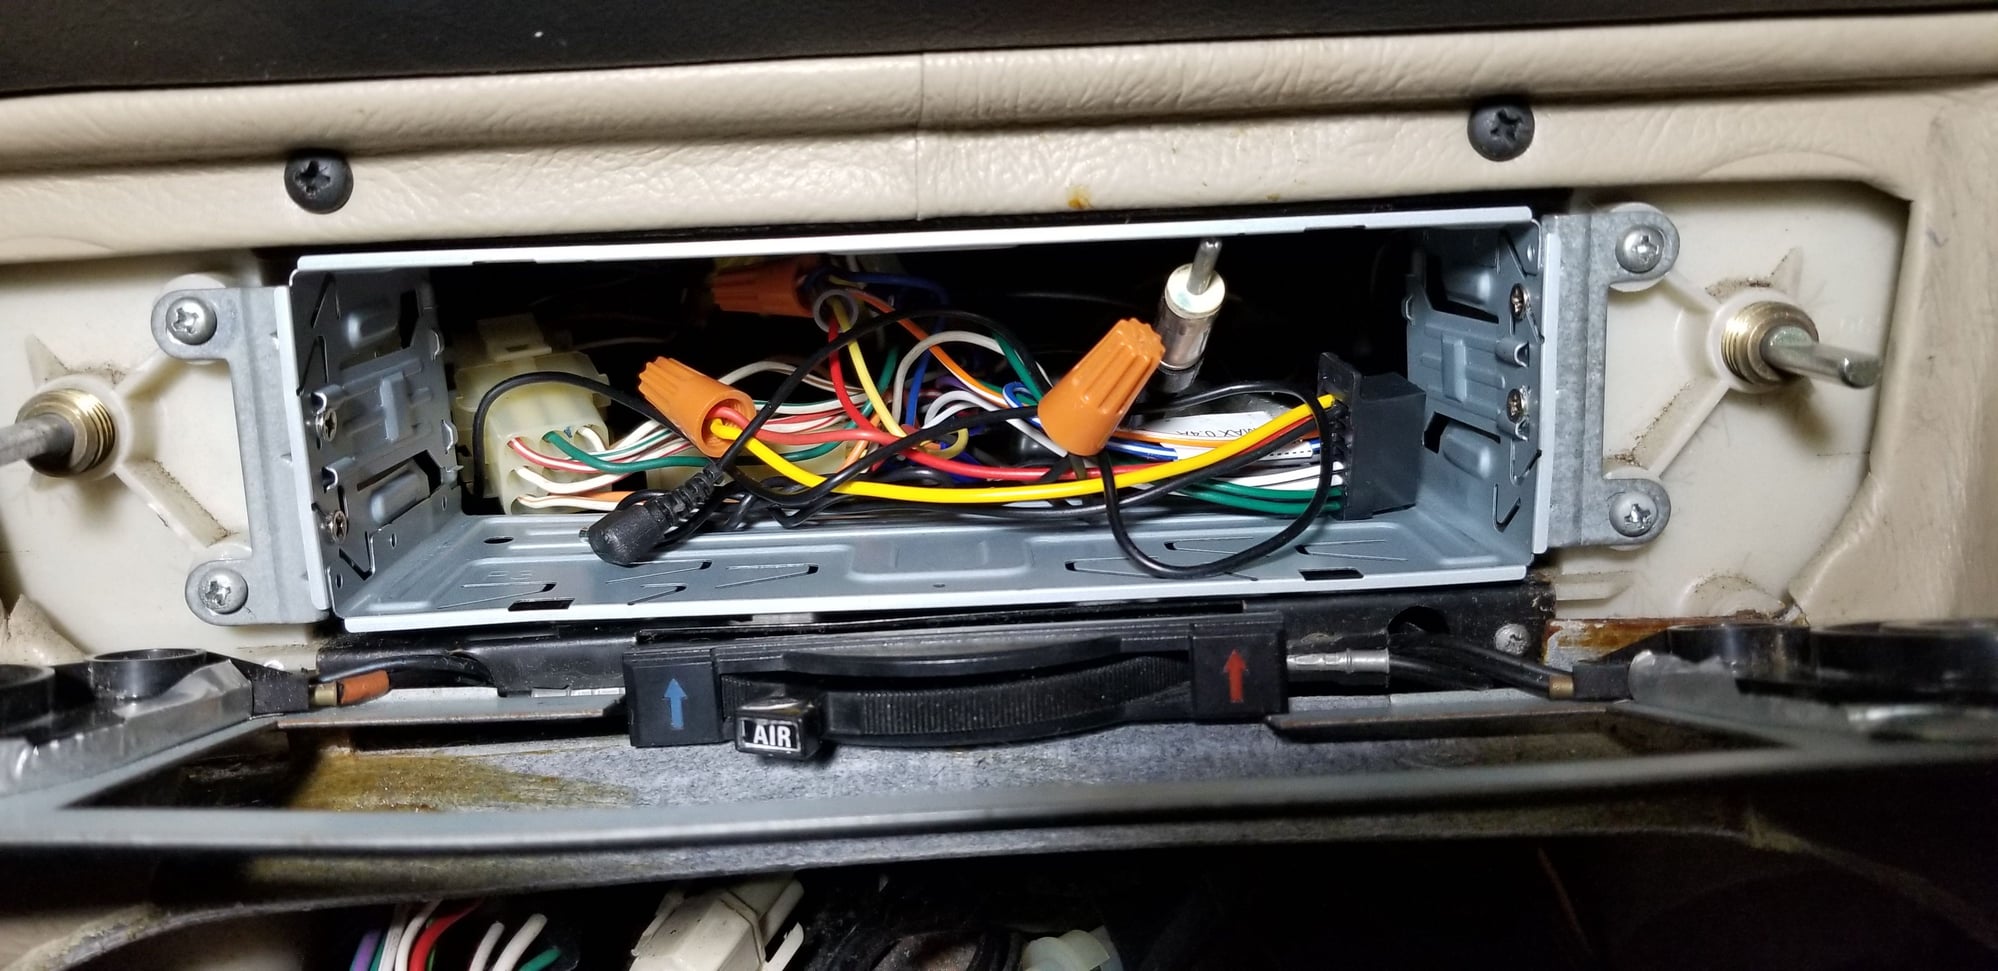
I cut the 2 harnesses off my old radio, since it was toast, and I needed the 2 metal brackets off each side to mount the new DIN chassis.
I used blue wire nuts, but solder/crimp/whatever you want is ok, just TAPE them in case of contact!
I used a grinding wheel to remove the 4 rivets holding the metal bracket ears to the old radio, then a flat blade screwdriver to pry them off the sides.
I drilled holes in the metal frame to allow screws to attach the brackets to the frame. I used #4 countersunk Phillips screws off an old computer power supply.
I had to elongate the 4 bracket ear holes sideways with a drill to line up with the brass nuts in the car, since the new radio is wider than the old one.
I mounted the ears as far forward as I could to allow the radio to be flush with the frame when mounted, recessing the radio back far enough to fit.
I did NOT want to cut the metal facia in front of the radio, but ALL DIN chassis radios are too wide to fit in this facia cutout in my car.
The new radio sits far enough back so it does not contact the back of the facia.
Photos:
Last edited by mkinn; 07-01-2019 at 02:01 AM. Reason: add photos
The following 2 users liked this post by mkinn:
Doug (07-01-2019),
Timeisrelative (07-01-2019)
Thread
Thread Starter
Forum
Replies
Last Post
Currently Active Users Viewing This Thread: 1 (0 members and 1 guests)


