
AJ's 2007 Coupe Mod Thread


Thread Starter
|
Senior Member
Joined: Jun 2015
Posts: 107
Likes: 117
I already had the 3D pen and body filler, so this cost me next to nothing. But if I didn't have the pen.... different story.
Veteran Member


Joined: May 2013
Posts: 1,368
Likes: 636
From: tampa, fl
I have never even heard of a 3D pen, looks pretty neat.
The same thing could be done with Bumper Filler if someone doesn't have a pen, although the supplies quickly approach the $45 mark. Having the equipment and supplies make it a winner for you!
DIY: Make a bracket to fit your LCI iDrive controller in your pre-LCI Console - BMW M5 Forum and M6 Forums
The same thing could be done with Bumper Filler if someone doesn't have a pen, although the supplies quickly approach the $45 mark. Having the equipment and supplies make it a winner for you!
DIY: Make a bracket to fit your LCI iDrive controller in your pre-LCI Console - BMW M5 Forum and M6 Forums
Veteran Member
Joined: Sep 2013
Posts: 5,209
Likes: 1,847
From: NY
Don't take it wrong but whenever any of us do similar types of actions we always do not count the full cost so we make it sound like it is cost effective. If you consider your time , equipment depreciation , materials and any travel time then you can see the real cost vs the $45 for the used part. The same argument comes about for all types of DIY repairs . Just sayin not condemning.
Thread Starter
|
Senior Member
Joined: Jun 2015
Posts: 107
Likes: 117
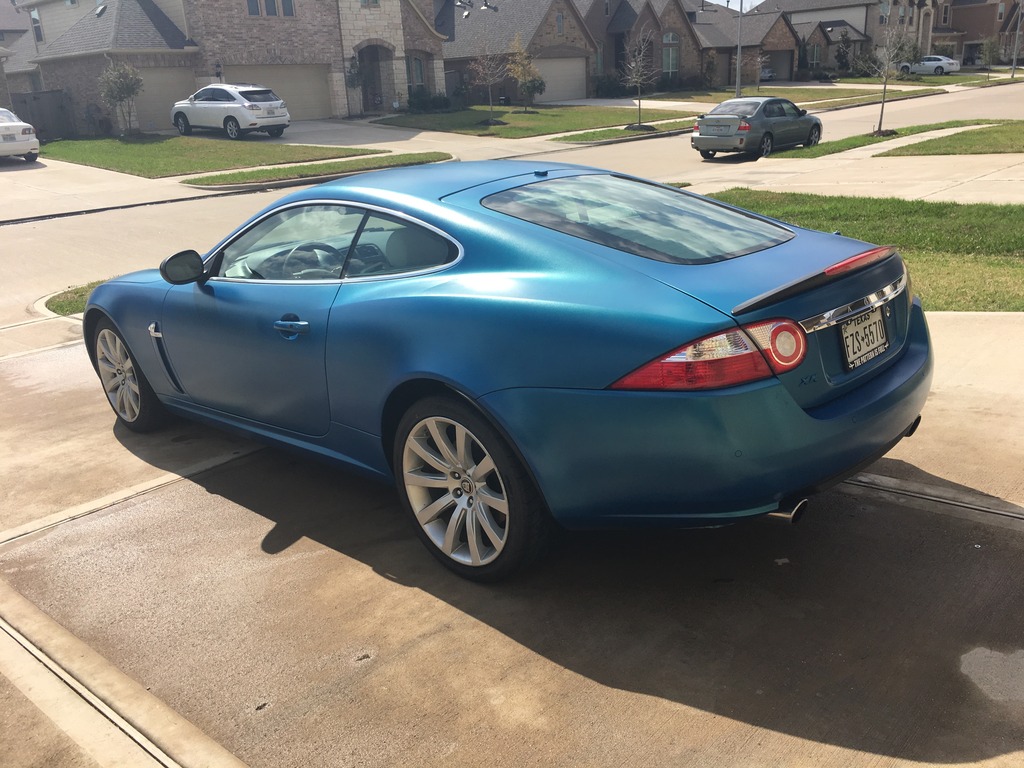
My free time and the weather finally lined up so that I could clean the car up and get some pictures of it in the sun (and enjoy it in the sun while it was clean).
Nice shot of the new Nitto I put on the back:
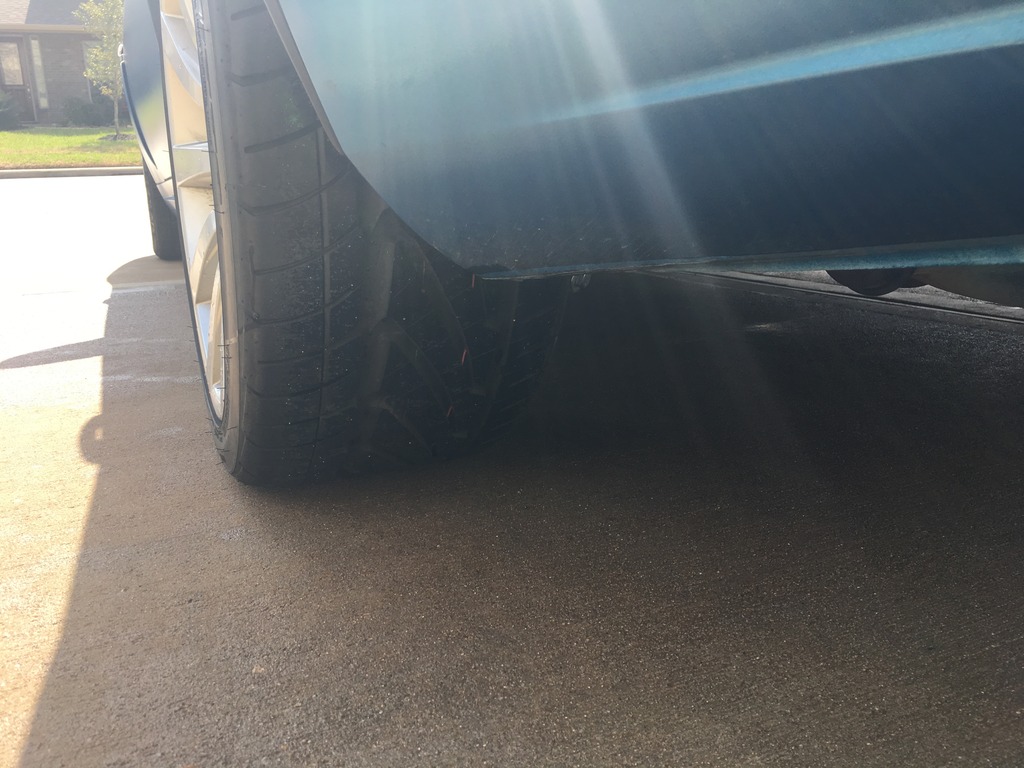
Nice shot of the new Nitto I put on the back:


Aj,
Just a question for you as I'm about to tackle my front. Seems the front replacement wasn't too bad correct? No need to remove brake lines and less headache than the rear?
I'm thinking about swapping the front upper / lower a-arm, end links and installing new struts. Anything I should look out for? I'm aware of the caster bolts and have a compression lever for spring.
Thanks,
Thread Starter
|
Senior Member
Joined: Jun 2015
Posts: 107
Likes: 117
The springs are a total pain in the *** because of how they are tapered, makes it hard to get the compressor on there. hopefully you can find a set that fits a little better. But otherwise the fronts were much easier. The back will be easy if you drop the subframe, but that wasn't an option for me.
Just be careful with the ABS and traction control sensors. They are fragile. I broke some of both. Remove them carefully and zip tie them out of the way.
Just be careful with the ABS and traction control sensors. They are fragile. I broke some of both. Remove them carefully and zip tie them out of the way.
Thanks guys. Yes, the progressive springs are not fun to deal with. A hydraulic spring compressor comes in handy if you have access. Takes it from a 2-3 hour job to just a few mins. I think it took me almost 4 hrs alone on the springs for all 4 last time as I couldn't find a coil spring compressor tool to fit.
Now I just need to find a good deal on shocks. I may install the BILSTEIN 20114497 rather than the OEM part.
Now I just need to find a good deal on shocks. I may install the BILSTEIN 20114497 rather than the OEM part.
Veteran Member

Joined: Dec 2008
Posts: 6,460
Likes: 2,582
From: Florida
I was planning on doing a complete set in my 2008 XKR but my bushings are measuring 45mm. What did yours end up being?

Senior Member
Joined: Nov 2014
Posts: 136
Likes: 54
From: Athens, GA USA
My free time and the weather finally lined up so that I could clean the car up and get some pictures of it in the sun (and enjoy it in the sun while it was clean).
Nice shot of the new Nitto I put on the back:
Attachment 150617
Attachment 150618
Attachment 150619
Attachment 150620
Attachment 150621
Attachment 150622
Attachment 150623
Attachment 150624
Attachment 150625
Nice shot of the new Nitto I put on the back:
Attachment 150617
Attachment 150618
Attachment 150619
Attachment 150620
Attachment 150621
Attachment 150622
Attachment 150623
Attachment 150624
Attachment 150625

Thread Starter
|
Senior Member
Joined: Jun 2015
Posts: 107
Likes: 117
Well it has been 8 months so my memory is a little foggy, but it seems like they sent me two sets of the exact same part, that had both part numbers on the box. I don' think it mattered.

Veteran Member

Joined: Jun 2010
Posts: 2,328
Likes: 544
From: Spring, TX
Just wanted to say thanks for confirming that the rear sway bar bushings can indeed be replaced without dropping the subframe. I had a feeling it was possible but couldn't find confirmation of anyone having done it. And thanks for the ziptie tip.
Veteran Member
Joined: Dec 2008
Posts: 6,460
Likes: 2,582
From: Florida
All bushes done and WOW what a transformation! I did purple on the uppers and black track on the lowers plus sway bars. Also upgraded factory sway links with Moog links which are substantially thicker and stiffer. Rides smoother and quieter with more control. There is a little more road feel but no harshness. The car handles and feels a lot like a Porsche.
Thread Starter
|
Senior Member
Joined: Jun 2015
Posts: 107
Likes: 117
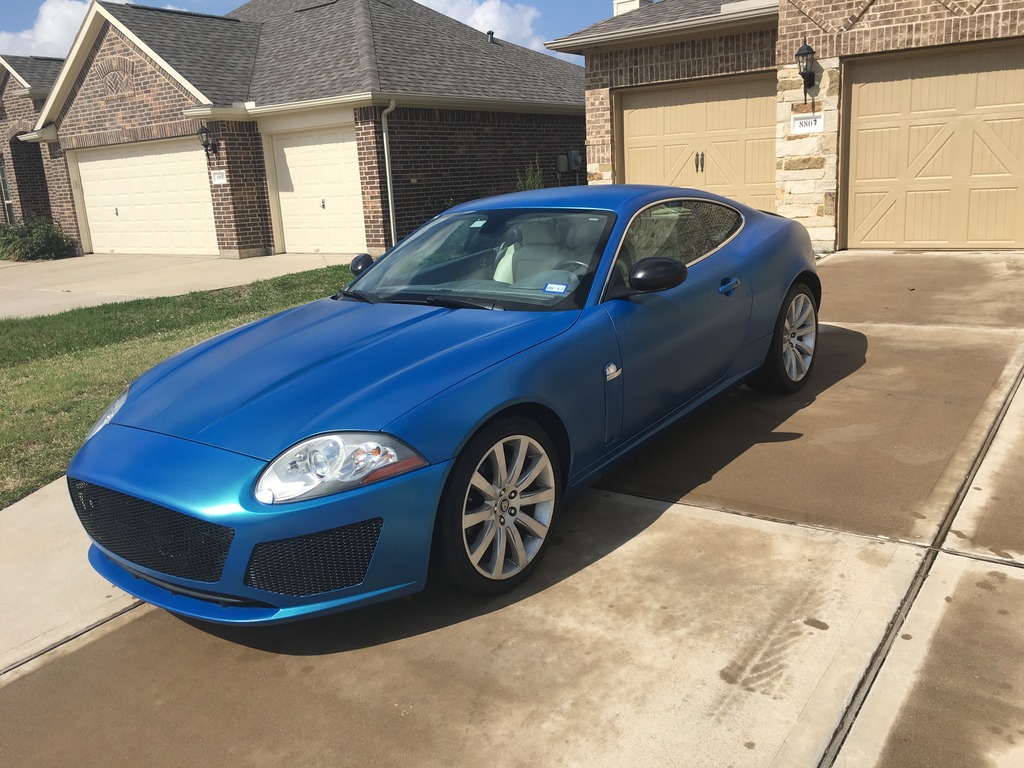
For those who don't remember, the reason I had been plastidipping the car was because the paint was in terrible shape. A huge chunk missing on the drivers fender, deep swirls in the hood, large scratches on the nose, some really odd looking dark spots on the roof, and peeling clear on the rear bumper.
When I restored my mustang I did all of the body work, but paid someone else to spray the color and clear, but I've always wanted to learn how to do it myself. I finally decided this spring was the time to learn and my Jaguar was the car to learn on.
To start the process I had to remove the blue plastidip. When I sprayed the copper on, I made sure to pay attention and get at least 5 coats on so that it would be thick enough to peel off. The copper came off super easy, only took me about an hour to unwrap the entire car. When I did the blue I ran a little low on base color, and only got 3 coats on. I thought I would be okay because I also put 3 coats of clear + pearl over the blue. But it turns out the clear doesn't build thickness the same way the color does, and it was way too thin. When I started to peel the paint off it was coming off in tiny shreds less than the size of a dime. It would have taken me years to peel it all off. I next tried a pressure washer, but that was a wasted effort. My next attempt was to soak the plastidip in solvent (xylene ore mineral spirits worked about the same) and then pressure wash it. This made a small amount of progress but not much and also mad ea huge mess as the melted goopy plastidip was getting blasted into all the cracks and jambs by the pressure washer.. Finally I arrived at a solution that would work. I soaked an area about 2 square foot in solvent, let it soak in, sprayed it again about 3 minutes later, and then scrapped the gooey mess off with an old hotel key. That would leave just minor amounts of blue left that I could wipe a way with a solvent soaked paper towel. After I had wiped all the blue off, I then had to go back and get all the sludge that had worked its way into all the jambs and cracks. All told I had over 40 hours in getting the plastidip off, and I didn't even remove it from the nose (I just swapped the original back on). So the lesson is, when you dip, make sure you get it on thick.
After I had all the plastidip off I used 400 grit to sand out all the rock chips and scratches, There was one small dent on the drivers fender that took a dab of body filler, but it was mostly straight.
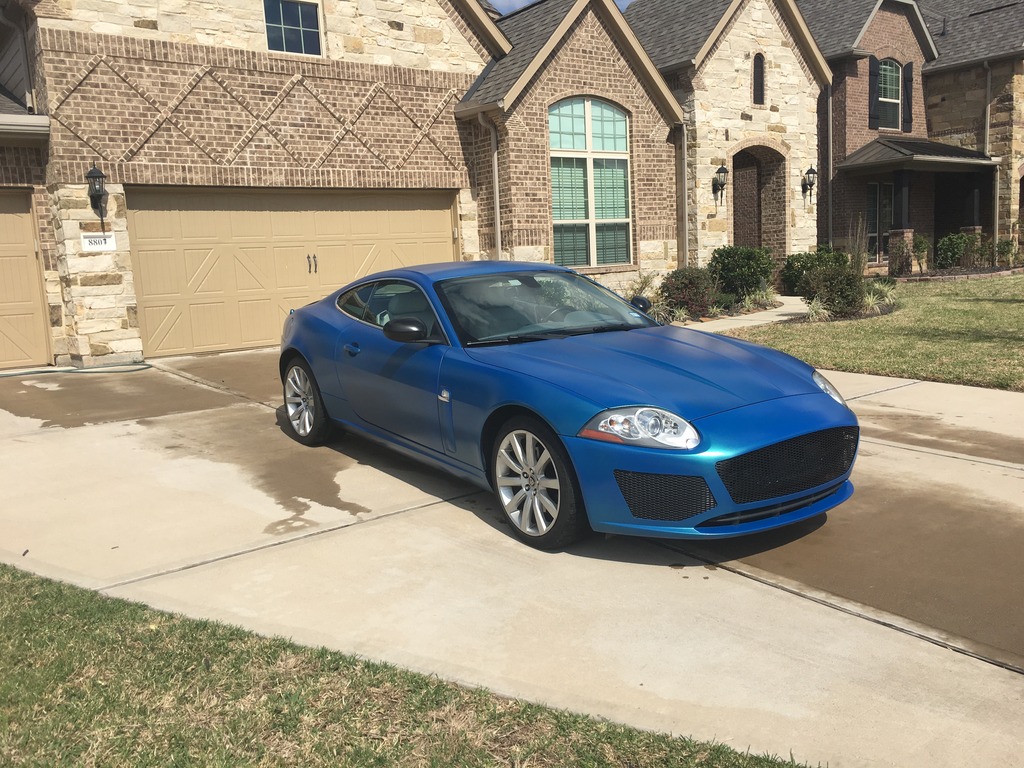
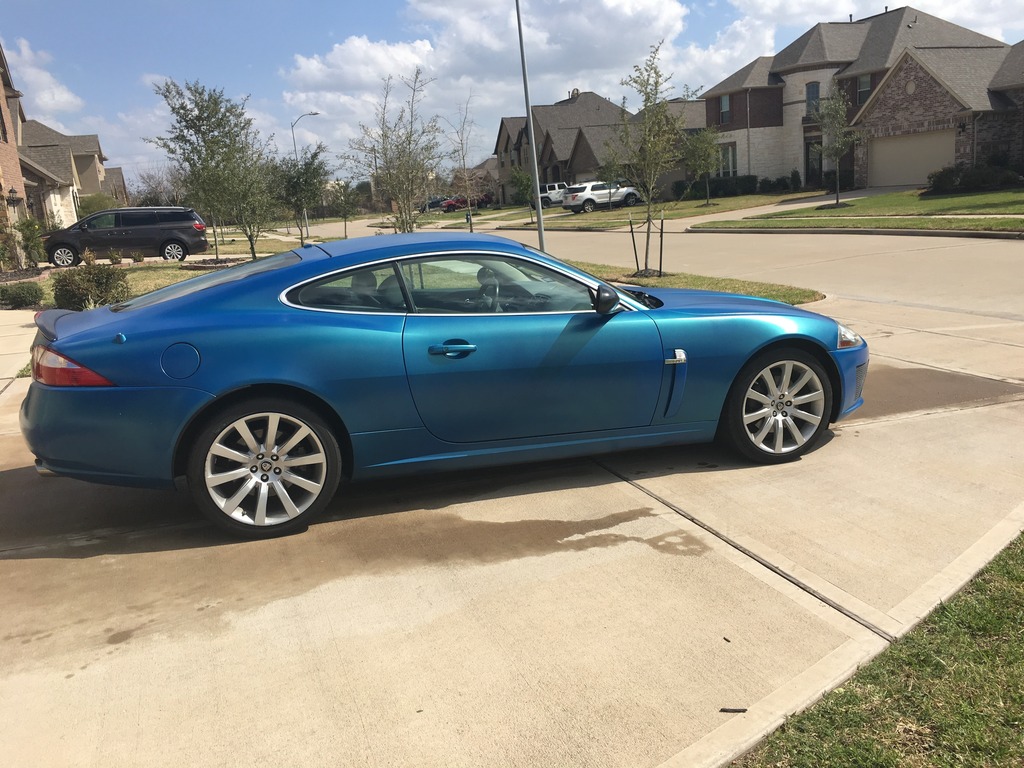
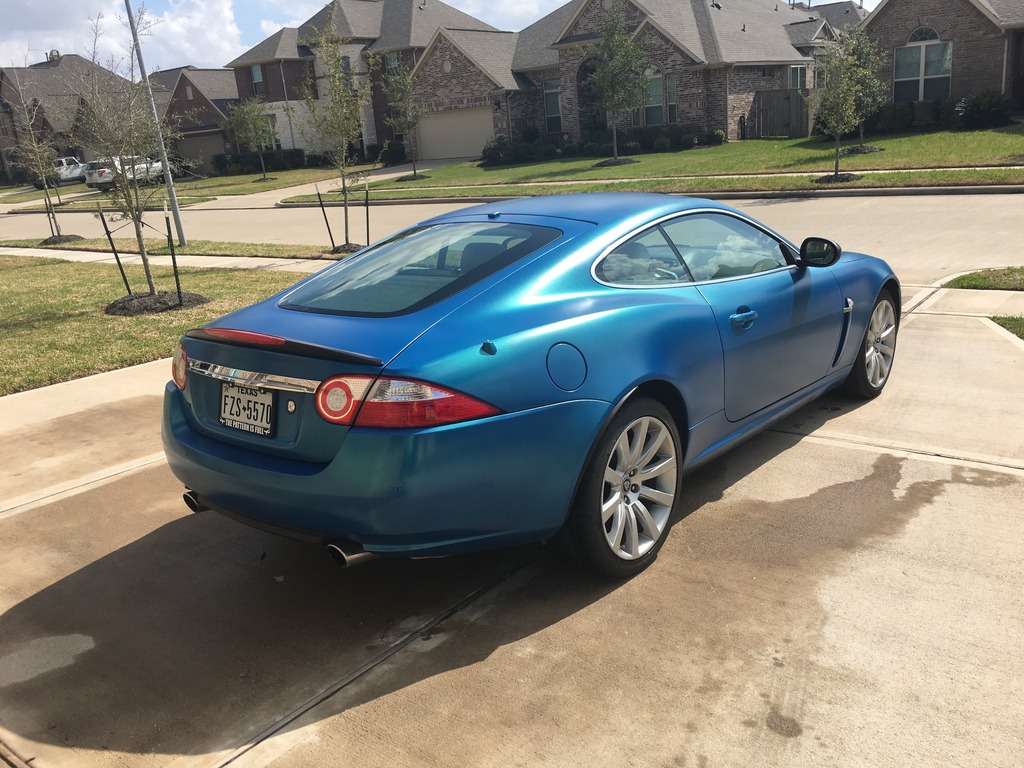
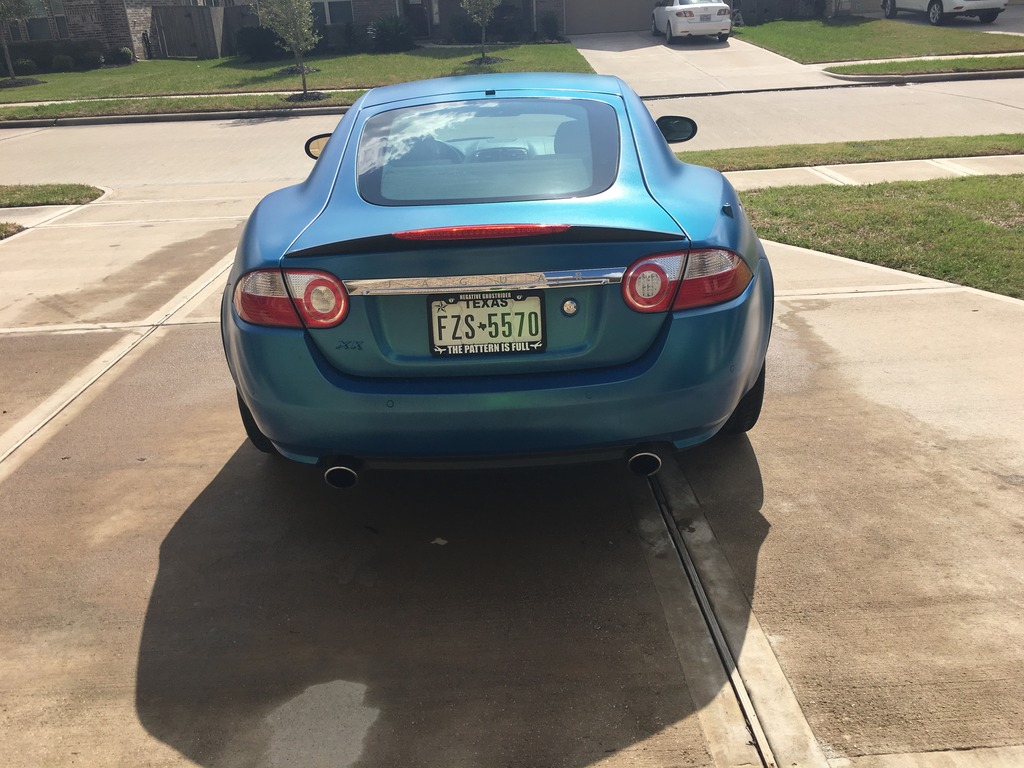
My initial plan was to only paint the spots that needed it, and blend the rest. This resulted in painting the entire front drivers fender, nose, hood, rear bumper, and then blending spots on the roof, quarter, and doors. Unfortunately, Slate Grey Metallic is a hard color to blend and I'm a rookie painter. and it looked terrible... so I wound up scuffing all the panels that didn't get full paint with 600 grit and painting the entire car. I laid down 2 coats of base and 4 coats of clear (I had planned on 3, but the orange peel was pronounced, so I decided to give my self an extra layer to color sand with).
I started color sanding with 800 grit, then went 1000, 1500, 2000 before I started in with Meguars 105 cutting compound. Unfortunately I started way to aggressive, and by time I got to the 105 I had cut all the way through the clear and new base on over half my panels (mostly on edges and curves)....... so I had to scuff the entire car and spray it again (because I can't blend).
All told I basically painted the entire car 3 times before I got it right. I did swap to a slower activator on the last round, and although I wound up with some more dirt in the clear (doing this in my home garage), I had way less orange peel and the dirt sanded out pretty easy.
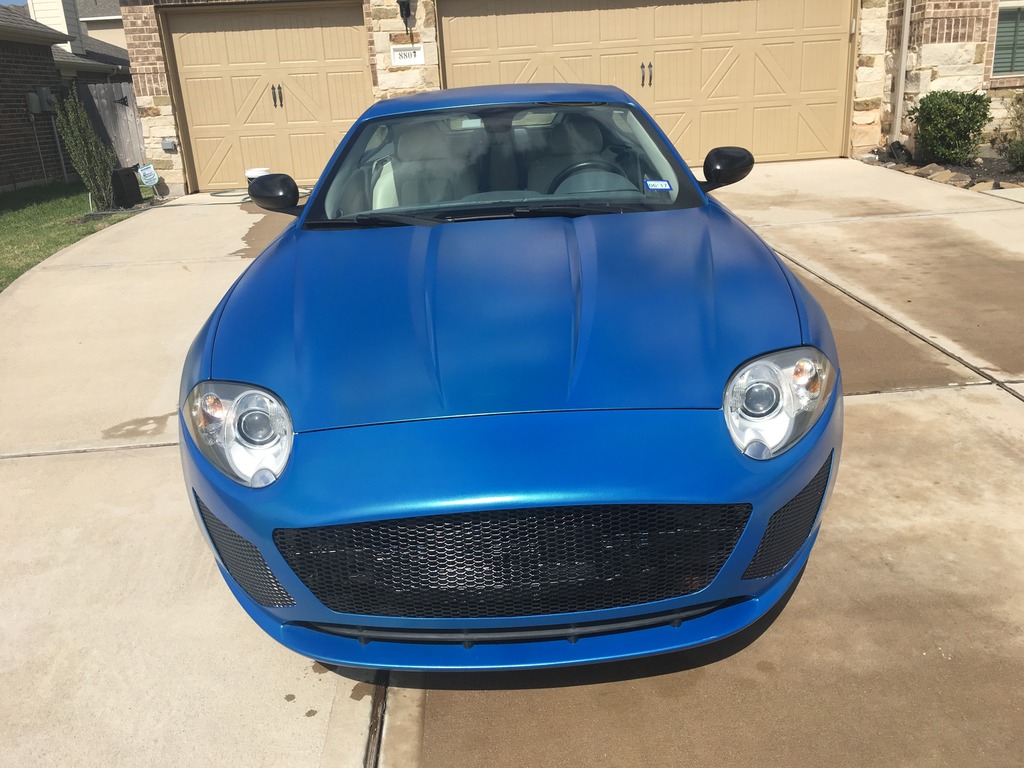
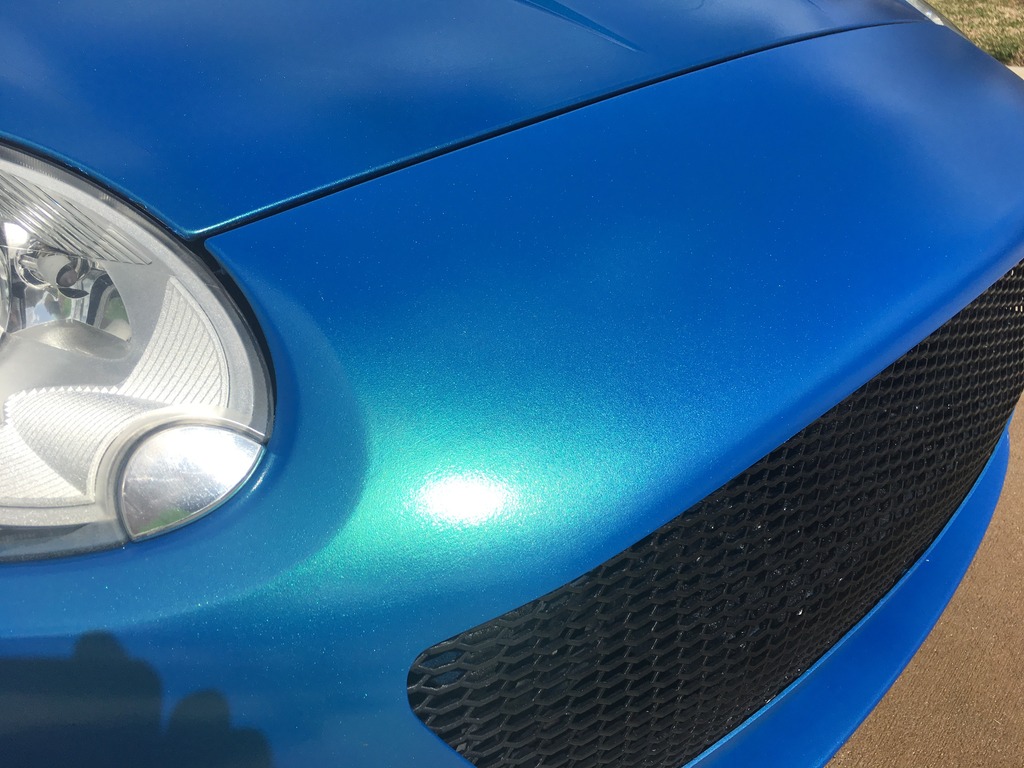
While I had the paint gun out, I made what to date is the hardest to undo mod on the car. It is reversible, but would be a pain in the butt. I've always though the car had a bit of a bug eyed look to it, enhanced by the odd chrome cover on the washer jet door. So I painted the washer jet door body color and also painted the bottom 2" of the headlight as well. I could always replace the items ore sand off the color and polish them back to original, but I'm very happy with the new look.
I also added some new rims while I was at it.
Pics in the next post.
When I restored my mustang I did all of the body work, but paid someone else to spray the color and clear, but I've always wanted to learn how to do it myself. I finally decided this spring was the time to learn and my Jaguar was the car to learn on.
To start the process I had to remove the blue plastidip. When I sprayed the copper on, I made sure to pay attention and get at least 5 coats on so that it would be thick enough to peel off. The copper came off super easy, only took me about an hour to unwrap the entire car. When I did the blue I ran a little low on base color, and only got 3 coats on. I thought I would be okay because I also put 3 coats of clear + pearl over the blue. But it turns out the clear doesn't build thickness the same way the color does, and it was way too thin. When I started to peel the paint off it was coming off in tiny shreds less than the size of a dime. It would have taken me years to peel it all off. I next tried a pressure washer, but that was a wasted effort. My next attempt was to soak the plastidip in solvent (xylene ore mineral spirits worked about the same) and then pressure wash it. This made a small amount of progress but not much and also mad ea huge mess as the melted goopy plastidip was getting blasted into all the cracks and jambs by the pressure washer.. Finally I arrived at a solution that would work. I soaked an area about 2 square foot in solvent, let it soak in, sprayed it again about 3 minutes later, and then scrapped the gooey mess off with an old hotel key. That would leave just minor amounts of blue left that I could wipe a way with a solvent soaked paper towel. After I had wiped all the blue off, I then had to go back and get all the sludge that had worked its way into all the jambs and cracks. All told I had over 40 hours in getting the plastidip off, and I didn't even remove it from the nose (I just swapped the original back on). So the lesson is, when you dip, make sure you get it on thick.
After I had all the plastidip off I used 400 grit to sand out all the rock chips and scratches, There was one small dent on the drivers fender that took a dab of body filler, but it was mostly straight.
My initial plan was to only paint the spots that needed it, and blend the rest. This resulted in painting the entire front drivers fender, nose, hood, rear bumper, and then blending spots on the roof, quarter, and doors. Unfortunately, Slate Grey Metallic is a hard color to blend and I'm a rookie painter. and it looked terrible... so I wound up scuffing all the panels that didn't get full paint with 600 grit and painting the entire car. I laid down 2 coats of base and 4 coats of clear (I had planned on 3, but the orange peel was pronounced, so I decided to give my self an extra layer to color sand with).
I started color sanding with 800 grit, then went 1000, 1500, 2000 before I started in with Meguars 105 cutting compound. Unfortunately I started way to aggressive, and by time I got to the 105 I had cut all the way through the clear and new base on over half my panels (mostly on edges and curves)....... so I had to scuff the entire car and spray it again (because I can't blend).
All told I basically painted the entire car 3 times before I got it right. I did swap to a slower activator on the last round, and although I wound up with some more dirt in the clear (doing this in my home garage), I had way less orange peel and the dirt sanded out pretty easy.
While I had the paint gun out, I made what to date is the hardest to undo mod on the car. It is reversible, but would be a pain in the butt. I've always though the car had a bit of a bug eyed look to it, enhanced by the odd chrome cover on the washer jet door. So I painted the washer jet door body color and also painted the bottom 2" of the headlight as well. I could always replace the items ore sand off the color and polish them back to original, but I'm very happy with the new look.
I also added some new rims while I was at it.
Pics in the next post.
Last edited by ajzride; Apr 19, 2018 at 09:39 PM.


