When you click on links to various merchants on this site and make a purchase, this can result in this site earning a commission. Affiliate programs and affiliations include, but are not limited to, the eBay Partner Network.
Front LEDs make it look more current but couldn't one just replace the entire light bucket (with updated LEDs) rather than going through the process of re-configuring the old ones to look like new ones.
Are they not interchangeable? Except for electrical connections, but that had to be changed for this adjustment as well.
Anything is possible for a price. To do a factory facelift would require not just new headlights, but also new bumper, fenders, trim, hardware, harnesses, etc which would probably far exceed the cost to just trade up to a newer one. Besides the fact that doing so would probably diminish the value of the vehicle prior to the facelift mod. That being said, someone here recently did their 2007 if I am not mistaken so to each his/her own.
My mod was risky but fun and worthwhile to me and not likely to have too much of an imp at on value not that it matters to me, but if needed, used replacement headlights can be had for under $500 each.
Did you prime the area before painting?
Sand off the silver/chrome?
Looks like a really nice upgrade.
Did I understand that you mounted the LED's on the outside of the headlight assy?
I will pull mine out and that answer may be obvious. How did you wire them in to be running lights?
Thanks
Did you prime the area before painting?
Sand off the silver/chrome?
Looks like a really nice upgrade.
Did I understand that you mounted the LED's on the outside of the headlight assy?
I will pull mine out and that answer may be obvious. How did you wire them in to be running lights?
Thanks
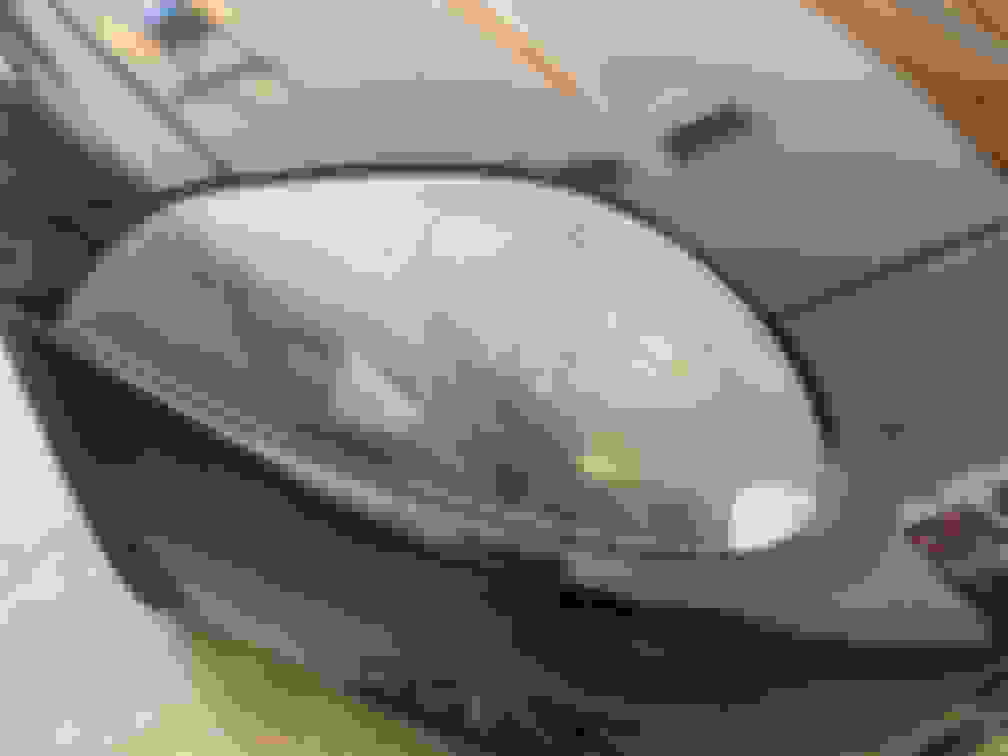
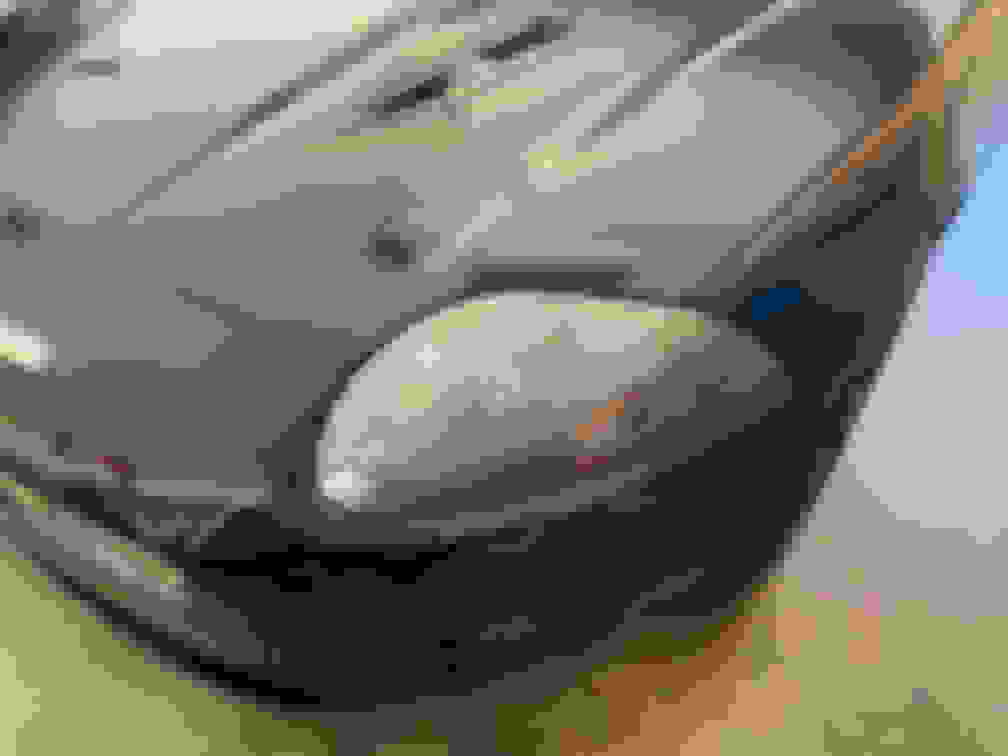
I did use plastic primer, I did not sand anything.
The LEDs are inside the assembly along the frosted edge. They are spliced to the harness for the running lights.
sure does!
Sounds straight forward.
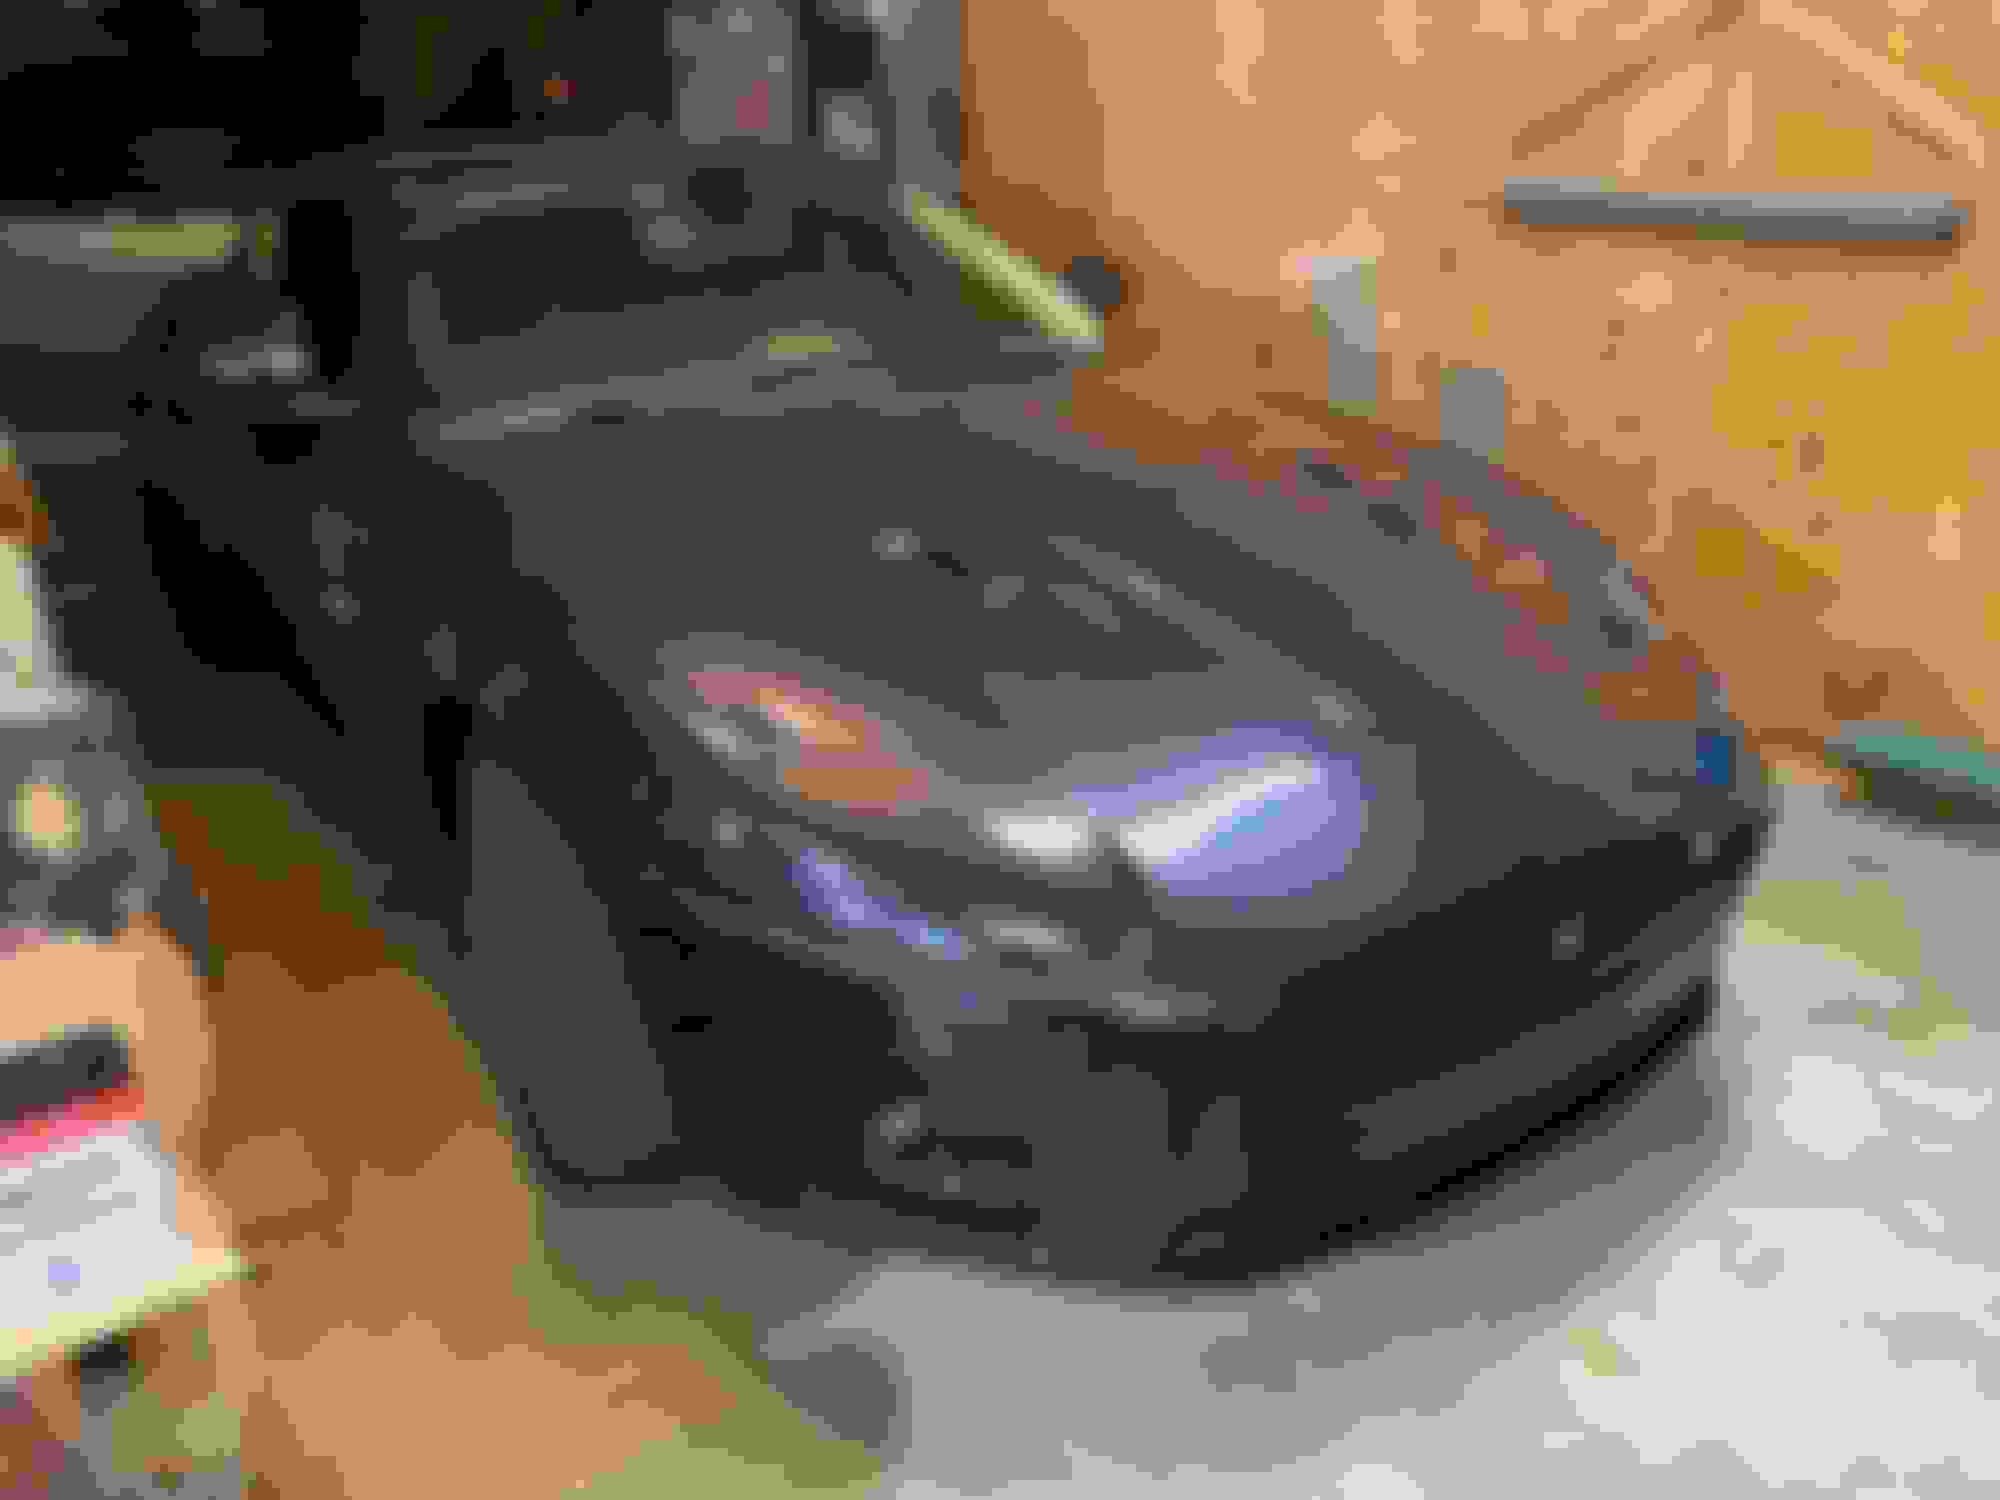
I have an indigo blue 2007 coupe and am going to go with body color inside headlight housing.....have some paint that is a perfect match.
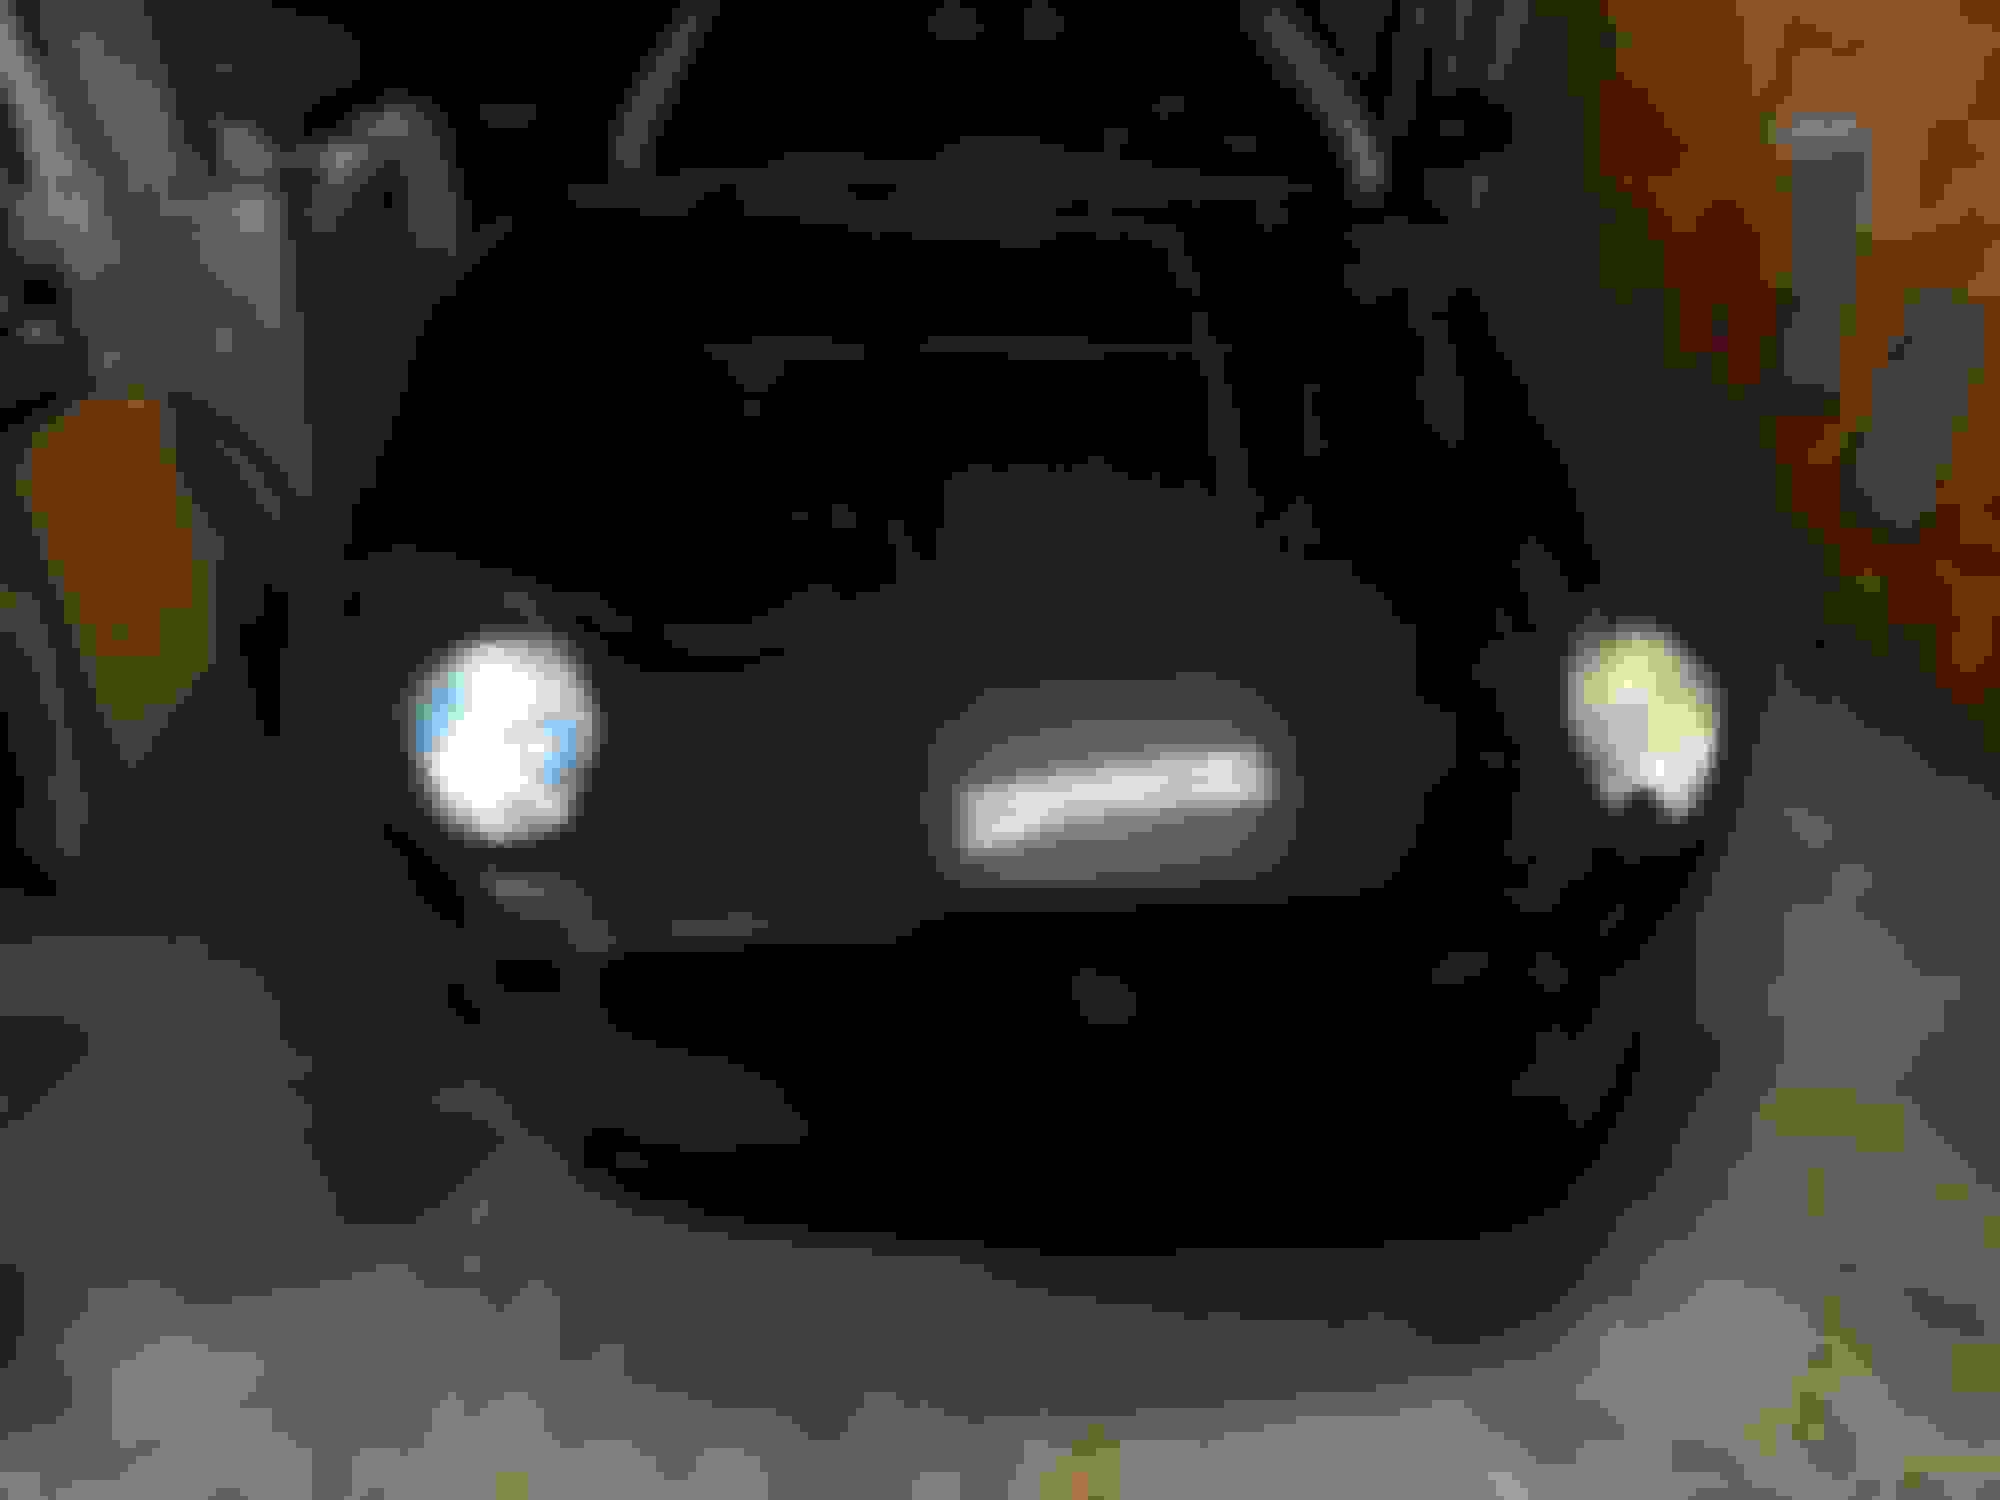
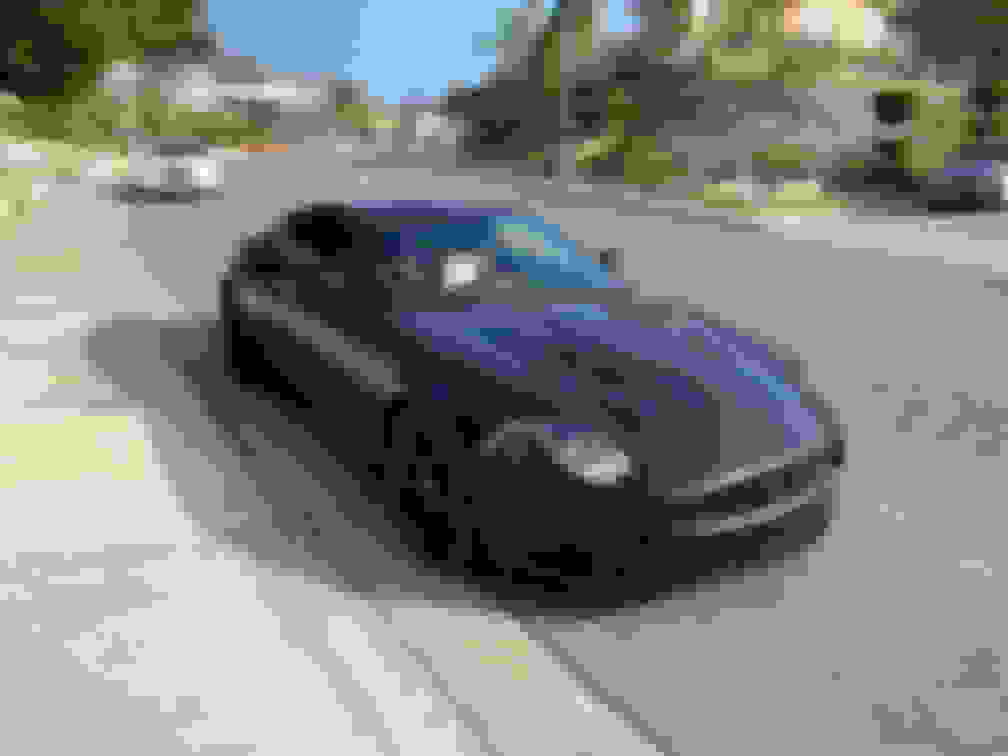
I know this thread is old but I just updated my old cracked foggy headlights with some new lenses. For the last year, I have had tint to cover my shame of the headlights. It looked good during the day but at night the headlights were worthless, thank god for foglights. Finally, I found two of the cheapest headlights with good lenses I could from eBay then started to Frankenstein. Originally I wanted to insert the LED turn signal but decided it looked cool but didn't match the rest of the car. End the end I'm really happy with the result and love the car so much more. Also, I color-matched the headlamp housing to the rest of the car.
Dude, you should have started a new thread with this. You could also maybe help out others who would want to do something like this, as any update to these old-timey headlights could be a benefit.
Dude, you should have started a new thread with this. You could also maybe help out others who would want to do something like this, as any update to these old-timey headlights could be a benefit.
I don't mind starting a new one but I figured it was based on what everyone else did already so having it in one place might be better? Happy to share any info on what I did if anyone has questions.