When you click on links to various merchants on this site and make a purchase, this can result in this site earning a commission. Affiliate programs and affiliations include, but are not limited to, the eBay Partner Network.
First off, this was my fault. I was trying to remove the rear cargo cover to clean the window (the part that goes over the back window so you can't see into the trunk) and I broke it. I undid/unscrewed the two black "clips" in the front and pulled straight down and that caused the whole thing to fall apart. The top part of the plastic assembly fell into the hole and down into the hatch.
1) How hard/expensive is this to fix? Would the Jaguar dealership carry this part?
2) Every time I close the trunk now I hear the parts rattling around inside the trunk. Is there any access panel or light I can remove so I can let the parts fall out? If I get the pieces back I could probably fix it myself.
UPDATE: Ok, so I played around enough to get the rubber grommet to come back through the hole so I have one complete set now. I'm still missing the washer, rubber grommet, and cap on the other side. I could probably order another part, but now when I close the trunk I can hear the metal washer rolling around inside there. The only options I have now are either ignore it and hopefully buy a new piece, or take the hatch trim and carpet backing off the trunk and try to fish the part out. Any suggestions?
Oh why couldn't I of left well enough alone! I'm really kicking myself now!
Bummer it happened to you. Hope someone that has walked this path can be of more help....I'm only a week old with my XK, so my personal experience is limited.
Couple of things come to mind as I was looking at this assembly myself a few days ago.
First is that IF the parts that are trapped inside the body are steel (its late and I'm in for the night, so I cant go and check for ya right now), you may be able to coax them to an opening with a magnet. Should work as the car is aluminum right?
Second, It should be pretty easy to head to your nearest ace hardware store and buy a replacement nut washer and piece for rubber tubing to rebuild the second setup. As you still have the lever itself the rest should be re-creatable. It's just a simple expansion plug design.
I'll try to look at mine again tomorrow night as I could be way off base here, but other than getting the parts out of the framework fixing the lever should be easy.
The 07-09 rear wings are infamous for losing their internal bolts and then rolling around inside the hatch.
I fished mine out when I added the R-S Wing.
You have to remove the hatch liner to get access. starting by removing the pull down handle in an upward wiggle motion. next pop the clips straight outward where they are connected. finally fish the emergnecy trunk release handle through the liner slit.
Caution: the red liner clips tend to slid out of their horseshoe fasteners, try not to lose any.
For pics see George Kale's 2010 Tail light upgrade thread. (convertible pics but almost identical to the coupe hatch).
Were all the parts sitting in the trunk portion when you fished it out? I'm affraid I'll go through all the trouble and the parts will still be stuck up by the window and I couldn't get to them.
They move around when you open and close the trunk. I found the one nut in the portion under the license plate and I did some opening and closeing to coax the other one down too.
Once the liner is off it's fairly open frame work but I did have to really stretch my fingers to reach them. I used double sided tape on a stick to get one of them.
Well, I called Jaguar today and just bought the part. It was only $20 so I'm just going to fix it and move on. I'm not sure if it's worth pulling all the trim out of the trunk to save $20. If the tiny rattle ever actually bothers me I'll worry about it then. It only happens about 1 out of every 10 trunk closes. It will be a lesson on not being a perfectionist! Thanks for everyone's help!
I can't help with the rattling, but I've got the same problem with the hatch cover. One "locking" piece fell out and was replaced by the dealer with one that doesn't hold the cover in place. Now I've got a dangling cover that creaks and rattles.
First off, this was my fault. I was trying to remove the rear cargo cover to clean the window (the part that goes over the back window so you can't see into the trunk) and I broke it. I undid/unscrewed the two black "clips" in the front and pulled straight down and that caused the whole thing to fall apart. The top part of the plastic assembly fell into the hole and down into the hatch.
1) How hard/expensive is this to fix? Would the Jaguar dealership carry this part?
2) Every time I close the trunk now I hear the parts rattling around inside the trunk. Is there any access panel or light I can remove so I can let the parts fall out? If I get the pieces back I could probably fix it myself.
Anyone have experience with this?
I just purchased the 2011 XKR 175 Ann edition, and I want to avoid the problem you had. I want to clean the rear window, and would like to know the proper way to remove the cover without breaking the clips. Any advice would be much appreciated.
thanks,
Vince
This is an old thread!
It's a mickey mouse design; I think Jag expects you to unlatch the top first and gently pull the whole cover out; the bottom thingys are just keep in by friction, no need to remove the screws.............
It's not too difficult to remove the hatch trim...........if you have too!
I did it when replacing the rear fog light and replaced it with UK BU unit; not more "your BU light is out"!!
Just be gentle remember it's British not German!! and so be more gentile.
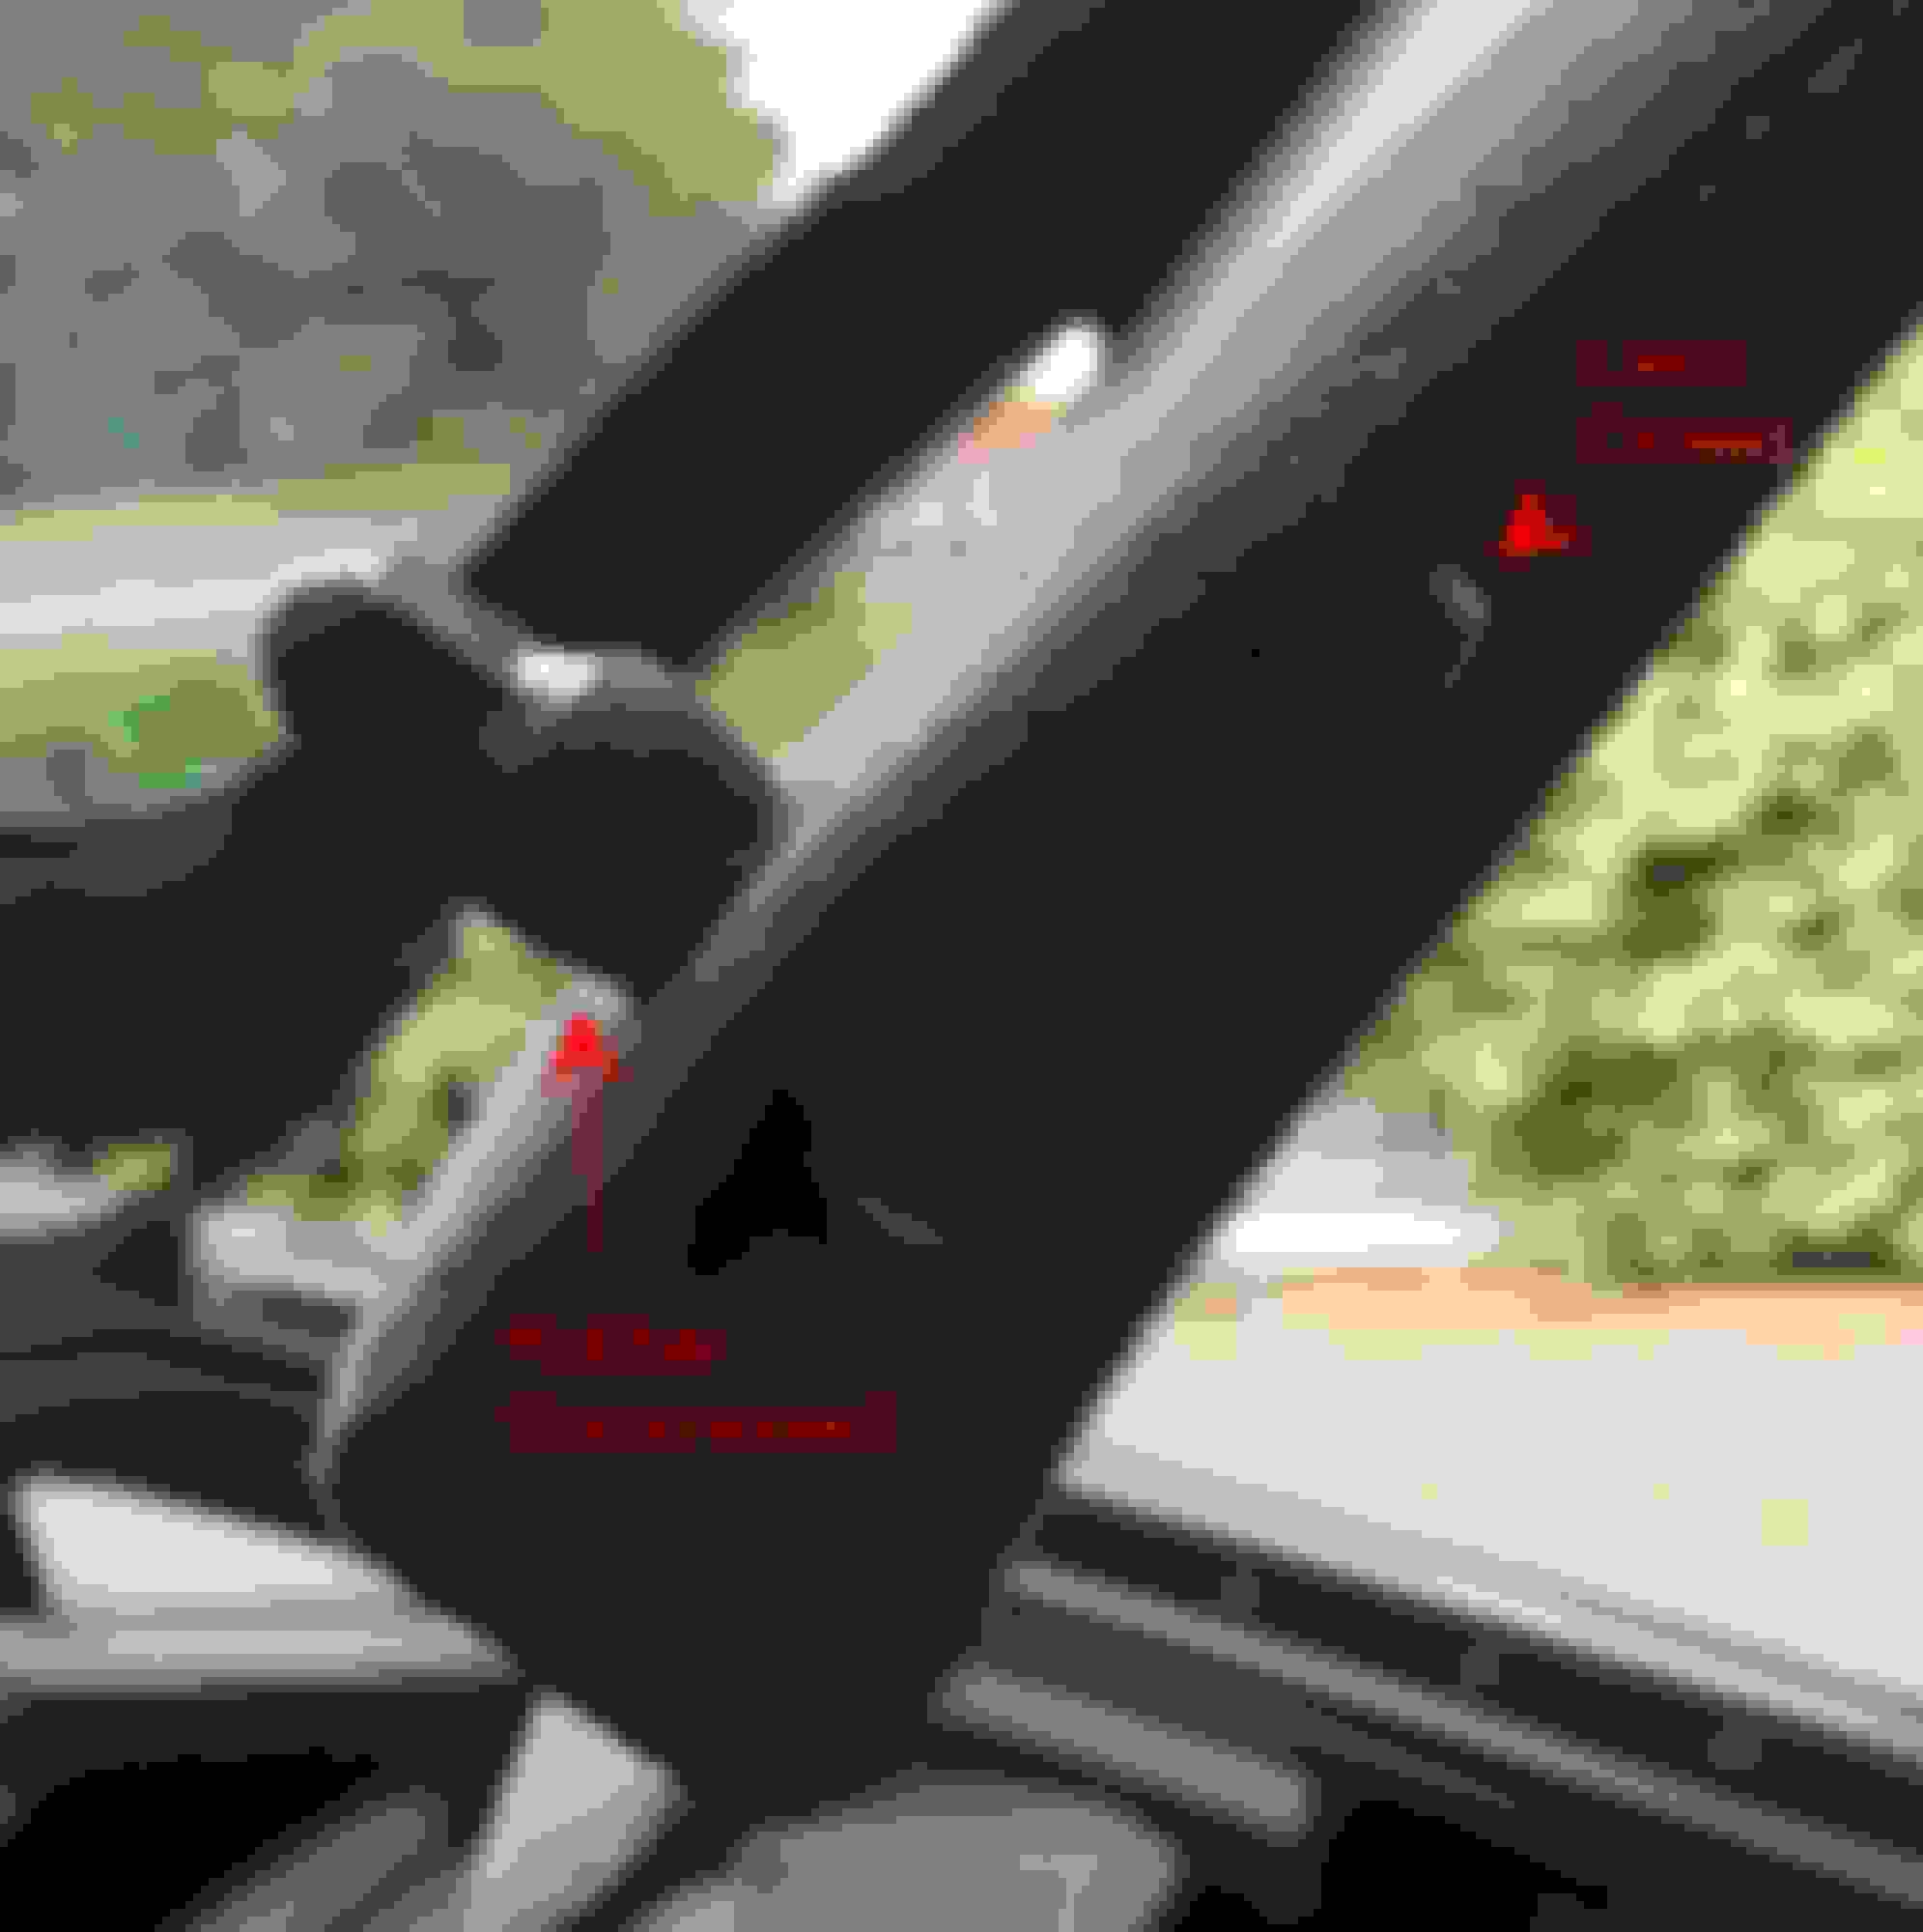
The front clips work (when they are flat against the cover) by pulling on a bolt that passes through the clip, thus compressing a rubber sleeve around the bolt, making the sleeve fatter so it can't fit through the hole in the rear hatch. Just pull the clip arms out until they're at 90˚ to the luggage cover, releasing the compression, and the bolt & sleeve should just pull out of the hole. You can rotate the clip on the bolt thread to decrease or increase the amount of compression, if either the sleeve won't fit through the hole at all, or if it keeps falling out (which is what mine used to do). You should not unscrew it completely.
As Adrian says, the rear posts are just a friction fit.
Found how to do it while trying to figure out why my luggage cover kept falling off. I just needed to wind the clip in a couple of turns to get more compression of the rubber. The cover now stays on most of the time, though one of the rear pins is not quite tight enough and still slides out occasionally.
Unfortunately, I'm not quite sure the best way to make the rear pins fit more snugly - perhaps roughening them a little. I've been trying to find a spare cover so I can fit my solar panel permanently (don't really want to drill holes in the original), so I may try experimenting once I have one.
Sorry for refloating this old thread but I don't know how to solve this issue, even reading this thread. I have receantly bought a 2007 XKR and last owner did not tell me the problem with this 2 clips. One on them is "fixed" with a "hair gum" if that makes any sense (sorry for my language).
Even if I try to adjust them they are loose. They come off later.
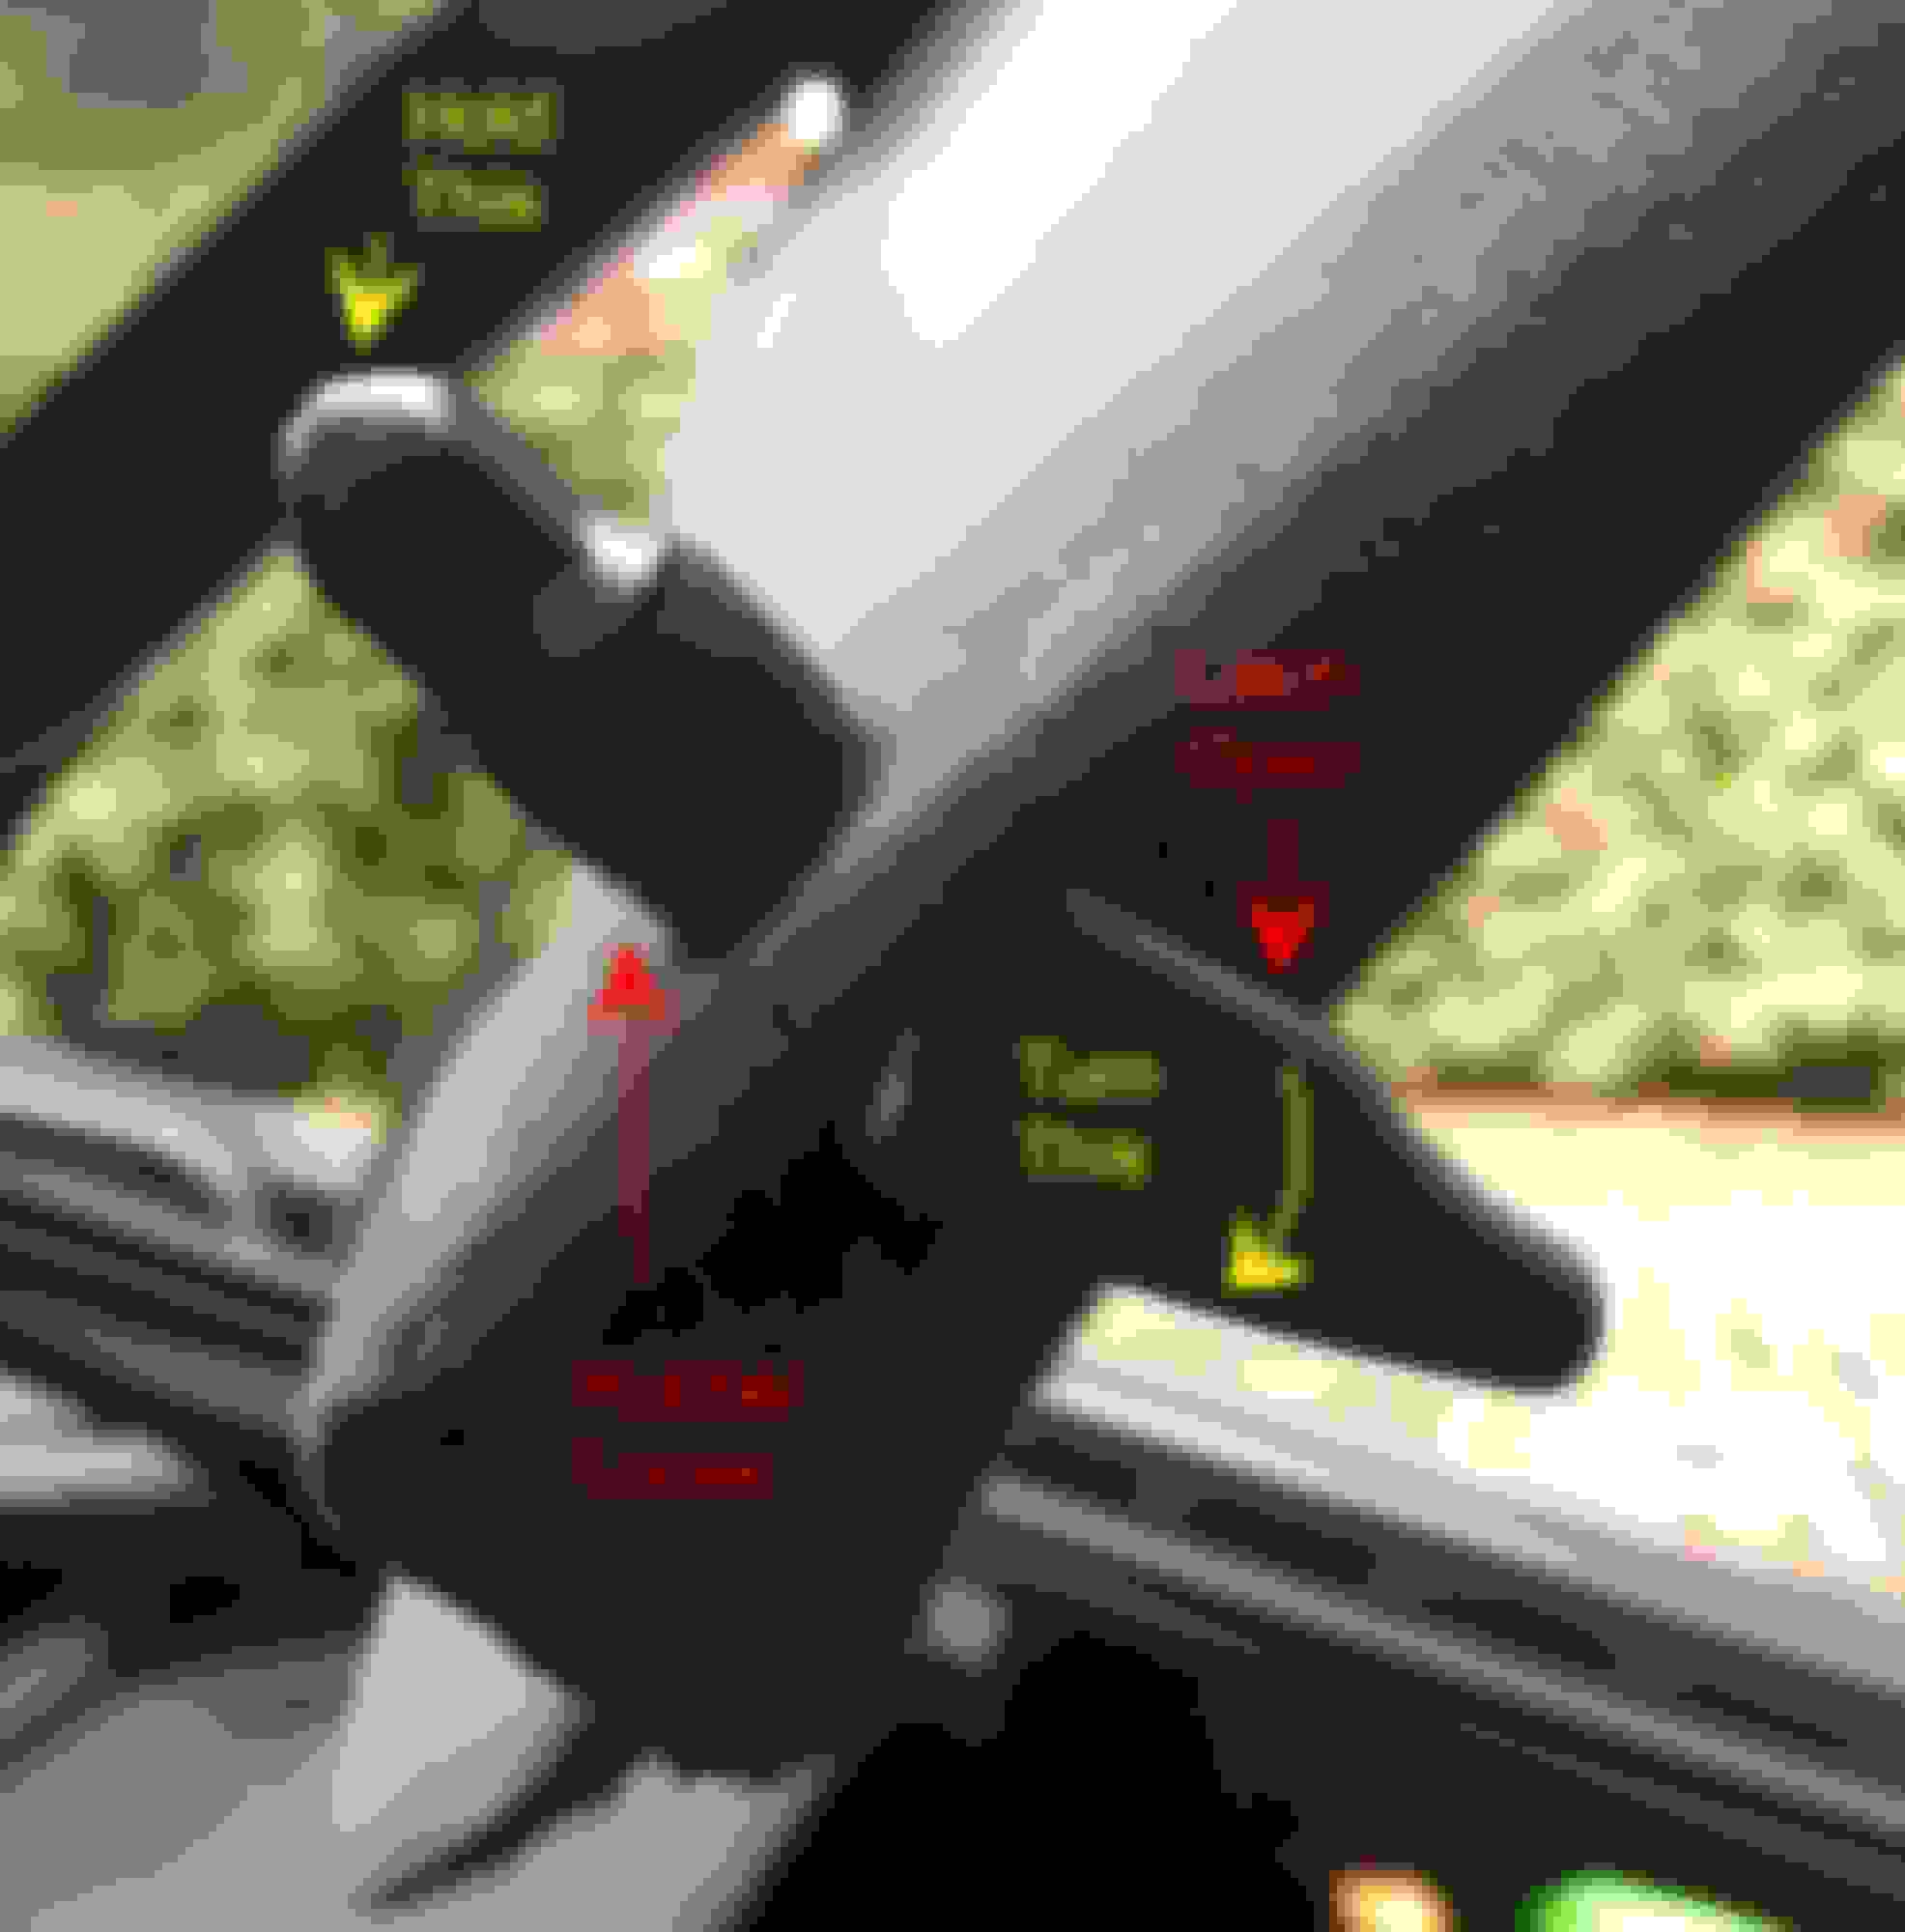
You can see that the latch pulls the hexagonal pin towards it, which compresses the rubber and makes the pin fatter, so it stays in the hole. If the latch doesn't squash the rubber enough, the pin will not be fat enough and it will slide out. You can adjust the position of the latch on the pin, and therefore the amount of compression, by screwing the latch up or down the threaded bottom end of the pin when it is open:
In this pic, the latch is open and the rubber is loose. If you hold the hexagonal head of the pin and rotate the latch clockwise, it will increase the pressure when it is closed. Because of the space available for the latch when it is closed, you can only have it pointing towards the back or the front of the car, not sideways - that means your adjustment can only be in half turns of the latch.
To get it right, start with the latch open and the pin not in the hole. Hold the pin and spin the latch around one turn clockwise, then push the pin into the hole & try to close the latch, i.e. push it flat against the cover. If it closes easily, the pin is probably too loose, so open the latch again, pull the pin out and give the latch another turn clockwise. Keep doing that until you find you can't close the latch flat (because the rubber is being compressed too much). Release the latch again, pull the pin out, and spin the latch half a turn ANTI-clockwise. Put the pin back in & try again - keep doing that until the latch will close flat but takes a hard push to get it closed. Now you are at maximum compression and the pin should not fall out.
The rear pins have zero adjustment - they're just plastic pins that fit in the holes by friction. To make them fit better, you need more friction. I made some small cuts at a 45-degree angle with a sharp knife to create little barbs on the pins - only a couple, just enough to give some extra friction:
I hope I've managed to describe what I did to fix the problem in a way that makes sense - please ask questions if something isn't clear.
My two cents: find someone with a 3D printer who can print a fake engine. Print the top of the fake engine. Use double-sided tape to hold the fake engine to the hatch. People who walk by will look in the hatch and think it's a mid-engine something or other.