XK / XKR ( X150 ) 2006 - 2014

New custom mesh grill install

Thread Tools
 
Search this Thread
 
Old May 18, 2020 | 05:26 AM
  #21  
peterv8's Avatar
Senior Member
Joined: Aug 2017
Posts: 988
Likes: 380
From: Södra Sandby, Sweden
Default

Originally Posted by plc
How and what did you use to shade out the amber reflectors in your headlights
Chrome indicator bulbs.
 
Reply
Old May 18, 2020 | 07:12 AM
  #22  
plc's Avatar
plc
Member
Joined: Jan 2019
Posts: 56
Likes: 6
From: staffordshire UK
Default

Read again peterv

Originally Posted by plc View Post
How and what did you use to shade out the amber reflectors in your headlights

I ask about Reflectors not indicator bulbs
 
Reply
Old May 18, 2020 | 07:27 AM
  #23  
gkubrak's Avatar
Thread Starter
|
Senior Member
Joined: Jul 2014
Posts: 994
Likes: 709
From: CT, USA
Default

Originally Posted by Thorsen
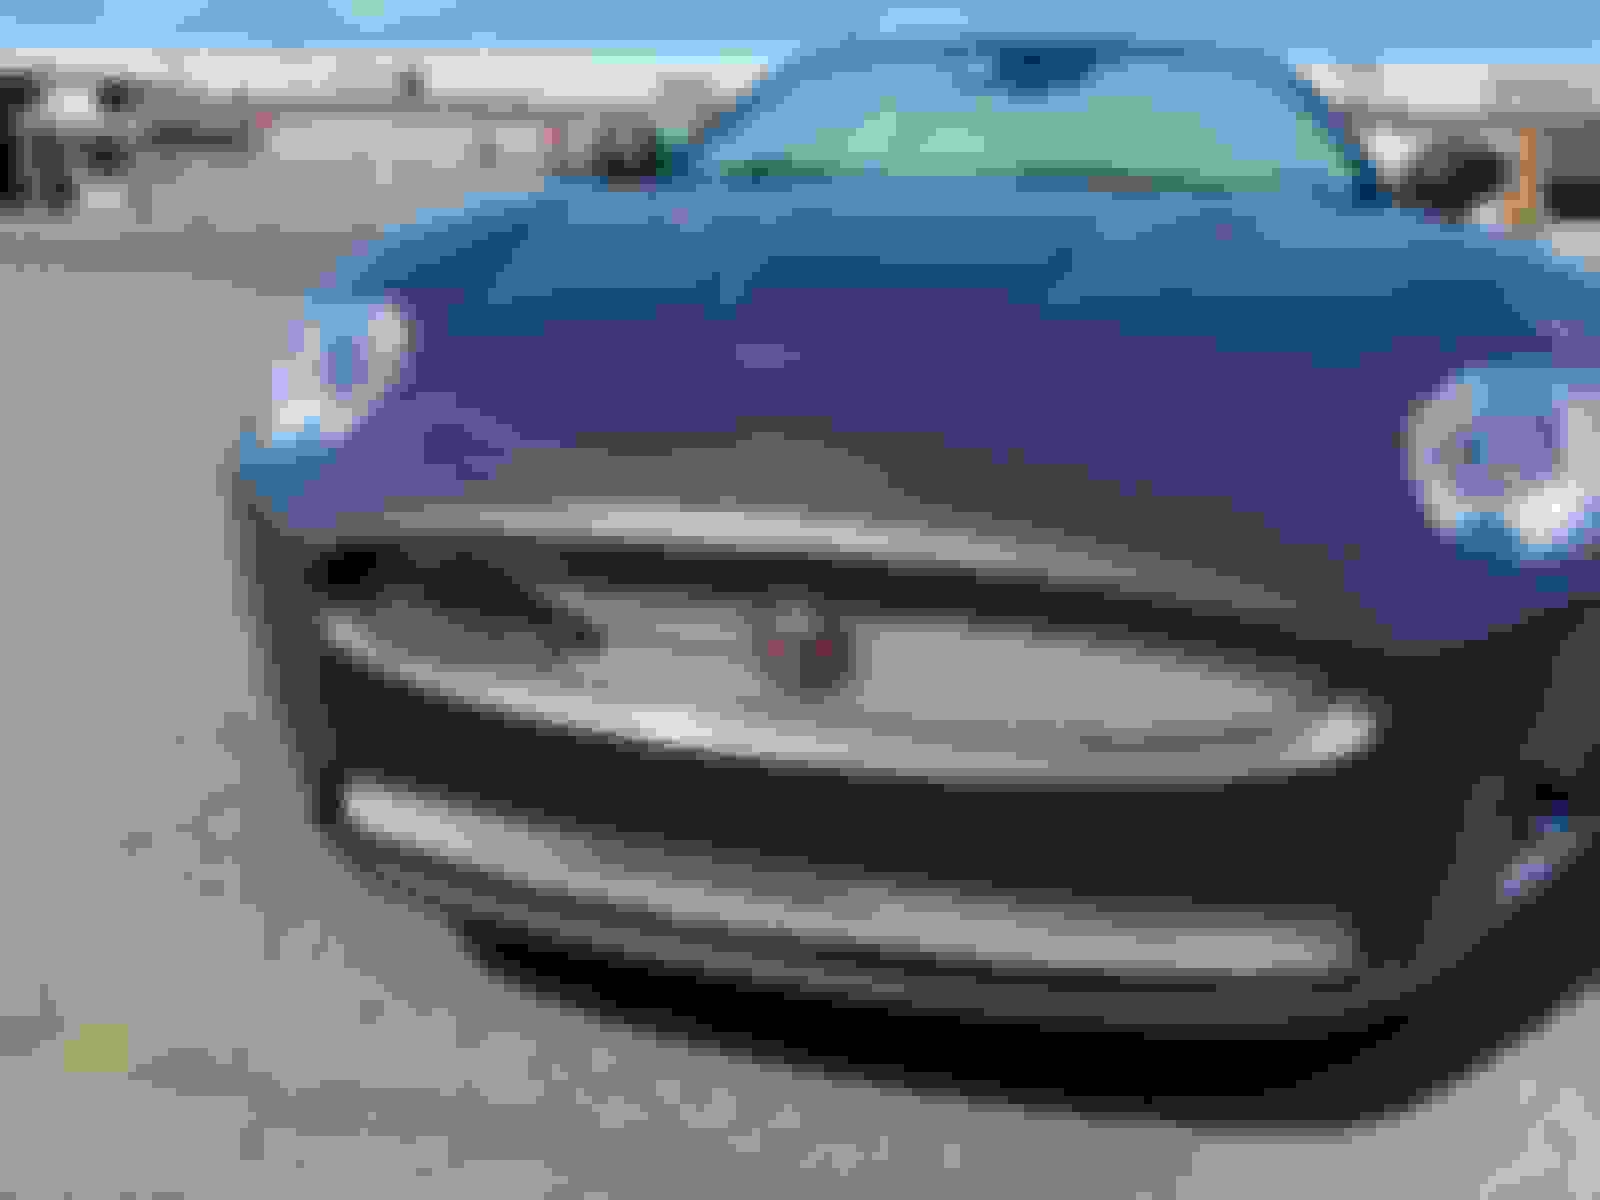
Thanks for the inspiration gkubrak! I went with the black aluminum mesh and decided after making the top piece that I didn't like the way it looked. I ended up blacking out the stock grilles and I'm happy with the way it turned out.
Yeah that looks nice!
 
Reply
Old May 18, 2020 | 07:30 AM
  #24  
gkubrak's Avatar
Thread Starter
|
Senior Member
Joined: Jul 2014
Posts: 994
Likes: 709
From: CT, USA
Default

Originally Posted by plc
Read again peterv

Originally Posted by plc View Post
How and what did you use to shade out the amber reflectors in your headlights

I ask about Reflectors not indicator bulbs
If you pop the lens off your headlight, there is easy access to remove the reflector. I just used some chrome vinyl wrap from the autoparts store to cover it up, then re-installed it. Then slightly tinted the lens.
 
Reply
Old May 18, 2020 | 08:40 AM
  #25  
peterv8's Avatar
Senior Member
Joined: Aug 2017
Posts: 988
Likes: 380
From: Södra Sandby, Sweden
Default

Originally Posted by plc
Read again peterv

Originally Posted by plc View Post
How and what did you use to shade out the amber reflectors in your headlights

I ask about Reflectors not indicator bulbs
Ooops, my mistake! :-)
I haven't done anything, they are OEM what I know.
 
Reply
Old May 18, 2020 | 09:06 AM
  #26  
plc's Avatar
plc
Member
Joined: Jan 2019
Posts: 56
Likes: 6
From: staffordshire UK
Default

I was asking OP this question which he has answered in post 24 not you
 
Reply
Old May 18, 2020 | 02:09 PM
  #27  
peterv8's Avatar
Senior Member
Joined: Aug 2017
Posts: 988
Likes: 380
From: Södra Sandby, Sweden
Default

Originally Posted by plc
I was asking OP this question which he has answered in post 24 not you
Then you have to use quote, as the question came right after my post I figured you looked at my post. :-)
 
Reply
Old Sep 10, 2021 | 09:21 AM
  #28  
gkubrak's Avatar
Thread Starter
|
Senior Member
Joined: Jul 2014
Posts: 994
Likes: 709
From: CT, USA
Default

So after someone backed into the Jag in the parking lot, I decided to update the mounting method for this grill.


Some drawbacks from the first iteration:
- The lower grill has almost no support and will split over time from even the slightest bottoming out
- The upper grill is a huge pain to remove with all the glue/epoxy around it. It also doesn't have much support, but it stayed intact.

With the bumper being repaired/painted, I gave the guy my faded hood vents and side grills to repaint also. Came out pretty good but the color doesn't seem right?


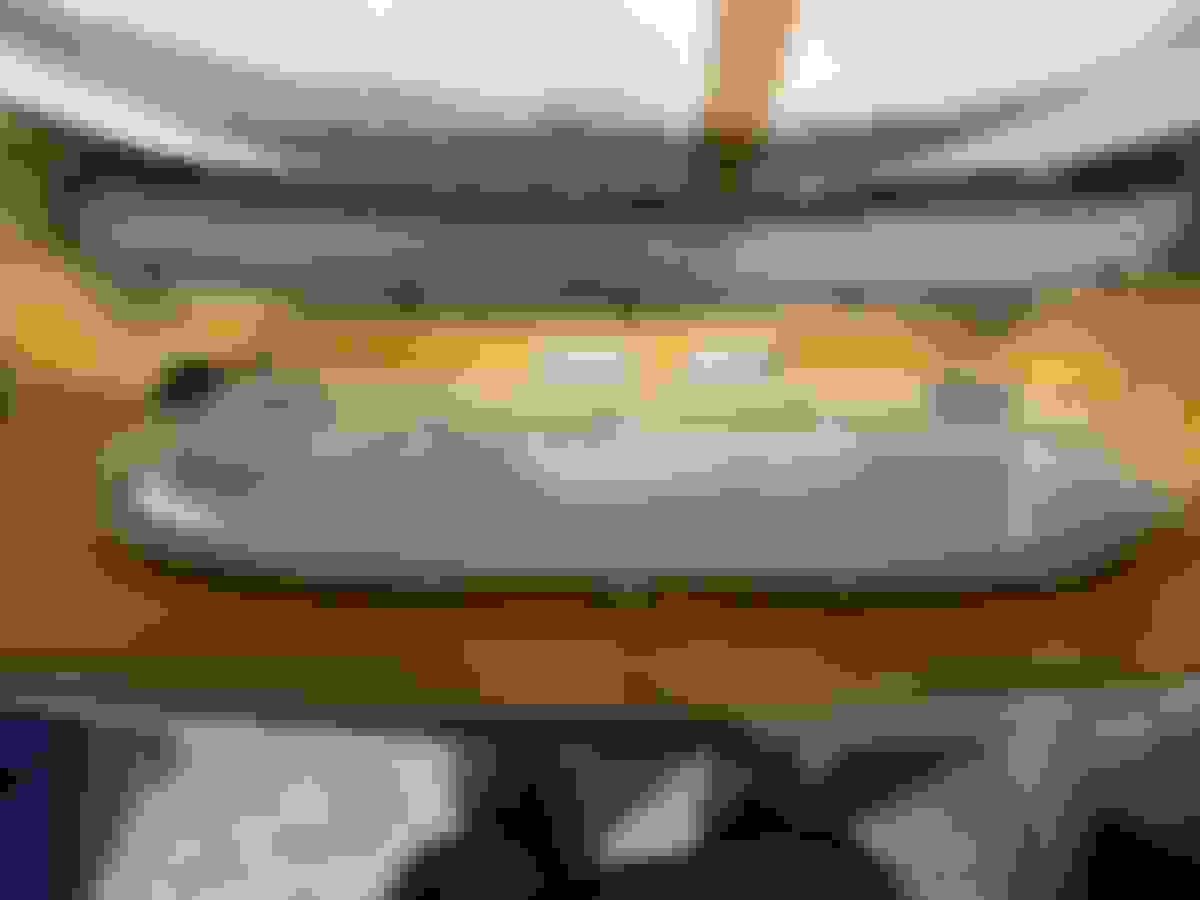
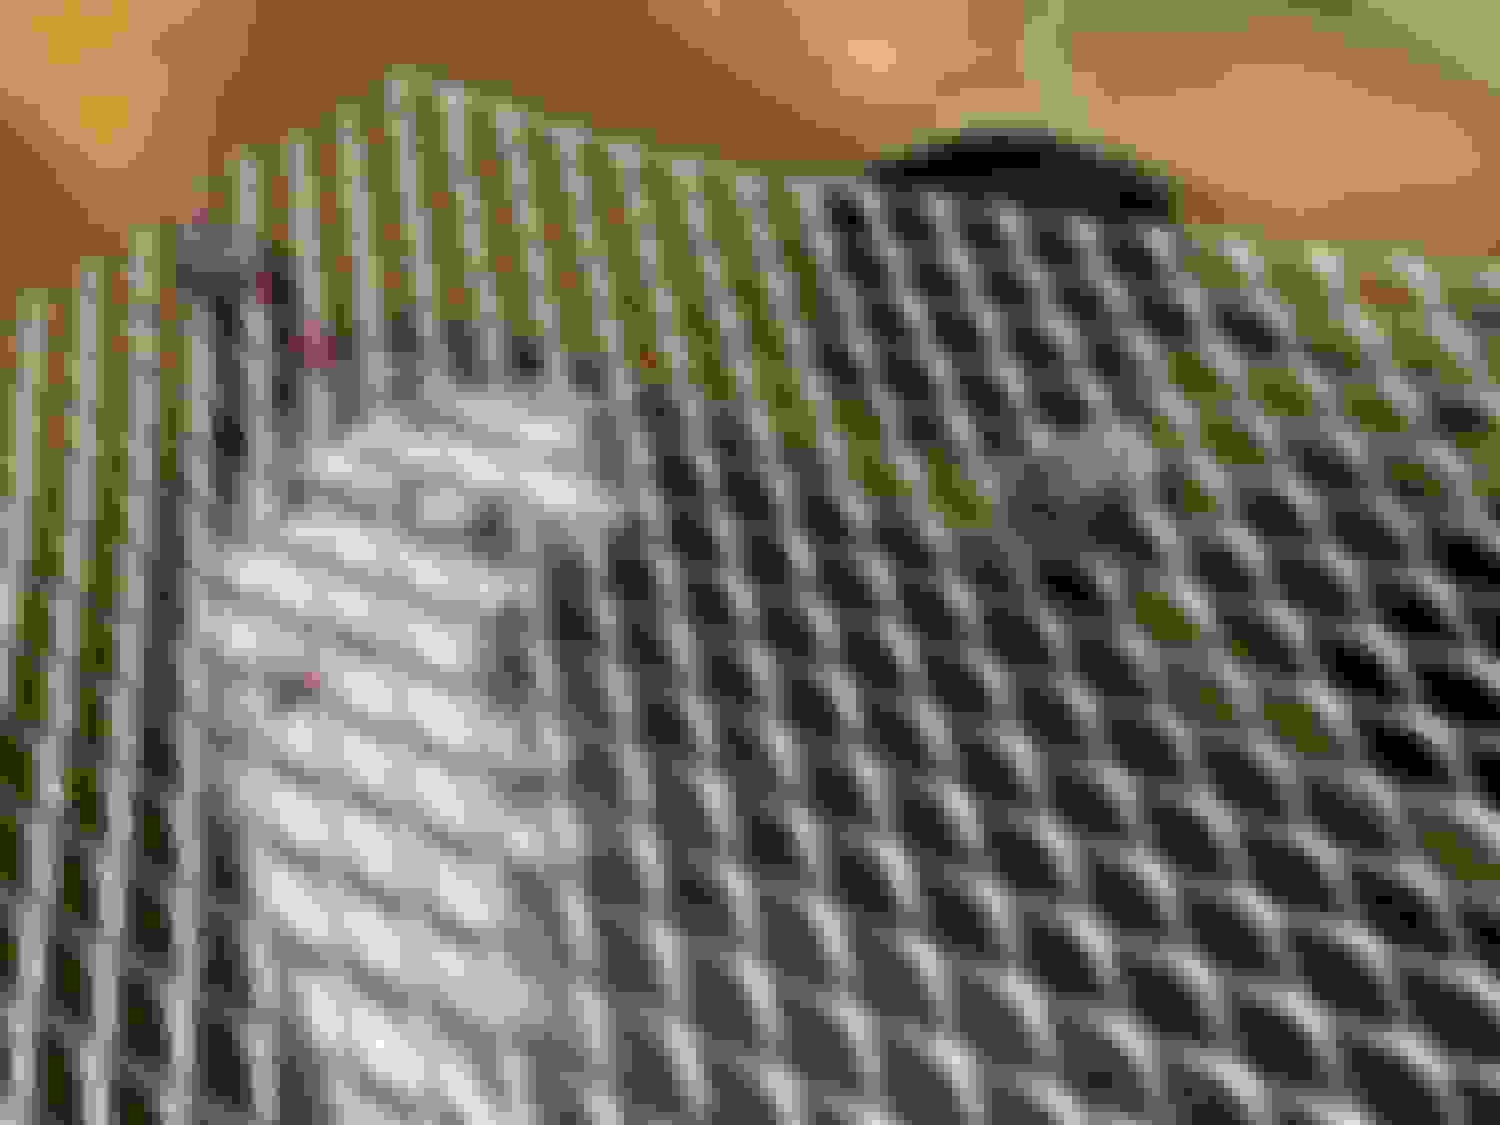
This time, for the lower grill, I decided to mount it directly on top of the OEM one. This will give it the support/rigidity it desperately needs! Got rid of the double-sided tape, added some black trim around the whole thing, a few zip ties, and its done.


For the upper, I secured some L-brackets all around using double-sided tape. No more glue/epoxy. Then some nuts, bolts, spacers for the grill. In the future it will be easy to remove the grill and even add some support braces behind the brackets.


Most of the time spent was lining up the grill, measuring to make sure it was centered, then tracing the location of each bracket to make sure it went though one of the diamond holes in the grill.

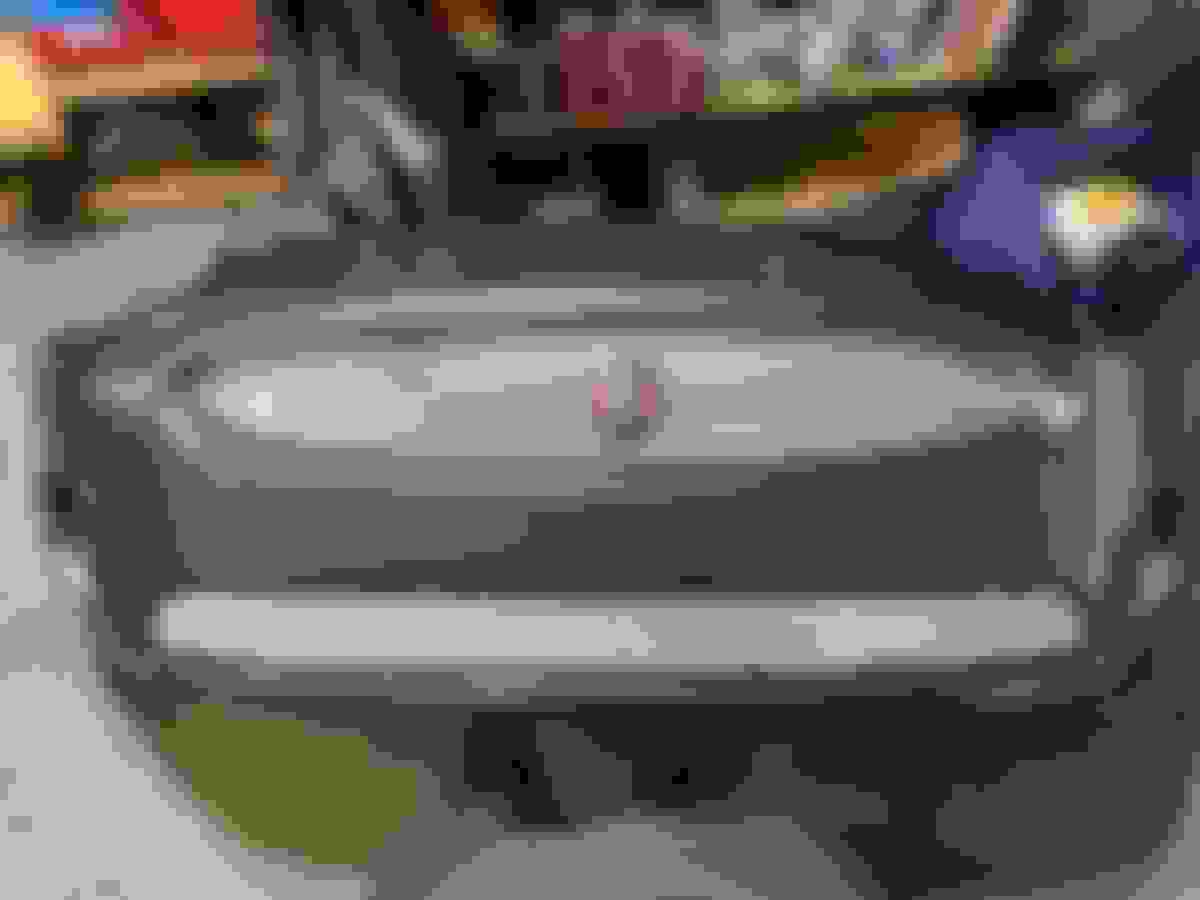
Final product came out nice and should last much longer:


Reply
Old Sep 11, 2021 | 04:14 AM
  #29  
Roger Cavling's Avatar
Member
Joined: Feb 2021
Posts: 67
Likes: 111
From: Svalöv
Default

Originally Posted by gkubrak
No sunshine coming this week, so here are some pics in the rain...


Overall I love the results! Some minor defects around the edges here and there. But not something the average person would notice.

Will post some more pics in the official picture thread once the sun comes out and I clean it up a bit.
Very nice
 
Reply
Old Sep 16, 2021 | 10:18 PM
  #30  
Cee Jay's Avatar
Veteran Member
10 Year Member
Liked
Loved
Community Favorite
Joined: Apr 2013
Posts: 11,874
Likes: 6,383
From: Kaysville, Utah, US
Default

Tinted headlights, good choice. Now to subdue the chrome washer trim pieces.
 
Reply
Old Sep 17, 2021 | 11:34 AM
  #31  
gkubrak's Avatar
Thread Starter
|
Senior Member
Joined: Jul 2014
Posts: 994
Likes: 709
From: CT, USA
Default

Originally Posted by Cee Jay
Tinted headlights, good choice. Now to subdue the chrome washer trim pieces.
That was an old pic. I only put the tint on because the headlights look so out of place and shiny with the OEM grill.

I've since taken it off and re-finished the lens. With this grill the headlights don't look so out of place.

But yeah the chrome lids did stand out... in a 'twinkle in your eye' kind of way.
 
Reply
Related Topics
Thread
Thread Starter
Forum
Replies
Last Post
BruceTheQuail
XK / XKR ( X150 )
12
Sep 12, 2021 03:40 AM
StormtrooperFtype
F-Type ( X152 )
30
Oct 19, 2019 01:58 PM
AlexJag
XK / XKR ( X150 )
25
Oct 8, 2019 08:19 PM
mbates50
XK8 / XKR ( X100 )
50
Mar 18, 2016 03:05 PM
04xtype04
X-Type ( X400 )
7
Nov 26, 2013 01:23 PM

Currently Active Users Viewing This Thread: 1 (0 members and 1 guests)


All times are GMT -5. The time now is 08:20 PM.