When you click on links to various merchants on this site and make a purchase, this can result in this site earning a commission. Affiliate programs and affiliations include, but are not limited to, the eBay Partner Network.
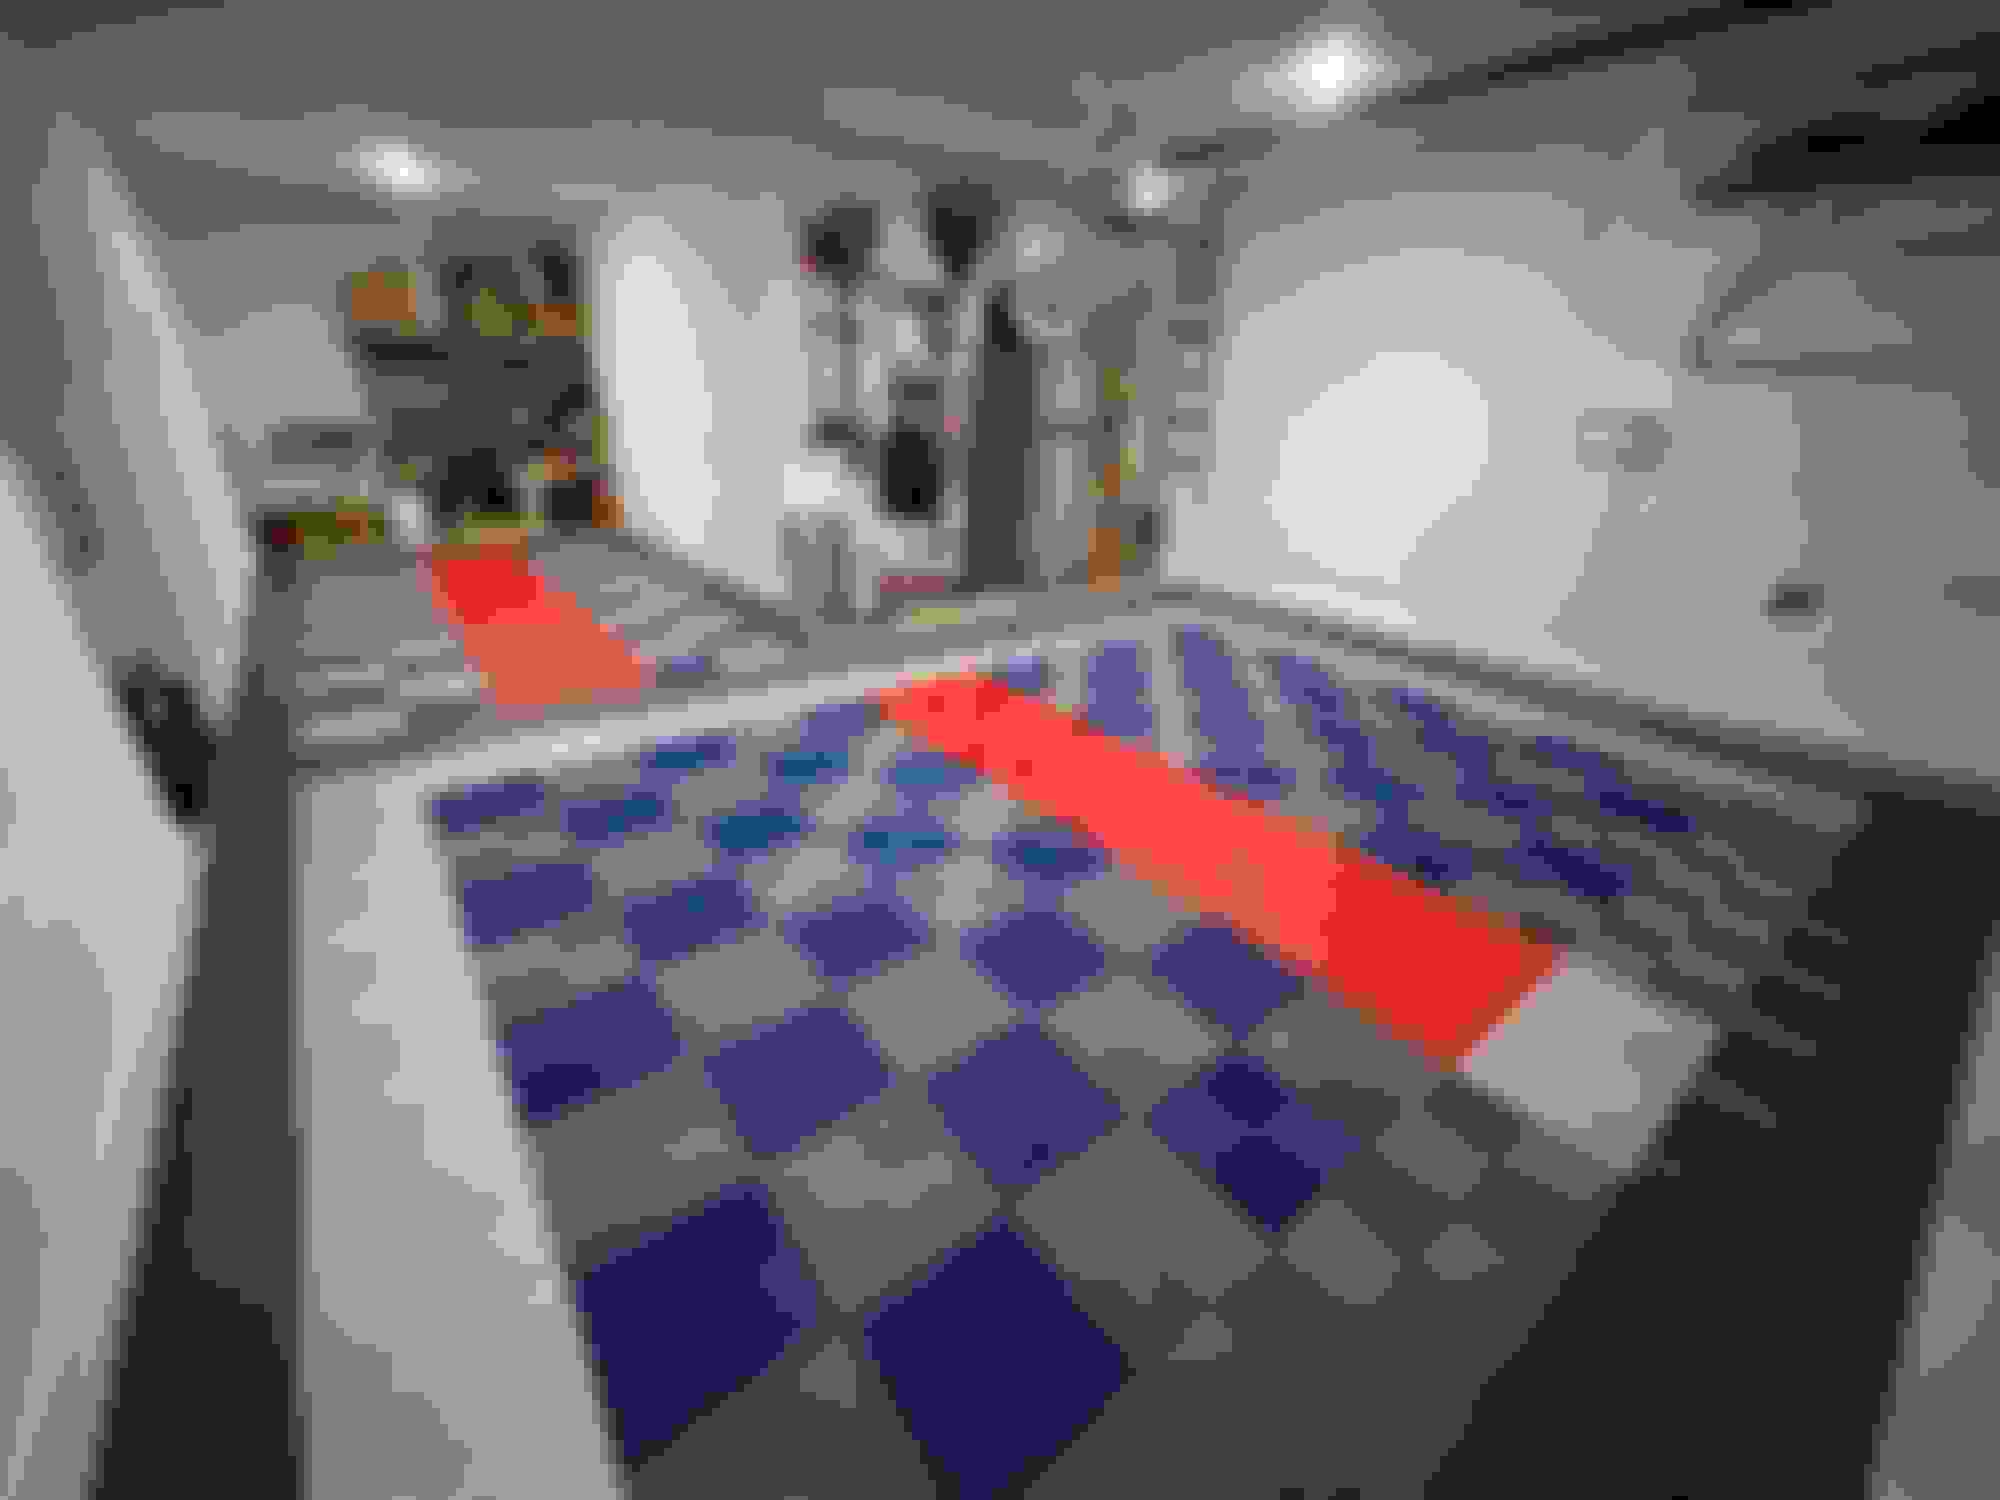
I recently did a Race Deck garage floor for a customer of mine whose home I extensively remodeled a couple of years ago. It was a large three car garage (approximately 700 sf), and including taking all of the stuff out of the garage (all the stuff in the picture as well as over 50 large concrete paver chunks), laying the floor, and replacing everything exactly as it was prior to starting, it took two guys about 6-7 hours. This picture was taken just after we finished but before I had a chance to mop it clean. No surface preparation needed, just good planning so that you know how much to order of each color and so that you have a "road map" to follow.
It came out better than I expected, and they were thrilled.
Several different tile patterns and colors but they all are 12"X12" tiles that snap together. At the entrance to each garage are transition tiles that reduce the 1/2" height of the tiles to almost flat. Easy system to use. We used three colors, charcoal, silver, and red in the diamond pattern.
The cost of the tiles is about $3.50/sf (incl. tax and delivery). The reduction pieces were about $2.00 apiece as I recall. So, I think in this case we spent about $2600 for materials. The snap together ease of putting it together is something anyone can do on their own. The only area that requires a bit of work is the cutting of the perimeter pieces to fit exactly. This can be done with a circular, table, or jig saw, and is the part of the job that took the most time.
There are several companies that sell similar products, some a little more, some a little less. In doing my research, I even saw that Costco sells one of the products online for a little bit less but with fewer color choices. My clients settled on the Race Deck product after we received a very nice sample kit from them which included each of the tile types and a set of color samples.
Obviously, not everyone wants to spend $3000 to make their garage floor look good, but it is a quick and easy way to really dress up the garage without doing ANY prep work to the concrete whatsoever. Just lay the tiles down.
I will say that I drew a scale model of the way we wanted the floor to appear, laying out the checkerboard, outline borders, and fill areas, so that I could literally count out the pieces of each color that we needed from the drawing. We added a few extras of each type just in case we inadvertently broke some. This made the laying out of the job relatively simple.
I plan on taking some more photos there, and I am going to be doing a two car garage in a couple of weeks that I will be taking pictures of from start to finish.
Great job and super look. I had considered something similar but after thinking it out it isn't practical here in the northeast. We would have the winter problem where we bring in snow and salt from the roads and there is no way to clean under the tiles . I like the look though.
I did something similar years ago in 1 of my houses only with epoxy paint. cleaned and painted white, then taped off the checker board pattern and painted black squares. this left the checker board finish flag look with only having to paint black squares instead of both if you use white as a base color. then cleared over it.
That was all before any of these kinds of products were made.
Damn that looks good Ted! Well done. Love the 3D effect.
I have always considered doing my 1700 sq. ft. garage to make it into a man cave. My preferred choice was to acid etch the surface and use a resin paint covering. However, these tiles look great. It looks so good I'd be afraid to drive on them. This covering would be costly for me; so, if I get up with this on my mind one day I will probably go with a resin paint covering. I just don't look forward to moving everything around.
I really need to do something like this as my concrete floor has a lot of frost cracks in it that likely continue to move slightly in our deep cold winters up here. My concern is cleaning the tiles. I can sweep the concrete floor and it looks pretty clean, but if these tiles are just swept I would think they'd always look dirty. How do you keep colored tiles looking clean, does the pattern not make it harder to clean, and would water leak between the tiles and sit under them, or does water pool on top? Thanks.
Hey Guys,
Thought I'd jump in with my floor rejuvenation experience. I started with a 2.5 car garage. Beat up the idea of the big box store epoxy systems, but, after learning it took days to dry and months to cure, I didn't want to wait. So, I bought Sears equivalent of the RaceDeck tiles when they were on sale. It cost me about $1000. All money well spent. Although I really like them, I discovered a number of issues. One, any spills, stay spilled if they seep through the seams. Yeah, there are precautions, but, sometimes accidents occur. OK, the next little event, what do you do when you need to jack 'm up and install jack stands? Well, so as, not to leave an indentation from the jack stands I added "squares" of masonite. Great job and easy to do. Then came the day, I expanded the garage by adding 400 sq. ft. So, back to thoughts of the floor.....while mulling over adding more "race deck" type squares, I came across this.....
Polyurea floor coatings. These are a two part epoxy with a Polyurea clear coating. I had a professional company do the install. Absolutely guaranteed against any lifting, moving, wearing, chipping cracking peeling, blah, blah, more blah. etc. when applied by them. Since my floor was newly poured (5-6") concrete, I waited 60 days for it to cure enough for the process. Since this was a new garage addition the super on the job suggested if I install 2X6" base boards all around, his team will cover them as well. So, a few days before they arrived, I added the baseboards. A team of 5 guys, arrived approx, 8AM with concrete sanding machines and spent the morning sand and cleaning the new addition. After lunch, they began mixing and applying (rolling) the epoxy on, not only the floor, but, my baseboards, as well. At some point they let this all set-up, then started broadcasting my color chips of choice. After a short period of wait-time for these to set, they brushed up the residue, then, began applying (rolling) the Polyurea coating. By this time it was approx. 5:00 PM. By 8PM I could walk on this floor. The next day, after approx., 24hrs, I was doing my car(s) back into the garage. To-date, a year later, it has performed flawlessly. Oh, forgot to mention, since the finish can be very slippery, just before the topcoat fully sets, they broadcasted a fine sand like product to aid in traction. The look and finish is so nice, I had them finish a 5 X 30 Ft. concrete wall that looks fantastic and will never need a coat of paint during my lifetime.
The cost in this area was approx. $2300. A Racedeck would have cost about half as much.
As they say, I would highly recommend to a friend.......
Happy Motoring friends, come on spring.....
The problem with the epoxy painted floors is the prep work for a garage floor that has cracks, divots, or rough spots is labor and time intensive and has a curing time that prevents you from using the garage right away. Besides the look of the Race Deck or any of the other tile systems, which is an obvious advantage in my opinion, its installation is so easy, and the minute you're done, you drive your cars onto it. With regard to spills, remember, these are reasonably flexible, snap together plastic tiles that can be removed and then snapped back into place. In terms of keeping clean, I think a damp sponge mop with a little soapy water would be the easiest way to clean. The tiles have little "feet" under them that lift the surface from the garage floor close to 1/2". Liquids that somehow seep through will eventually evaporate.
As I said, my clients wanted to make their garage look special, have it done in one day, and not have to spend a fortune doing it. After doing some research, we all concluded that this solution was the most practical with the most dramatic results.
It may not be the solution for everyone, but they are so happy with the results.
I recently did a Race Deck garage floor for a customer of mine whose home I extensively remodeled a couple of years ago. It was a large three car garage (approximately 700 sf), and including taking all of the stuff out of the garage (all the stuff in the picture as well as over 50 large concrete paver chunks), laying the floor, and replacing everything exactly as it was prior to starting, it took two guys about 6-7 hours garage flooring gold coast. This picture was taken just after we finished but before I had a chance to mop it clean. No surface preparation needed, just good planning so that you know how much to order of each color and so that you have a "road map" to follow.
It came out better than I expected, and they were thrilled.
Several different tile patterns and colors but they all are 12"X12" tiles that snap together. At the entrance to each garage are transition tiles that reduce the 1/2" height of the tiles to almost flat. Easy system to use. We used three colors, charcoal, silver, and red in the diamond pattern.
Hi there I'm looking for some advice from people who've finished their garage floors. Currently, I've narrowed down the field to Epoxy covering and/or Racedeck. The Epoxy job will be done by professionals and has a 10yr warranty, the bid costs a bit more than Racedeck. My question regarding Racedeck is doing it pop when you walk on it if the concrete floor isn't perfectly flat...or over concrete expansion joints...? The pictures of Racedeck look OK - although some pics have that cheap reflective plastic sheen revealing all the tiles. I know they now make a larger tile that might work better to reduce tile patterns. Another question for the Racedeck owners - If you spill something on the tiles does the liquid seep between the tiles...?
pilegreatest,
I did the Race Deck floor pictured in the first post on this thread for a customer of mine over nine years ago. I am still in touch with them on occasion, and can ask them if there are any issues that have arisen. However, since over the years they have called me with any other issues at their home, I'm sure I would have heard if there were any problems. As for spillages leaking down, I'm sure that if there is a large amount of liquid spilled, some does manage to find its way to the concrete floor but the solution is mopping up spills when they happen. Also, the tiles snap together, so it is conceivable that starting from an end you could remove a line of tiles to get to any major spills if absolutely necessary. Obviously, the company has grown internationally over the years and if lots of problems existed there would be complaints all over automotive forums. It was a nice product to work with and certainly within the realm of almost all do it yourselfers to achieve a very handsome look.
I just had my new shop floor coated with Polyaspartic, I've not even got drywall on the walls up yet. Glossy white with a glossy white topcoat, anti-skid mixed in. So far, I absolutely love it. It's not quite as brittle as epoxy so it won't be as prone to chipping if an engine block is dropped on it.
@Cee Jay , I've been waiting for the pics of the new garage. Looking good. I went with polyaspartic too but just a little different than you. I stained the concrete first, then went with a clear. Still happy with mine.
@Cee Jay , I've been waiting for the pics of the new garage. Looking good. I went with polyaspartic too but just a little different than you. I stained the concrete first, then went with a clear. Still happy with mine.
Me being retired Air Force, I kept with the Aircraft Hangar theme. Gloss white everywhere.
Here's an outside picture as of two days ago. It was nice and spring-like up until three days ago.
I don't know why the garage looks small, it's 32' x 24' with 11' ceilings.
And this from Last November! I've not really got a chance to do as much as I planned due to weather. Can't deliver drywall when it's wet and snowy.
Apologies for temporarily Hijacking this thread!!!
I installed a Swisstrax floor in my garage a couple years ago. I've really been happy with it. I did a mix of standard and smooth tiles, but would probably go with all smooth if I did it again. In places where you have a lot of snow or rain, the standard might be more suited, but in central Texas, the smooth will work fine and are more comfortable to walk and kneel on. I just have the standards under where the cars park and smooth everywhere else.
If you are in doubt about the quality of a worn concrete floor, there are self-leveling products you can simply pour over and spread to create a new surface. Tiles on this type of repair work perfectly and is easy DIY.
Ive had mine down for about 20 years. My garage is a garage, not a show room. I work on all my cars in there. I love the flooring. It has proven to be pretty long lasting but it is showing its age now with scuffs, dents and marks etc. It is super easy to put down. Measure your space and sit down with some graph paper and map out your design. I did the diamond plate tile but with an area of the "grated" option near my doors so dirt and moisture would drop of shoes etc.
Drawbacks.
1) Perhaps the plastic formulation has been improved over time and made more thermally stable but i live in las vegas and see very hot temperatures in the summer. If the door is up and the sun shines on the tile , the floor WILL buckle up slightly. .Do not listen to them when they say leave a gap around the edge for expansion....NO FLOOR will move with the weight of 3 cars and tools chests on it. IT WILL BUCKLE. once it cools off a few degrees or is back in the shade it is fine. Normal climates it may not even be an issue.....only for me in the 110"f heat of summer.
2) Floor jacks with smaller wheels will damage it and may not roll correctly when lifting a vehicle...this could cause the jack to tip.
3) Jack stands with out flat feet to spread the load will dent in the tile.
4) i have 8 various small sections of 1/8 steel plate i use for the jack stands and to place under my jacks to alleviate any damage from the stands and jacking ...just a minor inconvenience to pre position it all
Advantages
1) super easy to put down.
2) customization
3) replacing damaged areas.
4) it wont lift like epoxy can
5) not slippery when it is wet like epoxy.
6) dont need a virgin floor to lay it over (little or no prep)
7) sell your house, take it with you!
8) looks great
Last edited by VegasFPace; Mar 30, 2023 at 01:46 PM.