When you click on links to various merchants on this site and make a purchase, this can result in this site earning a commission. Affiliate programs and affiliations include, but are not limited to, the eBay Partner Network.
Thought I would share this with the group...
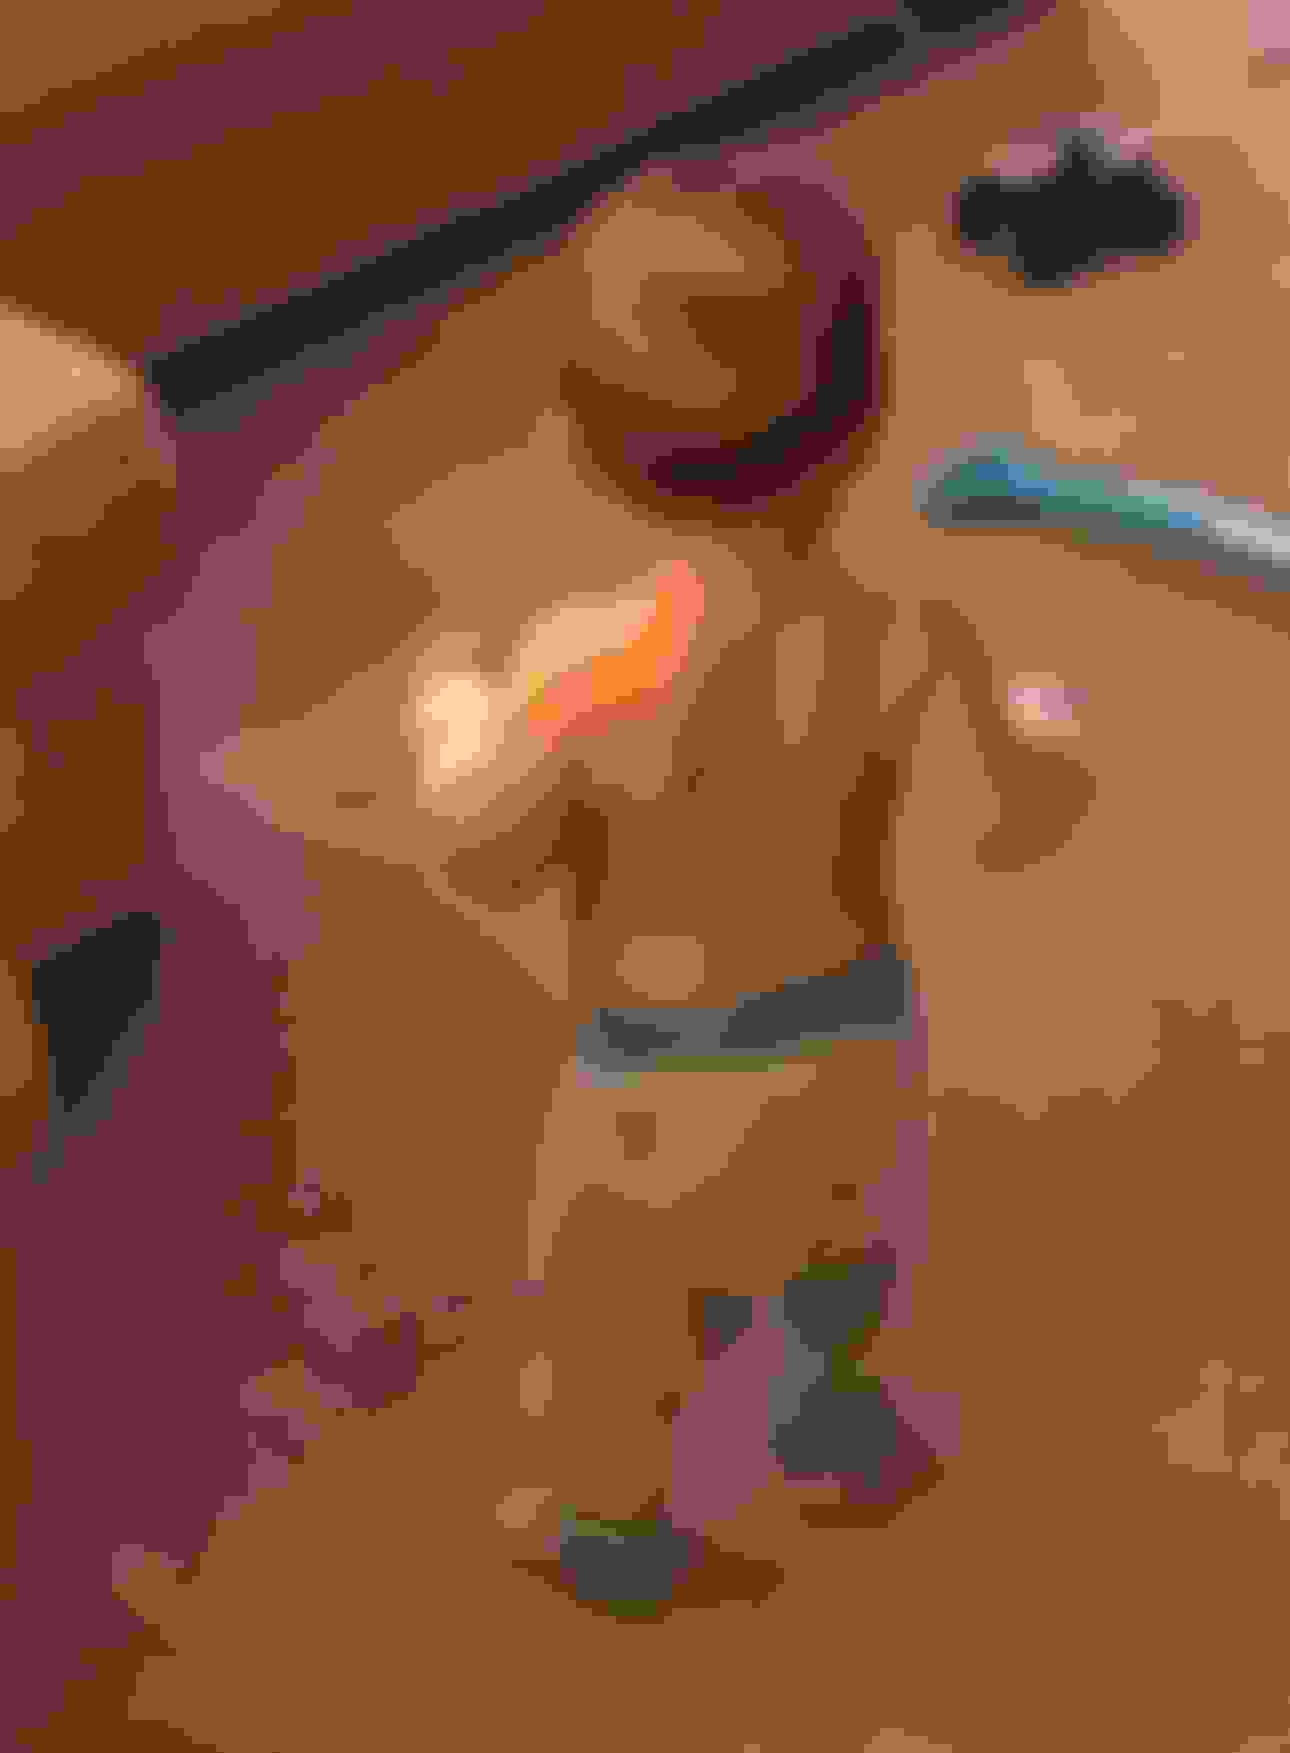
My drivers door panel leather over the past year has started to come lose and sag, which has been driving me crazy as the interior is almost perfect in my 07 XK. So I decided to fix it..... Seemed somewhat difficult to remove the panels themselves from the door panel, so I thought possibly the fix could be as follows:
I had a large syringe with an 18 gauge needle, I made up a batch of Elmers glue and about 10% water mix. I then injected the leather door panel at the top edge in between the stitches and the two adjoining seems, careful of course, I ended up using about 40 ml of the glue mixture, your mileage may very depending on the severity of the delam. I let the mixture dry about 10 hours then reinstalled! Looks almost perfect! The only thing you can sorta see is the tiny holes from the needle, but these are almost imperceptible...
Attached is the completed fixed door panel
Last edited by jbretthorton; Dec 2, 2017 at 07:57 PM.
I did the same thing on the dash where I was seeing some air pockets. I just attached a long thin tube to a can of automotive 3m adhesive. Worked like a charm. I slithered the line in once I removed the center speaker grill.
I have the same issue so do you have any tips on removing the speaker grill because it seems to be quite delicate and I have heard stories of people breaking them and seen pictures of bits snapped of them?
Also, is there anything substantial under the leather covering to stick it to or does the leather separate from the foam?
Thought I would share this with the group...
My drivers door panel leather over the past year has started to come lose and sag, which has been driving me crazy as the interior is almost perfect in my 07 XK. So I decided to fix it..... Seemed somewhat difficult to remove the panels themselves from the door panel, so I thought possibly the fix could be as follows:
I had a large syringe with an 18 gauge needle, I made up a batch of Elmers glue and about 10% water mix. I then injected the leather door panel at the top edge in between the stitches and the two adjoining seems, careful of course, I ended up using about 40 ml of the glue mixture, your mileage may very depending on the severity of the delam. I let the mixture dry about 10 hours then reinstalled! Looks almost perfect! The only thing you can sorta see is the tiny holes from the needle, but these are almost imperceptible...
Attached is the completed fixed door panel
Not sure by your posting if you did remove the door panel or glued it in place?
Thanks for sharing this idea
Sorry no before picture.... But pretty easy to google and find this problem, Here is a picture of another door, very similar to what mine did... (Mine was driver door though)
I removed the door panel from the car, to make easier to work on.
Did not have to remove the speaker cover though...??
Last edited by jbretthorton; Dec 3, 2017 at 07:58 PM.
I have the same issue so do you have any tips on removing the speaker grill because it seems to be quite delicate and I have heard stories of people breaking them and seen pictures of bits snapped of them?
Also, is there anything substantial under the leather covering to stick it to or does the leather separate from the foam?
The leather separated from the foam, If even there actually, I really could not feel much of any foam between the leather and the door panel.
I just injected it in several places, then with my fingers, pushed the glue mass where it need to go. Pretty easy actually.
So just a heads up to people...
My door panel originally (When I got the car) was perfect. When I initially removed the panel to replace a speaker, I pulled up on the panel obviously to hard, causing it to flex a little, which in turn delamed the leather from the panel...
So.... Be careful when you remove your panels!!
I have the same issue so do you have any tips on removing the speaker grill because it seems to be quite delicate and I have heard stories of people breaking them and seen pictures of bits snapped of them?
Also, is there anything substantial under the leather covering to stick it to or does the leather separate from the foam?
I'll snap a pick of the speaker cover removed so you can see the lift points. I just used a plastic prying tool and yes you want to take it slow.
The tubing is bugging me. I bought the 3M adhesive at the auto parts store and then just asked them (I think) for some tubing. Concept is like the red tube the comes with WD 40 but the tubing I got was clear and flexible but same diameter as the WD40. I had air pockets an it just slid under very nicely I sprayed quite a bit and pushed down and outward in all directions.
I also taped plastic over the top of the leather in case the tube came loose. That proved to be worthwhile.
I don't know how you could use "tubing" in the door process as the seam is very tight. Even using the 18 gauge needle, I had to be careful but forceful to get it through the seam
I don't know how you could use "tubing" in the door process as the seam is very tight. Even using the 18 gauge needle, I had to be careful but forceful to get it through the seam
I would remove the door card and approach it that way. For the dash, which is what I was alluding to, the leather ends under the speaker cover. It isn't wrapped around it.
Not sure if the size works for this but needles and syringes can be purchased at farm supply outlets like TSC or Quality Farm & Fleet. I use to buy them there for use with Goo Gone to remove golf club grips. Worth a look.
Hello
question once you remove the door panel, is it possible to reach the detached area leather from the inside as opposed to getting an 18 gauge needle and attempting to go in through the seams??
Thanks for any & all advice
-dag
Originally Posted by jbretthorton
Thought I would share this with the group...
My drivers door panel leather over the past year has started to come lose and sag, which has been driving me crazy as the interior is almost perfect in my 07 XK. So I decided to fix it..... Seemed somewhat difficult to remove the panels themselves from the door panel, so I thought possibly the fix could be as follows:
I had a large syringe with an 18 gauge needle, I made up a batch of Elmers glue and about 10% water mix. I then injected the leather door panel at the top edge in between the stitches and the two adjoining seems, careful of course, I ended up using about 40 ml of the glue mixture, your mileage may very depending on the severity of the delam. I let the mixture dry about 10 hours then reinstalled! Looks almost perfect! The only thing you can sorta see is the tiny holes from the needle, but these are almost imperceptible...
Attached is the completed fixed door panel
Hello
question once you remove the door panel, is it possible to reach the detached area leather from the inside as opposed to getting an 18 gauge needle and attempting to go in through the seams??
Thanks for any & all advice
-dag
Yes. A couple things to note. There's no foam backing that I could see on the door card leather. It's appears to be just leather on plastic. You can do it with the panel in place but still need to pull the panel away from the door a bit.
I just did mine. I have the panel off as I'm replacing the speakers and adding a crossover but thought I'd post a video. Note I misspoke in the video on the dowel rod. It's 1/4", not 1/8"