
Convertible top latch hydraulic problem
#181
 07-12-2010, 12:57 PM

Veteran Member
I guess you have been reading RoadFly! http://forums.roadfly.com/forums/jag...9529493-1.html
#182
07-12-2010, 01:16 PM

Veteran Member
#183
07-12-2010, 03:05 PM

Senior Member
Sam, Gus passed your comments to me. I have a motor from the pump that was used in developing the pressure relief kit. The pump draws about 4.2A at 12.5V running unloaded. This works out to about 3 ohms (12.5/4.2). To accomplish your voltage reduction would require 1 ohm more or less based on full load testing.
The problem with this approach is that motor torque is affected during all operation (because the resistor affects power to the motor all the time), while the pressure relief valve allows full torque to operate the roof and only intervenes when the pressure spikes at the end of travel. Finding a resistor that hits the sweet spot during all the variable conditions (voltage with engine on and off, temperature, age, etc.) would be tricky to impossible. Resistors have the nasty characteristic of changing values when hot.
A good way to do voltage control would be to combine a pressure sensor with a proportional PWM voltage control so the pump would always deliver adequate pressure but dial back the voltage when the pressure threshold is exceeded. This is done all the time and would be a suitable alternative to the relief valve. The material costs would be similar so I doubt that it would cost less.
The pressure relief valve has the nice characteristic of being ultra simple, adjustable, and extremely reliable. You can't get a moving part that is much more reliable than a spring.
#184
07-12-2010, 04:02 PM
Veteran Member
The unloaded resistance of the motor is going to be different than the loaded resistance. Once you put a load on it, the back-EMF induces resistance into the circuit and increases the effective resistance. So, now that I think about it, the motor under load is going to have more resistance than an unloaded motor. That means that if I used a fixed value resistor, the voltage across the resistor is going to be higher in a no-load condition, and the voltage across the motor is going to be higher in a loaded condition. That's kinda the opposite of what I want to accomplish. I'm still thinking it might work, though. I'll just need to play with it when I get home. I don't have the spec sheet on the motor, so it's kinda hard to do calculations on it. If I knew the power and the current of the motor under load I could calculate the value of the resistor that's required to drop the power by whatever percentage I wanted to drop it.
#185
07-12-2010, 04:24 PM
#187
07-14-2010, 04:50 PM
#188
07-14-2010, 06:23 PM
Veteran Member
On a somewhat related question, does anyone know what is different about the system used for the new generation XK convertible tops versus the old? I quickly glanced at a parts diagram somewhere and it looked like hydraulics were still involved. But I am curious if anyone knows specifics of how the system was changed or will the new XK's still end up having hydraulic problems with the top?
Dou
Dou
#189
07-14-2010, 07:19 PM
Veteran Member
On a somewhat related question, does anyone know what is different about the system used for the new generation XK convertible tops versus the old? I quickly glanced at a parts diagram somewhere and it looked like hydraulics were still involved. But I am curious if anyone knows specifics of how the system was changed or will the new XK's still end up having hydraulic problems with the top?
Dou
Dou
#190
07-14-2010, 07:23 PM
Veteran Member
Yes they are the same hoses, take notice of the Parker 363 stamp on the hose. The two white clips represent the end that goes to your header latch. They snap into the �A� pillar you will see that when you remove the old one.
#191
07-15-2010, 08:13 AM
Senior Member
That question is finally answered. Those were made at the Power Packer plant in the Netherlands. Power Packer is the only source for that custom hose and the matching fittings.
At one point I was able to talk with a hose engineer at Parker US (in Ohio) who researched this for me. At the time I was looking into the possibility of a proper splice kit. He told me that the hose was made only for Power Packer and the fittings have to be made for that hose. There is no hope of doing that since Power Packer has refused to cooperate and the hose has unique dimensions. My guess is that they switched to this to make installation easier at the Jaguar factory due to the greater flexibility and smaller OD. Presumably the 363 hose is also less expensive than the original wire reinforced version.
There was an intermediated version of the 363 hose that was worse than the current version. The piece that Gus sent me is called "Nylaflow" and has date code 1-Q-00. My car is a 2000 model so it probably has this stuff from the factory but it was replaced in 2003 (according the the hose date code) when the car was in lease prior to my buying it.
Gus' hose kit is the best alternative that exists. It uses wire reinforced hose (as does the valve kit) and has a high pressure and temperature rating. Wire reinforcement does a lot to combat the fatigue that comes from small movements each time the latch operates. We have speculated that this is why the OEM hose fails at that particular spot, which is the focal point of stress related to pressure, temperature, and movement of the latch mechanism.
The following users liked this post:
Marsden (06-24-2012)
#192
07-15-2010, 02:20 PM
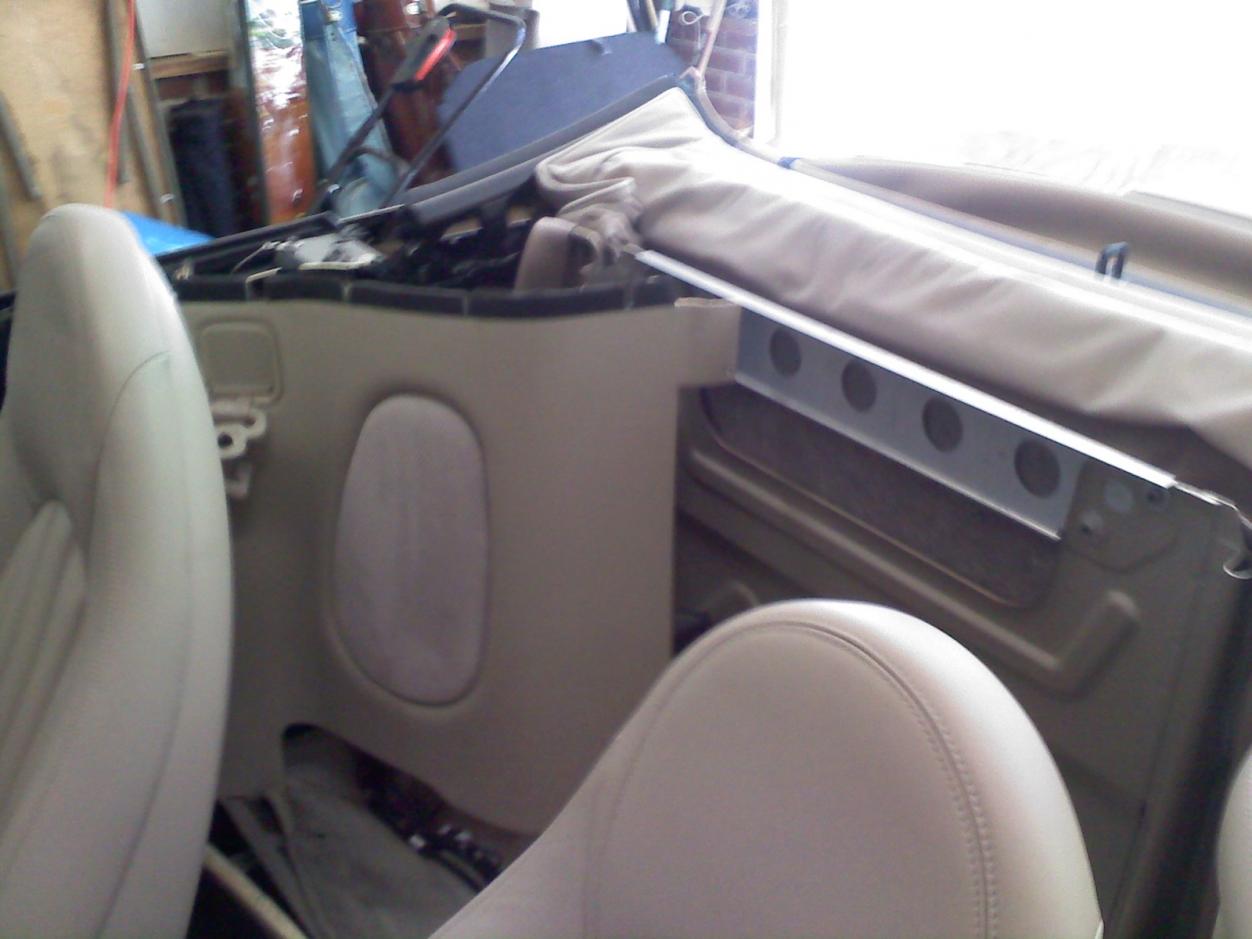
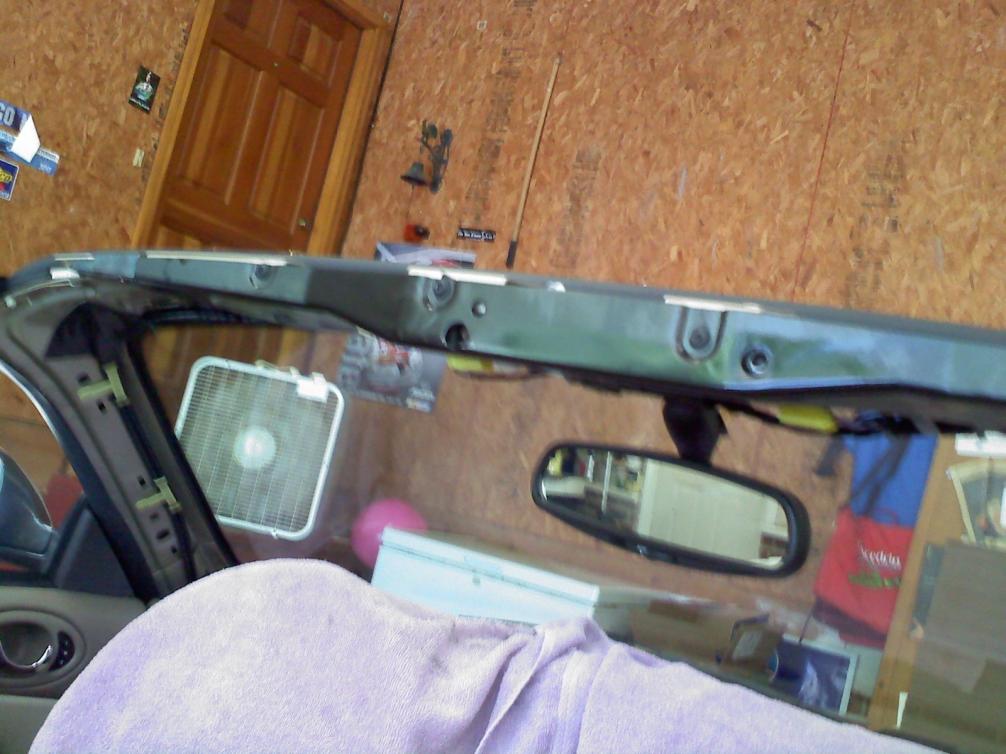
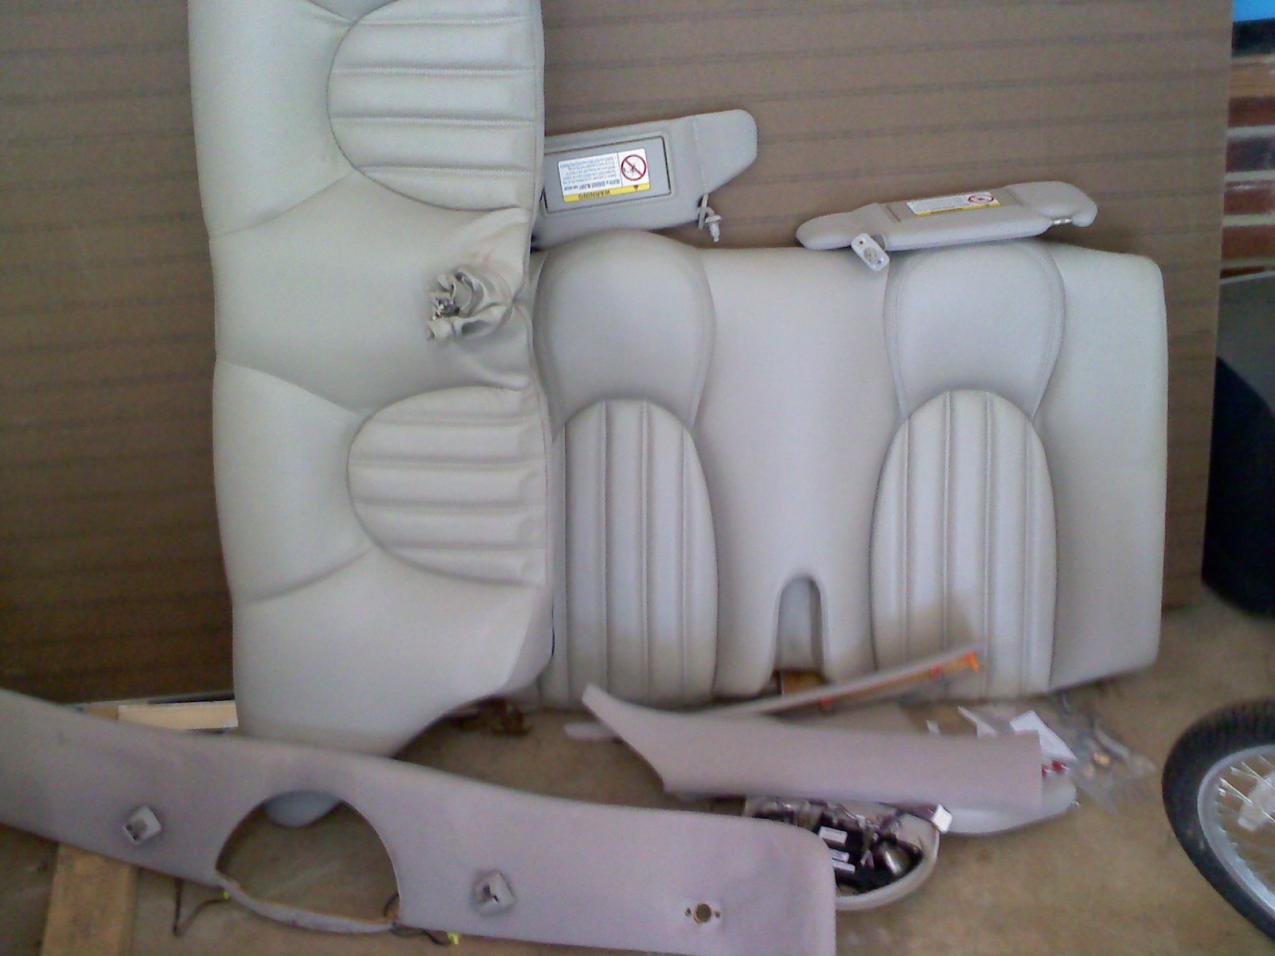
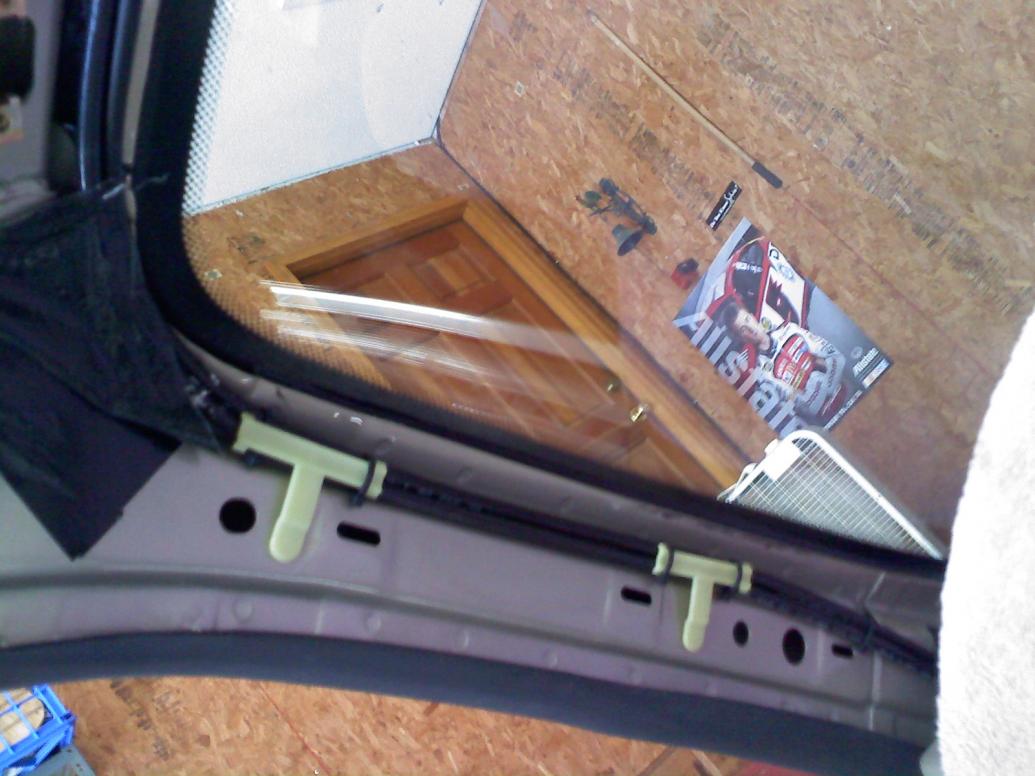
Making some progress on this job today. I've stopped for now, it's very hot in the garage, and will pick it back up tomorrow morning. This is about 4 hours of work, I'm taking my time...labeling and bagging all the screws for each section as I go along.
Manually lowered the top. Removed the back seats, right hand interior panel and cap, A post covers on both sides, overhead console and trim piece, visors, and top metal piece.
Tomorrow I'll try and remove the drivers seat (I am having a problem with removing the plastic trim on the track to get at the last bolt. Understand it's attached with double sided tape but it won't release), lower down the latch assembly, and then remove the center console.
Am I correct in that the top must be up to access the hose where it goes into the trunk? I can't see any other way to reach it.
Here are some pics. As suspected, it was leaking at one of the hose fittings connecting to the latch. The hose has a date stamp of '99, probably original to the car.
Dave
Last edited by H20boy; 07-15-2010 at 02:38 PM. Reason: big pics
 fixed your pics so they are big and within the thread.
#194
07-16-2010, 10:16 AM
#196
07-16-2010, 10:23 AM
Veteran Member
#197
07-16-2010, 02:07 PM
#198
07-16-2010, 03:43 PM
Veteran Member
Do you think that Jag had an idea that that hose would fail and marked it with an “F”? It appears that that is the hose that fails. As for your project it is good to know that you made it this far. It is not a hard task it is an unpleasant one, it takes time and patients. You have the right idea to pull the new with the old just stagger the ends so that it is not so large to pull in.
#199
07-16-2010, 04:54 PM
Veteran Member
Dave
Are you going to put in the relief valve? It's a easy install and would probably prevent you from having to do more than once. Once you have the roof up you should be able to see right into your trunk. I was actually able to run the lines with my hand just be careful of the sharp edges on the sheet metal. Every time I do one of these jobs I usually leave a little skin and blood.
Doug
Last edited by RCSign; 07-16-2010 at 04:58 PM.
#200
07-16-2010, 05:33 PM
Doug
In the near future, yes the relief valve is planned. For now, I need to get this system operational, and the car back on the road. Not that I use her everyday....but you know what I mean.
The hyd fluid is here. I'm going to drain and refill. Now...the new lines have air in them. How do they get primed or will the air cycle through once I begin the pump and roof sequence? Meaning if the latch hoses are directional, fluid moving in one hose will push the air into the other, returning the air to the fluid reservoir therefore priming the hoses. I'm just not sure about this.
Also, where the hoses go into the trunk: They are going through the same opening as a bunch of wires, and the cylinder hoses; with foam like packing surrounding them at the sheet metal. It's a tight fit. So I was wondering if that foam packing needs to be pried out of the opening or not so the fittings will get through. (Thanks Gus for the threading advice)
Dave