When you click on links to various merchants on this site and make a purchase, this can result in this site earning a commission. Affiliate programs and affiliations include, but are not limited to, the eBay Partner Network.
The seal is just a simple 'O' ring but getting it apart without breaking it is the trick. Several have cut the Norma connector off and used standard heater hose, clamps and a 5/8" connector to put it all back together.
Yep. I had one where they'd cut the hose off on the replacement engine. The O-ring was simple enough to get out with a small screw-driver. I'll get the calipers on it later to get the dimensions.
The seal is just a simple 'O' ring but getting it apart without breaking it is the trick. Several have cut the Norma connector off and used standard heater hose, clamps and a 5/8" connector to put it all back together.
I had mine apart last year to replace a popped valley hose. Replaced the octopus at the same time while the TB and inlet were off as Norma looked cruddy and it's a beatch to get at. Can't understand why Jaguar used these wacky connectors where what you've described above will work just fine. The plastic Norma sits right above the RHS cat as well so it's guaranteed to barbecue over time.
Only guess is it's to facilitate some assembly process
I'll definitely be going the hose, clamps and connector route next time at �95/$150 per octopus
Measuring up the o-ring, it appears to be 13/16 id, 1 1/16 od and 1/8" wide. I'm likely to have a bunch more than I need so if anyone is checking this and needs one, might be worth dropping me a message.
I'll do a side-by-side comparison when it comes in. FWIW, the one I took out looks to be in poor condition so it's not surprising the one in use is leaking.
Thanks Richy_T, I bought the o-ring with recommended size 13/16 id, 1 1/16 od and 1/8 thick. I removed the Norma connector and replace the o-ring inside, re-install everything. My XKR coolant leaking problem fixed. I will post some pictures later.
The most difficult part is on locking the Norma connector back to the metal hose. I pushed it too far into the metal hose which do not allow me to slide the sleeve back to its locking position. After several trial, I finally know that the hooks on the Norma connector must stay at the correct position where they catch the metal ring on the metal hose.
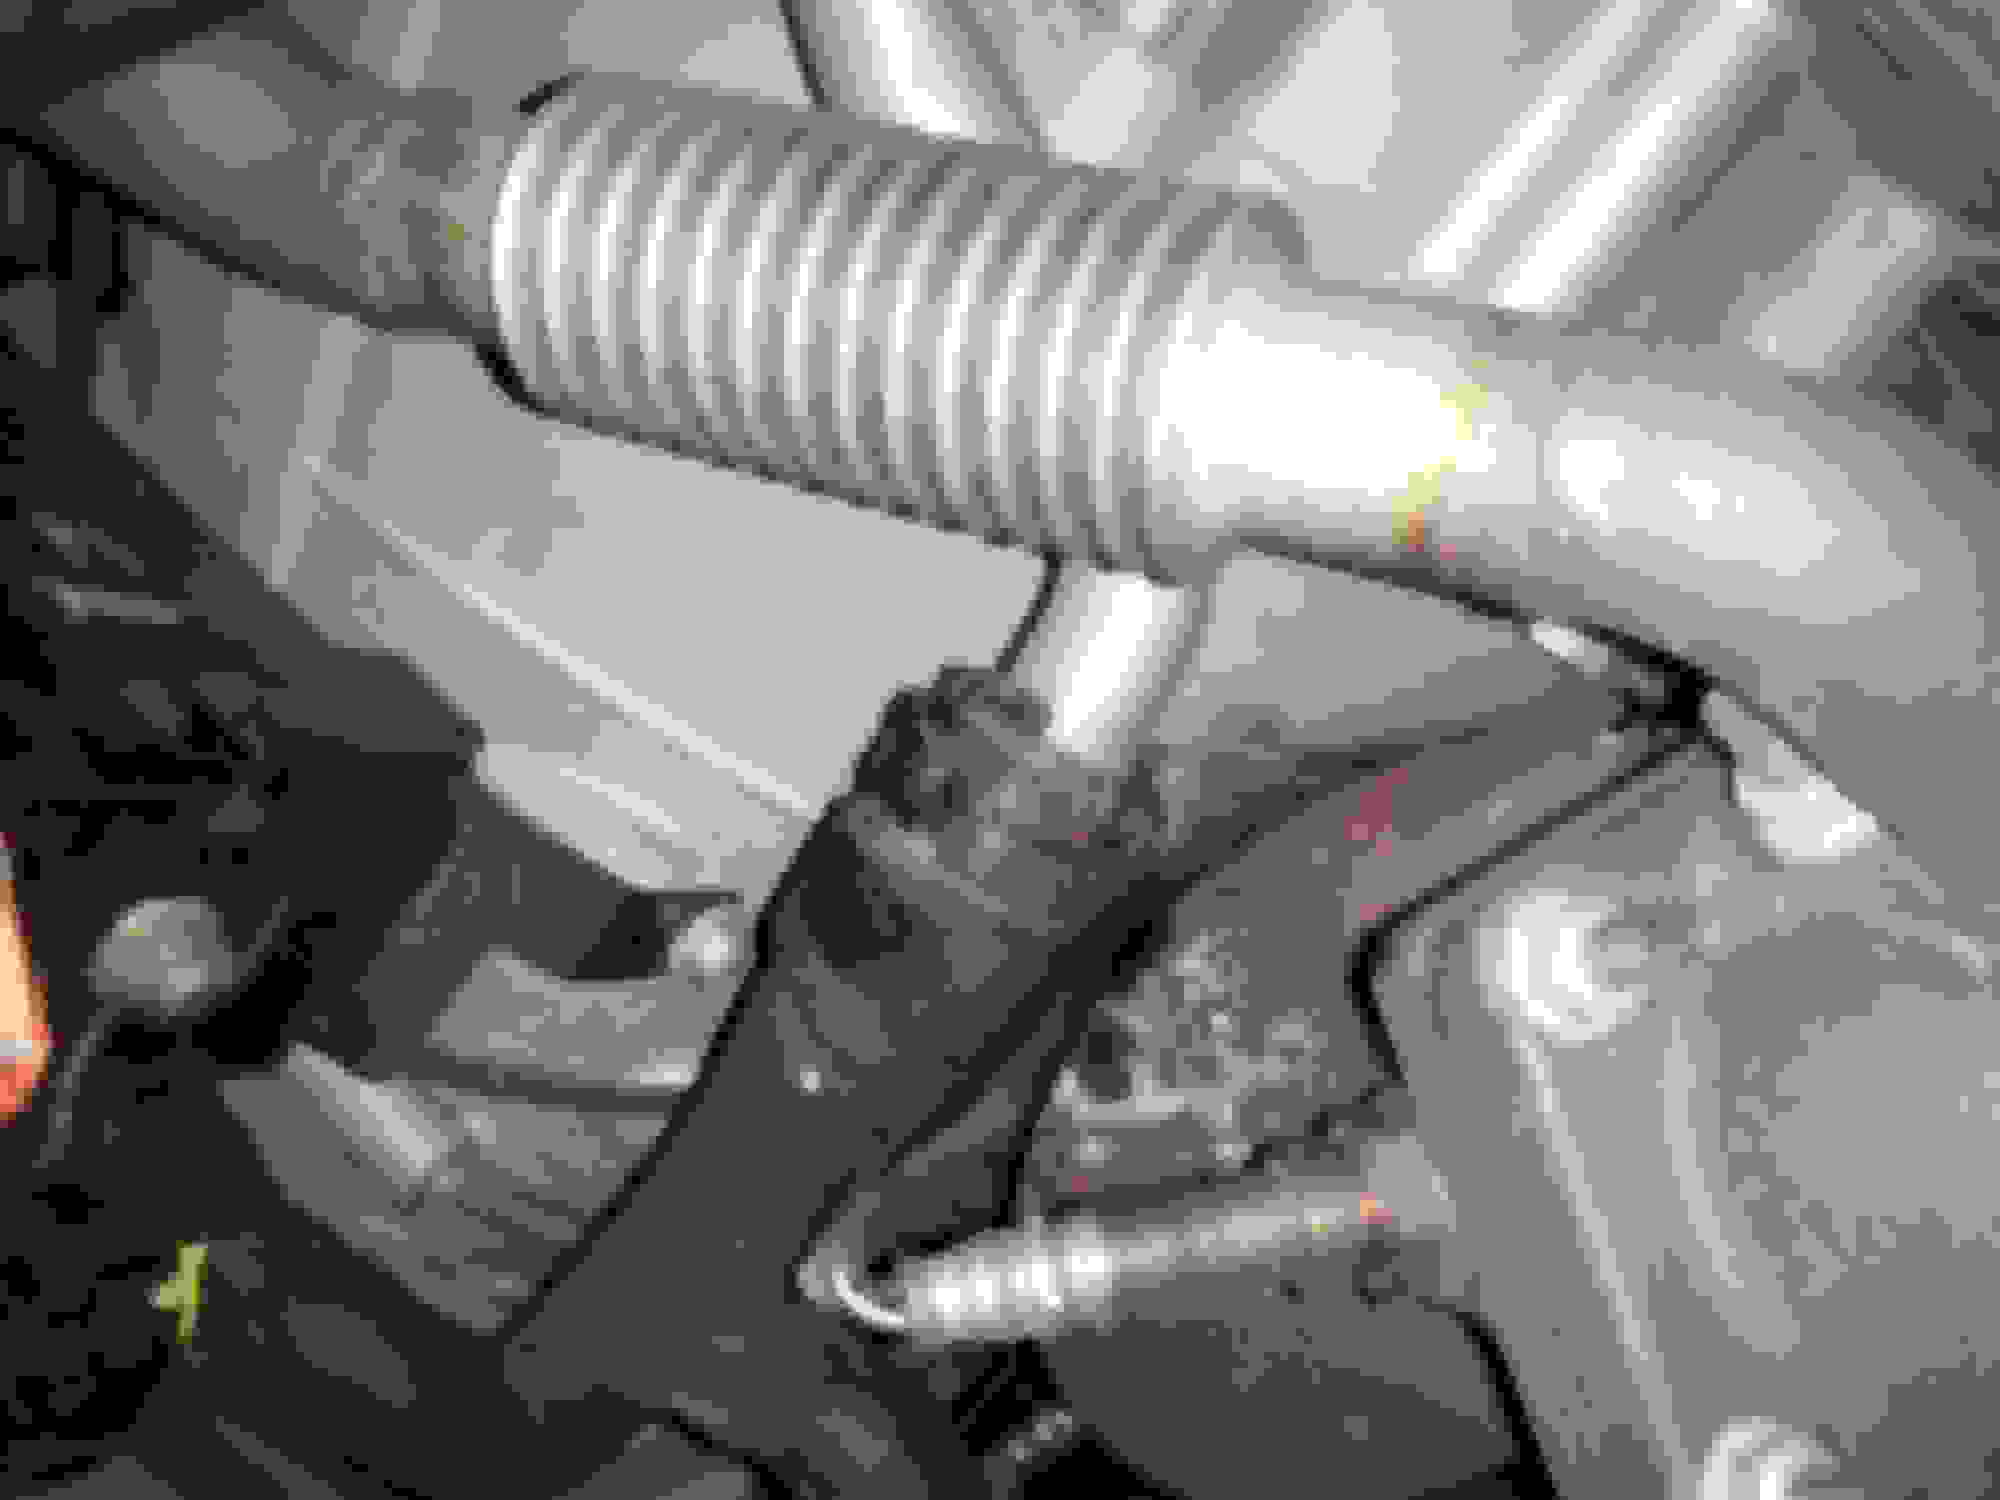
I add one more photo that shows the location of the metal rib which holds the connector in place, it gives a clear view on how the locking device work.
thanks for the photos, I'm about to attempt this but i'm not sure what you mean by remove the small plastic tab first. It looks to be one piece when i look at mine. Is there a flat plastic piece wedged under there that needs to be pried out with a screwdriver before the tab can be pressed?
Must say i feel pretty daft, i have just spent the last 20 minutes trying to figure out how to remove this connector and cannot get the sleeve to slide down for the life of me. I can only assume that is because i have skipped step one, removing the small plastic tab, but i just don't see a plastic tab that can be removed? What am I missing exactly? As you can see in the photo i have clear leak coming from this connector and would hate to have to cut it out.
That black crinkly bit is a lever that stops the ring from sliding back. You need to apply a little pressure to lift the other end just enough to slide the ring backwards. Don't break it or use a screwdriver.
Oh wait, I see what you mean. There was no plastic tab that I had to remove AFAIK.
...and it broke. That thing was not budging, eventually one of the retaining tabs broke off and i just cut the sleeve off. Even with the sleeve cut it did not want to come off so i just cut the whole fitting.
Instead of going with standard worm clamps i opted to use these
,
they are made by Norma and are rolled on the edges so you can torque them tight without worrying about damaging the octopus hose. I also bought this steel 3/4" connector,
Add one more member to the "replaced the norma fitting" club.
I was getting a slow coolant leak under the passenger side and found a bit of a drip on ol' norma.
The fitting it pretty nasty plastic so it been replaced with a simple bit of hose and 2 hose clamps. Pressures up perfectly and is easier to change when time comes to do the octopus.
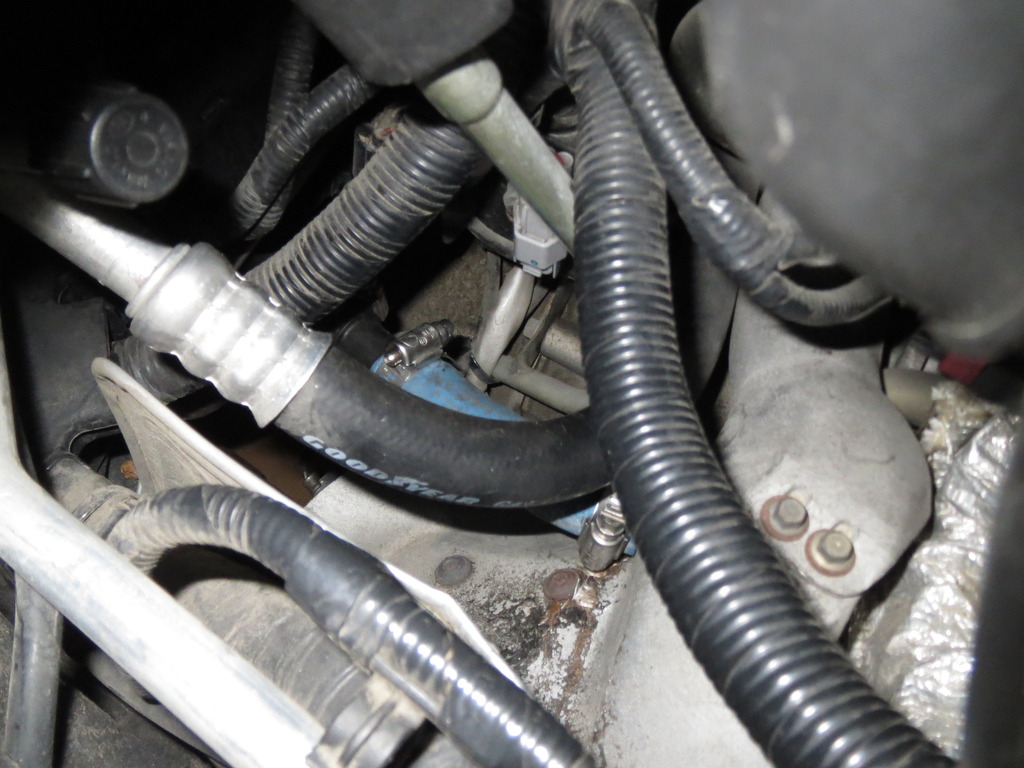
Here's the pic - you can see the blue hose peeking out.
Last edited by Leviathan; Jul 28, 2015 at 09:11 PM.
Thanks a TON to toyman's post! Your detailed instructions and excellent photos allowed me, barely mechanically inclined, to replace the o ring and fix my annoying leak.
Need to do this repair on my '06 XK8; is the hose full of coolant? Does the radiator need to be drained before doing this?
Where is most likely place to purchase O ring from?
Thanks
Nevermind....the coupling was so full of crusted coolant that it finally broke into pieces....so I will be joining the "replace the Norma coupling" club.
Also decided to drain the radiator prior...just in case.
Now I need to get some clamps and a piece of hose.
Don't forget to "not" mix anti-freeze types. If your coolant is orange, make sure you use "Dexcool". If it's green, you're good to go with just about any other brand. (AFAIK).
So I will be doing the clamps and short hose "fix" but I think I will replace the hose assembly later this fall when it is a bit cooler in the ole garage.
I was checking around for prices on the MJA6728AC and of course found a pretty wide range of prices for it, but also found that SNG Barrat has an aftermarket hose assembly available for $145 whereas the Jag part is $206. Anyone have any experience with this aftermarket part?
I seem to be suffering the same issue and as Lanny81 i'm wondering if this can be done without draining the entire cooling system.
It would make things a LOT easier for me as i don't have a garage and will be doing this in a multistory parking building type thing.