
Rear wheel arch rust repair


Thread Starter
|
Veteran Member


Joined: Apr 2012
Posts: 1,854
Likes: 987
From: UK
Four years on from getting the rear quarter panels resprayed, they need rework. You may remember that I welded in new patch panels on the bottom of the rear panel after they rusted out. I wish I had then painted it myself but took it to a painter instead who did a poor job of ensuring the inner edge was fully protected. I could see there were issues after 18 months where the inner edge was starting to rust and it spread from there.
Spent about four hours on it this afternoon.
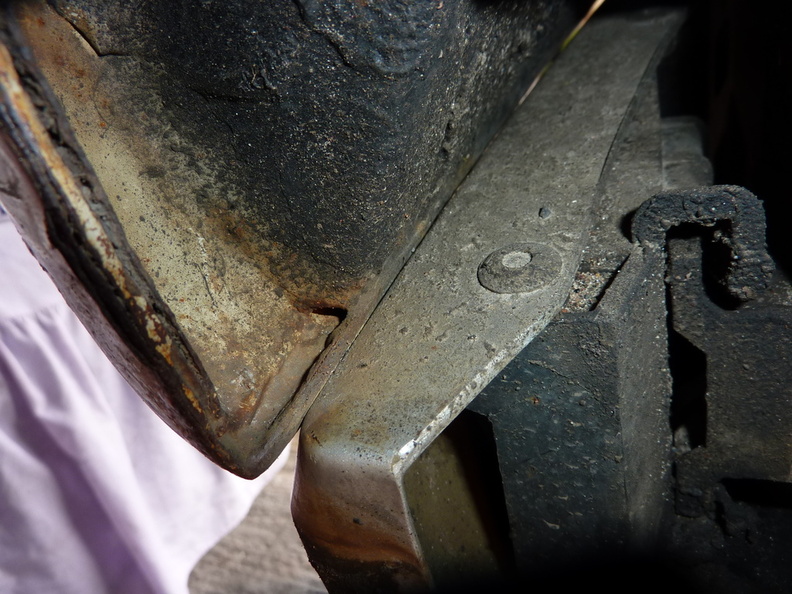
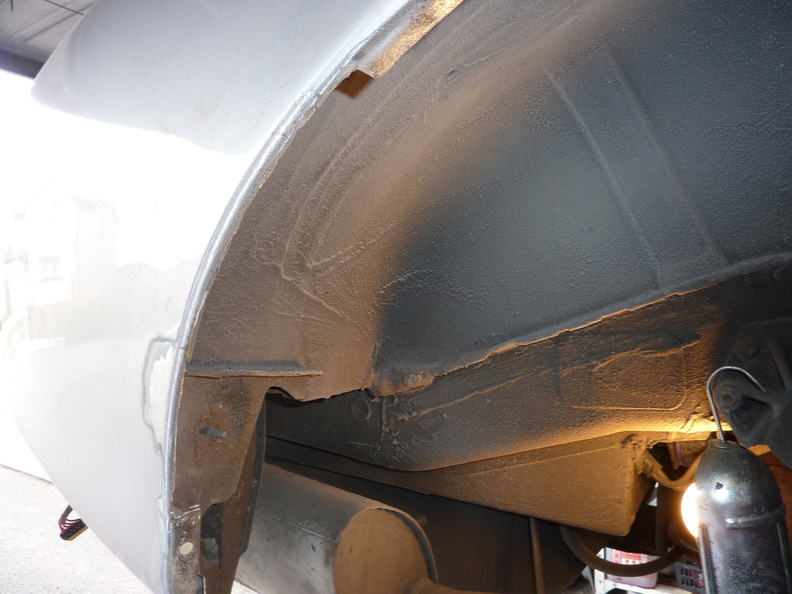
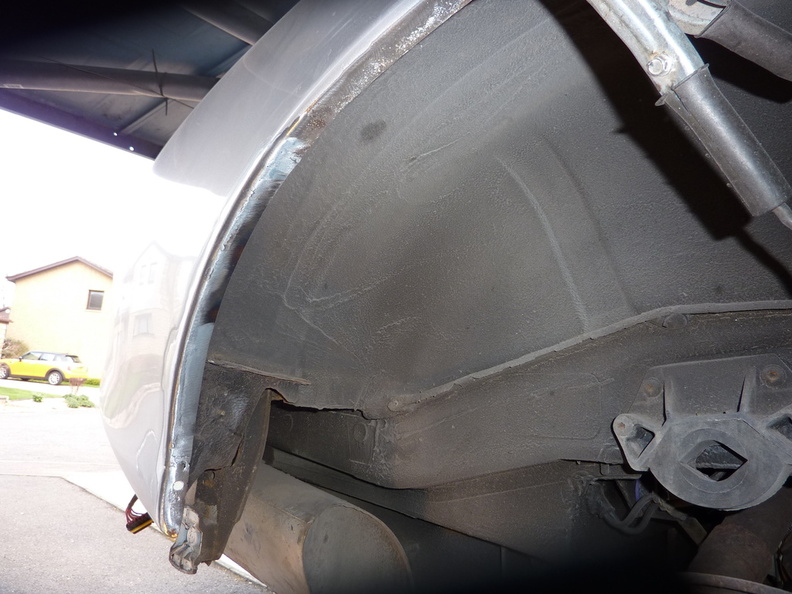
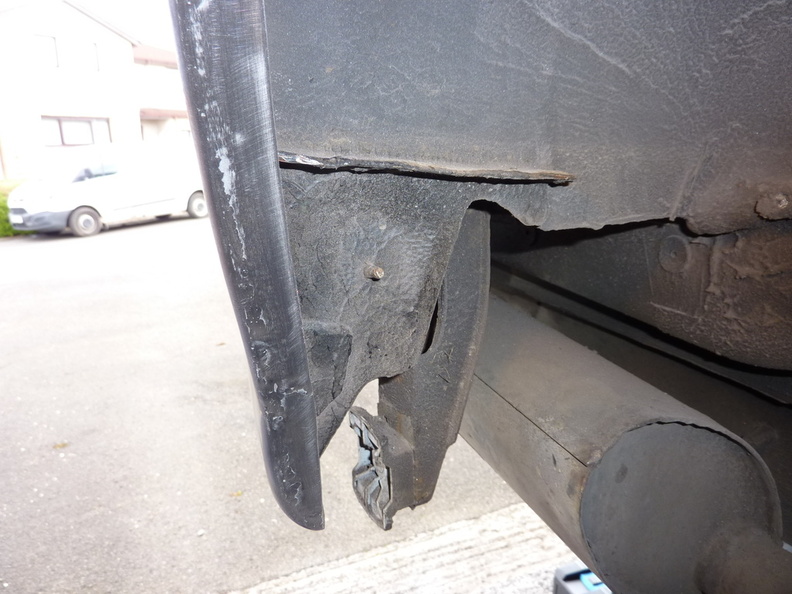
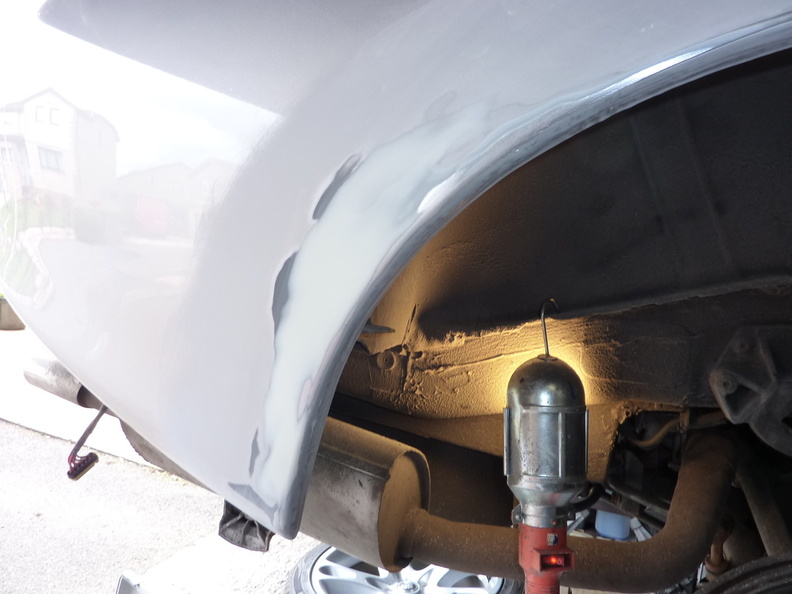
Here is the worst area on this arch.
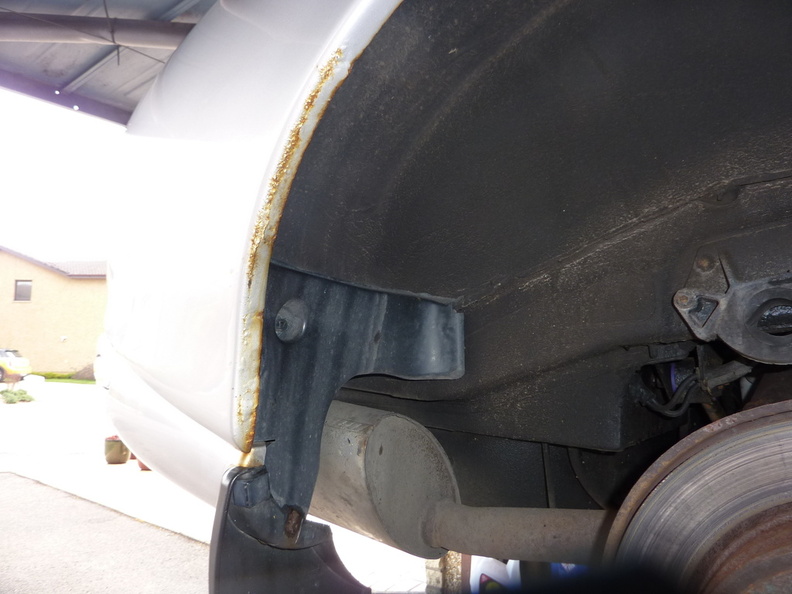
I was pleased to see the drain hole was still clear.
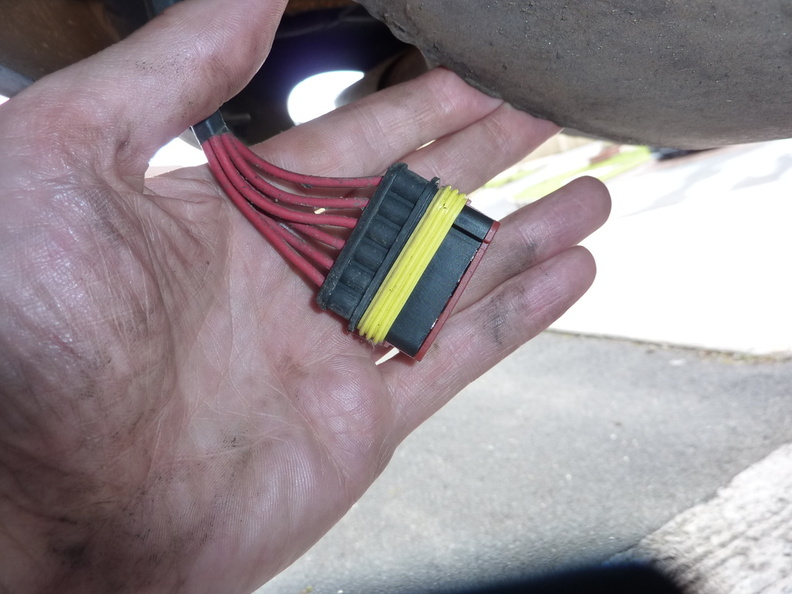
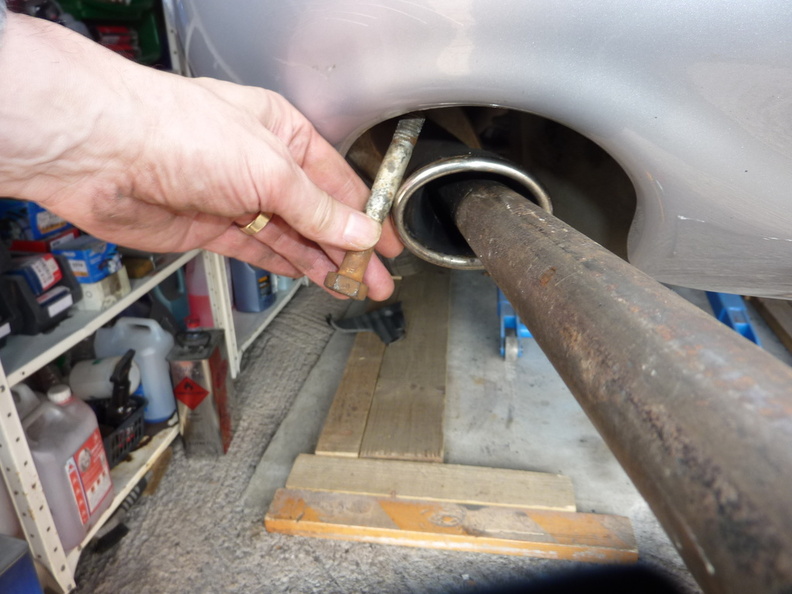
First job was to remove the rear bumper. I had previously fitted a connector on the reversing sensor harness to make this job easier. Glad I took the time to do this now.
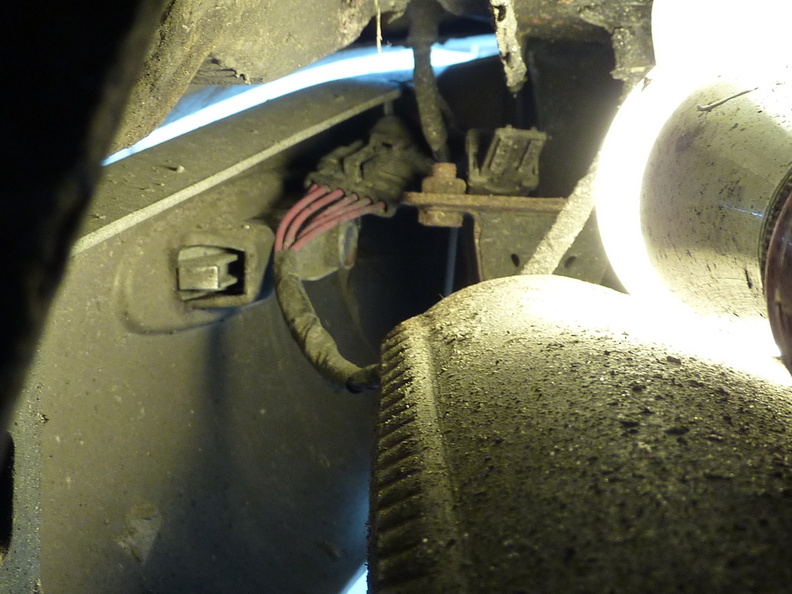
The main bolts came out easily as I had them well greased up before fitting.
I did need to use the persuader to get the exhaust out of the way though.
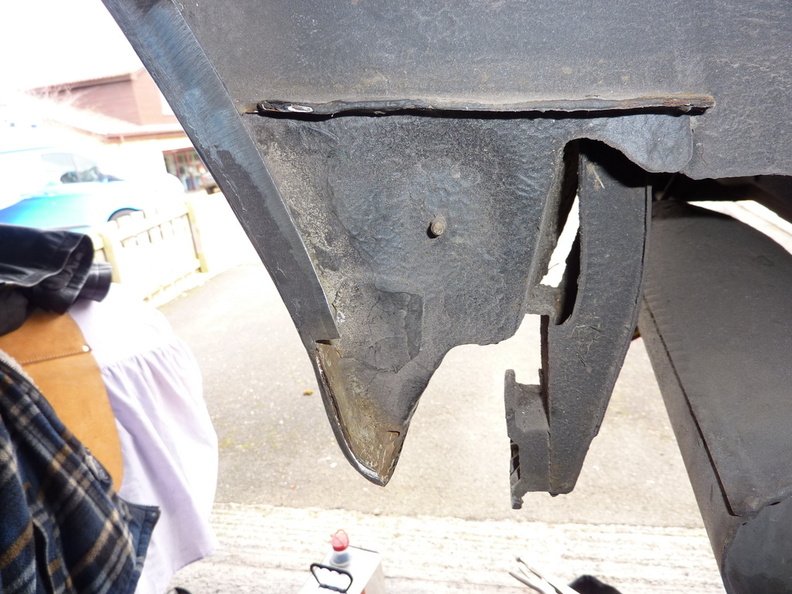
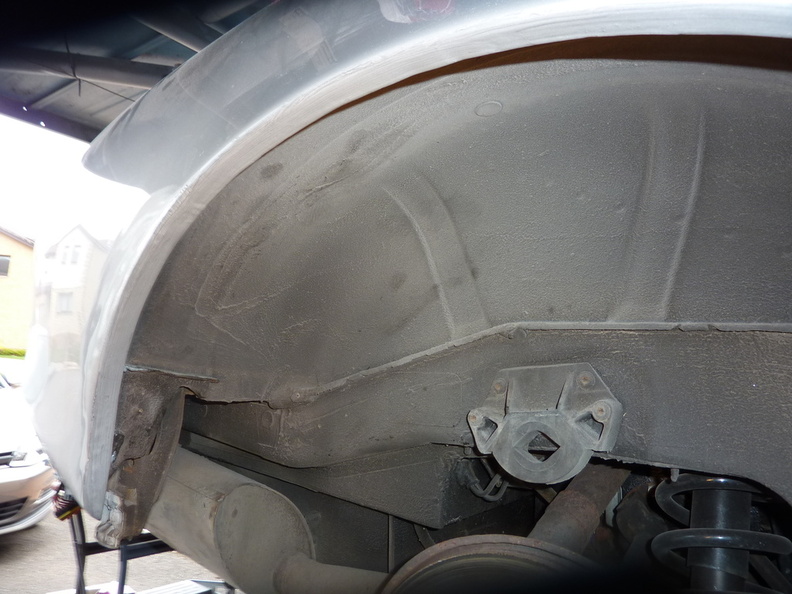
I cut out the worst affected area of the outer wing.
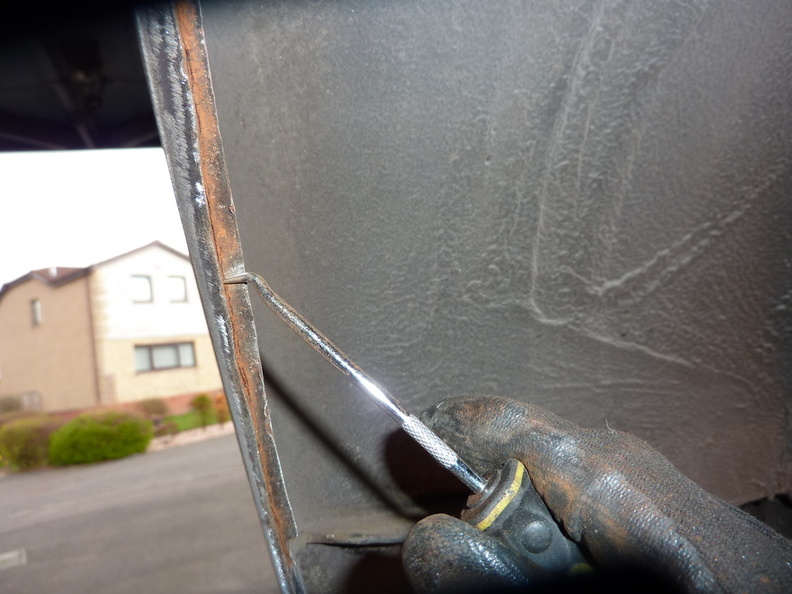
You need to scrape out the glue bonding the inner and outer wings to be able to weld in a new patch.
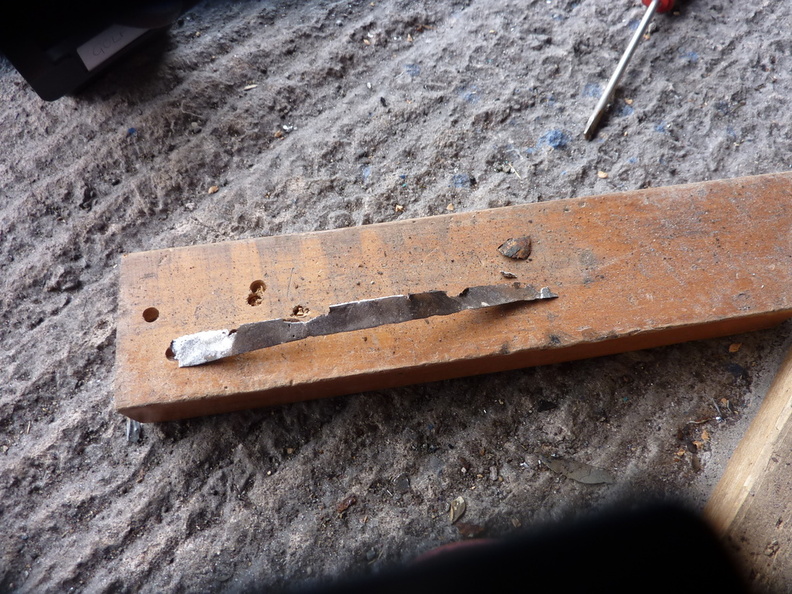
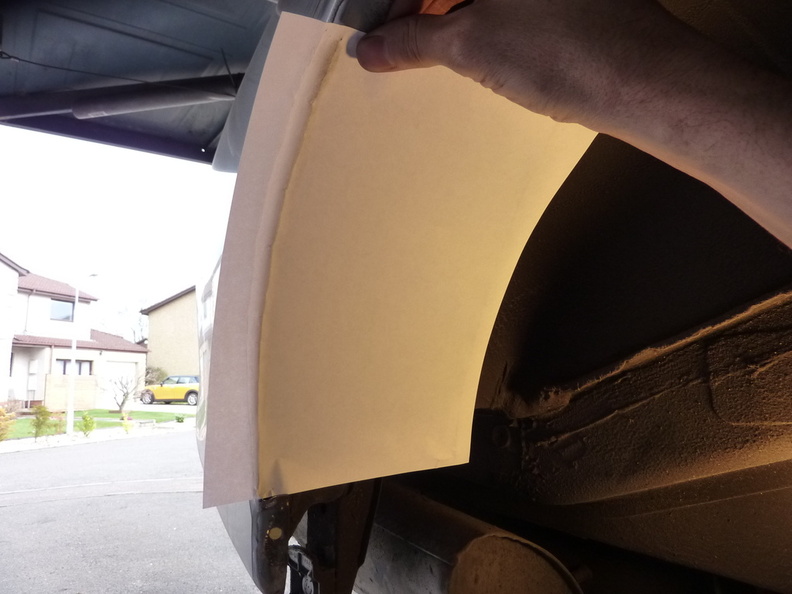
Making up a template for the patch using the dirty finger method.
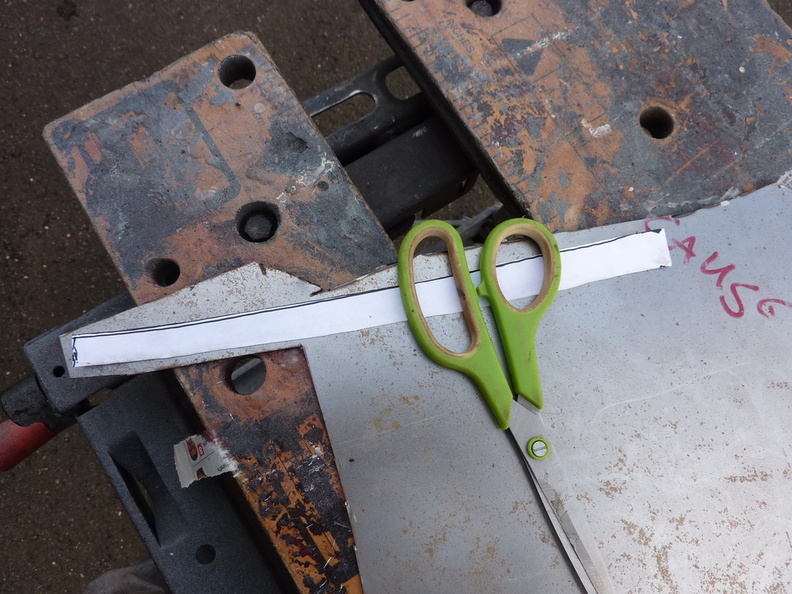
The patch once cut out.
Tacked in place.
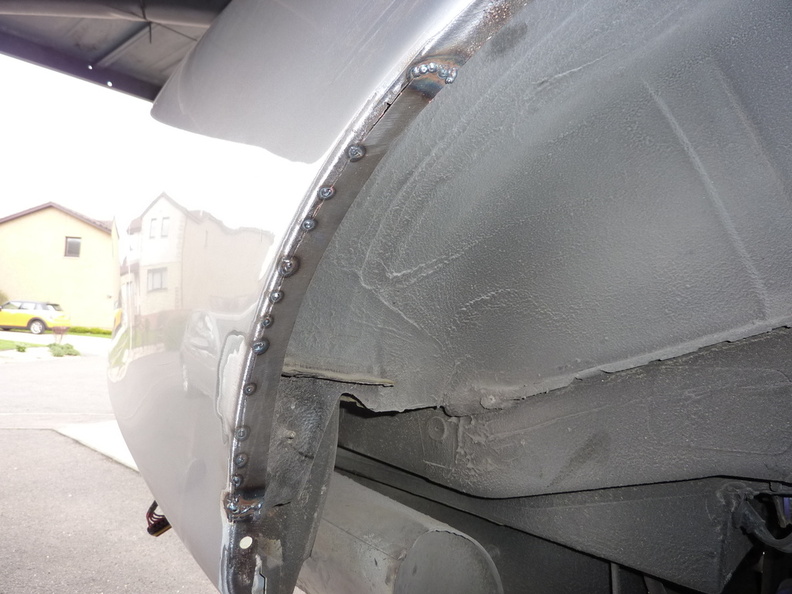
Welded up and dressed.
Plenty more to come.....
Spent about four hours on it this afternoon.
Here is the worst area on this arch.
I was pleased to see the drain hole was still clear.
First job was to remove the rear bumper. I had previously fitted a connector on the reversing sensor harness to make this job easier. Glad I took the time to do this now.
The main bolts came out easily as I had them well greased up before fitting.
I did need to use the persuader to get the exhaust out of the way though.
I cut out the worst affected area of the outer wing.
You need to scrape out the glue bonding the inner and outer wings to be able to weld in a new patch.
Making up a template for the patch using the dirty finger method.
The patch once cut out.
Tacked in place.
Welded up and dressed.
Plenty more to come.....

Veteran Member
Joined: Mar 2014
Posts: 2,173
Likes: 605
From: Goldsboro, NC
Damm RD you have had horrible luck with rust, any one else would have throw in the towel years ago. My hat is off to you sir and thanks for taking the time and effort to document what you have done.
Thread Starter
|
Veteran Member
Joined: Apr 2012
Posts: 1,854
Likes: 987
From: UK
Thanks for the comments of support, however I am now considering getting rid of it as it needs major surgery every year, this car is definitely jinxed.
Some more work on this today.
I decided to cut out some more of the arch after further investigation.
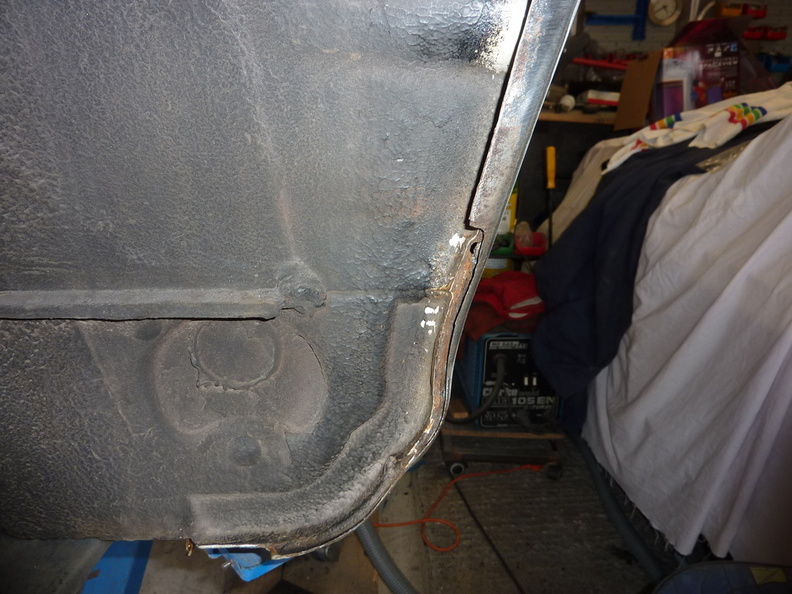
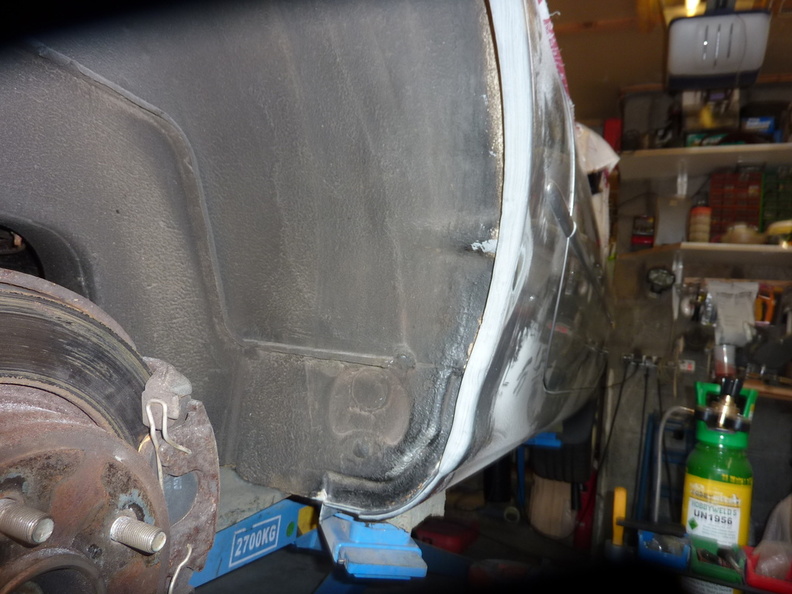
New pieces cut out.

Then welded in, I didn't take the lip right down to the bottom of the arch as it just seems to work as a dirt trap.
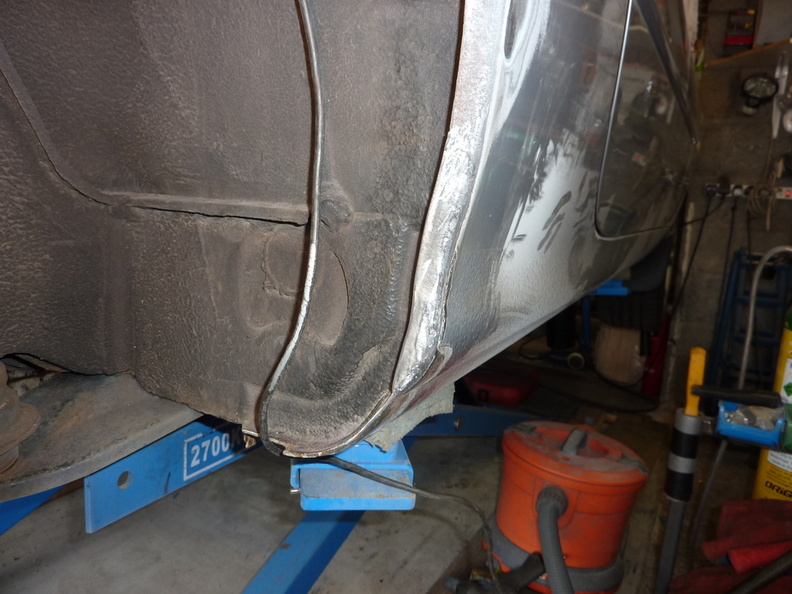
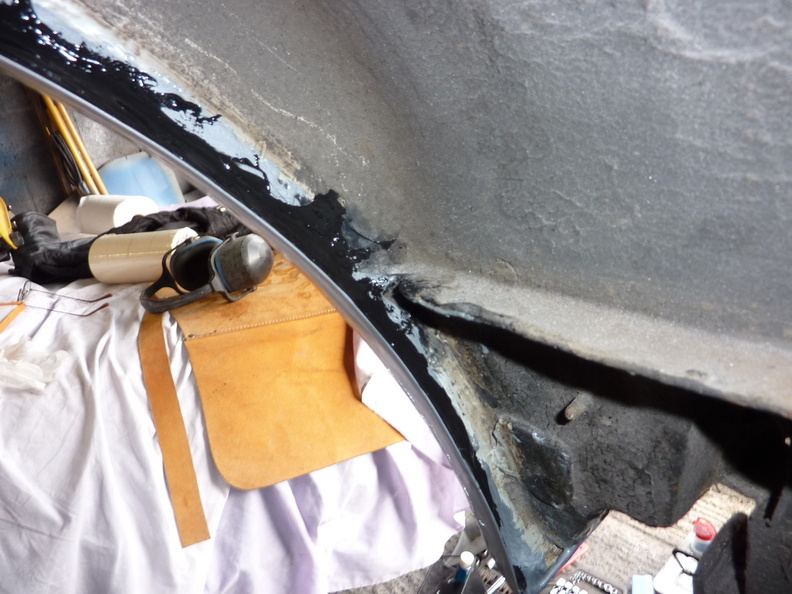
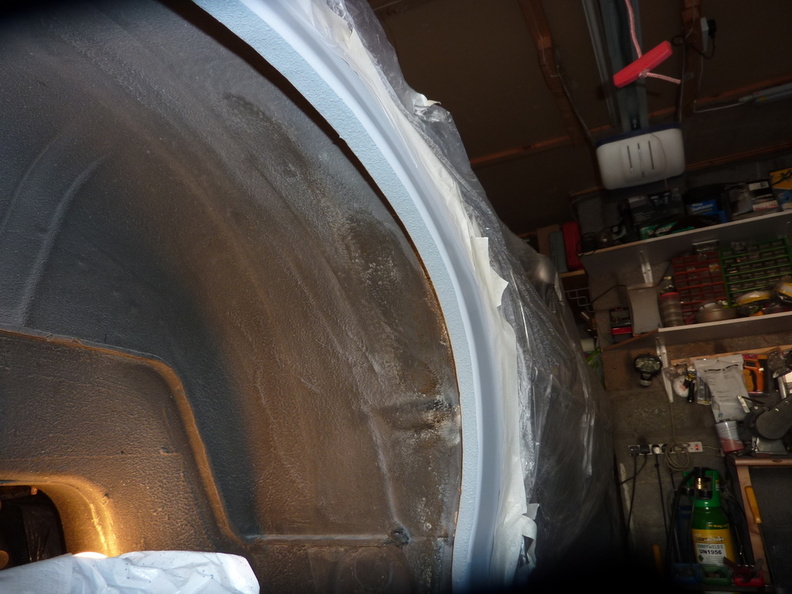
Next a coat of marine epoxy paint, inside and out. Once dry I'll seal the inner and out wing gaps with PU sealant and apply Gravitex stone ship to the outer arch.
Some more work on this today.
I decided to cut out some more of the arch after further investigation.
New pieces cut out.
Then welded in, I didn't take the lip right down to the bottom of the arch as it just seems to work as a dirt trap.
Next a coat of marine epoxy paint, inside and out. Once dry I'll seal the inner and out wing gaps with PU sealant and apply Gravitex stone ship to the outer arch.
Last edited by RaceDiagnostics; Apr 16, 2018 at 01:49 PM.
Thread Starter
|
Veteran Member
Joined: Apr 2012
Posts: 1,854
Likes: 987
From: UK
PU sealant used to fill the gap between the inner and outer wing. It was a bit old and thick.
Dolphin glaze filler applied in a couple of places.
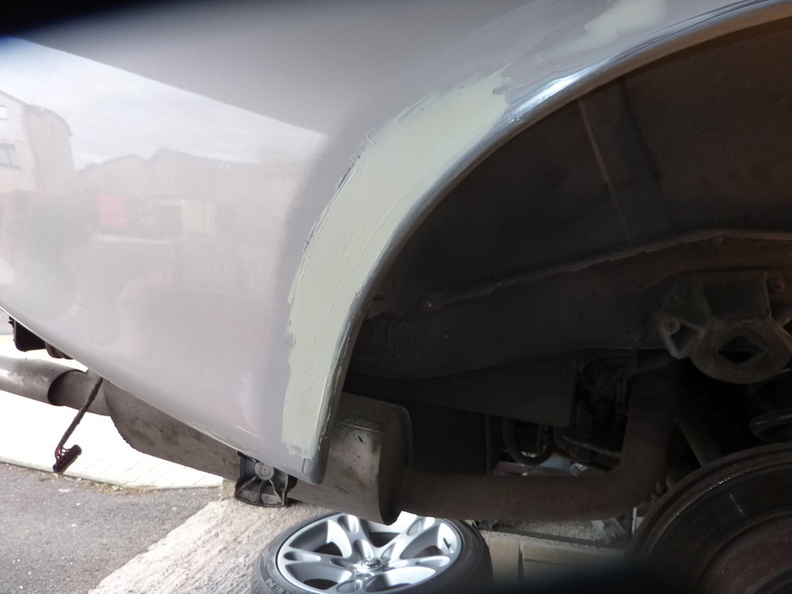
Sanded down.
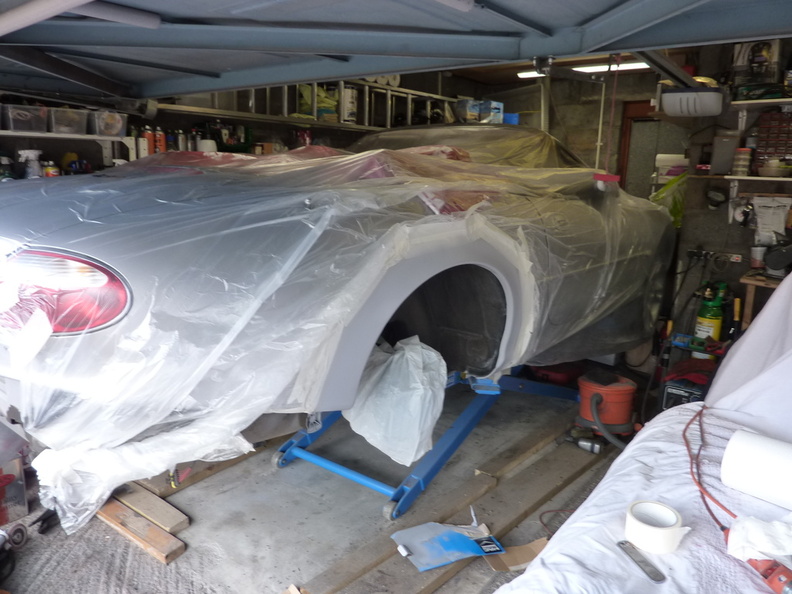
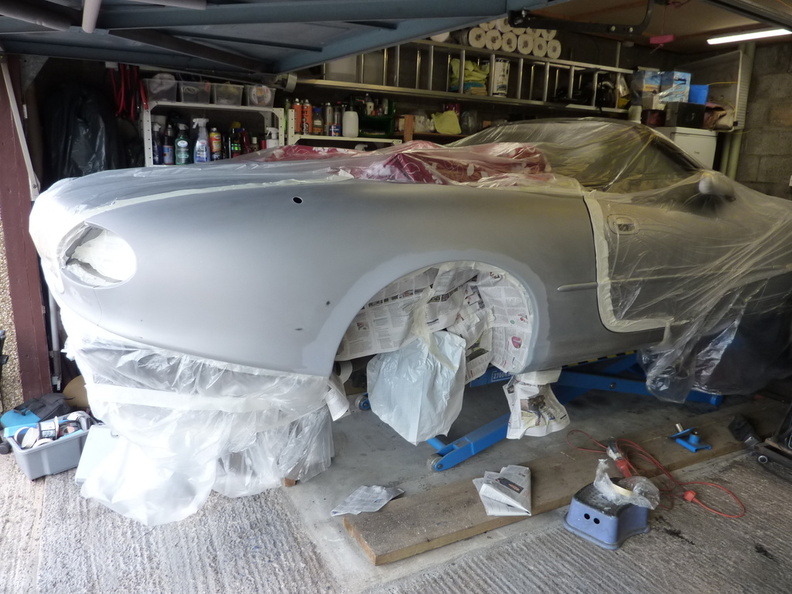
Masked up.
2K primer filler sprayed on.

Dolphin glaze filler applied in a couple of places.
Sanded down.
Masked up.
2K primer filler sprayed on.
Trending Topics


Veteran Member

Joined: Jan 2017
Posts: 1,042
Likes: 429
From: Nevada, USA
admire your skill. some cars that are otherwise solid and perfectly rust free elsewhere seem to get this wheel opening disease. one can have two identical specimens used in the same conditions and one will get this condition while the other will not. it could be electrolytic or perhaps a batch of steel with some flash rust before hot dipping. the wheel well might be the most vulnerable area. on one car i attached salt water rated sacrificial boat anodes, seemed to work. also an auto body repairer once told me that the process of welding makes the steel more prone to rust, thus a vicious cycle. when it is not structurally not advisable, he uses modern metal adhesives for many repairs for this reason. this material produces a bond stronger than a weld without further compromise of the metal. additionally any amount of grinding and metal work will often remove the factory corrosion protection requiring apertures or access to the blind and inaccessible areas be made to apply aftermarket corrosion protection.
Last edited by CorStevens; Apr 17, 2018 at 11:31 AM. Reason: typo
Thread Starter
|
Veteran Member
Joined: Apr 2012
Posts: 1,854
Likes: 987
From: UK
I'll drop in next time I'm passing.
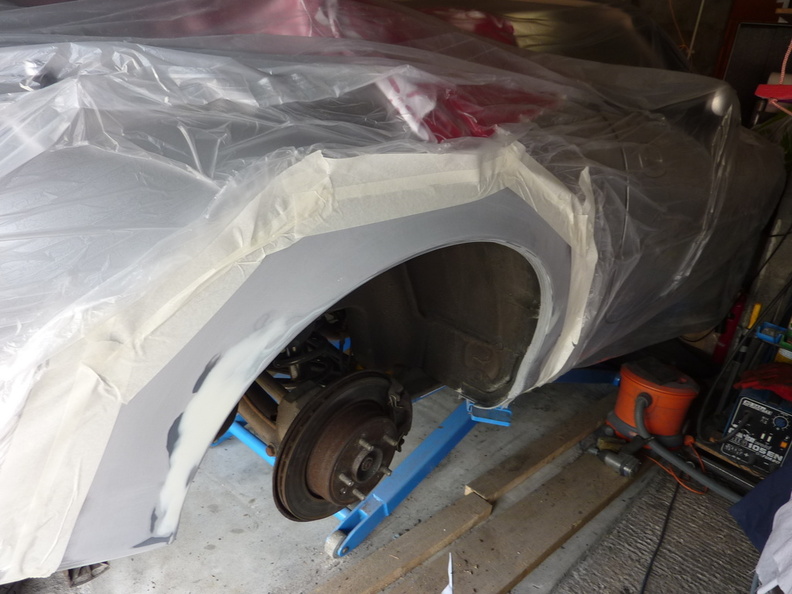
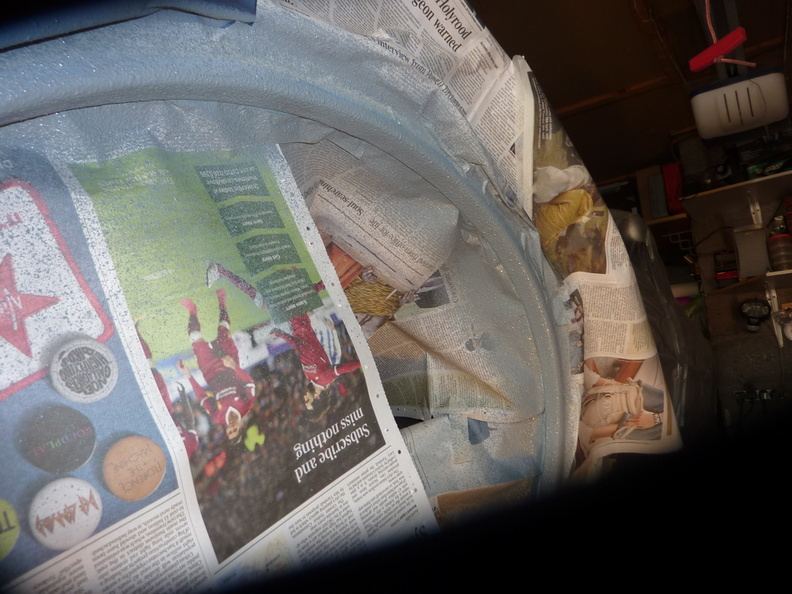
I masked up the arch with electrical tape as it easily follows a contour.
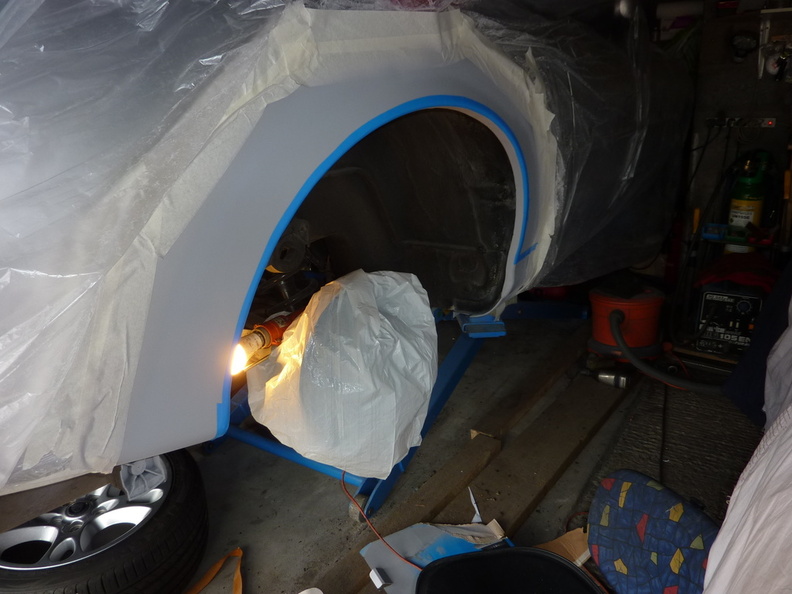
The followed up with paper.

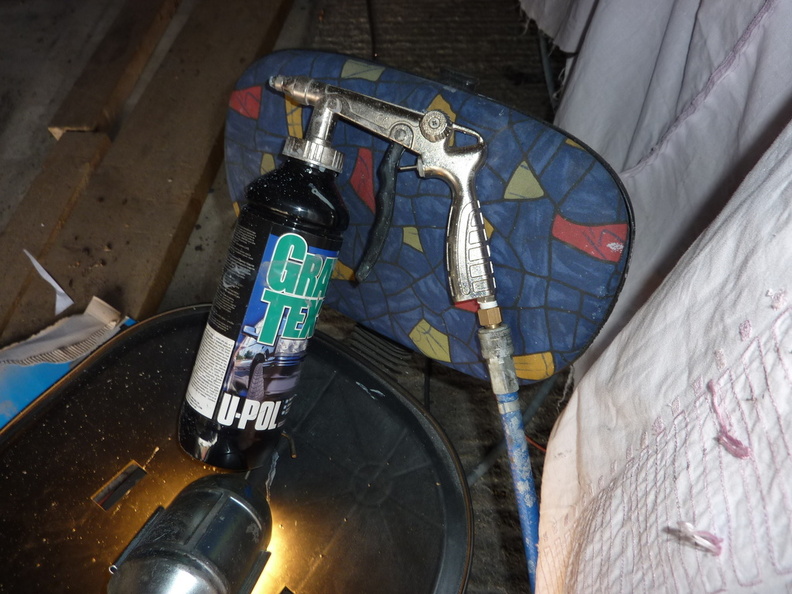
Then sprayed with gravitex stone chip.
Leaving this on the inner edge.
Tomorrow, base coat and clear, the only problem is that it's forecast to be windy so may move onto the other side instead.
If its warm enough, April and May are the best months for spraying here as there are not too many flying bug about, by the time we are into July corn flys are a big issue.
I masked up the arch with electrical tape as it easily follows a contour.
The followed up with paper.
Then sprayed with gravitex stone chip.
Leaving this on the inner edge.
Tomorrow, base coat and clear, the only problem is that it's forecast to be windy so may move onto the other side instead.
If its warm enough, April and May are the best months for spraying here as there are not too many flying bug about, by the time we are into July corn flys are a big issue.

Senior Member
Joined: Aug 2012
Posts: 818
Likes: 83
From: Berlin
I'll drop in next time I'm passing.
I masked up the arch with electrical tape as it easily follows a contour.
The followed up with paper.
Then sprayed with gravitex stone chip.
Leaving this on the inner edge.
Tomorrow, base coat and clear, the only problem is that it's forecast to be windy so may move onto the other side instead.
If its warm enough, April and May are the best months for spraying here as there are not too many flying bug about, by the time we are into July corn flys are a big issue.

Last edited by toaster; Apr 17, 2018 at 04:18 PM. Reason: My bad English
Thread Starter
|
Veteran Member
Joined: Apr 2012
Posts: 1,854
Likes: 987
From: UK
Maybe when I'm finished my nut and bolt restoration on this one, 18 months into it with 12 months to go.

Here are some of the horrors found beneath just one of the wings.
Here are some of the horrors found beneath just one of the wings.

Veteran Member
Joined: Nov 2013
Posts: 1,286
Likes: 456
From: Malvern, England
Blimey RD, we appear to be having exactly the same problem and tackling it at the same time. Spooky! 
Take a look.......... Franks XKR Story. - Page 358
Take a look.......... Franks XKR Story. - Page 358

Thread Starter
|
Veteran Member
Joined: Apr 2012
Posts: 1,854
Likes: 987
From: UK
Panel wipe and a tack cloth, same brands as I always use.
I flatted back today, then put on some more base coat, it started to fry up all round the edge of the primed area so I have no idea what was causing it. The wing was repainted by a pro 4 years ago, can't believe he would have used a 1k clear, but maybe.
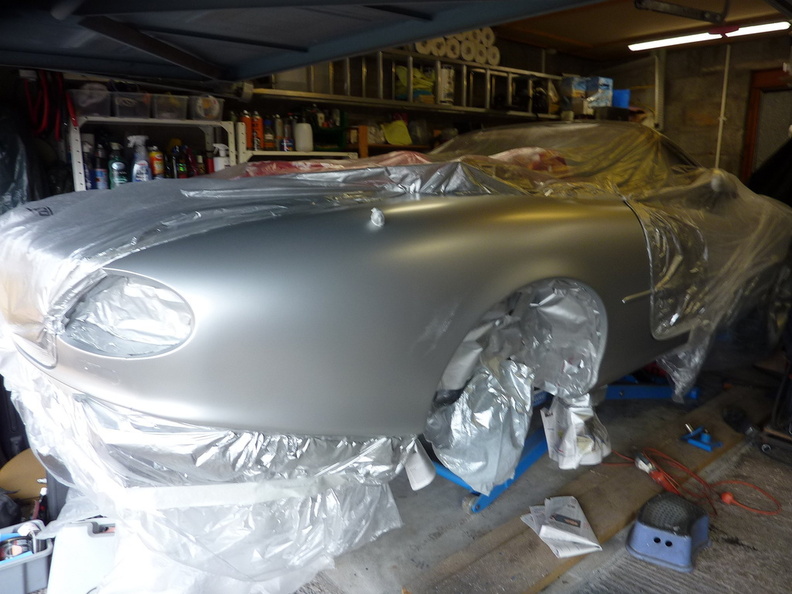
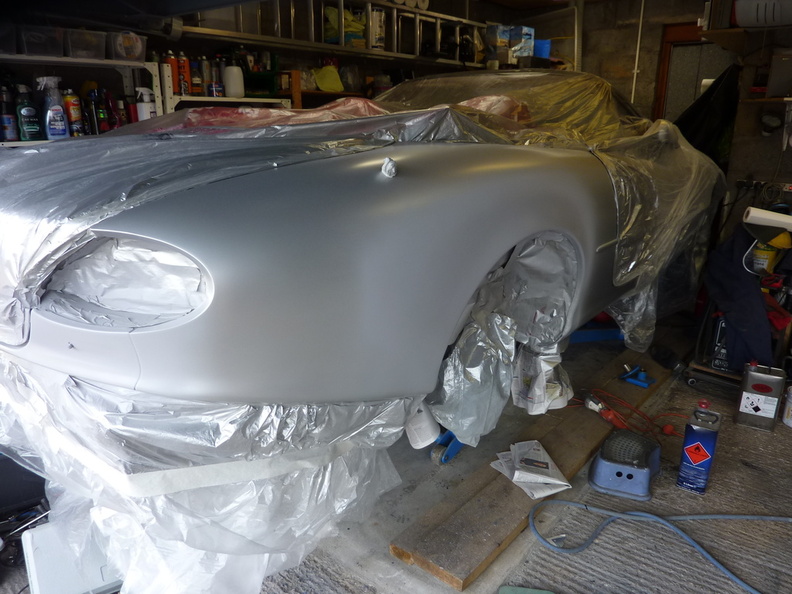
Anyway I sanded the fry ups back then dusted on many base coats which seemed to eventually look ok.
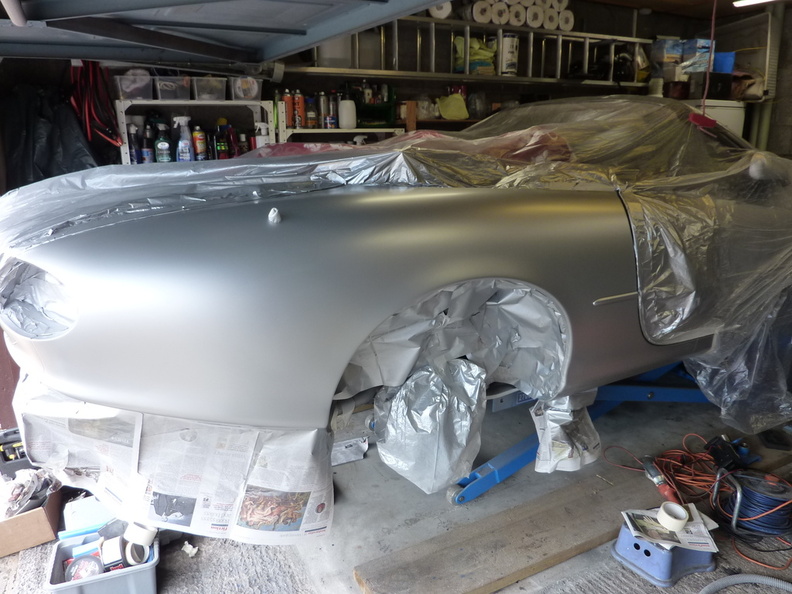
Then cleared it.

Now to start on the other side.
I flatted back today, then put on some more base coat, it started to fry up all round the edge of the primed area so I have no idea what was causing it. The wing was repainted by a pro 4 years ago, can't believe he would have used a 1k clear, but maybe.
Anyway I sanded the fry ups back then dusted on many base coats which seemed to eventually look ok.
Then cleared it.
Now to start on the other side.
Senior Member
Joined: Aug 2012
Posts: 818
Likes: 83
From: Berlin
Panel wipe and a tack cloth, same brands as I always use.
I flatted back today, then put on some more base coat, it started to fry up all round the edge of the primed area so I have no idea what was causing it. The wing was repainted by a pro 4 years ago, can't believe he would have used a 1k clear, but maybe.
Anyway I sanded the fry ups back then dusted on many base coats which seemed to eventually look ok.
Then cleared it.
Now to start on the other side.
Absolut perfect, Berlin (and a lot of work) is waiting for you!!!!!
PS: One little note: Next time take the time and remove the strip
Last edited by toaster; Apr 21, 2018 at 02:36 PM.