
Rebuilding rear brake calipers


Thread Starter
|
Member
Joined: Sep 2013
Posts: 59
Likes: 21
Greetings Forum members,
I recently installed new slotted, cross-drilled rotors and ceramic brake pads at all four corners on my '05 XK8 coupe. The rotors and pads that were on the car when I bought it wouldn't pass my state safety inspection, and the rotors would've been below the factory minimum thickness if I had them 'turned' to remove the ridges. As I was installing the new components, I noticed that the brake calipers looked old and tired against the new parts, but I didn't want to have the car sitting idle for a lengthy period of time while I rebuilt the ones on the car, sooooo...
I began by picking up a pair of ATE cast iron rear brake calipers from an ebay vendor for $20.00 AND free shipping! Talk about a deal! The vendor stated that they were 'rebuildable cores', due to the expanding rubber dust boots being torn. There are a lot of pairs of rear brake calipers for sale on ebay. Strangely, not many front pairs. Not sure why...
I have too much time on my hands, and a glass bead blast cabinet that doesn't get used nearly enough. The caliper bodies and mounting brackets had a light rusty, crusty coating, but the pistons and their bores were in perfect shape. A rebuild kit (Centric) containing new piston o-rings and expanding rubber dust boots (does two calipers) from another ebay vendor was $6.11 AND free shipping too!
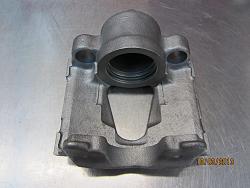
Here's what one of the calipers looked like when I got them from the vendor:
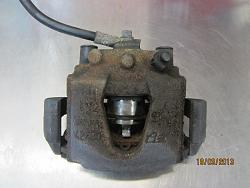
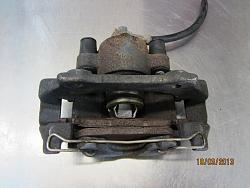
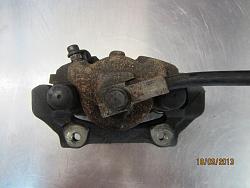
There wasn't much left of the friction material on the pads that were still attached to these calipers, and I'll venture to say that the rotors on the car these came off of must've been scored to death.
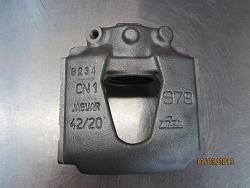
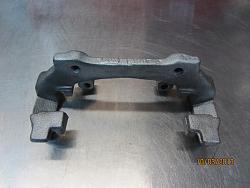
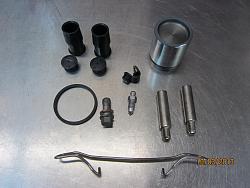
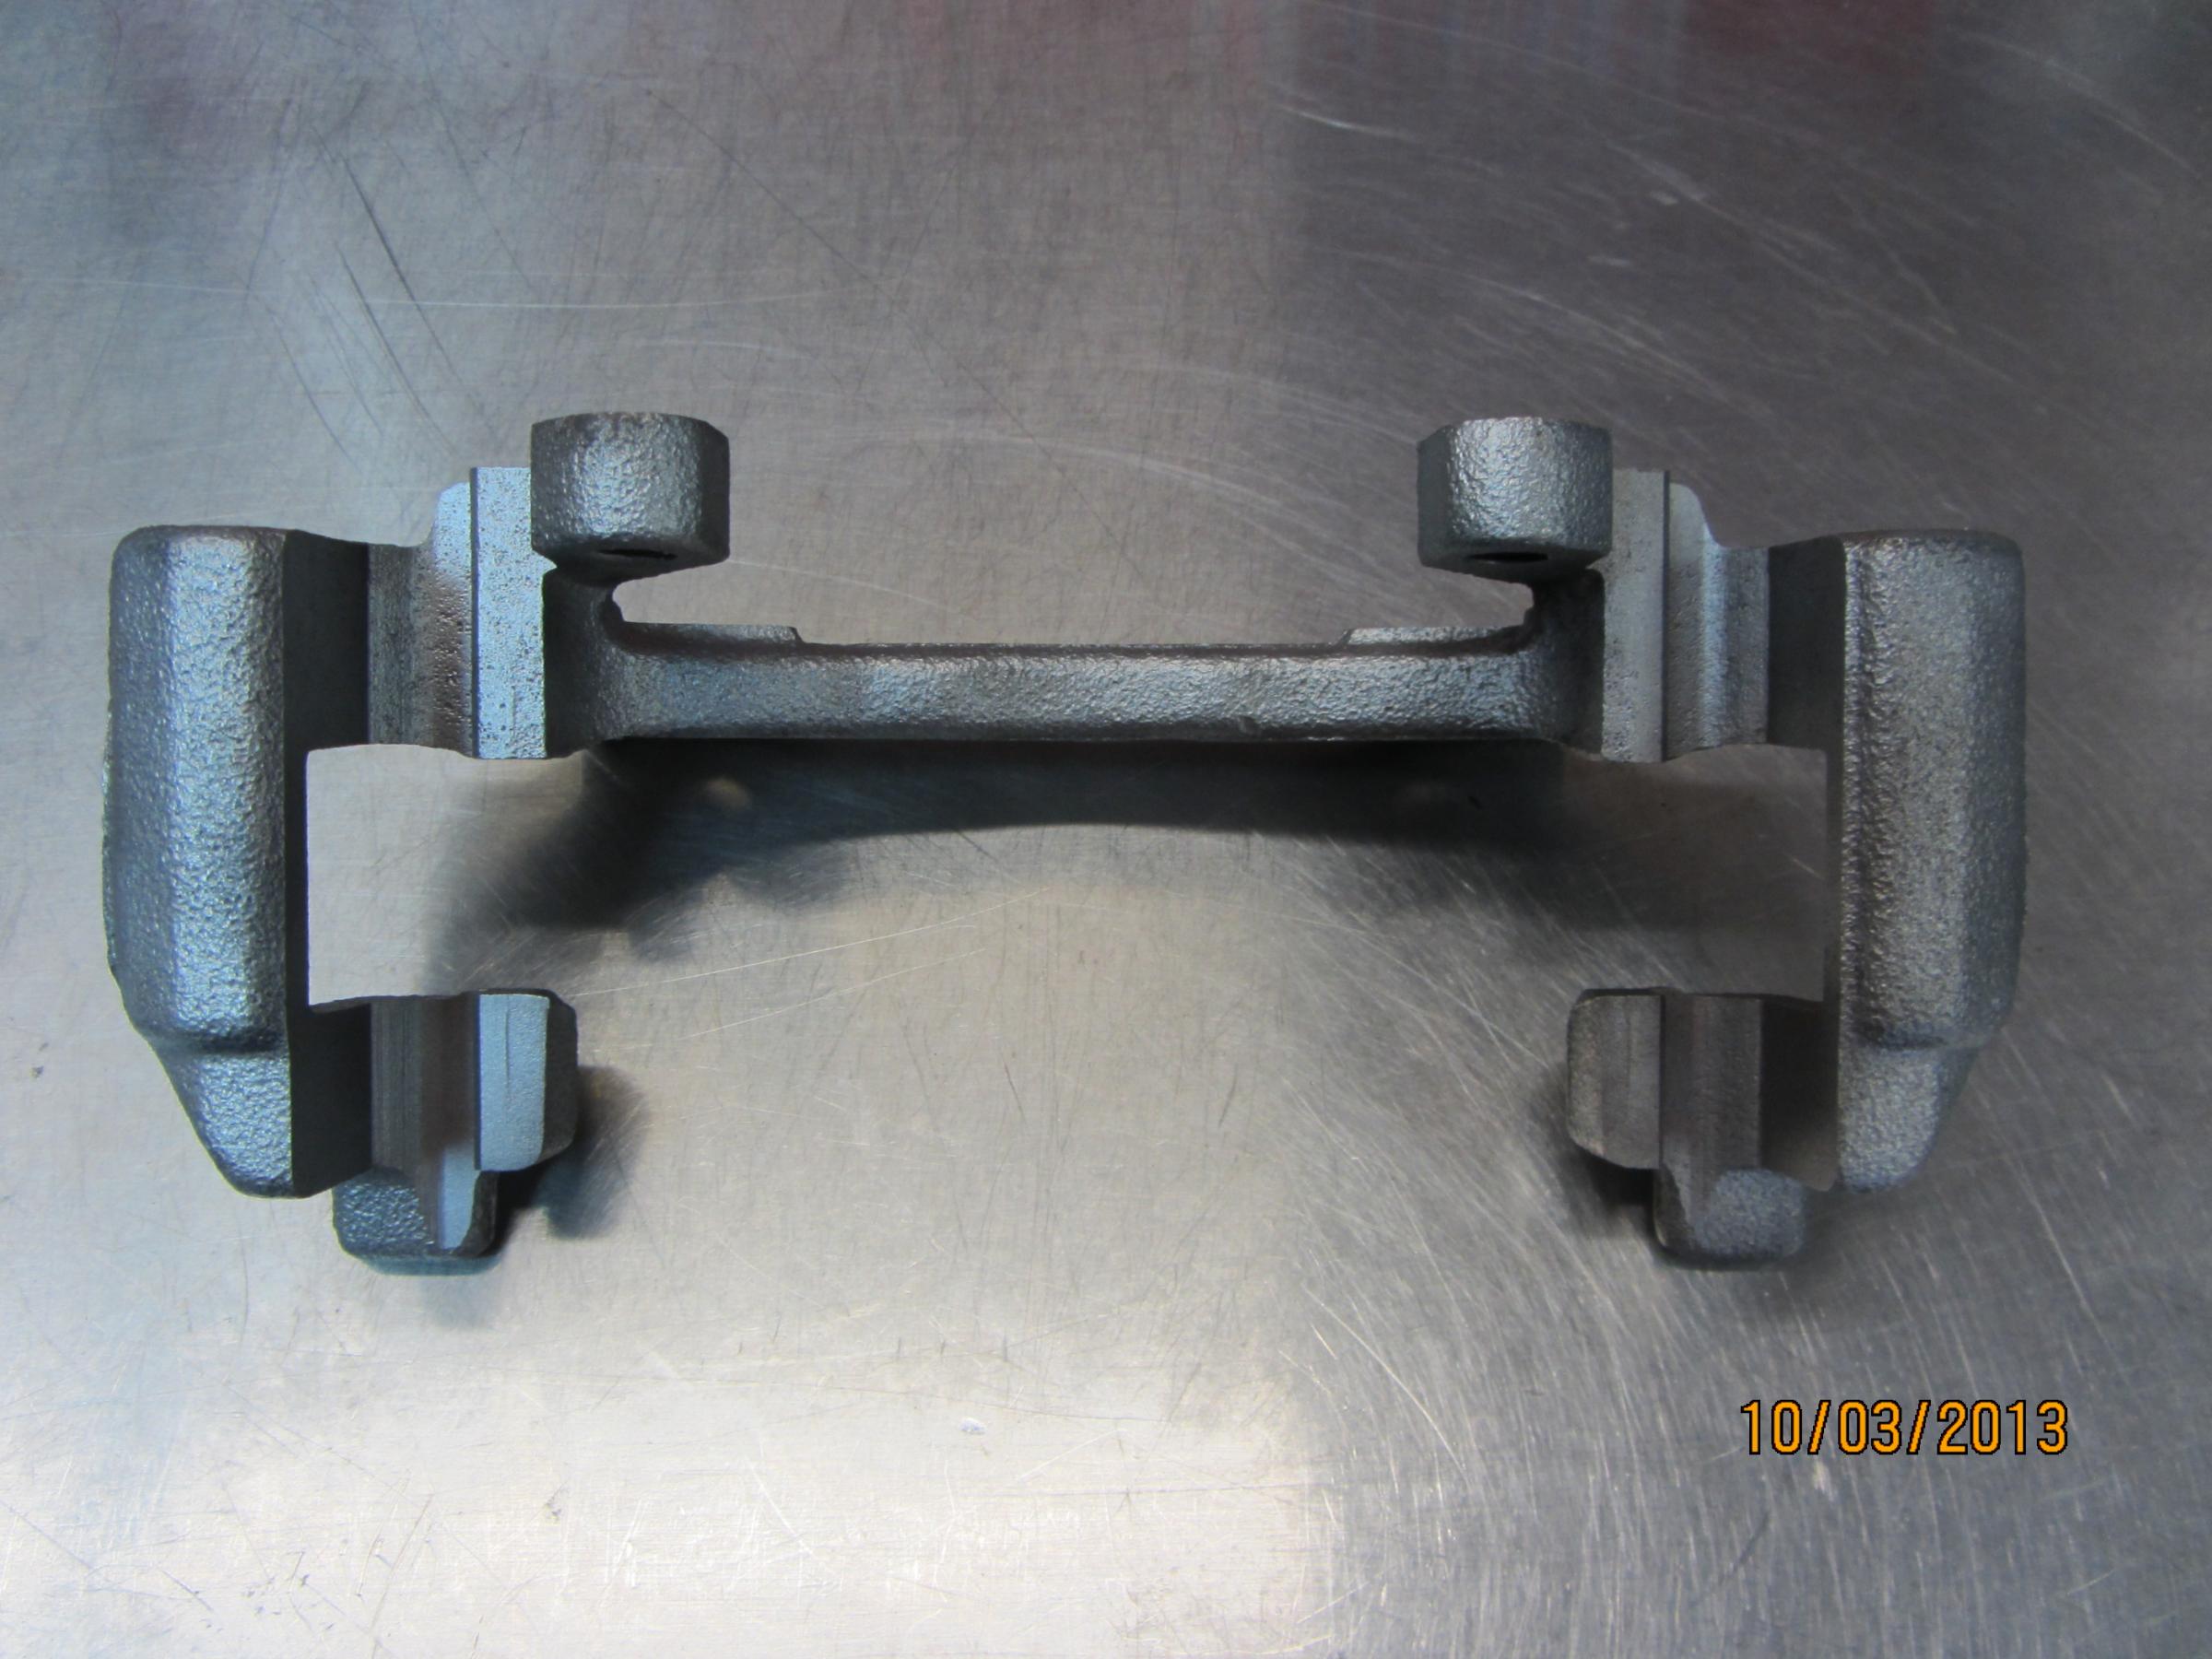
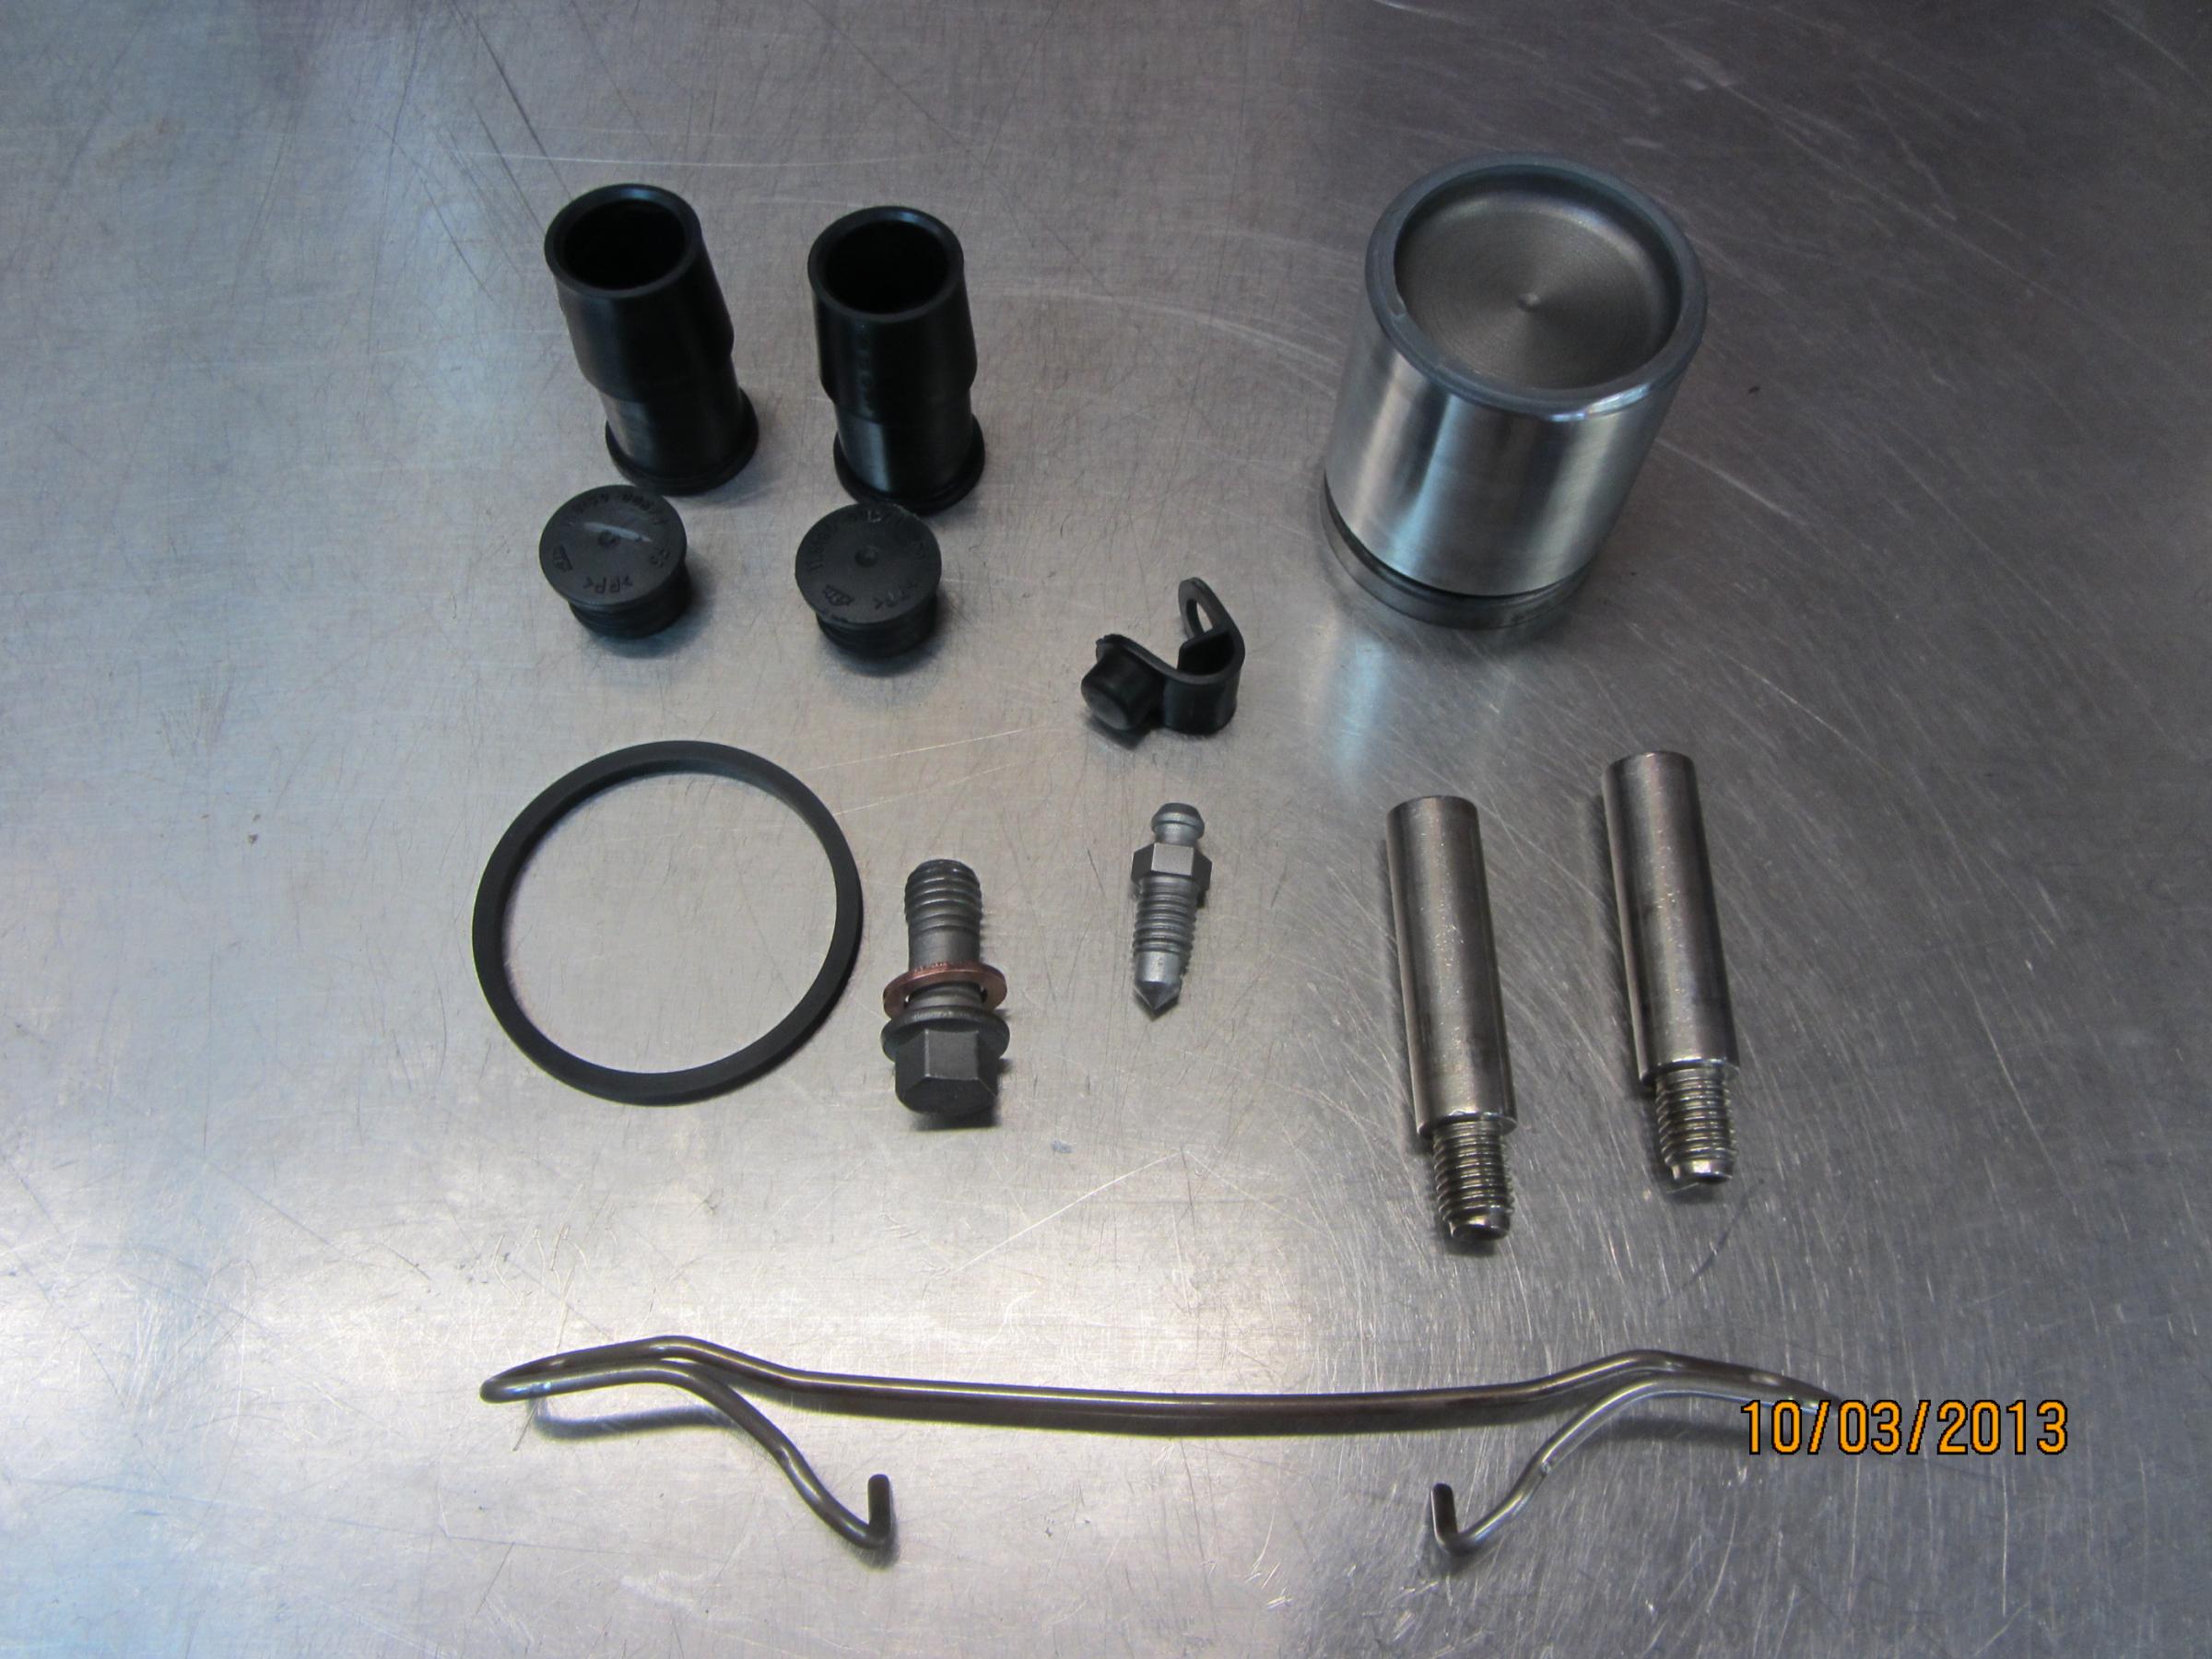
I dis-assembled each caliper, and rinsed any remaining brake fluid off all the pieces in my parts washer before putting them in the glass bead cabinet. Here's what the parts looked like after glass bead blasting:

After another rinsing in the parts washer to remove any remaining glass bead dust, I painted both the caliper body and the mounting bracket with POR 15 Silver Brake Caliper paint ($15.00). This paint is formulated for brake calipers, and will withstand sustained temperatures above 500 degrees. This paint is also available in black and red. The directions recommend using two thin coats on the caliper. The directions recommend waiting 3-4 hours drying time before applying a second coat. I waited a bit longer, as the first coat seemed to soften a bit when I began applying the second coat at around 3 1/2 hours. I let the pieces dry for two days before I re-assembled the calipers.
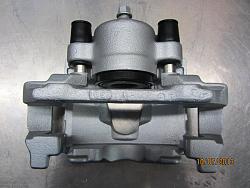
Re-assembly went relatively smoothly, with only the rubber sleeves that protect the stainless steel posts putting up a modest fight when inserting them back in the caliper body. I used a light coating of a product called Sil-glyde to lubricate the piston, the piston bore, the piston o-ring and the lip of the caliper where the expanding rubber dust boot lip fits in. Here's what one of the newly rebuilt calipers looked like:

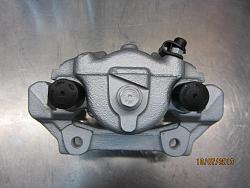
All in all, a very satisfying outcome! Total investment for both calipers, $41.11, less my time and energy. I'm going to see if I can locate a pair of front calipers and give them the same treatment. I'll swap out both sets of calipers sometime over the winter, and install new brake hoses and bleed the entire system.
I recently installed new slotted, cross-drilled rotors and ceramic brake pads at all four corners on my '05 XK8 coupe. The rotors and pads that were on the car when I bought it wouldn't pass my state safety inspection, and the rotors would've been below the factory minimum thickness if I had them 'turned' to remove the ridges. As I was installing the new components, I noticed that the brake calipers looked old and tired against the new parts, but I didn't want to have the car sitting idle for a lengthy period of time while I rebuilt the ones on the car, sooooo...
I began by picking up a pair of ATE cast iron rear brake calipers from an ebay vendor for $20.00 AND free shipping! Talk about a deal! The vendor stated that they were 'rebuildable cores', due to the expanding rubber dust boots being torn. There are a lot of pairs of rear brake calipers for sale on ebay. Strangely, not many front pairs. Not sure why...
I have too much time on my hands, and a glass bead blast cabinet that doesn't get used nearly enough. The caliper bodies and mounting brackets had a light rusty, crusty coating, but the pistons and their bores were in perfect shape. A rebuild kit (Centric) containing new piston o-rings and expanding rubber dust boots (does two calipers) from another ebay vendor was $6.11 AND free shipping too!
Here's what one of the calipers looked like when I got them from the vendor:

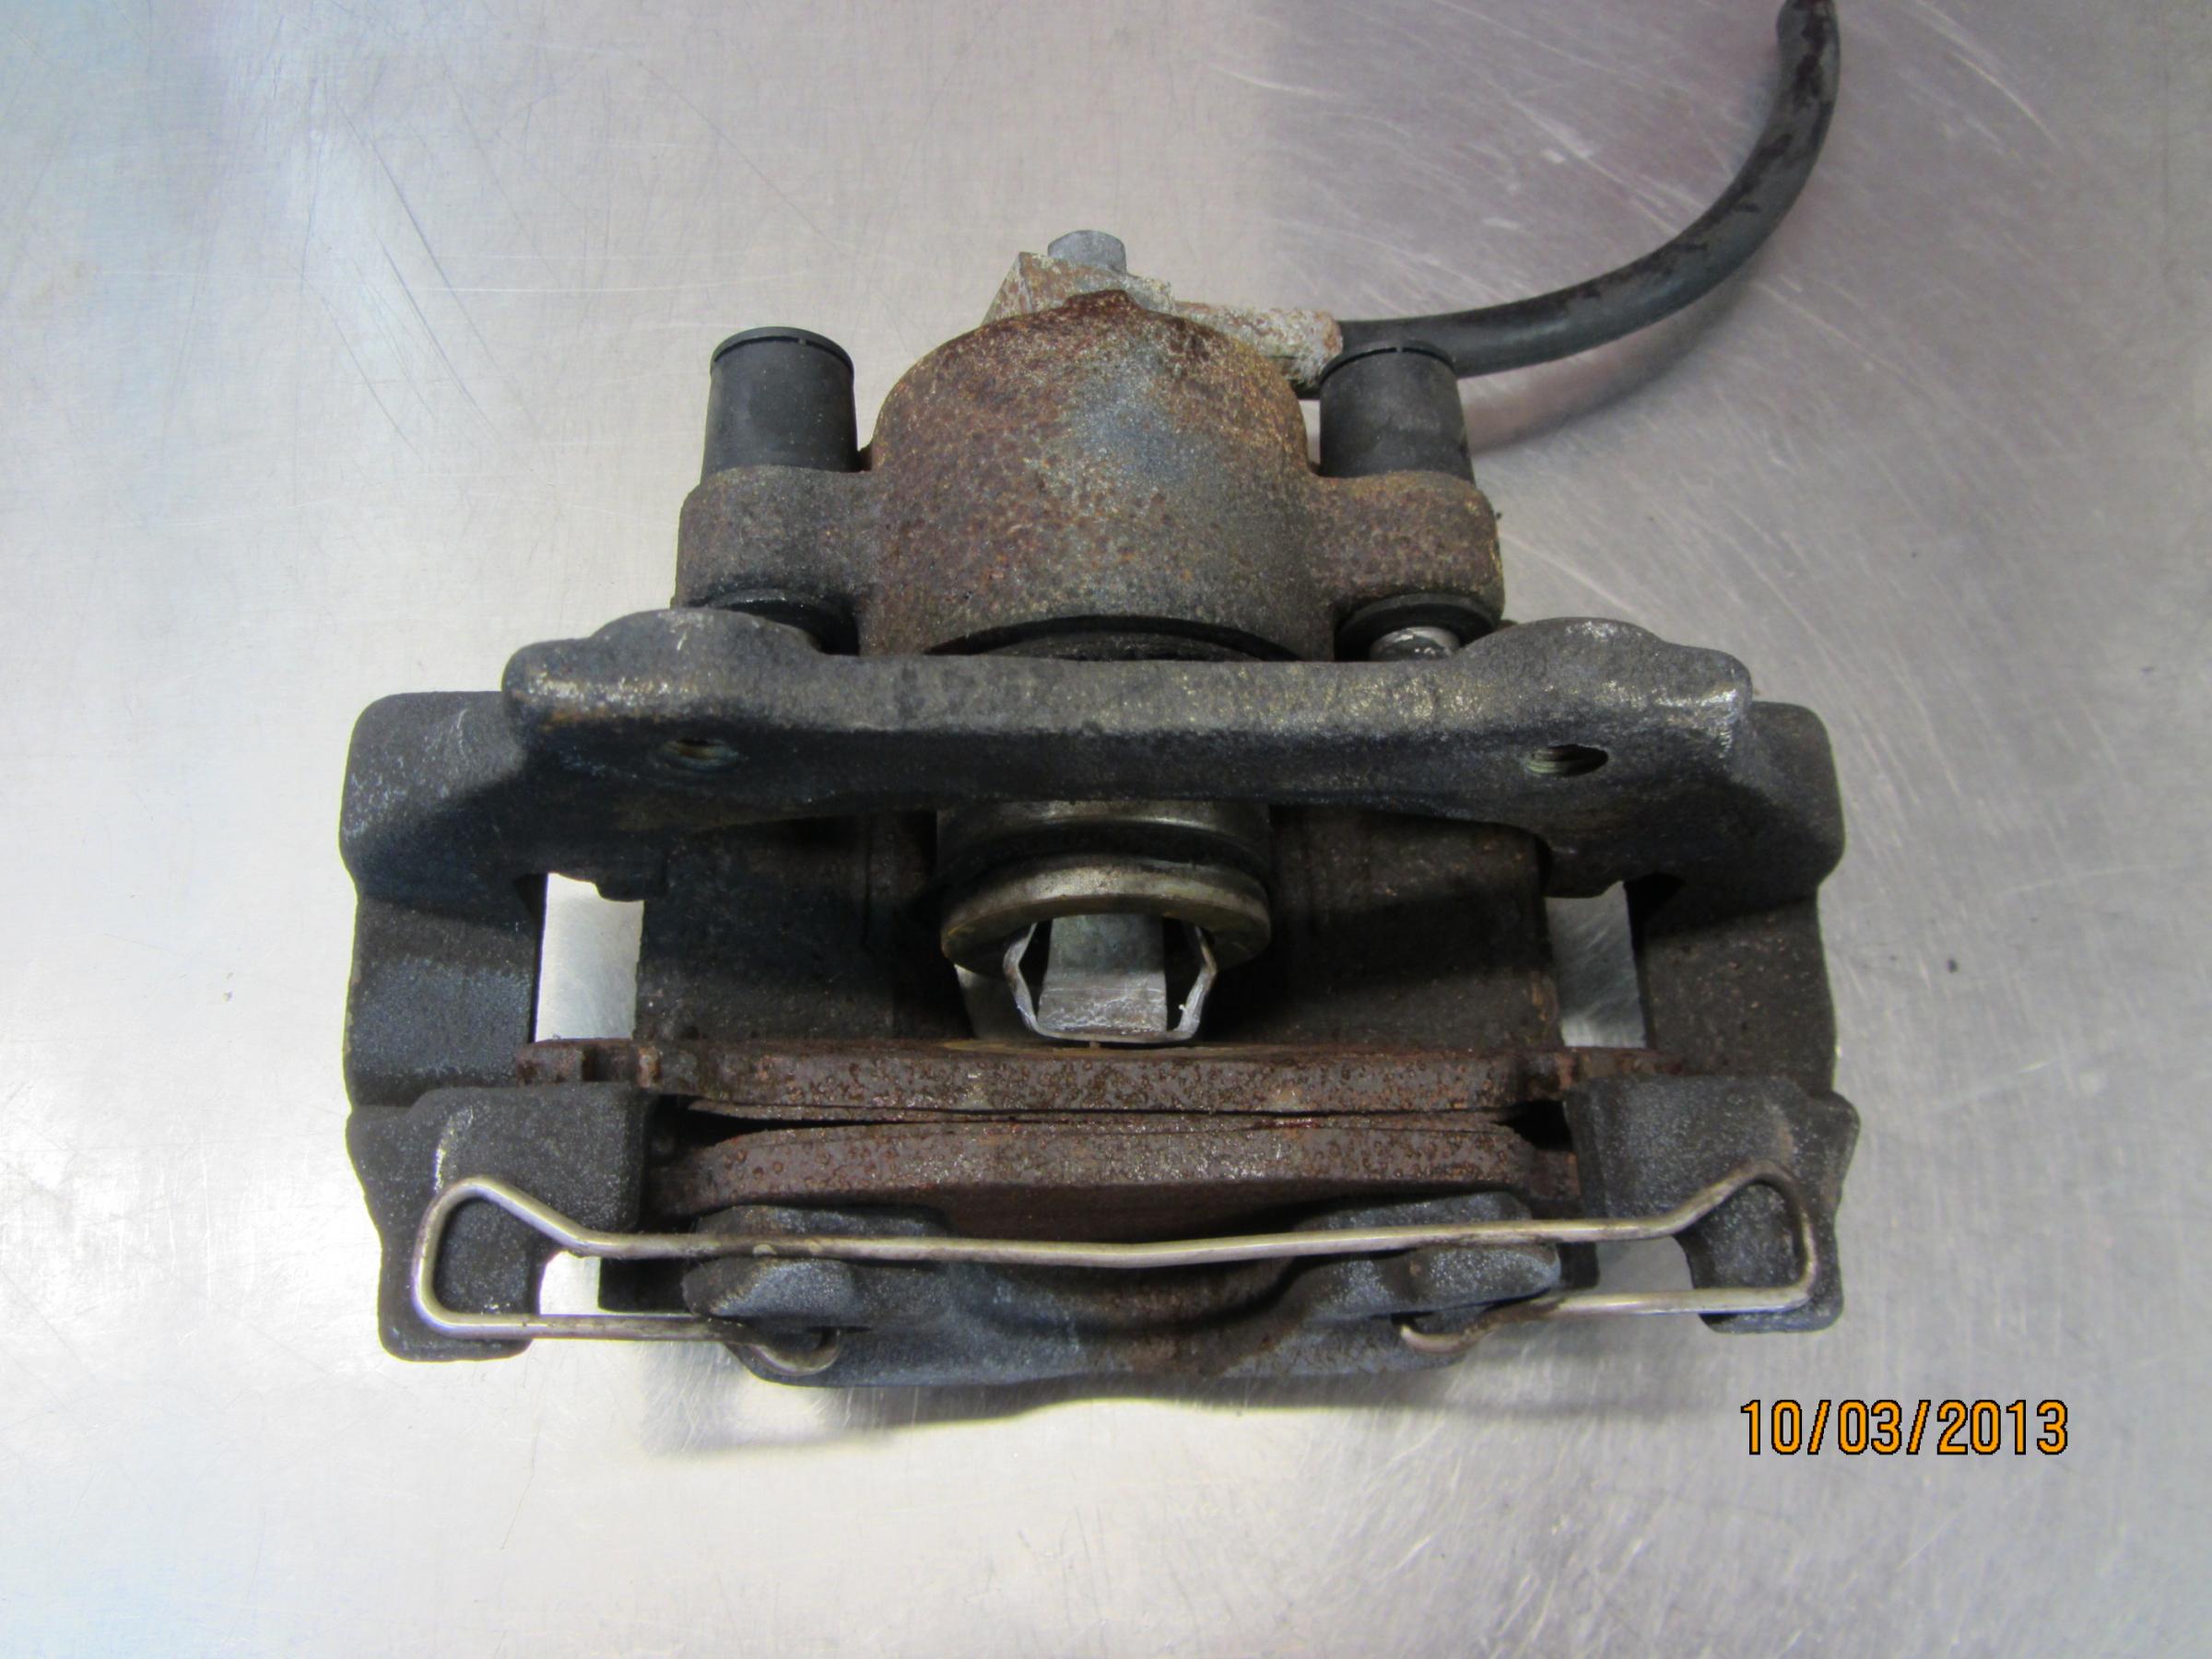

There wasn't much left of the friction material on the pads that were still attached to these calipers, and I'll venture to say that the rotors on the car these came off of must've been scored to death.
I dis-assembled each caliper, and rinsed any remaining brake fluid off all the pieces in my parts washer before putting them in the glass bead cabinet. Here's what the parts looked like after glass bead blasting:

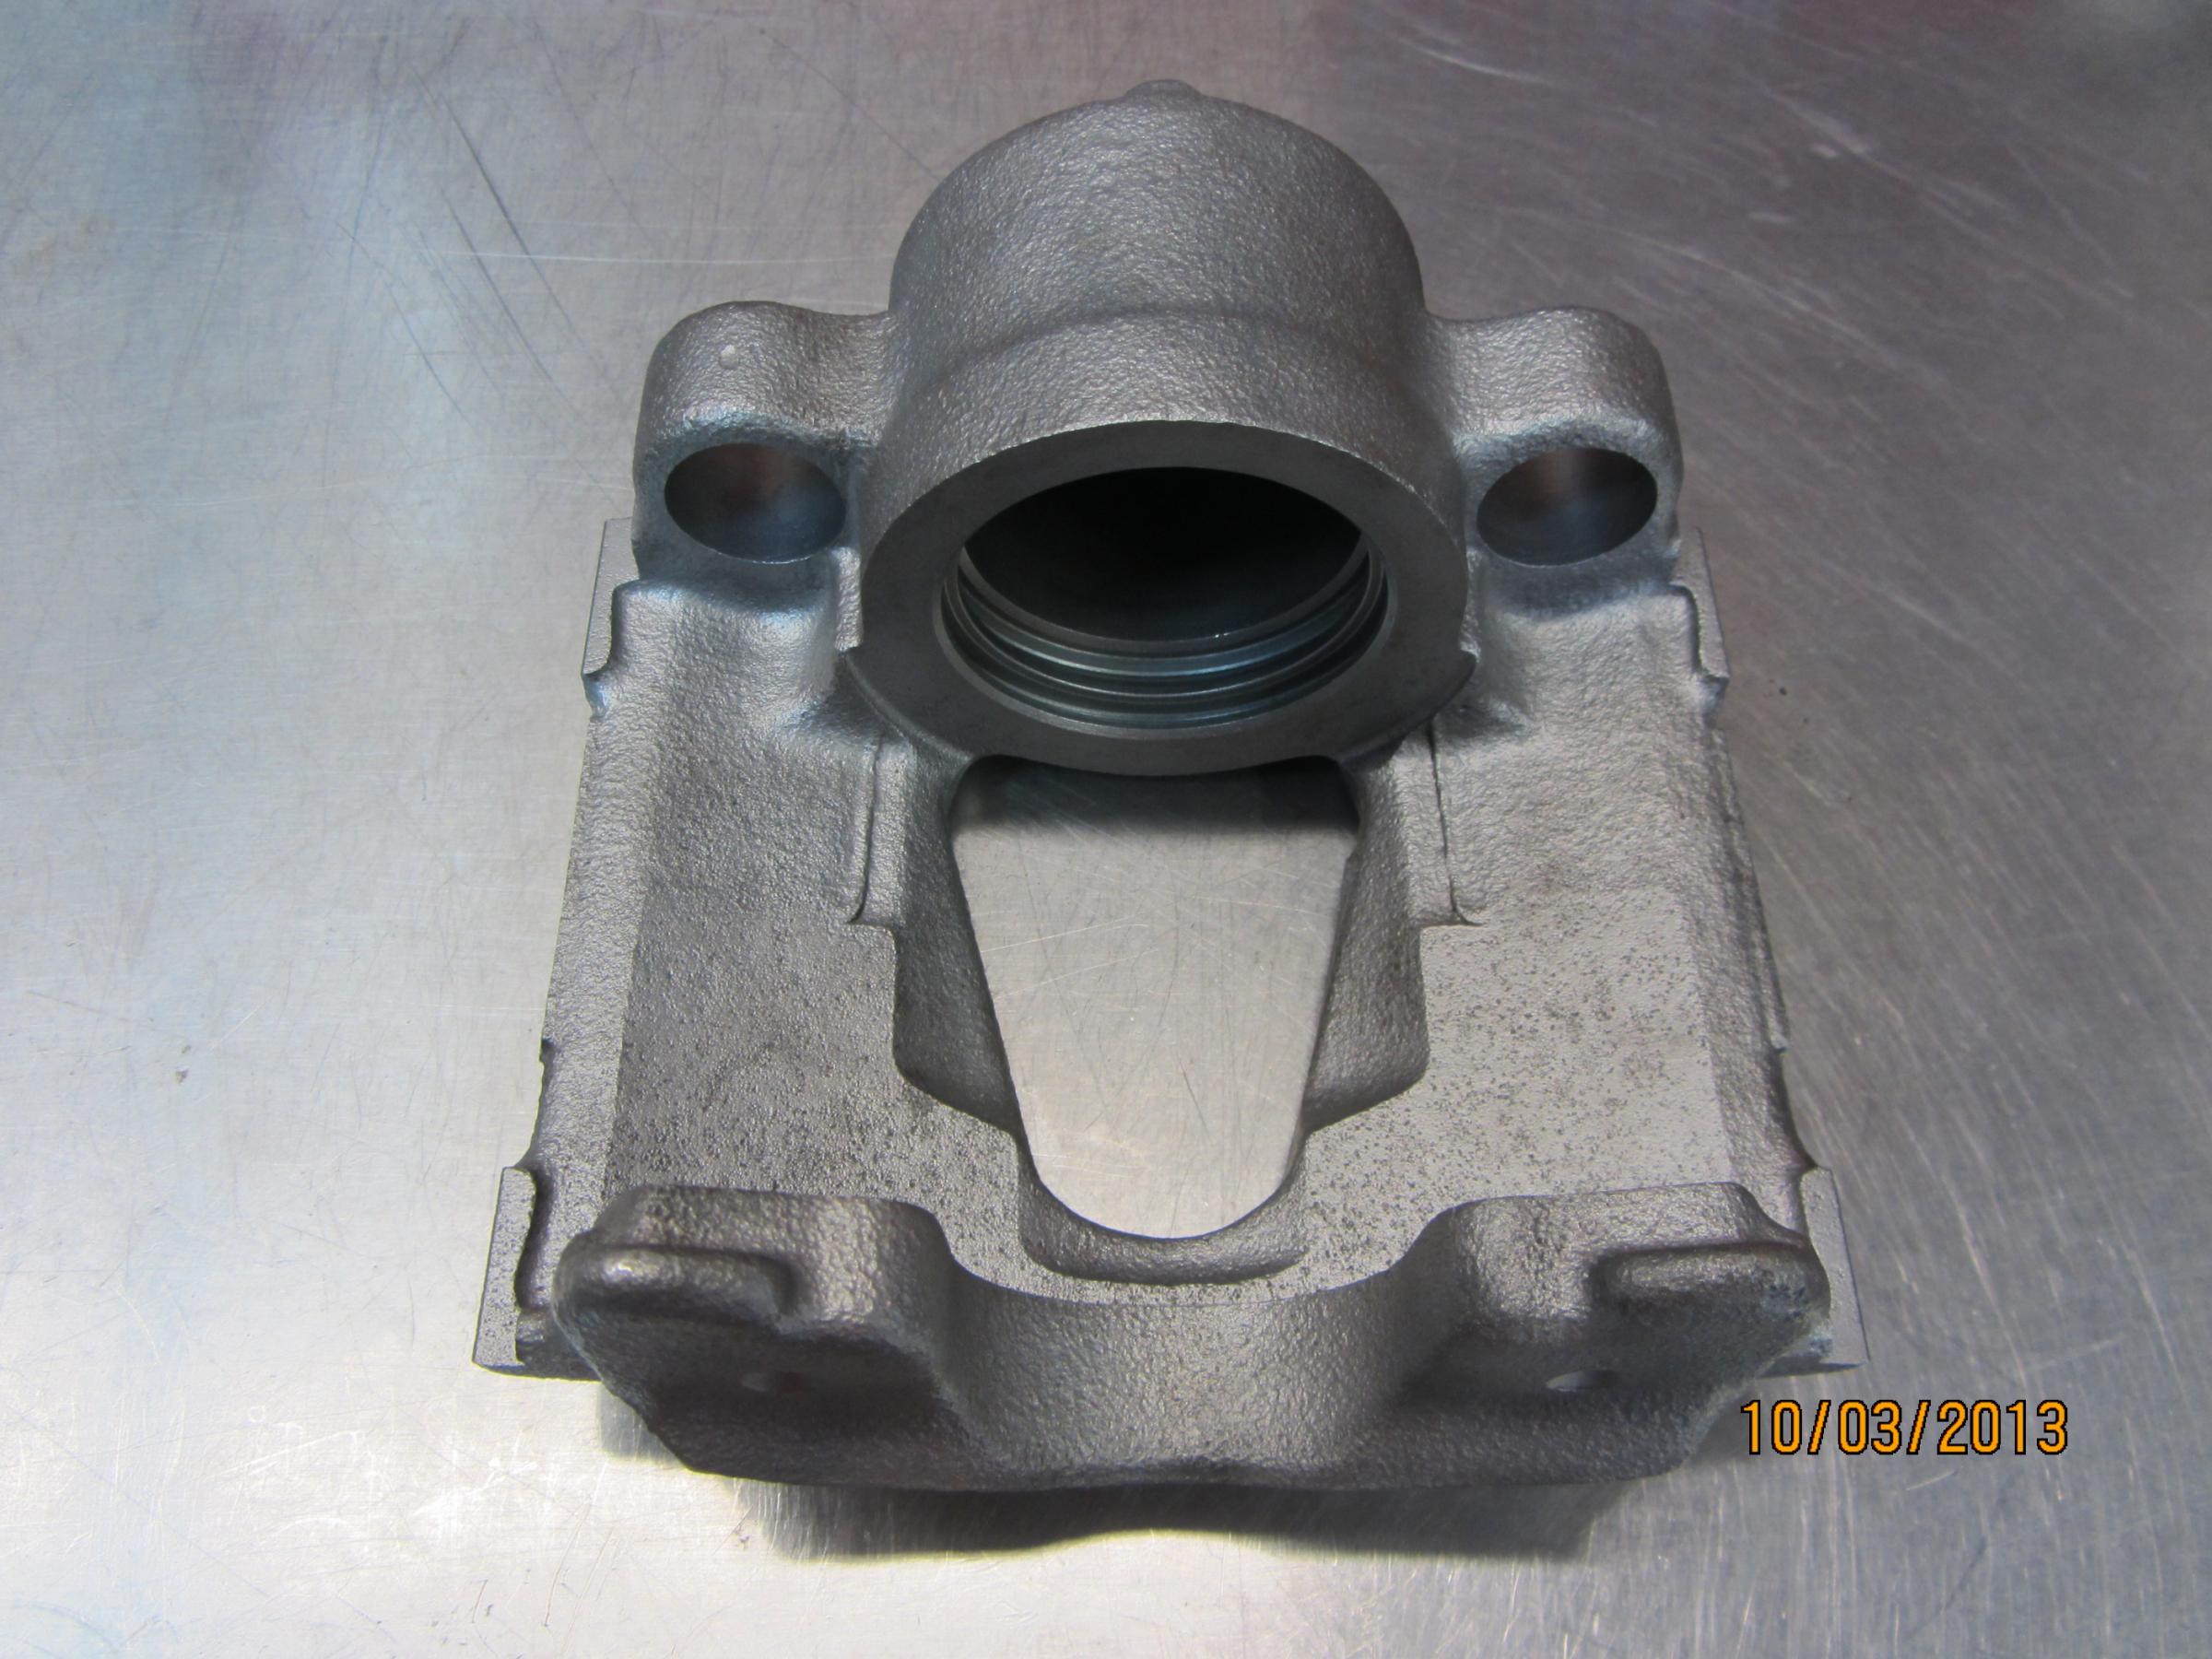

After another rinsing in the parts washer to remove any remaining glass bead dust, I painted both the caliper body and the mounting bracket with POR 15 Silver Brake Caliper paint ($15.00). This paint is formulated for brake calipers, and will withstand sustained temperatures above 500 degrees. This paint is also available in black and red. The directions recommend using two thin coats on the caliper. The directions recommend waiting 3-4 hours drying time before applying a second coat. I waited a bit longer, as the first coat seemed to soften a bit when I began applying the second coat at around 3 1/2 hours. I let the pieces dry for two days before I re-assembled the calipers.
Re-assembly went relatively smoothly, with only the rubber sleeves that protect the stainless steel posts putting up a modest fight when inserting them back in the caliper body. I used a light coating of a product called Sil-glyde to lubricate the piston, the piston bore, the piston o-ring and the lip of the caliper where the expanding rubber dust boot lip fits in. Here's what one of the newly rebuilt calipers looked like:


All in all, a very satisfying outcome! Total investment for both calipers, $41.11, less my time and energy. I'm going to see if I can locate a pair of front calipers and give them the same treatment. I'll swap out both sets of calipers sometime over the winter, and install new brake hoses and bleed the entire system.
Last edited by CoventryCars; Nov 18, 2013 at 09:25 AM.


Senior Member
Joined: Sep 2013
Posts: 597
Likes: 77
From: The Villages, Florida
do it right the first time !!! great work !!! btw, which grade of glass beads do you find that works best for your general needs... I am considering buying a portable blast cabinet.
Ken
Ken
Thread Starter
|
Member
Joined: Sep 2013
Posts: 59
Likes: 21
I just buy whatever the folks at Eastwood have at either the Spring or Fall Carlisle auto swap meet. I believe they come in either 25 or 50 pound boxes. Can't recall how much they run, but a couple of boxes lasts a long time in my bead blast cabinet these days. Depending on what the part is made of that you're planning on blasting, you may want to consider the variety of media that is available. Ground walnut shells are particularly good for softer metal items (carburetors, manifolds, etc.), and some of the coarser media strips cast iron and heavy metal parts quickly and easily. I like glass beads for all around blasting because of their fine grain size and the fact that they shatter on impact, leaving at worst a fine dust on the blasted part that I can wash away in the parts washer.
My bead blast cabinet has proven invaluable for the restoration work I've performed on the many cars that I've owned over the years. That, and a parts washer, and you should be able to tackle a majority of restoration work on any vehicle.
My bead blast cabinet has proven invaluable for the restoration work I've performed on the many cars that I've owned over the years. That, and a parts washer, and you should be able to tackle a majority of restoration work on any vehicle.
Last edited by CoventryCars; Nov 18, 2013 at 09:38 AM.

Thread
Thread Starter
Forum
Replies
Last Post
philwarner
XJ6 & XJ12 Series I, II & III
16
Sep 5, 2015 10:05 AM
Currently Active Users Viewing This Thread: 1 (0 members and 1 guests)