When you click on links to various merchants on this site and make a purchase, this can result in this site earning a commission. Affiliate programs and affiliations include, but are not limited to, the eBay Partner Network.
I've had this desire to add some technology to the trunk space. Not audio stuff, but really useful stuff that would come in handy in certain situations.
I wanted to add specific things
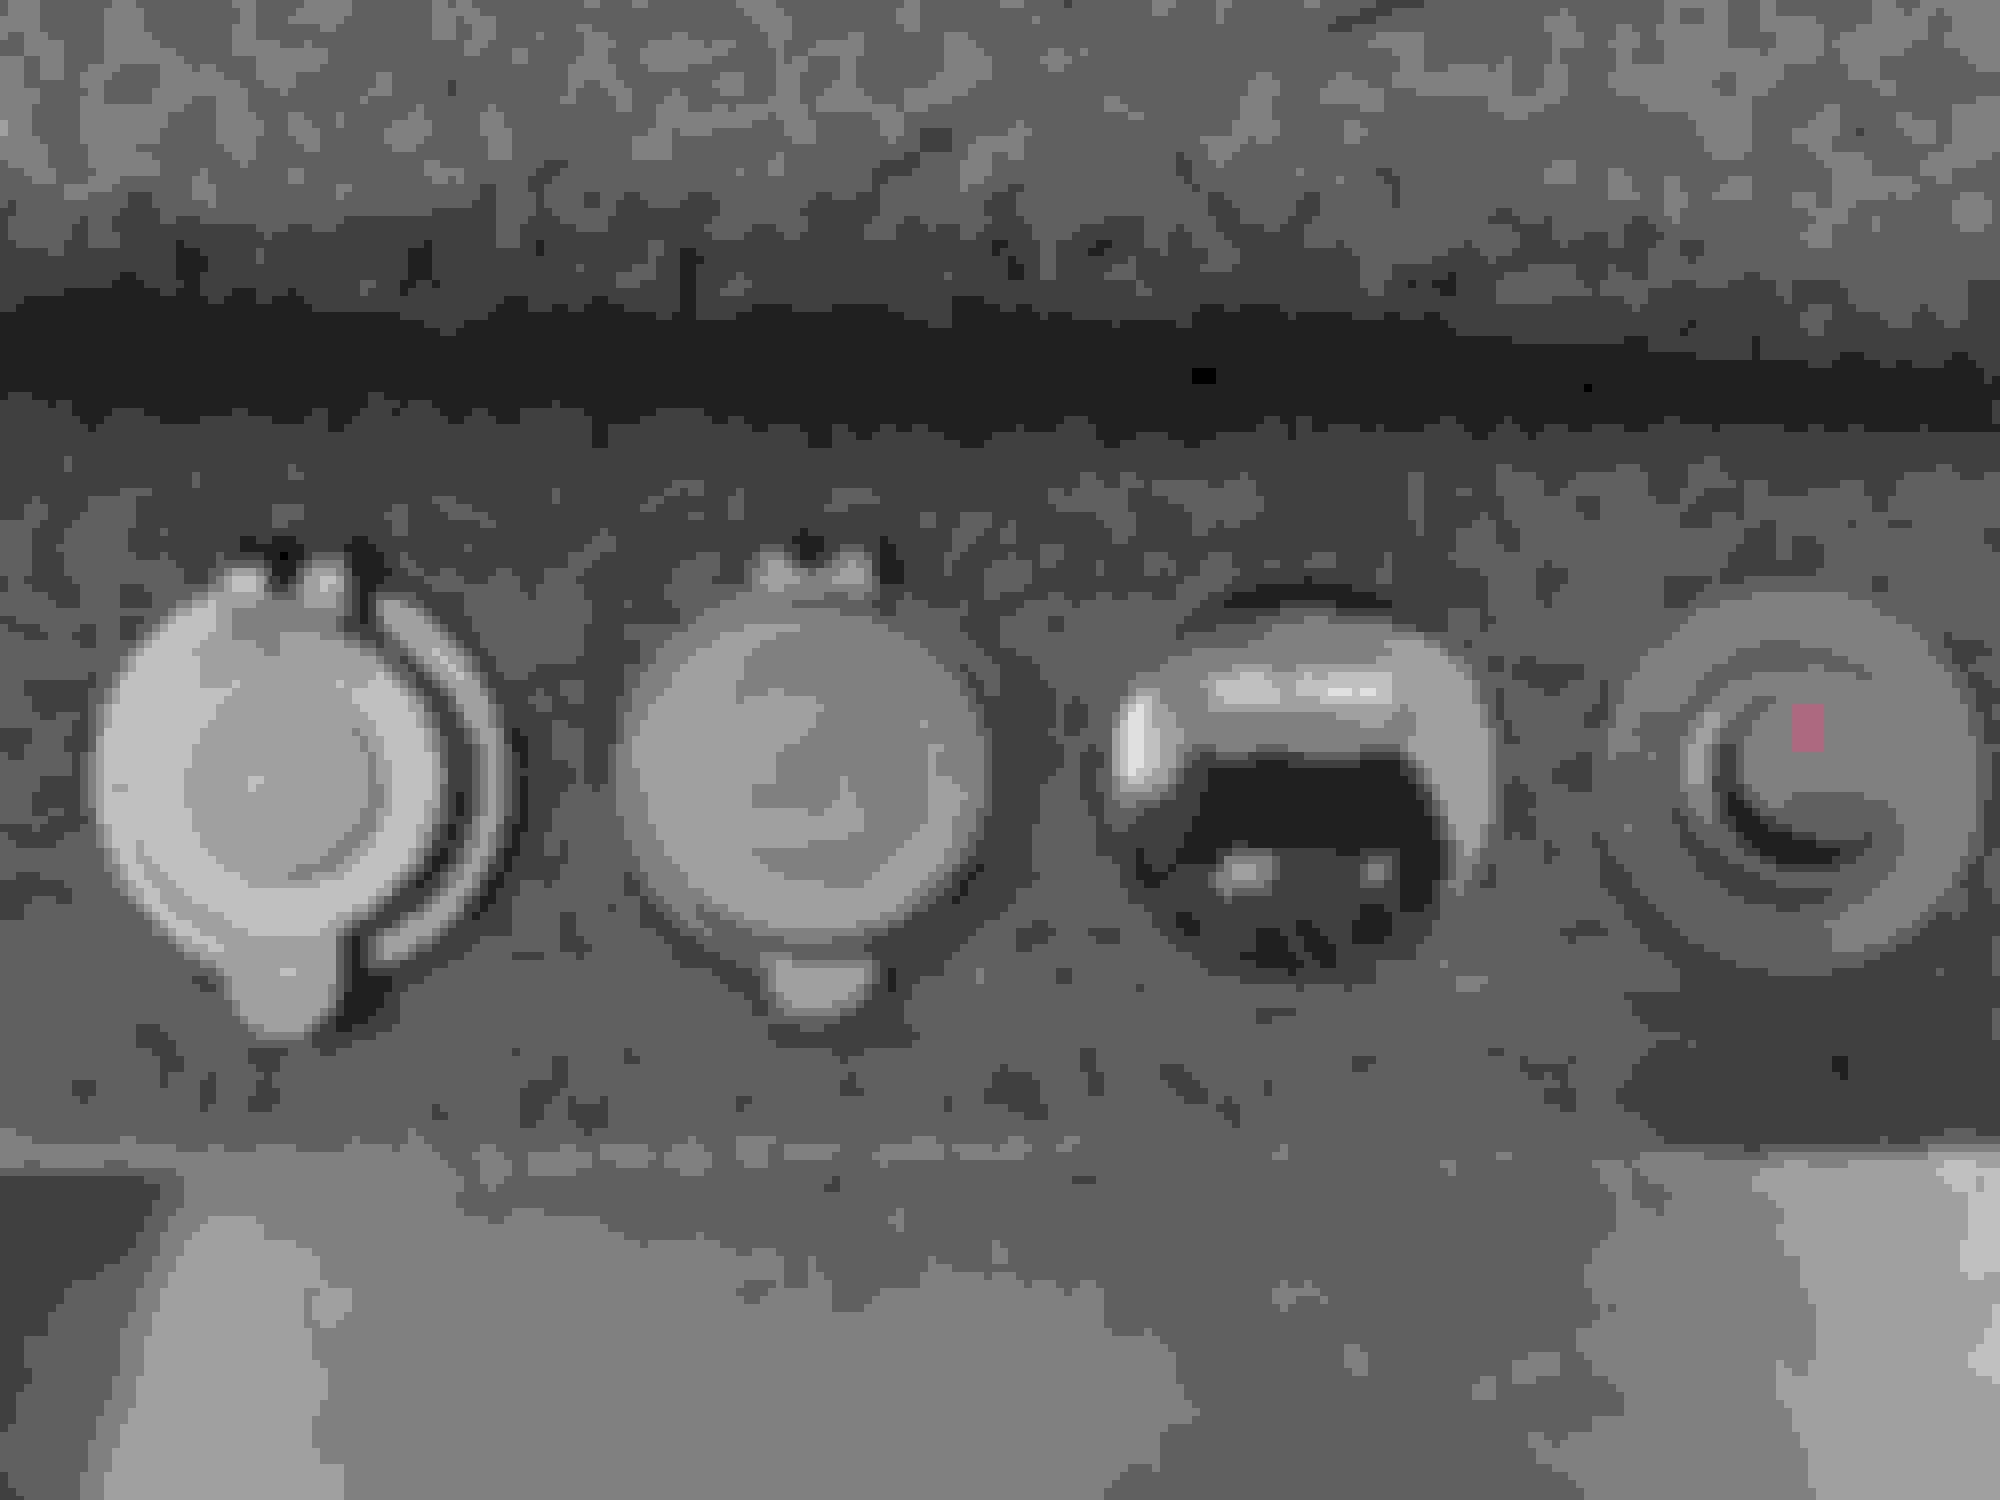
USB outlet
12v outlet
emergency lighting - red flashing kind
voltage readout for car battery
And I wanted to be able to use it all without energizing the entire car. I wanted an on/off switch in the trunk.
Above all, I wanted it to appear that all this added tech was not "added". I like to keep things close to looking "original to the untrained eye".
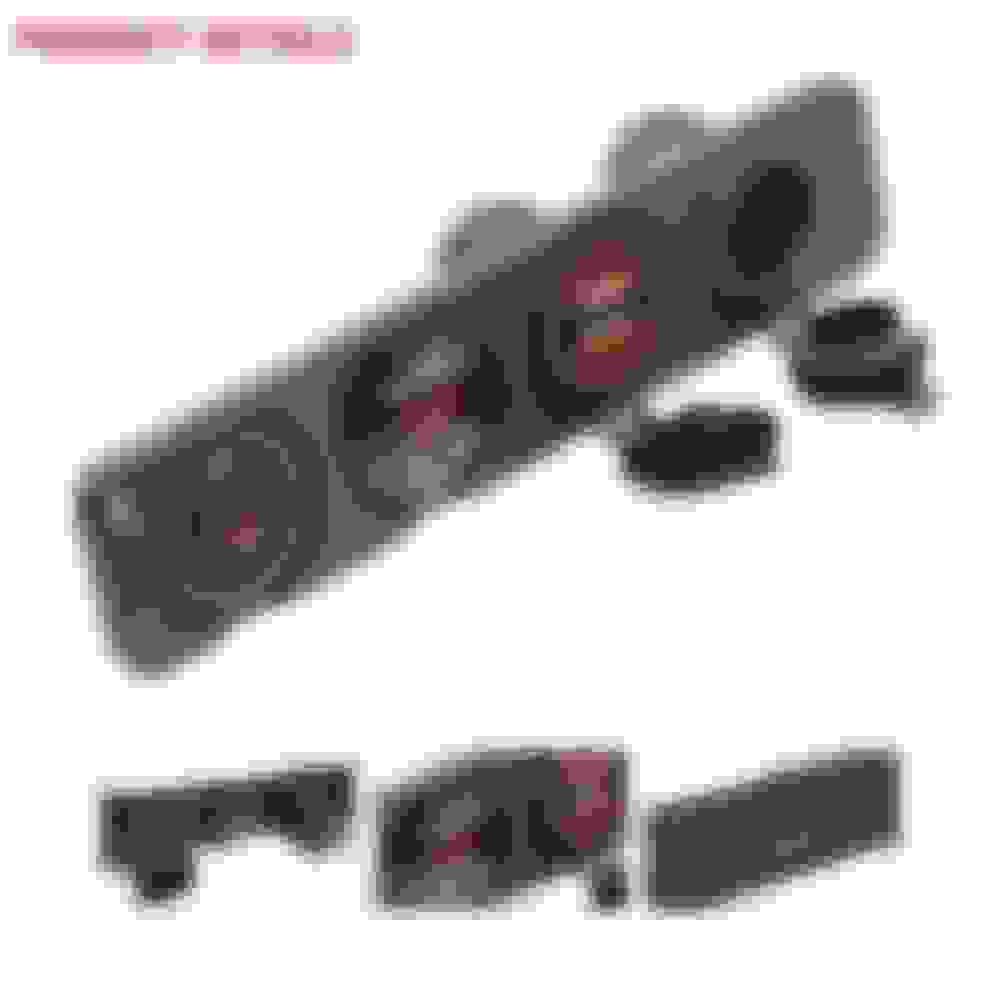
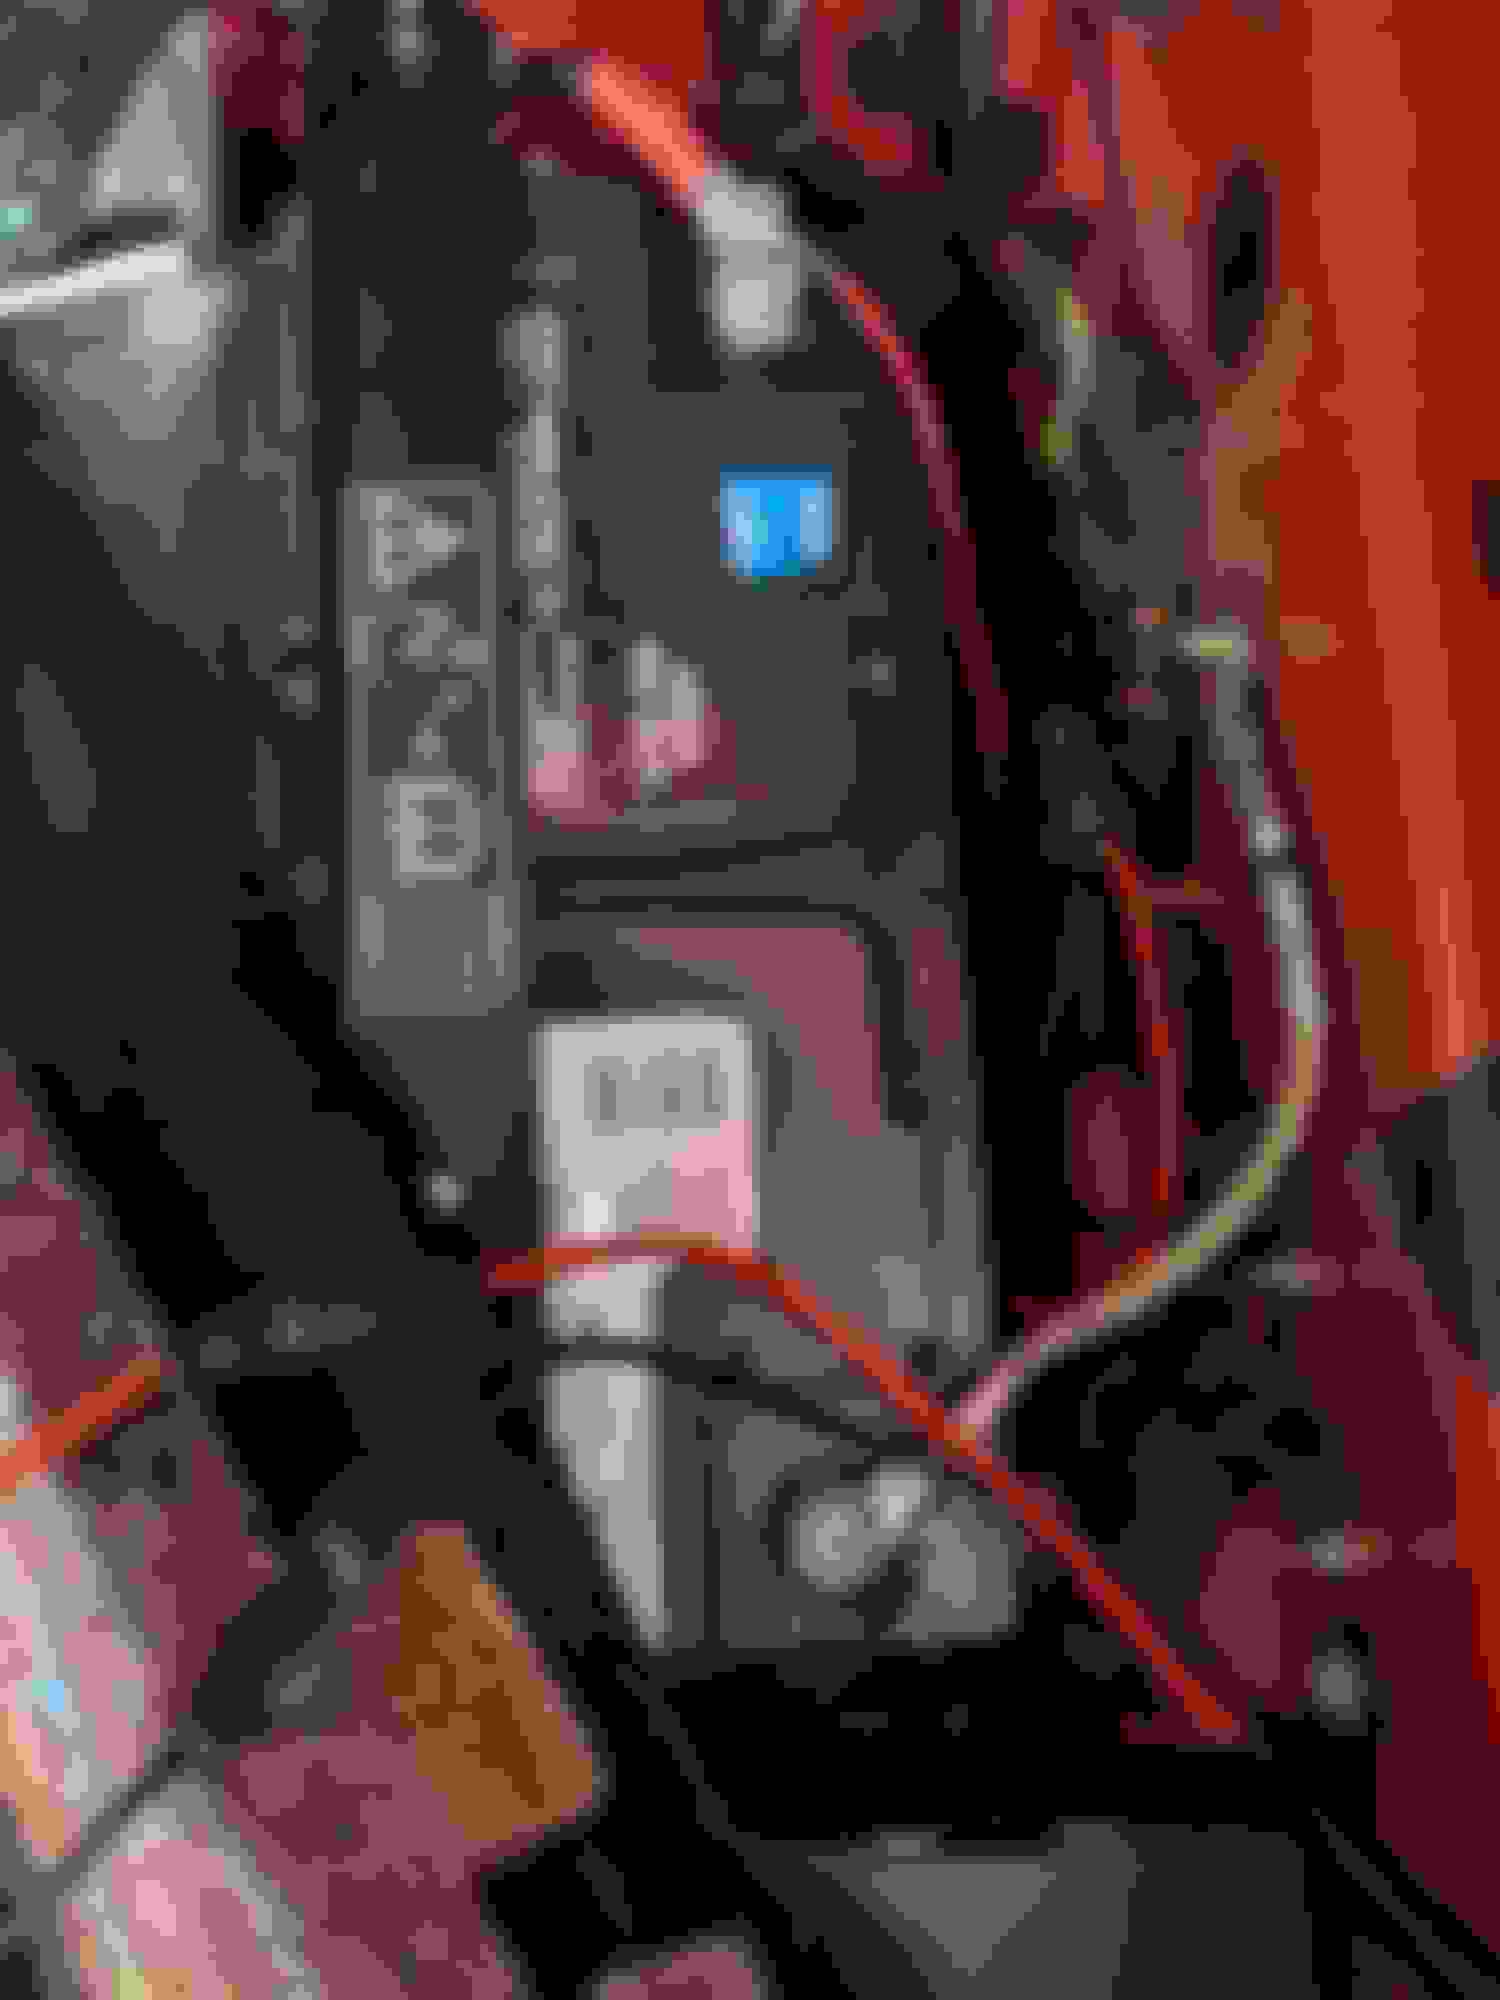
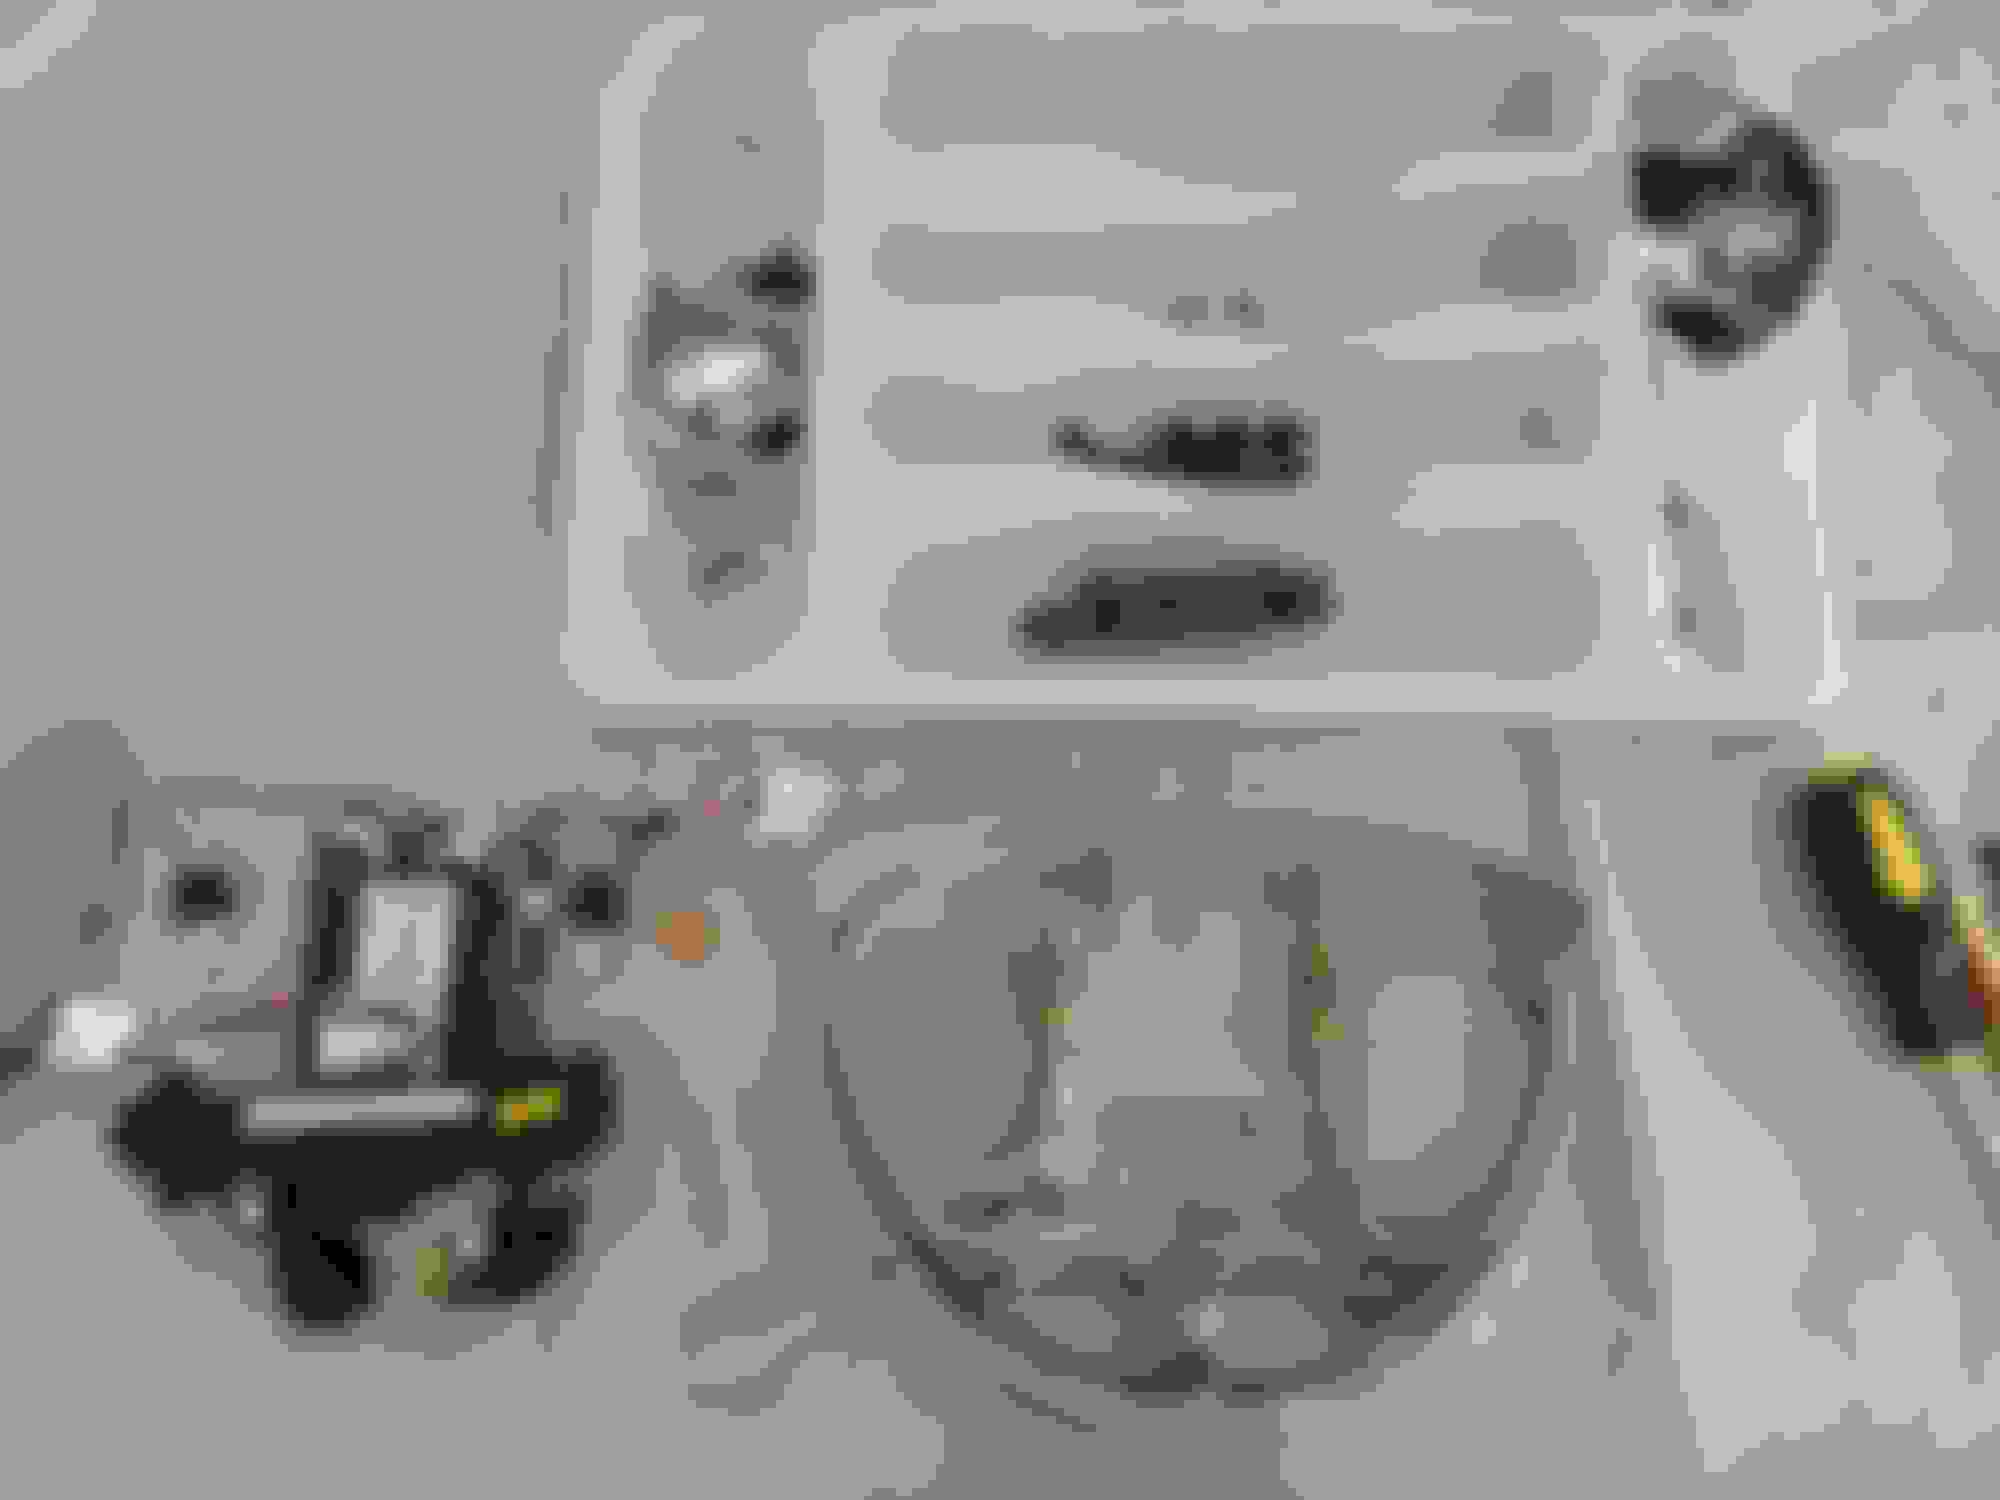
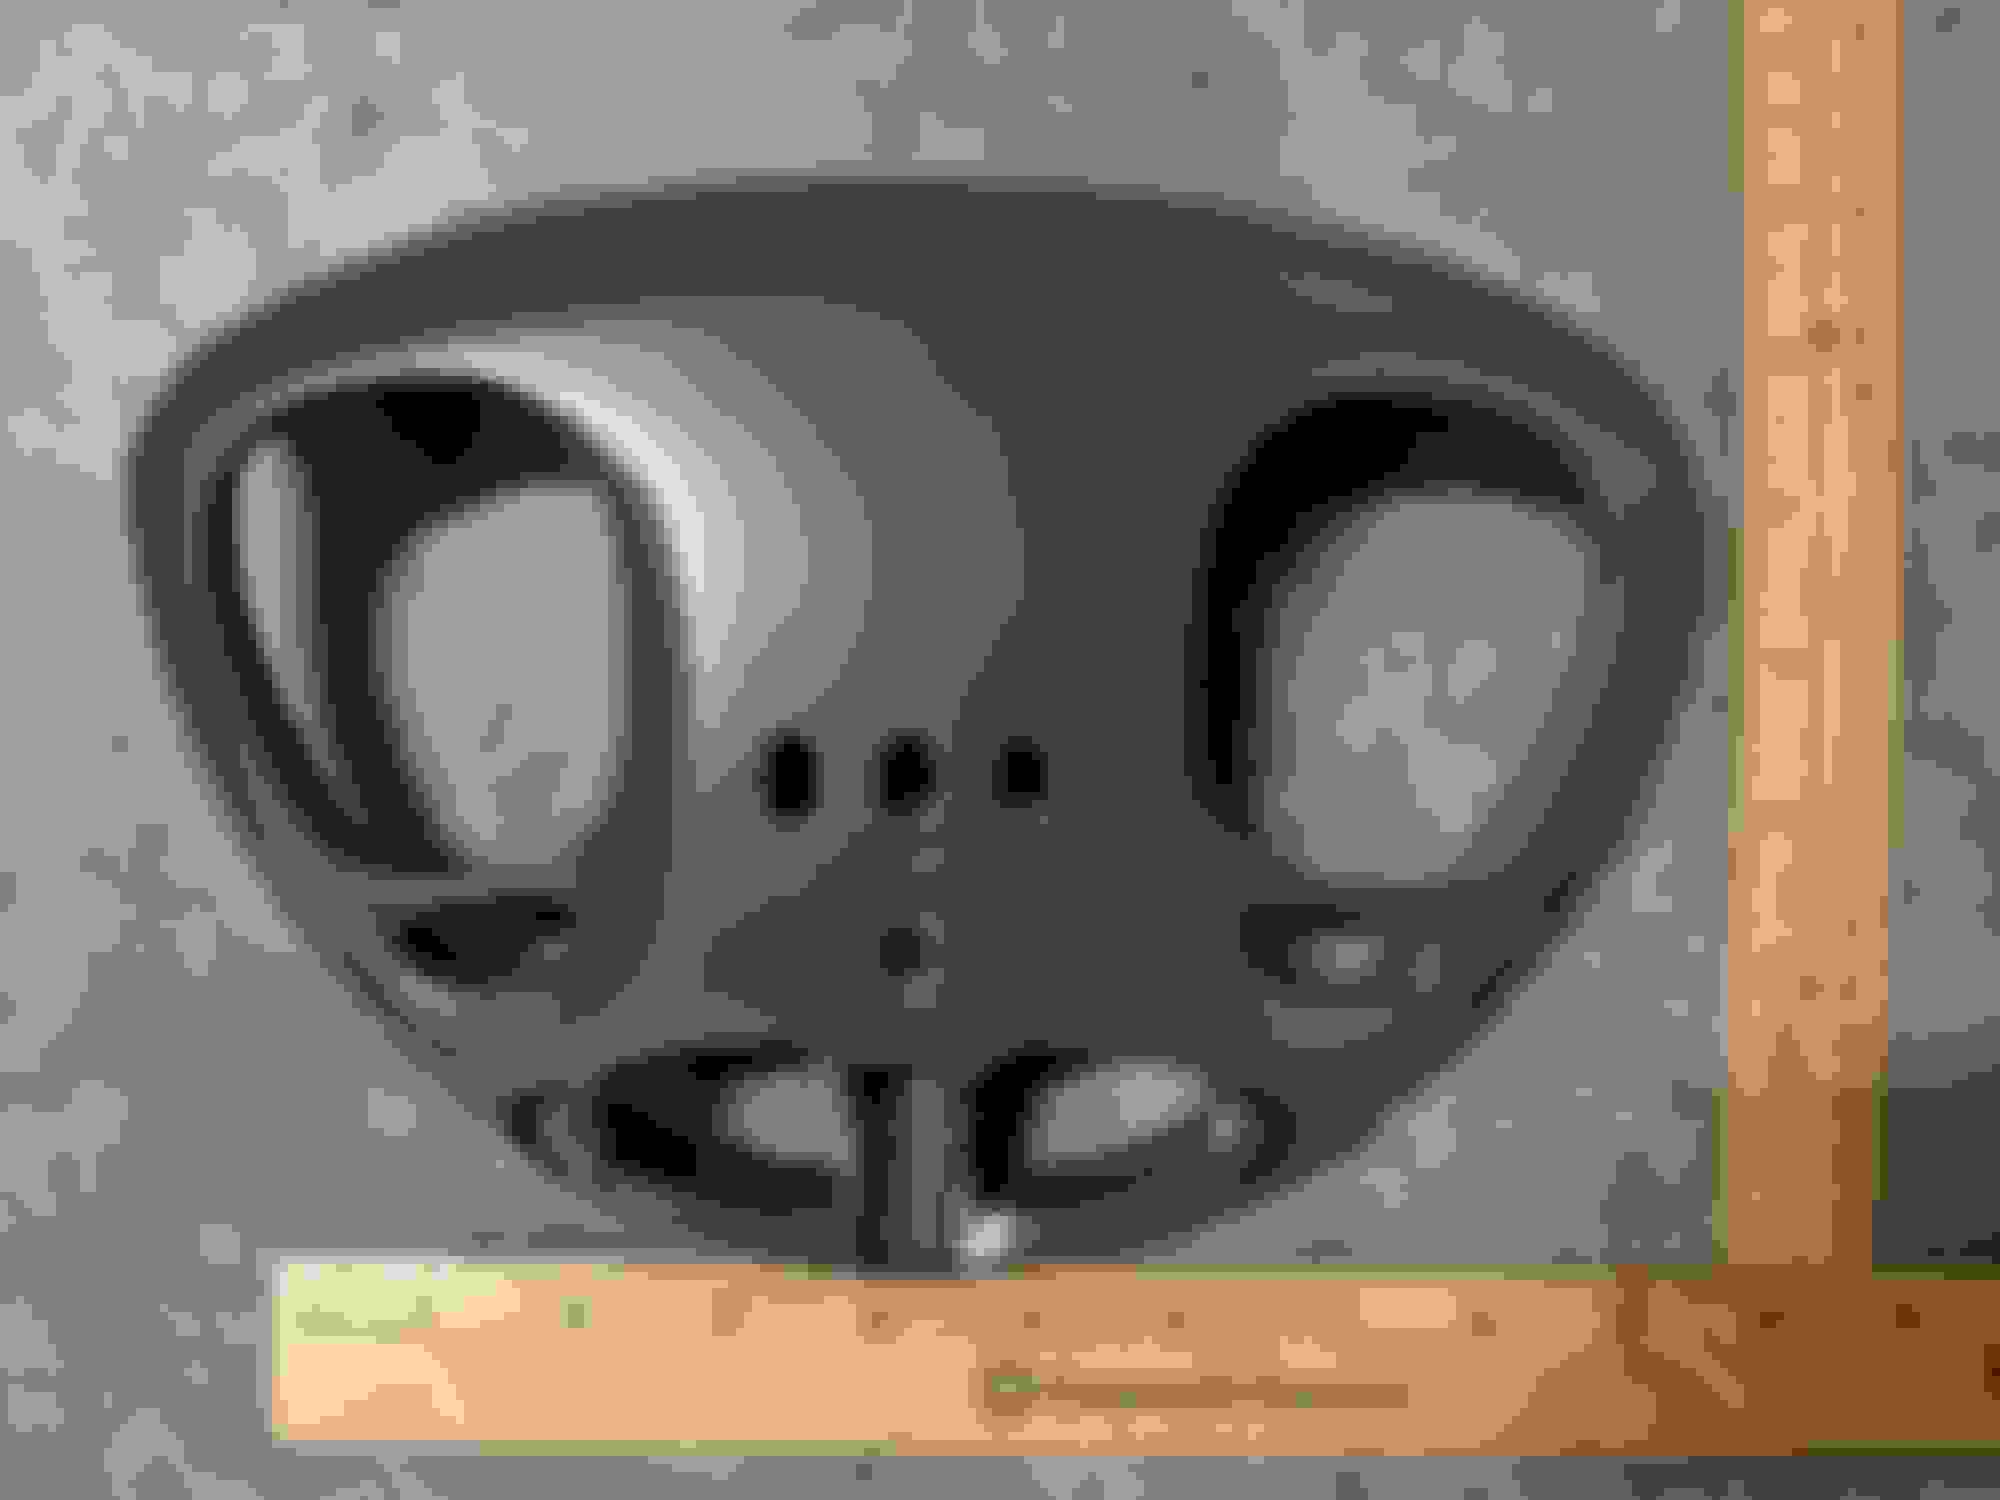
So I started shopping for parts to make my desires a reality. I was lucky enough to find an aftermarket panel that contained the majority of the parts I needed, even in red color to match my car. https://smile.amazon.com/gp/product/...?ie=UTF8&psc=1
My plan was to make use of the empty space above the CD changer since my car does not have navigation.
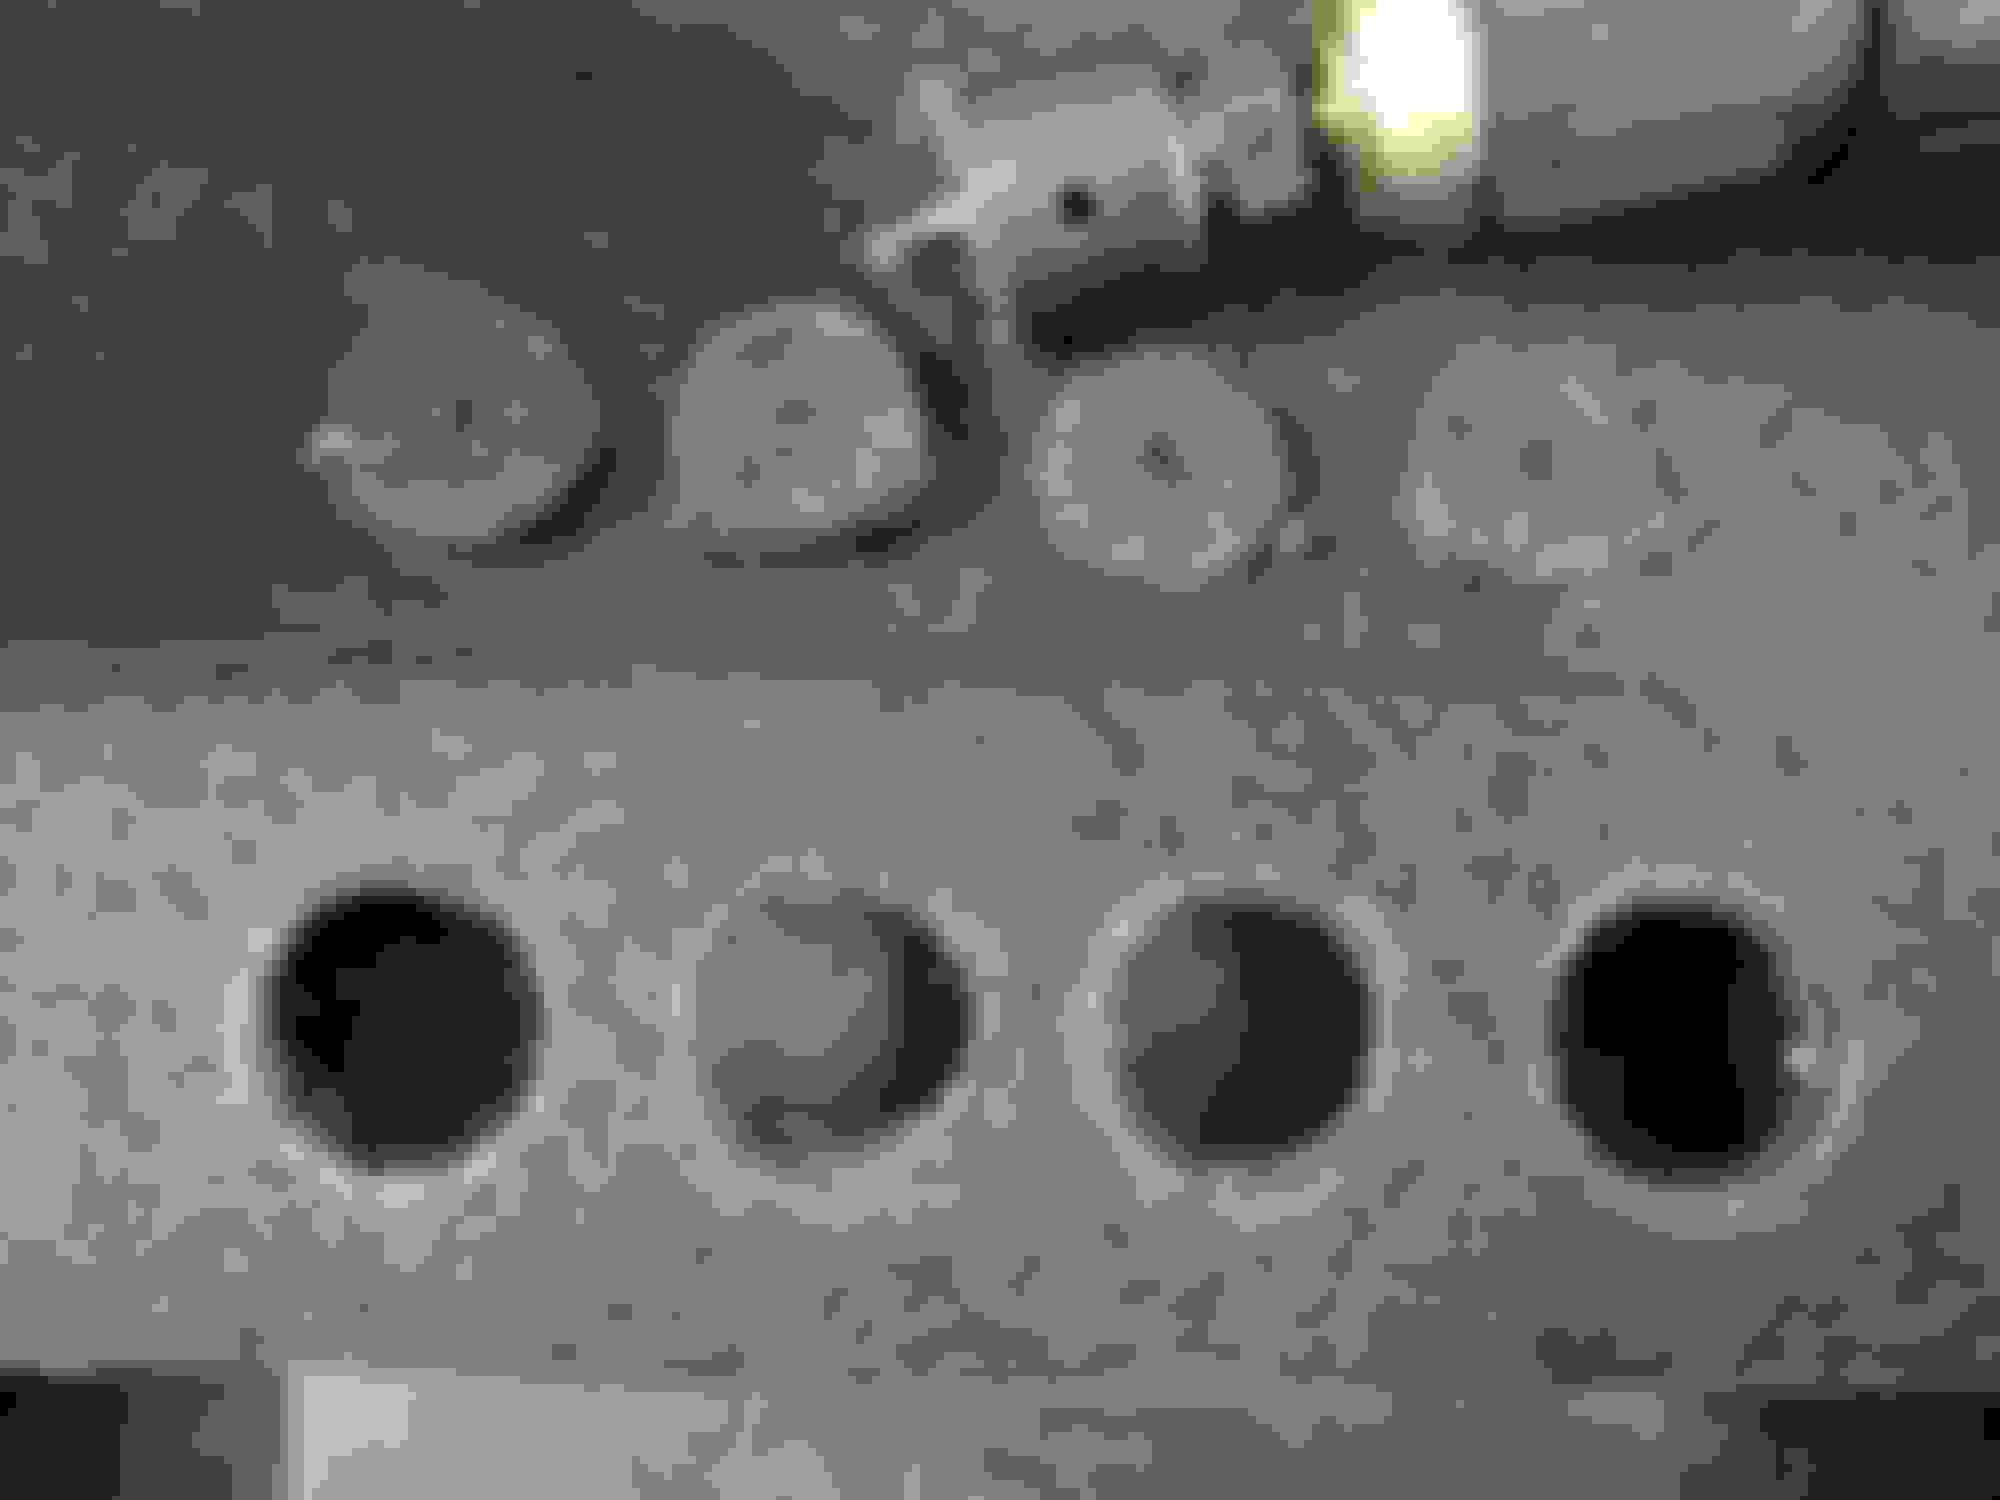
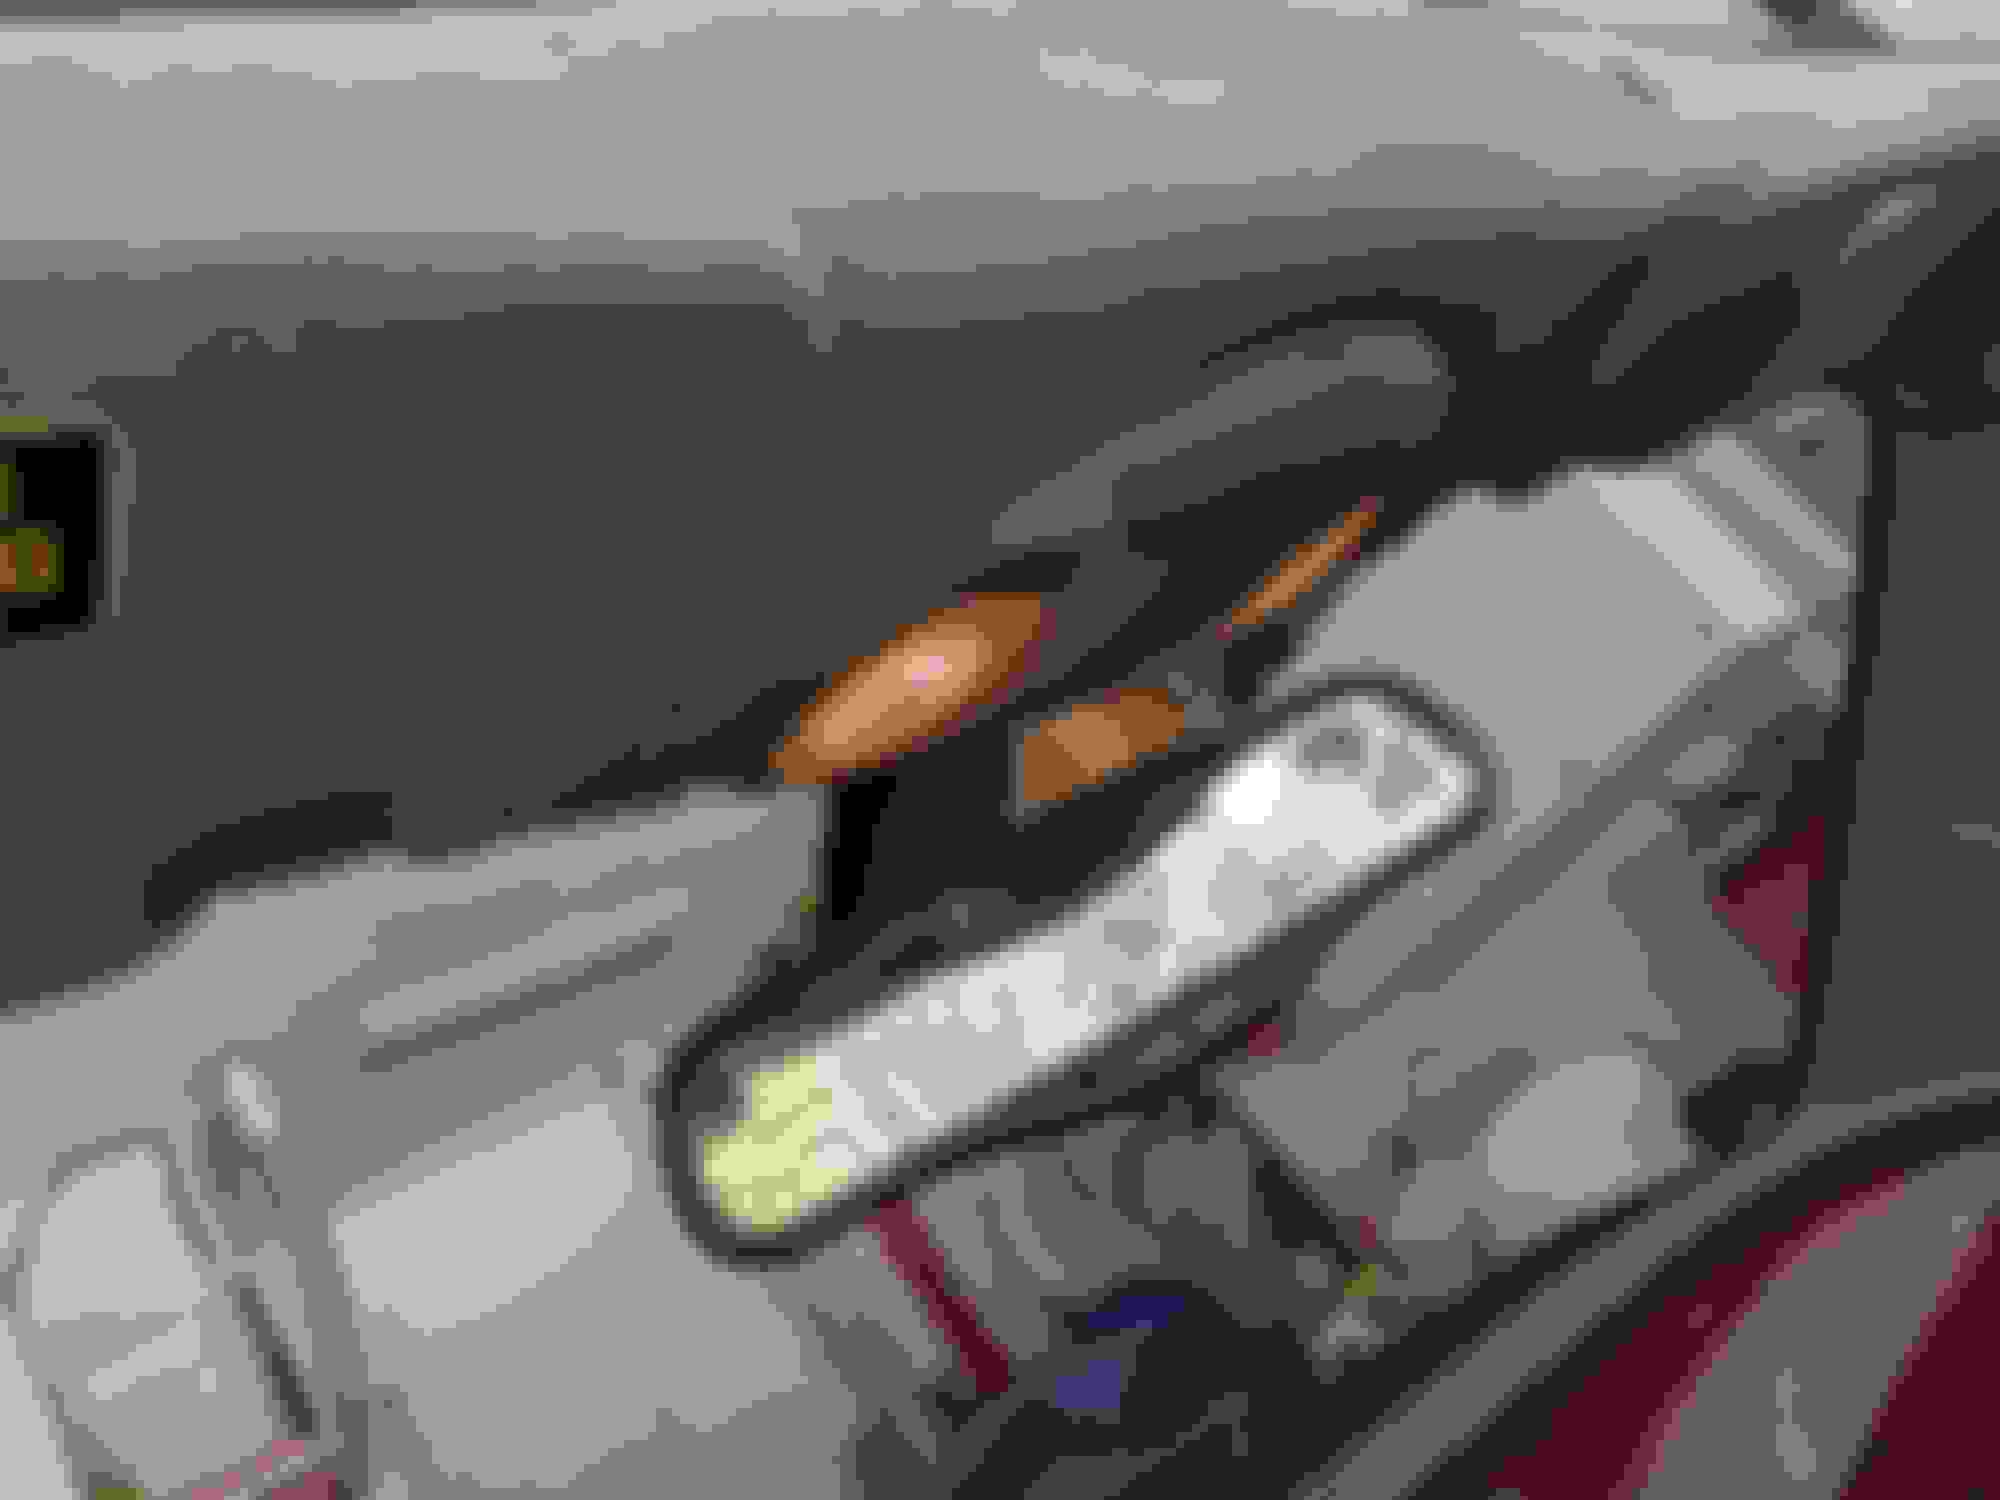
I used the multi-function panel to make some holes in the trunk interior panel. Fortunately I had a 32mm hole saw that was exactly the right size.
I drilled the holes from the back side. The panel cut remarkably well.
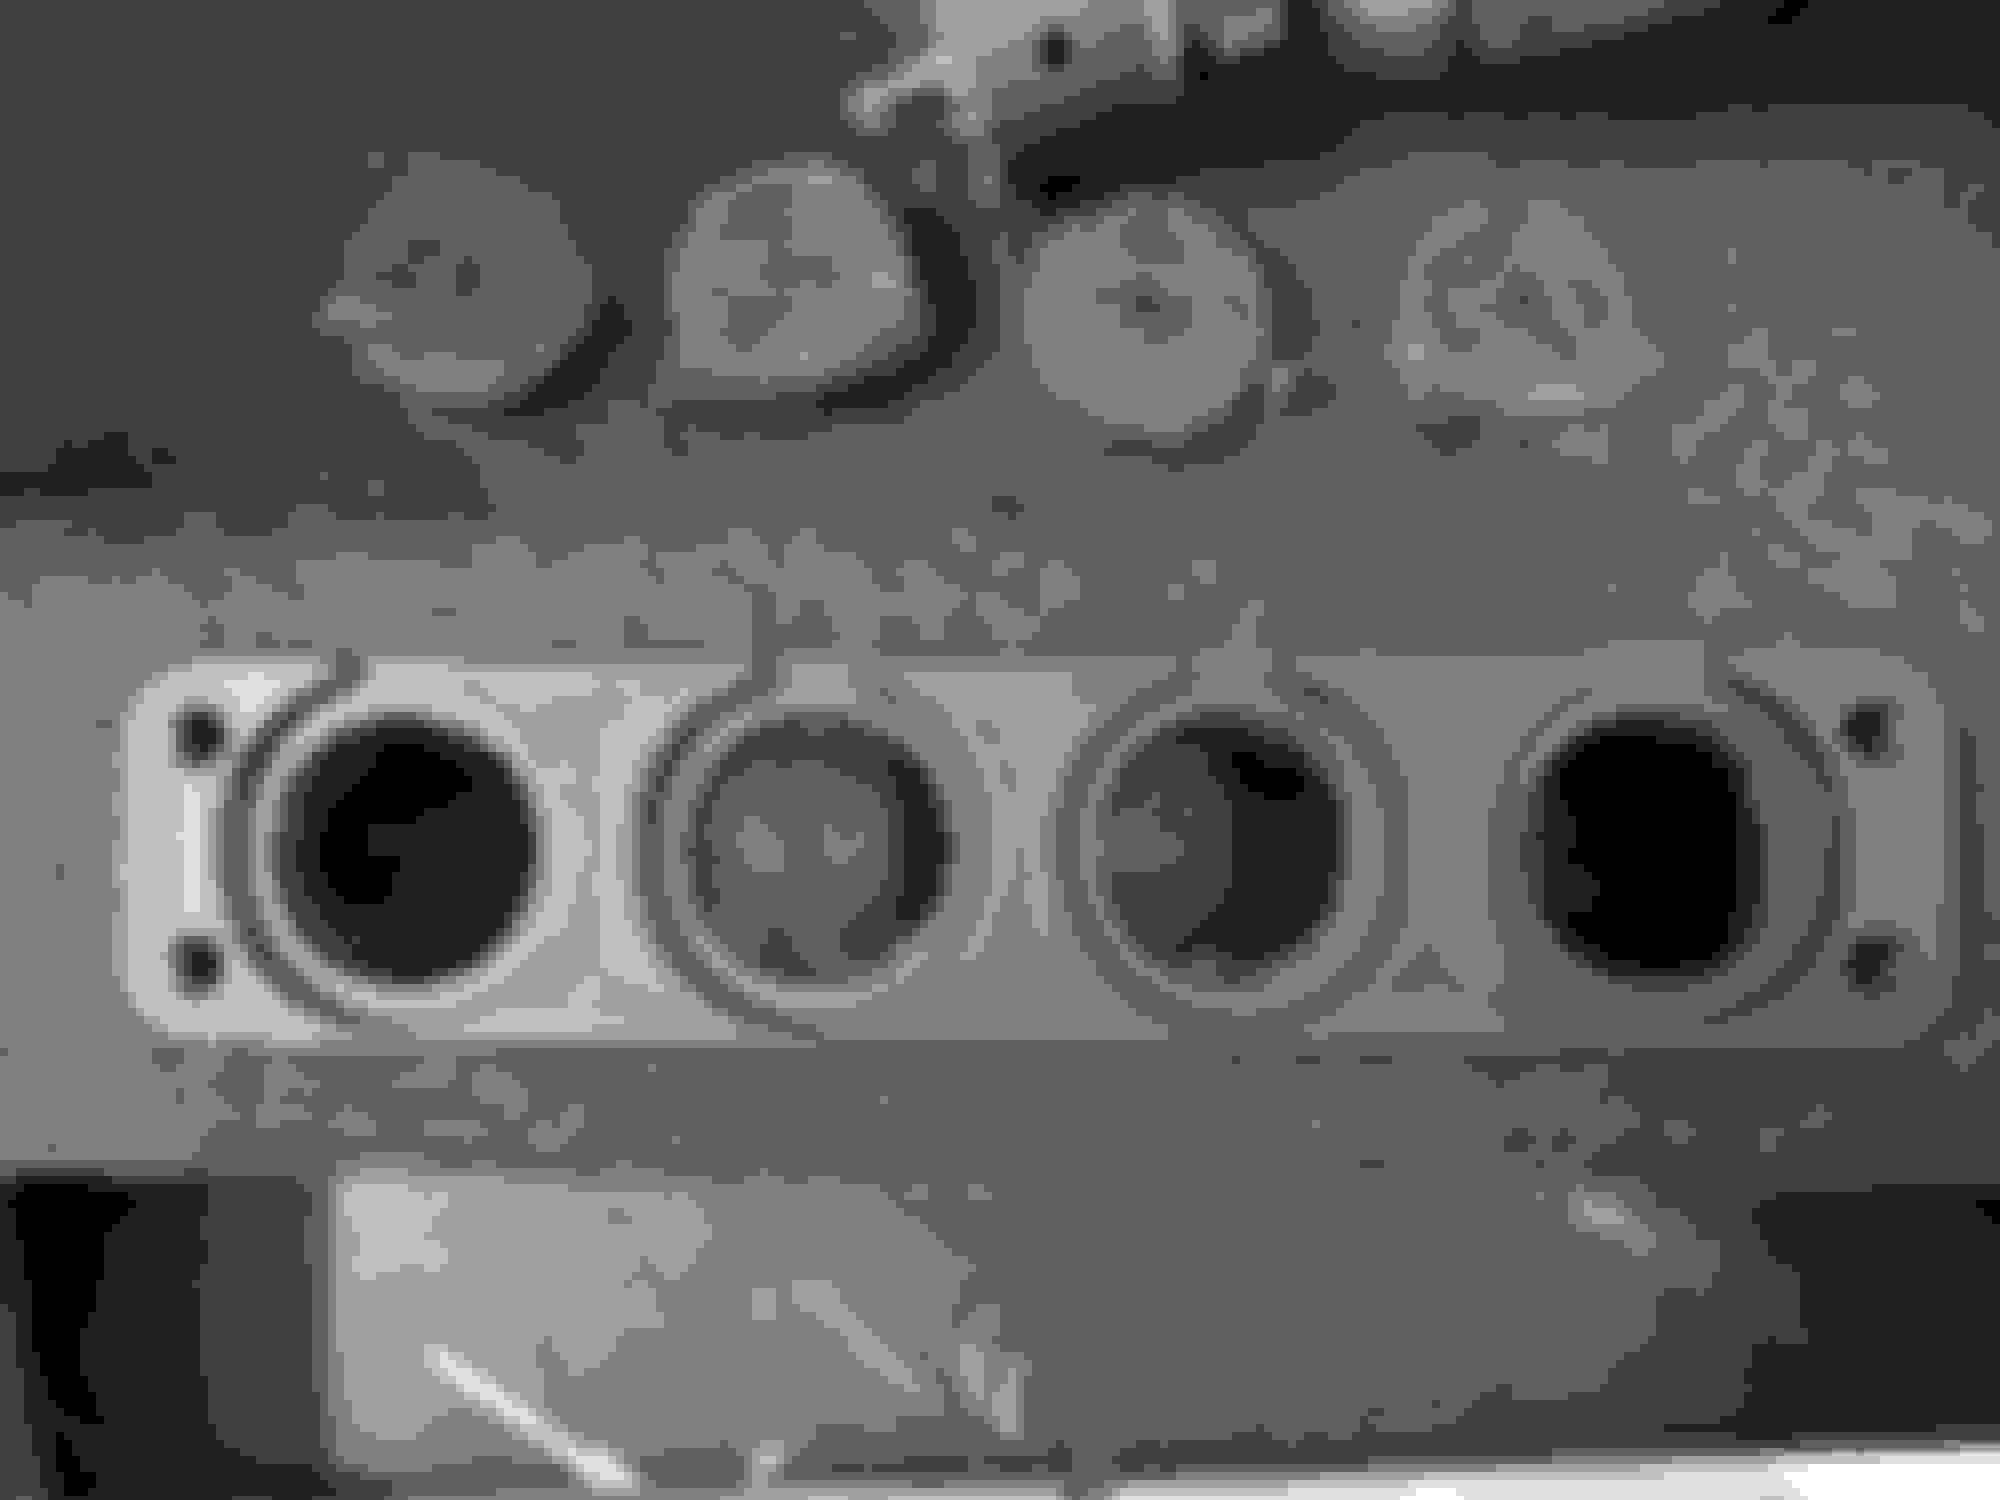
To me, the multi-function panel just looks to aftermarket for my taste. Was good to see I got the holes in the right place.
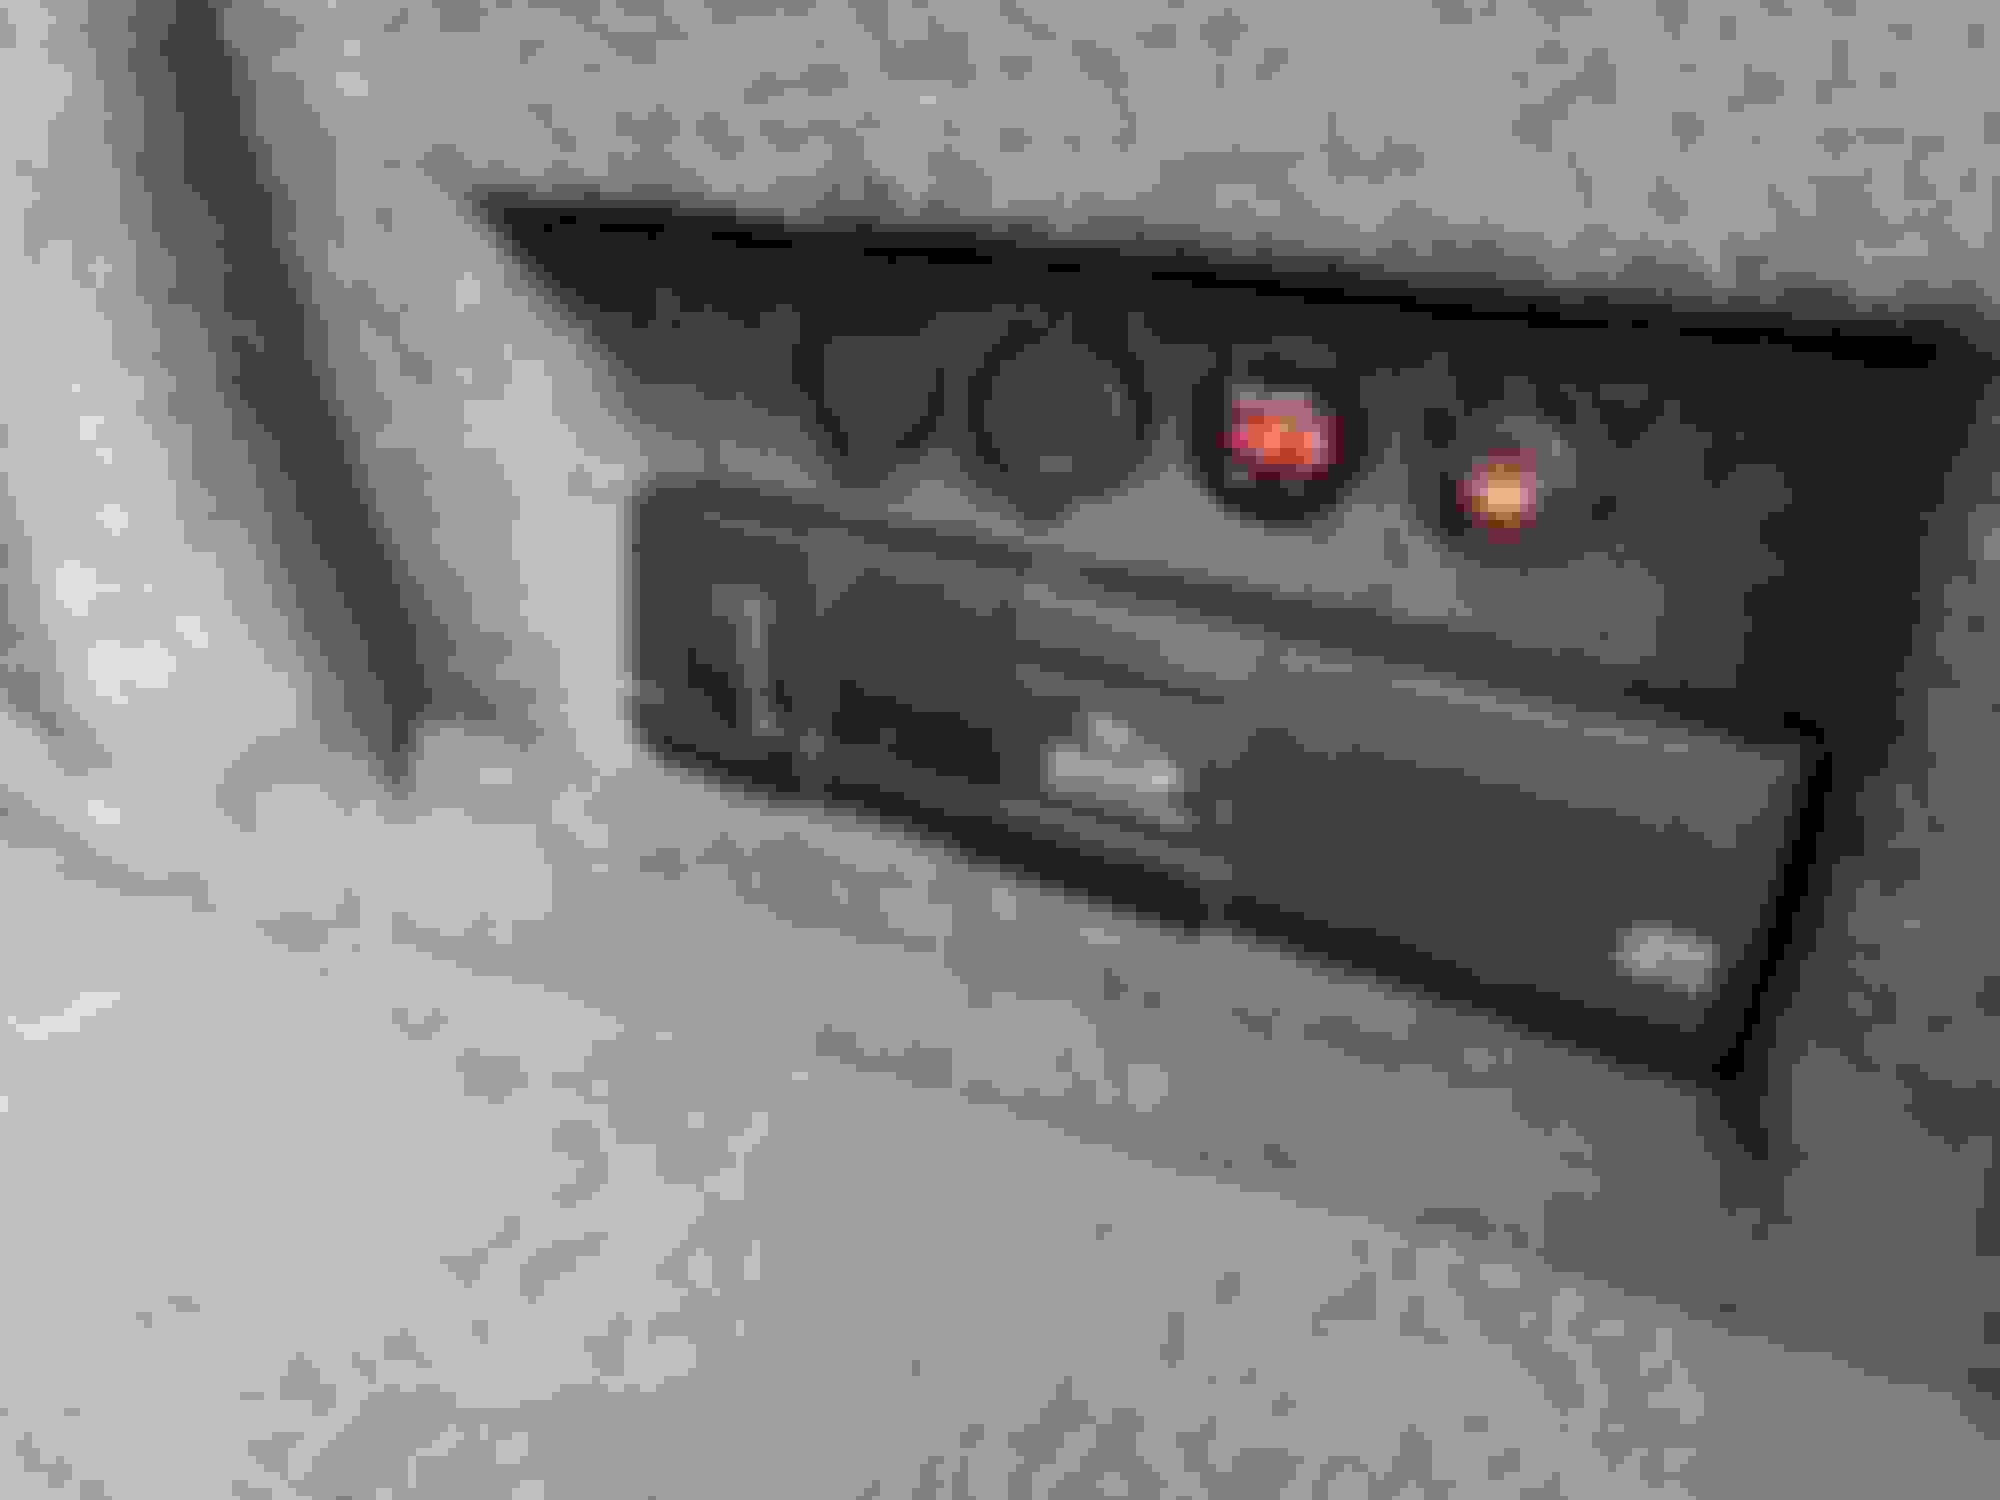
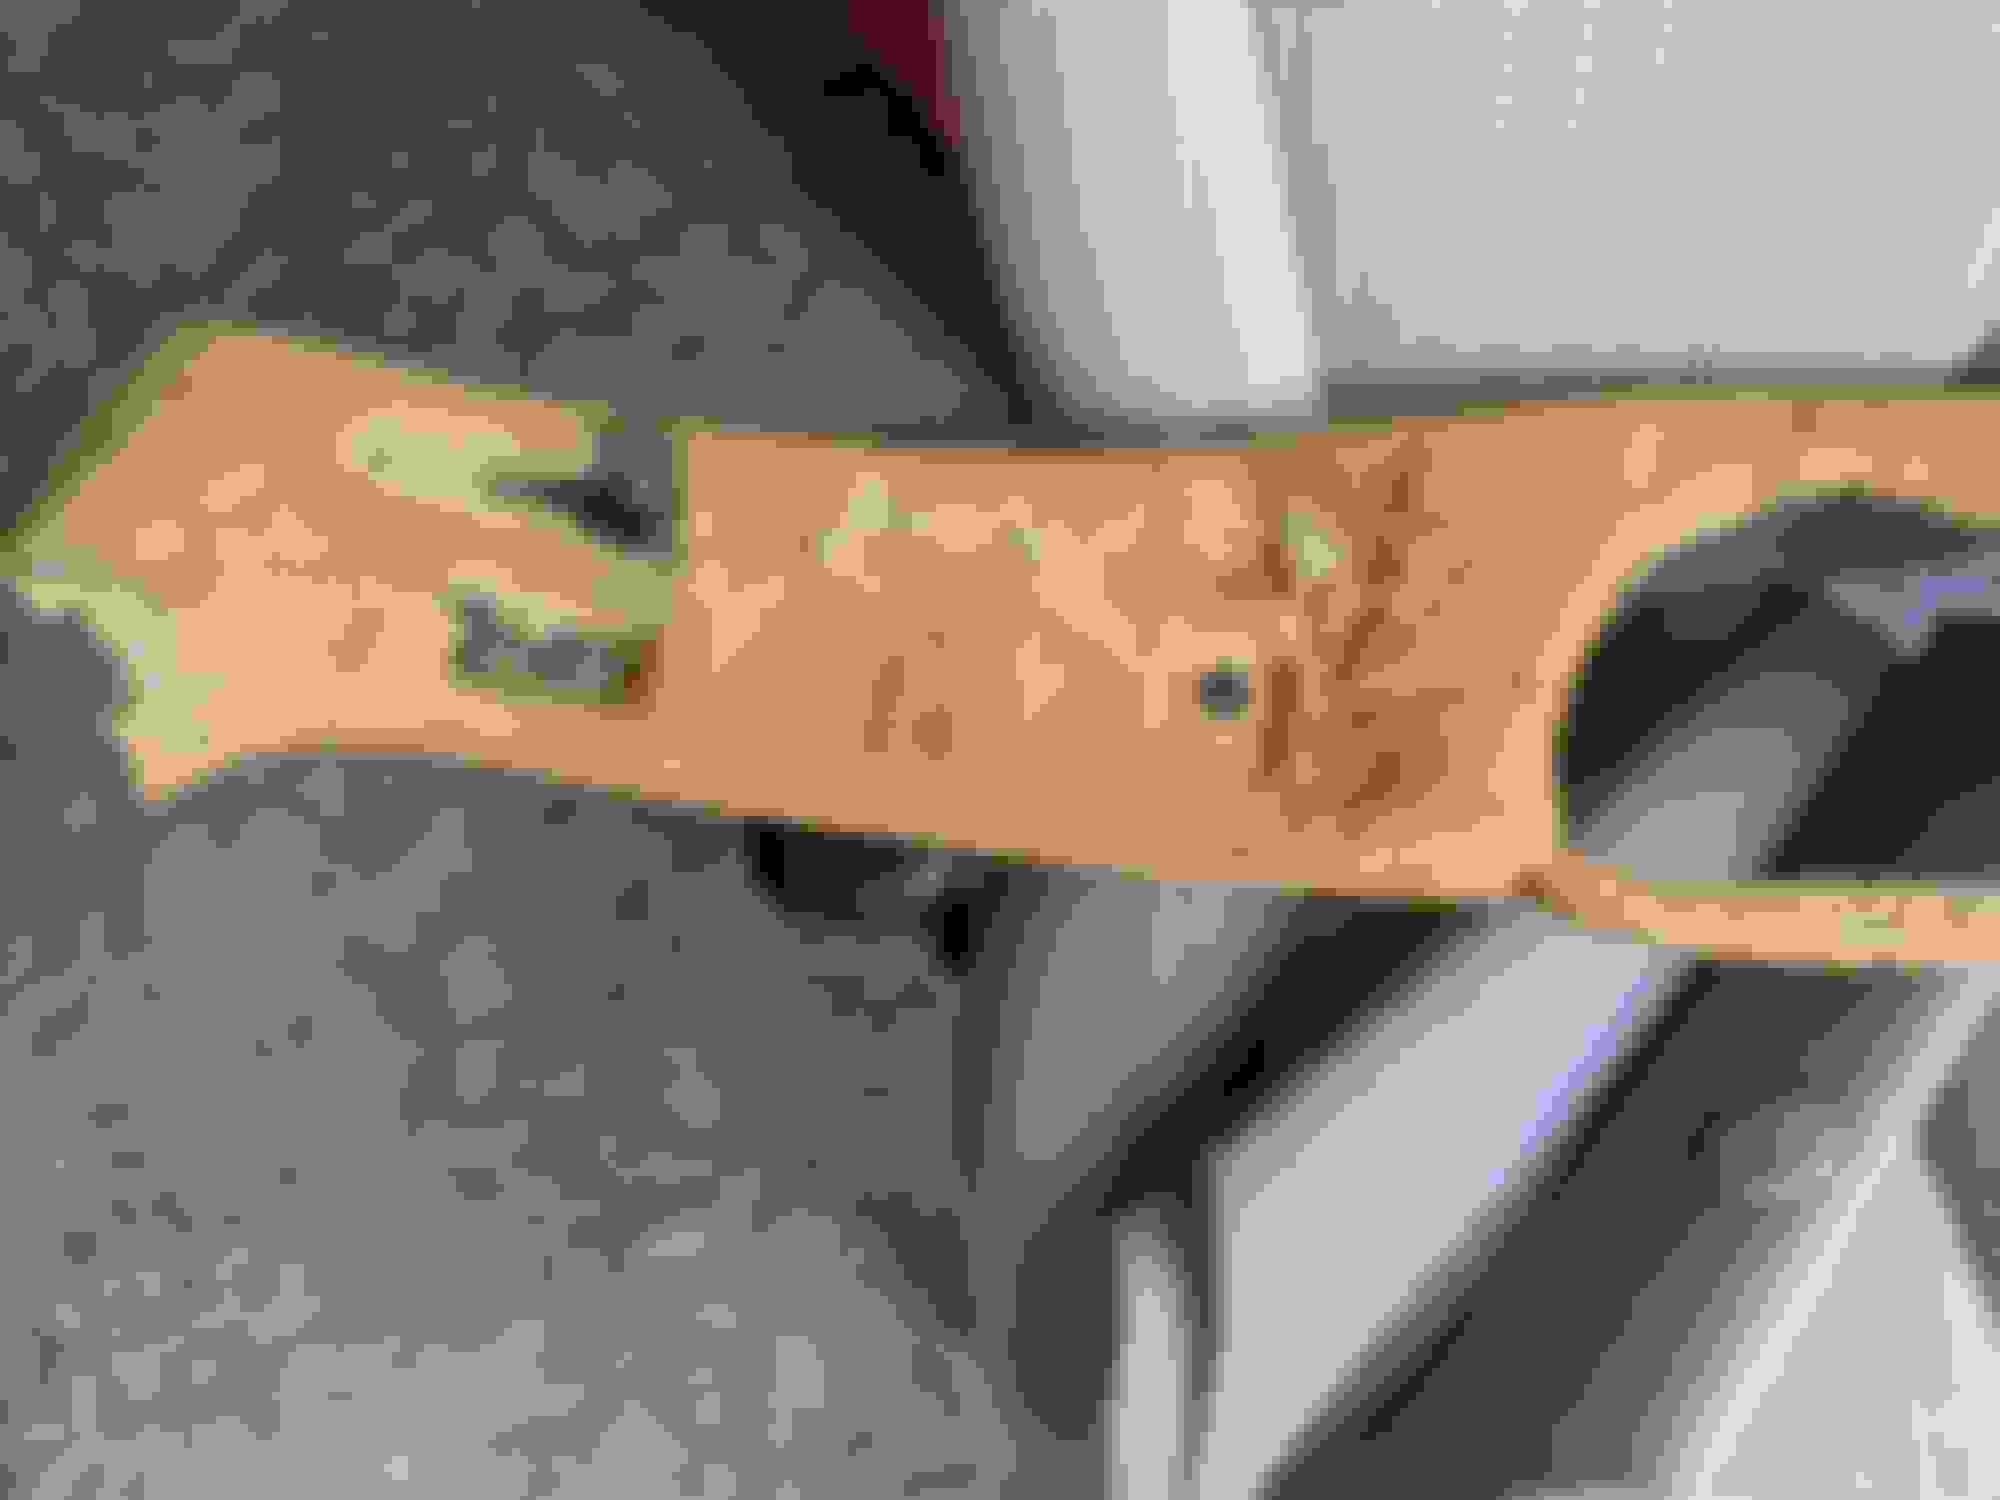
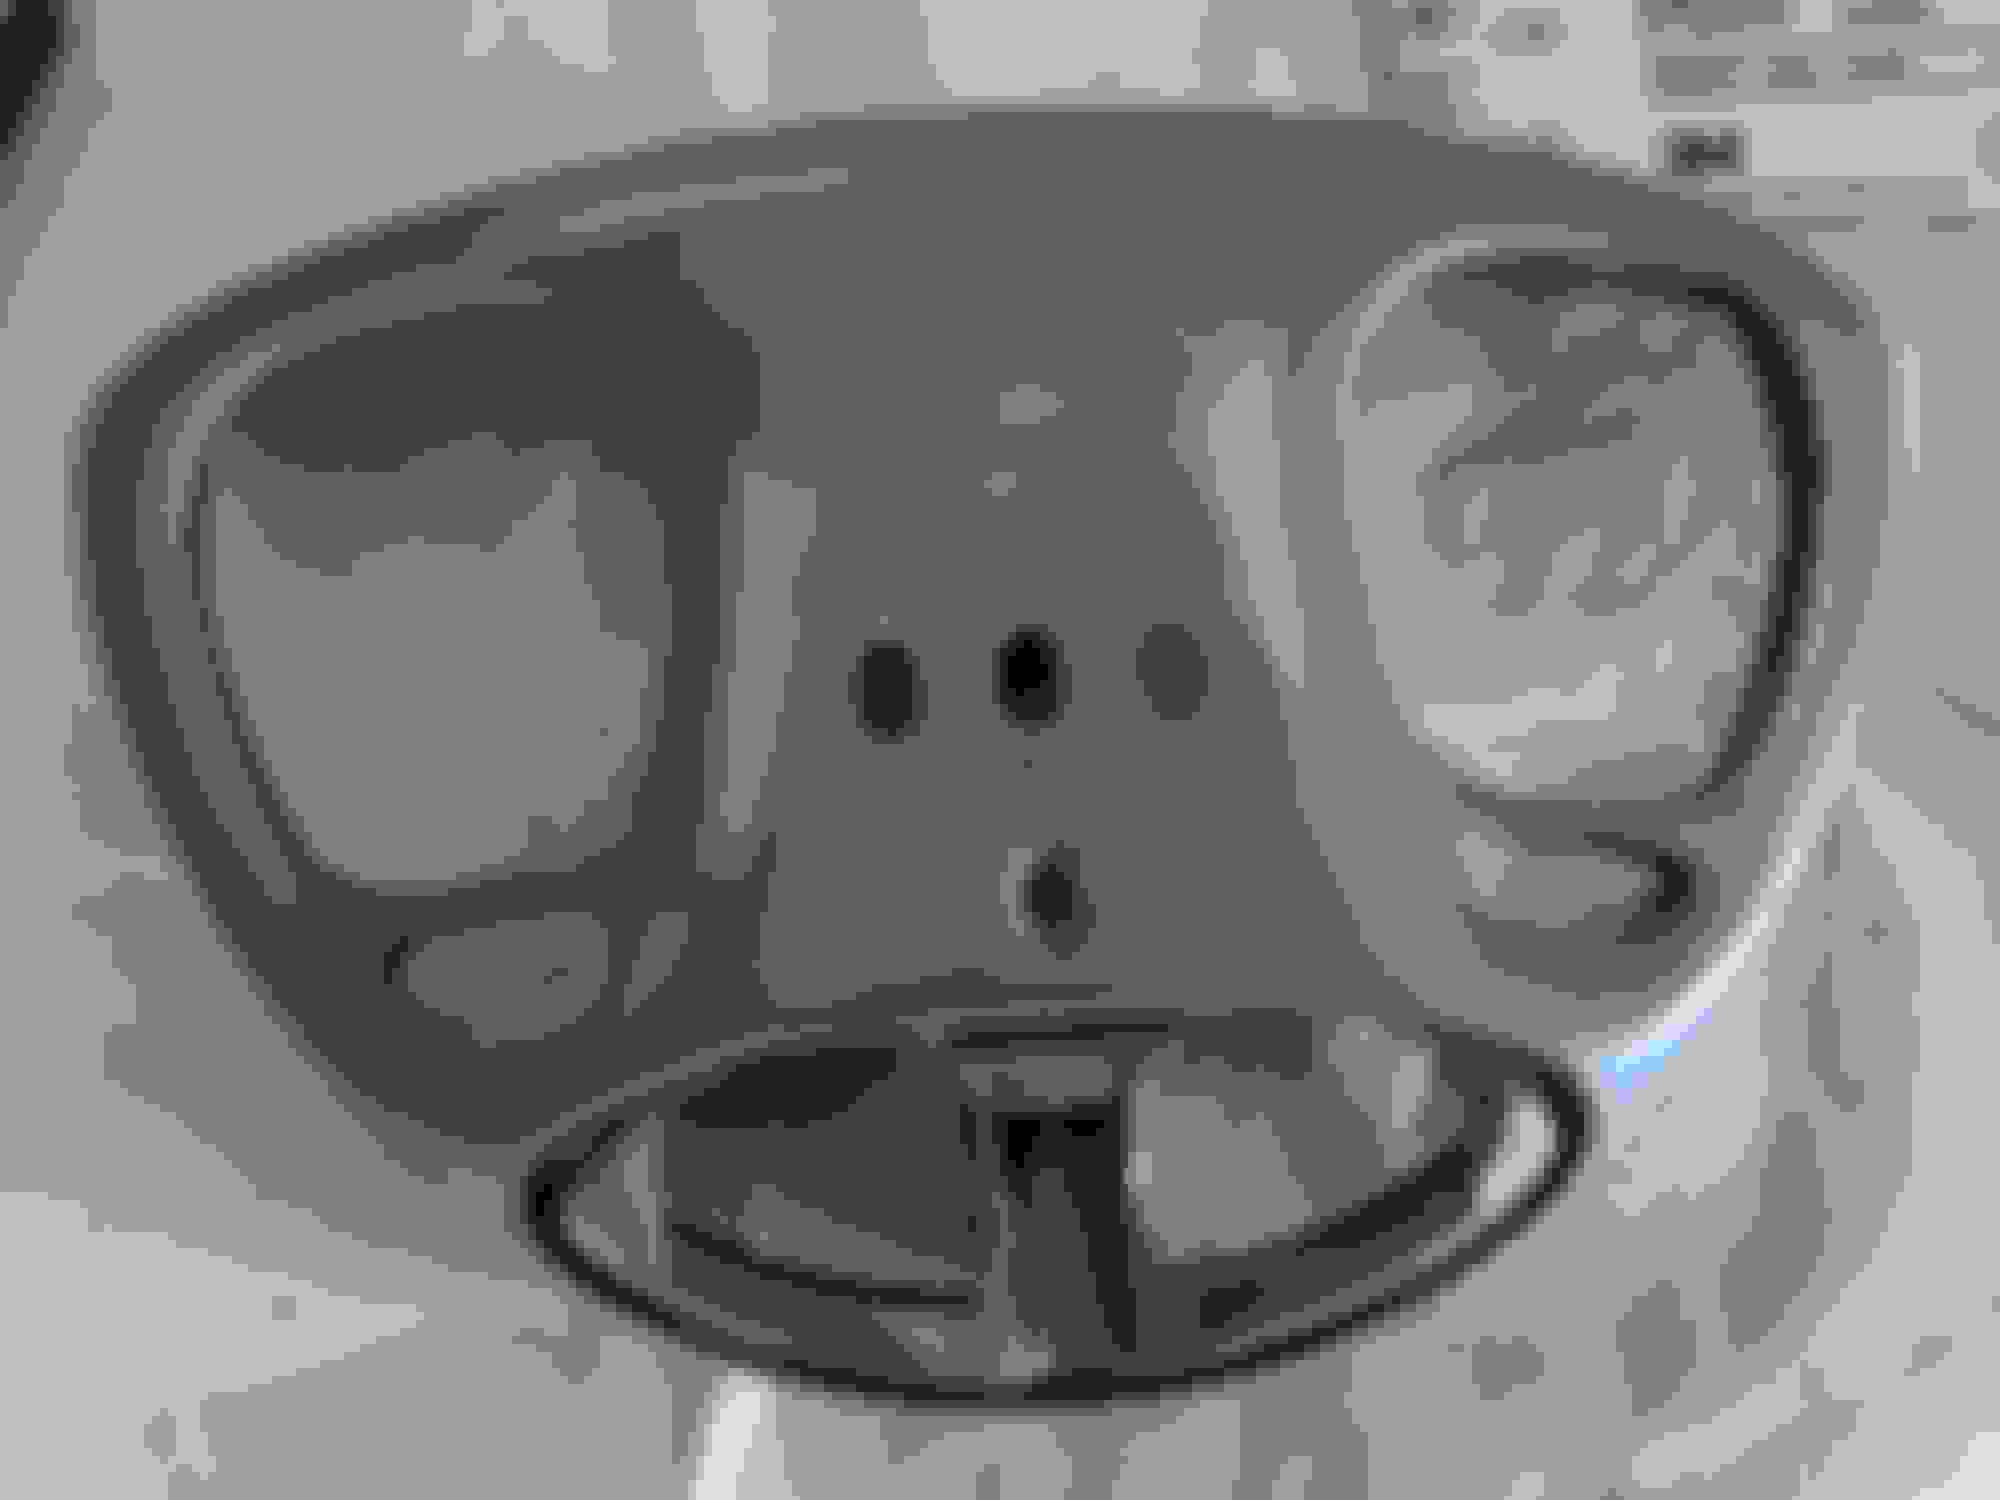
I had to make the wiring harnesses. Then assembled it all using the included panel as a backing plate for stiffness. Worked well that way.
To me using the separate pieces this way really makes them look more original, like they belong there.
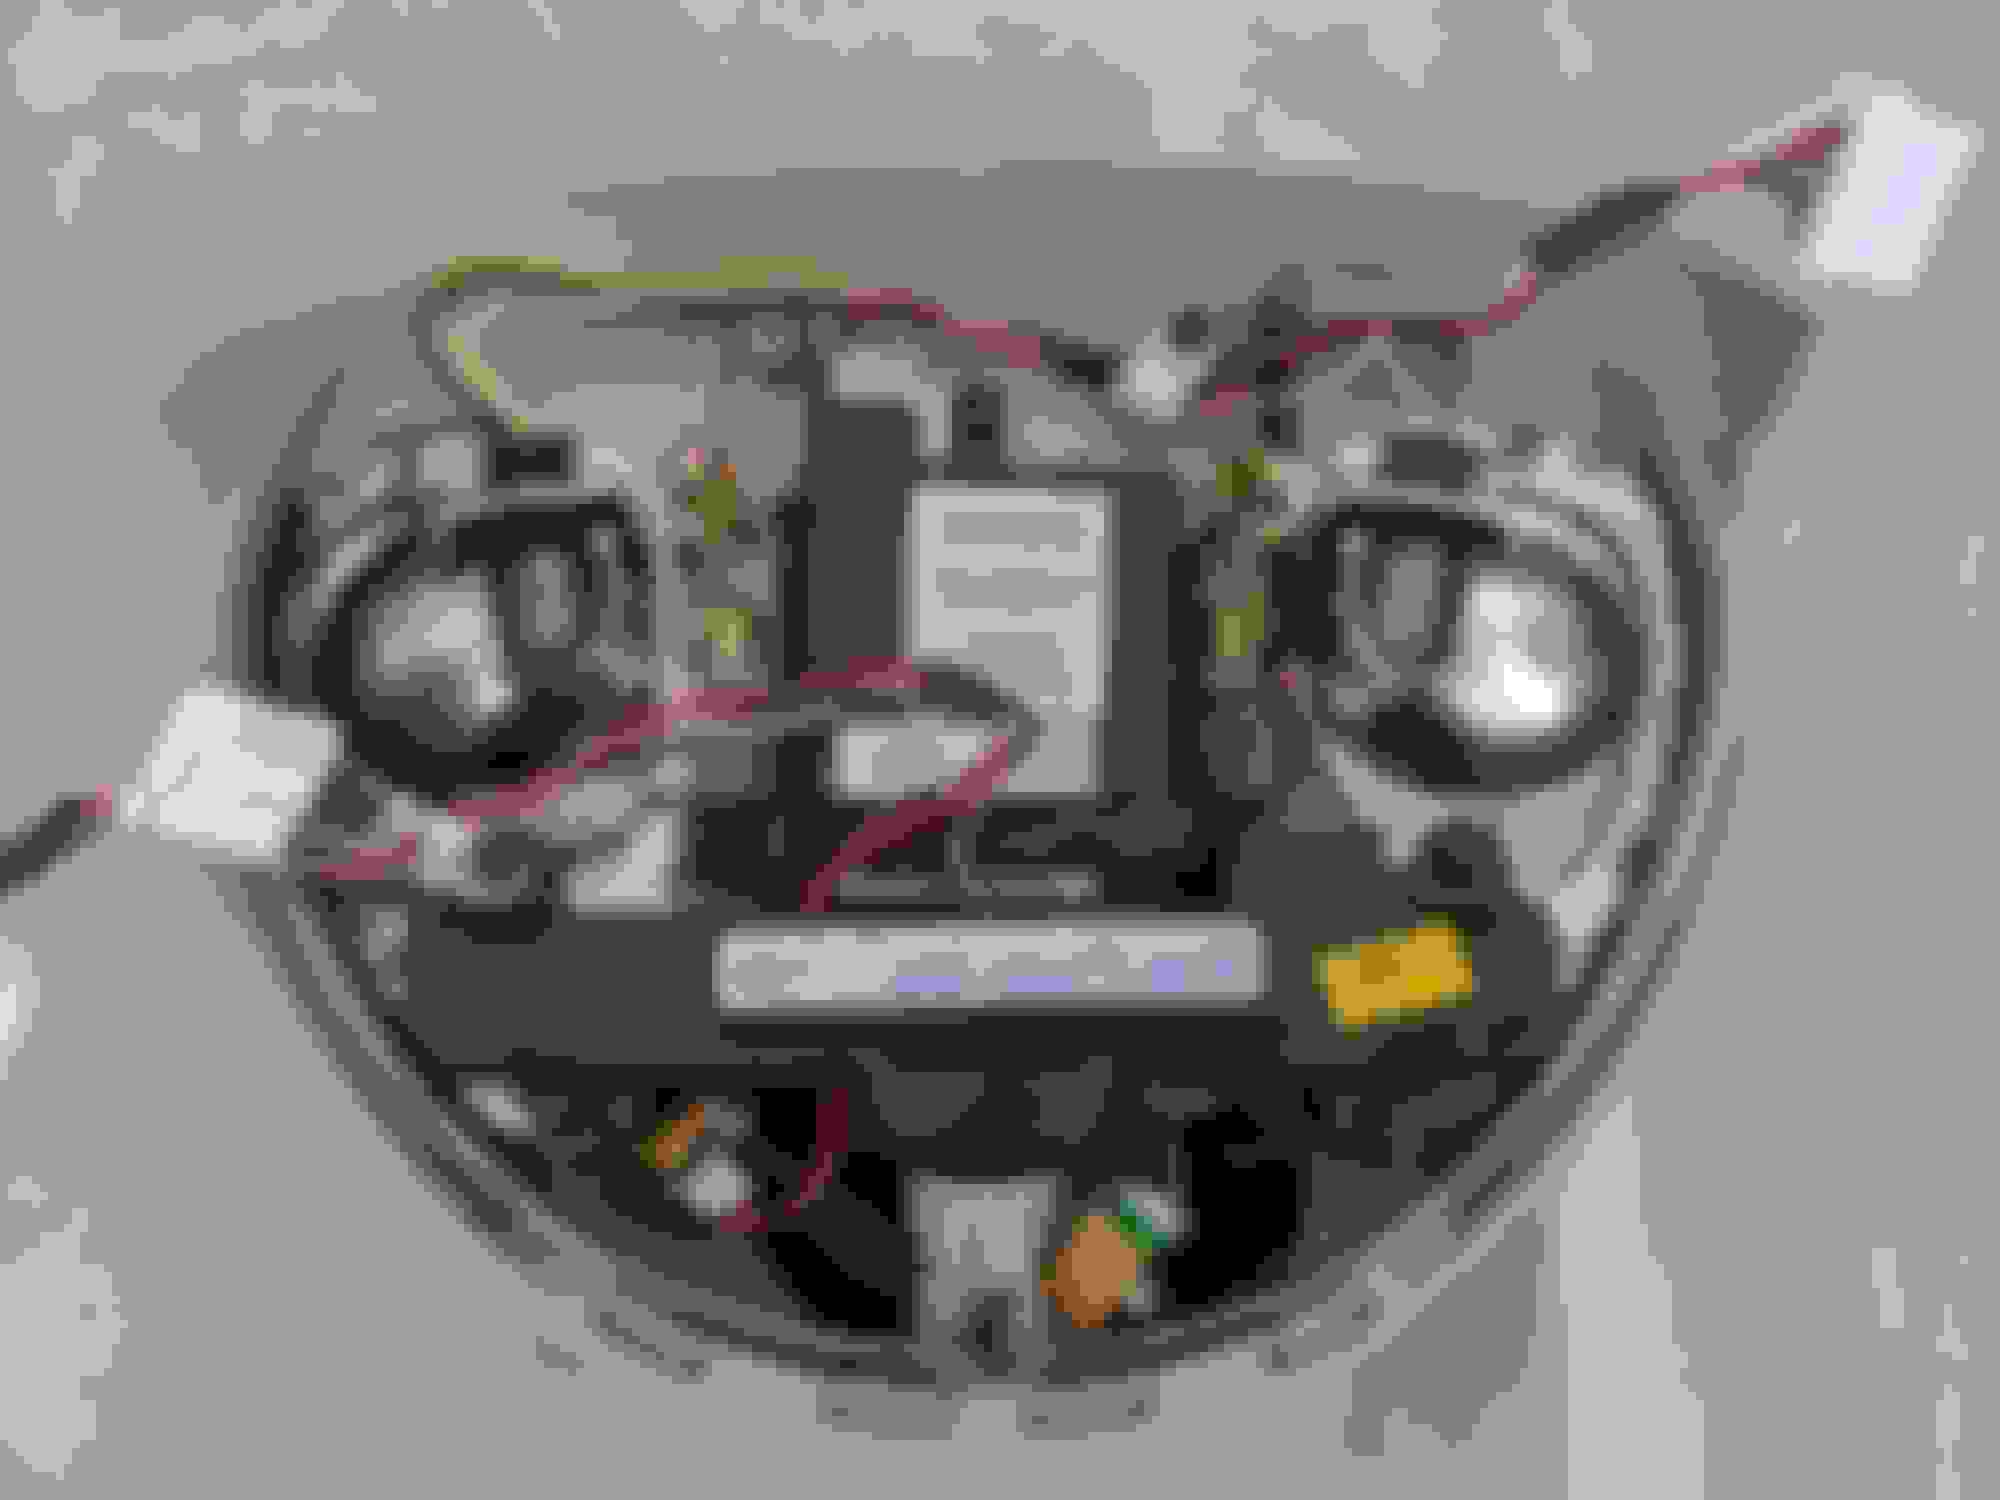
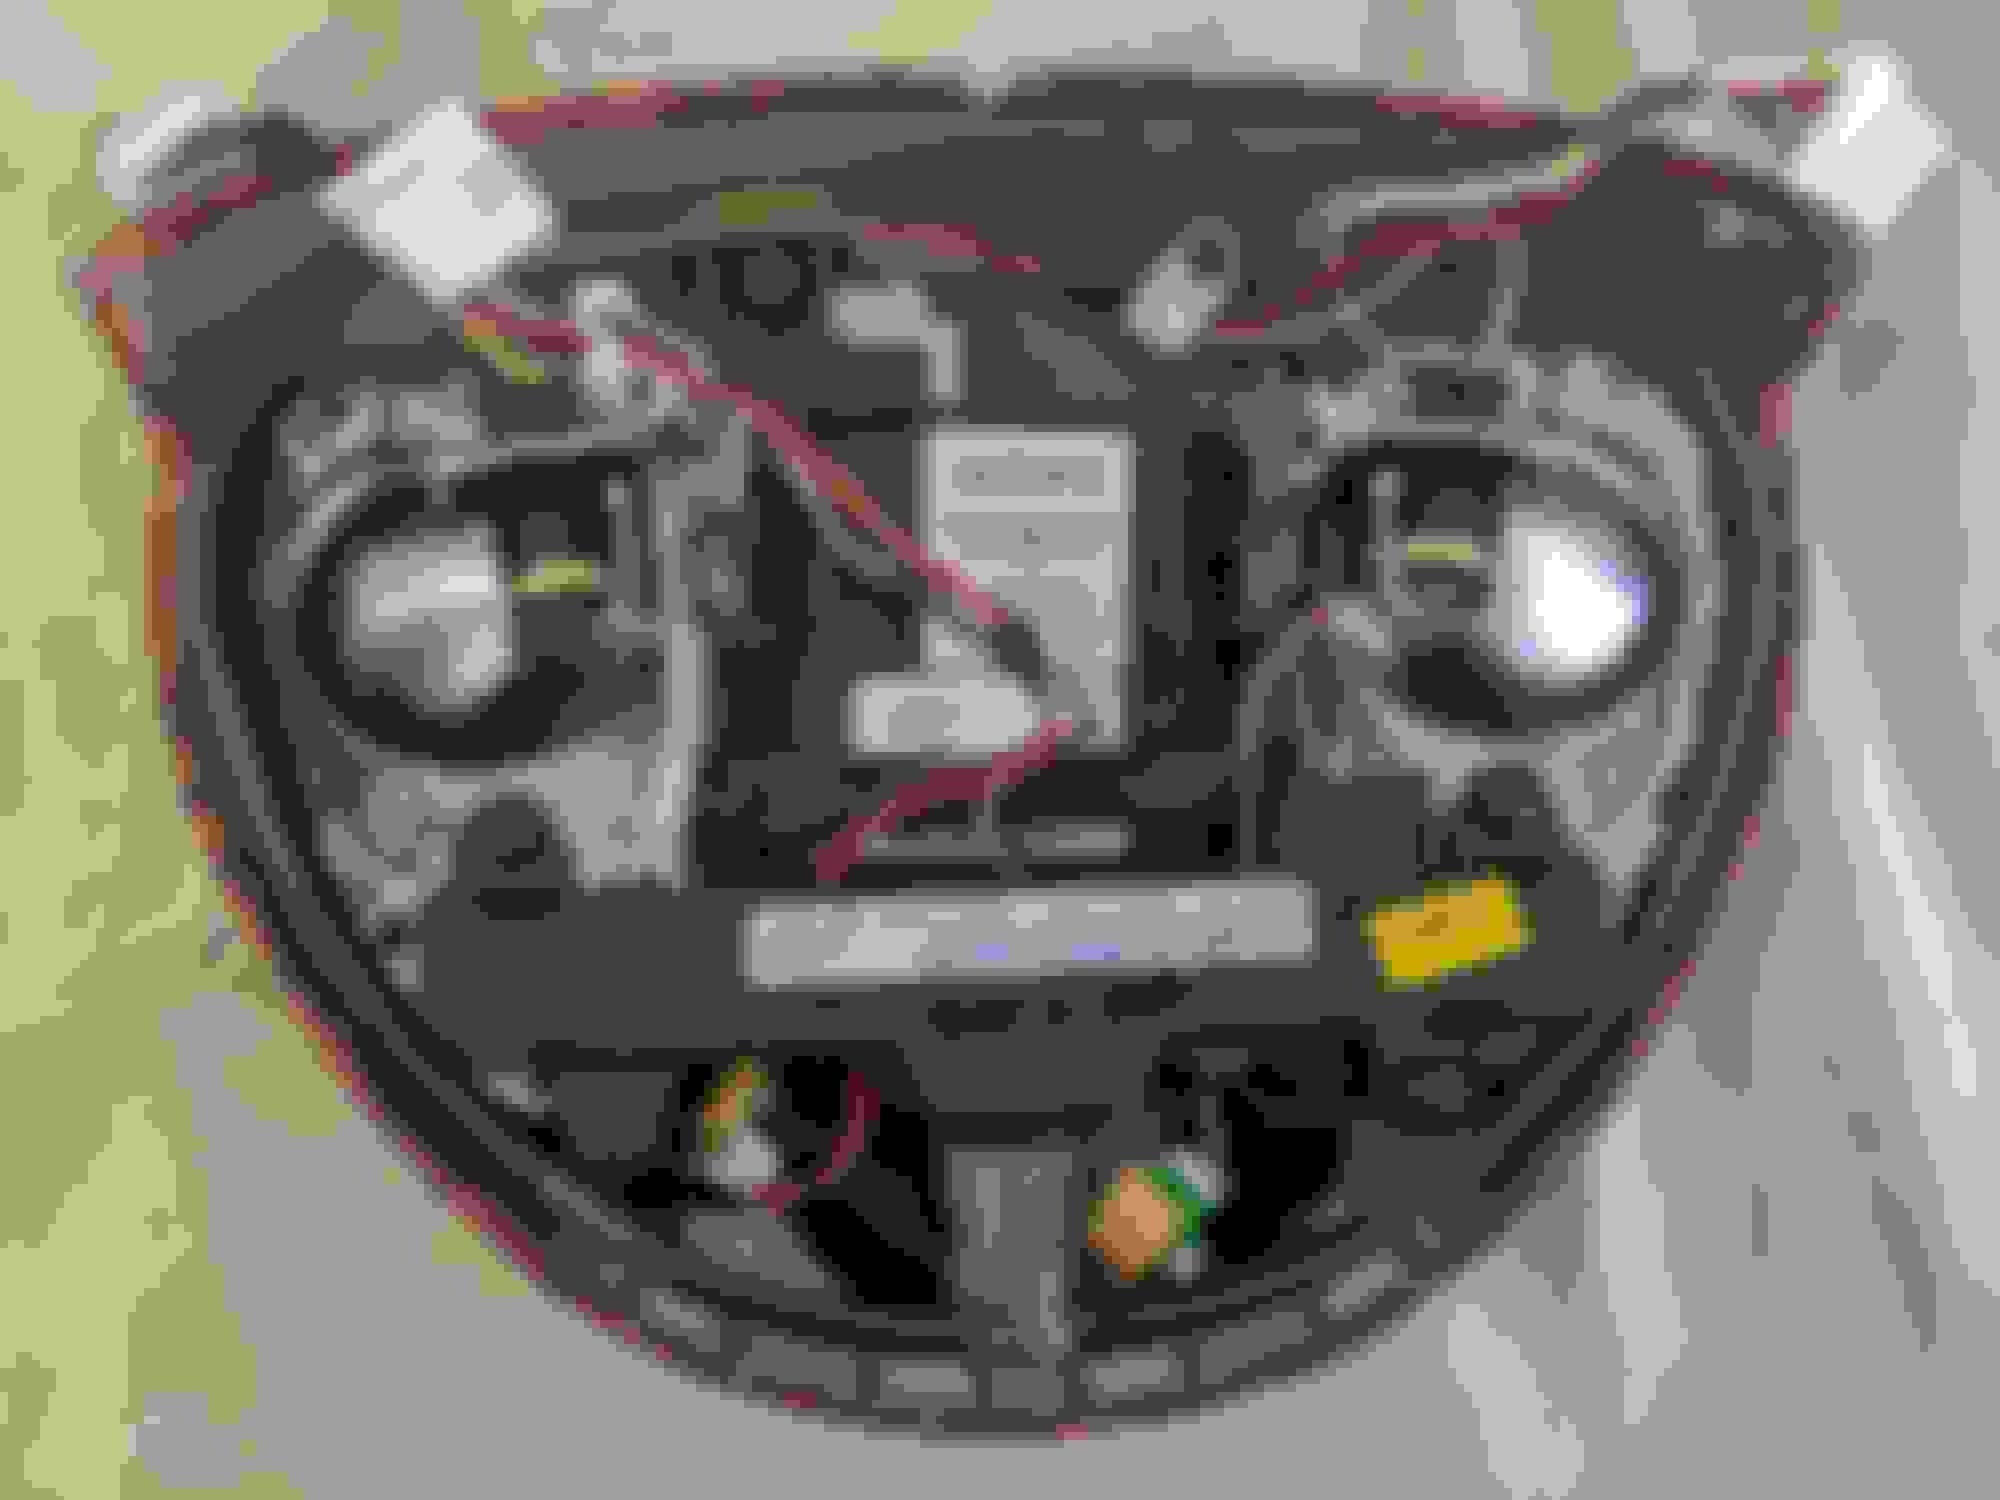
I then made up a nice harness to connect my cluster to the battery. Made it long enough to allow easy removal of the trunk panel.
Also included a fuse in the line that will connect to the battery. The switch has a 20A limiter in it as well.
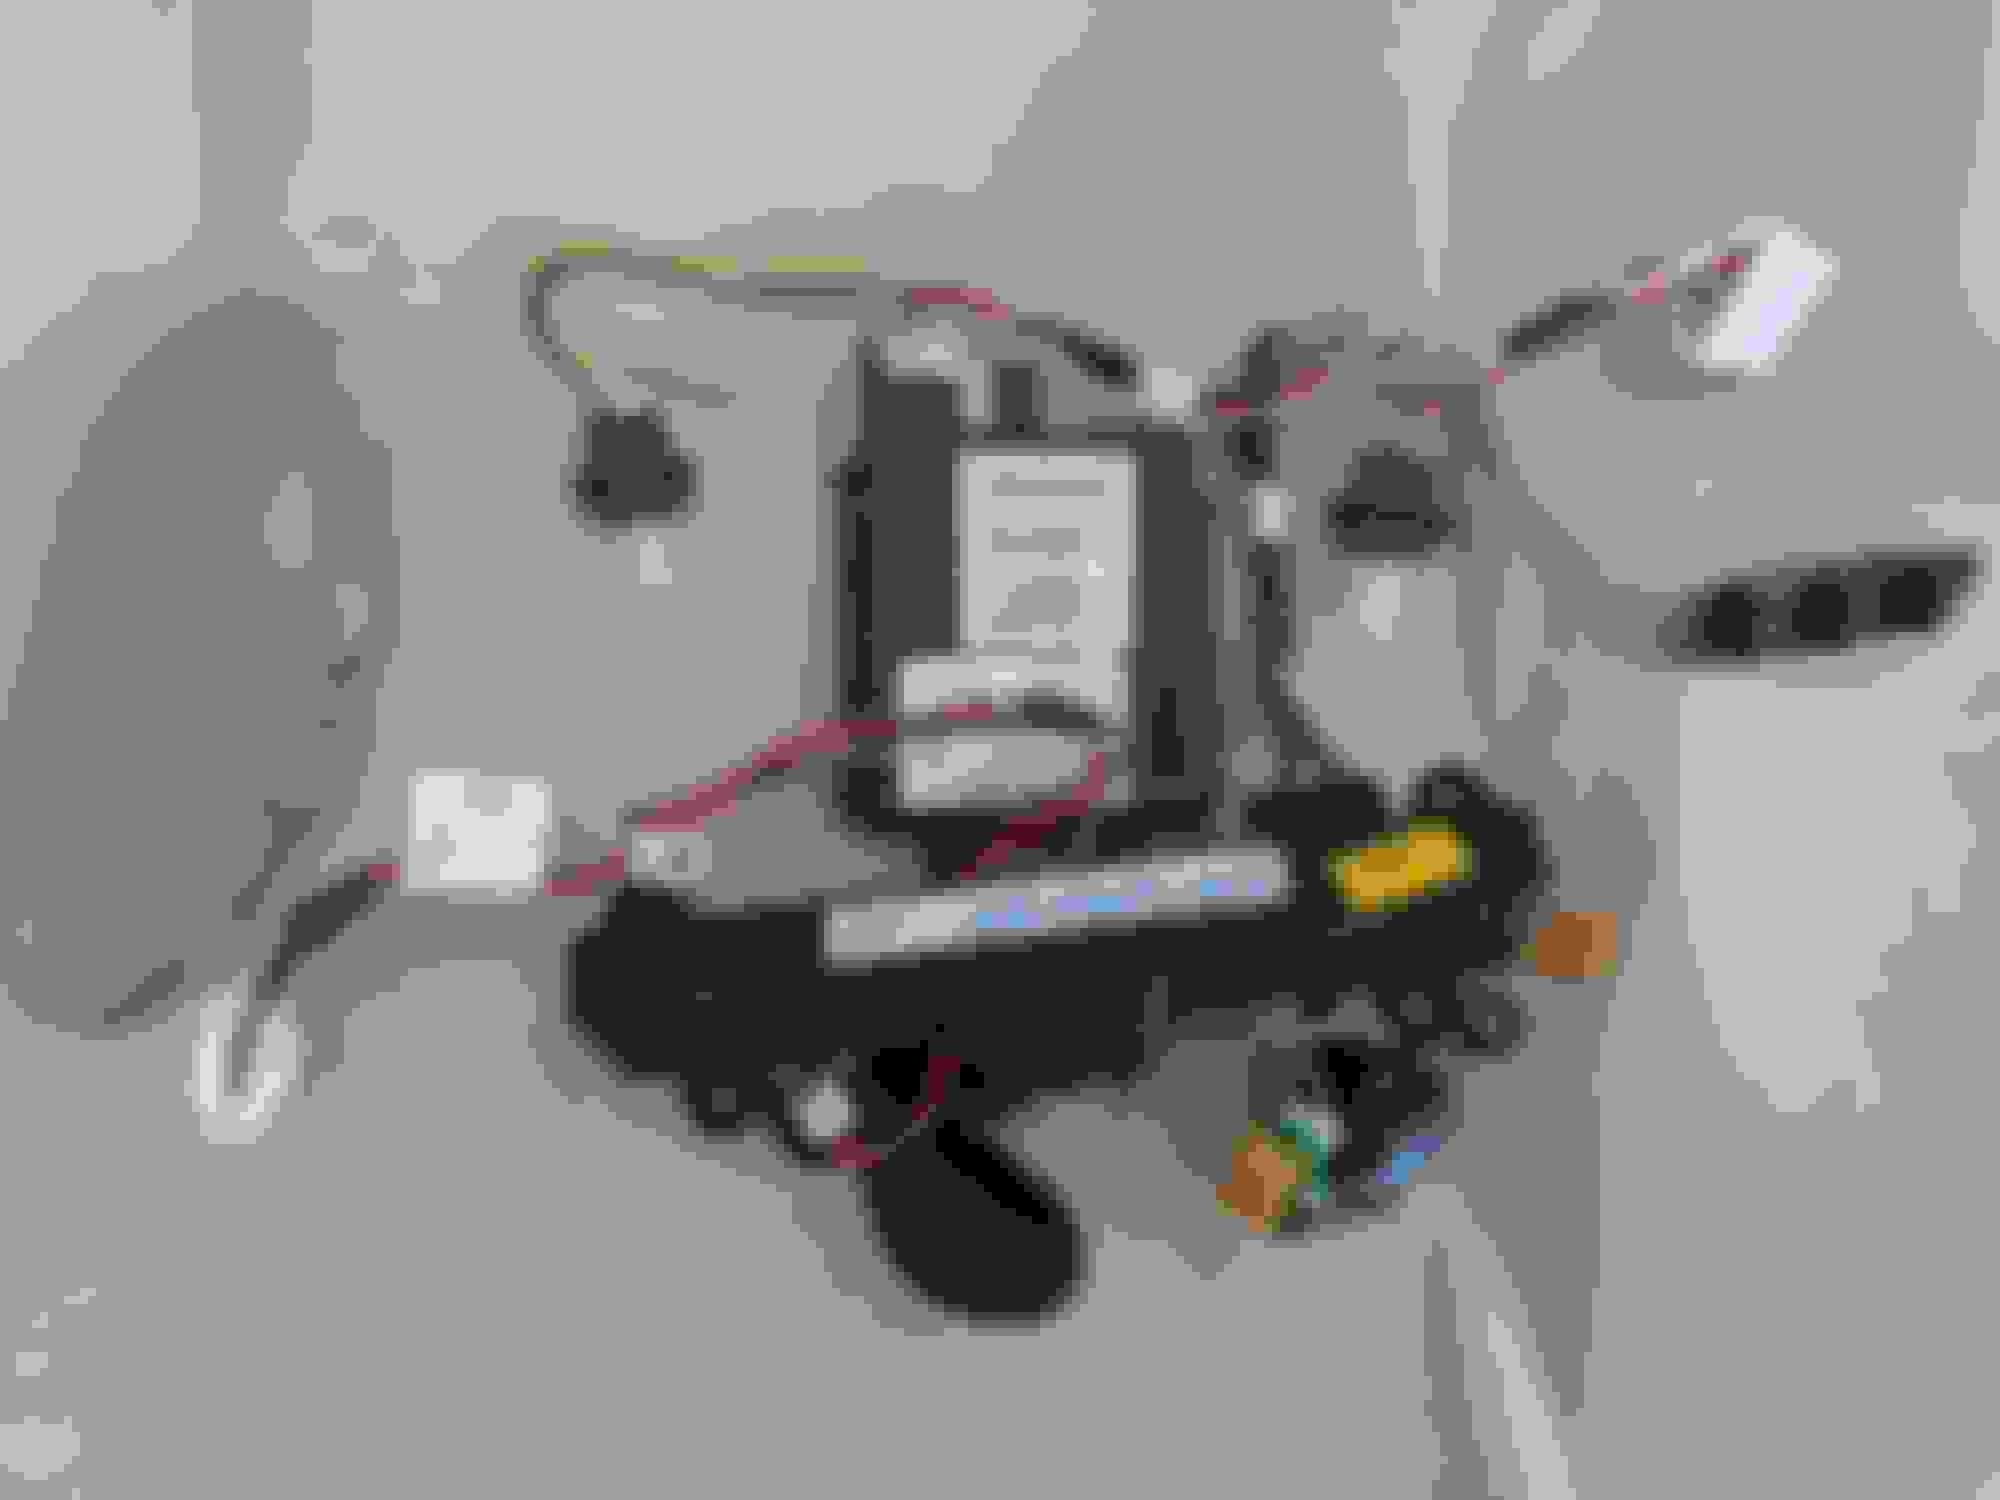
Connections to battery were made without disturbing the posts. Then the harness was routed around and up from behind the rack that holds the CD changer and hydraulic pump.
Put the trunk panel back in place and flipped it on. Apart from looking way cool it also already earned its keep. Seems I am due for a new battery.
The multi-function panel was about $20 and I had all the wiring harness stuff laying around but if you had to buy it it might cost you another $20.
Now I can
tell exactly what the condition of my battery is at any time
charge USB devices in the trunk
power other 12v devices like an air pump, etc.
all while the car is off. Pretty cool.
And while the car is running I can see how the charging system is doing too.
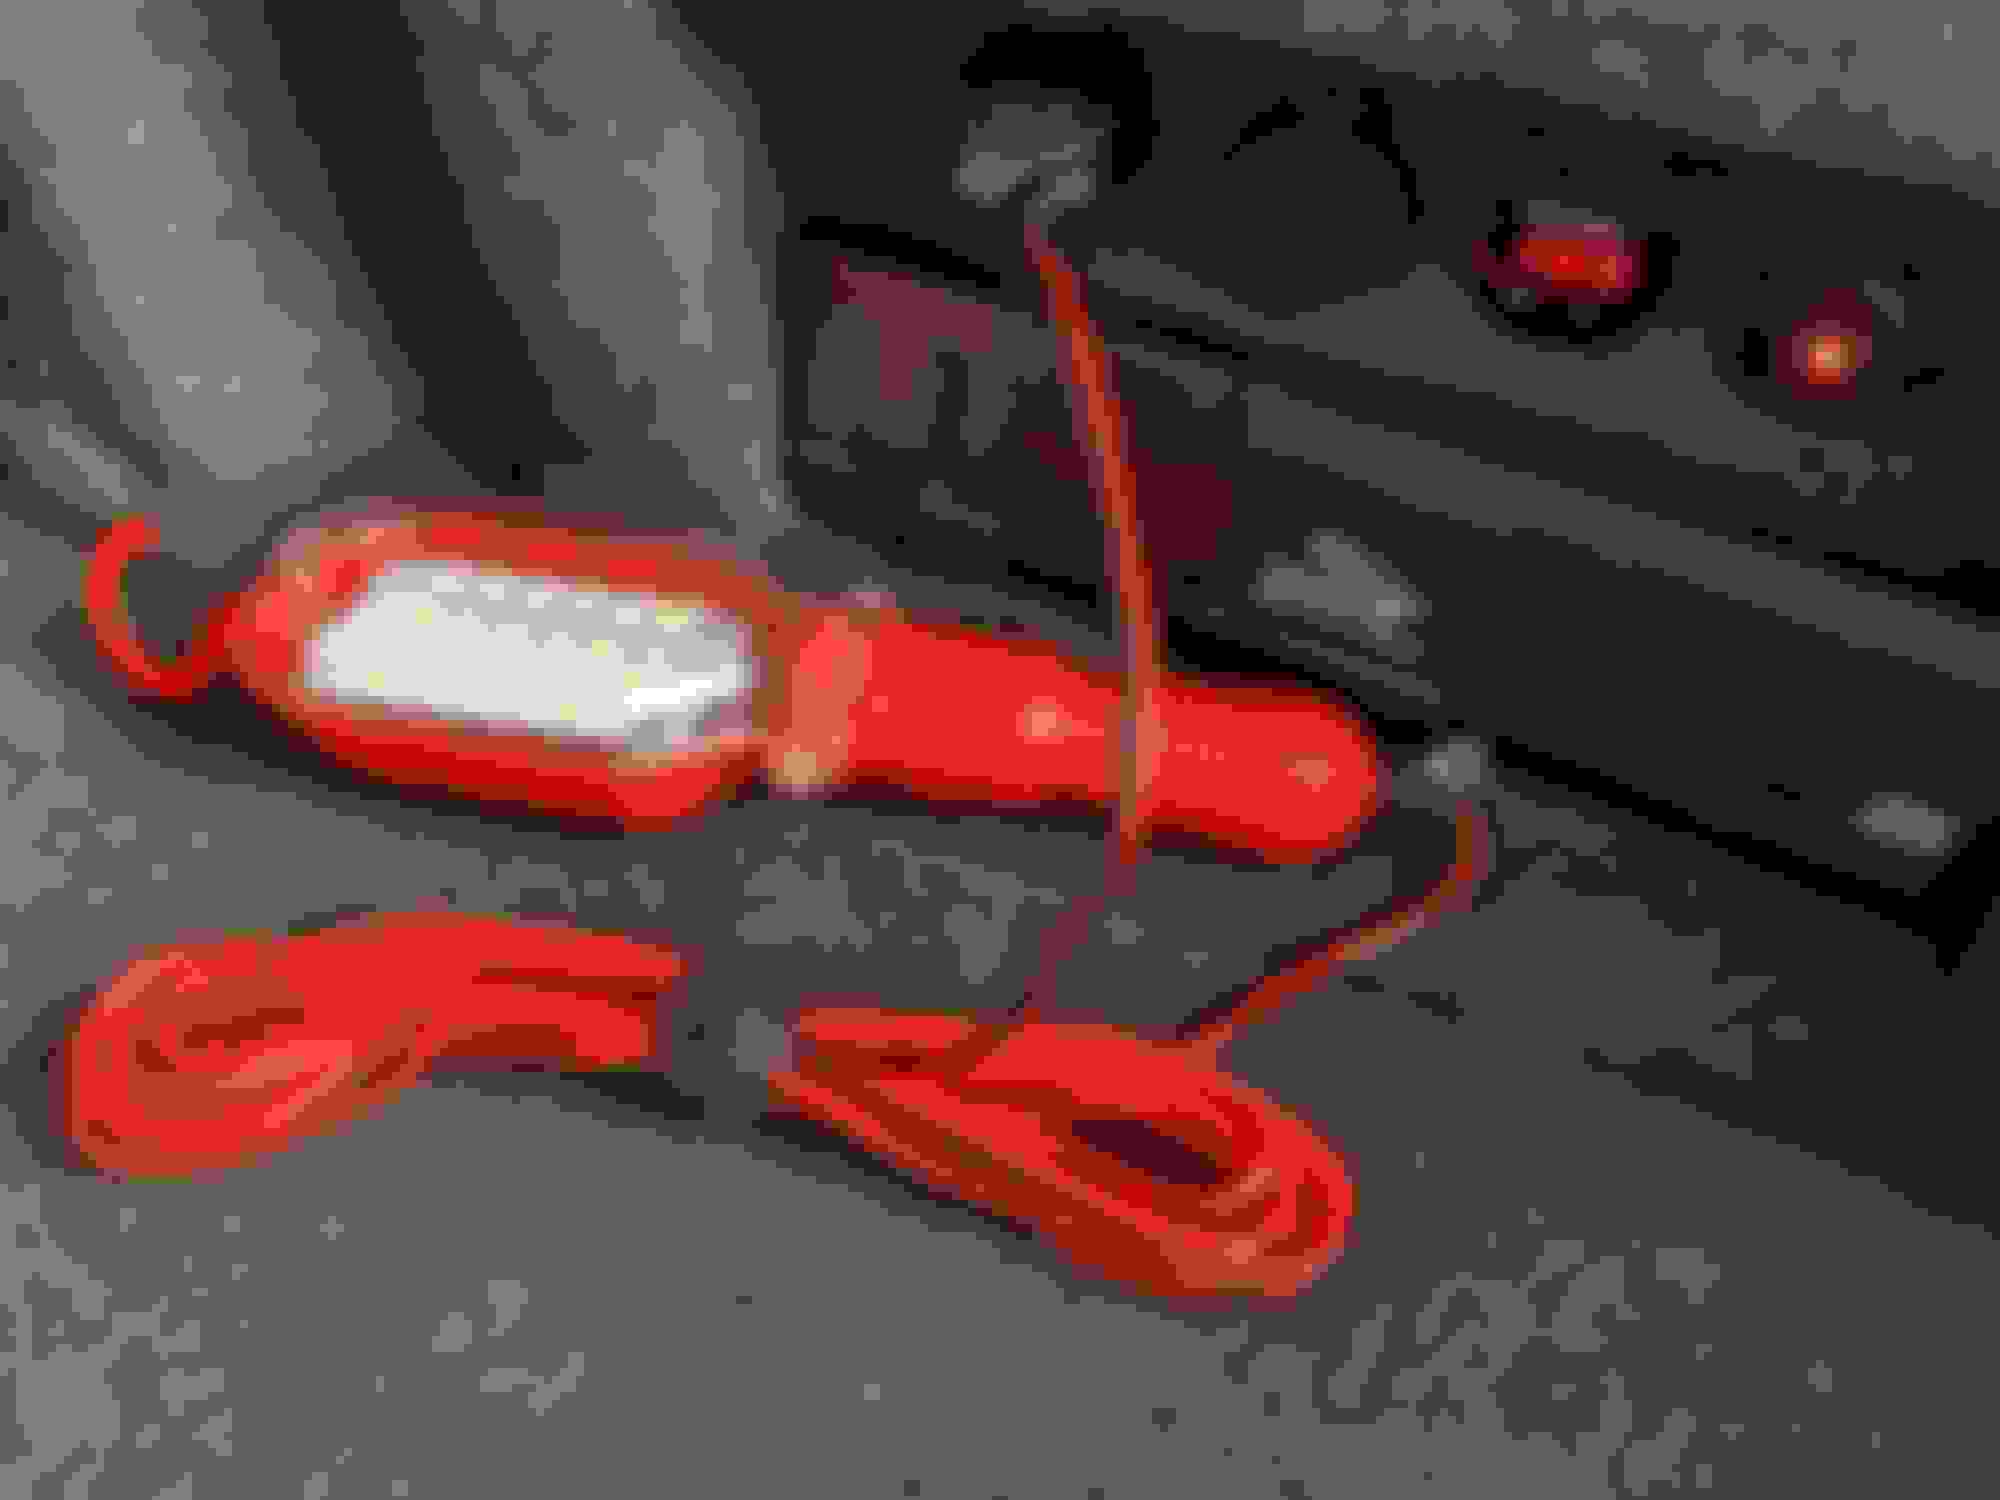
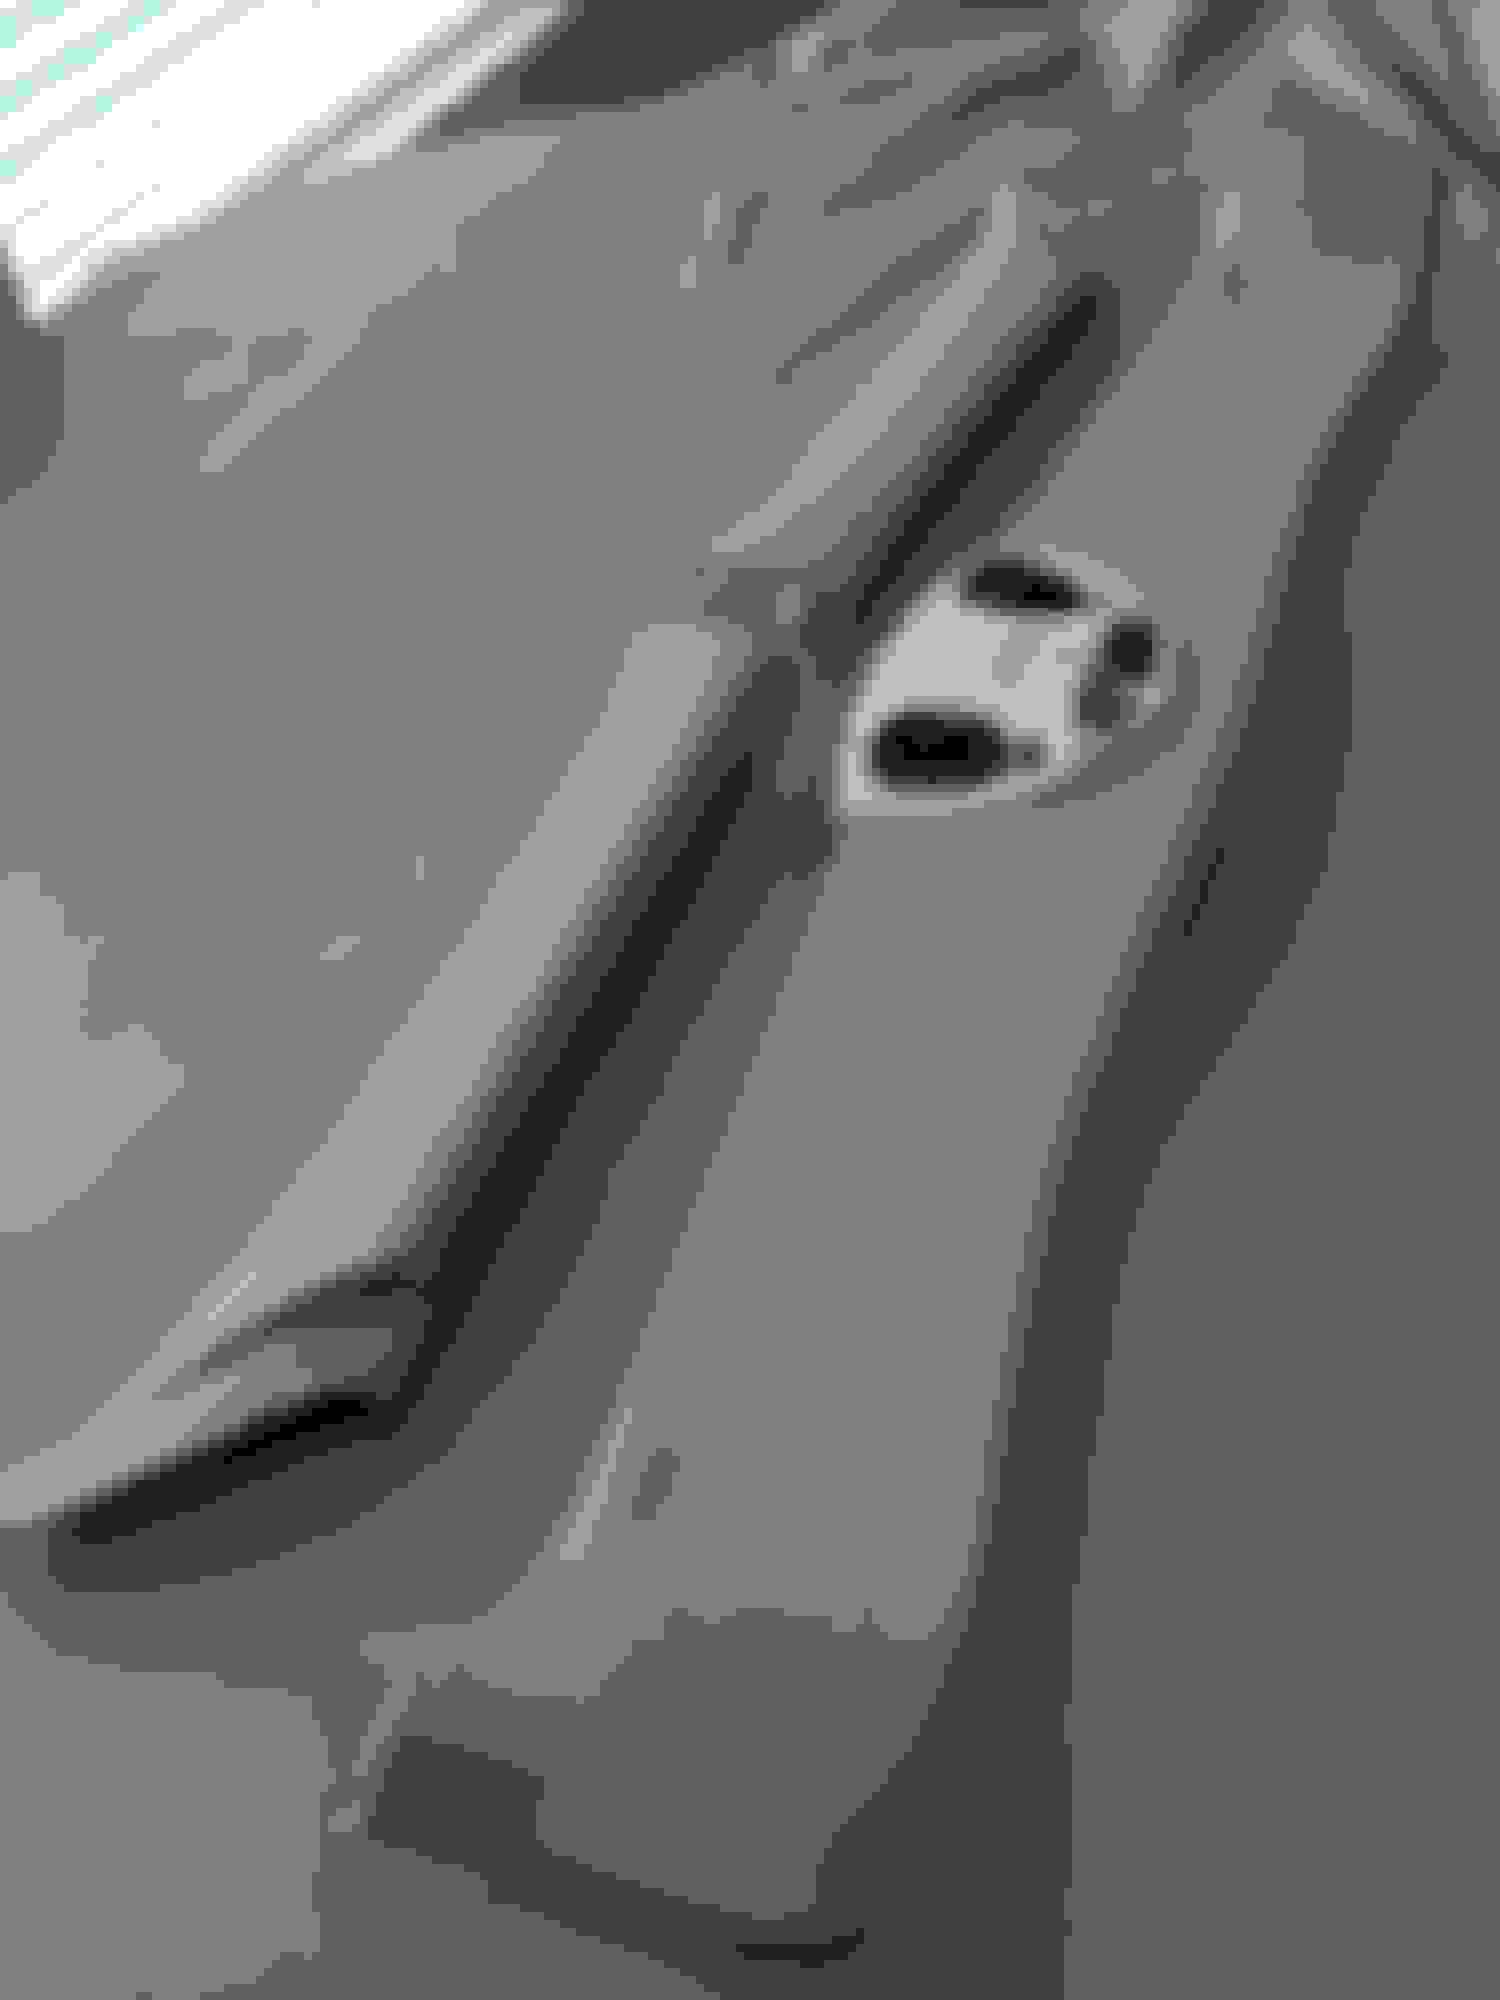
But wait, I did not address the emergency lighting yet. For this I had a novel idea. In the trunk lid there is an open oval hole opposite where the trunk wiring is routed into the lid.
I always thought that hole should have had a plug. Now was my chance.
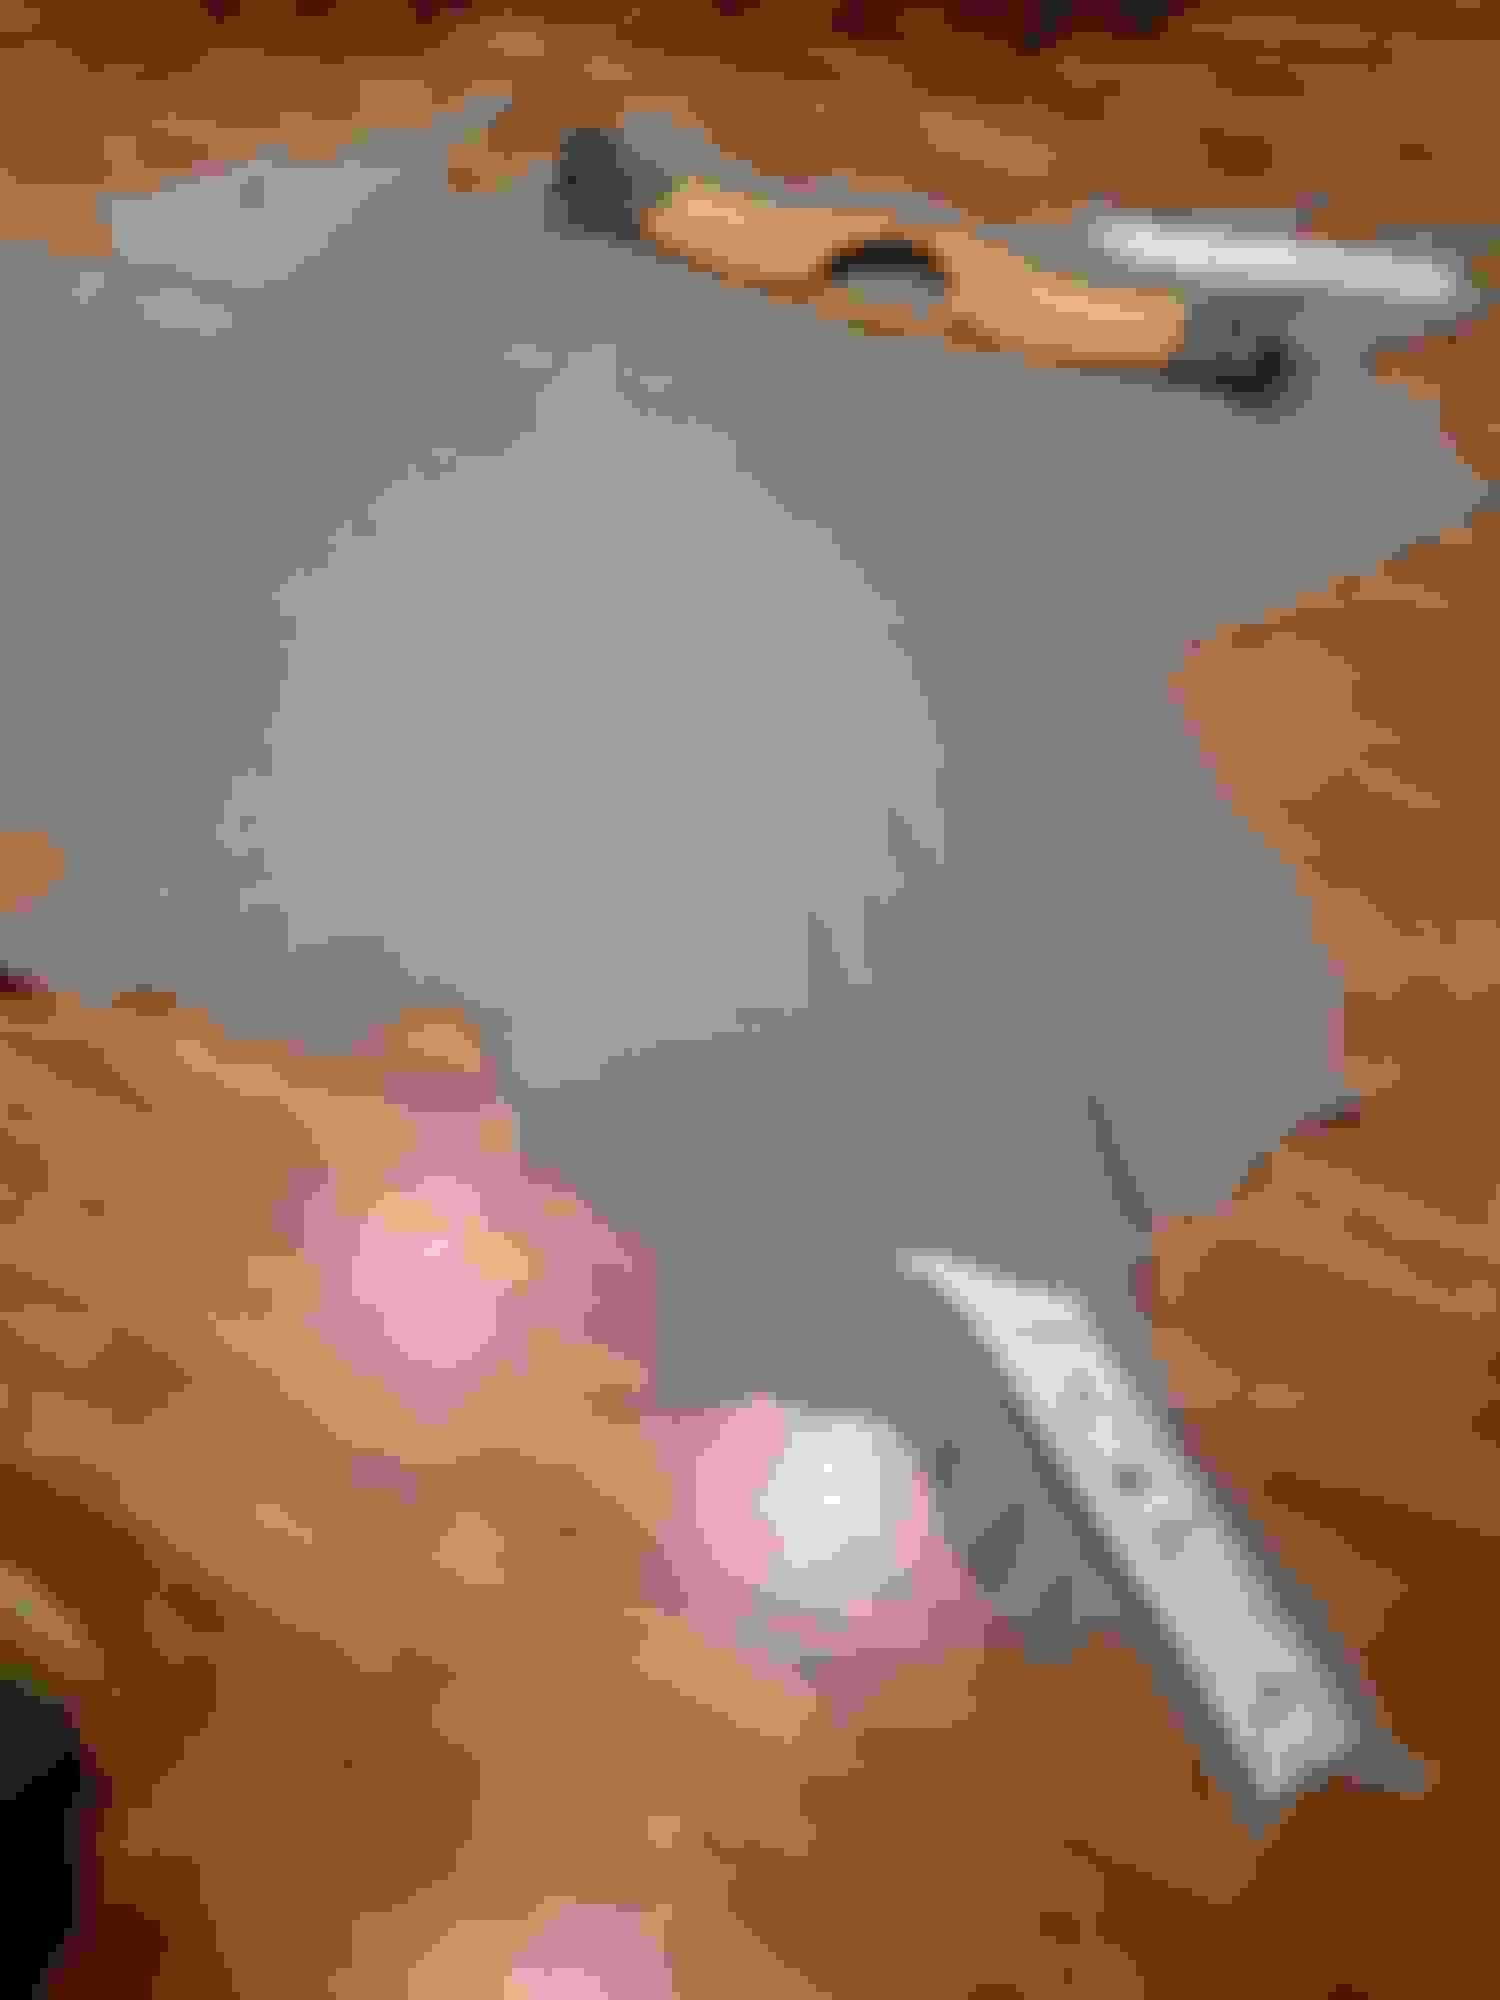
So I sourced an OEM grommet from BobRoy and paired it up with a flashing red LED light that works off batteries. https://smile.amazon.com/gp/product/...?ie=UTF8&psc=1
Plugged that into the trunk lid hole and now I have an emergency flashing light that does not drain my cranking battery. And it fills that hole perfect.
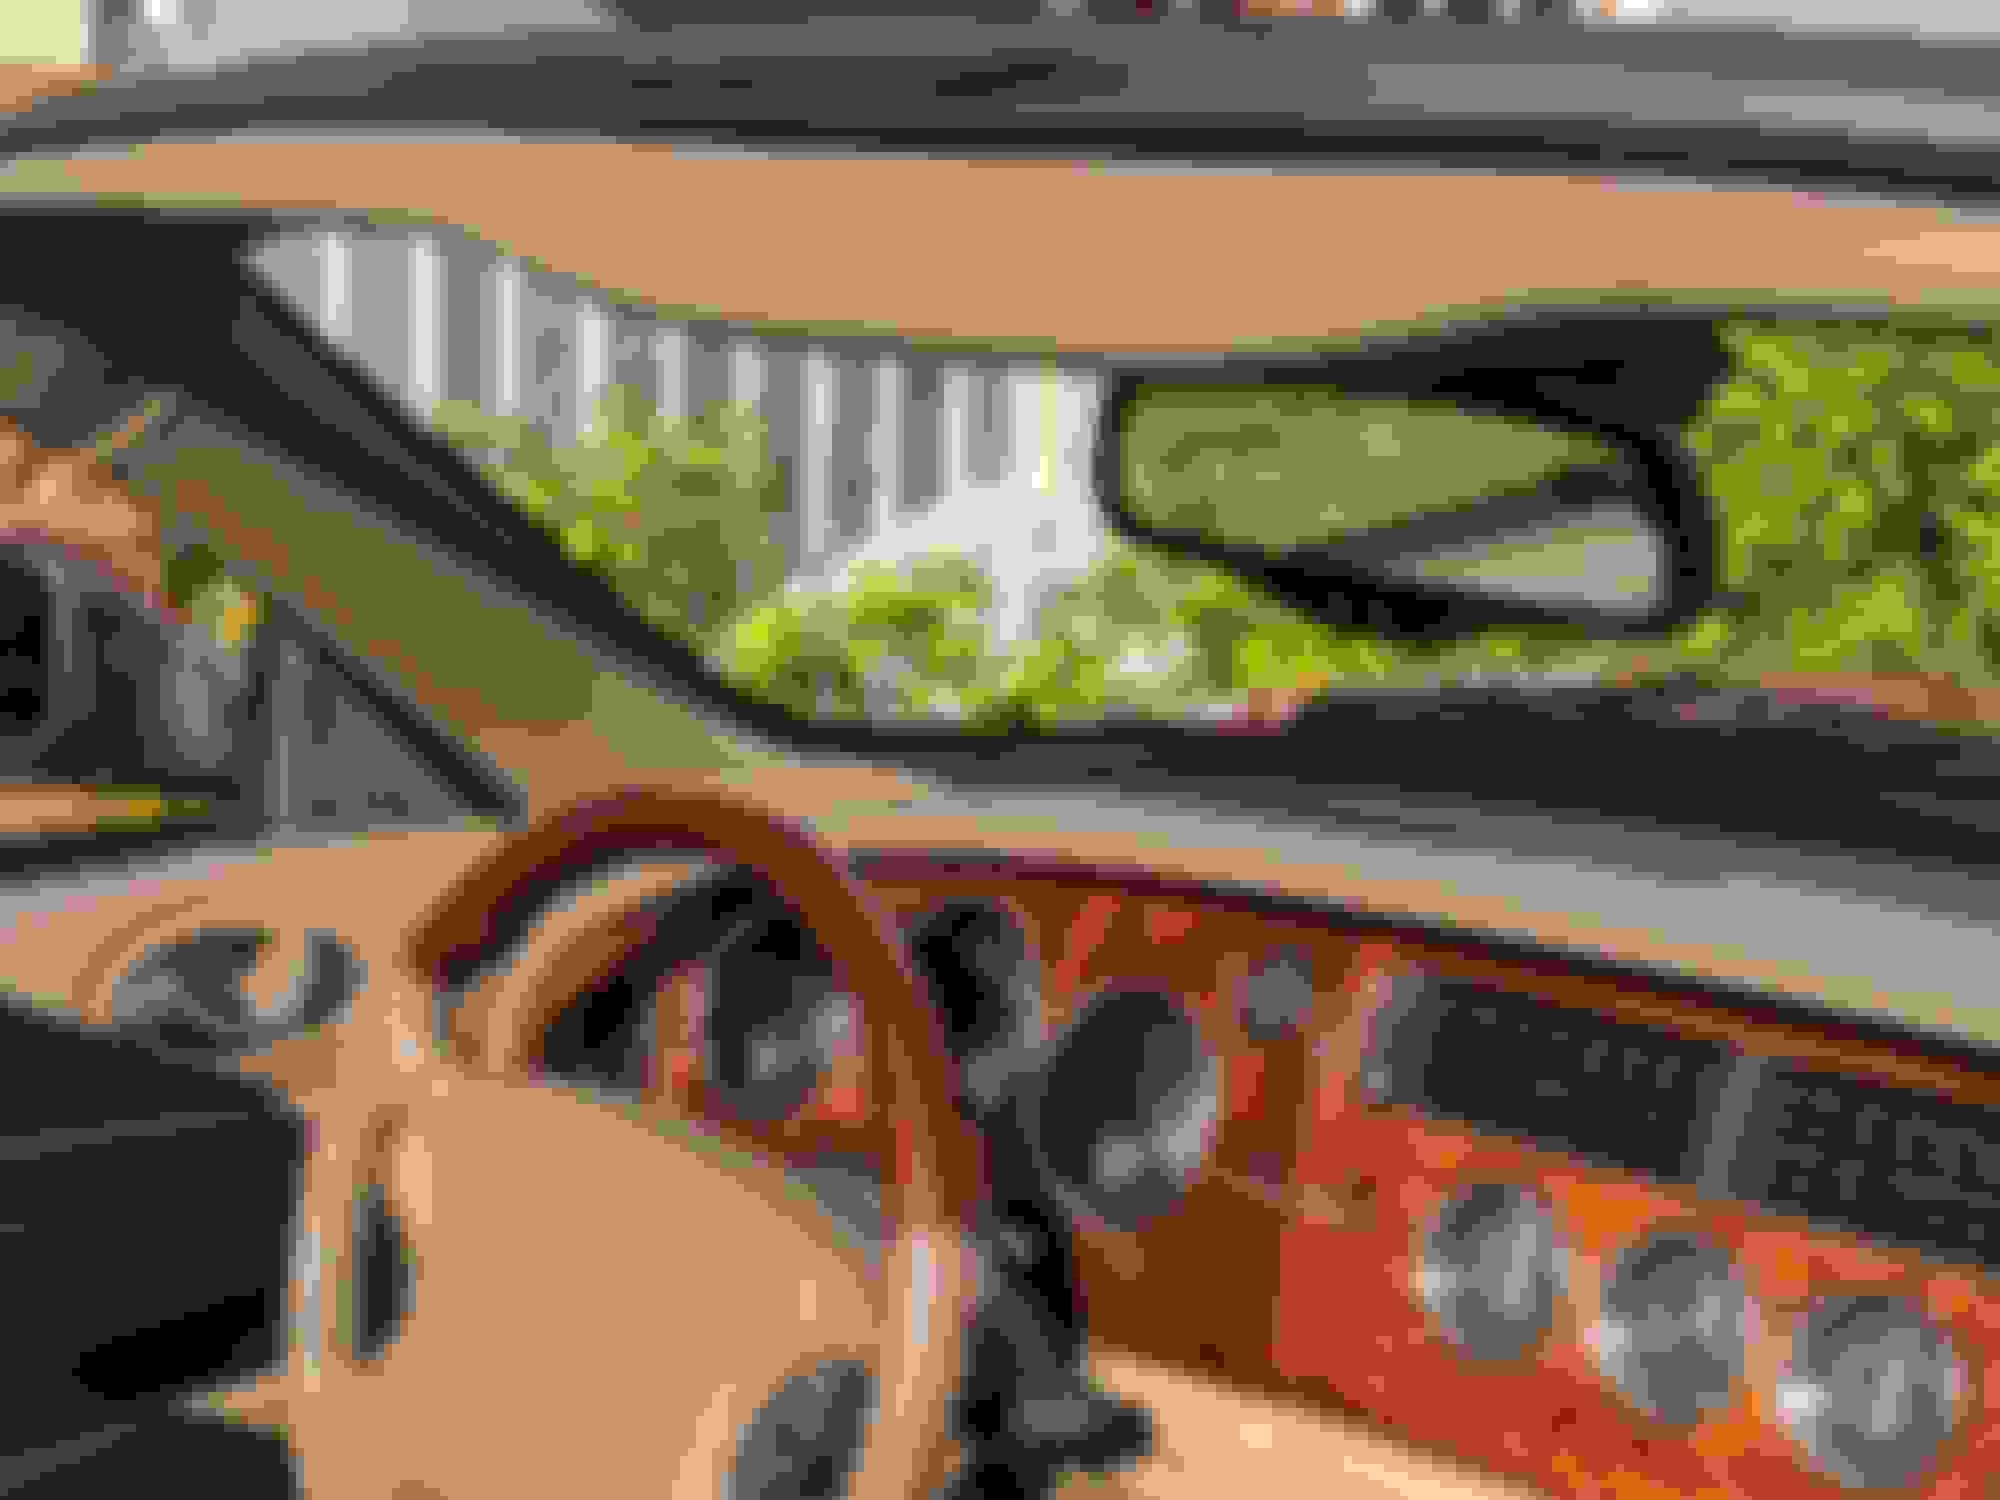
Since I have been improving the looks of the interior I decided it was time to deal with the aging header and A-pillar. I had redone them many years ago using the original cloth, and that turned out great, but really did not like that the car had Oatmeal color in these areas.
After about 90K miles of top down driving the soot and grime was not pretty.
I had my doubts that the original cloth could take another round of removal and cleaning so I decided it was time to recover using a better material. I decided that the best solution would be to do what Jaguar should have done originally, cover it all in Sable color leather to match the dash (which I doubt is real leather). So a couple months ago I started searching for a supplier that could match the dash in color and grain. I finally found a supplier in CA that claimed they could match it. So I got a sample from them.
I was pleasantly surprised at how well it matched. Its not cheap though. I have to buy a whole cowhide in order to get it, and at $4.95 sq. ft. it turned out to be about $250. So I bit the bullet and bought a cowhide. Will take a couple weeks to get it.
When it arrived it was exactly that - a huge cowhide. 44 sq ft of it. Pretty cool.
I pulled out the yucky old Oatmeal cloth. Good riddance.
And had to deal with the old foam crumbles again.
For a few years now I have had this rattle above my head that I always though was coming from the visor but could never find it. Turns out it was this screw backing out. Several of the other screws in this panel were loose too. Fixing this was a bonus!
I knew for sure that I would have to deal with the Oatmeal colored overhead console. So I went ahead and deconstructed that.
The electronics come out easy. Gotta remember to replace those old bulbs with LEDs.
It takes some surgery to remove the reflectors. Trimming off these nubs will release them.
All set and ready for a color change. But what color?
I found a paint color that was close but not perfect. Would have to do for now until I figure it out.
OK back to the leather. Did I mention it was big? I will have a lot left over. Perhaps someday I will need it to replace the original Sable stuff.
Time to start cutting and covering. I used Permatex Headliner Adhesive for the bond.
An hour later I have them fitted but not completely stretched tight. Oatmeal console is for sure not going back in that color.
Test fit it all and it is looking good so far. Really hard to take a decent pic of this stuff though.
Later I am going to give all the leather a clear coat for protection and to make it easier to clean. Plus the dash has a shine to it that I want to match.
So what to do about the overhead console? Painting it was not wowing me at all. After thinking about it I realized that it should have been burl wood from the factory. Yeah let's do that. Make it all like Jaguar should have done.
I figured that I could wrap it in burl wood vinyl then clear coat it. Should work fine. Fortunately I have a friend who has a vehicle wrapping business. I went to see him and he told me to find a pic of the wood he could print it out to match my car's wood dash. Also told me I needed to paint the plastic several coats to get the surface ready for vinyl application. Seems this kind of plastic doesn't like to bond well to vinyl wrap.
I painted it using the color I thought might work. The color was close but not really right. Glad I am going for the wood look instead.
Had to sand it using 600 grit.
I found a pic on shutterstock.com with a good burl wood pattern and sent it over. After some color adjustments we printed it out.
After some stretching and heat gunning I now have a wood console. Sweet!
A quick test fit confirms that I am on the right path. Going to look really good. Still need to give it several coats of clear so it has the depth of the wood dash.
I chose this for the clear coat.
Many days and 7 clear coats later I have got it where it needs to be. Looks very OEM now. Ready for reassembly.
But first back to the leather. Need to get that clear coat applied so it can dry for a day.
I did one of the A-pillars to test it. Yep the clear definitely brings out the color and gives it a good sheen.
Here is the header still without the clear for comparison.
The clear coat is left over from when I did the seat restoration. This stuff works so well.
Now with the leather coated I can move on while it takes a day to really dry well. Notice that I wrapped the sensor for the passenger A-pillar too.
Reassembling the overhead console starts with gluing in the lenses and reflectors. A little super glue on the locating pins does the trick. Then wait a day to install the electronics.
All goes back in easy. Glad I took a pic before I started disassembly. That helped considering this was a many day process.
And console is done. Turned out spectacularly. Definitely can pass as an OEM part.
Now that all the pieces are done its time to put it all back in the car. Back out in the sun to get pics.
The match is spot on.
It is quite a transformation.
And the new console wood looks right at home.
Way classier than the cheap plastic Jaguar saw fit to give us.
And new LED bulbs are in.
I bet you're thinking "What about the visors?". After driving it without them I have decided that I like the visibility improvement. At this point I am not going to have the visors recovered in the matching leather. I found a place that can do the quality work but it costs about $150 per visor. Considering that I very very rarely used them I will wait and see if I ever miss them before I go for that.
Another thing that I "deleted" was the plug for the manual top locking. I have never used it and probably never will. If I do end up needing to use it then I will cut the hole at that time. Looks way better without the cheap plastic plug.
It all just looks so much cleaner now, even from the front. People will be able to see me smiling now for sure.
So this project was not cheap at just under $300, but was well worth it. I learned how to work with leather and vinyl wrap. Plus the interior of the car just went up a few notches in quality. Now its the way it should have been.
Your restoration looks great. Good idea about the wood grain vinyl on the overhead console.
It looks like it came from the factory that way. I think I'll be doing this as well.
Since I have been improving the looks of the interior I decided it was time to deal with the aging header and A-pillar. I had redone them many years ago using the original cloth, and that turned out great, but really did not like that the car had Oatmeal color in these areas.
After about 90K miles of top down driving the soot and grime was not pretty.
I had my doubts that the original cloth could take another round of removal and cleaning so I decided it was time to recover using a better material. I decided that the best solution would be to do what Jaguar should have done originally, cover it all in Sable color leather to match the dash (which I doubt is real leather). So a couple months ago I started searching for a supplier that could match the dash in color and grain. I finally found a supplier in CA that claimed they could match it. So I got a sample from them.
I was pleasantly surprised at how well it matched. Its not cheap though. I have to buy a whole cowhide in order to get it, and at $4.95 sq. ft. it turned out to be about $250. So I bit the bullet and bought a cowhide. Will take a couple weeks to get it.
When it arrived it was exactly that - a huge cowhide. 44 sq ft of it. Pretty cool.
I pulled out the yucky old Oatmeal cloth. Good riddance.
And had to deal with the old foam crumbles again.
For a few years now I have had this rattle above my head that I always though was coming from the visor but could never find it. Turns out it was this screw backing out. Several of the other screws in this panel were loose too. Fixing this was a bonus!
I knew for sure that I would have to deal with the Oatmeal colored overhead console. So I went ahead and deconstructed that.
The electronics come out easy. Gotta remember to replace those old bulbs with LEDs.
It takes some surgery to remove the reflectors. Trimming off these nubs will release them.
All set and ready for a color change. But what color?
I found a paint color that was close but not perfect. Would have to do for now until I figure it out.
OK back to the leather. Did I mention it was big? I will have a lot left over. Perhaps someday I will need it to replace the original Sable stuff.
Time to start cutting and covering. I used Permatex Headliner Adhesive for the bond.
An hour later I have them fitted but not completely stretched tight. Oatmeal console is for sure not going back in that color.
Test fit it all and it is looking good so far. Really hard to take a decent pic of this stuff though.
Later I am going to give all the leather a clear coat for protection and to make it easier to clean. Plus the dash has a shine to it that I want to match.
So what to do about the overhead console? Painting it was not wowing me at all. After thinking about it I realized that it should have been burl wood from the factory. Yeah let's do that. Make it all like Jaguar should have done.
I figured that I could wrap it in burl wood vinyl then clear coat it. Should work fine. Fortunately I have a friend who has a vehicle wrapping business. I went to see him and he told me to find a pic of the wood he could print it out to match my car's wood dash. Also told me I needed to paint the plastic several coats to get the surface ready for vinyl application. Seems this kind of plastic doesn't like to bond well to vinyl wrap.
I painted it using the color I thought might work. The color was close but not really right. Glad I am going for the wood look instead.
Had to sand it using 600 grit.
I found a pic on shutterstock.com with a good burl wood pattern and sent it over. After some color adjustments we printed it out.
After some stretching and heat gunning I now have a wood console. Sweet!
A quick test fit confirms that I am on the right path. Going to look really good. Still need to give it several coats of clear so it has the depth of the wood dash.
I chose this for the clear coat.
Many days and 7 clear coats later I have got it where it needs to be. Looks very OEM now. Ready for reassembly.
But first back to the leather. Need to get that clear coat applied so it can dry for a day.
I did one of the A-pillars to test it. Yep the clear definitely brings out the color and gives it a good sheen.
Here is the header still without the clear for comparison.
The clear coat is left over from when I did the seat restoration. This stuff works so well.
Now with the leather coated I can move on while it takes a day to really dry well. Notice that I wrapped the sensor for the passenger A-pillar too.
Reassembling the overhead console starts with gluing in the lenses and reflectors. A little super glue on the locating pins does the trick. Then wait a day to install the electronics.
All goes back in easy. Glad I took a pic before I started disassembly. That helped considering this was a many day process.
And console is done. Turned out spectacularly. Definitely can pass as an OEM part.
Now that all the pieces are done its time to put it all back in the car. Back out in the sun to get pics.
The match is spot on.
It is quite a transformation.
And the new console wood looks right at home.
Way classier than the cheap plastic Jaguar saw fit to give us.
And new LED bulbs are in.
I bet you're thinking "What about the visors?". After driving it without them I have decided that I like the visibility improvement. At this point I am not going to have the visors recovered in the matching leather. I found a place that can do the quality work but it costs about $150 per visor. Considering that I very very rarely used them I will wait and see if I ever miss them before I go for that.
Another thing that I "deleted" was the plug for the manual top locking. I have never used it and probably never will. If I do end up needing to use it then I will cut the hole at that time. Looks way better without the cheap plastic plug.
It all just looks so much cleaner now, even from the front. People will be able to see me smiling now for sure.
Very good work. Do you take requests??
So this project was not cheap at just under $300, but was well worth it. I learned how to work with leather and vinyl wrap. Plus the interior of the car just went up a few notches in quality. Now its the way it should have been.
There are a lot of hours invested in that last mod. I know I could never have afforded to pay an interior shop to do that kind of research, planning and execution.
Excellent tutorial! And it answered my question about the type of filter. Most auto parts stores I checked indicate a filter with screw on connections. That is not what is on my XKR. I will order the wix filter from Rockauto!
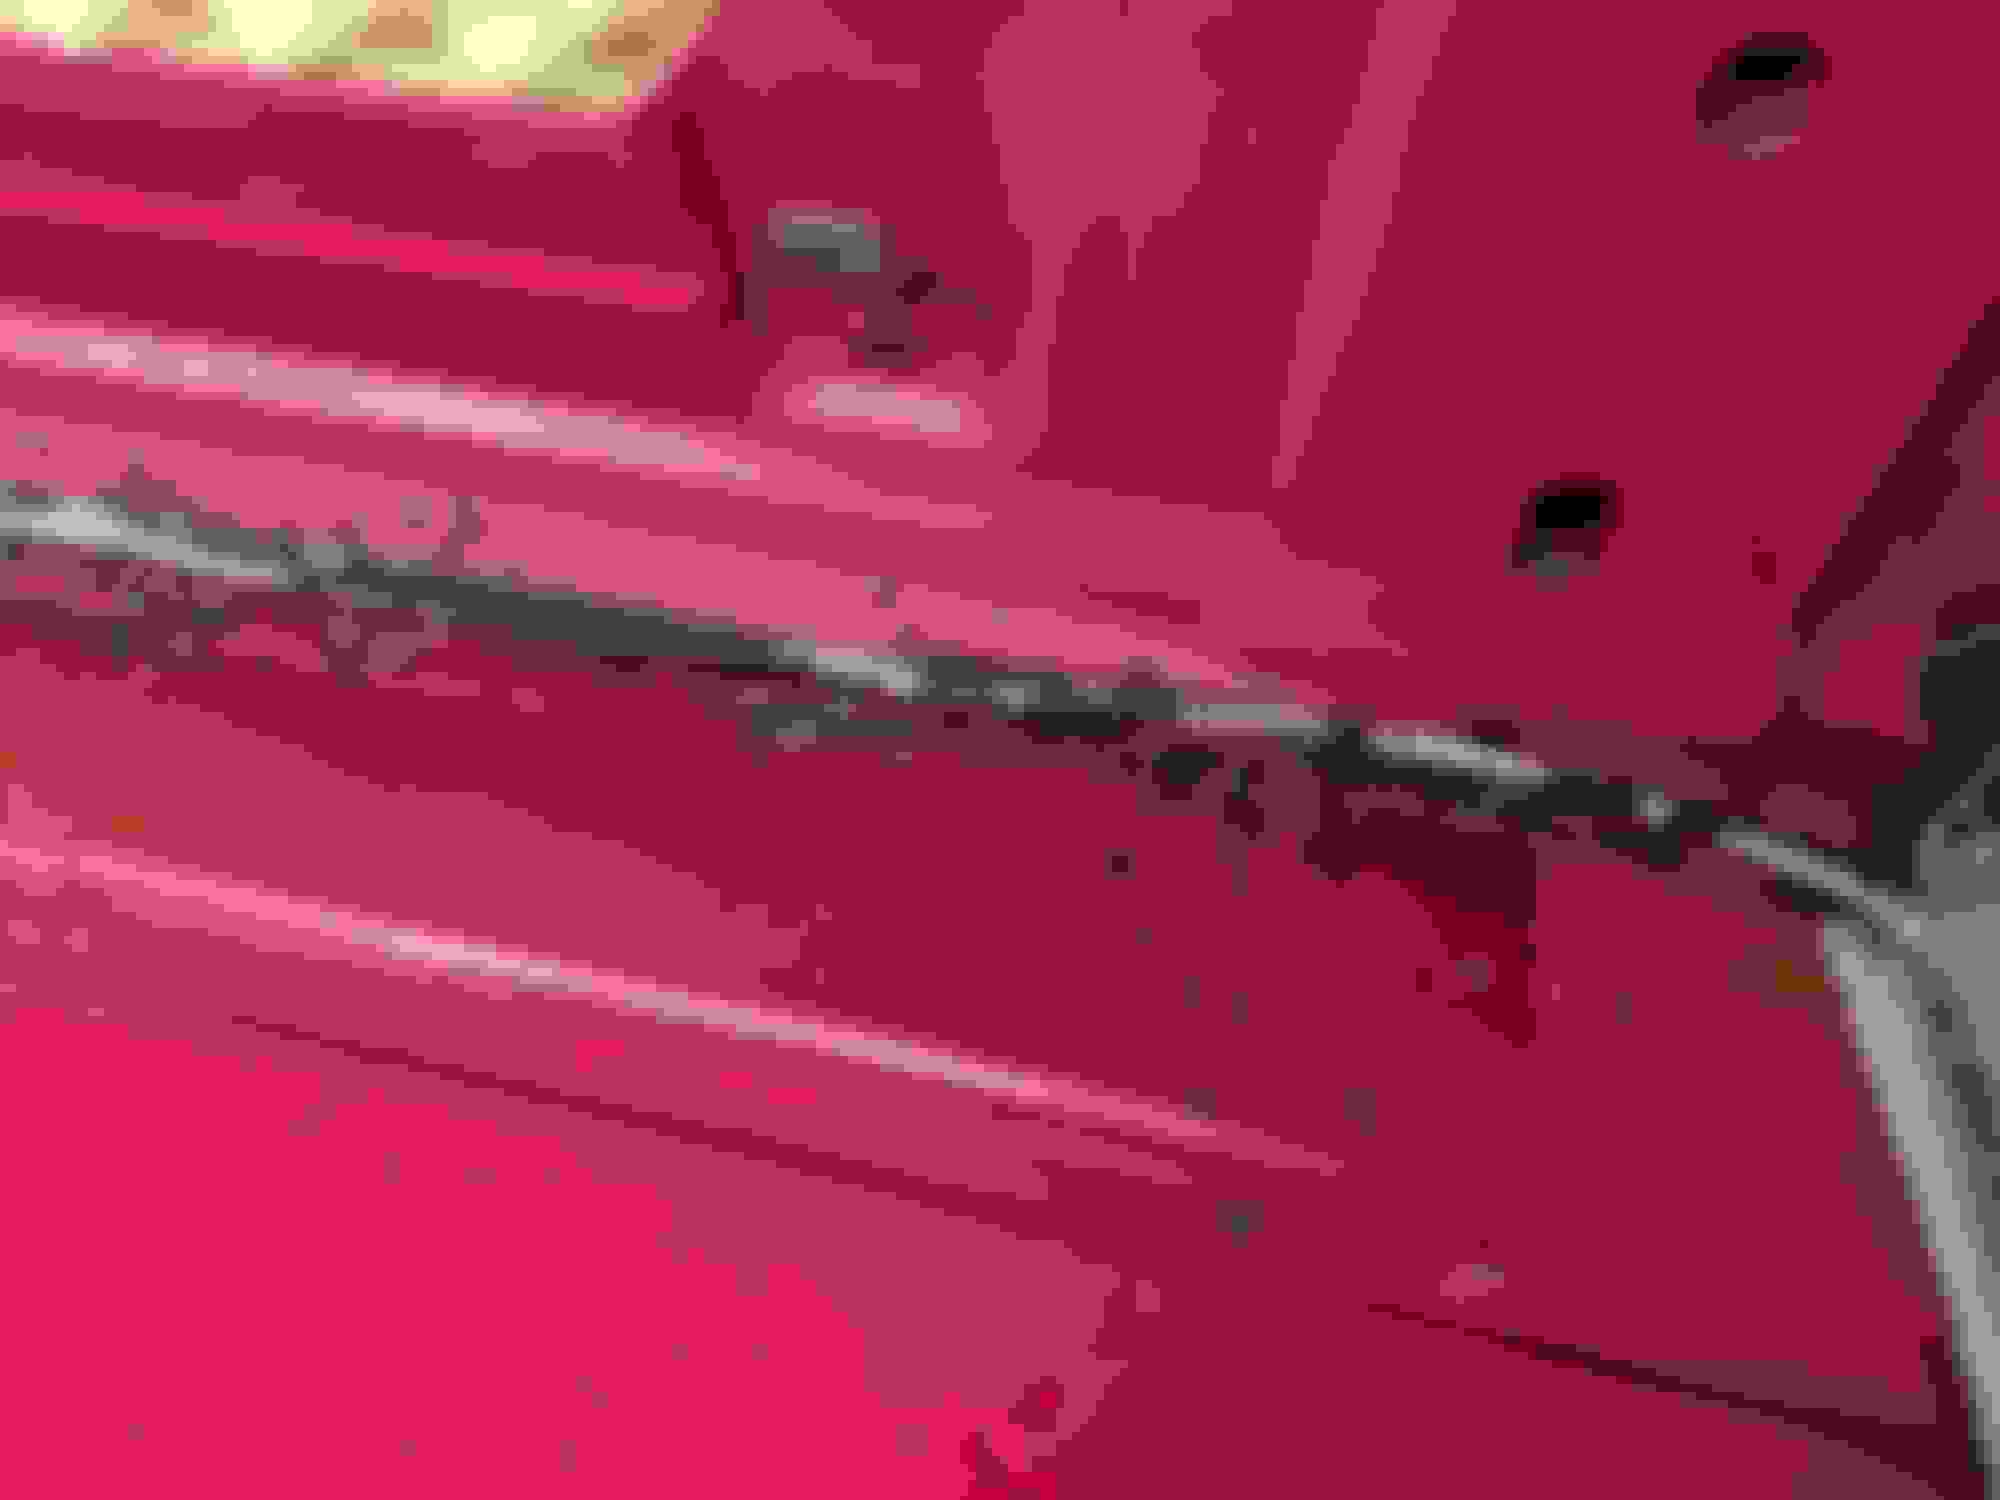
While I was add the tech to the trunk a few weeks ago I noticed what I believed to be residue from the hydraulic hoses leaking near the pump. So I went ahead and ordered a set of cylinder hoses from Cabriolet Roof Hoses in the UK.
The total cost delivered to me was about $250US which is about half what Top Hydraulics wanted for their set. They arrived in less than a week.
Replacing these hoses is way less complicated than replacing the hoses to the front latch. Regardless you still have to remove most of the same interior bits plus the trunk liners.
I did not take a lot of pics when I did this work, and it has been covered in other threads anyway. I did note a few things worth sharing.
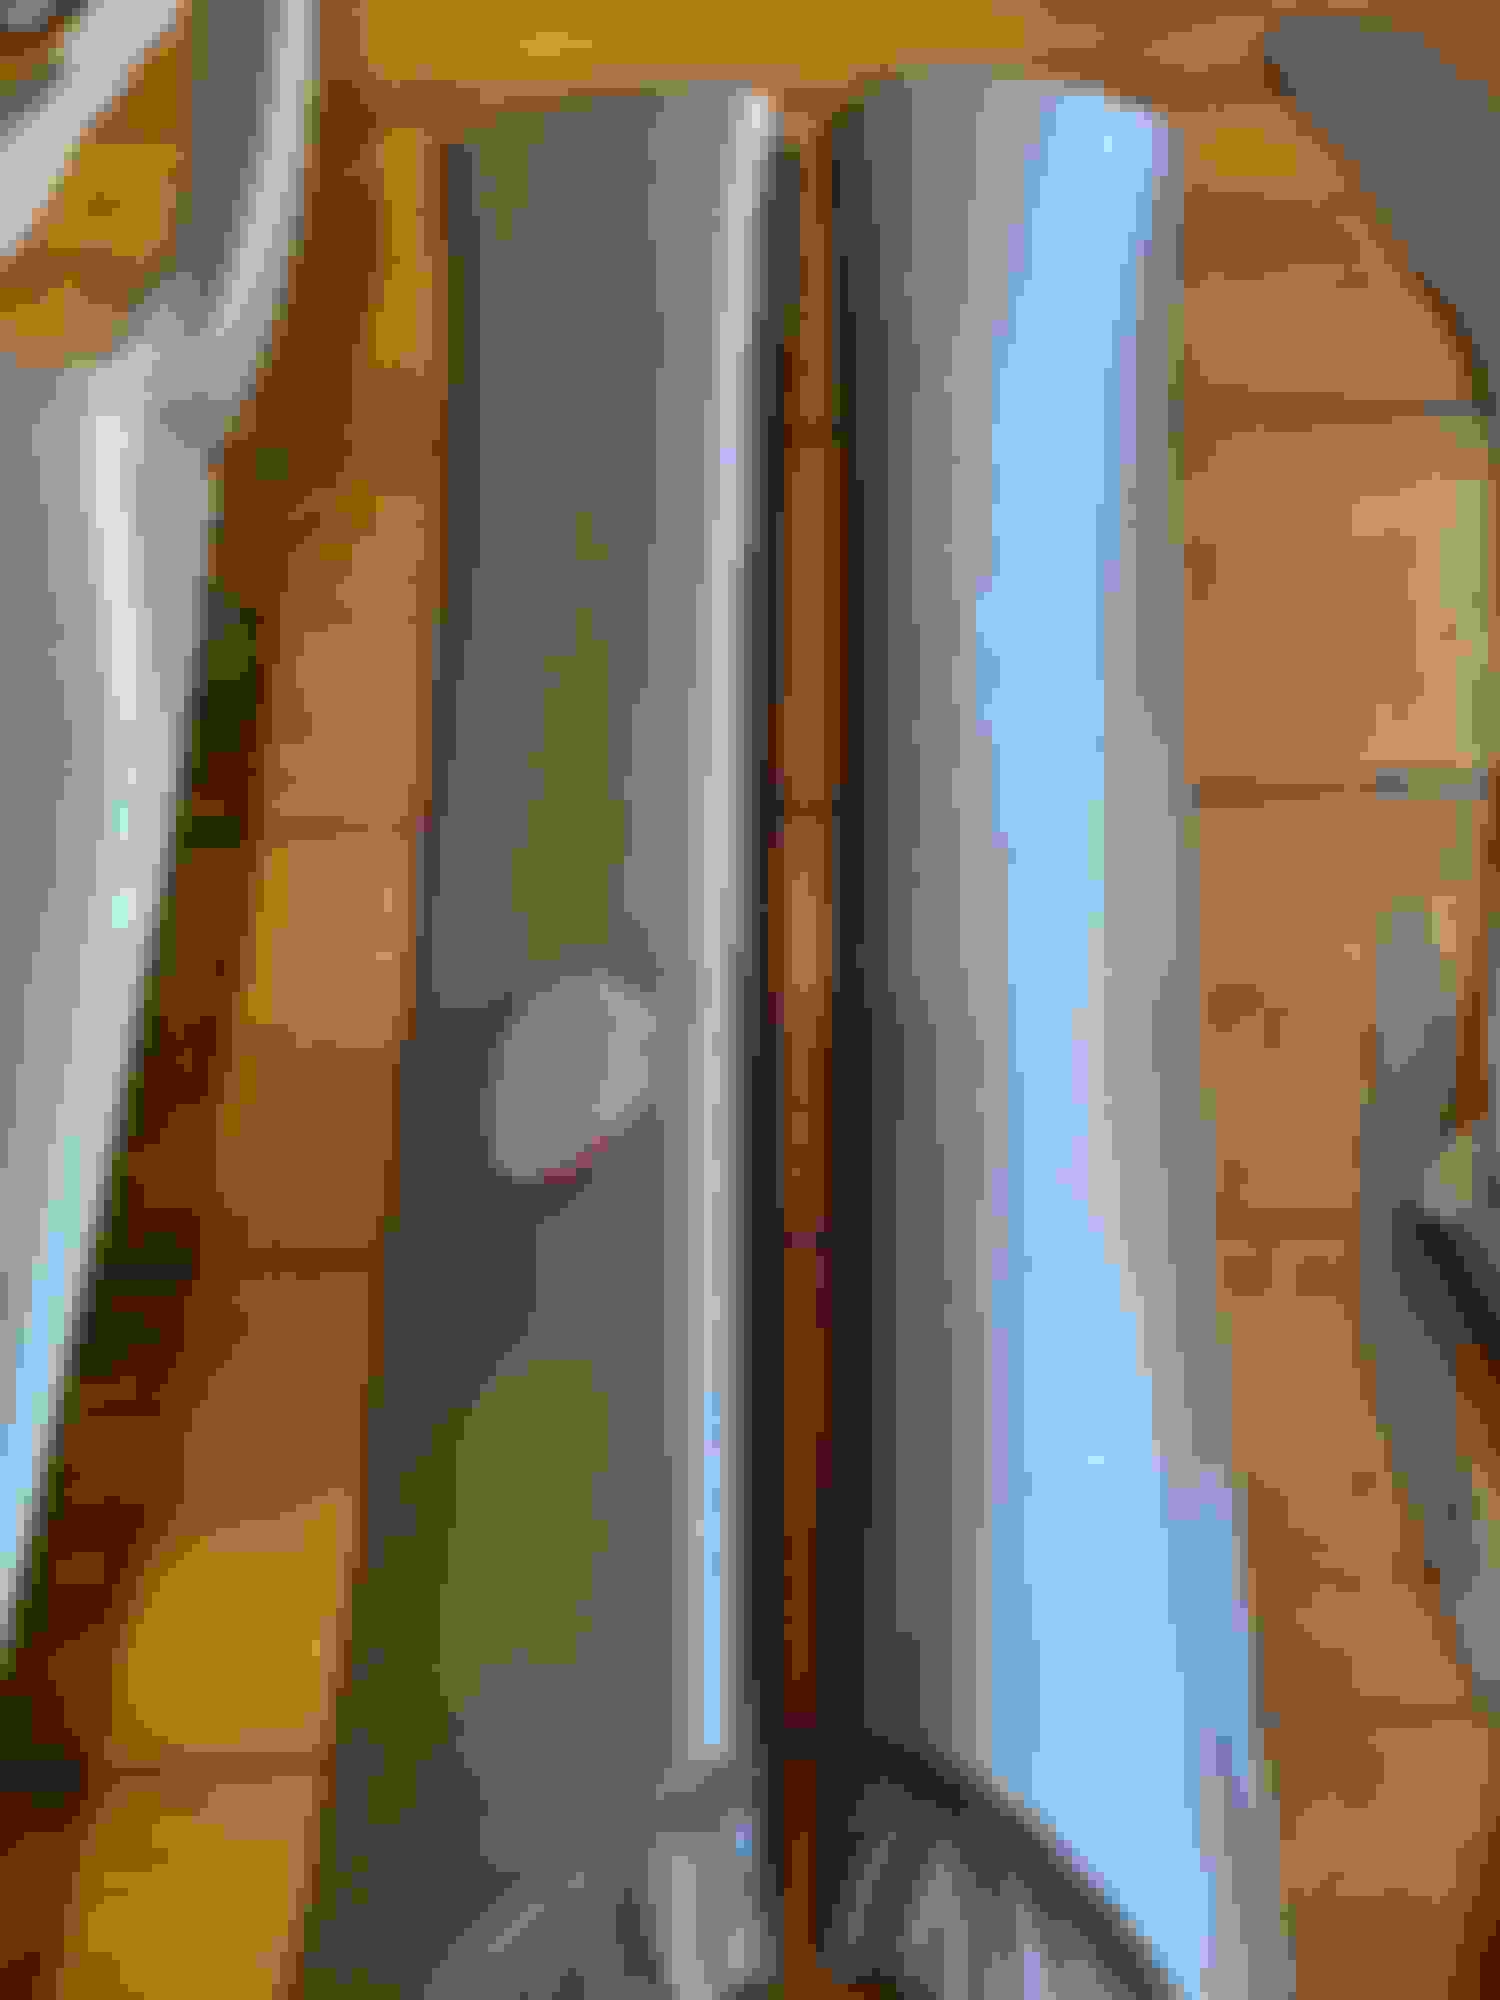
The HEL hoses from CRH are about the same diameter as the originals. The latch hoses I used from Top Hydraulics are much thinner. I don't see this as an advantage either way.
CRH on left, TH on right.
I spent more time cleaning up the crumble mess than I did routing the new hoses.
Pulling out the old hoses essentially strips them of the black cover and it goes everywhere. A real PITA to vacuum it out of all the crevices.
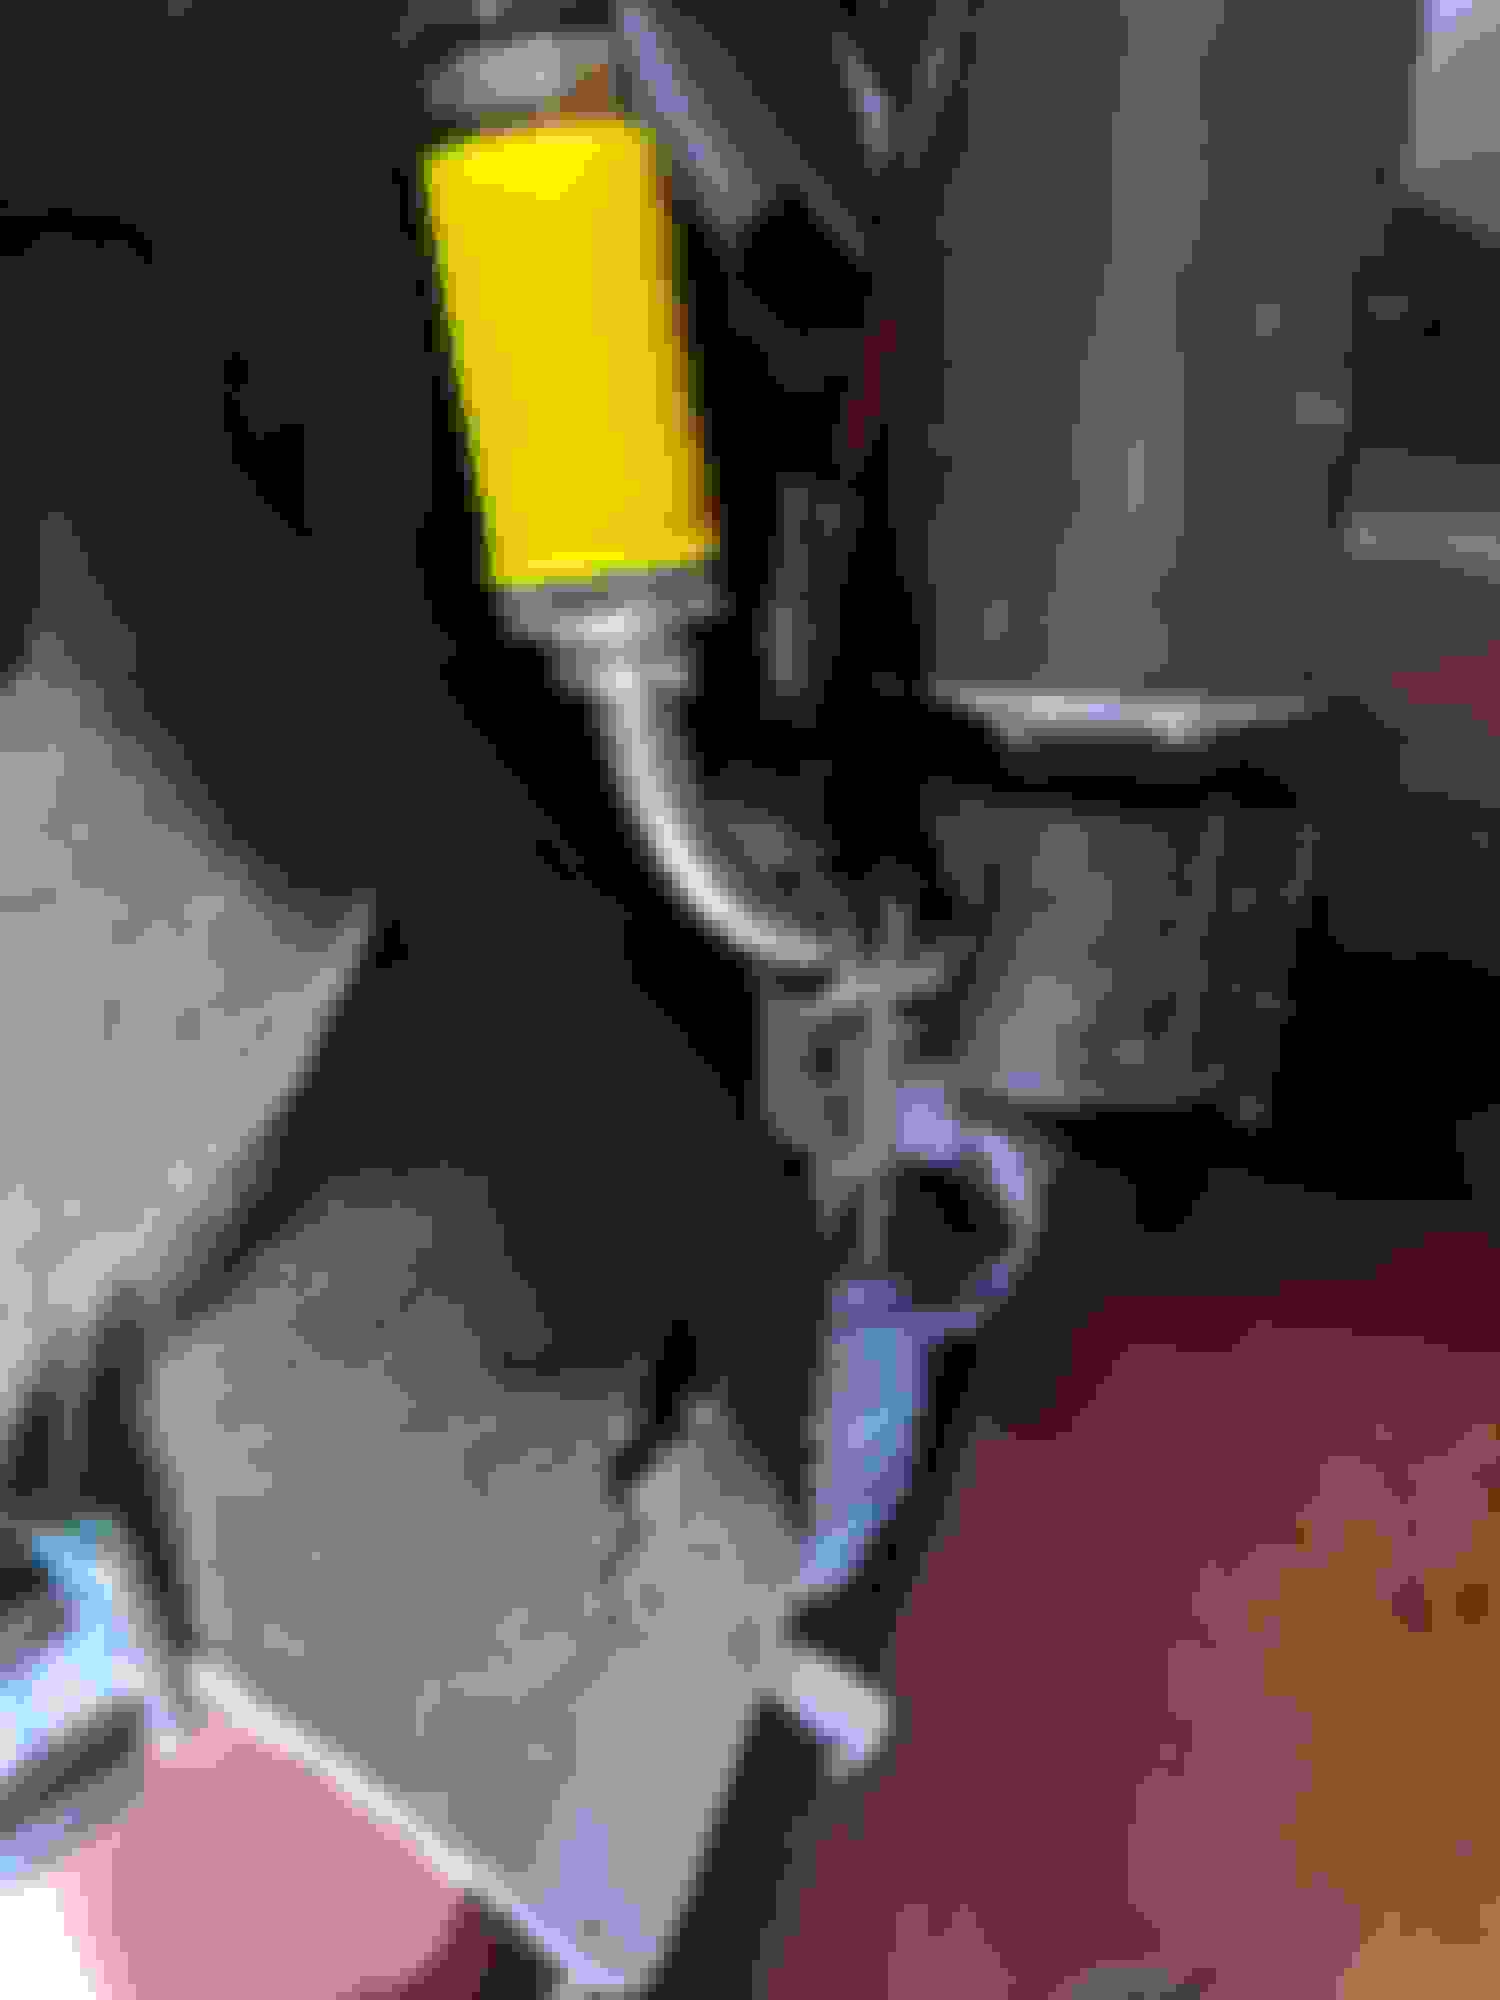
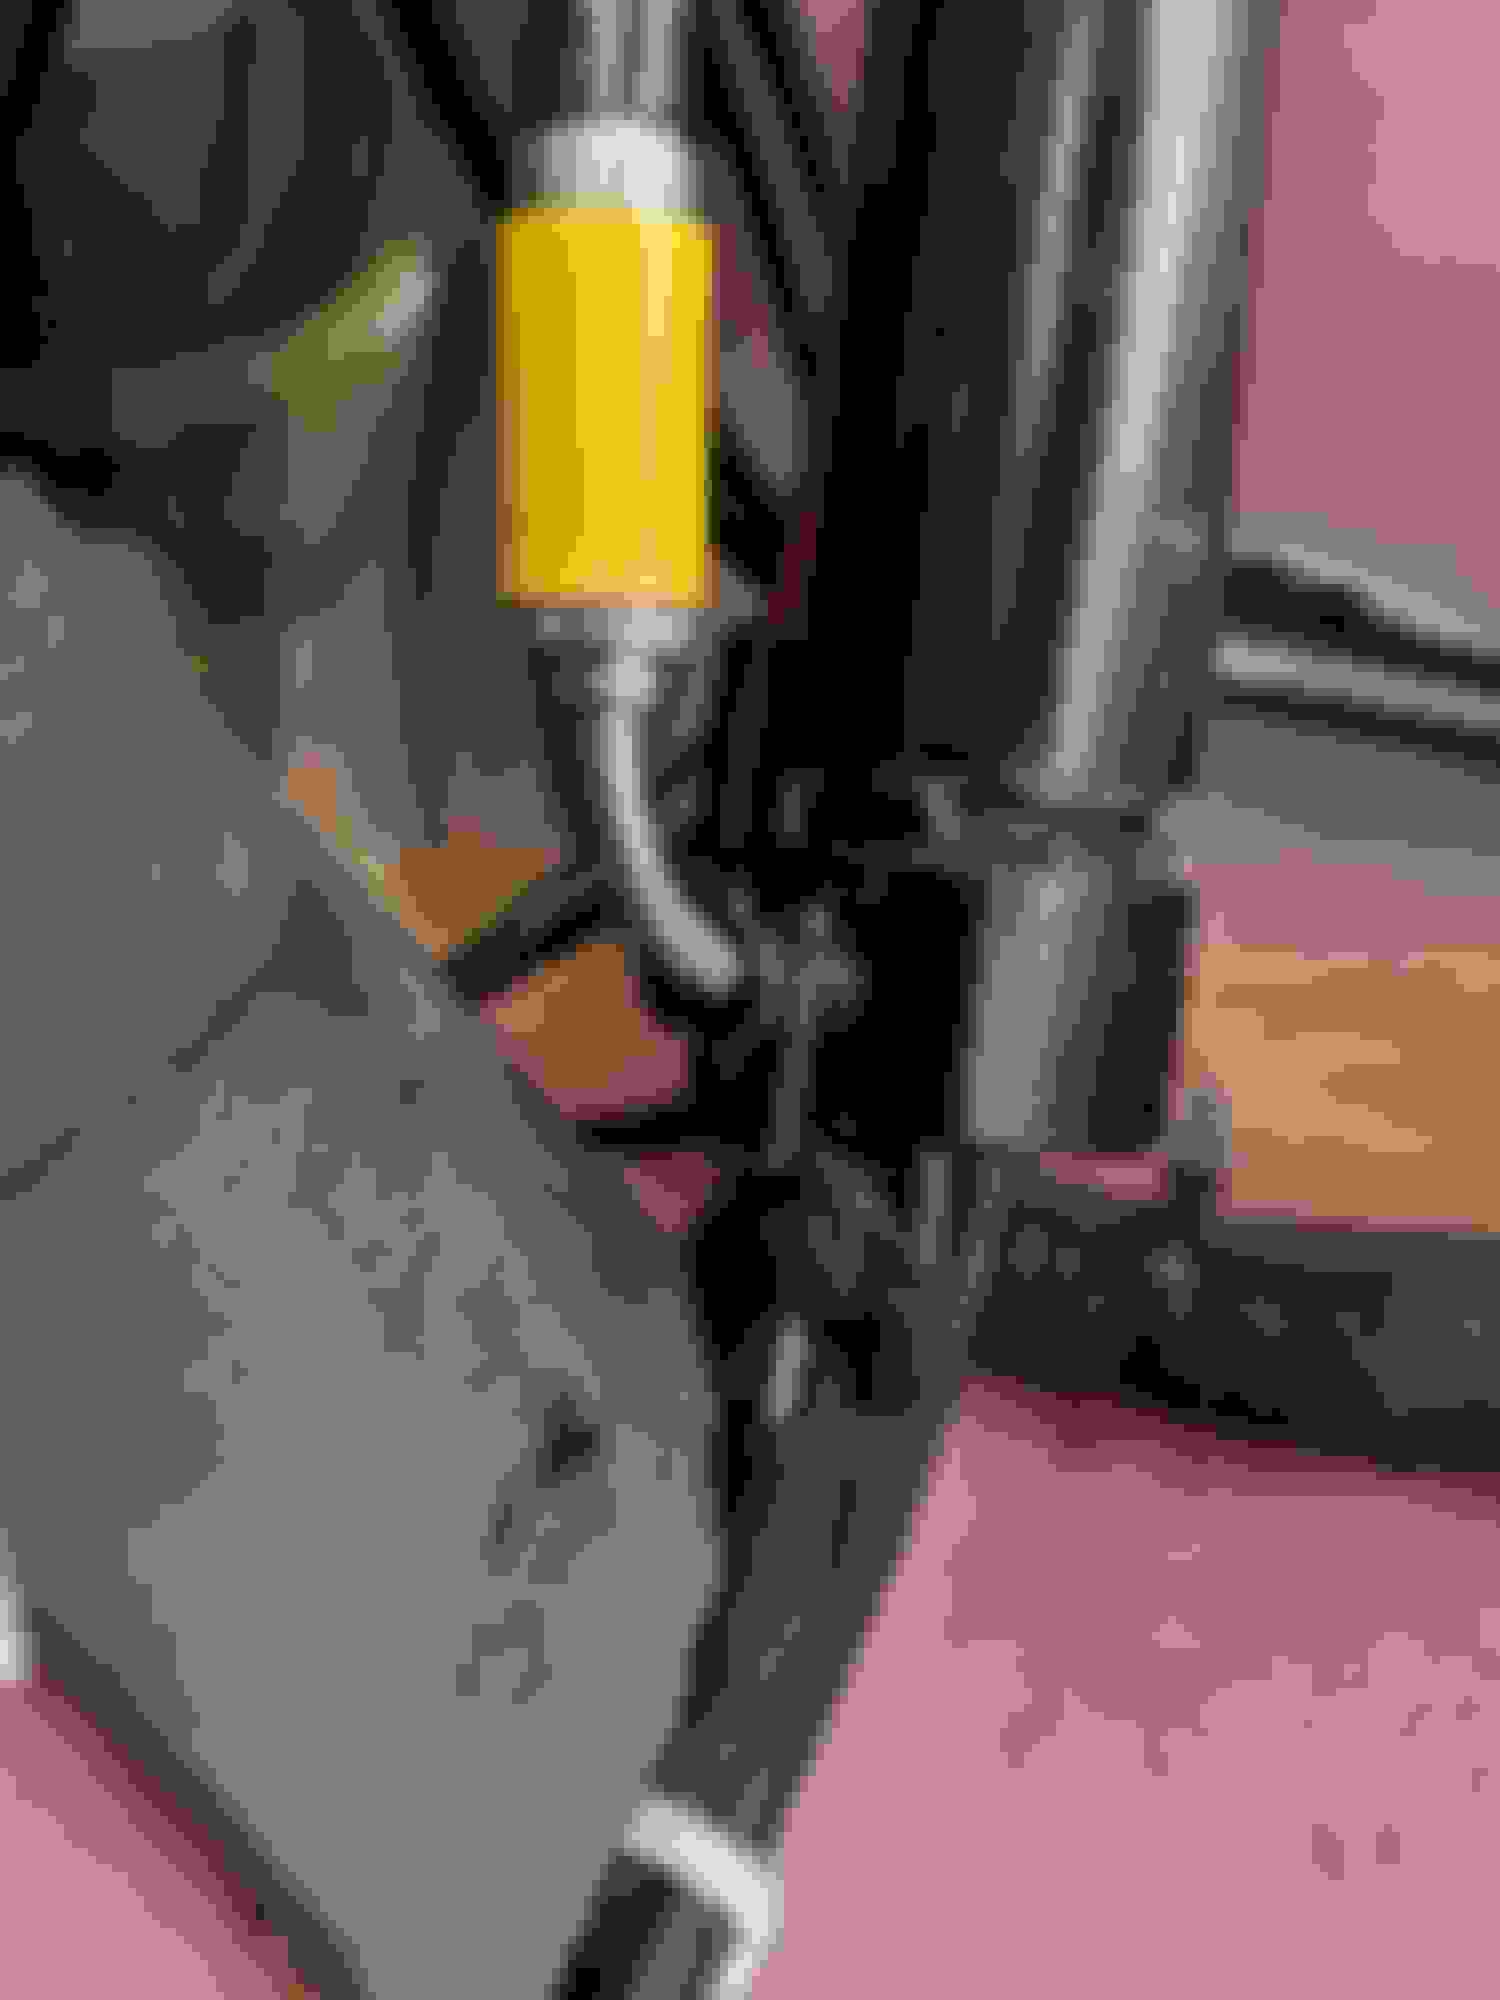
I am not sure why one of the hoses has this unique connection using a clip. All the other connections are threaded.
When I was clipping the new hose in place I was not sure if I got the clip on far enough. Turns out this is NOT far enough.
This is the correct position for the clip.
I was surprised how little fluid leaked out of the old lines when I was removing them. Very little mess to deal with.
I did have to top up the tank on the pump with a few ounces of fluid. I did not bother to prime the lines I just let the pump do that as I ran the top up/down a few times.
This all took me most of a day but I took my time and I cleaned all the interior pieces before I reinstalled them.
Thanks for the details. I expected that the new aftermarket hoses sourced from the UK would be similar to the smaller-diameter hoses from Top Hydraulics. Keep us posted on how they perform for you....
Well done on the Job's which is not that complicated for the DIY Shade tree mechanic. I'm not sure why that one particular hose attachment is different with a clip rather than a thread. Must be something to do with the microswitch next to it. I lost a fair amount of skin trying to get that clip off until I realized the trick of using a nail through the clip opening to just lever it off.
Just for info, how old were the original hoses? Mine must have been original from 1999.
Having seen @rothwell 's car in person, the touches that he's added are amazing. The Visor delete pretty fantastic, especially for a "taller" guy as it gives a larger vision area than playing the over/under game at the windshield frame, plus the leather is matched very well.
Having seen @rothwell 's car in person, the touches that he's added are amazing. The Visor delete pretty fantastic, especially for a "taller" guy as it gives a larger vision area than playing the over/under game at the windshield frame, plus the leather is matched very well.
WOW, this is all so inspirational.
The burl overhead controls panel is brilliant
As a tall person, I have the same complaint about all the upper vision area blocked by the fat visors, even at their rest state. I've been toying with the idea of installing very thin visors so the sun blocking functionality isn't lost, but burl visors might be OTT :-).
I finally had a free weekend to replace the lines to the latch. Last fall when I reconditioned all the header material I could see that eventually they would let loose. So I packed some extra headliner material in the area to soak up any seeping fluid. I had already done the pressure reduction mod so I figured I had some time.
I got all the parts I thought I would need for about $360. Scored a NOS latch for $40. Got the NOS treadplate for $20. Lines came from Top Hydraulics for $280. Fluid was about $20.
I took a lot of pics during teardown. I will post them if there is interest but I think pics already exist in other posts. I will post a few that I thought were interesting.
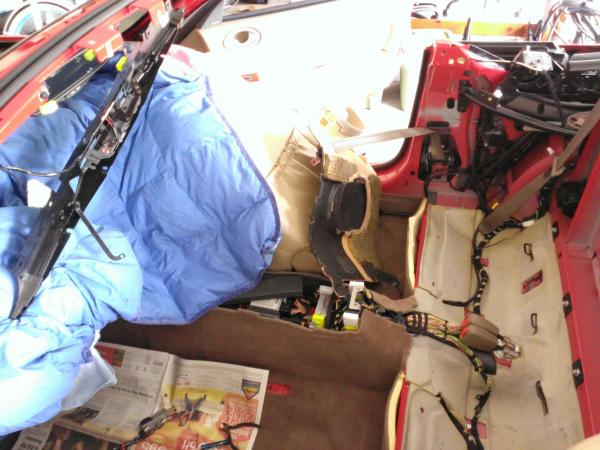
First, there a LOT of parts that must be removed to get to the lines.
The extra spongy material I packed around the valve was soaked with fluid. The lines were leaking in the usual crimp spot. The valve itself was not leaking.
I chose to cut the old lines out in sections. Also left the carpet in and just worked underneath it.
The new lines went in without issue. They were clearly marked and slightly smaller in diameter. So I was able to reuse a lot of the zip ties by carefully snipping them off the old lines. Even though the old valve was fine I decided to still use the new valve since I had it.
Releasing the pump pressure and manually raising the top makes it easy to snake the lines thru to the trunk area. I did not bother to prime the lines before connecting to the pump. I just let the pump do it the first time I operated the top. Then topped the pump off with some new fluid.
Here is the total of fasteners that I had to remove to get the job done. Not really that many.
I took my time and probably spent 8 hours overall. That included cleaning every part that I removed.
So I managed to dodge the green shower. Hopefully I am good to go for a long time now. The next day I hit this milestone.
Hi, I have a 97 xk8 and would like to change my lines to ,where did you order the parts from.
Thanks
Syb

 02-01-2020, 06:43 PM