When you click on links to various merchants on this site and make a purchase, this can result in this site earning a commission. Affiliate programs and affiliations include, but are not limited to, the eBay Partner Network.
The driver side rear window regulator decided to toss its cables. Happened without much fanfare. I heard a fluttering sound and noticed the window only came up half way. The real noises started when I tried to run the window back down. Lots of popping and grunting then no more movement in either direction. I managed to pull it up with my hands so at least I could drive it with the top up while I figured out what to do.
I did a little research and found that I could get the parts to rebuild the regulator for $45 US on ebay. I ordered the parts and got them in a couple days. At this point I had no idea what I would need but I wanted to have stuff on hand once I tore it all apart.
The removal of a regulator is already well documented so I won't rehash that detail other than to say that it can be done without removing the top. It took me several hours to get the regulator out but I took my time.
Once I got it out it was easy to see the failure. The cables had jumped off and wrapped themselves around the pulley. They were ruined along with the pulley.
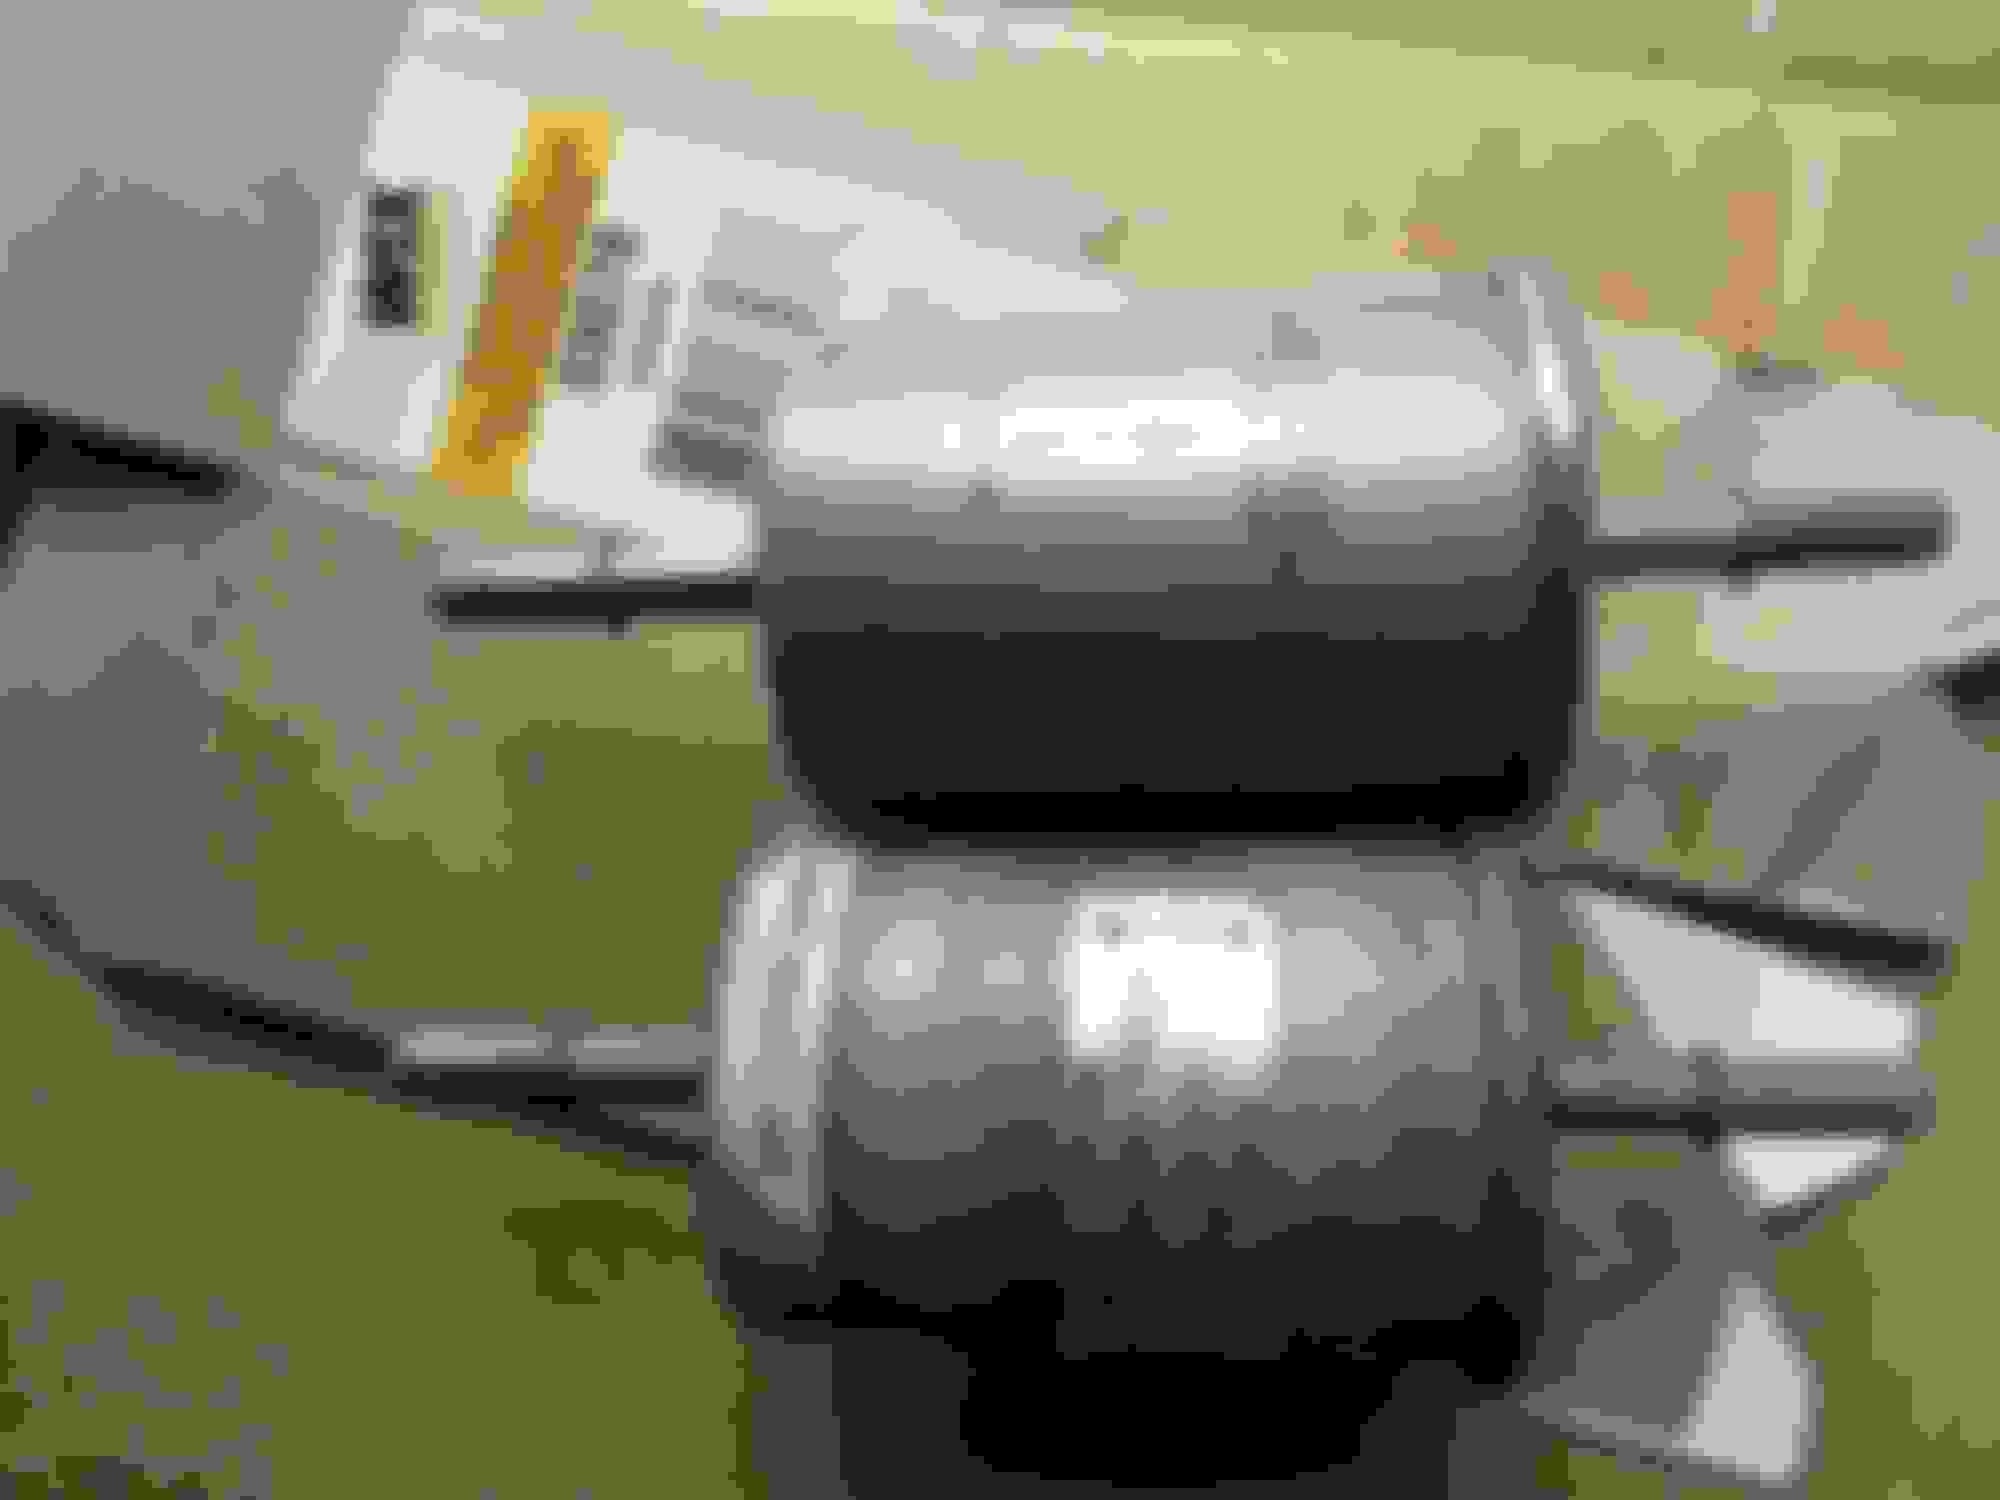
I pulled the motor off by first removing the 3 hex nuts on the silver bracket. Then you can flip it over and remove the bracket from the motor and get to the pulley. Then you can unhook the cables from the pulley. The other cable ends are in the rectangular enclosure. Just unbolt that and pop it open with a small screwdriver and you will see how those ends have the springs for the tension.
Once you get it all apart the real fun begins. You have to figure out how the cables were wound on the pulley so that the reversing motor can pull the window in both directions.
It took some trial and error but I got it eventually. I used some duct tape to help hold the cables on the pulley while I deciphered the routing paths and which cable end went in which pulley groove.
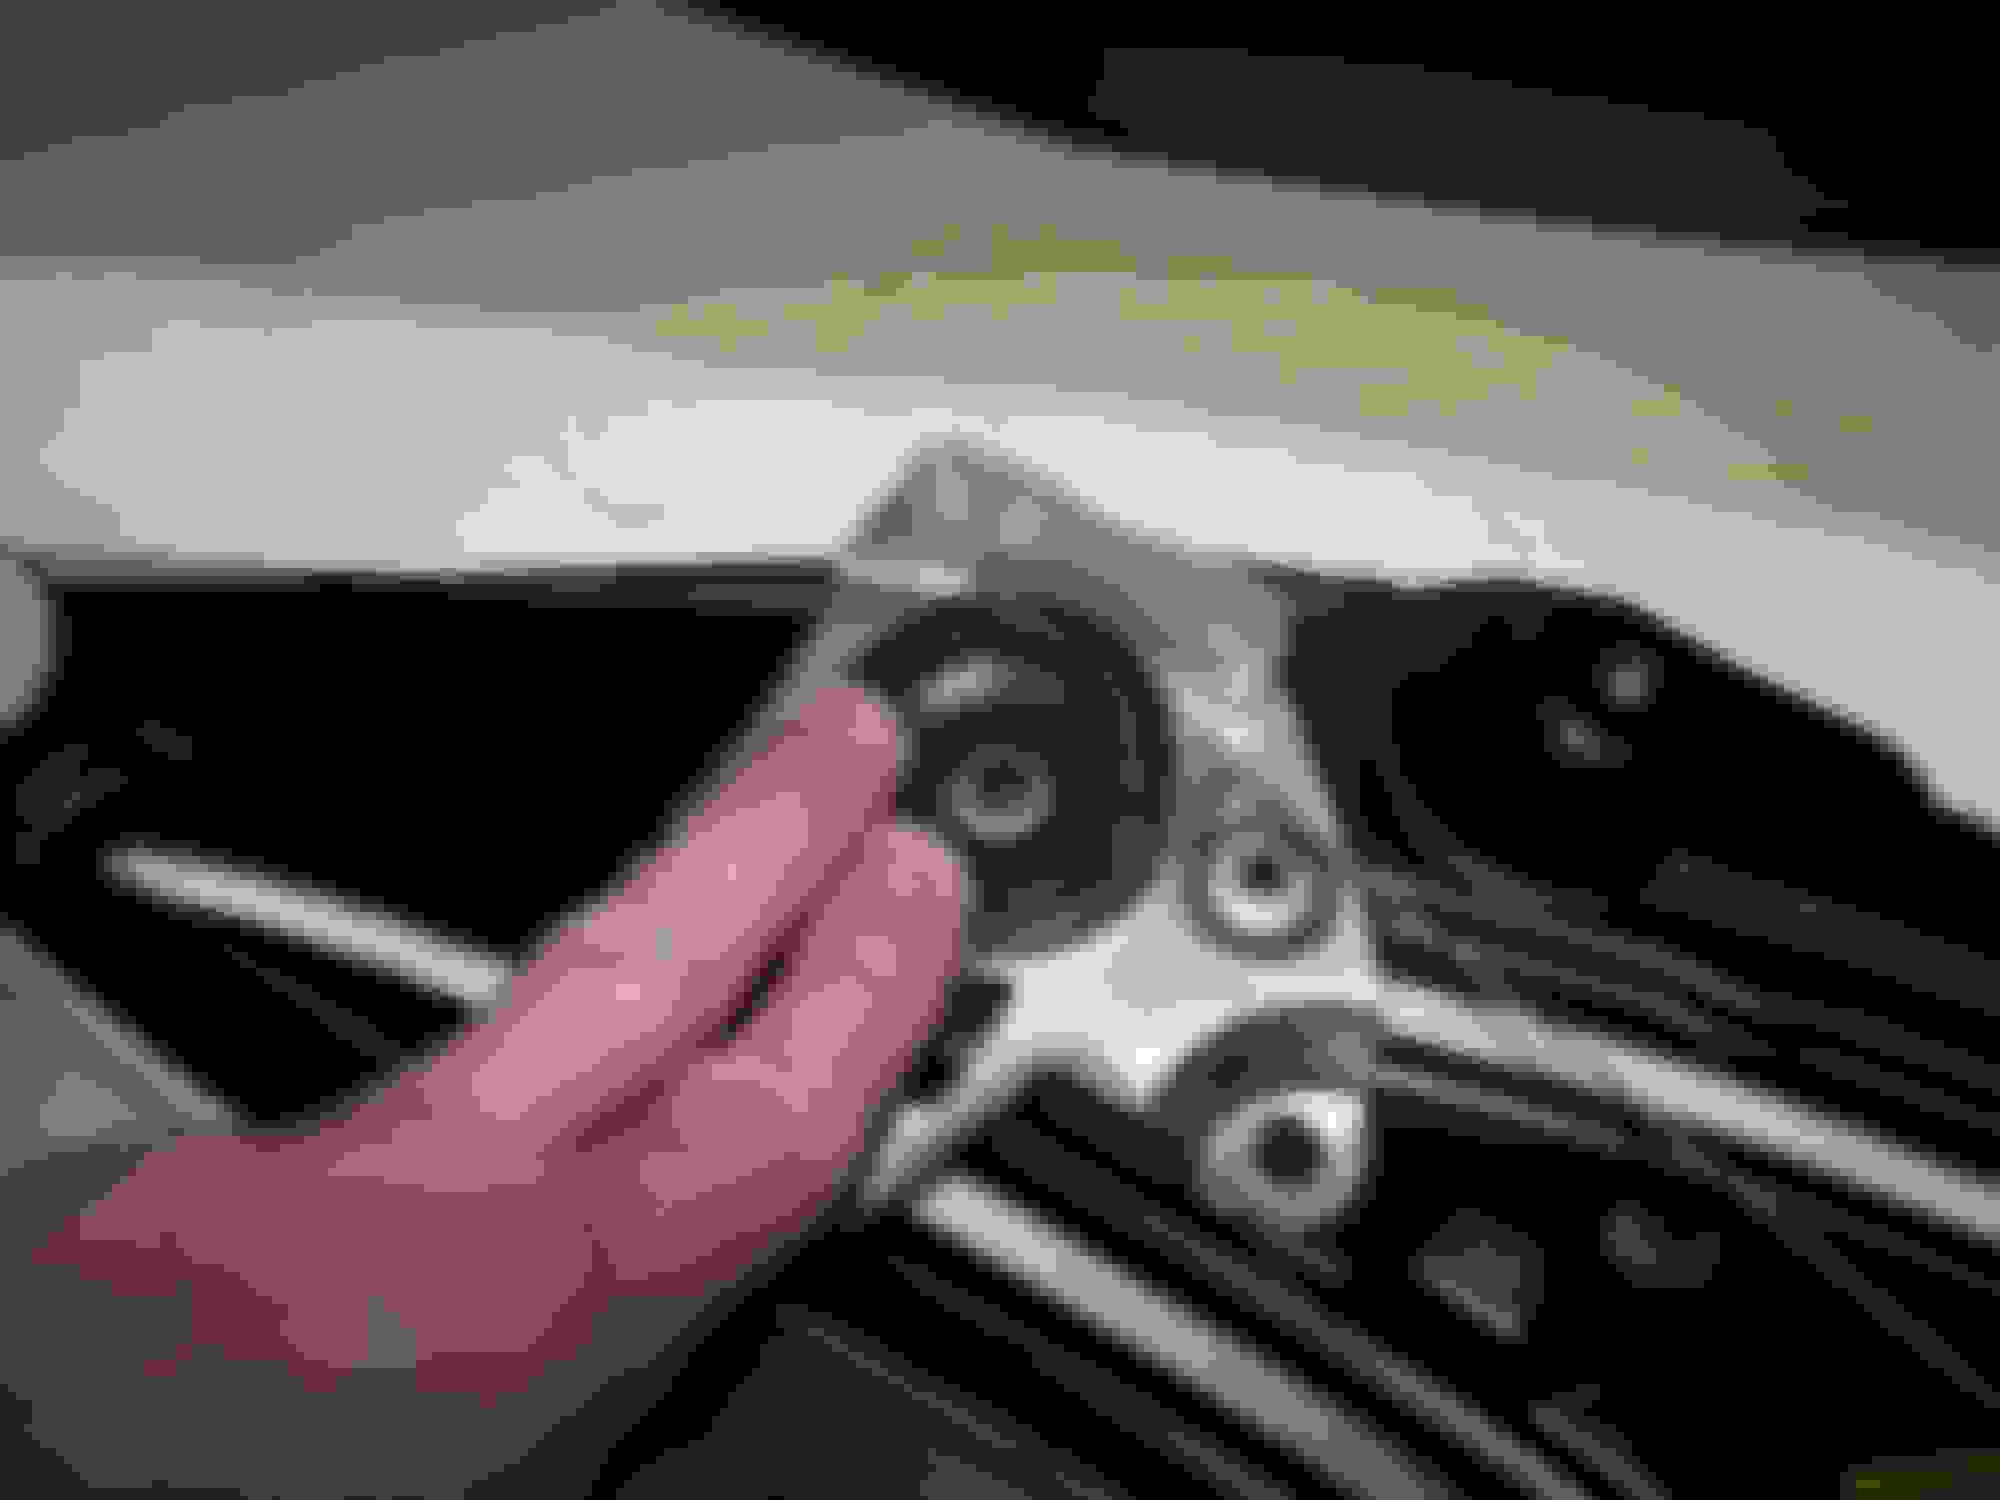
The silver bracket has a nub you can use to locate the pulley without the motor. There will be some minor tension so you will need to hold it down on top of the nub while you rotate the pulley to get the lengths of the cables set. As one cable gets longer the other gets shorter.
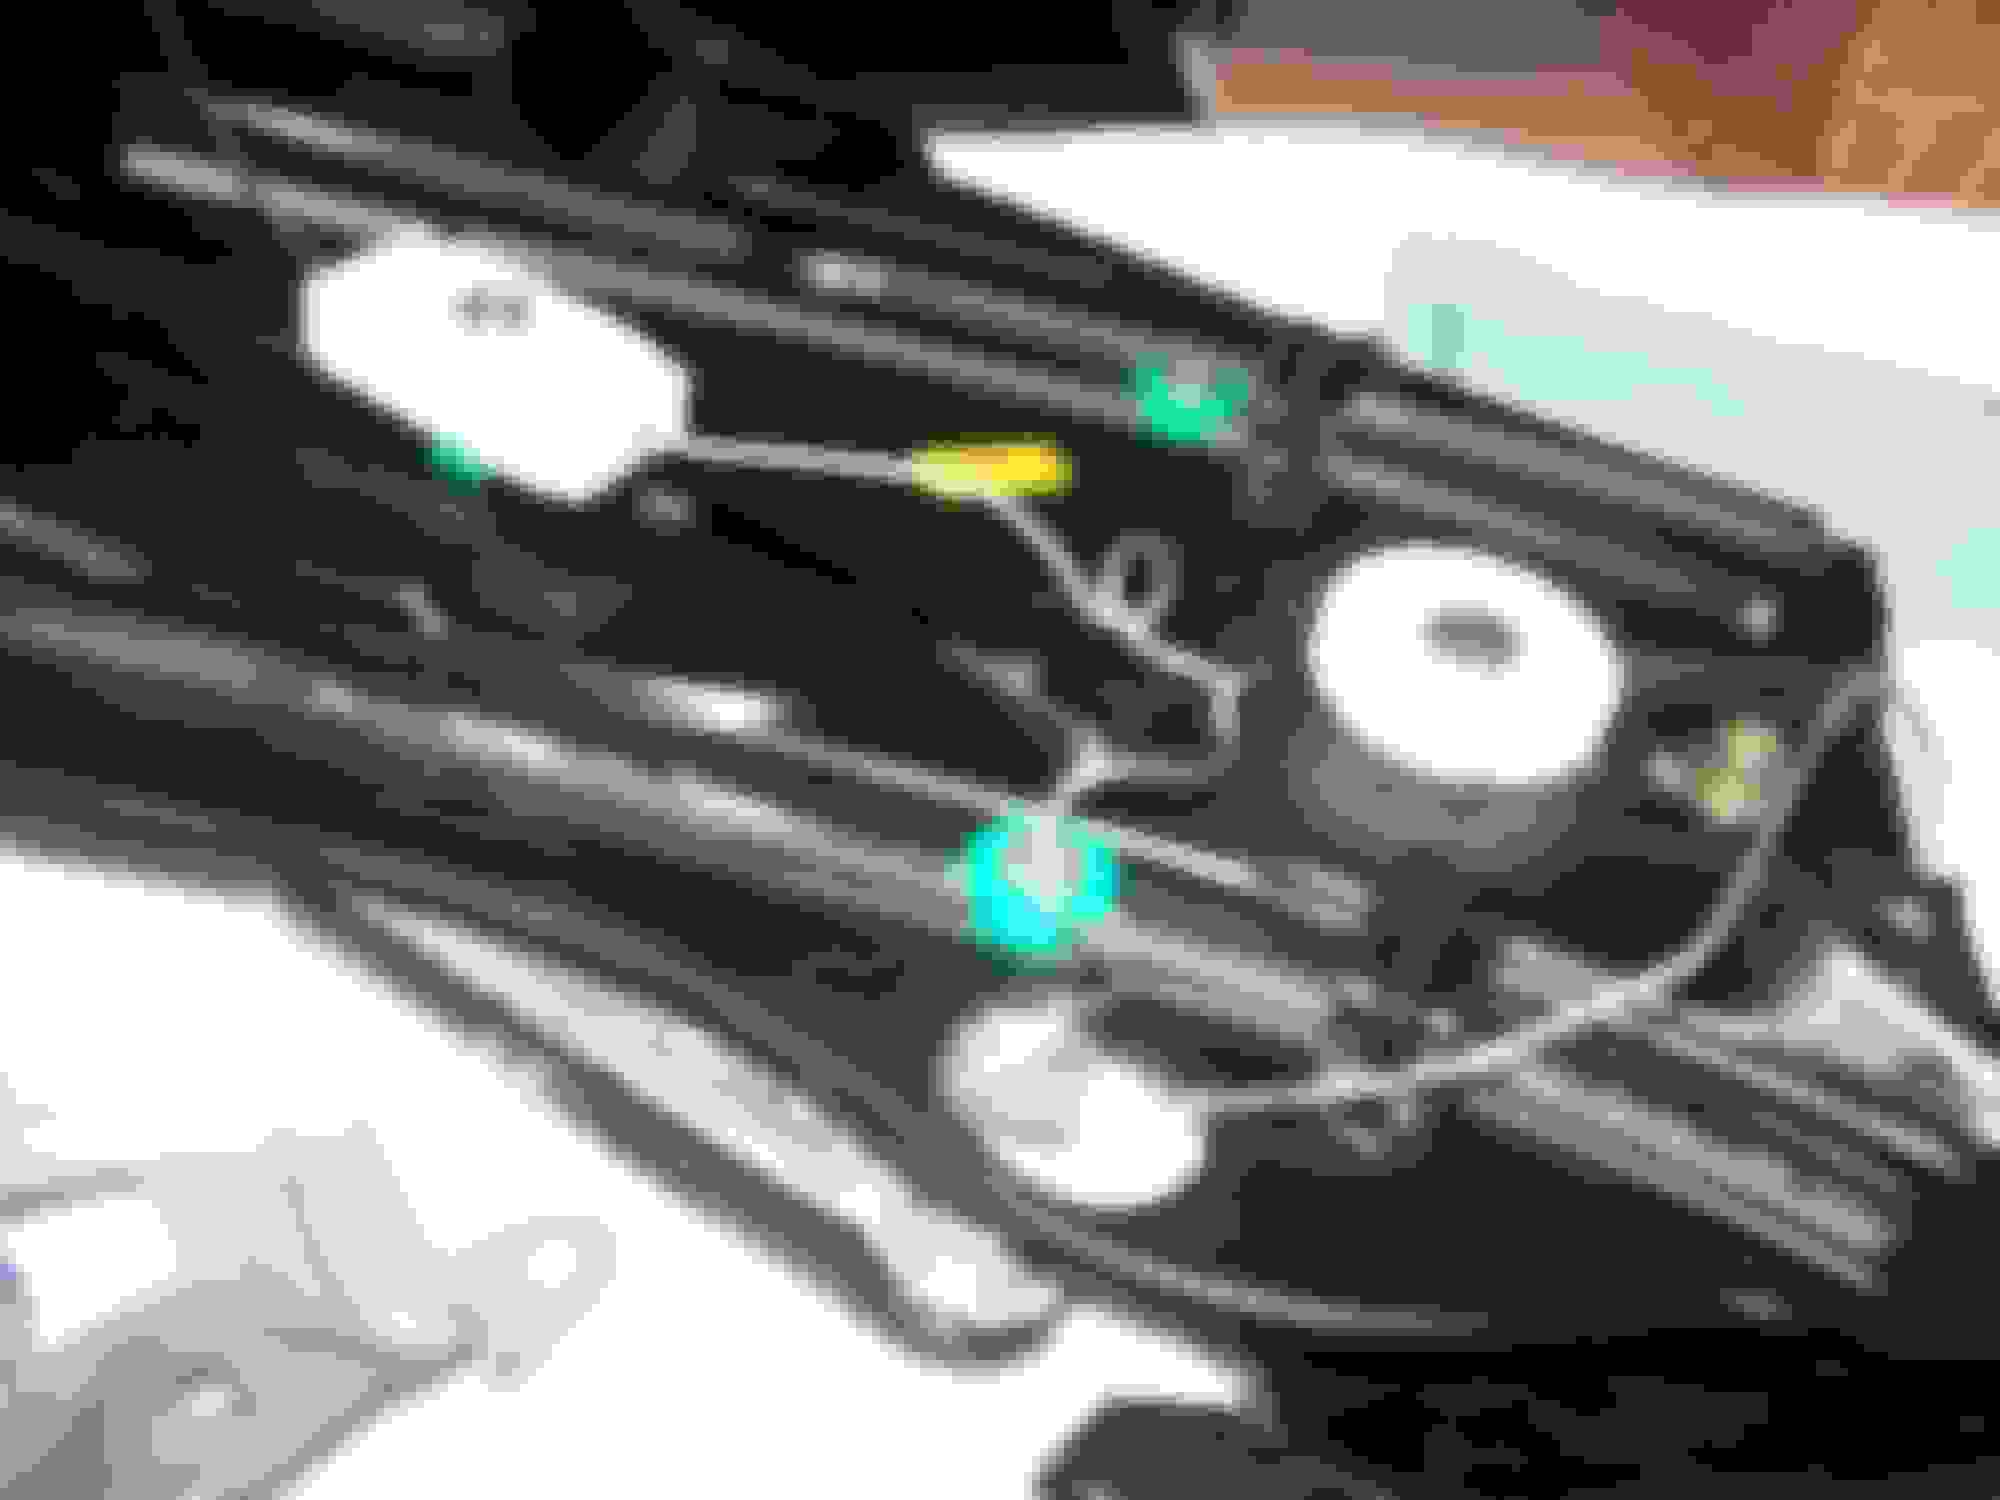
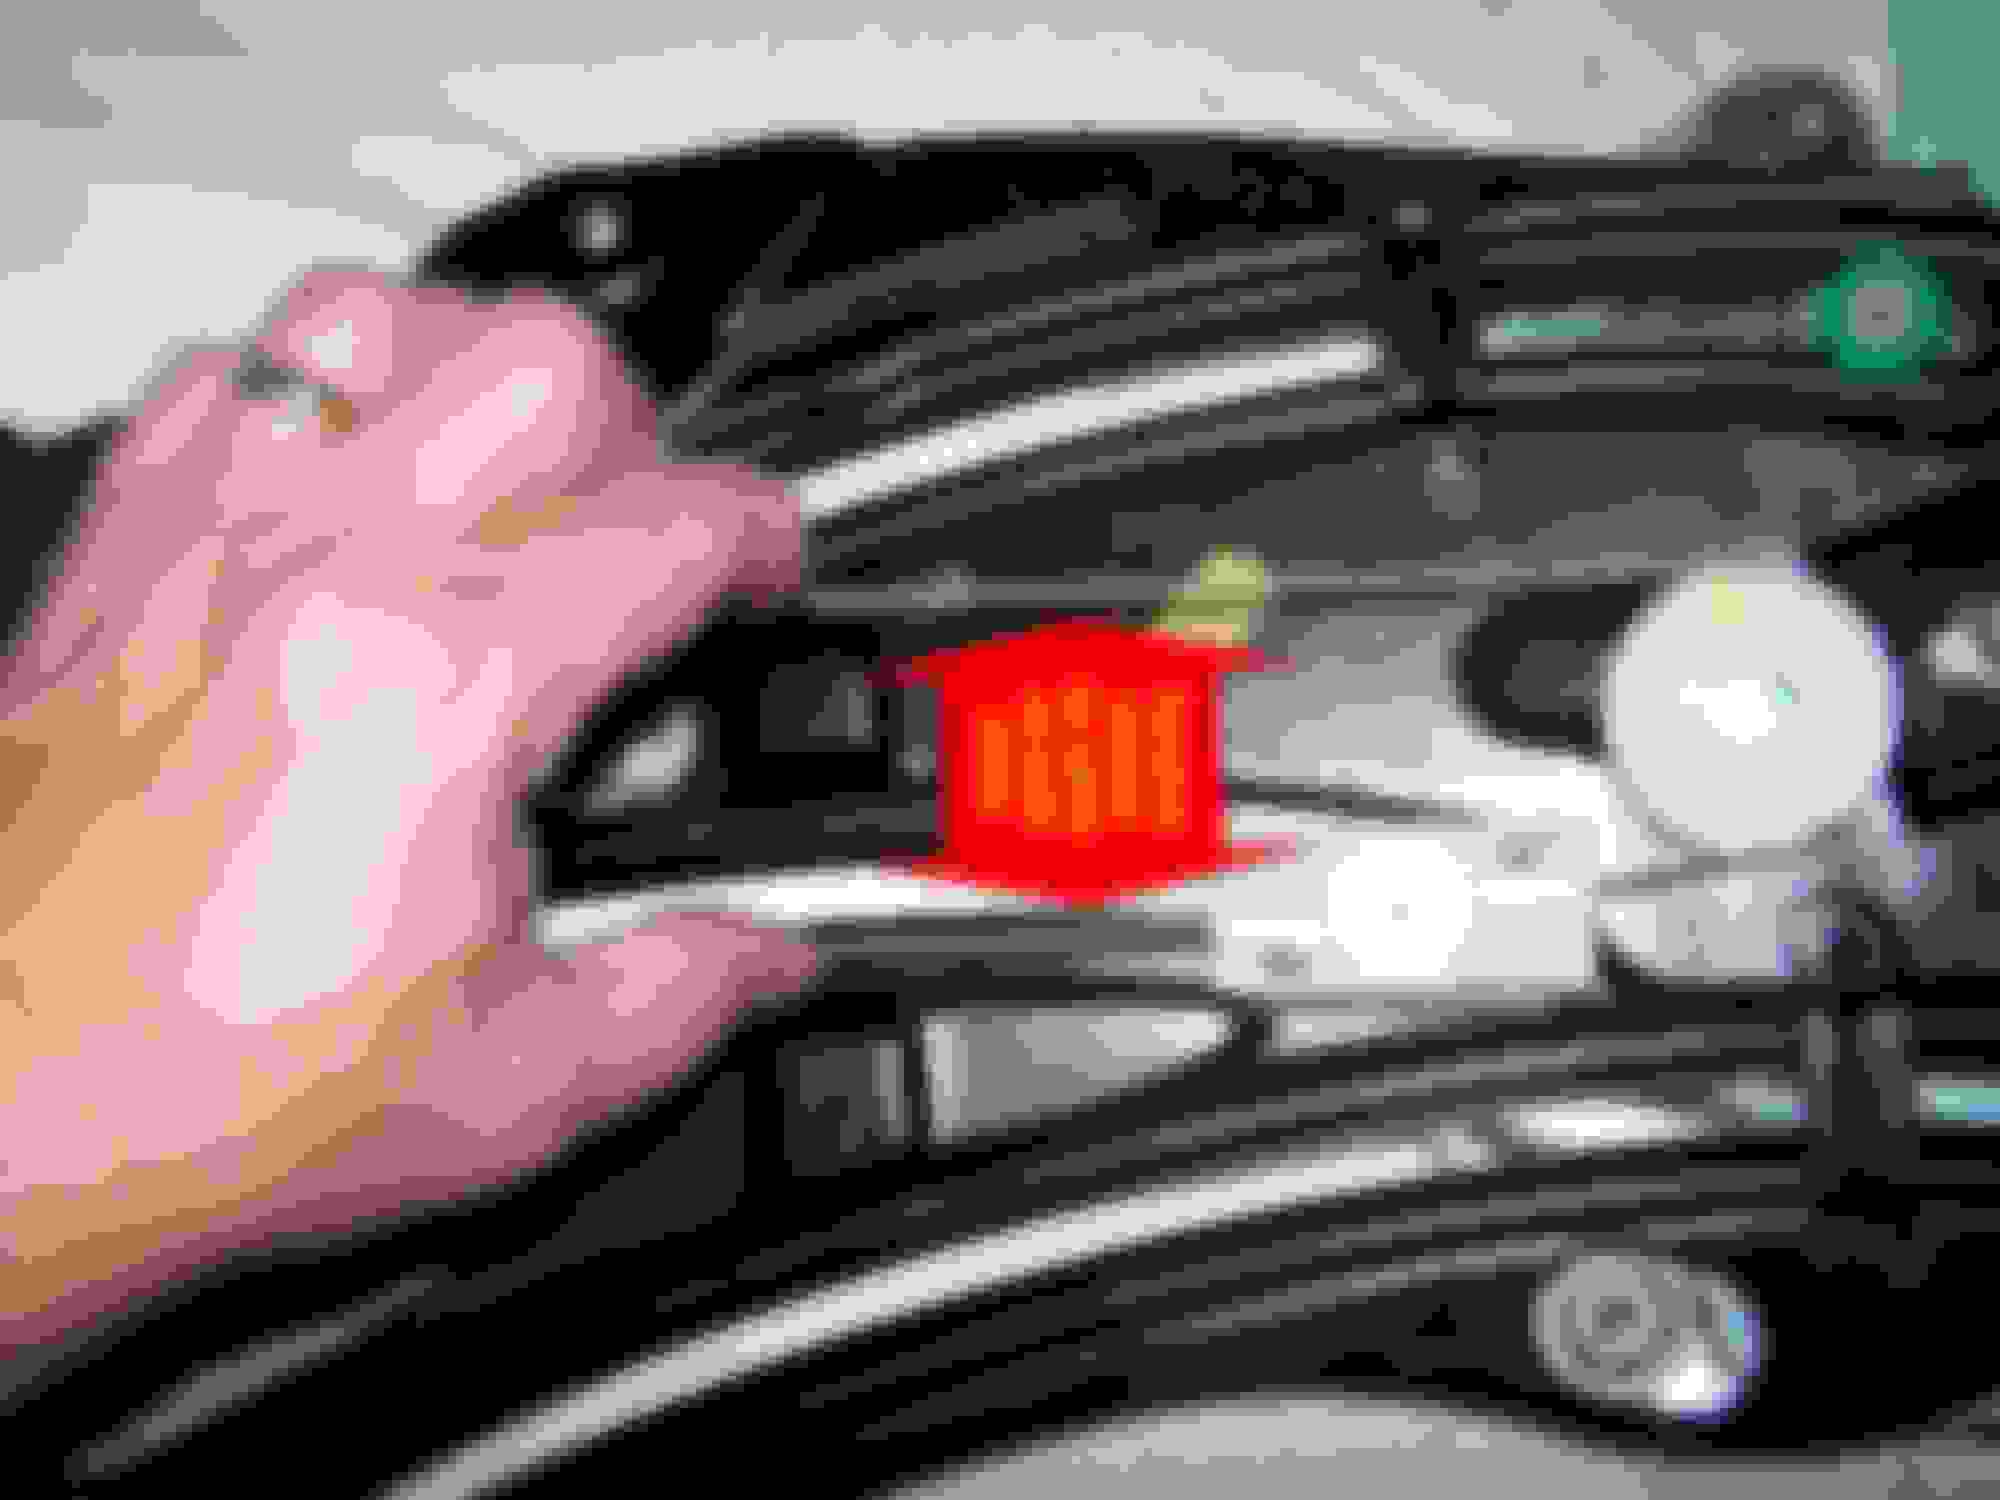
This is the routing you need to get to (except the lower cable goes inside the bracket). Note the location of the rectangular thing hold the other cable ends. That is critical. Also window needs to be all the way up against its stop.
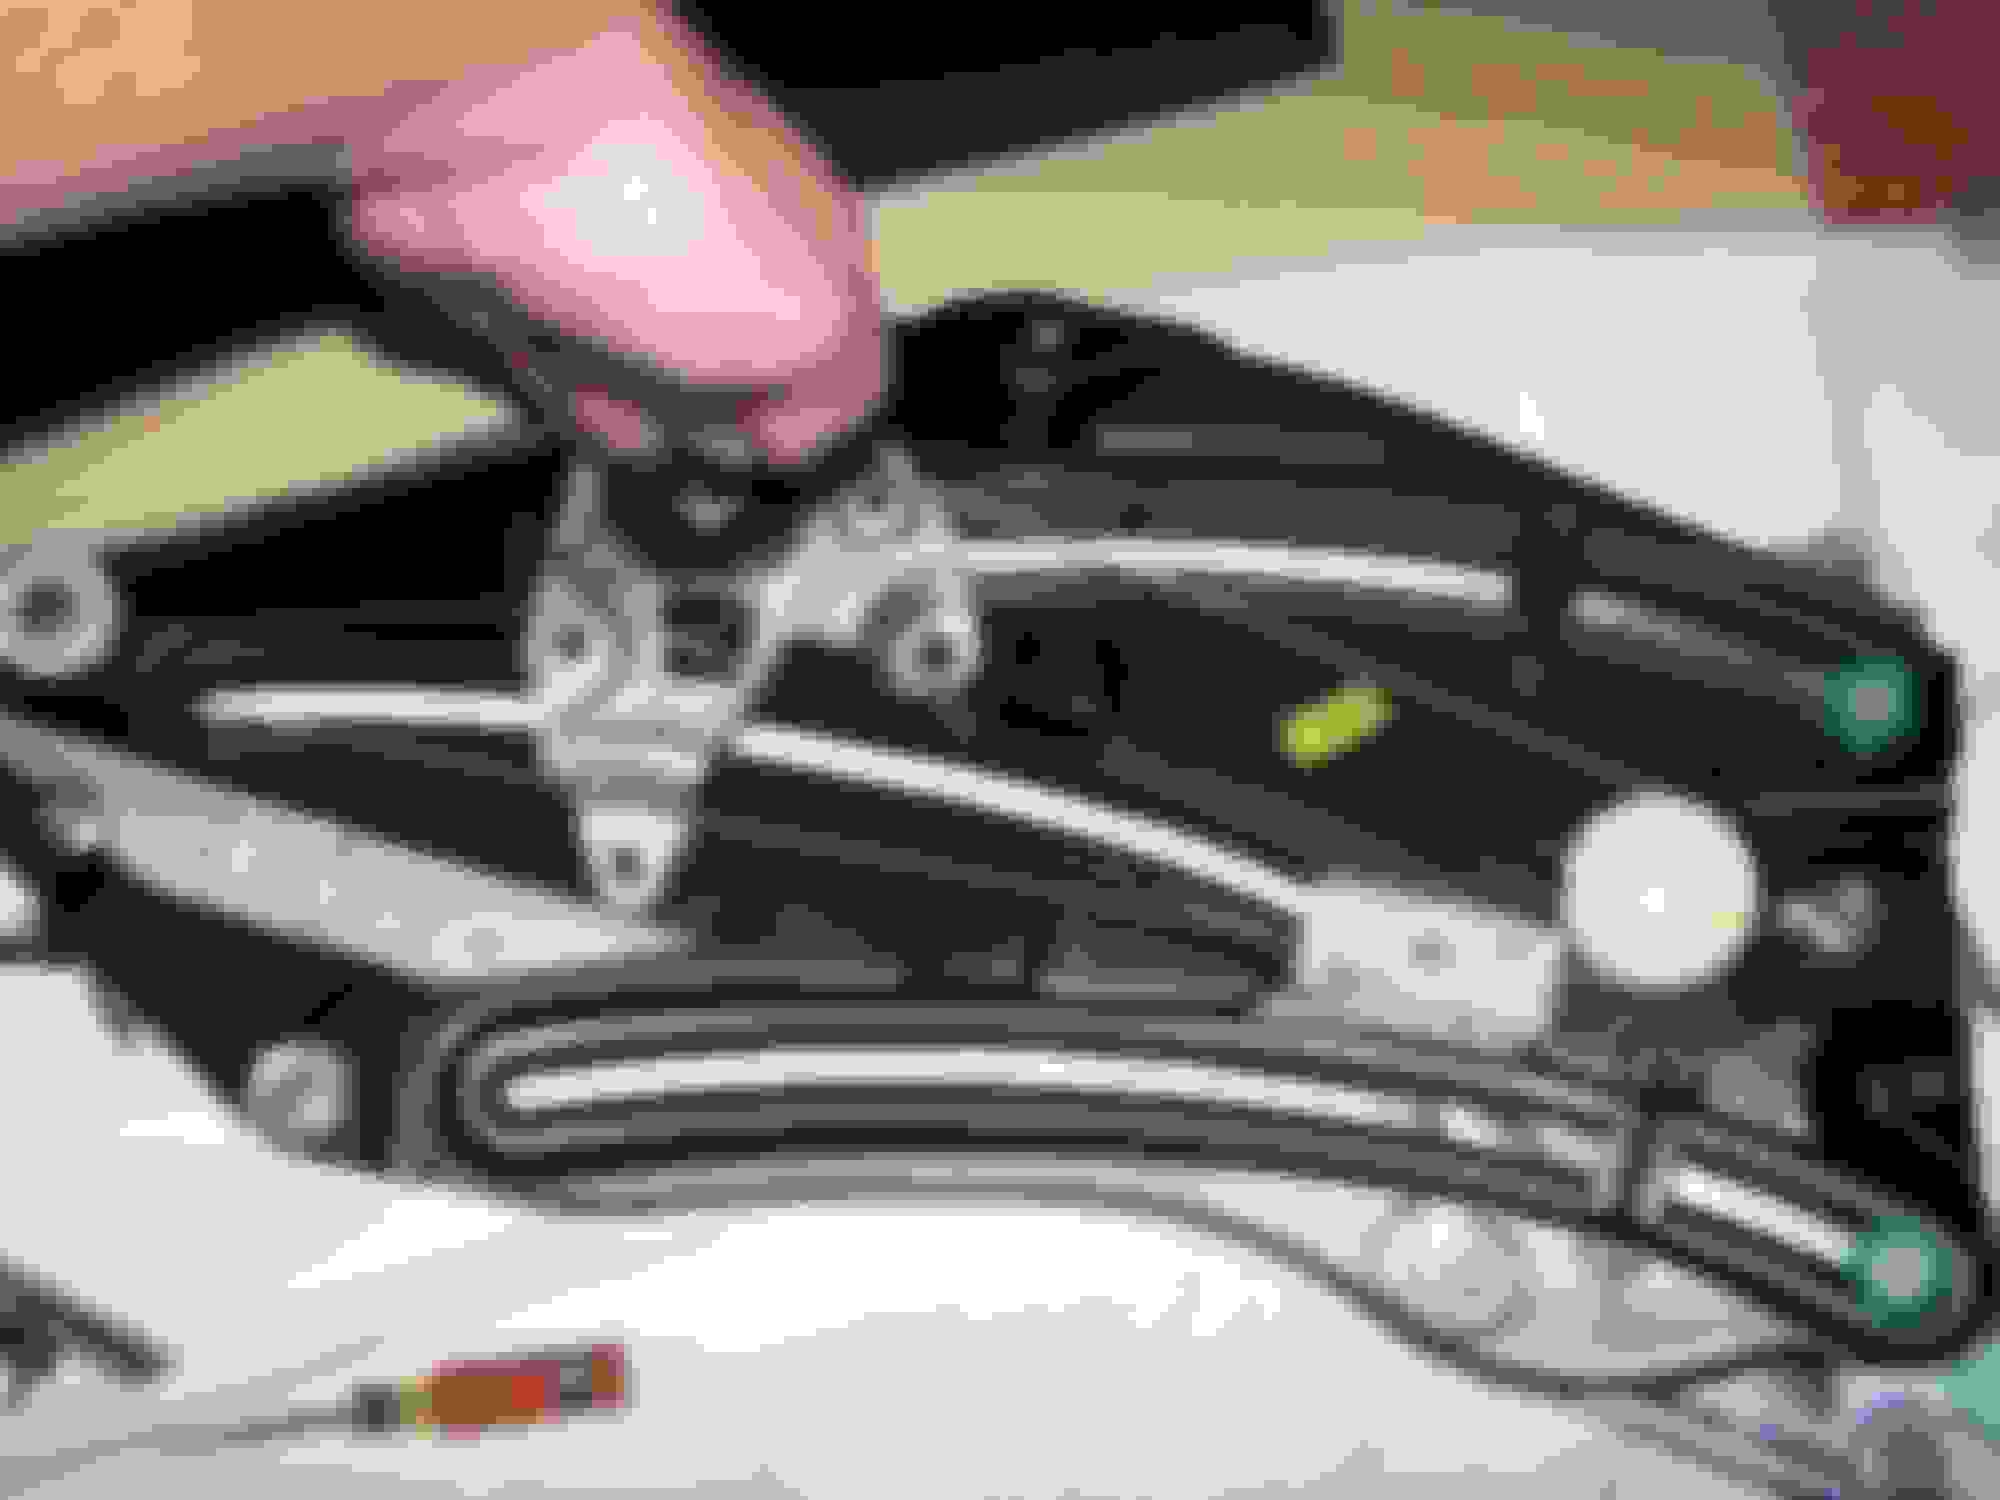
Once you get the routing done you have to mount the motor onto the pulley while you keep the cables in place. I was able to lay the motor on top and press it down onto the pulley. Then grab the motor and bracket together and raise it up enough to get a couple of the retaining bolts thru the bracket into the motor holes.
After that I could tilt it up gently (remember we are keeping the cables in the pulley grooves all this time) and get the third bolt in thru the bracket and finish securing the motor to the bracket.
The silver bracket can now be secured using the three hex nuts. Before you do that be sure to have the cable inside the bracket.
Note the position of the cables in the pulley and thru the bracket.
Next you next you need to check the tension on each side. The first time I bolted the motor back on I had too much tension on one side. You can correct this by lifting the cable off the largest sheave near the rectangular thing (keep some tension on it otherwise the cables will unravel off the pulley grooves) and then rotating the motor just a bit in the direction needed. I used a 12v battery and a couple short wires to power the motor just a blip. It is easy to wind the cable back onto the sheath after you rotate the pulley as needed. The spring tension is not that strong so you can do it by hand.
if your tension is good you should feel roughly equal resistance when you pinch the cables together.
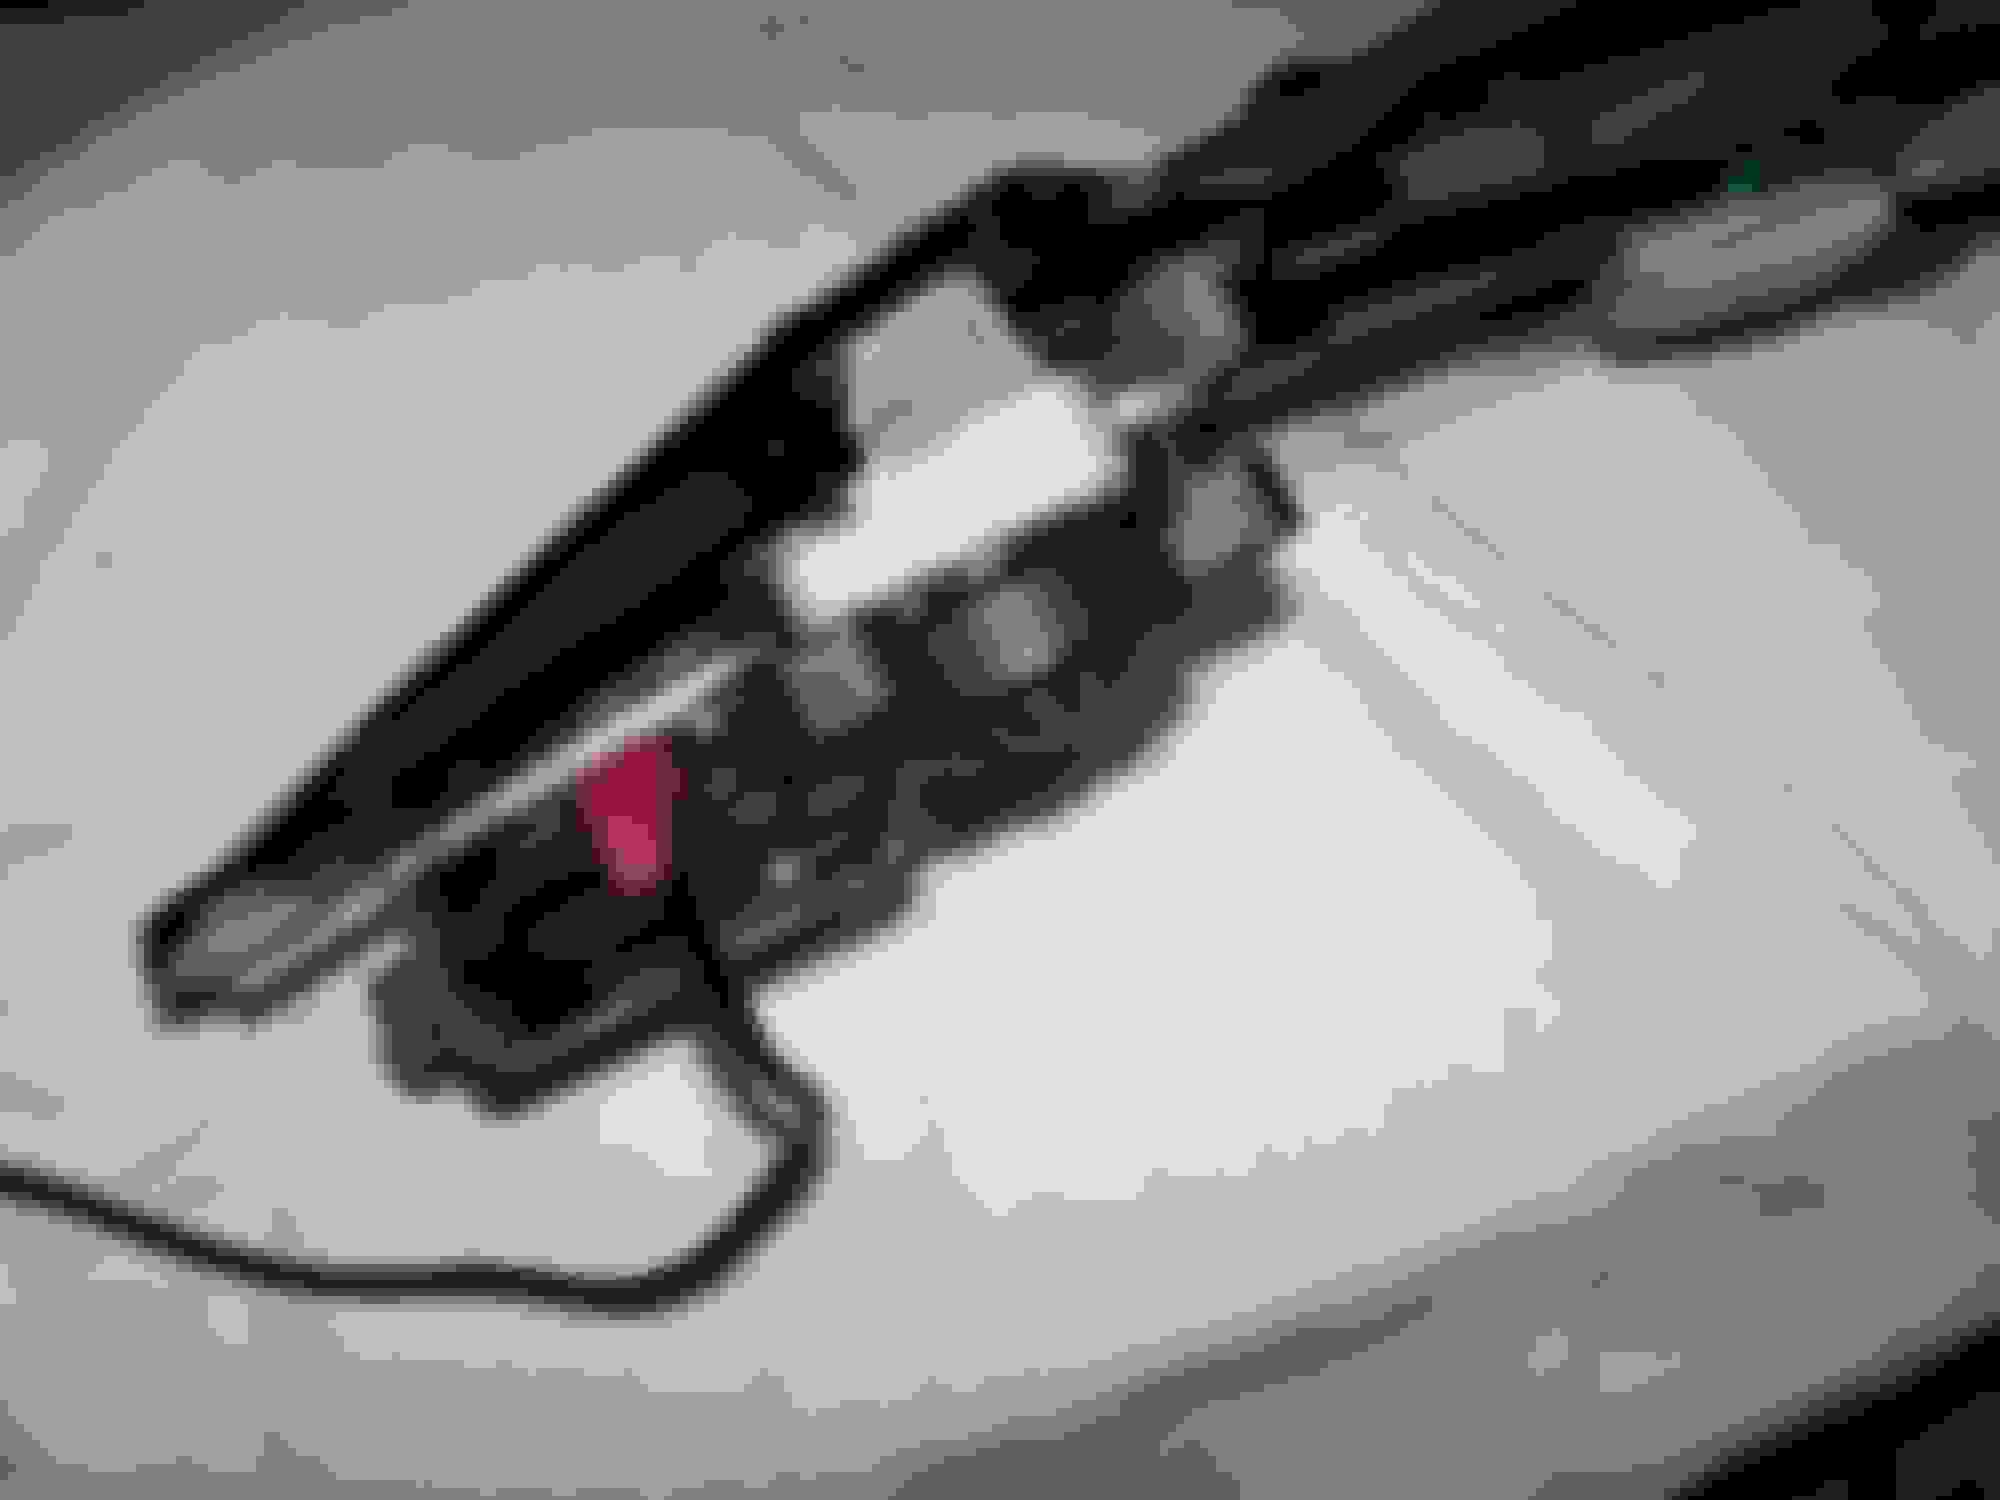
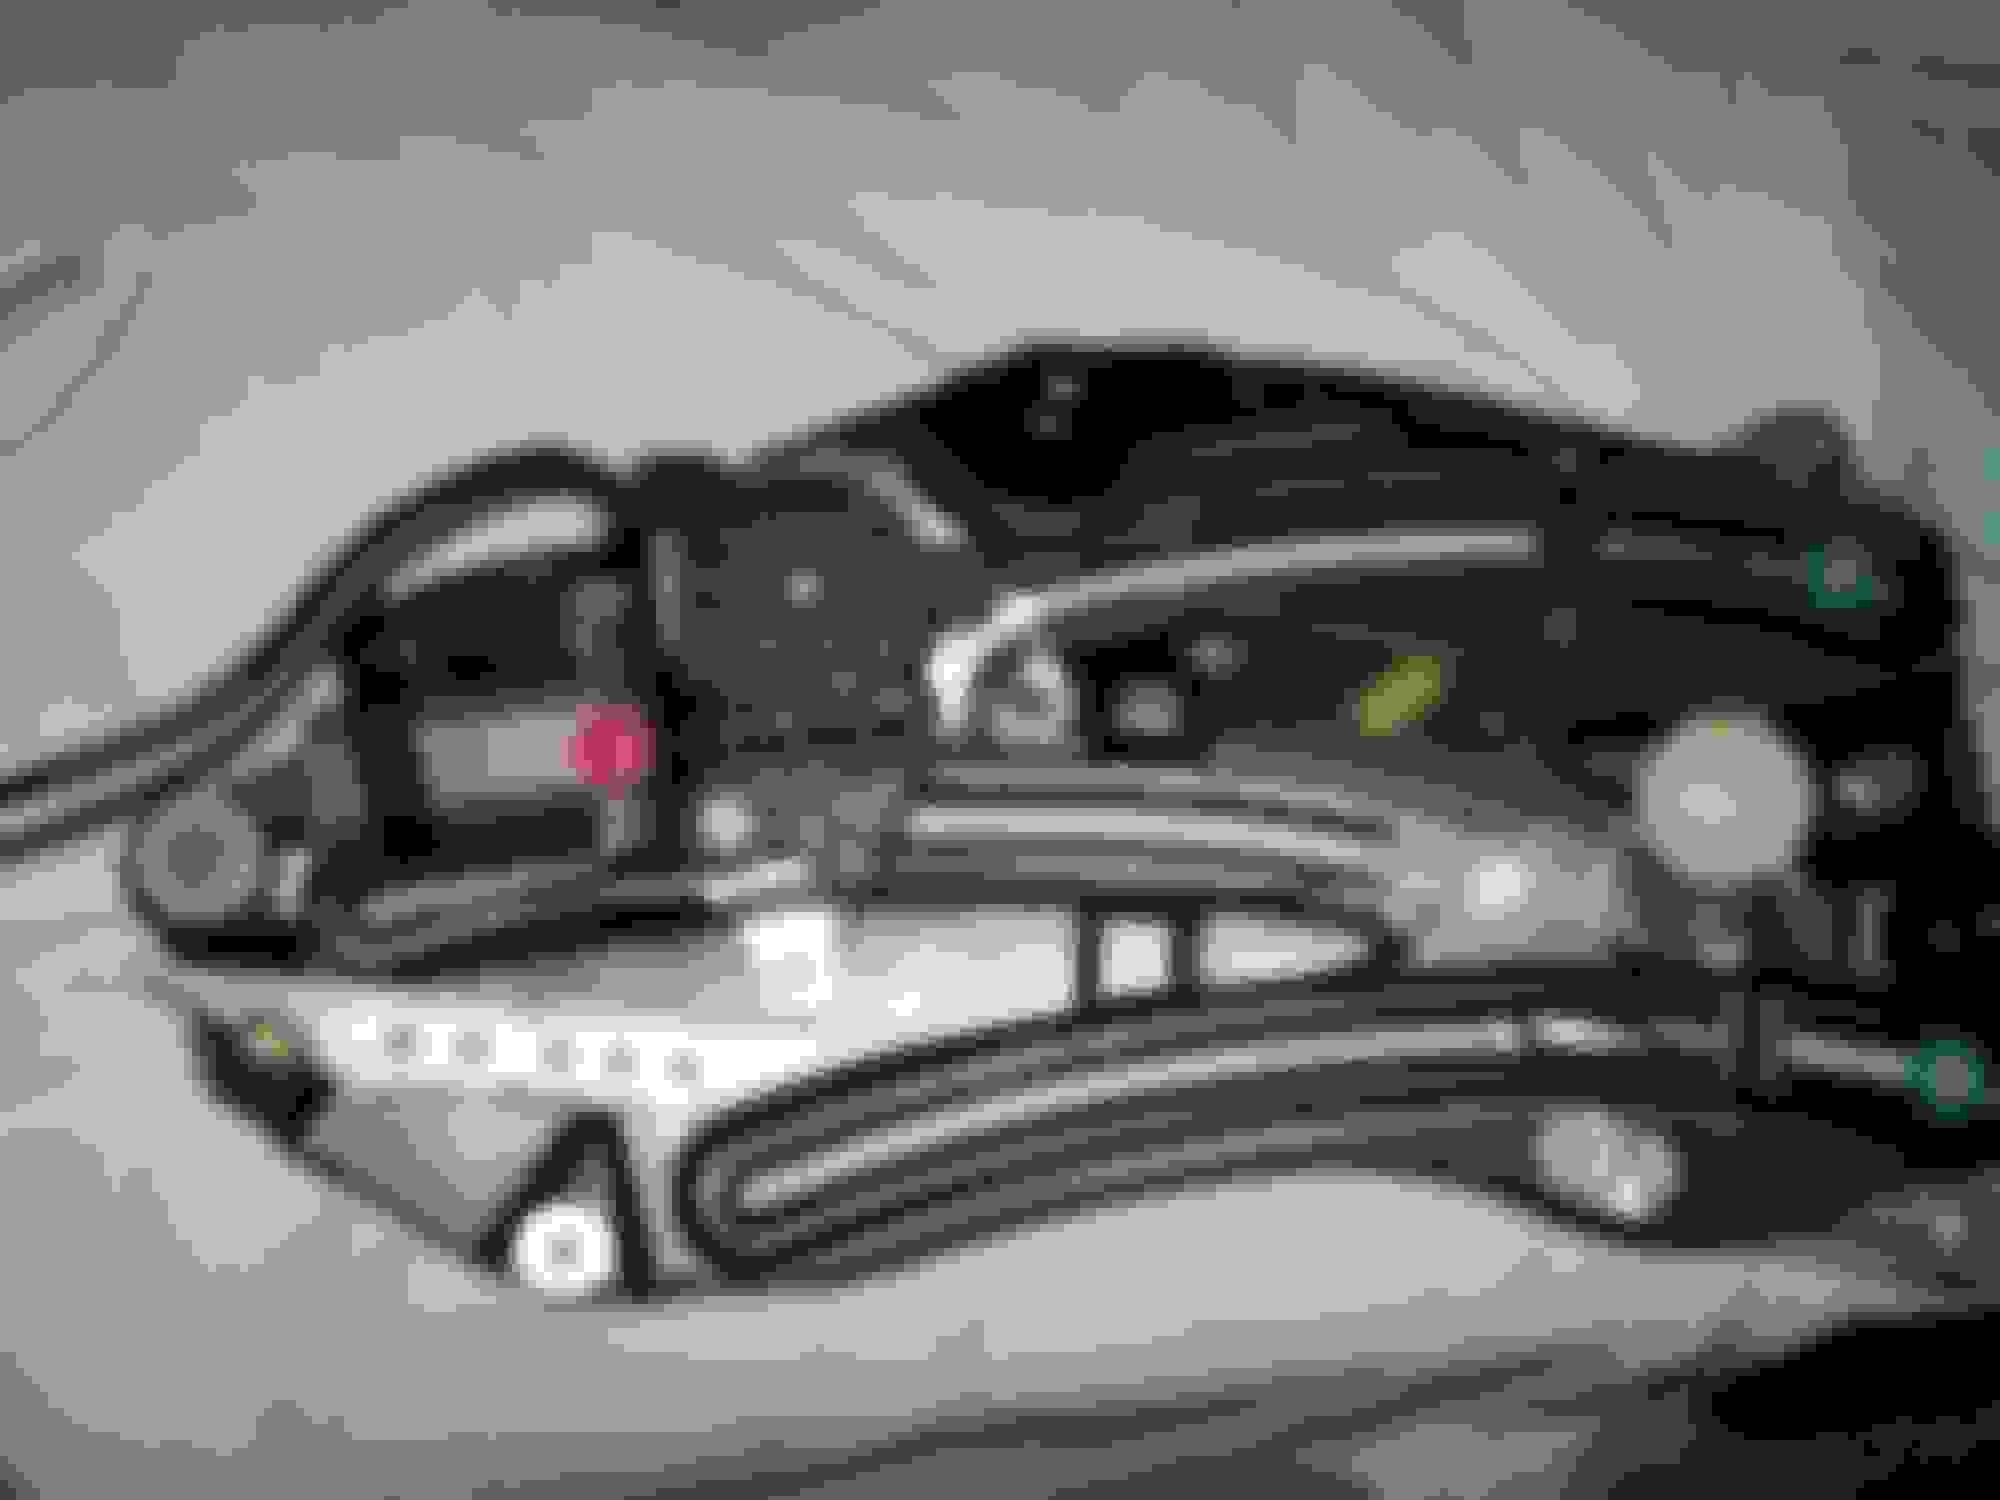
Here are a few shots from different angles of the final routing.
Once the tension was set right I tested the operation using the 12v battery. Just flip the wires to reverse direction.
Finally I lubed up all the moving parts with silicone grease. Overall I spent about 6 hours on this repair. After learning how it all works I could probably do the other side in a couple hours.
So only $45 US for the fix. Way better than $180 for a reman unit or $300 new.
Well done (and well documented, too). Don't you just love having to deal with broken window regulators? I hated them back in the 1970s and I hate them even more today as their complexities have increased dramatically....
Have a "new" '04. I replaced the front bushings immediately . Mine looked like your picture. I urge you to install a JagWrangler.com RealGauge unit. Inexpensive and easy to install. As you probably know your temp gauge is useless and records 2 temps-185f and boom.
Excellent write-up and the pictures are great. By the way, I did a quick double-take as I was scrolling down through the pictures and came to the third one and I still laugh when I take a quick look at it.
A while back I read in another thread about there being a shelf inside the glove box. My 2004 does not have that shelf.
Somehow I felt incomplete since I read that.
I vowed to right the wrong my car had suffered at the hands of some penny pinching asshat trying to find more profit.
I doubted that the glove box itself was different. The mounting holes were probably there in my box just waiting for that shelf.
So I got a shelf from forum member RobRoy. I think I paid $20.
Removing the glove box is pretty easy. You have to remove the wood airbag cover to get to the screws along the top of the box. Then there are a few along the bottom.
First time I have had a good look back in here. I have already replaced a lot of foam bits in other dash areas due to their deterioration. I can see a big piece of foam under the air vent channel that I expect will need replacing.
Yep that foam is done. Turned to flat goo wherever I touched it just like the other ones.
I cleaned everything I could reach with those antibacterial wipes and found a suitable block of foam to replace the dead one. All looks good now.
Now back to the shelf. I snapped the new shelf in and it looked right at home.
So for $20 I gained a bit of storage in the glove box and once again I am content with the XK8.
Removing the glove box is pretty easy. You have to remove the wood airbag cover to get to the screws along the top of the box. Then there are a few along the bottom.
Jobs already done so no big deal but l have had my glove box out on several occasions and never touched the timber work to gain access to those top screws.
Mine is 2000 XKR in RHD but set up looks the same.
I started noticing the smell of coolant when stopped at a traffic light. Tracked it down to be the seal on the sending unit on the underside of the coolant tank.
I remembered reading about these tanks cracking over time so I decided to go ahead and replace the whole tank instead of trying to reseal the sender.
I found the least expensive one to be on ebay for $45
First thing to do was empty the tank so I did not make too big of a mess. I used a kitchen baster to suck the fluid out.
I figured out that if you point the baster this way you can get all the fluid out of the lowest point in the tank pretty well.
I got this much out of the tank.
These are all the tools I needed to do the job.
The tank has 3 hoses connected. Two small ones on top and a larger one on the bottom. The two on top have these snap type clamps that are pretty easy to open once you figure out how they work. I used needle nosed pliers to squeeze the outer ridges and a small screwdriver to pop the center up off the catch.
Here is a pic of one opened so you can see the raised notch where it catches.
Other one opened.
Once they are opened you can easily slide them back on the hoses.
I could get to the larger lower hose from the opposite side of the car. It has a different type of clamp that just needs squeezing to open.
Once the lower clamp is opened you can slide it down a bit to free up the hose.
After I slid the top two hoses off I removed the single retaining bolt on the bracket holding the tank. It takes a T27. Then I gave the tank a twist and tug. When it gave way it also pulled the sensor out of the bottom too. The sensor is the hardest part to see and get to so I kind of got lucky not having to remove it properly.
As soon as you get the tank off the lower hose you will start leaking coolant out of the hose so you need to elevate it a bit to stop that from continuing to drain out of the engine. I raised it and tucked it behind the mounting bracket.
Here is where the leak was on the old tank. Either a seal or sealer had failed.
I mounted the new tank pretty quick. It even came with a new cap.
Then filled the tank with new coolant. The old coolant looked pretty good so I suspect this car has had a flush and fill at some point in its life.
Last thing was to run the engine and check for leaks after it got to temp. All looked good.
I let it cool and checked the tank but it was still full. Will check again after a good day of driving for peace of mind.
Overall this took me about an hour but I was in no hurry for sure. My old tank really has nothing wrong with it other than the sensor seal failing. I wonder if the tanks cracking was resolved at some point. I will keep this old tank just in case.
Excellent tutorial. Thus far I have had to replace just the expansion tank cap on my wife's 2006 XK8, but I know I will have to replace the entire tank at some point. These lousy plastic tanks must be checked regularly (I check both of our Jaguars' tanks weekly) or you risk losing your engine....
A few weeks ago I had to pull all of the rear interior out to fix a rear window regulator. Since I had so much out of the car I figured I would tackle a couple issues that would be easier with less other stuff to remove.
Both the front seat bottoms always seemed a bit flat to me. Not uncomfortable but not exactly supportive and for sure did not look as good as I would like. Now seemed like the time to add some filler to the bottom foam cushions. I did not want to pull off the leather covers. I opted to add a layer between the spring basket and the foam.
Removing the seats is simple in these cars. Four bolts will get it loose and then you just unplug the two connectors for the wiring. I have read the cautionary "disconnect the battery" posts but I did not do it and had no problems.
Once the driver seat was out I could see that the foam was starting to crack and a few small bits were crumbling but not enough to worry about.
Getting the spring basket loose is pretty easy. The springs are not that strong so you can unhook them with a pair of pliers.
The spring basket has 3 springs and can be removed completely to make it easier to insert a heavy foam spacer. Here is the basket on top of the new foam spacer.
Here you can see the foam deterioration starting. Not really that bad though.
After I cut the foam to fit and slid it into position I put the spring basket back and hooked the springs using an old tool I had for pulling springs.
After I got the springs back in place I lubed the seat track runners and screws with silicone grease. Ready to go back into the car.
The passenger side was pretty much the same except I had to insert the new foam spacer between the old foam and what I think is the weight sensor for the passenger side airbag.
Finally a couple pics of the less saggy seat bottoms.
The whole process took a couple hours. The seats now feel a bit firmer for sure. Looks way better too.
I have probably put most of my 40K miles on this car with the top down. And I have regularly cleaned the leather to remove the soot and road grime. Yet even when I first bought the car - and increasingly up to now- the seat belts had a darker, dirty tinge in the sections that were touched/exposed and kinda felt gross from all the hand contact over the last 14 years.
Always bugged me. So I finally decided to try cleaning the belts and hopefully restoring them to like new.
Getting to the belt assemblies is not trivial. Pretty much gotta remove all the rear interior but remember I had all that out anyway. That reduced it to a few bolts and wire connectors for each one.
Once out, how to clean them? I decided to pull out the belt until it looked essentially untouched and clean the dirty section with hot water, dish washing liquid to cut the grease/oil and a soft scrub brush.
I slowly and gently scrubbed the fabric. My cleaning strategy worked remarkably well. Lots of dark water oozed out of the belts onto the kitchen counter.
After a thorough rinse with hot water I hung them over an 8ft ladder to dry in the sun. Left them for a couple hours like this. Did not want to roll them back up with any moisture in them.
Now the belt fabric shines like new again. Seems softer. I know I am probably imagining this but they seem to roll up better now too.
If you had to do this task including removing the interior it would take probably 3-4 hours. Just the belt portion was maybe 2 hours not including drying time.
WoW what a great thread..I just bought 2004 XK8....got a good price but I expect to have to fix a few things and mots everything possible is covered here
A thread worth bumping! I came here via search for the window regulator and stayed for the coolant sender leak! Both on my list this fall. Well done, sir.
(Also my first post in probably a year- hey, all! Kate is doing very well otherwise)
My XK8 will be 15 years old in March. It has never had the rear brakes replaced and has about 84K miles now. I have done the front brakes twice in the 46K miles I have driven. Parts quality was disappointing first time but second time has held up well. So I figured it was time to treat the car to a new set of those same brakes on the rear.
Pulling the caliper and rotor is same as most cars. After I got it apart I got everything cleaned up for inspection. Nothing leaking anywhere and rubber bits are still in great condition all around.
The parking brake looks barely used. Rear shock still is solidly anchored so not replacing that even though I have all the new parts on hand.
When I replaced the front rotor I went with a Brembo. I am so impressed by the quality of these rotors. I got them for about $70 each from FCP Euro.
The finish on these is beautiful and durable.
Note that the Brembos do not come with the metal plug that goes in the adjuster hole. So pop that out of the old rotors for reuse.
I got new pads from Rock Auto. Centric ceramic. The old pads still had some life but hey its my car's birthday.
The Centric ceramics included guide pin seals and retainer springs.
The caliper piston was gently and slowly pushed back in to make room for the new pads.
Popped in the guide pin seals and cleaned/lubed the pins. Good to go on the calipers. Moving on to the parking brake shoes.
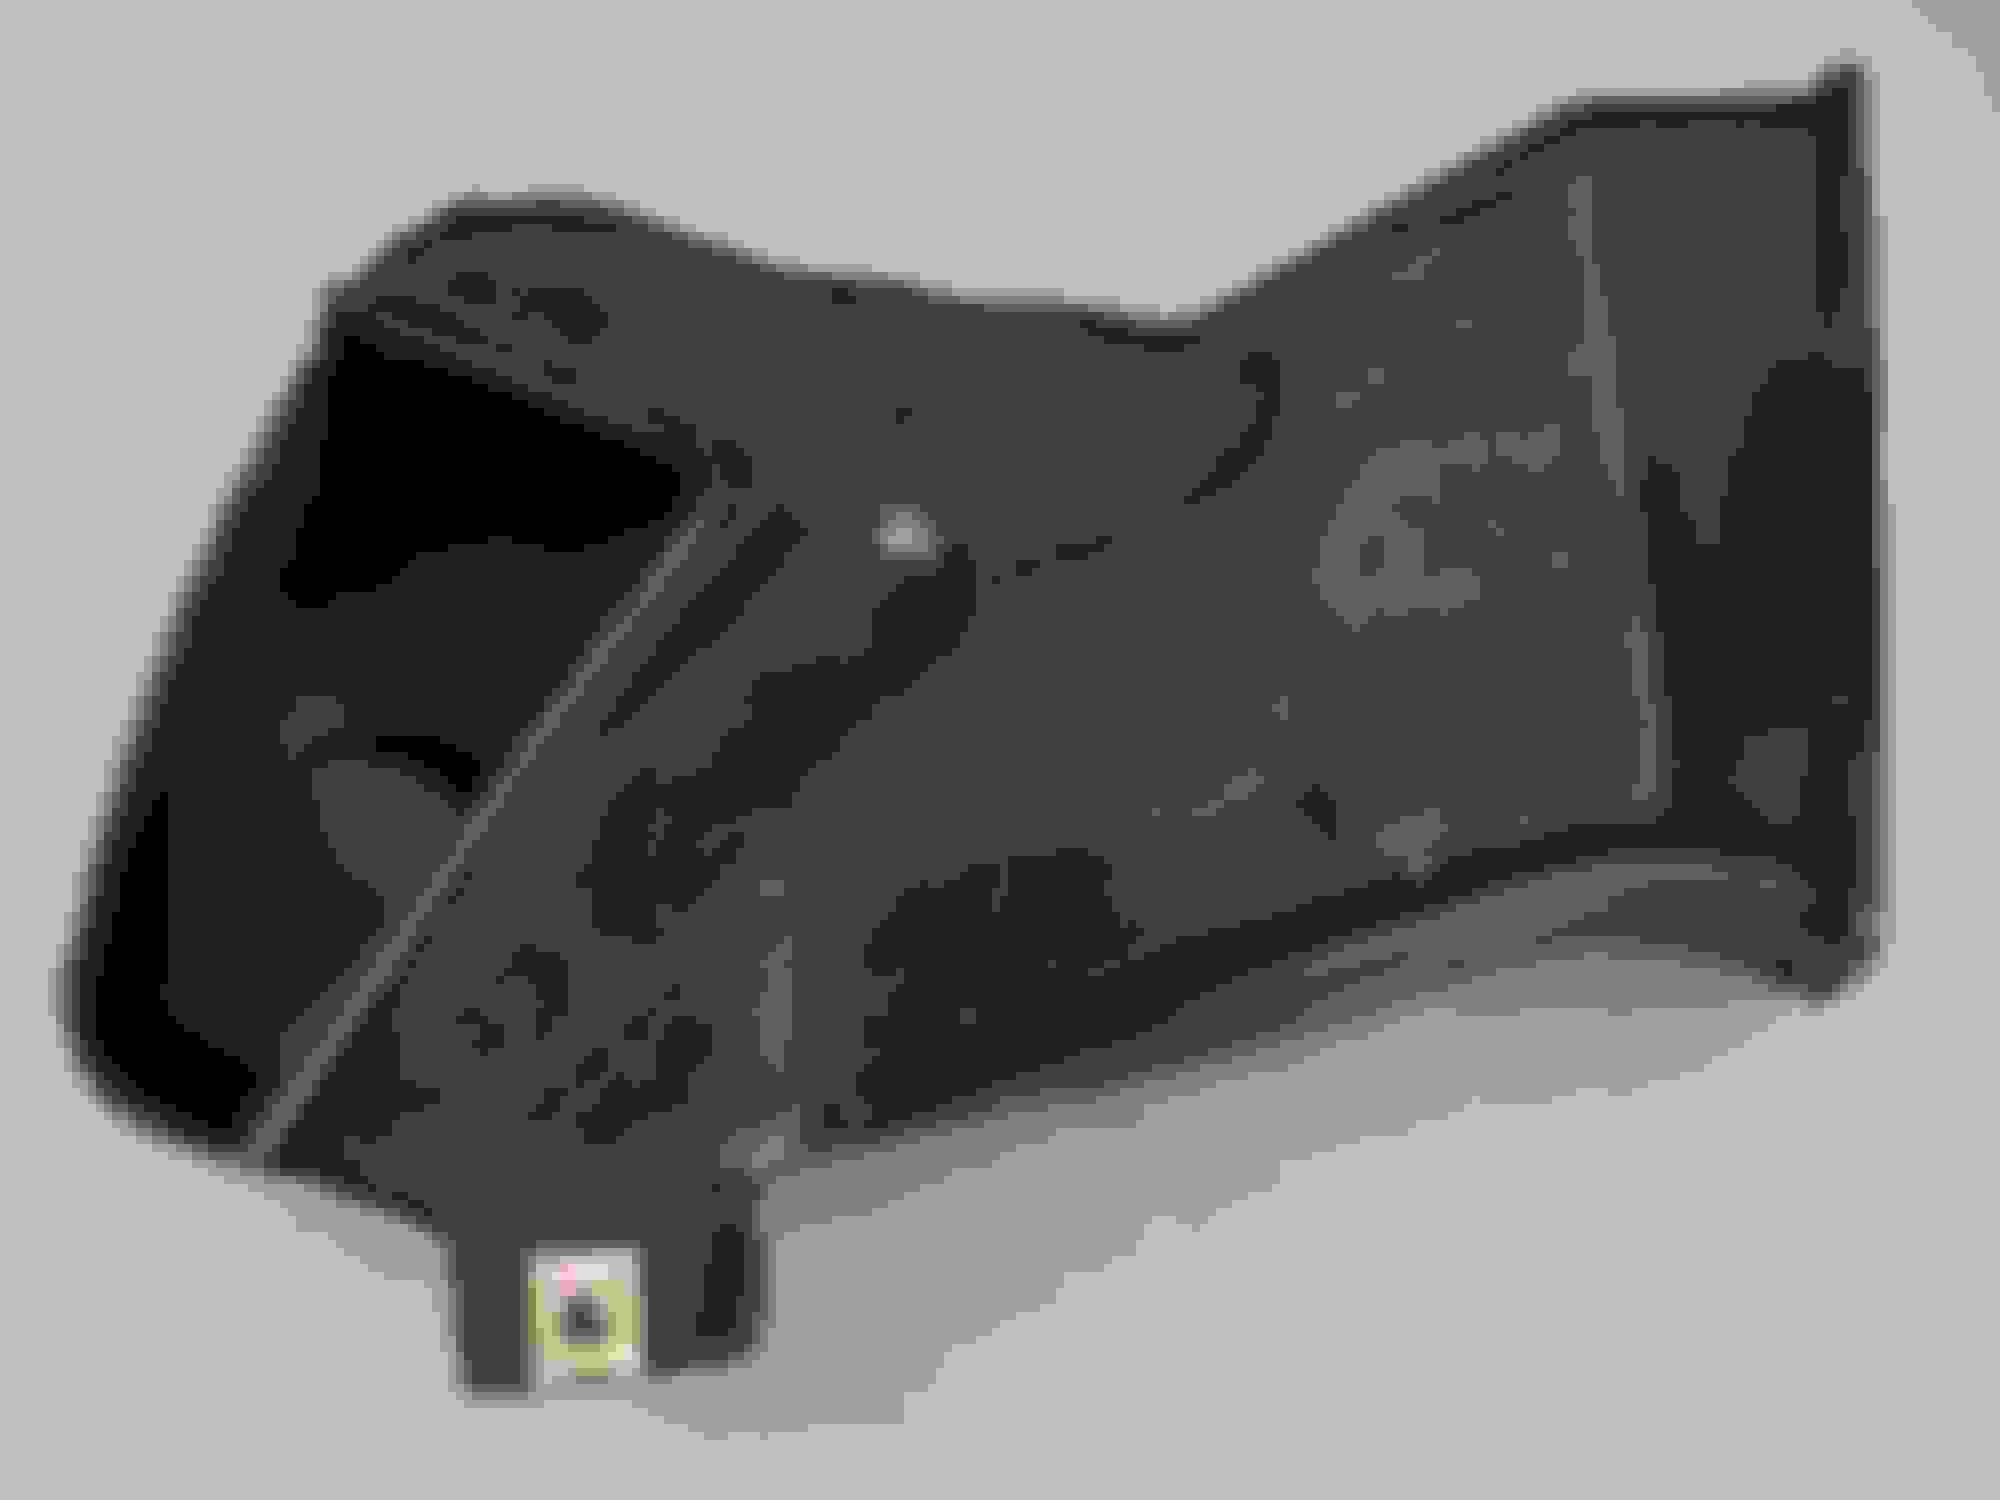
Here's a layout of the parking brake hardware for reference.
The only special tool I needed was one of these to remove the 2 small coil spring retainers.
Got the drum shoes and caliper pads mounted. Everything is cleaned and ready to reassemble. Don't forget to adjust the parking brake shoes thru the hole.
Back to good as new.
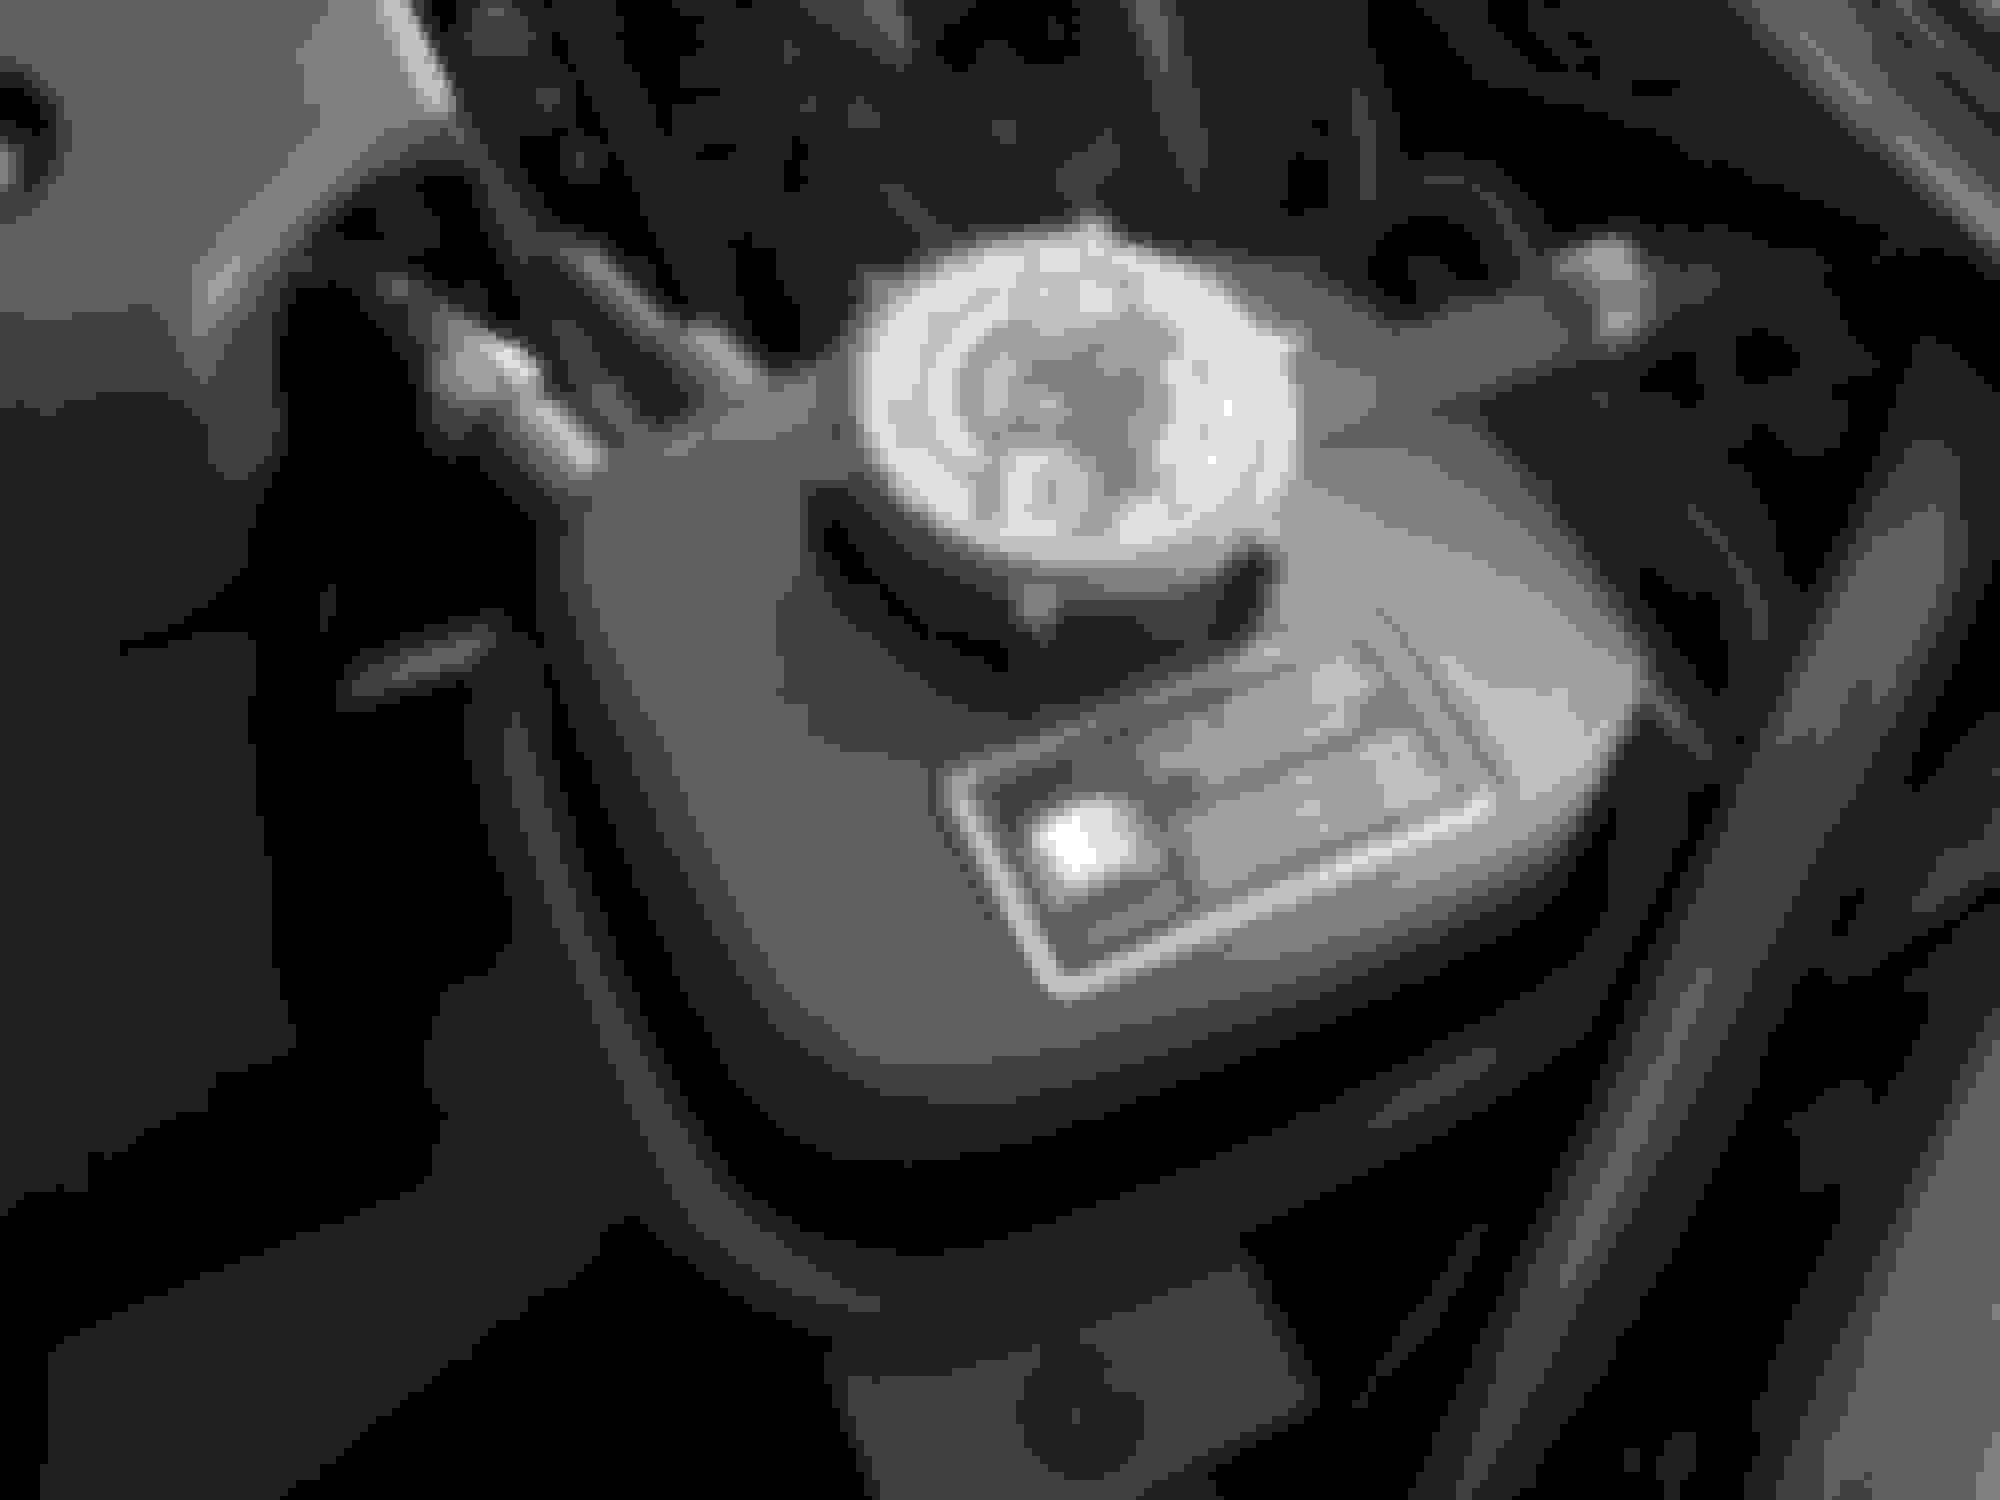
Since I was right on top of them I removed the wheel speed sensors for cleaning. Can't figure why there are two holes for mounting it when the sensor only has one. Also, does anybody clean the teeth on the spline? If so then how? I keep the front ones clean easily enough but not sure how to deal with the rears.
Well done. The factory rear brake pads on my wife's 2006 XK8 did 83,000 miles before I replaced them in October 2014. The factory front brake pads did 84,500 miles before I replaced them in November 2014. Back in those days, 75% of her driving was on the highway. Now that she is retired, 75% of her driving is around town....
Regarding cleaning the spline (reluctor ring), I have done so in the past using an old toothbrush. Basically the same technique as scrubbing the wheel speed sensors themselves (as Reverend Sam taught us to do years ago). The reluctor rings can be difficult to reach but with time and patience, it can be done. I scrub the wheel speed sensors at every oil & filter change / tire rotation (6,000-mile intervals). I believe I have scrubbed the reluctor rings only once, back in March 2013. They have stayed relatively clean....
What a great thread I too have a 2004 but luckily have fewer issues. I looked at my rear brakes a few weeks ago and decided not to touch them. I can't imagine that they are original but they have certainly been on the car for quite a while , yet they are in very good shape, rotors really good and pads with lots of 'meat' on them. Front needed both pads and rotors. As an aside; I ordered a bunch or parts from SNGBarratt UK, a wind blocker from the Netherlands and a set of rotors from a Canadian company in Toronto. I got my wind blocker and UK parts less than a week after I ordered them ...my rotors were shipped the same time and are still "in transit" from within my own country
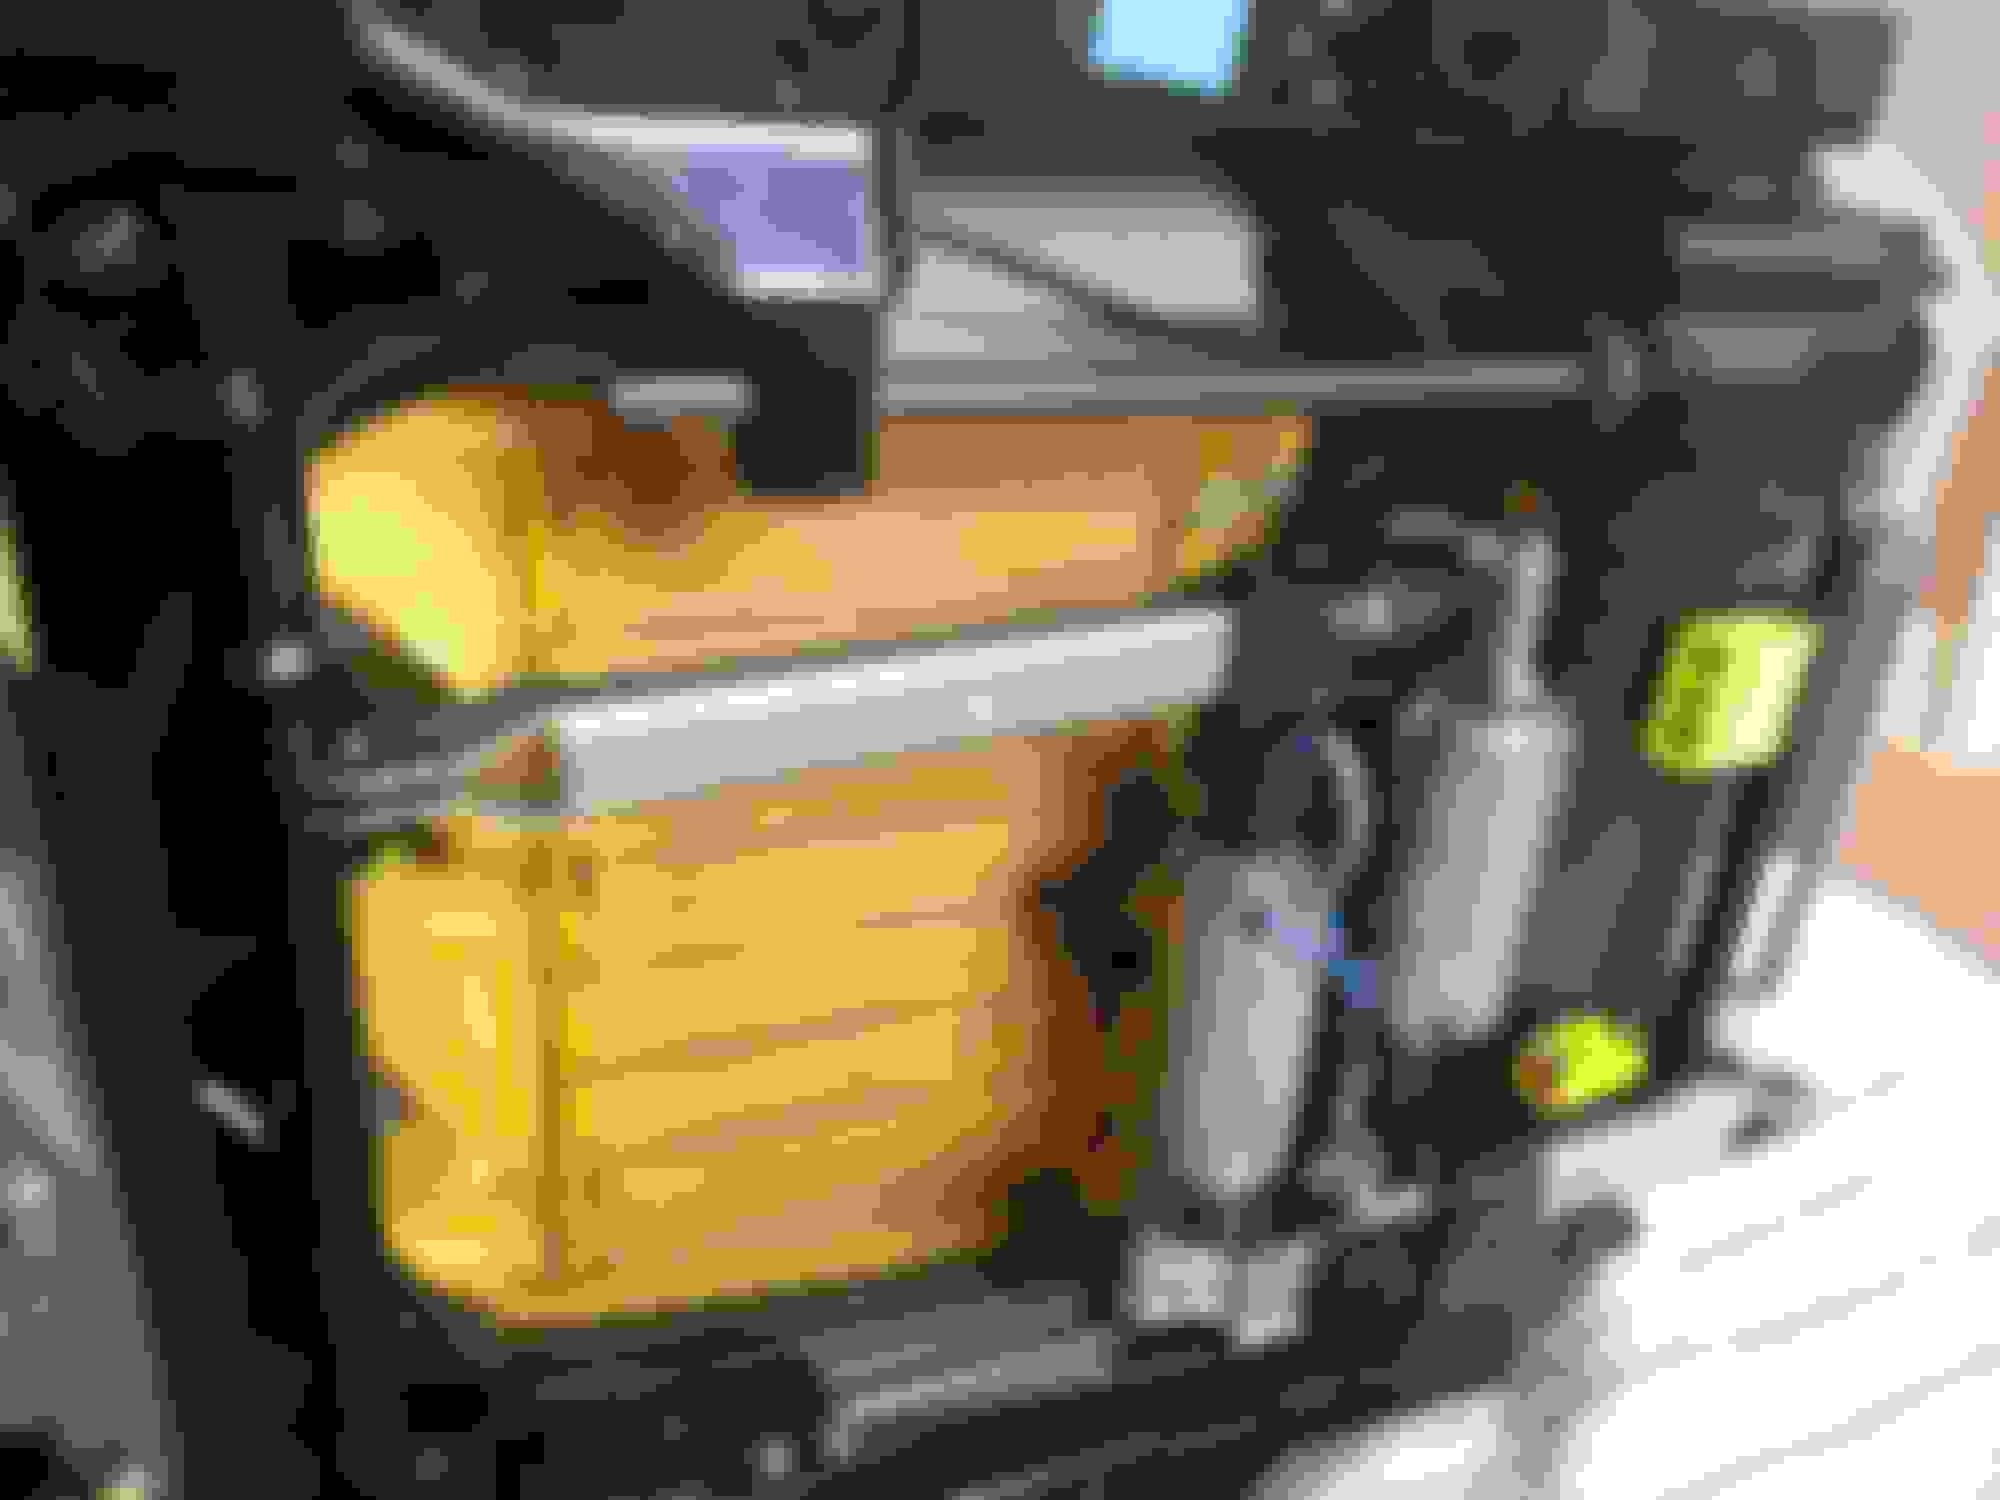
The car has 85K miles on it now and I am about to go for a 1500 mile trip. Seemed like a good time to replace the fuel filter. I am sure it has never been done.
I jumped on Amazon and ordered one but ended up with the threaded one even though that is what it seems most sites think I should have on this car. My 2004 has the flanged non-threaded style. So I read up a bit here and determined what I really needed and got WIX 33078 from Rock Auto.
I opted to remove the LHD rear wheel to get at the filter. Plenty of access this way and nothing rains downs on you when you disconnect the lines.
I managed to push the white clip in using a long screwdriver. Then the fitting easily slid off and only a few drops came out so far.
On the top connector the white clip is on the far side so I just squeezed that one with my fingers and got it loose. The filter will release all the fuel inside when you remove the top one so be prepared to catch it in something. I used the shipping box from Rock Auto that was full pf paper packing. Soaked it right up.
The only nut you have to loosen (not remove) is on the side of the canister nearest to you. I used a small ratchet with extension and 8mm socket.
Once the canister is loose it can be slid downward and out the bottom of the car. You will need to bend one of the heat shields back a bit. The WIX 33078 is a perfect match.
Worth mentioning here that if you get the WIX version it only goes back into the clamp in one direction due to the lip on the bottom. So you can't screw it up and install it backward like some of the other brands.
With the new filter secured and the fittings back on I gave it all a blast of brake cleaner to get the fuel smell off. Otherwise I would keep thinking I had a leak.
A few cycles of the ignition to prime the filter and good to go. This job was way easier than I expected it to be. Took less than an hour.
Well done. I replaced the fuel filter in my wife's 2006 XK8 at about 90,000 miles. The fuel that dripped out of it was greyish-colored so I knew it was past time. What about your fuel drops - were they grey?
Well done. I replaced the fuel filter in my wife's 2006 XK8 at about 90,000 miles. The fuel that dripped out of it was greyish-colored so I knew it was past time. What about your fuel drops - were they grey?
It seemed darker than it should be. The solids were building up for sure.
BTW I should have mentioned that I have a new filter for the screw on type if anybody wants it.


 I decided to pull out the belt until it looked essentially untouched and clean the dirty section with hot water, dish washing liquid to cut the grease/oil and a soft scrub brush.


 Seems softer. I know I am probably imagining this but they seem to roll up better now too.


 I too have a 2004 but luckily have fewer issues. I looked at my rear brakes a few weeks ago and decided not to touch them. I can't imagine that they are original but they have certainly been on the car for quite a while , yet they are in very good shape, rotors really good and pads with lots of 'meat' on them. Front needed both pads and rotors. As an aside; I ordered a bunch or parts from SNGBarratt UK, a wind blocker from the Netherlands and a set of rotors from a Canadian company in Toronto. I got my wind blocker and UK parts less than a week after I ordered them ...my rotors were shipped the same time and are still "in transit" from within my own country