5 5
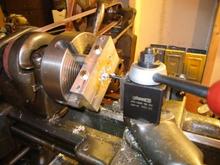
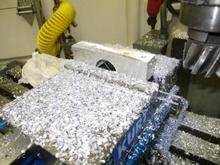
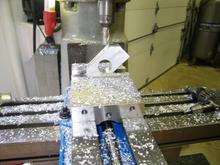
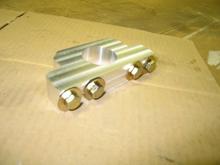
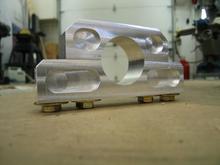
To make a clamp for the steering column, I started to two blocks of 6061 aluminum. The blocks were clamped in my milling vice and trued up. I then drilled and tapped two holes into the block so i could bolt them together to allow me to bore a precise hole that was perfectly split. When the bolts are tight, the clap secures the column, when loosened, you can move the column in the clamp.