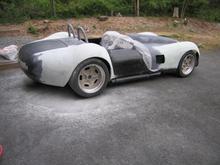
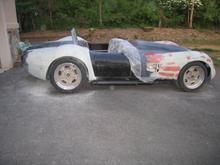
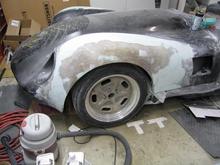
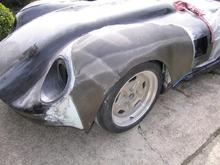
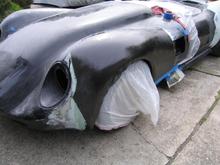
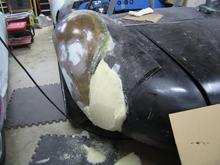
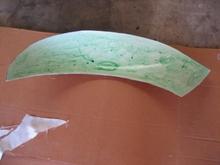
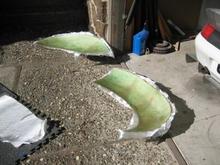
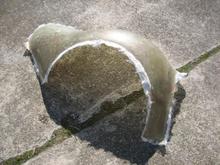
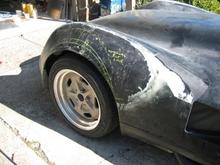
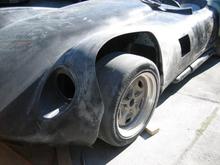
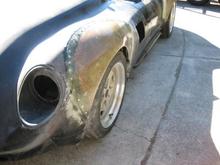
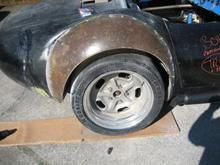
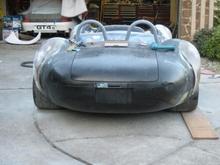
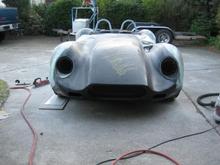
A bit of trimming to clean up the fender arches and we now have completed the four corners! Here is a shot when we wrapped up the project for that weekend its kinda, sorta starting to look like something you might want to drive
almost anyway. Of course, with all of the back slapping and congratulations we gave each other at this stage, we kind of overlooked the massive effort required to turn this into what the car looks like today. It was a fun time but, i am really glad to be done with that part of the project.