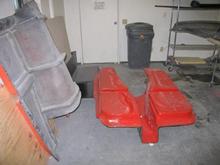
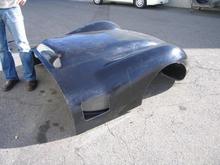
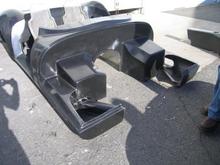
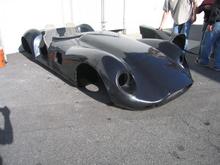
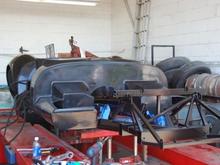
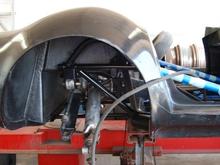
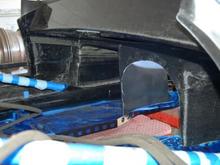
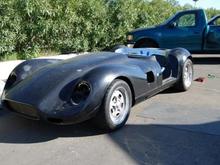
The entire body weighed in at about 120 lbs. Pretty cool. Of course, it only looked like this until it met my sawsall!! Next we moved the body to the Lucra shop in Oceanside CA where, with their help, my brother and I started bonding the body to the frame. After cutting off all of the mold flashings and cutting the body to slide down over the frame, we were able to begin the bonding process. Because of our limited time (both of us had to be at work on Monday) we worked very long hours and typically locked up well after the Lucra folks had left at night.