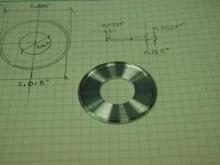
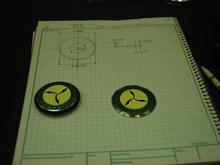
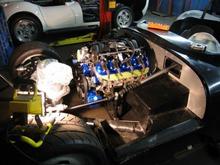
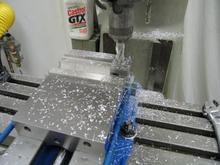
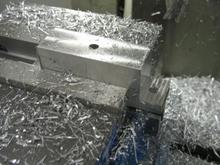
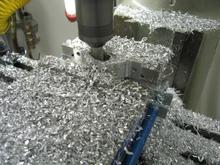
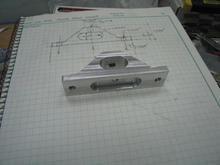
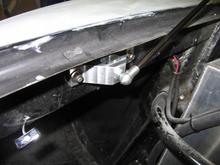
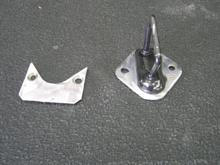
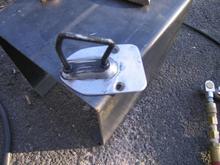
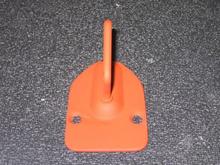
During the first fit of the trunk lid, i discovered that the gas strut, while easily attached to the aluminum hinge, had no place to attach to the body. Rather than bend up a kludgey metal tab, and since any "billet aluminum" parts are always revered by all, i decided to design and build a "simple" strut mount. While a nice diversion from the true task at hand, like everything else i do, it took way more time than i thought! After i made the sketches, i started with my little billet piece.