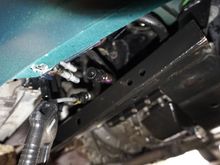
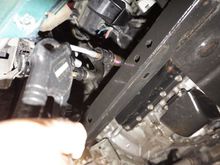
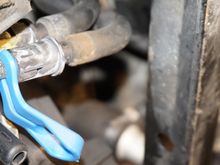
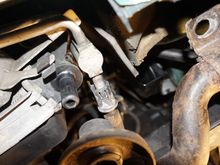
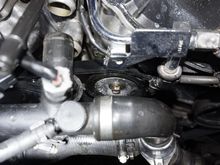
Using a fluid transfer pump I pumped a few ml more than 8L into the transmission via the removed filler plug left of the battery. You may wonder, how I could possibly know, how much I pumped in there with that setup...: I checked the MSDS if that specific ATF: The density is 0.85g/cm3. Plus, I have a scale... ;)
Thus: 0.85kg/L. 20L=17kg (total weight with canister was 18.2kg. 8L=6.8kg. Thus, before I start: canister=18.2, with 8L removed, canister=11.4kg. I 3 times after starting the refill, the