When you click on links to various merchants on this site and make a purchase, this can result in this site earning a commission. Affiliate programs and affiliations include, but are not limited to, the eBay Partner Network.
Continuing on my giving back to the forum movement here is a write-up on replacing your motor mounts, and how to diagnose failure. Total time required i would say 4hrs (Drivers side LHD) and 2hrs (Passenger side LHD). Shown below is the harder of the sides. the passenger side is roughly the same procedure but is much easier to access. i have also attached the repair manual concerning this repair, its much more involved and would take 2x the time if followed 100% but great as a reference.
Tools:
10mm
13mm
15mm
Lots and lots of various extensions and swivels
15mm crows foot (may be other ways but this worked for me)
Parts:
-C2D2745 - Same mount both sides. Both aftermarket and JLR mounts available all over the web, OEM can be had for $200ea and aftermarket $100ea. This is one of those parts that im not sure OEM is best and may be worth saving the money. My theory is the OEM part failed at low miles (40k) its easy to swap, and maybe the aftermarket will last longer then 40k? Your call.
-Service manual states to replace all bolts/nuts (4x 13mm bracket bolts, 2x 15mm mount stud nuts) i did not.
Diagnosis:
There are three signs that you have a motor mount failing or failed on your jag.
1- Slight random misfire, this is one of these issues that your mechanic may chase for bit, replacing a coil, maybe a plug, tried a can of BG44K...and the misfire still persists. Many times with a bad mount the crank sensor will pick up on engine movement as a misfire and give you a code, sometimes the cyl # will change also. Other times it will have no codes and run great just have a clearly audible misfire that also shakes the car. Most of the time this a cold start misfire and goes away when warm, but not always. The mounts are hydraulic, meaning they have a hard rubber shell like most but are full of fluid and an internal valve to dampen vibrations.
2- Engine movement, you may notice your hood jumping up during hard acceleration, this is an extreme failure and will cause damage if left unaddressed for too long, usualyl this is the drivers side mount and the engine torque is causing the motor to rotate and lift enough to push the hood up. Easy to check for, pop the hood put your car in drive, apply slight brakes and some throttle will cause the motor to raise, if more then 3/4" you should move onto the next check. See below for an example of what this should look like when you have a failure.
3- Visual fluid inspection, These mounts being hydraulic fail with a mess usually. The dark black/purple oil will stain the metal and the rubber shield on the mount, this is the not always the case but in 90% of these you will see the oil all over everything.
Replacement:
Also fairly strait forward, Without a lift this task will be slower and will require more patients but not impossible.
1- Remove the back half of the skirting under the car, the front part of the skirt that attaches to the front bumper can remain attached.
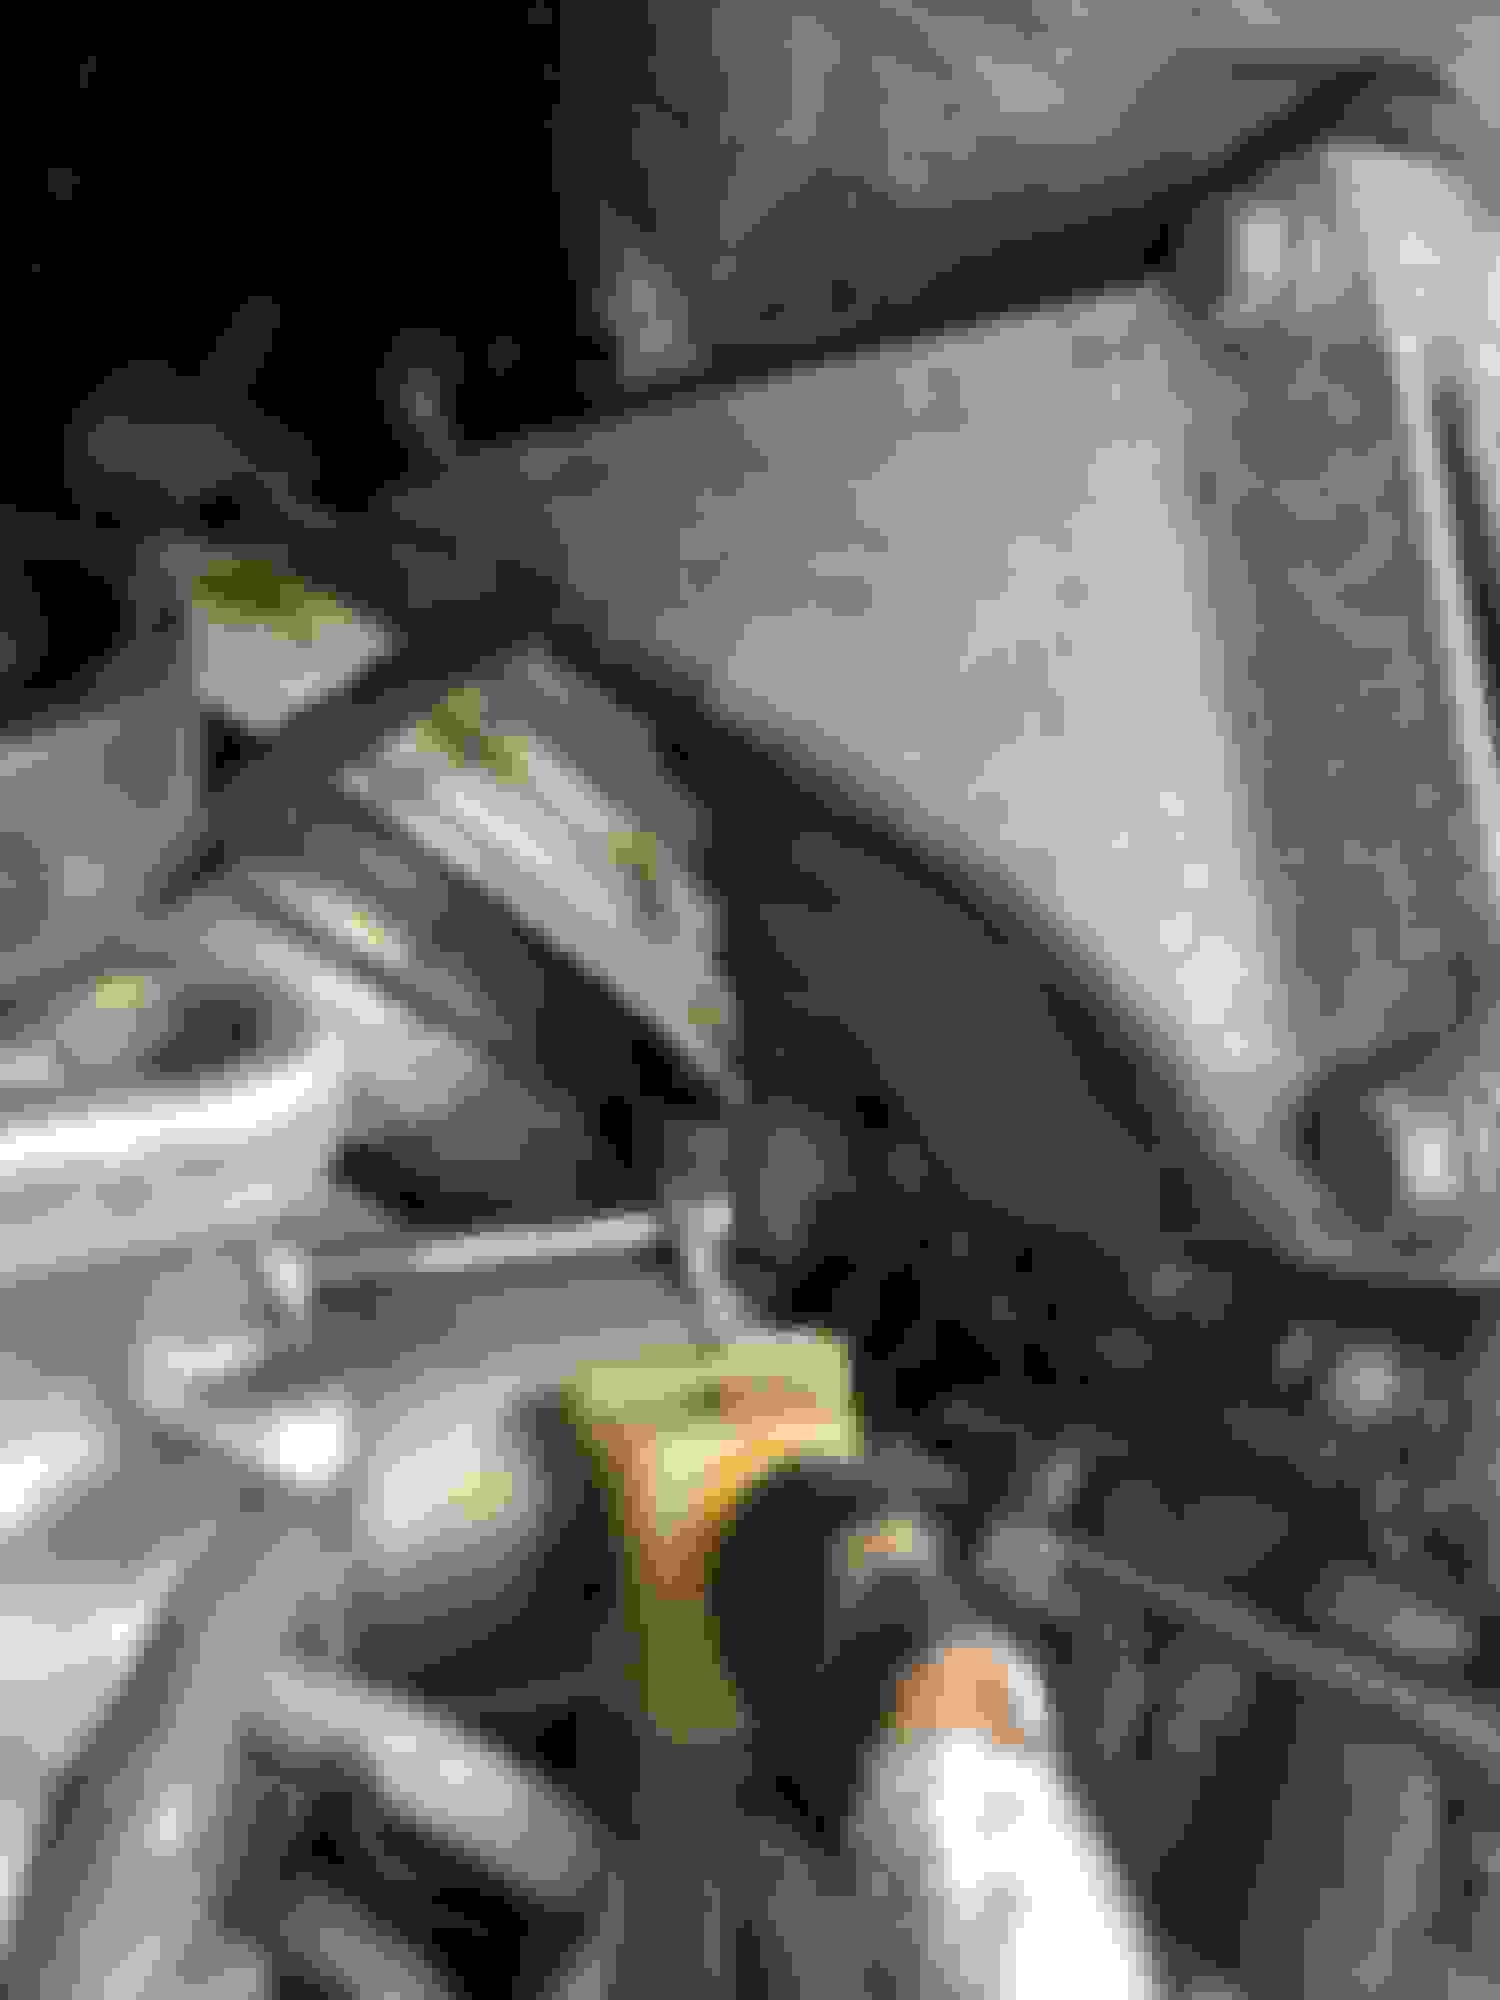
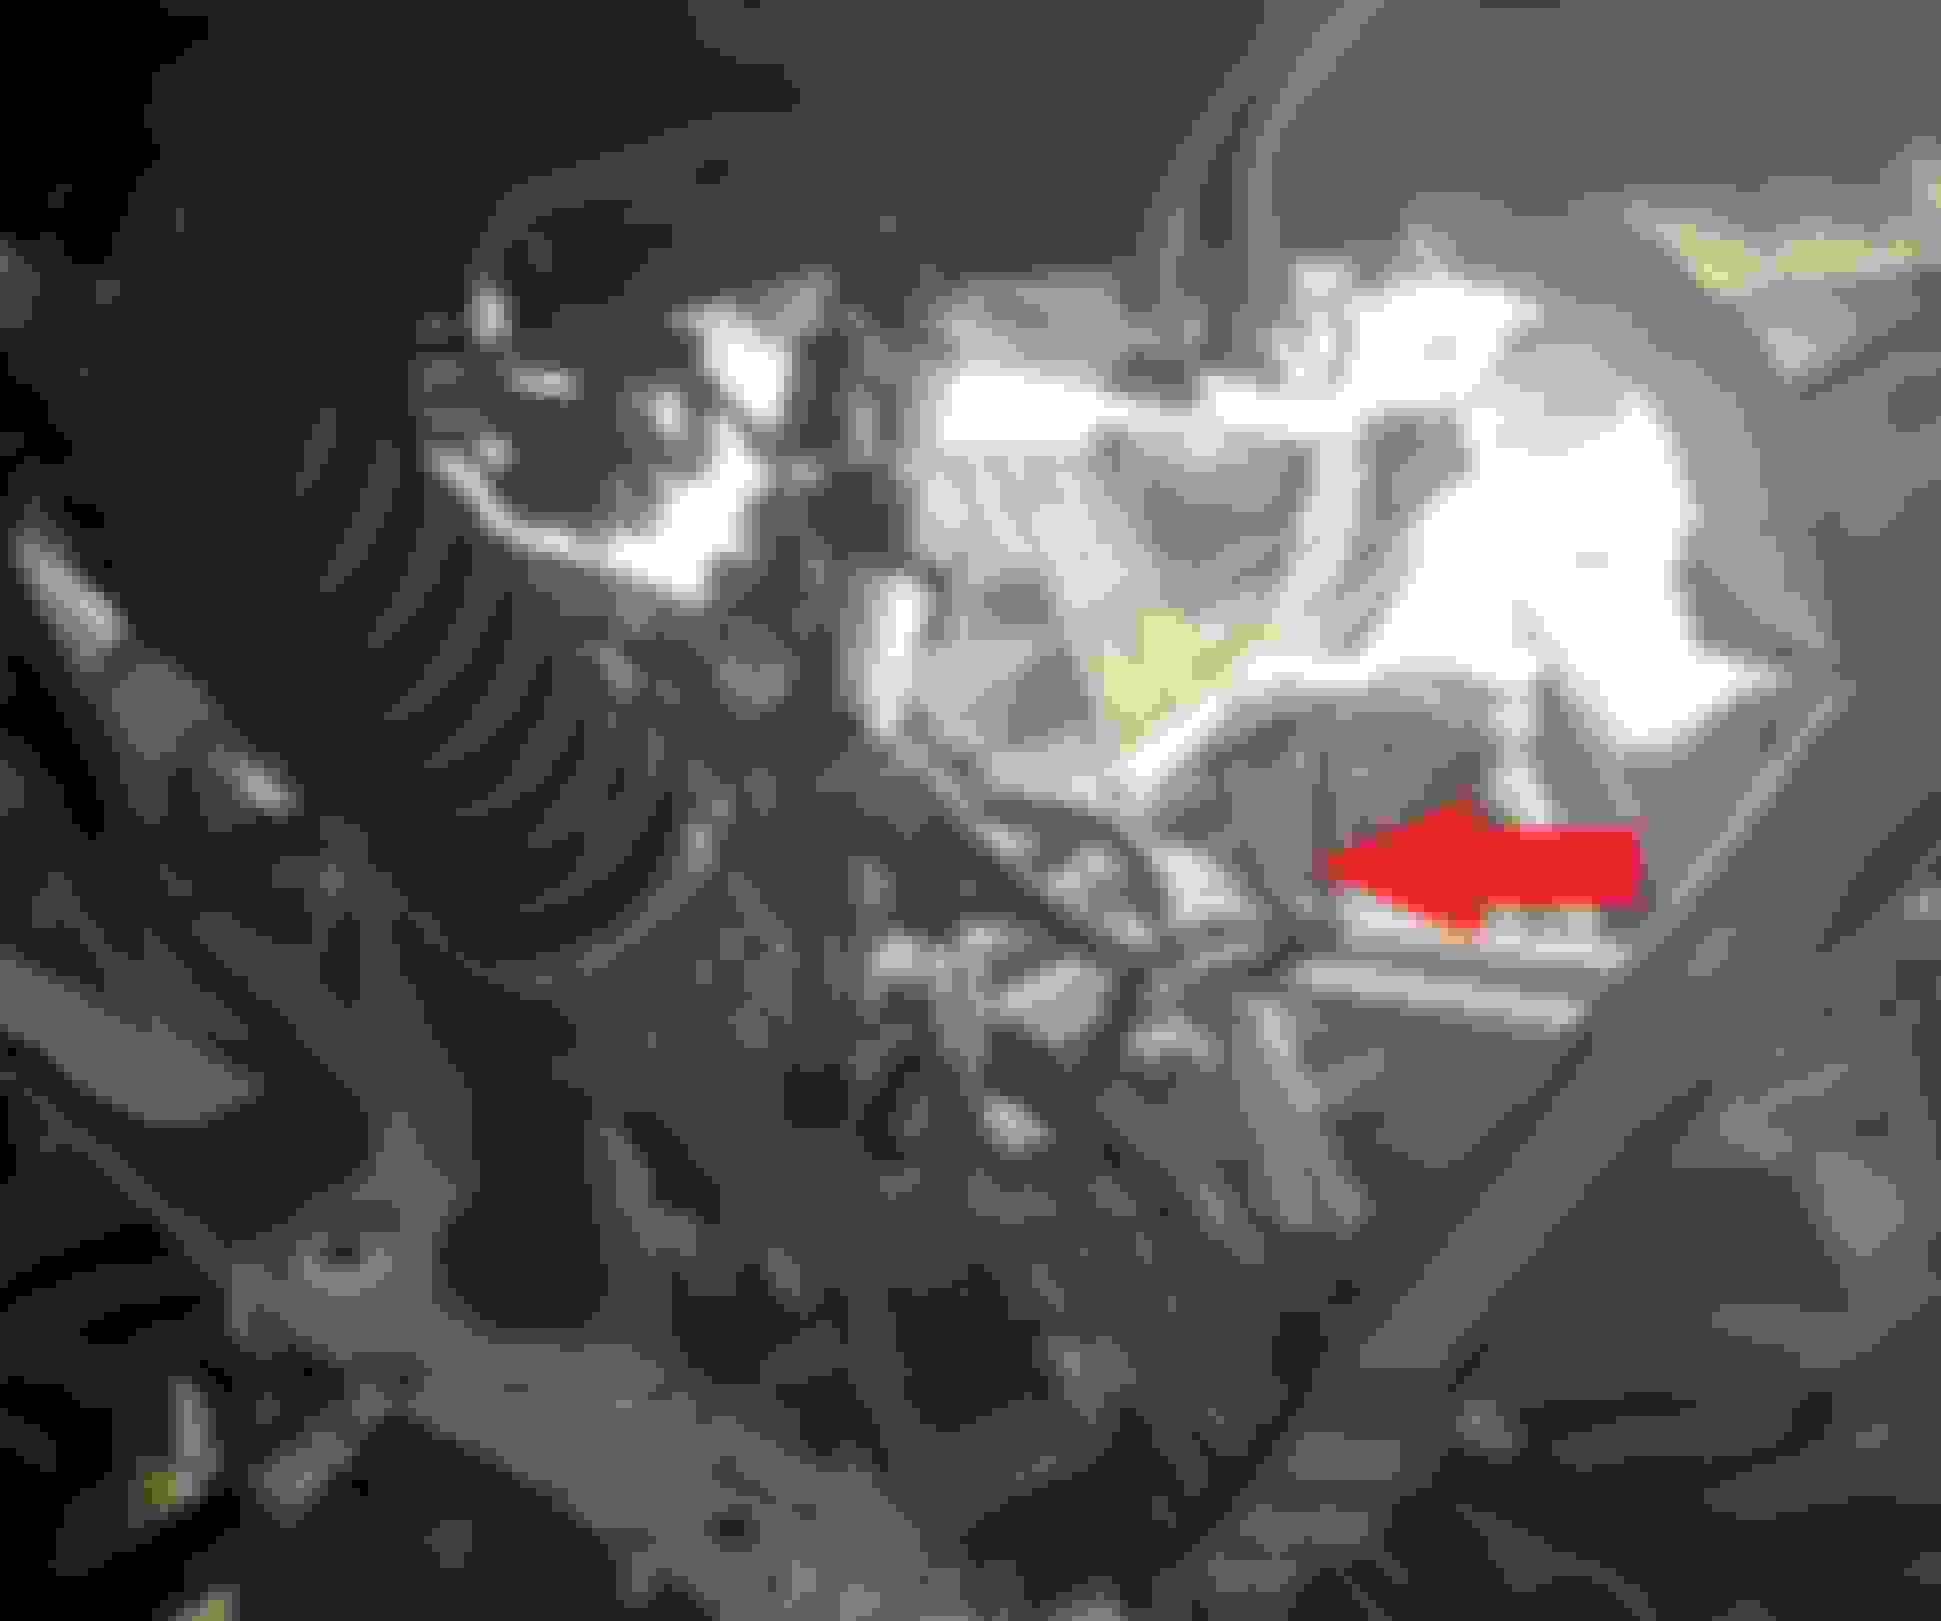
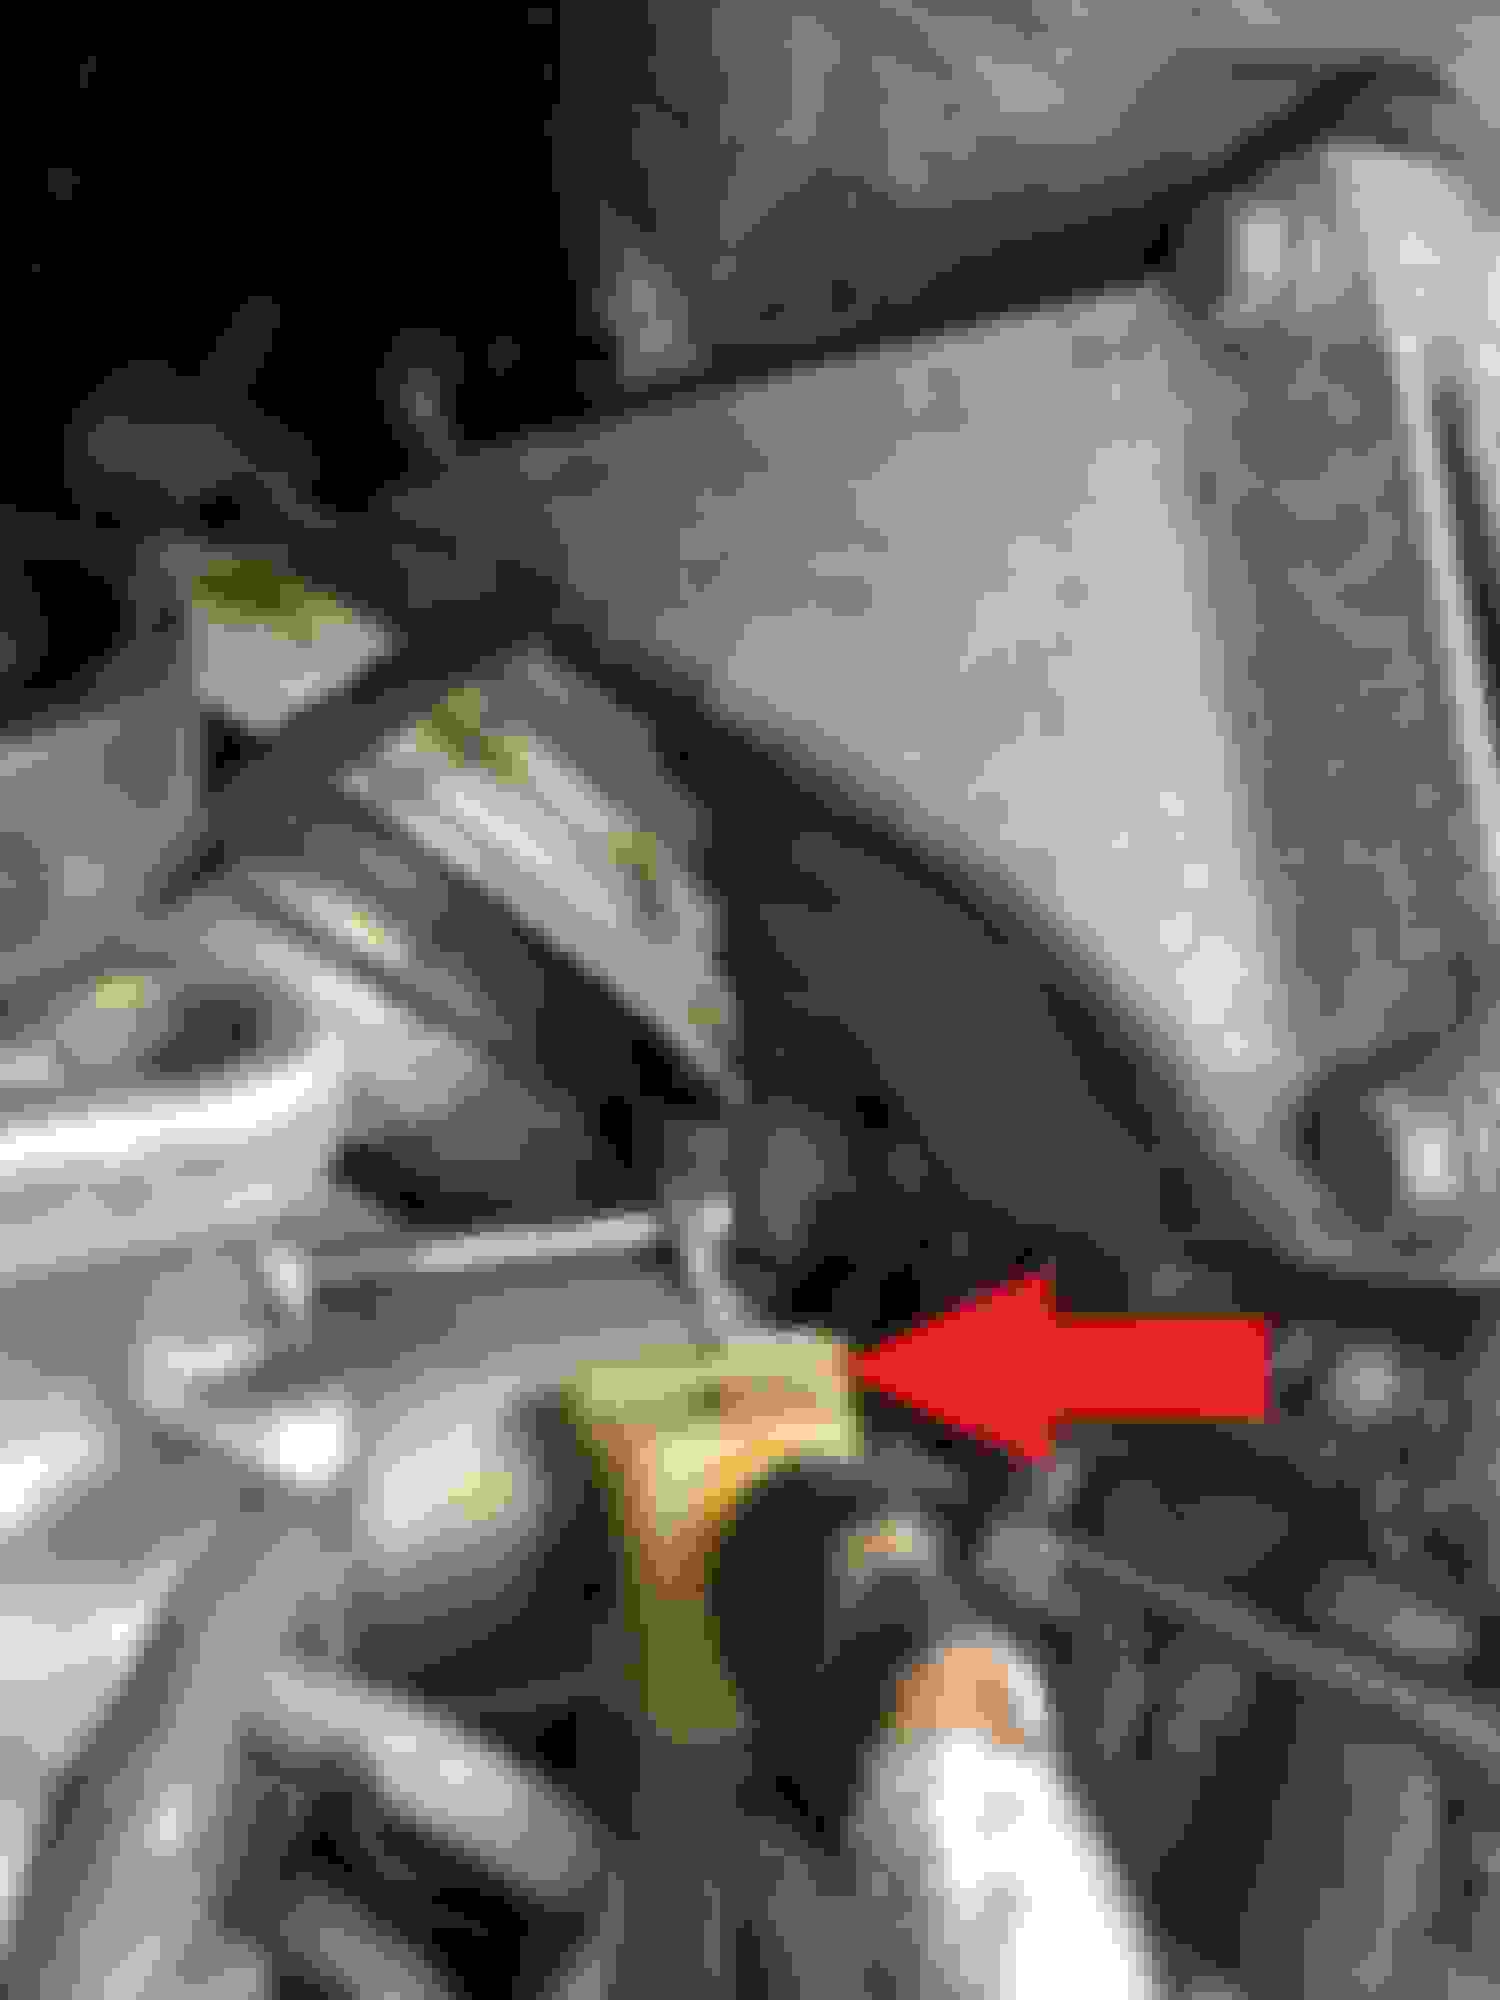
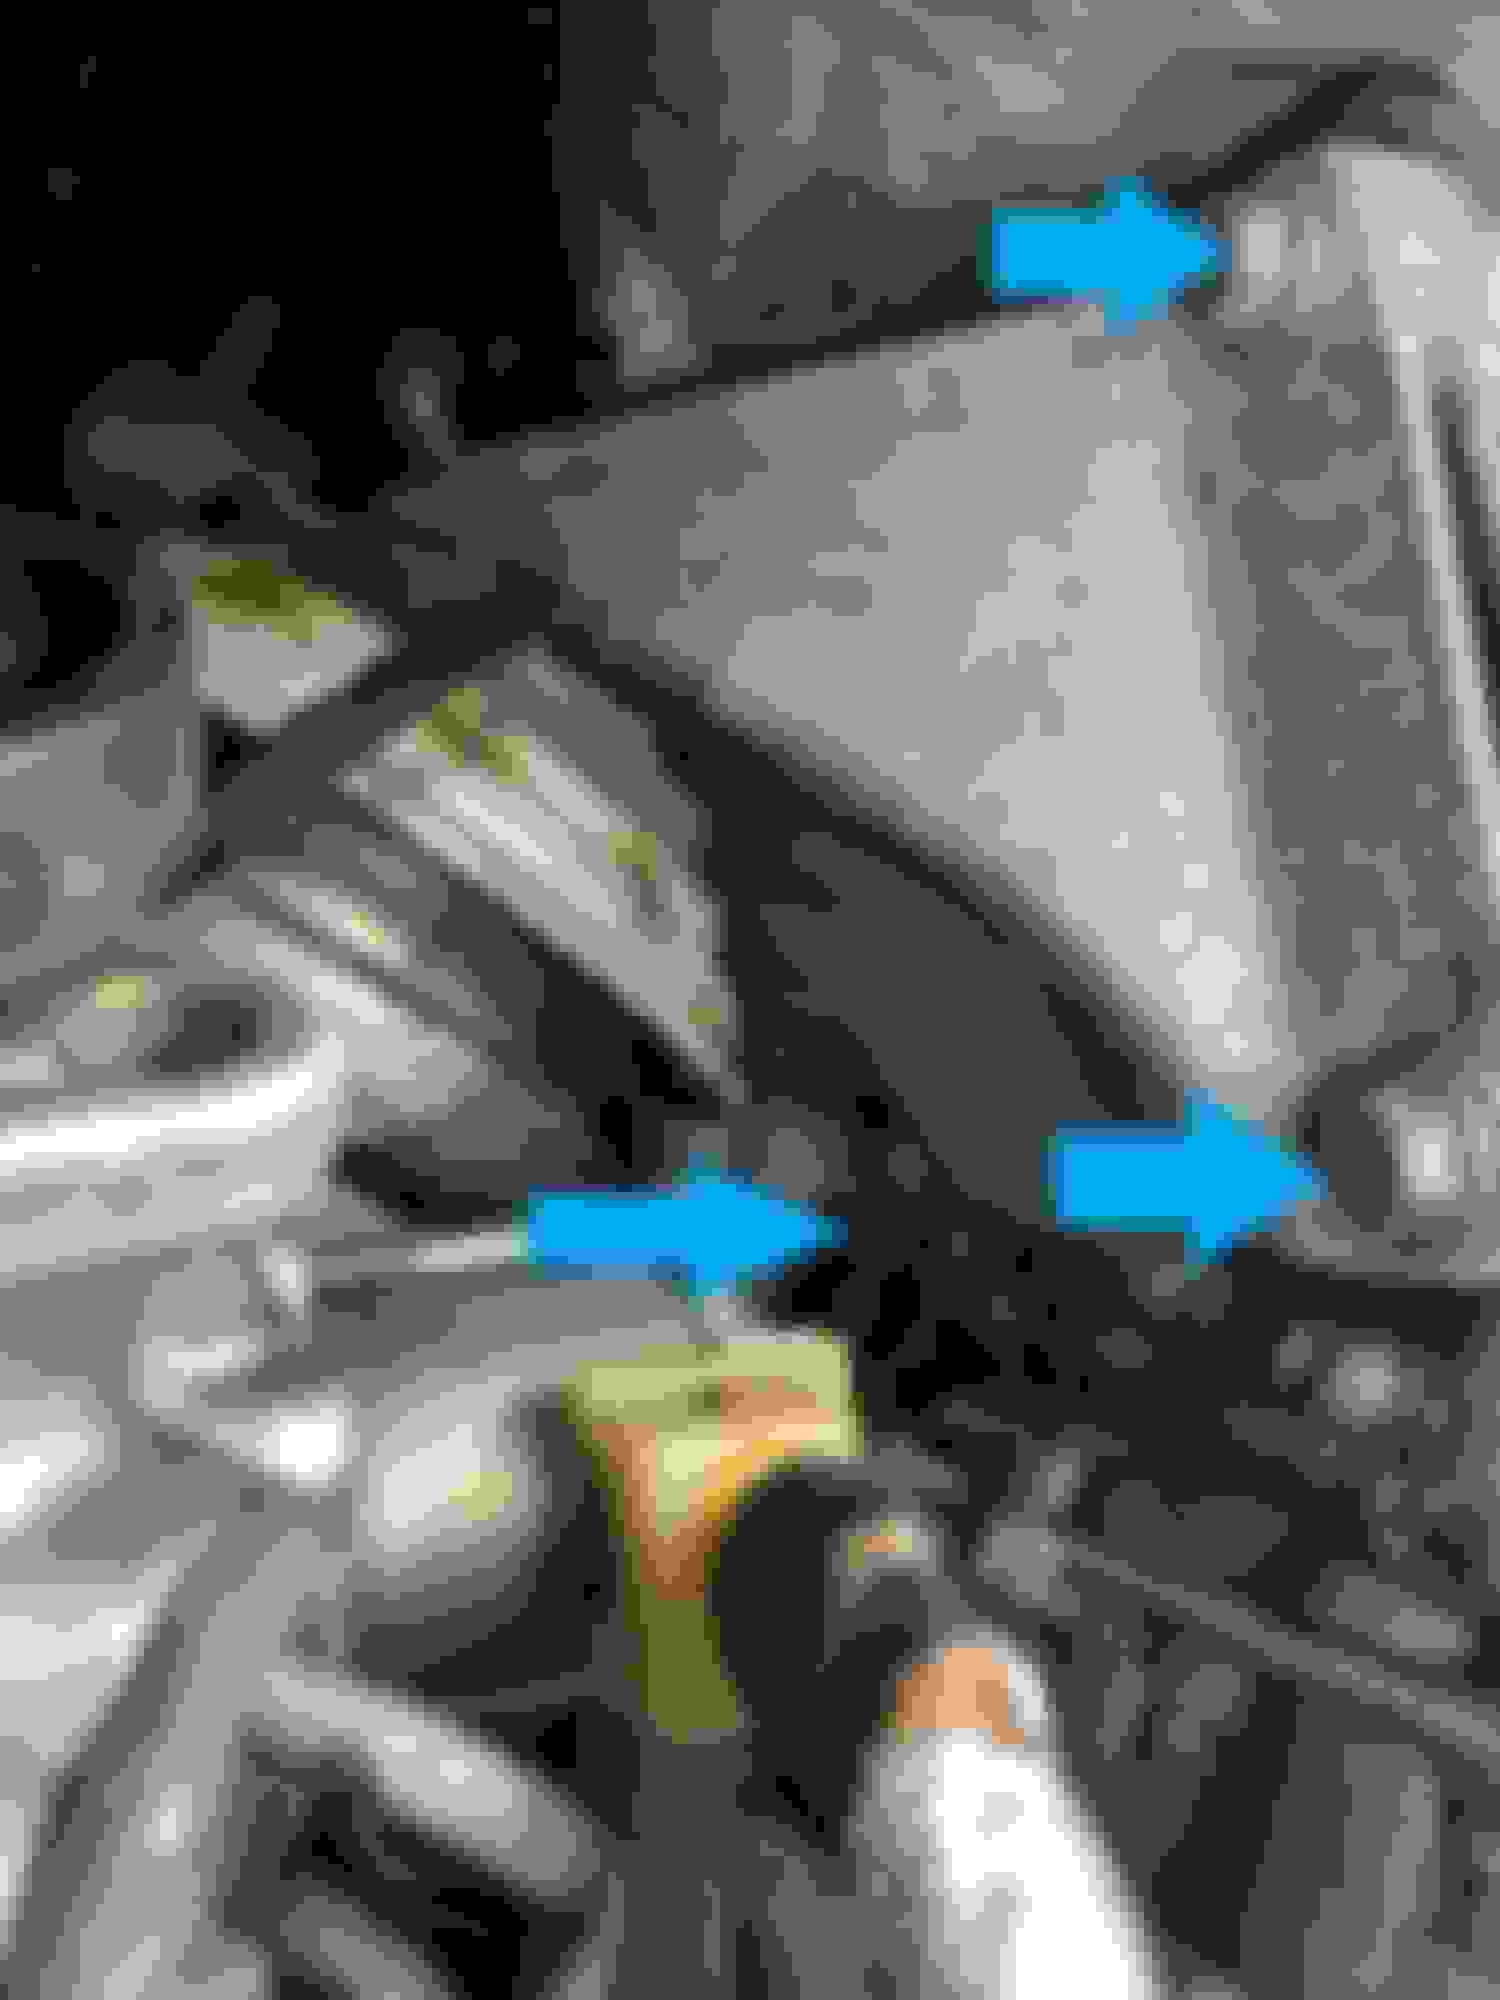
2- locate the lower hose bracket and remove the top 10mm and then slide it down and out of the way. see RED arrow below.
3- unclip the retaining clip and pull the plug off of the steering rack carefully, tuck out of the way. see RED arrow below:
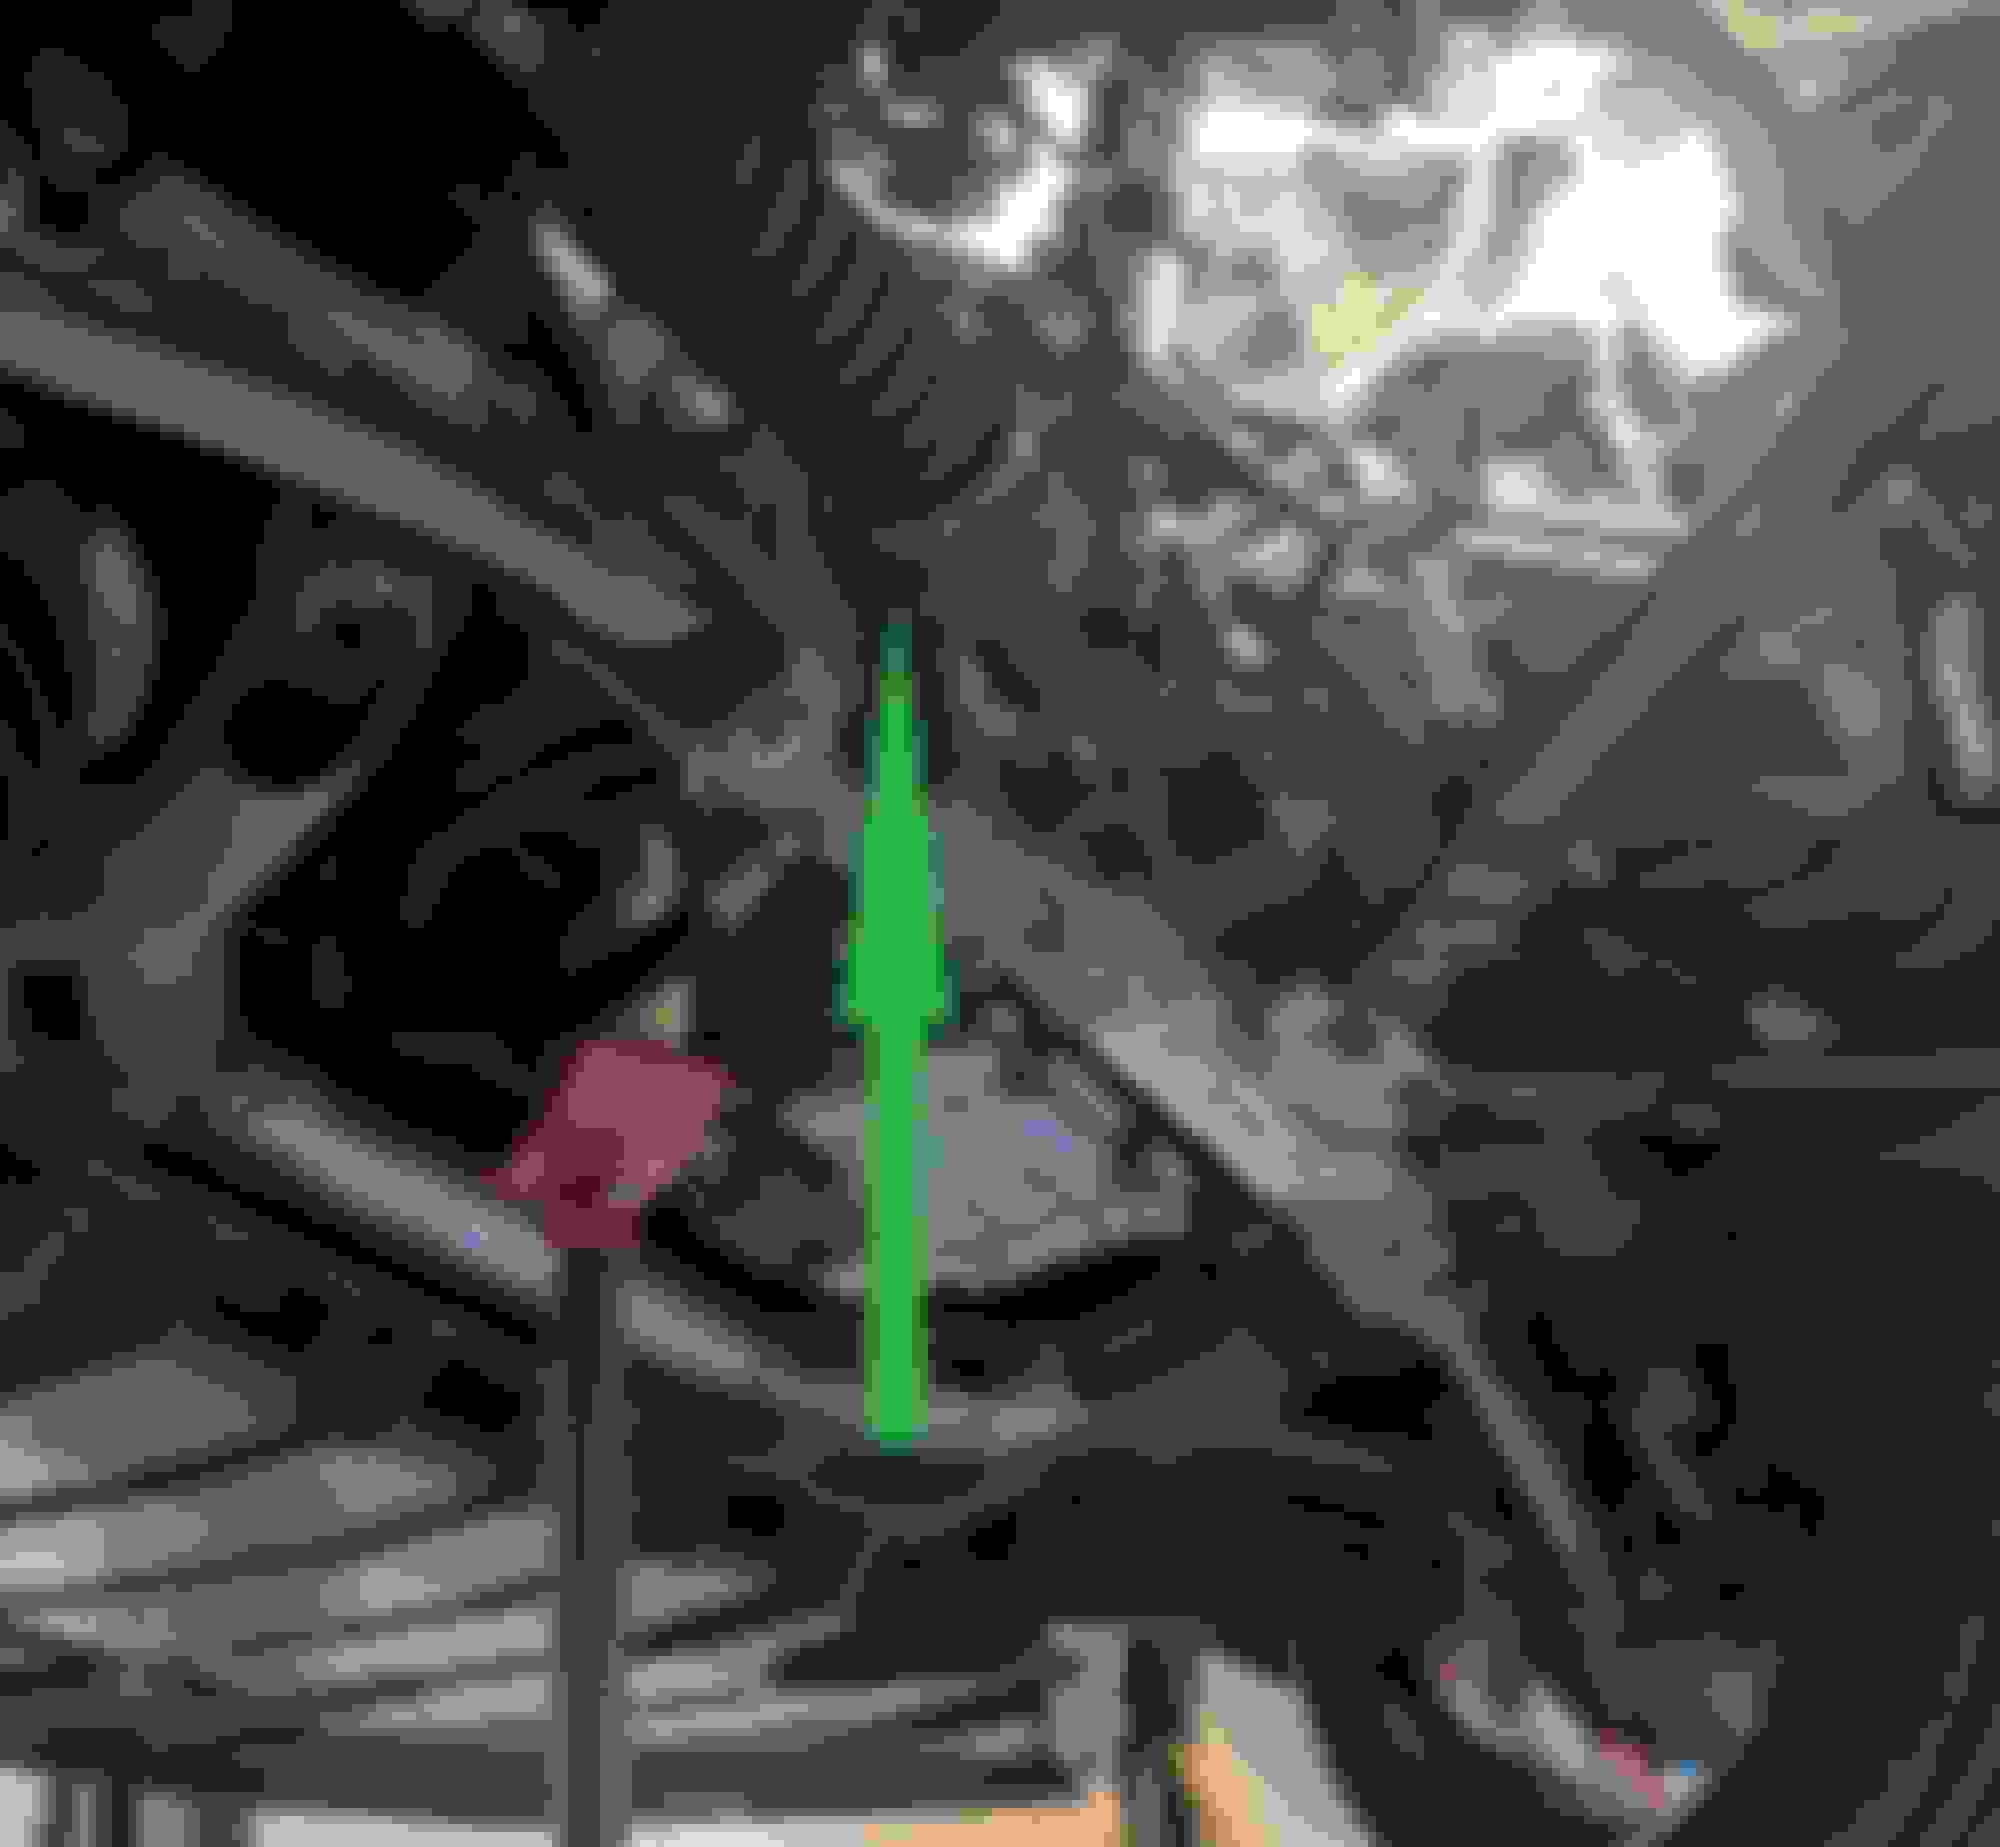
4- unhook the lower mount bolt (15mm) shown in GREEN. (during Re-install torque to 48Nm)
5- Unbolt the metal bracket off the engine block, (4x 13mm). This is where it starts to get tricky. The rear most two bolts are cake, the front lower is somewhat easy, but the front upper bolt will be a pain and will require a few well placed curse words and 4 extensions /swivels. With some patients it will come out. (During re-install torque to 48Nm)
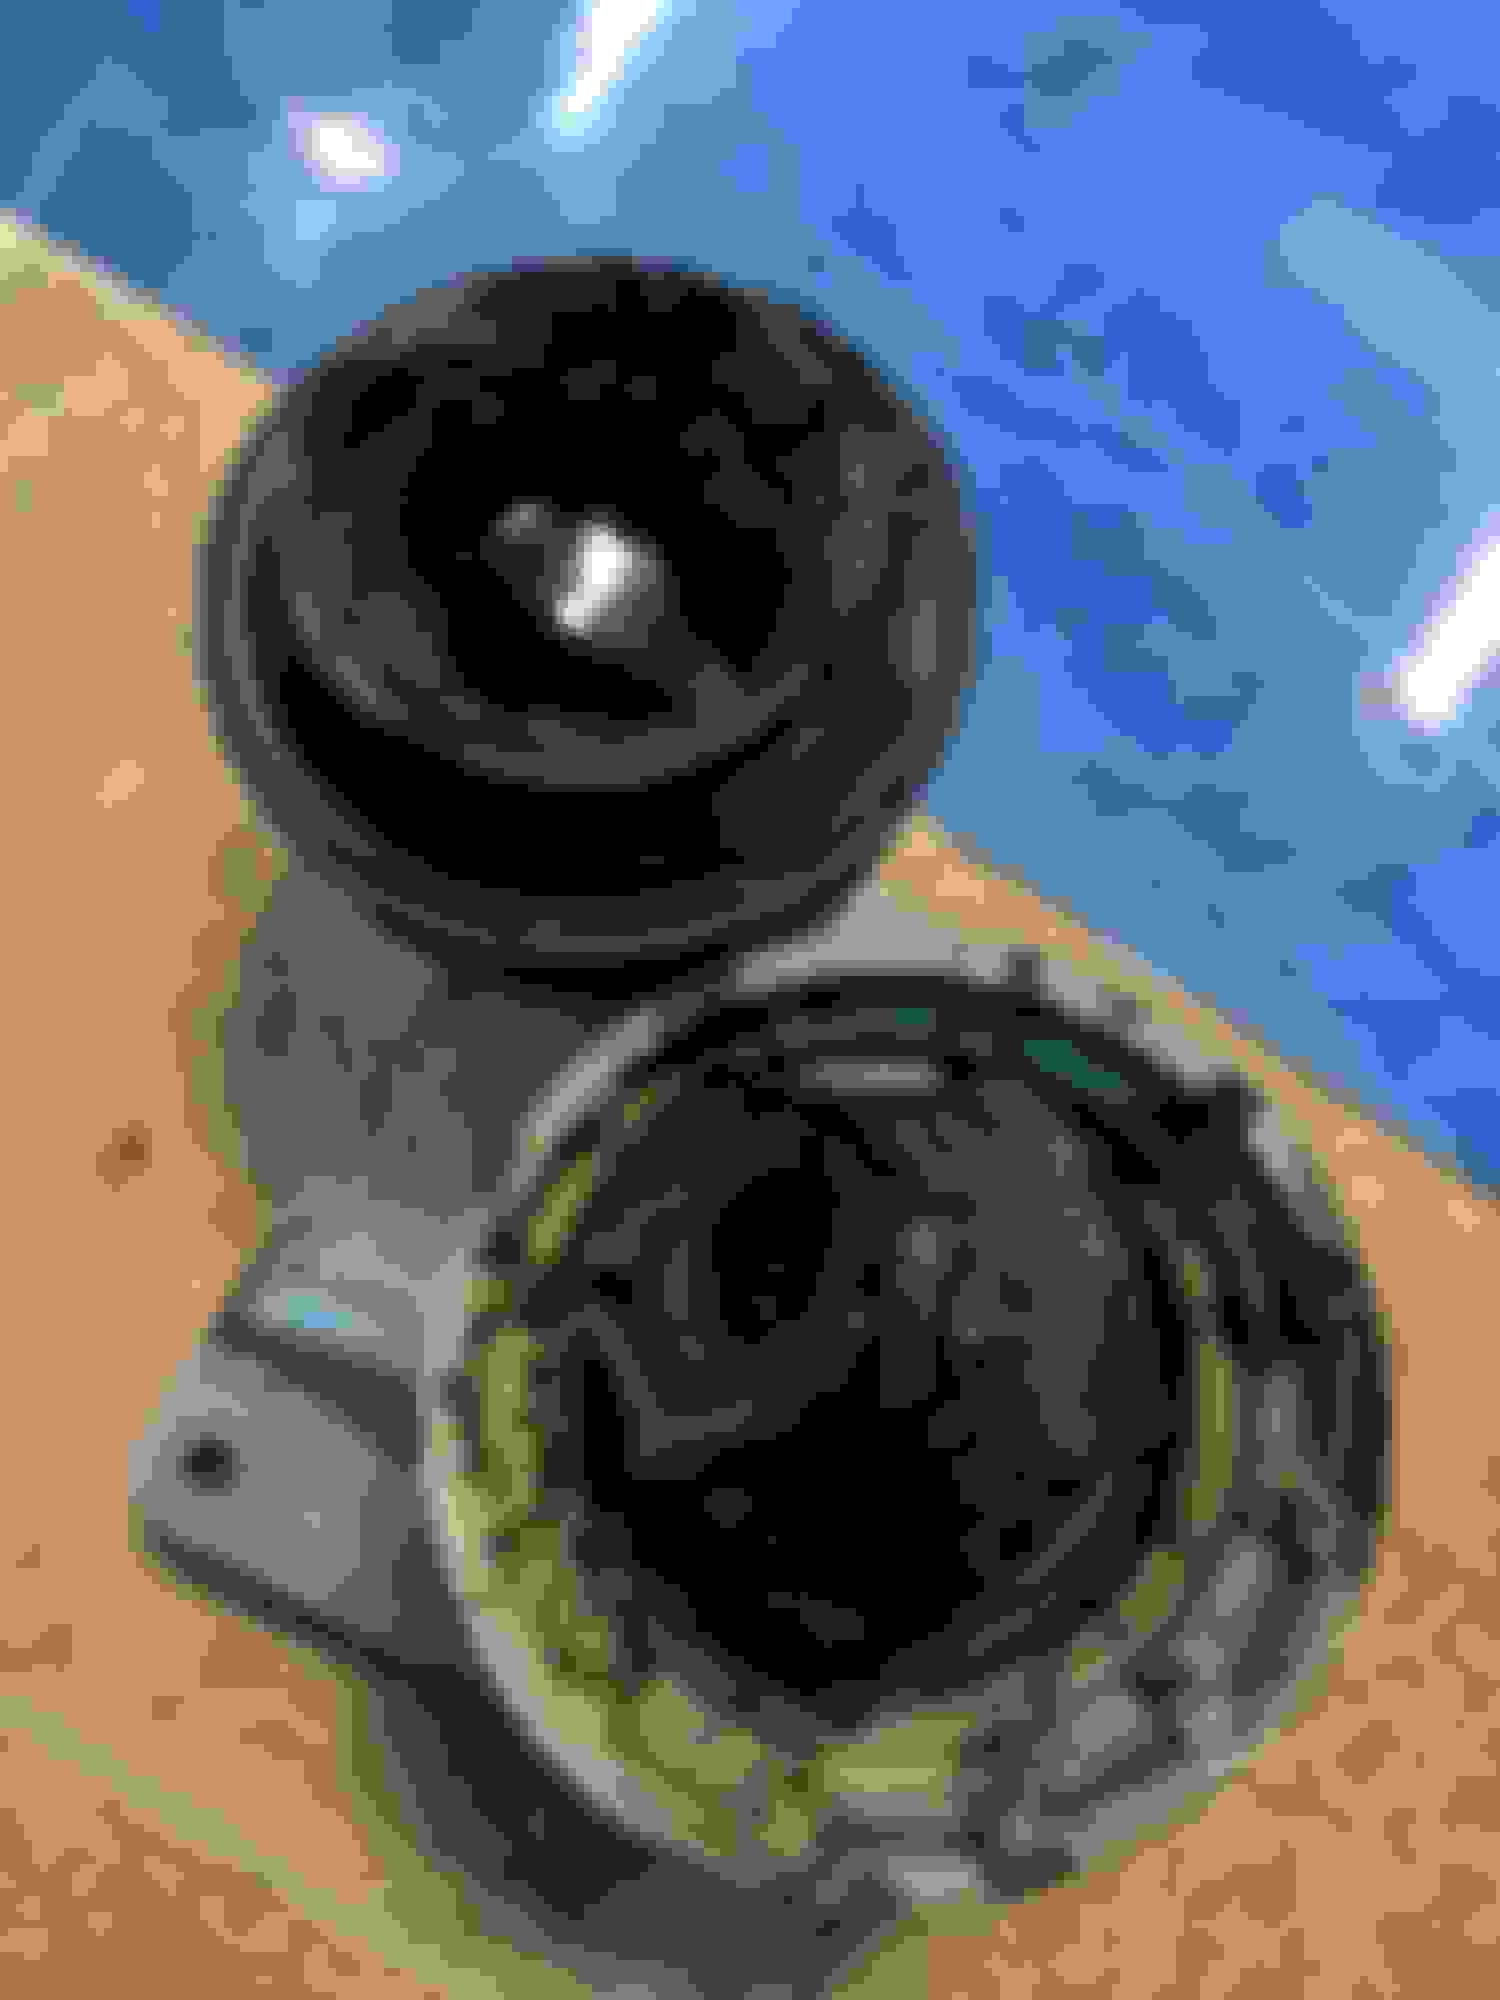
6- Upper mount bolt, This is the most difficult portion of this entire project. Many of the mounts will completely fail like the one shown below. If this is the case simply pull the top engine bracket and the top of the mount out of the engine bay through the space you just made by lowering the hose bracket and unplugging the power steering rack. If your mount hasn't completely failed you will need to twist and angle it so that you can get a crows foot on the top mount bolt or you can reach it from the top with a few extensions, This part of the repair will take you time, again lots of cursing, but with perseverance can be done. To reinstall you need to get the mount and the engine bracket up in the general area it sits, and attack the top bolt of the mount first, get it as tight as you can without a torque wrench. After you have that tight attach the bracket (with the new mount installed to it) back onto the block. i had to lift my engine up about 3inches with a jack post to achieve all of this. see below for pictures and hints.
8- reassemble the same as you took it apart and your done.
Last edited by Itismejoshy; Aug 6, 2019 at 07:15 AM.
Reason: Fat fingers and general mucking up of the English language
No wonder I/we never hear from you! Good thing then that I connected with your better half today, isn�t it?
See you soon. (I take it between now and...well...then, you will get your car in total working order?). We do have confidence in you.
Then again, you are The Road Warrior.
LOL, yes i just got an earful about not checking my email! Jag is ready to roll (currently, this week anyways). The excitement has just set in for another "Non-Non-Event"!! Looking forward to it! see ya soon brotha!
LOL, yes i just got an earful about not checking my email! Jag is ready to roll (currently, this week anyways). The excitement has just set in for another "Non-Non-Event"!! Looking forward to it! see ya soon brotha!
can't wait for the pictures -- sad myself and the jag are on the wrong coast now.
First, thanks so much for creating this thread/guide. I've come back to it a dozen times at least.
Shot in the dark here, since this thread has some years on it, but has anyone done the driver's side motor mount and run into an issue with accessing the top-front bracket bolt? This would be the 'hardest' one to get to for the bracket, the one that's toward the front of the car and on the top corner of the bracket. I've got what looks to be a power steering line that passes right in front of it. Since it's a metal line, it doesn't just push out of the way, so I can't access the bolt even with swivel sockets. And even if I did, the bolt couldn't fully back out with that line right in front of it.
Can't get to any clips to move the line, so I'm at a loss. I've searched high and low, watched YouTube vids, and it doesn't seem anyone mentions this line in the way.
Which bracket? The engine bracket(bracket attached to engine)? Or is your mount the 2 bolt mount on bottom? My mount was different than this mount on the thread, I believe maybe because it's awd... However, I did not remove the bracket that is attached to the engine. I took off the top nut of mount and jacked the engine up until I could slide it out. Keep in mind I had my axle out, otherwise the axle will hit the tunnel. I was changing axles anyways is why it was out, but it may be easier doing it this way than taking off the mount on the engine. But, if you have the 2 mount foot at the bottom, I remember a line being in the way and believe it is an oil cooler line? If this is the line you are talking about then there are 2 bolts that attach the cooler to the frame up front on the driver's side. I removed bolts and wiggled the cooler out and it gave me enough play(with the lines still attached) that you can remove the forward bolt. Follow the line to the cooler. If this is not what you are talking about that sucks and hopefully someone else can chime in.
Which bracket? The engine bracket(bracket attached to engine)? Or is your mount the 2 bolt mount on bottom? My mount was different than this mount on the thread, I believe maybe because it's awd... However, I did not remove the bracket that is attached to the engine. I took off the top nut of mount and jacked the engine up until I could slide it out. Keep in mind I had my axle out, otherwise the axle will hit the tunnel. I was changing axles anyways is why it was out, but it may be easier doing it this way than taking off the mount on the engine. But, if you have the 2 mount foot at the bottom, I remember a line being in the way and believe it is an oil cooler line? If this is the line you are talking about then there are 2 bolts that attach the cooler to the frame up front on the driver's side. I removed bolts and wiggled the cooler out and it gave me enough play(with the lines still attached) that you can remove the forward bolt. Follow the line to the cooler. If this is not what you are talking about that sucks and hopefully someone else can chime in.
I saw your response as I was about to head to bed, so, naturally I immediately went down to the garage in my PJs to check for the cooler you mentioned. Sadly, don't think we have the same setup. Mine is a 2015, RWD V8, and the line goes right to what appears to be an inlet on the block. It runs from there down (in front of the bolt) and then into the steering rack.
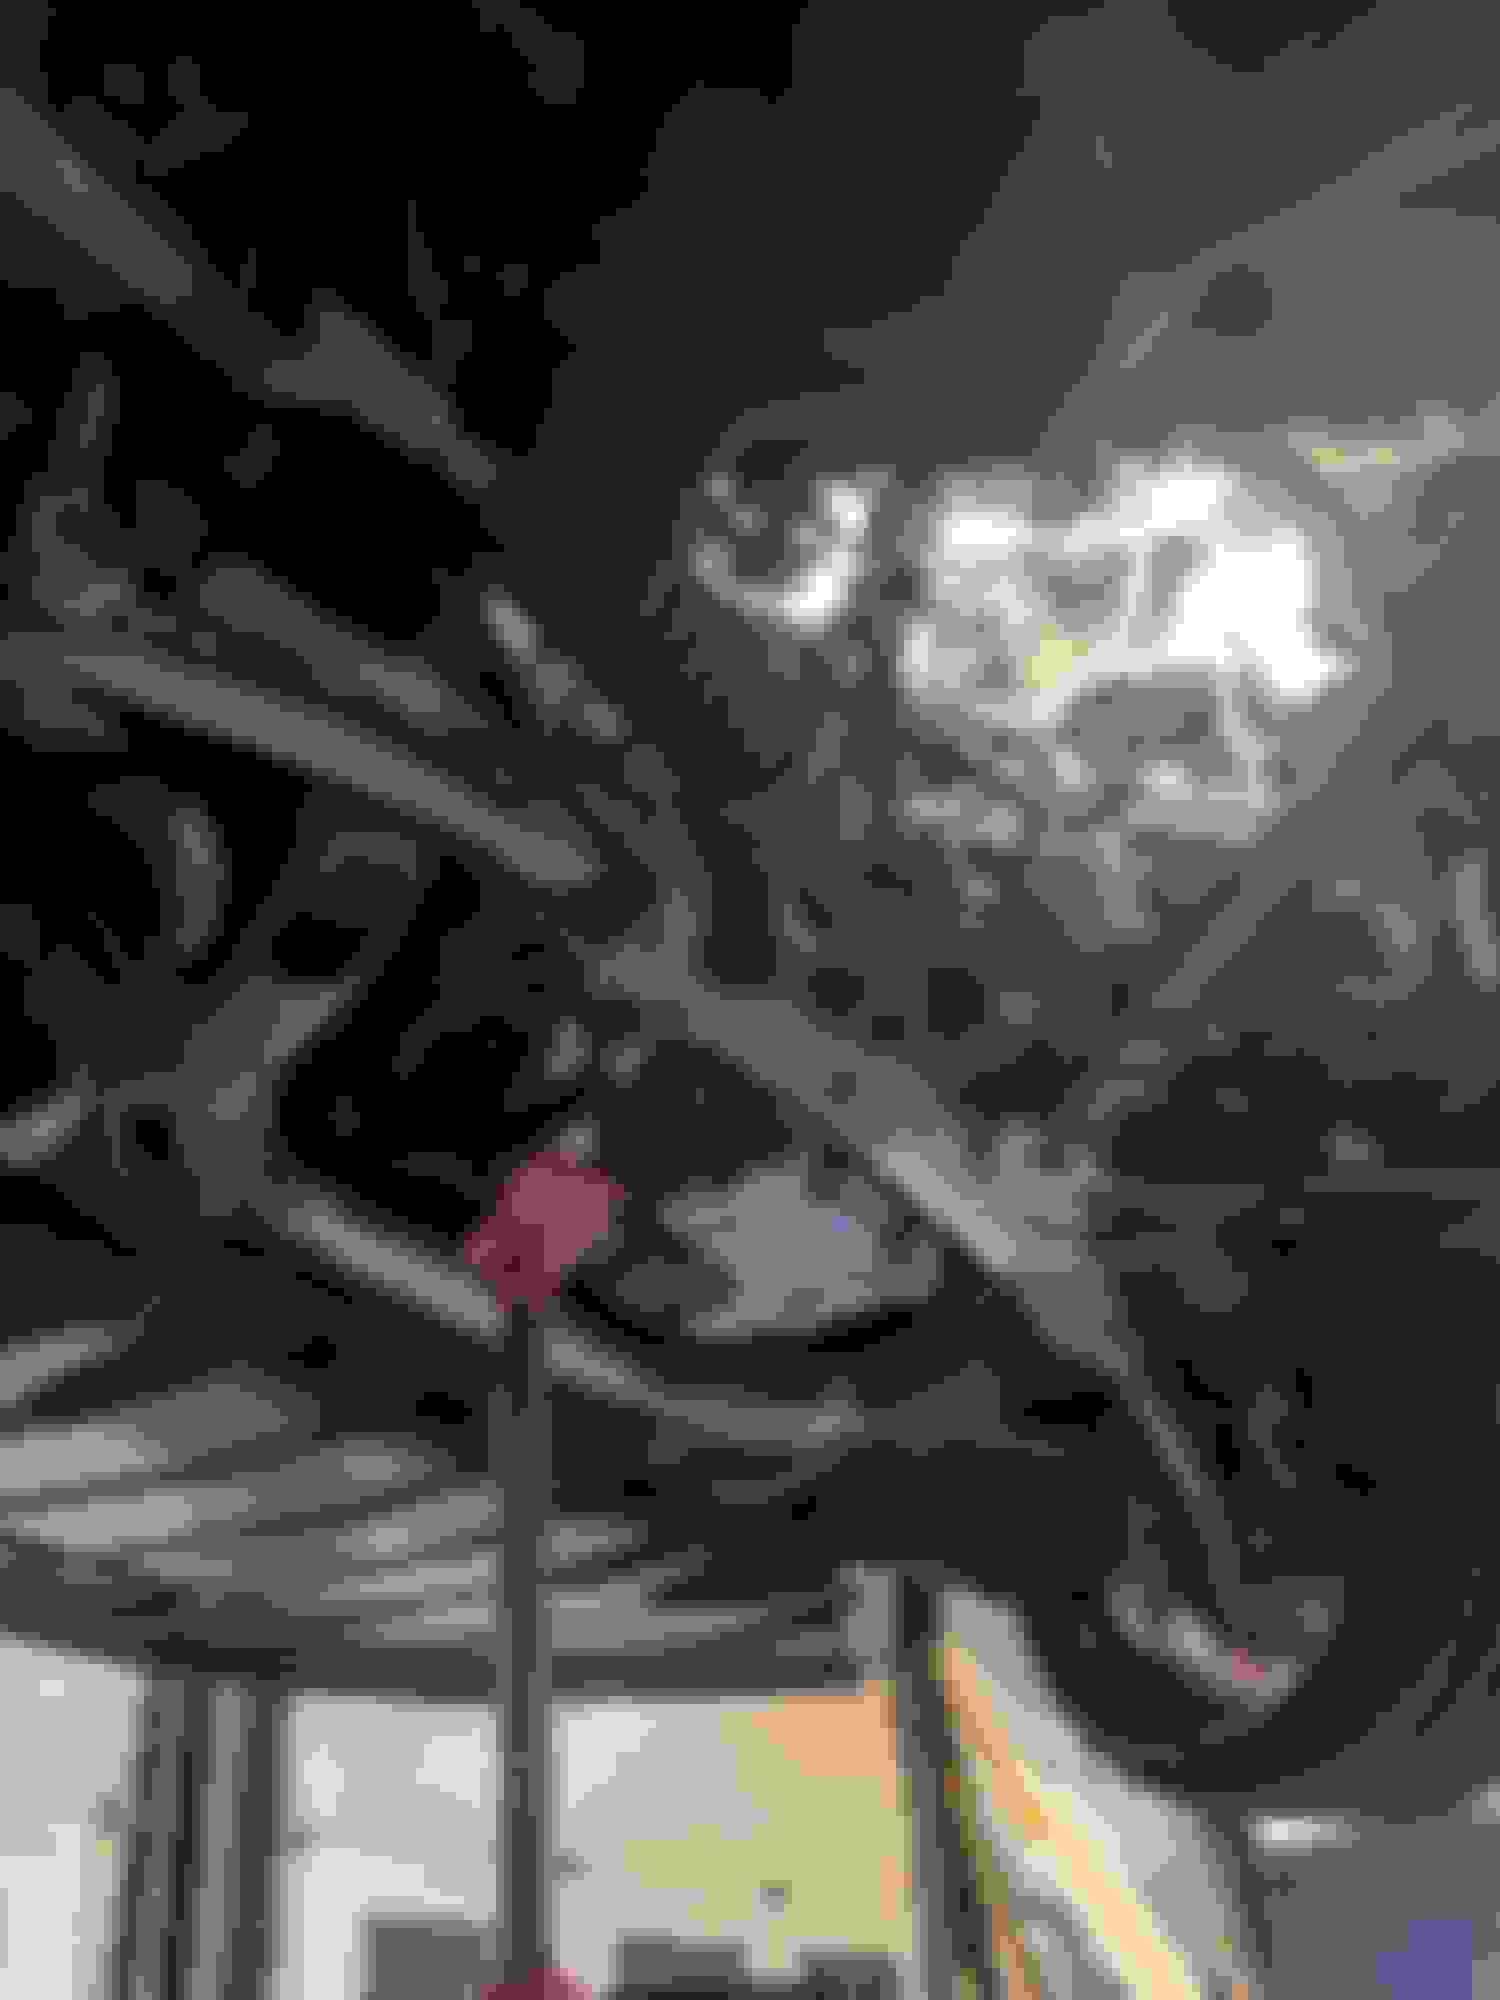
This is the view of the bolt, it is the one on the bracket that attaches to the motor (it is the top "forward" bolt, toward the bumper). And the line is right in front of it. Here's my view of what little of the hex head I can even see from under the car:
The aluminum/dryer-tube sheathe is on the hard line I'm referring to. Doesn't want to budge. A little ways down and to the right from there, it's clamped to the engine block. As in, a very strong spring steel line clamp that then becomes a bracket and attaches god-knows-where on the block. I have run my fingertips all over the area, tucked my phone up there and recorded video, etc., I can't find bolts to remove it. So, that line stays where it's at.
What you did with the top bolt of the mount itself, that was next on my list. I've carefully raised the motor about 2 inches, don't see interference, and I was wondering - why do we need to take the mount bracket out? If I can loosen the top bolt, raise the motor... shouldn't the mount just come out? Of course, my thought is, "there must be a reason I have seen zero people leave the bracket attached," but I haven't seen anyone explain as to why.
Maybe it's the axle clearance - I'll just have to watch mine as I raise it and see if there's an issue. I just received a super low profile socket wrench I ordered, because nothing I have fits on the top bolt for the mount itself - the manifold shield is too close. No stubby wrench, no regular 15mm socket, not even the crowfoot wrench set I bought. This is why I finally said, just resurrect the thread and ask, lol. I feel like I'm working with issues that no one else seems to have. Or I lack some special tool specifically for this situation.
Hi, I have exactly the same problem on my 2015 V8 R. I need to remove the LH mount bracket to enable access to the exhaust manifold bolts ..... to remove the head!
I live in the UK so the rack is reversed but it looks like I have exactly the same access probs to the top front mount bracket bolt. Did you find a way?? - thanks
Oh boy. So, unfortunately I was not able to reach that bolt - I had several mechanic friends tell me to just 'force' that line out of the way, claiming they can bend a little bit and it's okay. I simply wasn't comfortable doing that, which might just be my ignorance.
So, instead I ended up removing the top nut from the motor mount and very gently/slowly lifting the engine block on that side until the bracket cleared the mount. I was able to lift the engine (and thus the bracket)) high enough that the bracket cleared the threaded bolt on top of the mount, and I could lift and angle and wiggle the old mount out and put the new mount in.
Now, doing all that was a serious pain in the ***, and it took forever. Here's why: the top nut for the motor mount sits inside the recessed area of the bracket. That means conventional sockets and things like 'crows feet' angled sockets didn't work for me because there simply wasn't enough clearance - they either couldn't fit in the space at all, or they wouldn't fully seat on the nut and thus when you try to turn them, they pop right off.
So, just to loosen that top nut, I had to get socket extensions (like 12", 18", something like that - I used a couple) and swivel adapters and come in from above, in the engine bay. And to this day, I feel like there's an easier way, but I couldn't figure one out because I simply didn't have any socket tool with low enough clearance. I used one of those crow's feet sockets, which almost didn't even fit on the nut due to the recessed nature of the bracket. I lowered my contraption of socket extensions + swivels + crows foot down to the engine mount and used ties/rubber bands to hold it in place because I didn't have anyone to hold it for me. Then I slid back under the car and reached up to press the crow's foot over the nut and make sure it felt seated the best I could. Slide back out from under the car, and very carefully hold the long socket wrench (very carefully, because if I moved it the wrong way, the crow's foot would pop off the bolt and I'd have to go back under the car), find the precise angle where I felt it grab tightly even with the socket swivels etc., and give it a good turn. After some trial and error, I got it to suddenly loosen, and that was quite the happy feeling. Now the top bolt was loose, so I could go back under the car and use a socket wrench and loosen it off.
Which led to the next fun part. Hours of fun. I'm talking hours of fidgeting with it. Eventually, I ended up ordering these:
I saw others talking about using low-clearance wrenches, but the ones I had didn't work, either. I figured these are the lowest of low-clearance, and sure enough, they got in there with a crow's foot... but only for about 1/6-1/4 turn. Then, and yes this is as ridiculous as it sounds, I had to slide the wrench and crow's foot back out, flip the crow's foot socket on the wrench (like flip it upside down and click it back in), and then rotate it for another 1/6-1/4 turn. The reason? I'm guessing machining tolerances. I'd get that slight rotation done, and then the handle of the low-profile wrench would be hitting something, so I'd have to lift it off the nut and re-seat it and turn it another little turn. But when I did that, the crow's foot wouldn't fit back on the nut, because it's sitting in the recess of the bracket, and even though the foot looked symmetrically made, it must have had a couple thousandths of more material on one side. I don't know how I thought to try it, but I popped the crow's foot off the wrench, flipped it, put it back on, and voila, it fit.
So, it was turn the socket 1/6th of a turn, take it off the nut, flip the crow's foot, put it back on, turn it another 1/6th, take it off, flip the crow's foot..
I'll tell you, when I got that nut high enough to twist off, I may have cracked a beer just to celebrate that one step. After that came the nervous lifting of the motor to bring the bracket up and off the mount, and I was home free. As you can imagine, the reverse was difficult - I had to tighten that nut using the same 1/6th turn, flip the crow's foot, etc., which took awhile. And then you have to torque it to spec, right? So back to fishing the socket extensions contraption down through the engine bay, and this time using my torque wrench to tighten it. It kept popping the crow's foot socket off, but eventually I got the twist angle juuuust right, and the torque wrench clicked, and I was f'ing DONE.
Sorry for the wall of text, but it was an ordeal. For all I know, there's a special socket out there that fits in that clearance no problem - but, I saw people talking about using their angle grinders to shave down the crow's foot, etc., so that makes me think it's not so simple. But, if you can get that nut off, and lift the motor on that side a little bit, I'd imagine it'd lift that bracket to a point where you can reach that front bolt much more easily instead of having to bend that line out of the way. Or, maybe after reading all of this, you're going to opt for just bending it out of the way instead.
….. wowsers, I was hoping for a simple answer, the silver bullet, but alas even more trauma and sleepless nights!!. Many thanks for your reply - appreciated, I will check out the Amazon tool … and also whether I need to remove the mount to access the manifold bolts - I reckon so.
My nightmare started with a regular noisy rattle which I put down to timing chain or tensioner …. 35k miles!. I got 6 of the 8 injectors out, cyl 5 and 6 didn’t want to know, started with standard slide hammer, then modified slide hammer, then home-made threaded puller, with 60 degree C heat …. until 5&6 broke off. Then tried knocking on a bolt extractor socket to wind them loose … they sheared off. So the head now has to come off to try and get the injector bits out.
Root cause of injectors seizing solid is water ingress through bonnet [hood] vents, root cause of timing chain noise = defective tensioner. To my surprise, the chain assy was the later type, apparently some of the early V8’s had the old type [stainless onto ali].
Thanks again ….. may get it fixed for the British summer !!.