When you click on links to various merchants on this site and make a purchase, this can result in this site earning a commission. Affiliate programs and affiliations include, but are not limited to, the eBay Partner Network.
Hi everyone, this seems to be the time where xenon bulbs of MY14/15 slowly give up on life. Several forum members indicated that their replacement - at each owner's own risk - is an easy DIY exercise. Can someone please provide some guidance?
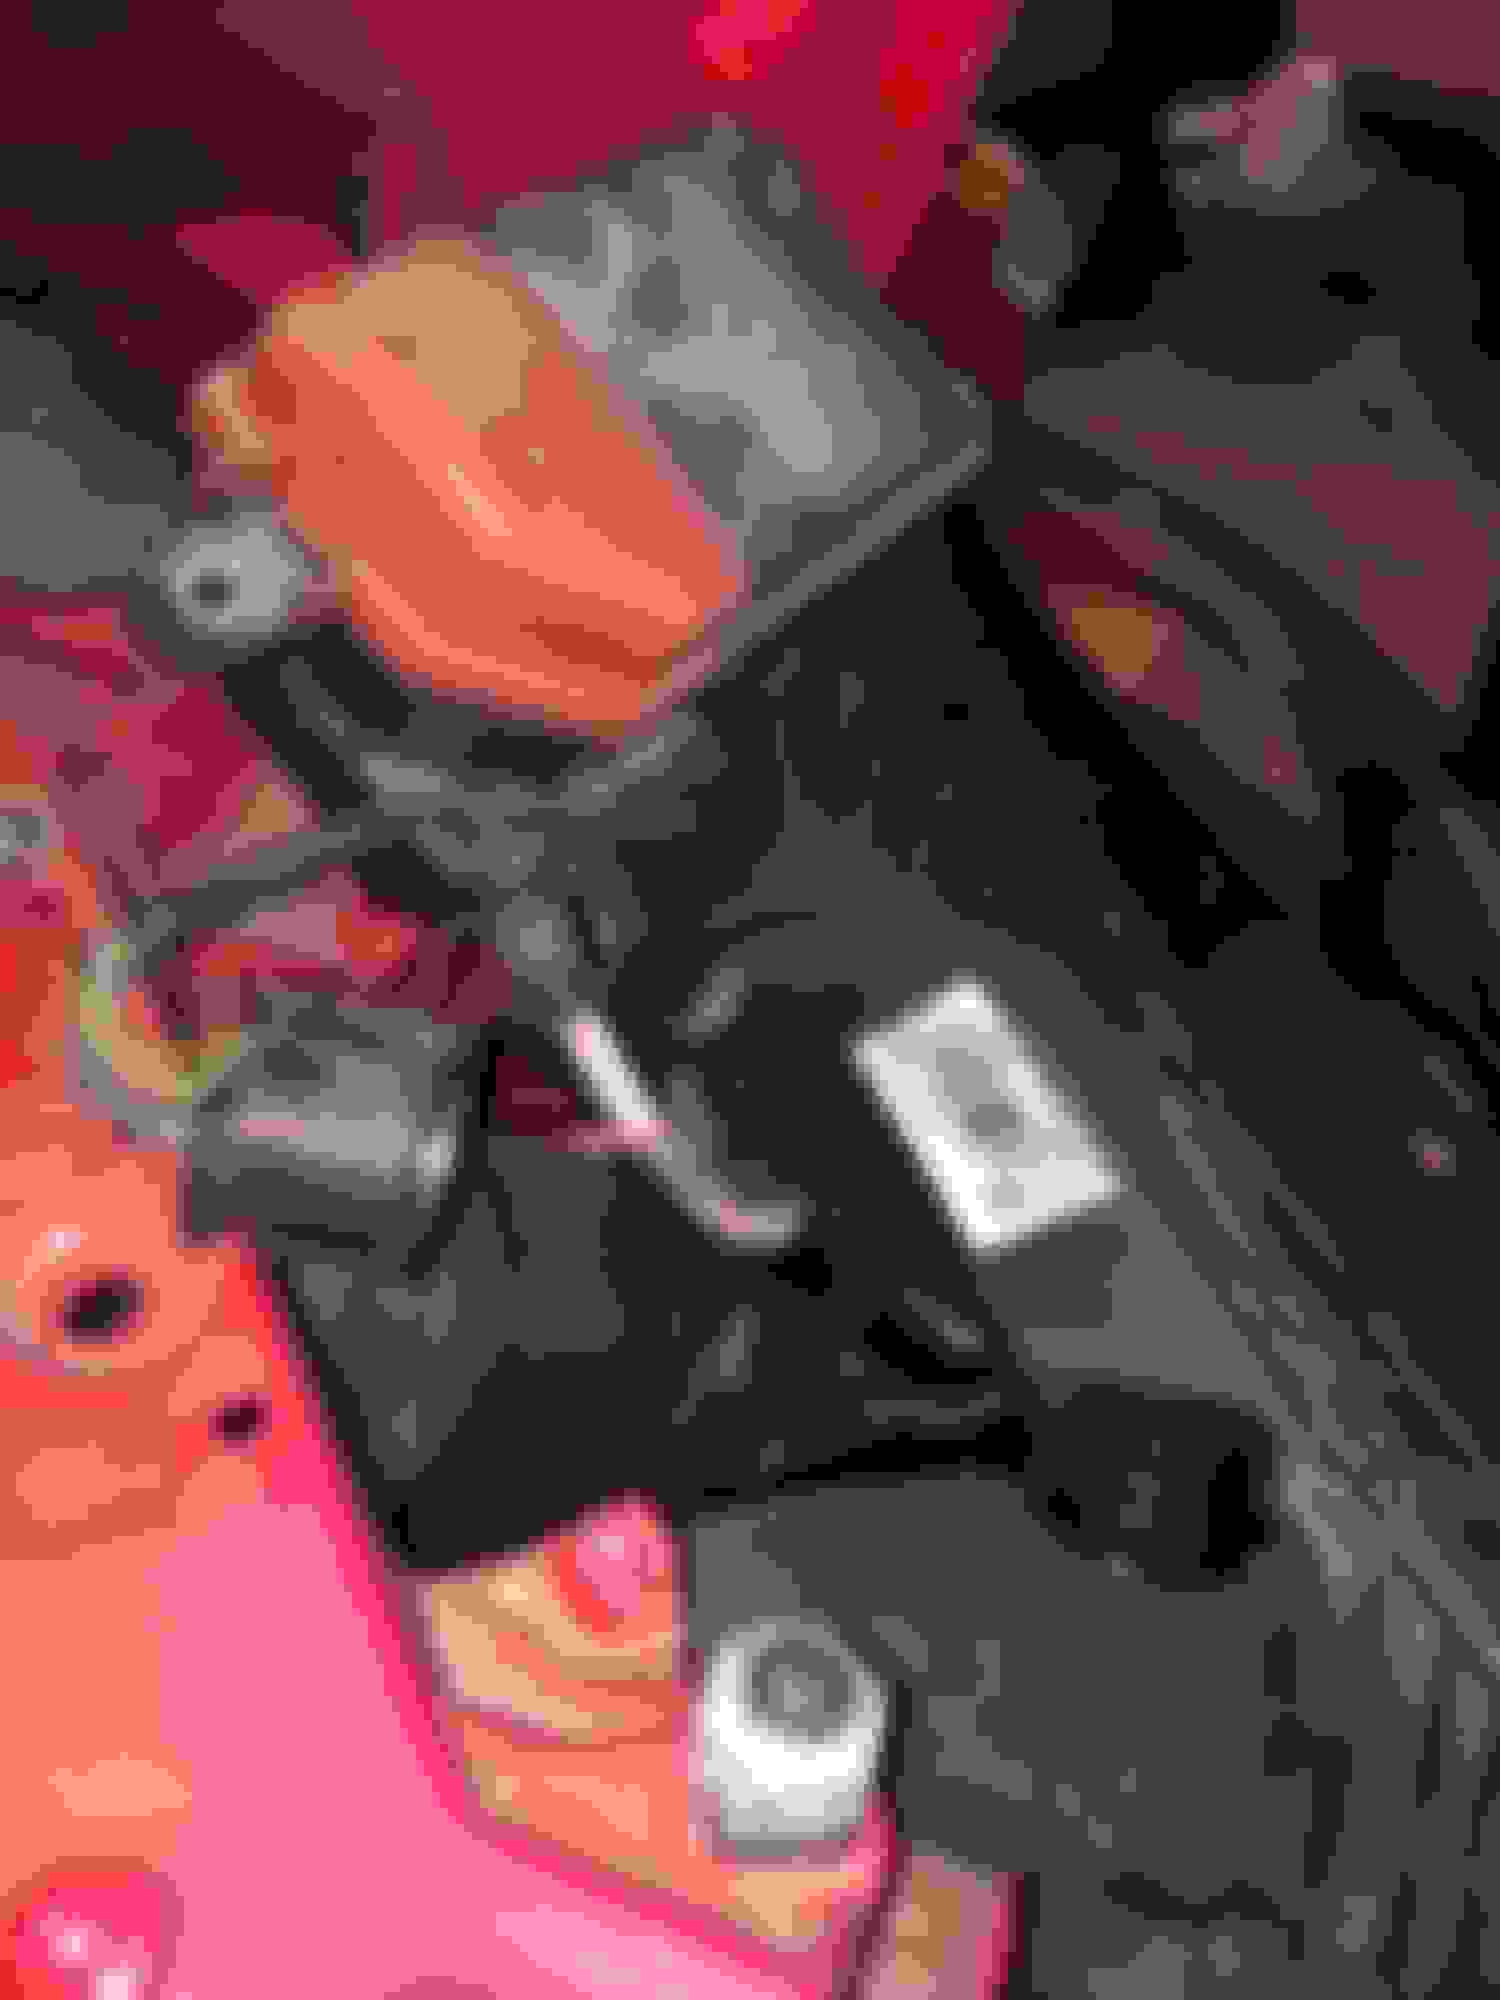
The headlights have a rubber cover and it is easy to remove them in order to see the bulbs. However, on the passenger side, there seems to be no space - an electrical box blocks the access. The box cannot be moved easily, as it is connected to cables underneath.
Thanks in advance for your guidance how to solve it.
The electrical box is only held on with one bolt...10mm if memory serves me right. Just undo the bolt and there is enough slack to move the box out of the way to gain access.
It's still a PITA and you need 8 fingers one hand and a hand the size of a small monkey, but I managed it when I switched over to Osram Coll Blue Boost HID's..best purchase I have made to date.
+1.
I also had to undo that bolt to move the relay/fuse box just enough to gain access to the light globe.
Much the same on the other side as well, I had to undo the power steering fluid reservoir retaining clamp and push the reservoir out of the way just a bit.
Thank you, guys! My electrical box has two bolts and almost no room to move. Will give it a try nonetheless and let everyone know, should there be any further practical suggestions.
The electrical box is only held on with one bolt...10mm if memory serves me right. Just undo the bolt and there is enough slack to move the box out of the way to gain access.
It's still a PITA and you need 8 fingers one hand and a hand the size of a small monkey, but I managed it when I switched over to Osram Coll Blue Boost HID's..best purchase I have made to date.
I gave it a go over the weekend and it worked. There is a switch to release the bulb. Once you know how, it is an easy 15mins DIY exercise. For the ones being no semi-professional mechanics, here is a brief step-by-step guide on how to replace the D3S xenon bulb in the passenger headlight of a MY14 (I have pre-facelift bi-xenon headlights with this moving-with-the-steering-option):
Open the bonnet, make sure lights are switched off.
Passenger side: the headlight has a rubber cover on its back. The bulb is behind it. Its access is blocked by a black/red fusebox.
Undo two bolts that are holding the box.
Plug out the black connector out of the socket of the very external side of the headlight (to release the black cable being between the fusebox and the headlight). Careful - you need to press a plastic piece to release it, no force required.
Once both bolts are gone and the connector is unplugged, you can move the fusebox up towards the radiator. This way you should gain comfortable access to the rubber cover of the headlight.
Open the rubber cover, you will see the back of the bulb. The bulb is connected via a cable on its lower end.
On the left side of the bulb, you will see a small black plastic - it is a switch, move it. This should release the bulb.
Pull on the bulb to loosen it. Once loose, unplug the connector of the bulb. It is the most inconvenient part, careful not to brake it.
Once unplugged, you can take out the old bulb and replace it with the new one. Follow the steps above upwards to connect and close everything.
What an awesome resource this forum is (with a bit of searching). Just noticed last night that the passenger headlight is out. Thanks to the trailblazers who figured this out and posted clear directions! Probably a job for the weekend.
I figure it makes sense to do both headlights at the same time; presumably the other one doesn't have a lot of life left.
Yep, love these time saving how to posts, invaluable when the time comes.
My undergraduate statistics professor would disagree with your plan to change both, he always used "the remaining life of a working light bulb" as a prime example of something that doesn't follow a bell curve. But heck, that was like 35 years ago so it may only apply to incandescent bulbs.
Interestingly, Milo lists a D3S bulb, but OzXFS's service manual states D1S35W. Haven't looked to see the difference between D3S and D1S; I don't have the adaptive headlights, but the manual doesn't say that those take a different bulb. (Milo is in Europe, and Oz is in, well, Oz. But as the manual talks about NAS or non-NAS, I assume it covers all possibilities.)
I have no complaints with the OEM lights, so I'd like to just replace them with the same thing.
Hmm, this website says the D3S is newer and mercury-free, but also operates a different ballast voltage and therefore isn't a direct replacement with the D1S. https://www.hidplanet.com/forums/for...se-of-them-all
My undergraduate statistics professor would disagree with your plan to change both, he always used "the remaining life of a working light bulb" as a prime example of something that doesn't follow a bell curve. But heck, that was like 35 years ago so it may only apply to incandescent bulbs.
Possibly true, and there's no labor savings of doing both at the same time, as they're pretty much independent.
If you're interested in science/technology, reading about how the halogen cycle works in these bulbs is interesting (at least, to me. ) Metal vapor from the filament mostly gets deposited back on the filament, rather than condensing on the glass and reducing light output.
A possible argument against changing both: did this in my former 2010 Mercury. When one of the bulbs failed 2 years later, discovered that the replacement bulbs were rated for fewer hours than the OEM bulbs.
Well...
The shop manual says D1S.
Philips 'automotive bulb finder' says D3S for MY14 F-type, as does the Sylvania website.
The previously linked website says D1S and D3S not compatible.
The Internet seems to be consistent that D1S and D3S are not interchangeable, unless perhaps the ballast is also changed.
Think I'll be removing the failed bulb to see what it is, before I buy a replacement.
Following Milo’s directions, it was easy to access the bulb (though I haven’t gotten the harness off it yet.) Easiest access to the bulb of any car I’ve had. Thanks Milo! I did disconnect the battery, just to be extra-safe.
I can confirm it’s a Philips XenEcoStart 3C19 D3S
So, everyone was right except for the service manual. (Note that the Owner’s Handbook says the headlights aren’t user-serviceable, so it doesn’t give a part number.) Now I can stop talking to myself here, and go get one.
Well...
The shop manual says D1S.
Philips 'automotive bulb finder' says D3S for MY14 F-type, as does the Sylvania website.
The previously linked website says D1S and D3S not compatible.
The Internet seems to be consistent that D1S and D3S are not interchangeable, unless perhaps the ballast is also changed.
Think I'll be removing the failed bulb to see what it is, before I buy a replacement.
I replaced my OEM bulbs with whiter/brighter ones about two and half years ago and they are definitely D3S.
I just pulled the rubber cover off the back of one of the headlight assemblies and printed on the back of the globe (on the square metal box on the back of it, the "igniter") is:
Osram Xenarc 66340 CBI D3S.
CBI = "Cool Blue Intense", from memory the stockers are 4,500K and the replacements I got are 5,000K.
Great light and zero problems in the time I have had them in.
So no need to pull a globe out to see what it is, just pull the round rubber cover off the back and have a squiz.
Edit - too slow as usual, by the time I finished faffing about checking the light you had already done it anyway!
Don’t think Philips makes that exact model anymore, just ordered two Philips D3S OEM Basic off Amazon, $125 for two. (I’m OK with the original color.) Autozone wants $150 for one Sylvania D3S.
The argument for replacing both is that the one that still works may be dimmer than the replacement one on the other side, and the color may or not match between new and old.
Just to save another new thread on headlights, I'd thought I throw this out. Firsty, my 2015 V8S was not as easy to do as I expected especially due to the lack of slack on the passenger side fuse box. But that is a different topic. My question is I damaged the green wire-tube that runs along side (and to the top) the main tube during installation. It appears I scraped about 1cm of the green insulation of about half way up while trying to fit my hands into the opening during install. I was expecting the light not to work, but it does. Should I just leave it?
Last edited by David Meier; Oct 19, 2019 at 02:58 PM.
Just to save another new thread on headlights, I'd thought I throw this out. Firsty, my 2015 V8S was not as easy to do as I expected especially due to the lack of slack on the passenger side fuse box. But that is a different topic. My question is I damaged the green wire-tube that runs along side (and to the top) the main tube during installation. It appears I scraped about 1cm of the green insulation of about half way up while trying to fit my hands into the opening during install. I was expecting the light not to work, but it does. Should I just leave it?
I suspect if the wire is green, it�s a ground (earth) wire and shorting out to ground will create no issue whatsoever. If you want to make certain, just wrap a piece of electrical tape around the bare part of the wire.
Hmm, pretty sure that wire carries the HV, which they say is 10s of kilovolts, at least during ignition. Not sure what I’d do in your case.
Yep, I suspect it is the main/power wire to the igniter (the silver "box" on the back of the globe) and I sure wouldn't want any exposed part of it touching the car.
Take it to an auto electrician pronto but in the meantime do as the Unhingd one says and wrap it in insulation tape as best you can.
Edit - so I thought I would check and have a squiz at my lights.
Took both dust covers off and had a good old nosey in there and no hint of any "green wire-tube" anywhere, either inside the lights or around them or around or near the fuse box. And anyways it can't be a separate igniter lead as once you unclip the "silver" cable lead on the underside of the igniter box and unlock the plastic locking tang the whole globe with igniter pulls out with nothing else attached to it.
I'm confuzzled as to what this mysterious "green wire-tube" could possibly be!


 ) Metal vapor from the filament mostly gets deposited back on the filament, rather than condensing on the glass and reducing light output.