67 MK 2 restoration
#101
#102
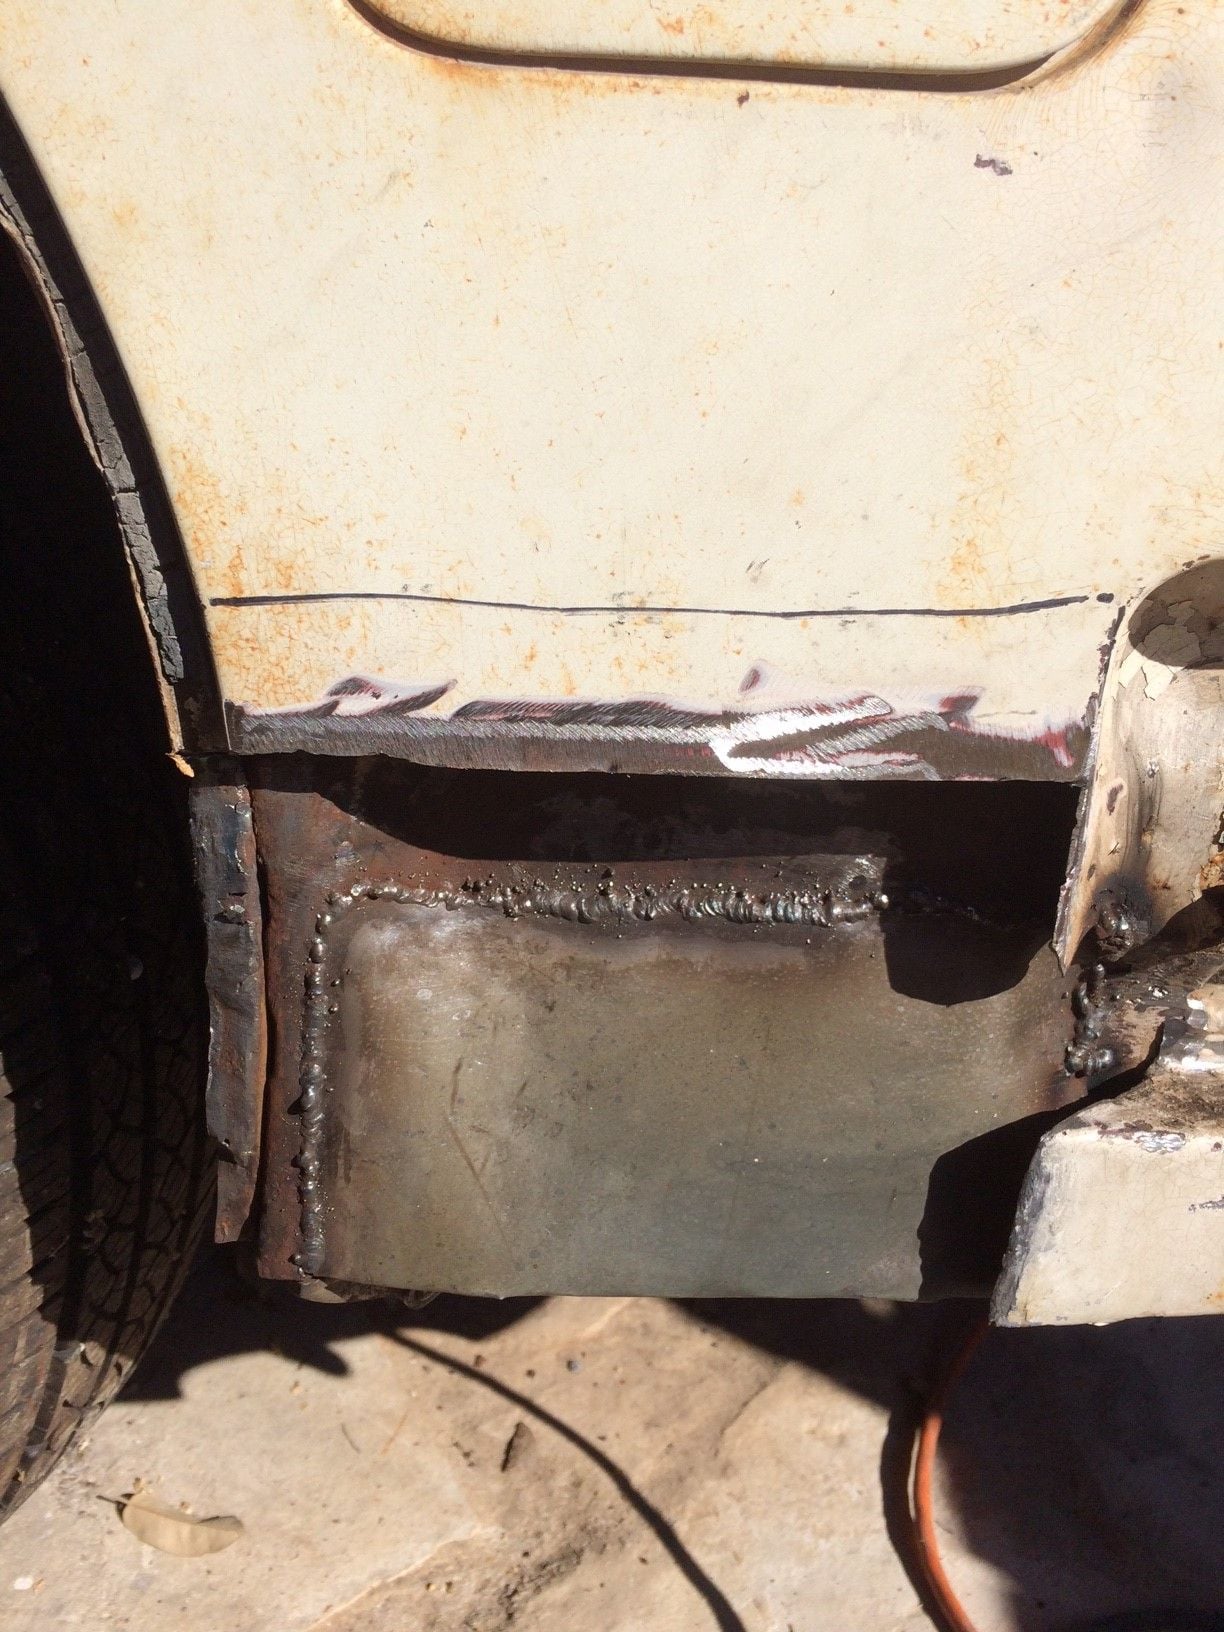
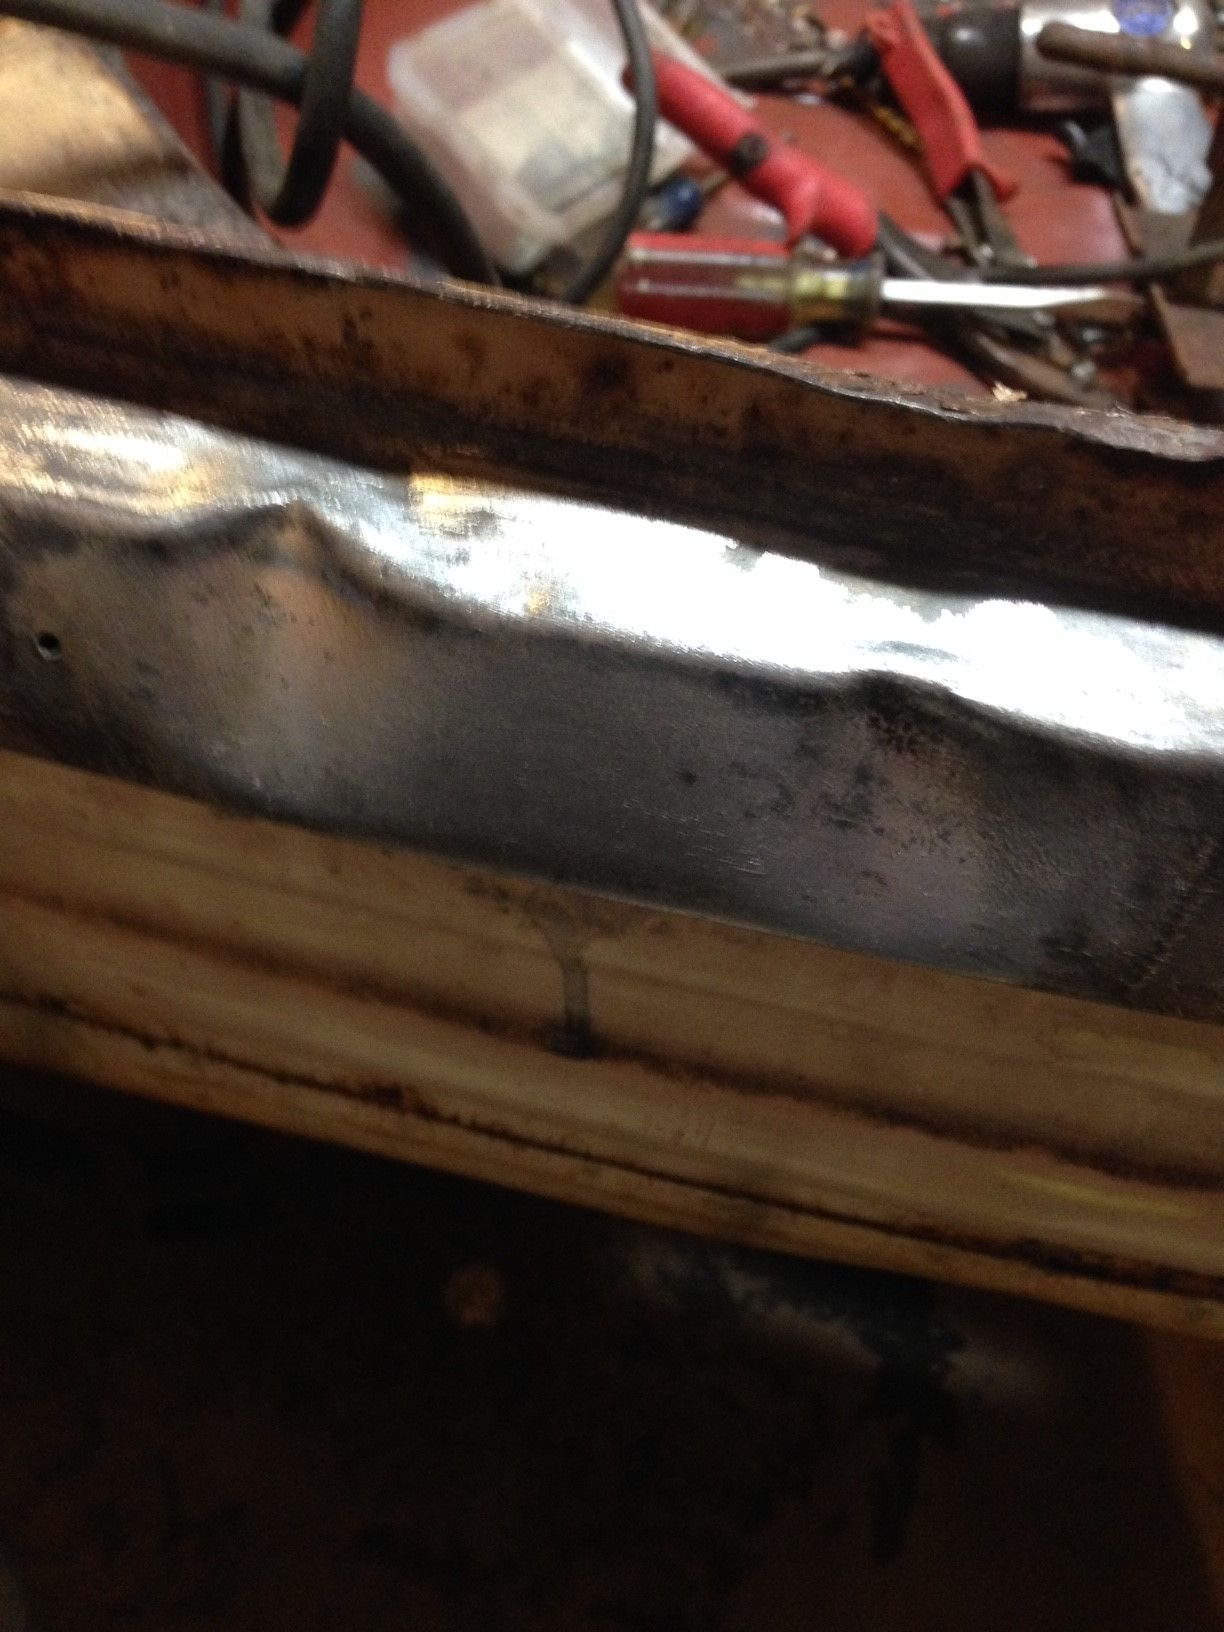
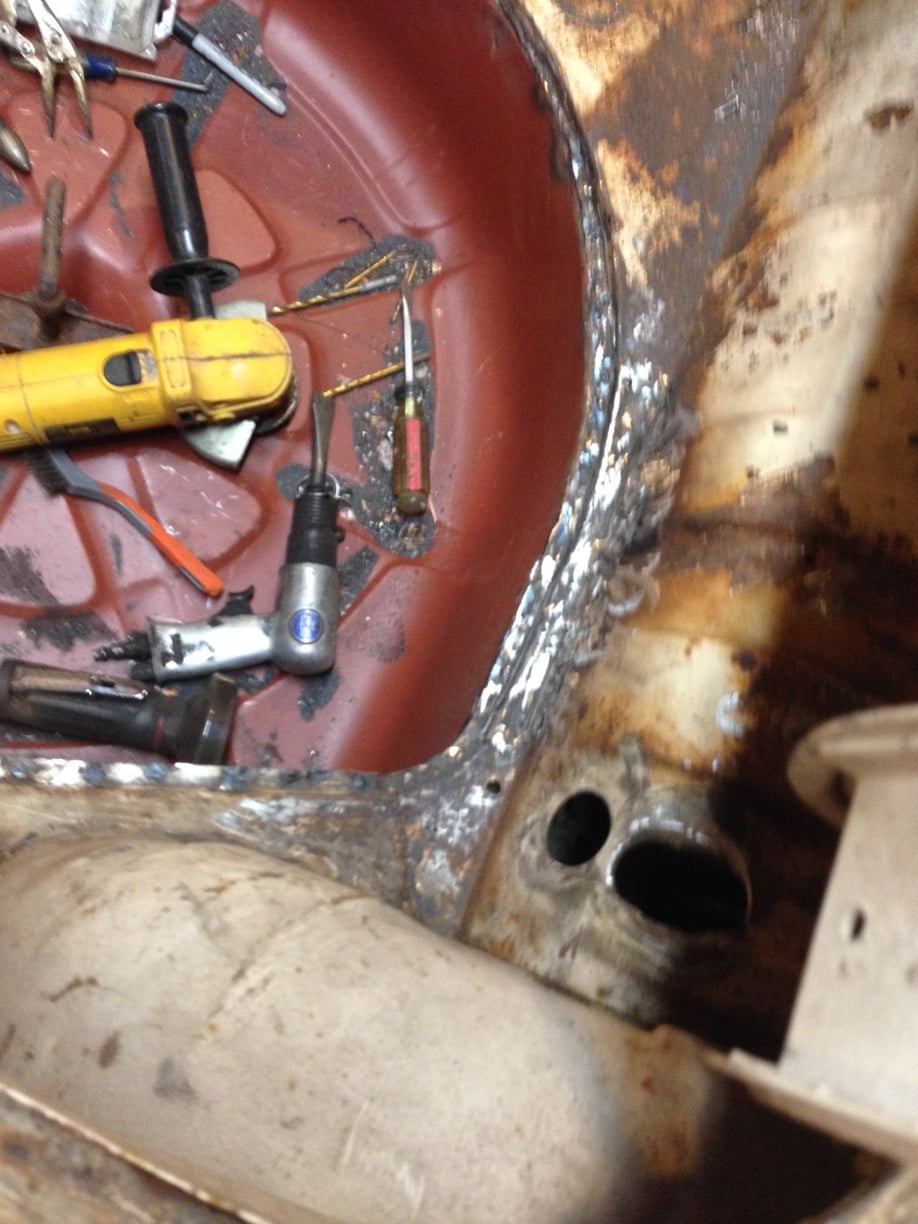
After much procrastination, I finally got back to the bodywork. I cut out the rusty areas, fabricateda multi-piece curved patch, and welded it in.It isnít beautiful, but it is solid, wonít leak water, and is rust free.(It will be beautiful after furthershaping and painting) I also finishedwelding in the tire pan.I am startingto get a better feel for the welder and made a lot better progress.
I also learned the technique of heating upthe metal with a torch and stretching it into place with a hammer so the fit is correct for welding.I have never used this before because I didnot have a acetylene torch but found that the Map gas torch you can buy in ahardware store works as well for heating and bending metal.
I also did a little body work with lead. There were two small dents on the rear by the boot latch that I didn't have accessto pound them out, so I filled them with lead.My technique is getting better and I am very happy with how they cameout.
So it was a successful day, and now I am energized to tacklethe seat pan!
Pictures will follow when this tool lets me. IT is being uncooperative today.
The following users liked this post:
gene61jag (02-28-2017)
#105
#106
#107
#110
The following 2 users liked this post by csbush:
lickahotskillet (03-08-2017),
tedwone (03-24-2017)
#111
#112
#113
#115

Rust repair with rusty metal removed- ready for welding.

Had to create an inner panel from stock steel as both exterior and interior layers were rusted out. Not beautiful welds, but much improved with the new welding wire.

Welded on the repair panel from SNG Barratt

Leaded over the repair to seal it, and fill lower areas. Now only need high build primer.
Been a while since my last update- because I haven't have not been doing much work on the car- but finally got back to the welding. Swapped out the .030 wire I had been using for .023. That seems to work much better for the body panels. I am getting much better and smaller welds with less heat distortion. Have had to do very little grinding of welds and with a lower temperature setting, wasn't burning up he metal and blasting holes that then needed fixing.
I now have only one more corner patch to make, and a few holes in the floor pan that need repair. Then it is just paint stripping and sealing. I should be able to start on all the mechanicals this summer

#116
Nice to see you have managed to get some more progress, it takes some time to get those awkward bits done.
Best advice I can give you is to get a couple of cans of weld thru primer, it will help protect areas like seams against future rust in areas that you will cover with other patches. If you can clean more of the surface rust away from the weld area either with a wire wheel or a blaster it will help with the weld splatter too.
Keep up the good work, thanks for the pics.
The following users liked this post:
csbush (05-08-2017)
#118
#119
Glad to hear your into the weld primer, just didn't see it in the pics, so mentioned it.
Weld spatter can be caused by contamination and also incorrect setup on the mig, first make sure the work area is really clean, if you are still getting spatter, reduce wire feed rate or increase voltage, if the wire is not feeding into a molten pool you will get spatter, also caused by being too far away with the torch, on thin panels it is a very fine line, to get enough penetration to weld the joint properly the metal must be molten, slightly too far and you blow a hole !!! Oh the joys of welding these little gems ?
Weld spatter can be caused by contamination and also incorrect setup on the mig, first make sure the work area is really clean, if you are still getting spatter, reduce wire feed rate or increase voltage, if the wire is not feeding into a molten pool you will get spatter, also caused by being too far away with the torch, on thin panels it is a very fine line, to get enough penetration to weld the joint properly the metal must be molten, slightly too far and you blow a hole !!! Oh the joys of welding these little gems ?
#120
I have a couple of cans of that weld-thru primer also. I need to get some body cavity spray though. I don't want to give a place for the cancer to grow back.


