When you click on links to various merchants on this site and make a purchase, this can result in this site earning a commission. Affiliate programs and affiliations include, but are not limited to, the eBay Partner Network.
The problem with the Practical classics 340 was that the guy who did the body restoration was reletively inexperienced in this type of involved structural repairs and the resulting problems with a distorted shell underlines this, You on the other hand have a wealth of experience and know your onions and your photo's show this. I think you are doing an epic job and saving yet another MK2 that would of been scrapped or banger raced and i look forward to more progress.
Just a tip when posting photos, insert a line space between each download, this will seperate the photos just as they are when you place text to describe the photo.
Great job BTW.
Just a tip when posting photos, insert a line space between each download, this will seperate the photos just as they are when you place text to describe the photo.
Great job BTW.
Thanks i've gone back and done that, i was so pleased that the uploading worked (I usually have trouble with it) thatI didn't notice the lack of a gap!
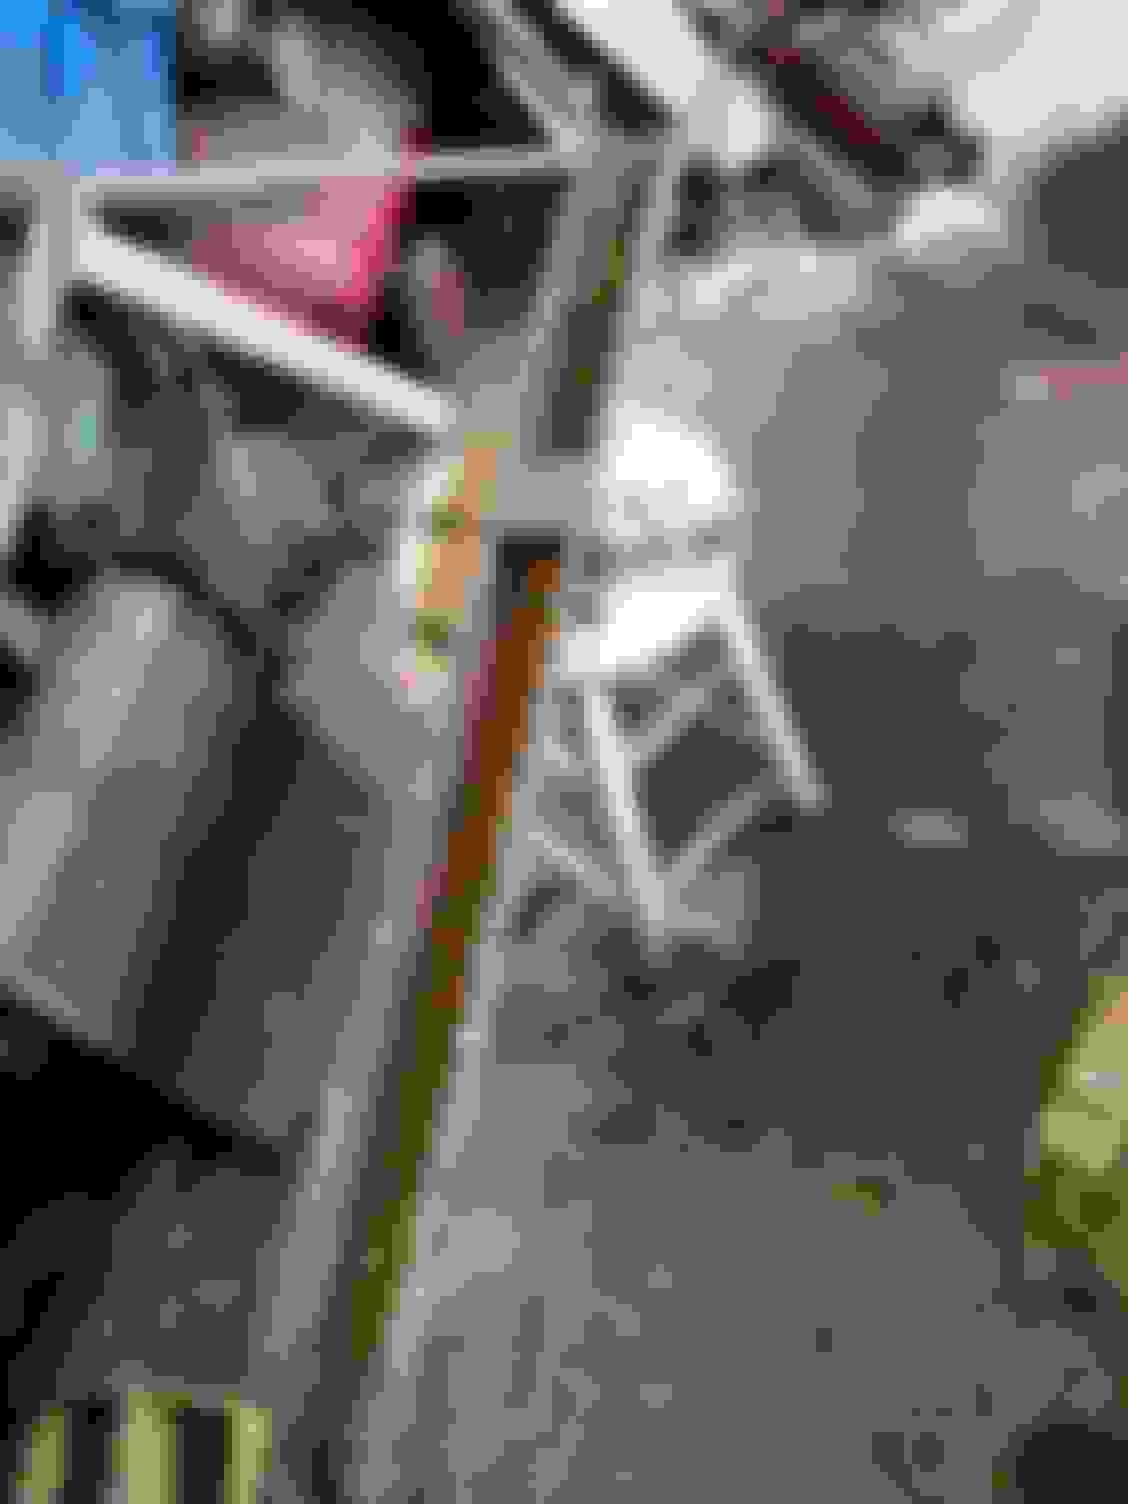
Hi, can anyone tell me the measurement from the inner sill to the accelerator pedal captive bolts? I need to replace these and the 1959 car doesn't have them to measure.
I have a 67 MK 2. The distance from the front of the inner sill to the bolts on the back side of the pedal mount is 25.25 inches. Insulation and soundproofing removed from the seat sill.
I haven't dug through all the rust and dirt yet to know exactly, but it looks like my floor mounted accelerator pedal is held on with two bolts on the back side. They both are the same distance.
Let me know if you need anything else.
Chuck
Thanks Chuck,
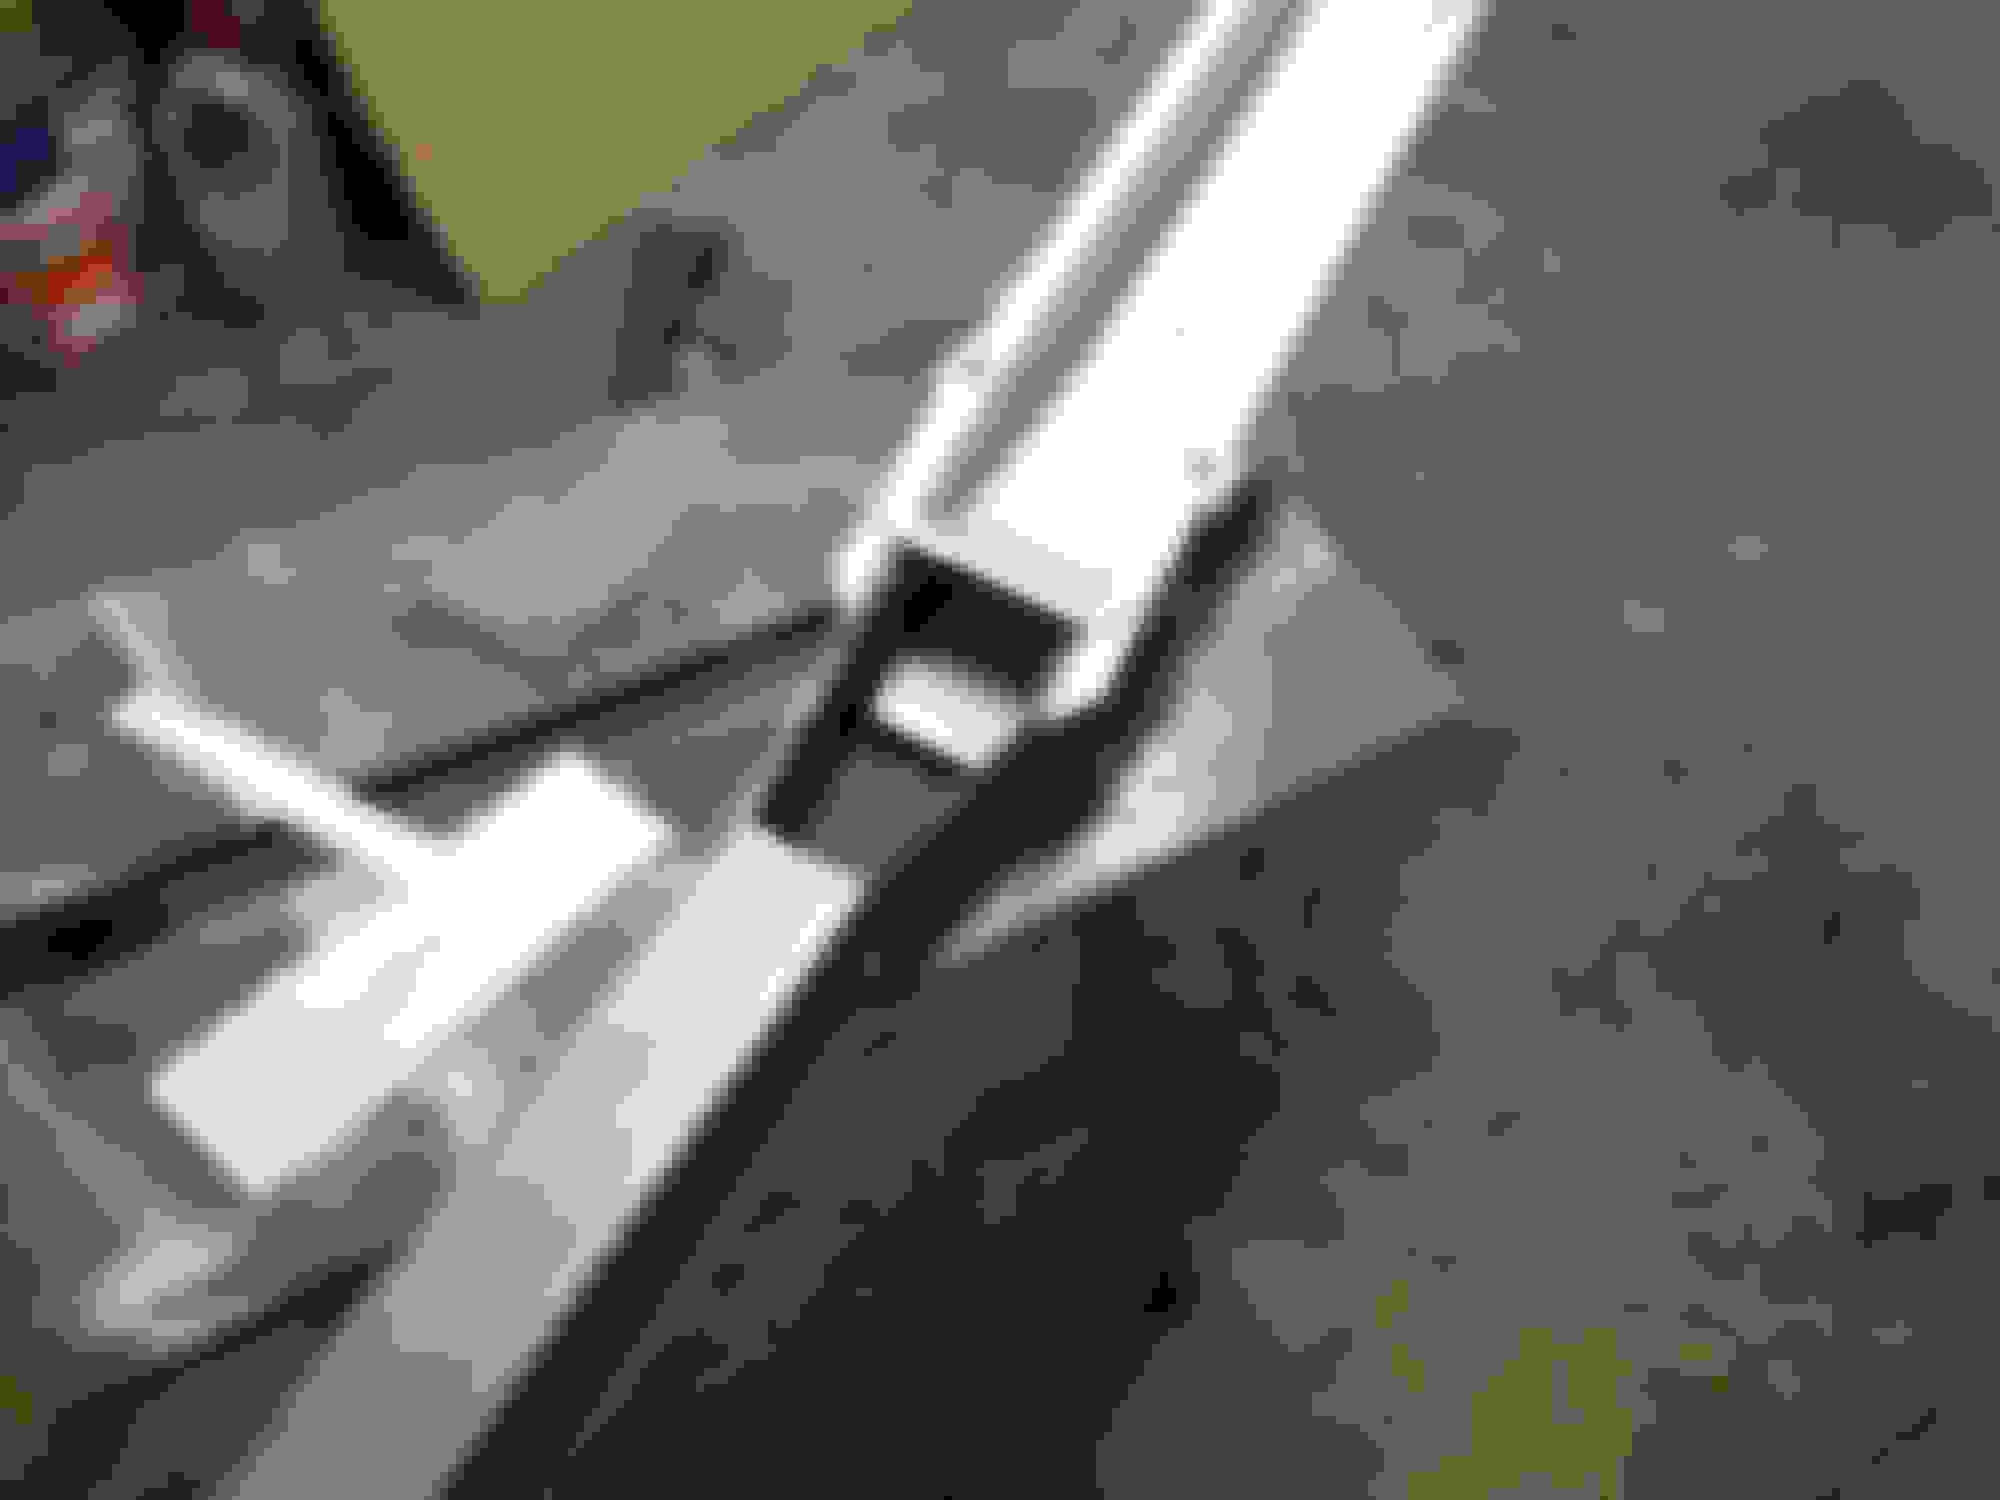
I put the throttle linkage back in in the end and used that to mark the pedal position and then welded the nuts in from below.
I've been working away in the garage and haven't had time for an update so here it is!
N/S inner wing repair N/S inner wing lower repair finished Inner Sill Replacement Front floor pan replacement Old removed chassis rail full of rust New chassis rail fabrication New chassis rail ready to fit Old chassis rail removed and metal cleaned up Old spring hanger box removed and metal cleaned up Old spring hanger box removed New chassis and spring hanger box installed, car on rotisserie and alignment checked. Completed alignment check, all looking good so far
I replaced my petrol tank while restoring my Mk2. It has a couple of pinholes but with your welding skills...
PM me your address and I'll see If I can ship it to you, if you like. The Wife would love to have the space back and I would appreciate knowing it is serving a good purpose.
I replaced my petrol tank while restoring my Mk2. It has a couple of pinholes but with your welding skills...
PM me your address and I'll see If I can ship it to you, if you like. The Wife would love to have the space back and I would appreciate knowing it is serving a good purpose.
Thanks Gene for the kind offer, i'm in the UK so I suspect shipping costs would be significant and i'm not overly keen on welding up petrol tanks (only did it once and got away with it but not keen to repeat :-)
Last edited by Homersimpson; Aug 4, 2019 at 05:12 AM.
Homer, You deserve a medal mate I'm tackling my MK2 myself, Whilst i haven't got your welding and fabrication skills i consider myself just about capable of doing the few bit's my MK2 needs, I had a look around it yesterday and it's actually not as bad as i thought!! Cheers.
Thanks Gene for the kind offer, i'm in the UK so I suspect shipping costs would be significant and i'm not overly keen on welding up petrol tanks (only did it once and got away with it but not keen to repeat :-)
I would have to investigate shipping before I got scared of it. And I understand your trepidations of welding a petrol tank. The last fluids the tank had in it was anti-rust chemicals, not gasoline.
But I will respect your wishes. Last I checked gas tanks were not terribly expensive. May you have continued success with your restore
I've been scraping the underseal off the bottom of the car today and there was a large patch of filler under the offside wing, a bit of a gentle tap and a small hole appeared. It seems that someone in the past has cut out a slot of metal from top to bottom on the front wing and then roughly tacked a patch behind it (which fell off) and then troweled it full of filler.
If I kept tapping I would have a slot all the way through. Thats going to take some fixing!
Last edited by Homersimpson; Aug 9, 2019 at 04:52 PM.


 Love it! (I can see why you haven't got the time to do those 'few' jobs on my MK2 now Homer!)

 I'm tackling my MK2 myself, Whilst i haven't got your welding and fabrication skills i consider myself just about capable of doing the few bit's my MK2 needs, I had a look around it yesterday and it's actually not as bad as i thought!! Cheers.


