When you click on links to various merchants on this site and make a purchase, this can result in this site earning a commission. Affiliate programs and affiliations include, but are not limited to, the eBay Partner Network.
I am in the process of working up the energy to change my front crankshaft oil seal, which has been weeping oil for a while and stinking because the oil ends up on the exhausts.
I toyed with the idea of making my own Crankshaft Pulley Locking tool (p/n 303-191) but in the end discretion proved to be the better part of valour and I bought one.
I did, however, decide to have a go at making my own version of the Crankshaft front seal installer tool, p/n 303-750. I reckoned this lent itself to being 3D printed, so I set to and made a design. The following images are what I ended up with. I thought before I actually pulled the car apart, I would show you guys the tool I have produced, in case you can see shortcomings in my design that I cannot see:
Looking good! Nice work. The same seal on my '02 V6 is spreading self-applying rustproofing, so I'll follow your progress with great interest.
A couple quick thoughts:
How thick is the material under the nut on the end? I wonder if you should add a thick washer to spread out the load.
Have you looked at getting a repair sleeve for the damper? It's pretty common for the old seal to have worn a groove. It's an easy repair, maybe $15 for the sleeve.
There is 40mm of material under the nut, and I printed it at fairly high density (50% infill) so it should be right, but I do have a washer in reserve.
I did note the manual says to ensure the seal is installed to a slightly different depth to avoid the groove, but I shall investigate the sleeve.
Is the seal the same on the v6? if it is, and this thing works, I am happy to print you one. The expensive bit will be the postage!
if it is, and this thing works, I am happy to print you one. The expensive bit will be the postage!
Thank for the kind offer, but I have a lathe and am not afraid to use it. My tool chest has a drawer of similar homemade seal installers. Some are metal, most are plastic, and a few are wood. The odd thing about owning a lathe is how often a problem's solution is round and threaded...
I always take some fine sandpaper (800 grit or so) or fine steel wool (000) and get any major scratches, grooves or bits of corrosion off the surface that contacts the rubber part of the seal. Ive found as long as there arent any distinct depth variations these types of seals seal up nice even if theres slight out of round variations.
I am very jealous, Karl, of your lathe. Until about 18 months ago I had a small (but useful) lathe, a bandsaw, a thicknesser and a bunch of assorted electronic test equipment. Sadly, for reasons unknown, our shed burned down and these things were all lost. Somehow I have been so busy doing other 'stuff' since then, I haven't got around to replacing any of it as yet. One day..... However, so long as mechanical strength and micron accuracy aren't requirements, I have found there are a lot of things I can produce with the 3D printer.
I can't believe four months has passed since I started this project. I finally finished it today, although not without incident.
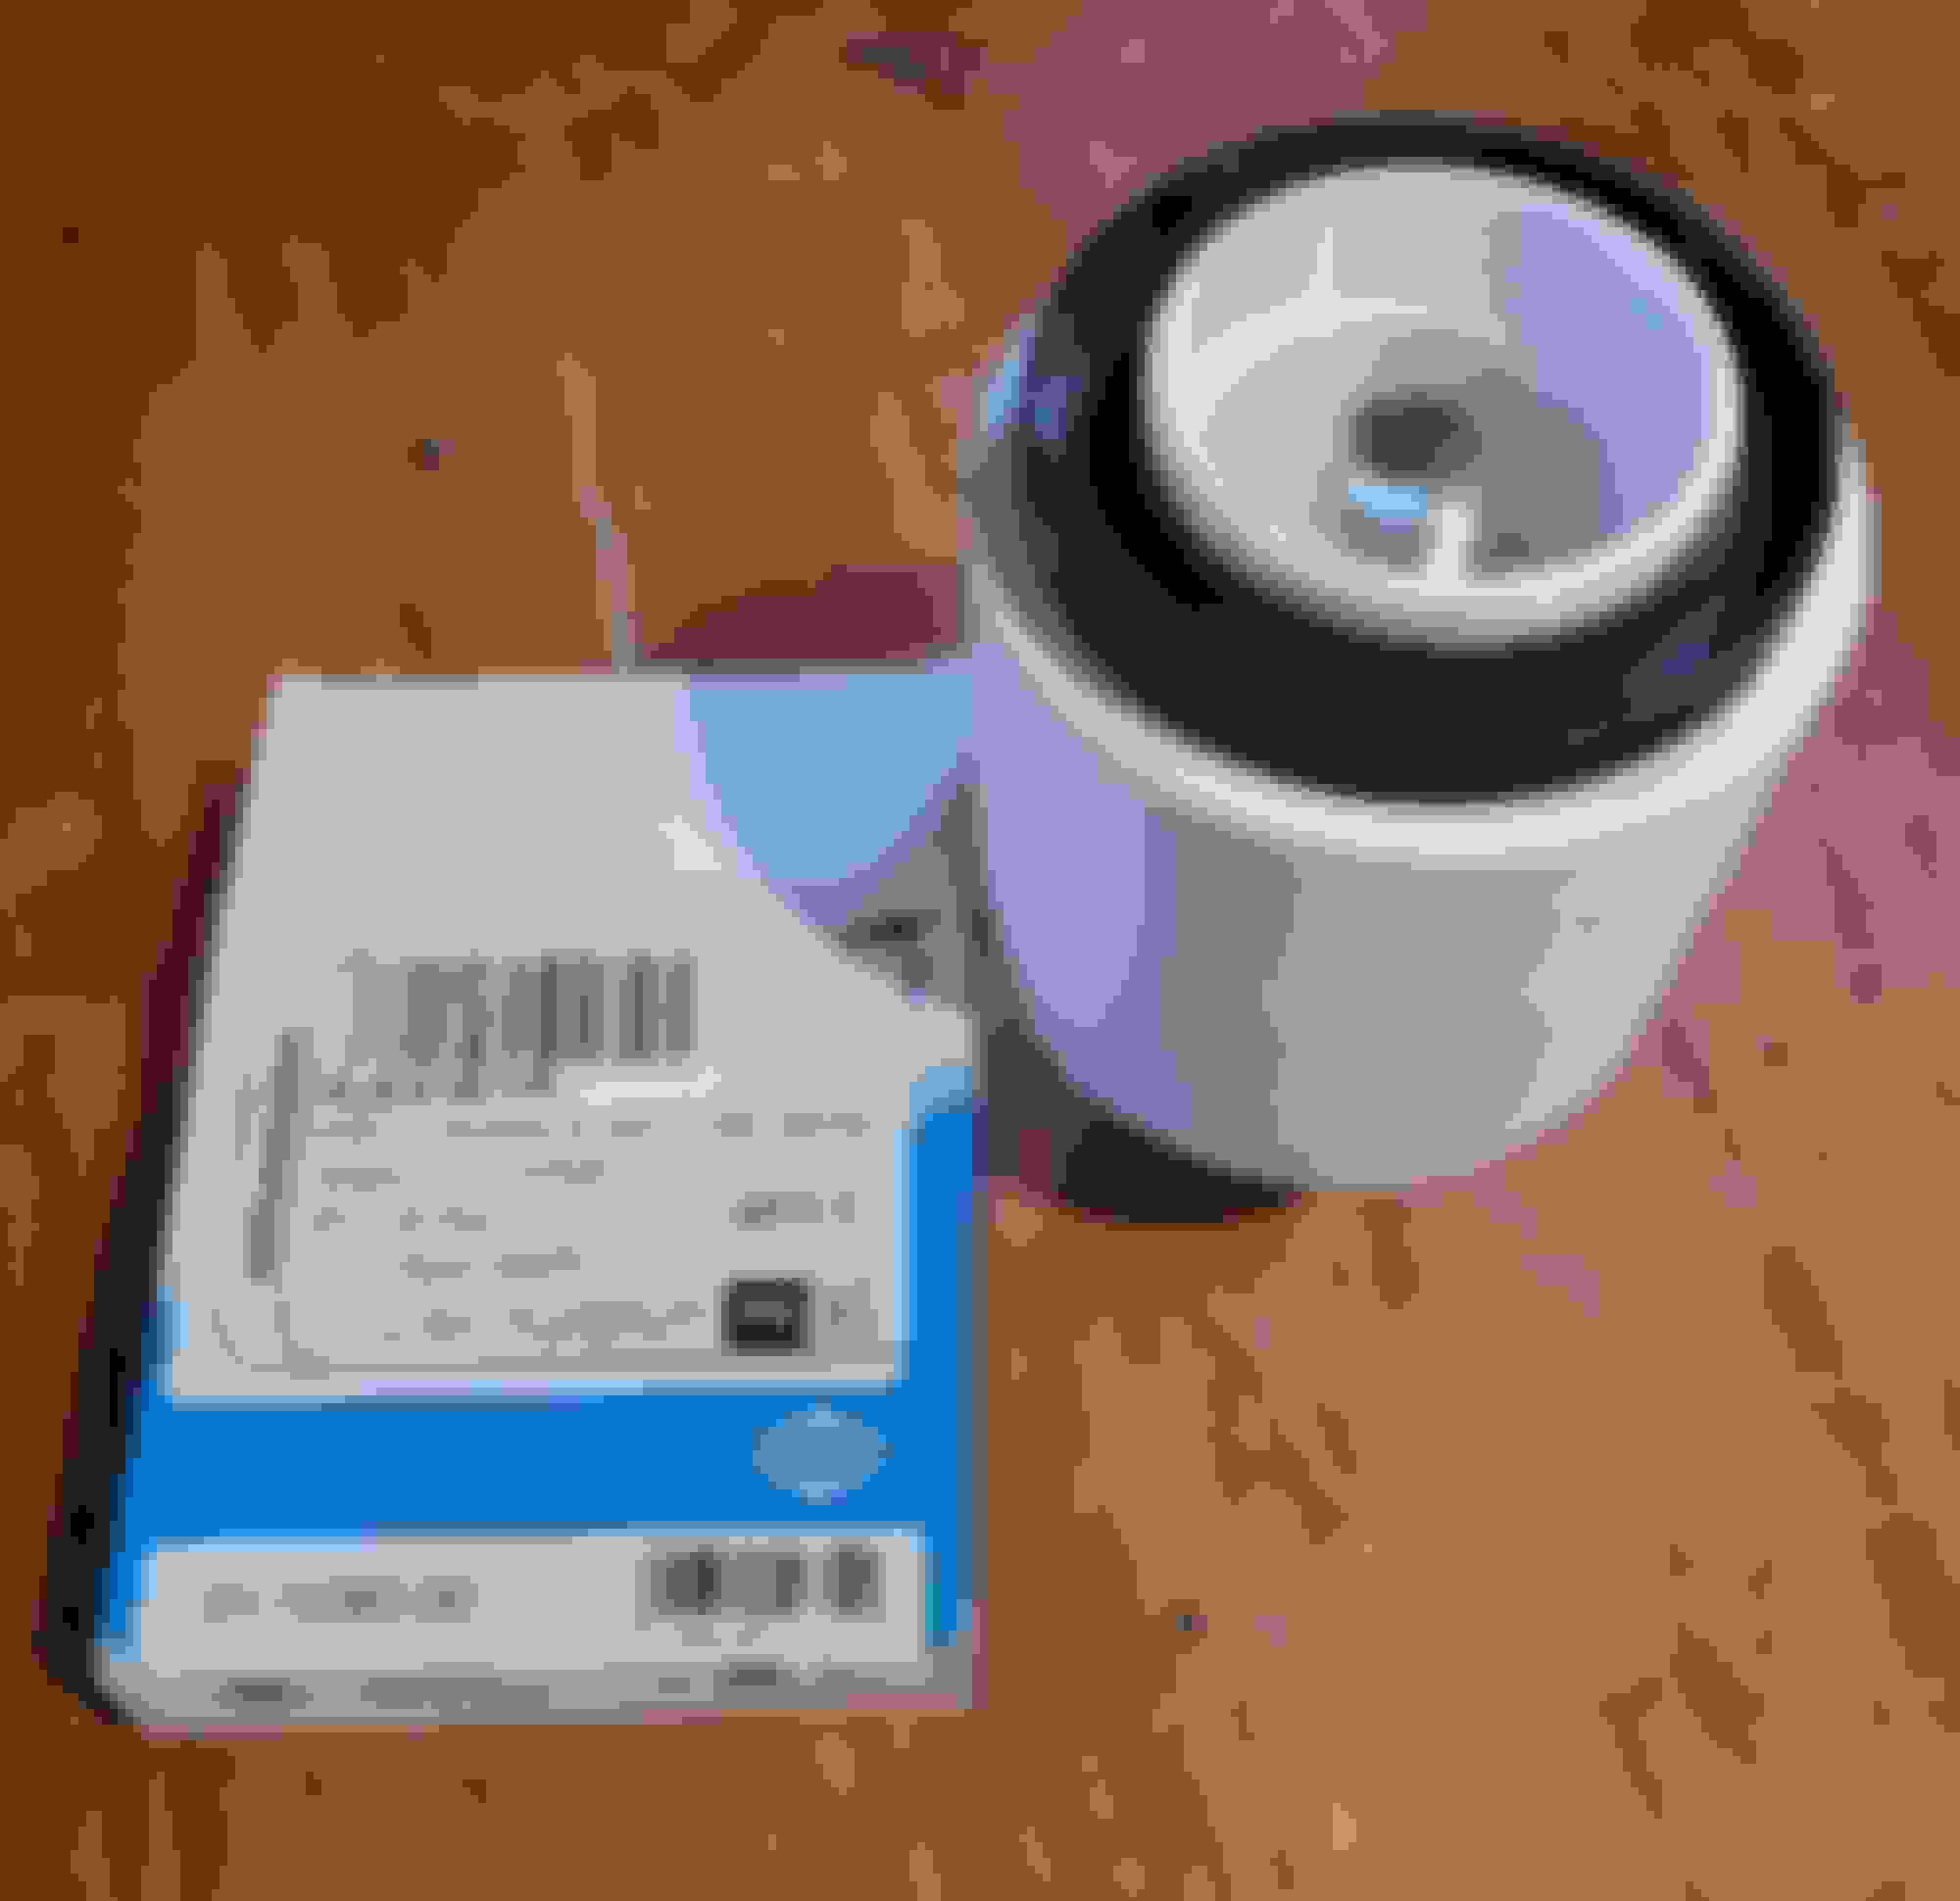
By way of reminder, I 3D printed myself a tool for inserting the new front oil seal into my motor. The following three images show the installation sequence for the seal. It worked a treat!
The new seal sitting in the insertion tool, ready for installation
Insertion Tool in final position
Here is the new seal in position:
The pulley proved to be in excellent condition, so a bit of a polish with fine wet and dry was all that was required to clean it up. So that side of things went very smoothly.
However, I am sure none of you have missed the fact there is a 'JB Weld' patch on the front of the timing chain cover. In the first post of this series I mentioned I had bought a tool to lock the crankshaft into position while I undid the crank bolt. I bought a Sealey tool and I hasten to add it worked a treat - but there is a 'but'...
Sealey locking tool and pulley remover
The 'But' is the kit comes with two sets of bolts. I read the instructions six months ago when the kit arrived, but I promptly forgot there are two longer bolts and two slightly shorter ones. When I was attaching the locking tool to the pulley I grabbed two bolts and proceeded to screw them in. They still had a lot of thread showing when they hit the timing chain cover. I thought there must have been some crud in the bottom of the threads, so I worked the bolt a little to see if the thread would clear and 'crack'. It was a very faint cracking noise, which I barely heard, but I immediately knew what I had done.
Cracked timing chain cover, cleaned and ready for patching
I don't know sufficient about metallurgy to know whether diecast aluminium can suffer cracks that are confined to the surface or if they automatically go right through. but I wasn't taking any chances. Hence I patched it with JB Weld. I guess I will know in a couple of weeks whether the patch has been successful.
Do you recall from the backside of the timing chain cover did the seal once installed properly sit flush with the backside edges of the timing cover seal hole ? The reason I ask that I am installing the new seal on my 1997 xk8 and if the top velvet edge of the seal sits flush with the top surface (or even slightly lower to the top of the recessed beveled edge of the outer seal hole) then on the back inside of the timing cover the edges of the seal are still 2mm or so away, inside, from sitting flush with the timing cover seal hole edge.