When you click on links to various merchants on this site and make a purchase, this can result in this site earning a commission. Affiliate programs and affiliations include, but are not limited to, the eBay Partner Network.
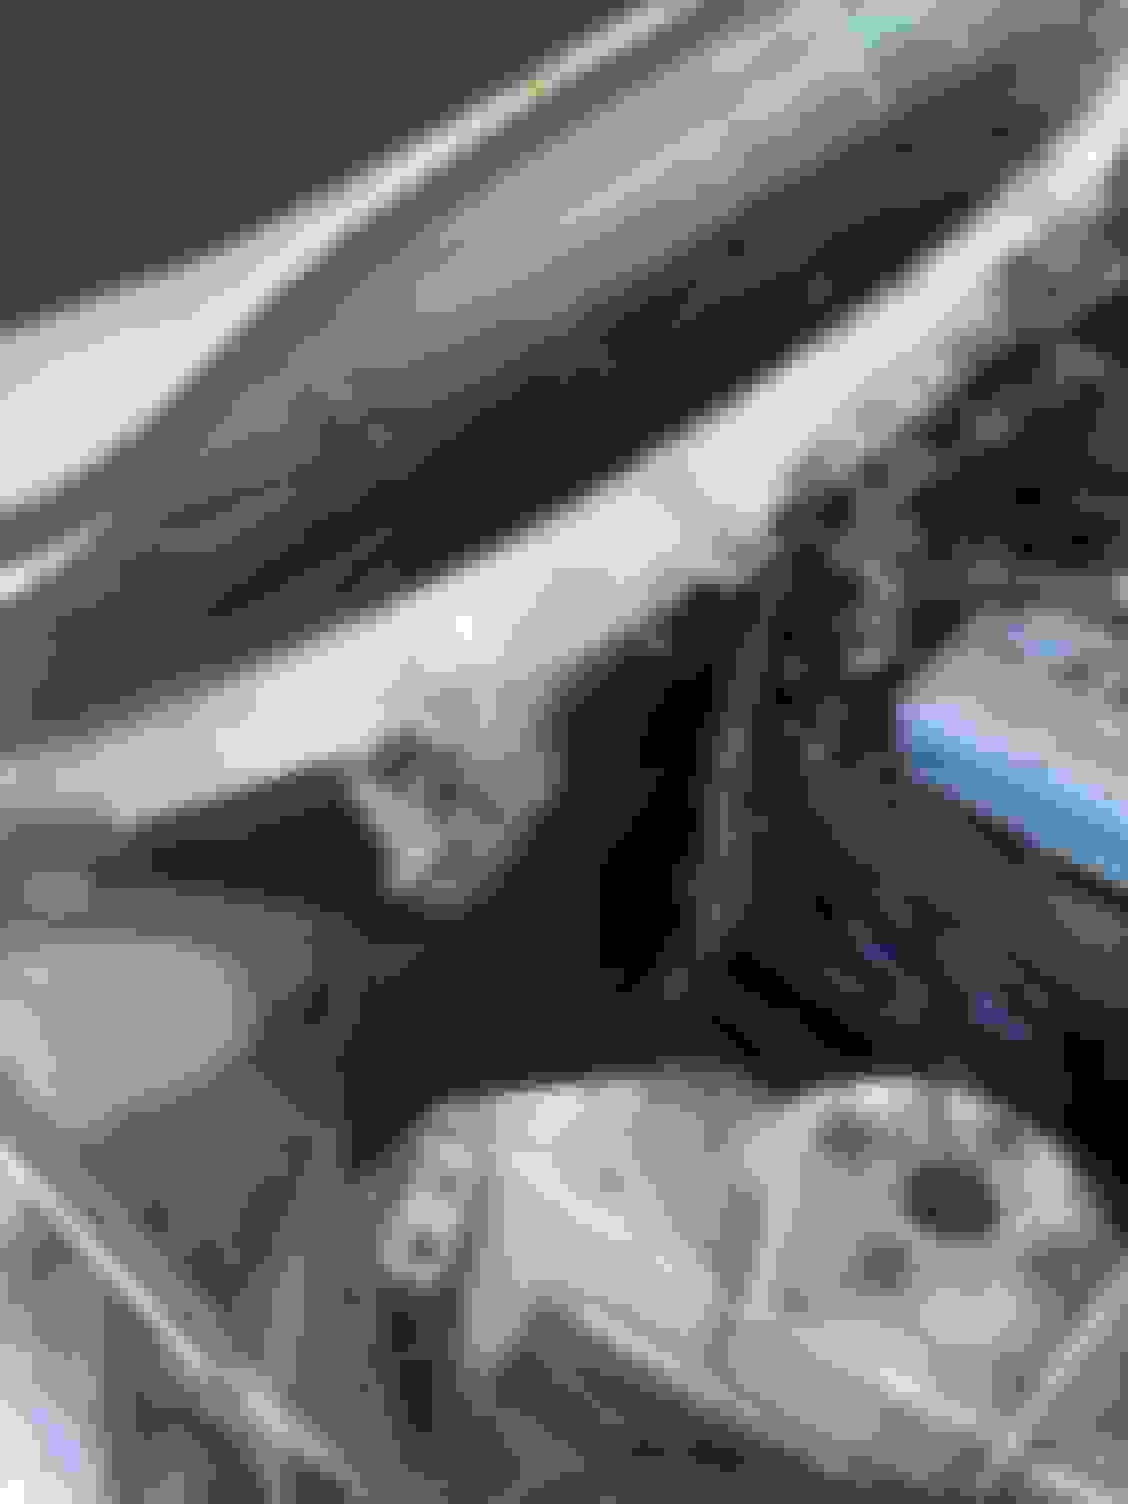
I removed some (2) nuts on that plastic bridge behind the tb and pushed the whole thing towards the firwall so it can slip up a bit. I disconnected the map sensor on the tb.
and I can see youve still got connectors connected in your photo.
im not sure if itll help though. Heres a post where you can see the guy got the egr can bolts off but the cap is still on as if he couldnt get it apart. Idk.
The first photo is of before my cutting that plastic securing harness.
The second is after. It did zero to help.
Today I'm going to fashion a wooden wedge/door stop like piece and slip it in between the EGR and the harness and use a 5 lb sledge hammer to see if that can move it out of the way, stay in that position and not block access to a socket and extension from above. A very tall and unlikely order.
I've never tried anything as extreme as this or the my use of crowbars yesterday with extreme force as it's quite liable to cause other damage. I wasn't able to both get the crowbar to position the harness and also operate the wrench. Those photos lie and make it look like I have far more access than I actually do. This car is so resistant to any logical approaches not involving full engine and tranny removal (I can only imagine what a total CF that would be with all the harness connections) that I don't care any longer. It's completely useless the way it is anyway. I'm taking the approach that this car was killed on the assembly line and or the engineering department 15 years ago. I think a lot of cars fall into this category. Audis look like an even worse nightmare, I think a straight 6 would make much more sense from a maintenance view point.
I cannot see anything behind the engine WO some very sophisticated remote, miniature video system. A borescope which I have would be useless. Besides ... you'd have to be an octopus to hold everything so that you could see and work any tools. So figuring out why those two harness pieces just won't budge is invisible to me. No it's not because of any connectors elsewhere. Maybe my car just went together at the factory in a particularly pernicious manner for this sort of repair? Looks like they all suck to some degree though.
Today ... Operation Wedge Slam, with a bigger hammer this time! LOL Alternatively named ... Wooden Stake In The Vampire's Heart!
I am removing my charger today to put in a rebuilt...here are some photos...the heater hoses and brackets are swung forward ,as well as the cabin filter box removed and the egr is accessible..also unplug passenger side coils and everything else on that side
I have been sadly entertained reading the difficulty wrentchers are having accessing these 2 EGR bolts. I have removed the supercharger assemblies 3 times over the years, and only had minor complications the first time I did it. (I originally read a couple of threads on the forum, that provided me with the approach I now use.)
For future readers who are doing this for the first time.
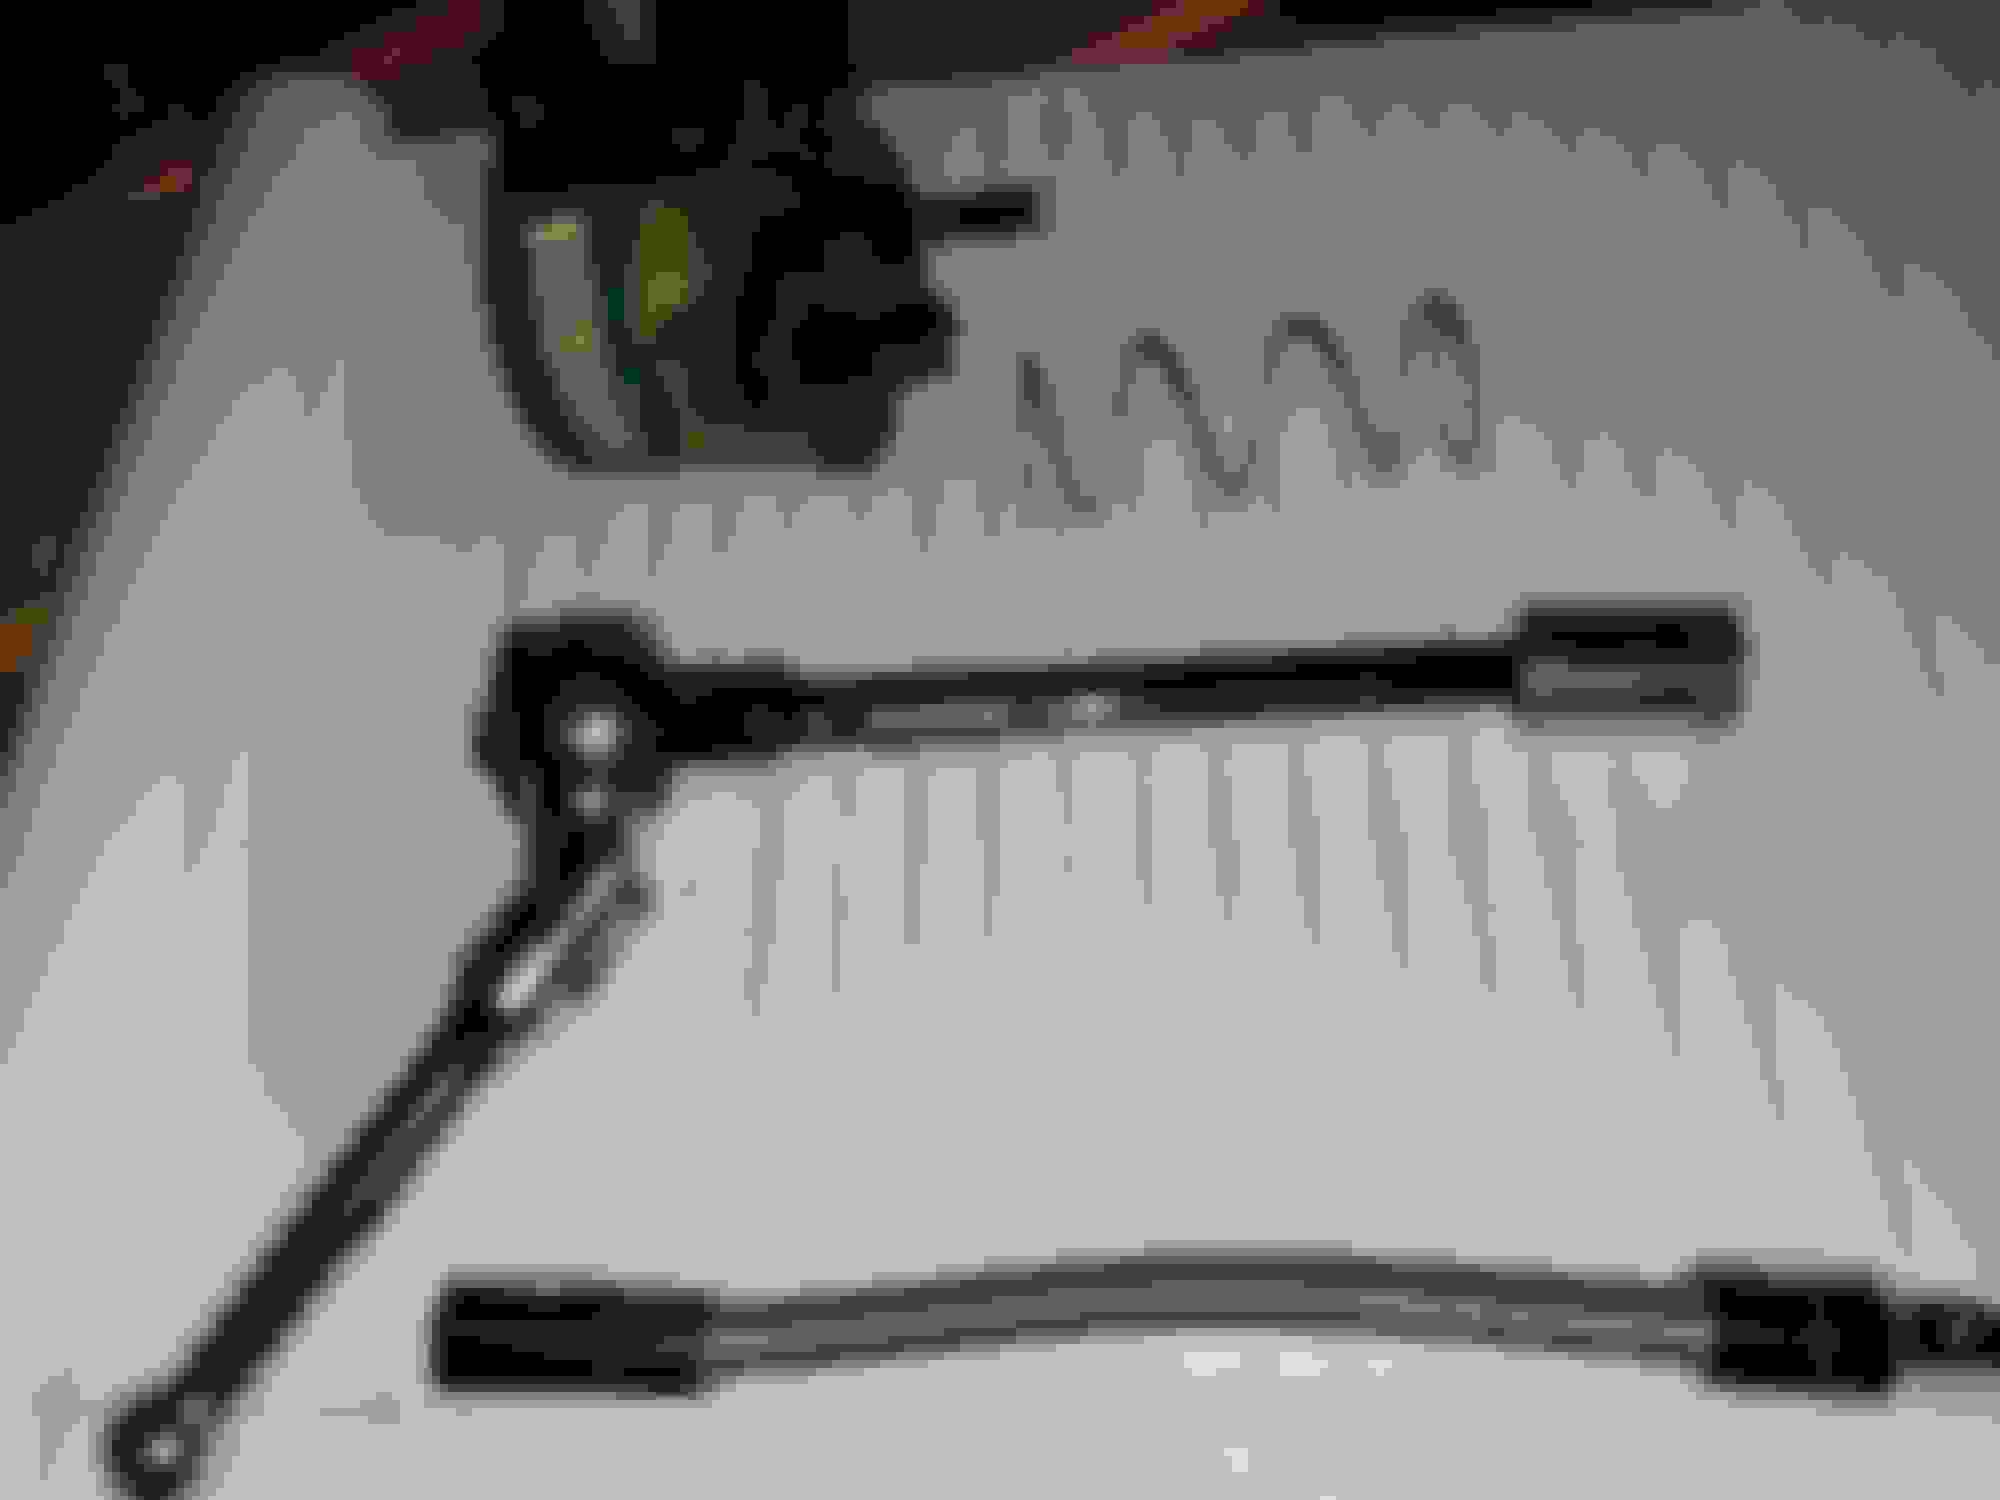
1. Be sure you purchase, or have available a 6-point socket that fits the 2 nuts on the EGR. I found that a 1/4" drive, black oxide thin walled hardened socket, worked best for me. (Don't try to use an inexpensive Chinese socket with thick walls, and if too thin, socket may crack. Don't try to use a 12 point star socket either) I found that a socket that is deep enough to engage the nut across its width and still fit over the protruding portion of the stud worked best. (I didn't get any deep well sockets I owned to work.)
2. I have 2, 1/4" flex extension drives, that do not flop around, and remain stiff. I put one flex extension on the 6-point socket, then added 1/4" drive extensions that extended past the passenger side head, but didn't hit the hoses or firewall. Then I put on the second flex joint to get an angle where I could use a fairly long 1/4" drive breaker bar. (This combination of extensions was originally by trial and error, and I do own a floppy flex extension that pissed the heck out of me trying to use it.)
3, After being sure that the nuts had been sprayed in penetrant oil sat for a day or 2, I carefully slid the extension bars along the back of the head onto the nuts. Then I would use the breaker bar to loosen the nuts then switch to a ratchet. No problem!
I believe what happens the first time someone tries to loosen the EGR nut, is that they try to use either 12 point box end wrenches, or 12 point sockets. They get the wrench or socket on at a "funny angle", because of the difficulty reaching the nuts, and end up rounding the corners on the nuts. Then it is nearly impossible to remove the nuts.
On my first go around I did exactly this to one nut, but was lucky enough to be able to tap on a 6-point socket and be able to loosen the nut.
Another trick I like use is to go to a different size socket once the first one is slipped.
So if this was originally an 8 mm bolt head - 8 mm equals .315 inches. If you get a 6 point 5/16 socket, it will measure .3125 inches which is slightly smaller. Or you could try a 19/64 socket which measures .296 inches. if you can get one of those and smack it on the worn nut you might have a chance
That's not what happened with me. No 12 point sockets. Access is just impossible with my car and the rust on some bolts from being outdoors all of its life is probably worse than most so combine the poor access and not being able see the bolt head at all and yes it's possible that alignment wasn't perfect. Thought I did insert some valve grinding compound in the socket first to make sure it was tight. I read all the tips and admonitions. If I can get the harness pushed aside with a wooden swedge then if the two top bolts come out which I expect they will as one was easy to loosen up it will be the first time I will have ever seen the two side bolt heads. Then perhaps the bolt extraction sockets will work or I can just cut the heads off.
I'm not able to slip my left arm behind the back of the motor and adequately put those sockets on the bolt heads. I've tried many times and currently have scars all over my left arm from trying.
This is not my first rodeo with difficult cars but it may be one steer that just gets sent to the slaughterhouse. Pardon the pun but this is a lot of bullsheet to put up with.
Originally Posted by Tijoe
I have been sadly entertained reading the difficulty wrentchers are having accessing these 2 EGR bolts. I have removed the supercharger assemblies 3 times over the years, and only had minor complications the first time I did it. (I originally read a couple of threads on the forum, that provided me with the approach I now use.)
For future readers who are doing this for the first time.
1. Be sure you purchase, or have available a 6-point socket that fits the 2 nuts on the EGR. I found that a 1/4" drive, black oxide thin walled hardened socket, worked best for me. (Don't try to use an inexpensive Chinese socket with thick walls, and if too thin, socket may crack. Don't try to use a 12 point star socket either) I found that a socket that is deep enough to engage the nut across its width and still fit over the protruding portion of the stud worked best. (I didn't get any deep well sockets I owned to work.)
2. I have 2, 1/4" flex extension drives, that do not flop around, and remain stiff. I put one flex extension on the 6-point socket, then added 1/4" drive extensions that extended past the passenger side head, but didn't hit the hoses or firewall. Then I put on the second flex joint to get an angle where I could use a fairly long 1/4" drive breaker bar. (This combination of extensions was originally by trial and error, and I do own a floppy flex extension that pissed the heck out of me trying to use it.)
3, After being sure that the nuts had been sprayed in penetrant oil sat for a day or 2, I carefully slid the extension bars along the back of the head onto the nuts. Then I would use the breaker bar to loosen the nuts then switch to a ratchet. No problem!
I believe what happens the first time someone tries to loosen the EGR nut, is that they try to use either 12 point box end wrenches, or 12 point sockets. They get the wrench or socket on at a "funny angle", because of the difficulty reaching the nuts, and end up rounding the corners on the nuts. Then it is nearly impossible to remove the nuts.
On my first go around I did exactly this to one nut, but was lucky enough to be able to tap on a 6-point socket and be able to loosen the nut.
Another trick I like use is to go to a different size socket once the first one is slipped.
So if this was originally an 8 mm bolt head - 8 mm equals .315 inches. If you get a 6 point 5/16 socket, it will measure .3125 inches which is slightly smaller. Or you could try a 19/64 socket which measures .296 inches. if you can get one of those and smack it on the worn nut you might have a chance
Smack it on LOL! You think I currently have any sort of access to do something like that? First I have to be able to see what I'm doing
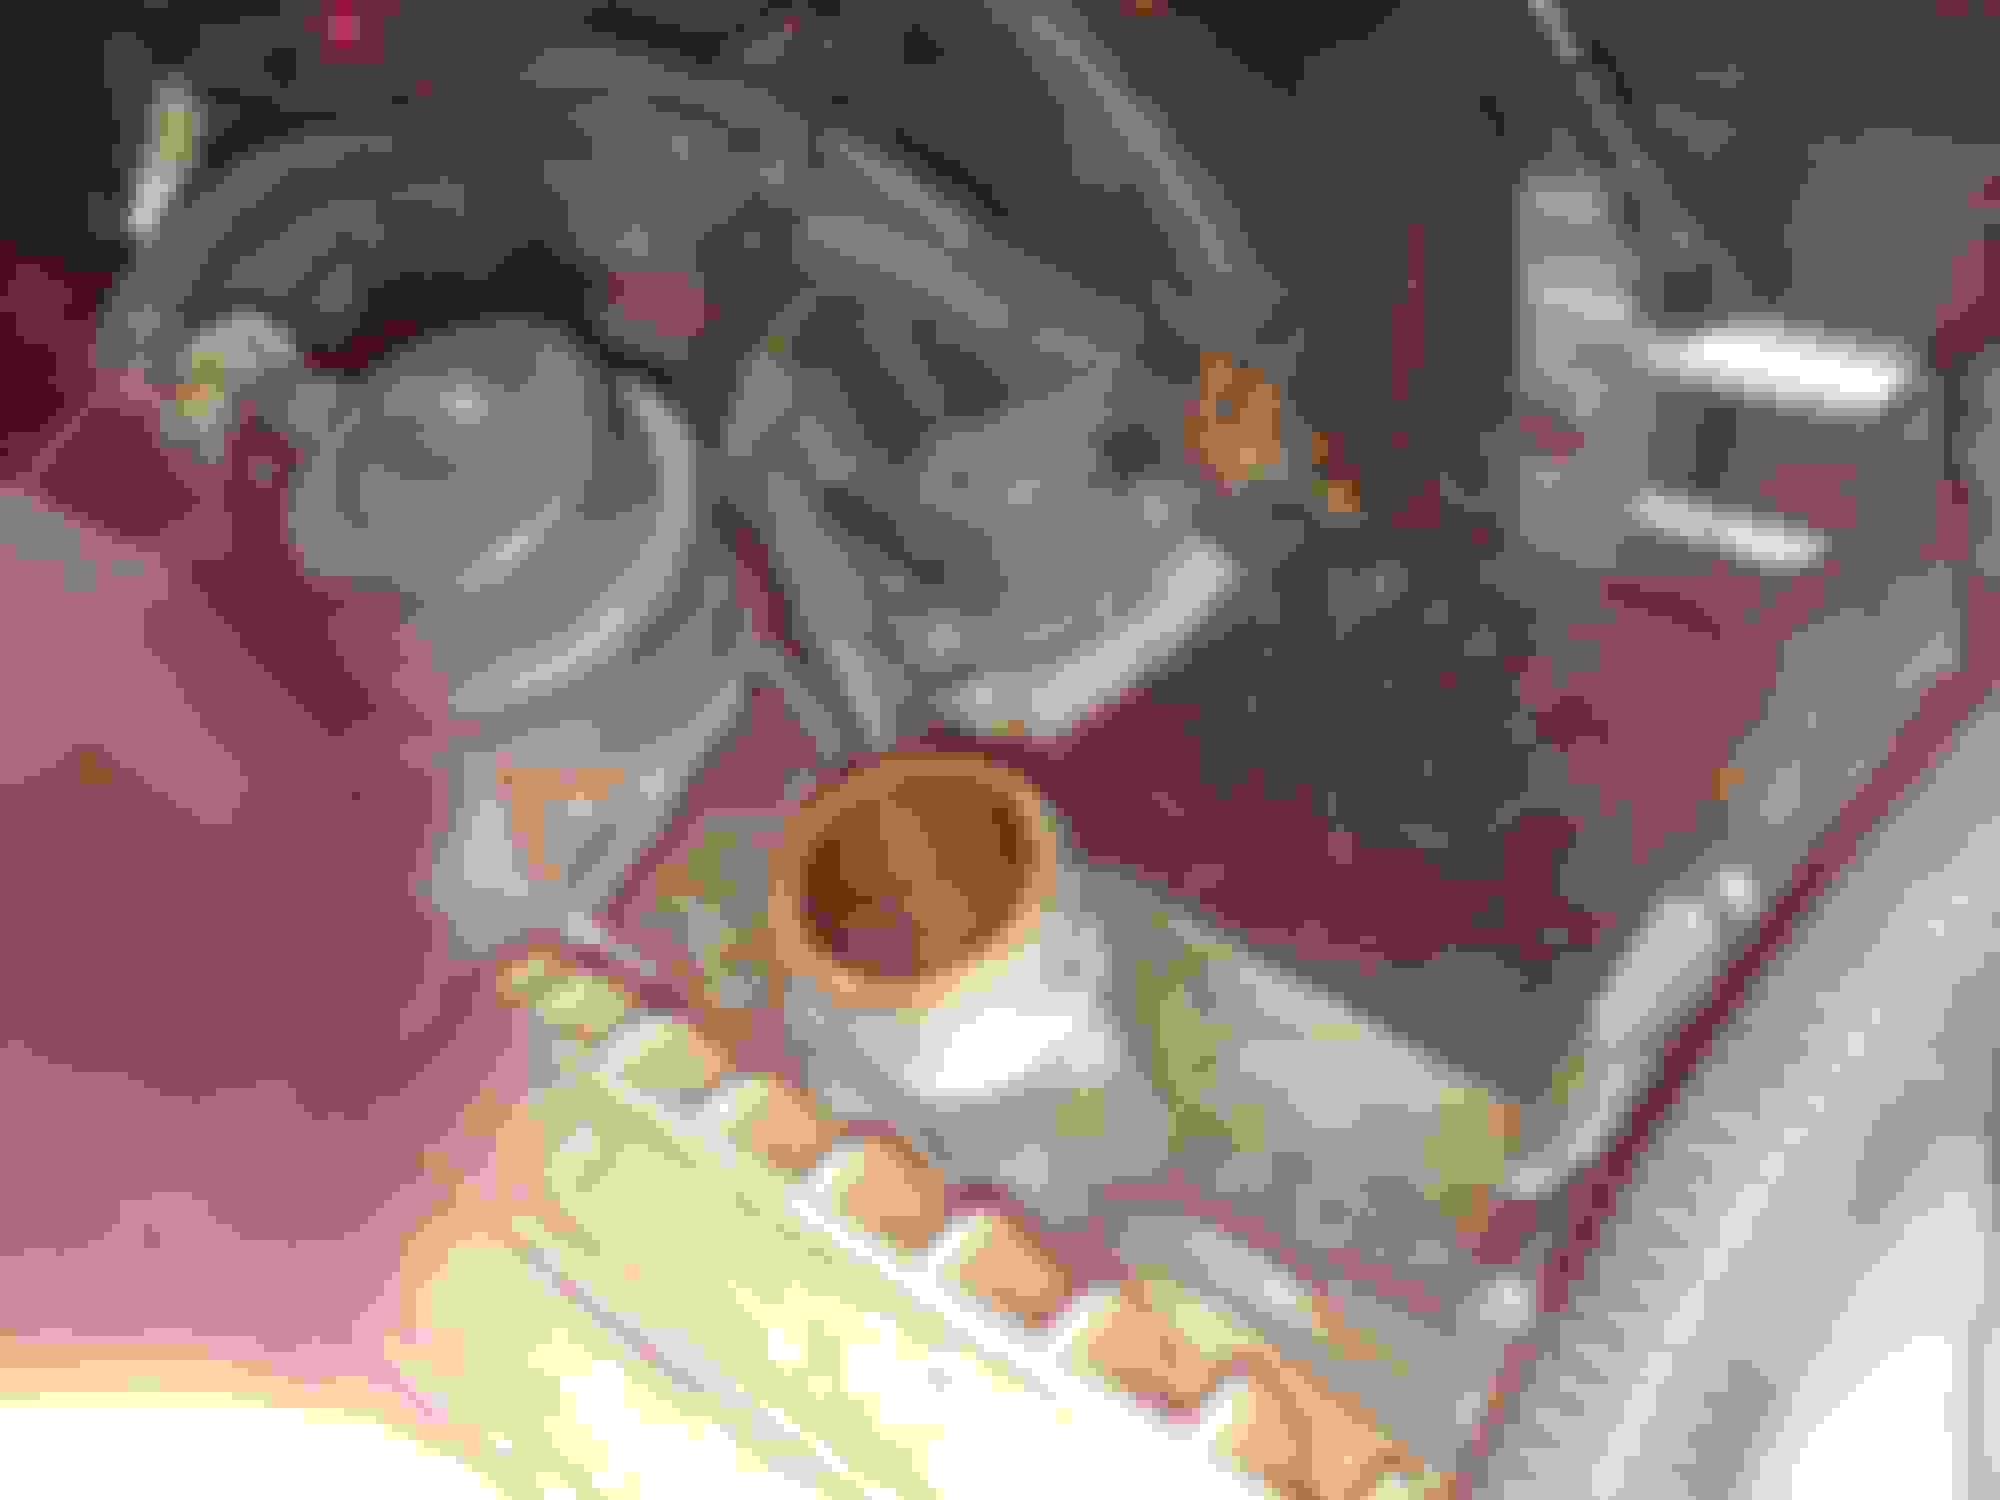
So I managed to finally het access to the back bolt of the EGR solenoid and off it came! Then it began to rain so I wrapped things up but now I can try to get the aluminum housing to seperate from the castiron part of the EGR. It's frozen on there as it is now. Hoses to come off next as I can get needlenose in there for the spring clip hose clamps now.
Notice the condition of the 1/4" spring drive shaft, twisted as hell. That didn't work at all but the wobble extension worked fine with that mini 1/4" ratchet handle once I found a way to snake it in there while leveraging the harness with the coal chisel instead of a planned wood wedge.
A small hallelujah plus a large Manhattan made with Maker's Mark is in order here. OK perhaps a couple of Manhattans ...
First progress in well over a year but still more things before I finally get to see, curse and then burn that GD hose under the supercharger!
Many curse words utilized today ... I guess they worked!
So if I smack that aluminum twin hold manifold at some point it should break free of the base now right ??????
That's 'one small step for man' one giant leap in the right direction. Hope you get through the rest.
I love using my baby 1/4" drive and wobble extensions on this car; obligatory for any STR owner.
Trying to remove alloy off iron is never much fun but its such a small piece and I'm sure there's a gasket in between so it should come off easily enough to get to the next stage.
Keep the next Manhattan on ice, good luck.
Next Thursday through Saturday the weather breaks and it will be back in the mid fifties F. I may be able to soak those studs and nuts on the manifold with some kroil before that though.
BTW the two bolts on the solenoid had Loctite on them. A pair of lock washers might been far more compassionate.
So I tried 2.5 lb sledge and a heavy duty coal chisel on the edge of the top aluminum potion and all it did was take a small slice off aluminum off of the edge.
Before I go much further is there any other mechanical attachment I might have missed? I was under the impression that it should come off now so is it just the corrosion that's typical between aluminum and steel/iron that's holding this on?
The weather has changed too much for any further tries for a while. I suppose if it won't seperate I can cut the tube extensions for the hoses and then those bolt heads below will become more accessible?
Yes, if you start cutting bits off the alloy housing from the top it's likely to start separating from it's iron base.
Other than the 2 bolts, I'm very sure that there is nothing else (other than rust/corrosion) holding this thing in place. I don't think the bits in it's middle cavity need to be released.
Likely impossible due to access, but if you could smash it from the bottom up it should release.
This Japanese made thing has everything going on; plastic, alloy, iron, stainless steel as well as water and exhaust going through it....
So if I can position it (really doubtful) to get at the edge with a plane flat steel bit between the aluminum top and the cast iron base perhaps it will pop off?
That tool may be a bit large and not as precise.
I would try and get a Dremmel in there or being alloy maybe a small hand held hacksaw to at least cut some of the ends off either way and then use a small timber chisel to chip away at the rest.
i WASN'T THINKING OF USING IT IT TO CUT BUT USING THE NDRYWALL BLADE WHICH IS THIN WITH NO TEETH TO SEE IF THE VIBRATION ALONG THE SEAM MIGHT GET IT TO SEPERATE. BUT YES IT MAY JUST NOT SIT IN THE SPACE.
Hi Guys,
This thread look mighty interesting as I am in the process of changing the valley pipe on my RHD 2006 66k miler STR.
So far I have removed the crossover pipe at the front and loosened the front two s/c 10mm bolts, now all I have to do is remove the back s/c bolt.
I have removed the throttle body and the top two bolts of the throttle elbow and am now a bit stuck so have logged on here for a read.
I have also removed the cabin filter box to give a bit more access.
Now what?
You have not mentioned removing the EGR valve and pipe . This stumps a lot of people.
You need a super snug fitting six sided hex socket . These bolts are the same as the TB bolts and round off very easily . So be super cautious!!! If you round them off you are in for a massive job.. though it seems right hand drive is a lot easier than the left-hand drive model.
Once you get the EGR removed ,
I found it easier to remove The entire throttle body elbow from the rear of the supercharger ,
rather than reaching under to undo the single rear supercharger bolt.

 11-28-2020, 02:45 PM