When you click on links to various merchants on this site and make a purchase, this can result in this site earning a commission. Affiliate programs and affiliations include, but are not limited to, the eBay Partner Network.
See below an idea of what's involved on cleaning the EGR, Albeit this was on an X type, the process should ultimately be the same.
Hi well i finally cleaned my EGR it today (pat myself on the back)
heres a step by step with photos ........
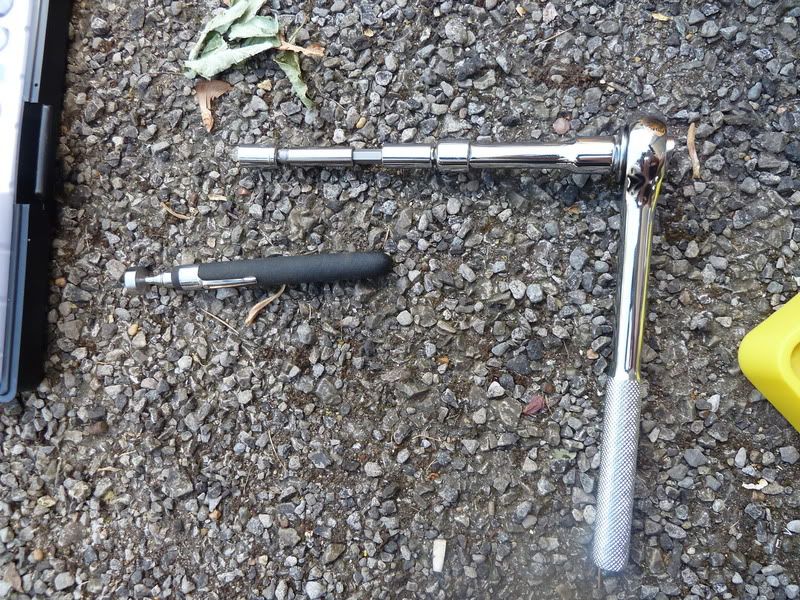
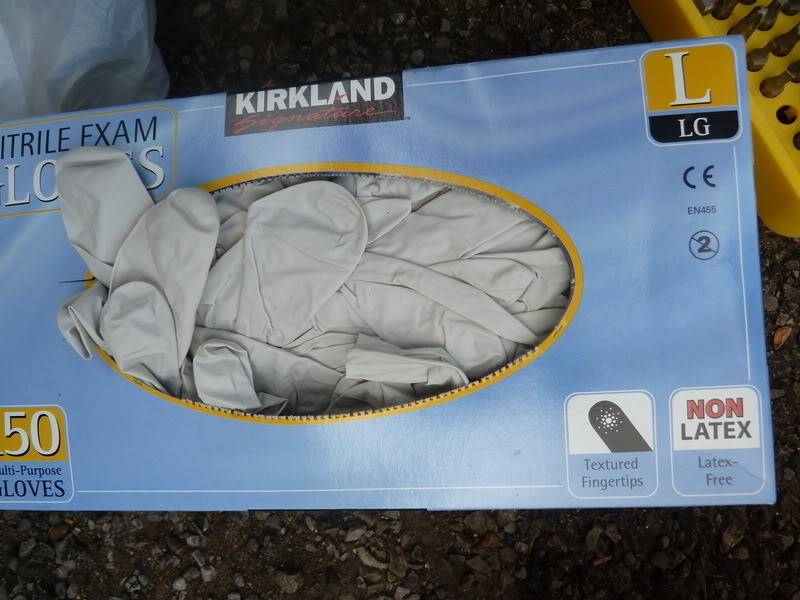
first of all you will need lots of these ......
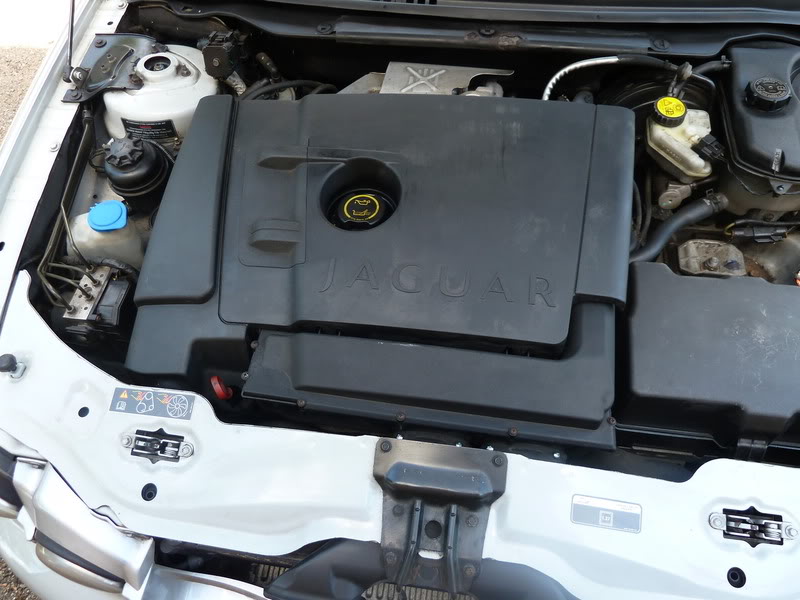
remove engine cover
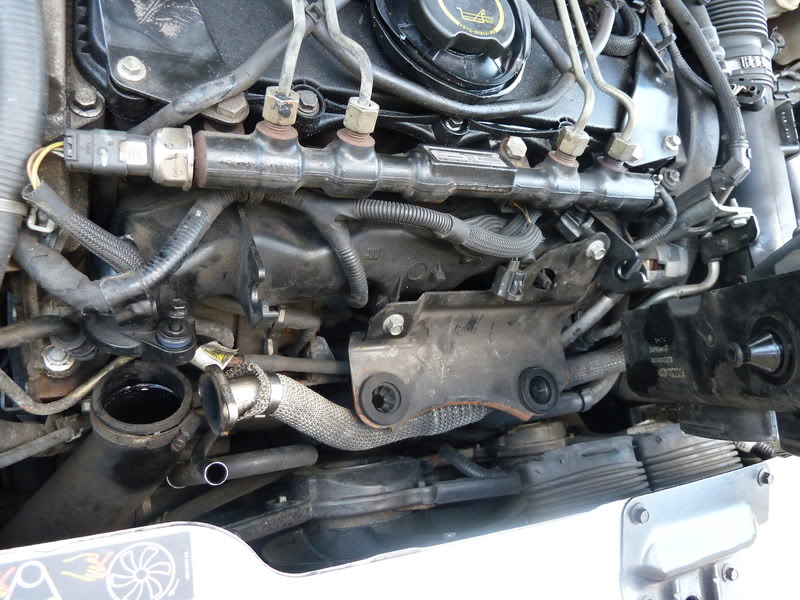
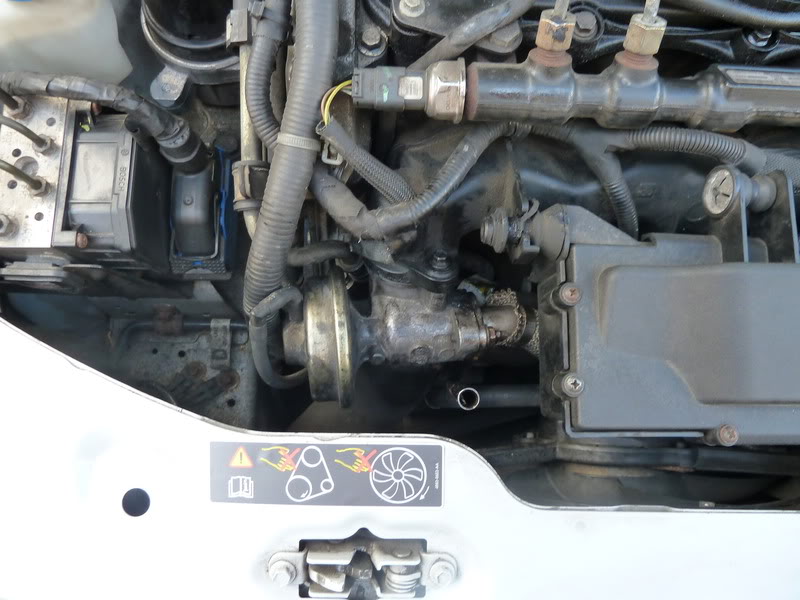
the EGR is located bottom left of the photo next to the air box
heres a closer look at the EGR
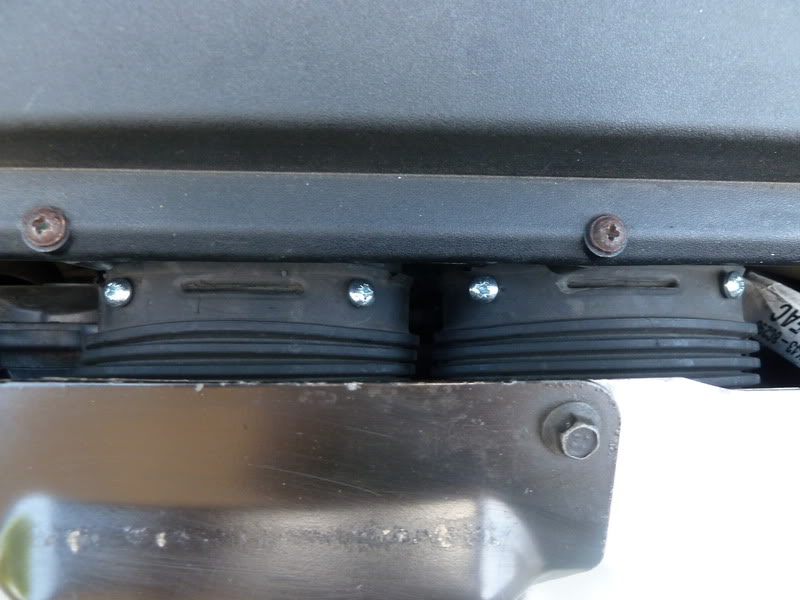
first thing to do is to remove the air box, so i removed the air flow tube (mine have tap screws to hold them in place) your should clip off
then i unplugged the 2 connectors plugs on the air box
then unplugged the MAF plug
once all unplugged you can lift the box up (with a little tug)
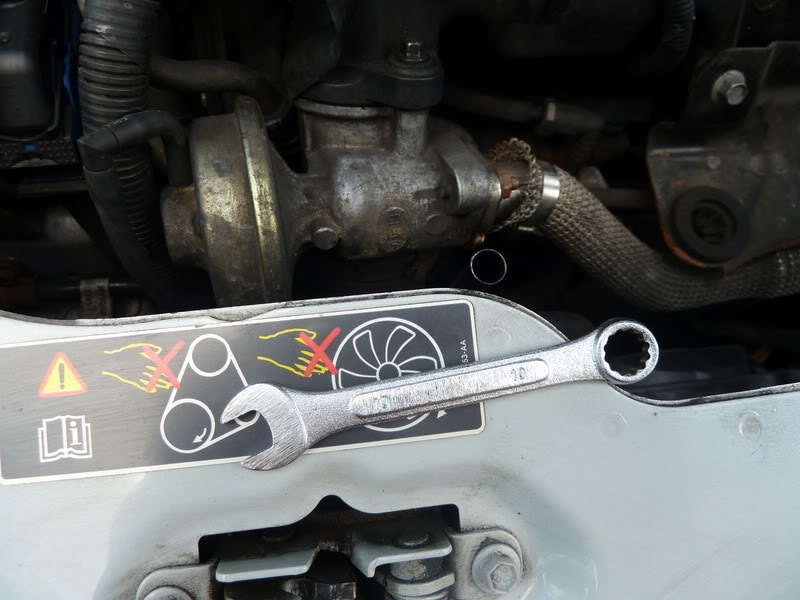
then once thats out of your way your able to get to the nut underneath (i used this spanner) (size 10)
i made up a tool to get to the top bolt of the ERG witch is on the top far side lol
i used a small screw driver to get to the ring tie
i just pulled the little rubber tube off the EGR the pulled it out
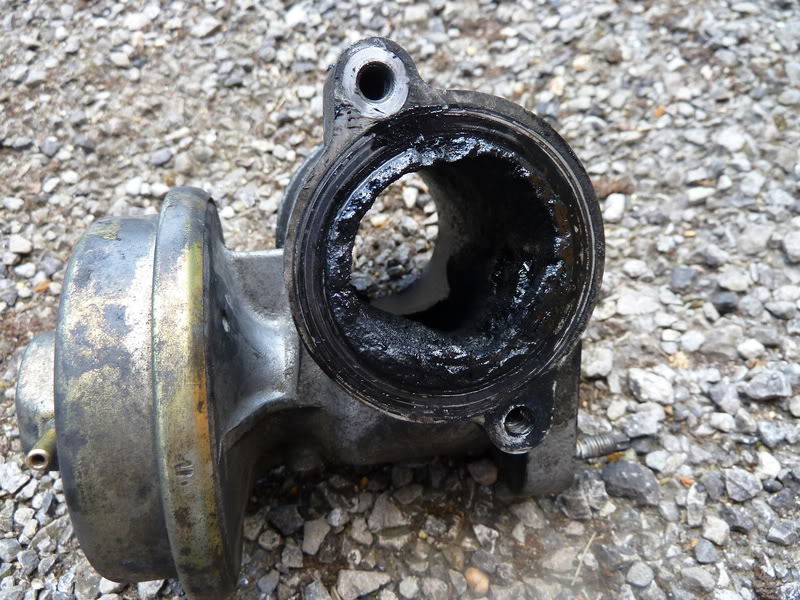
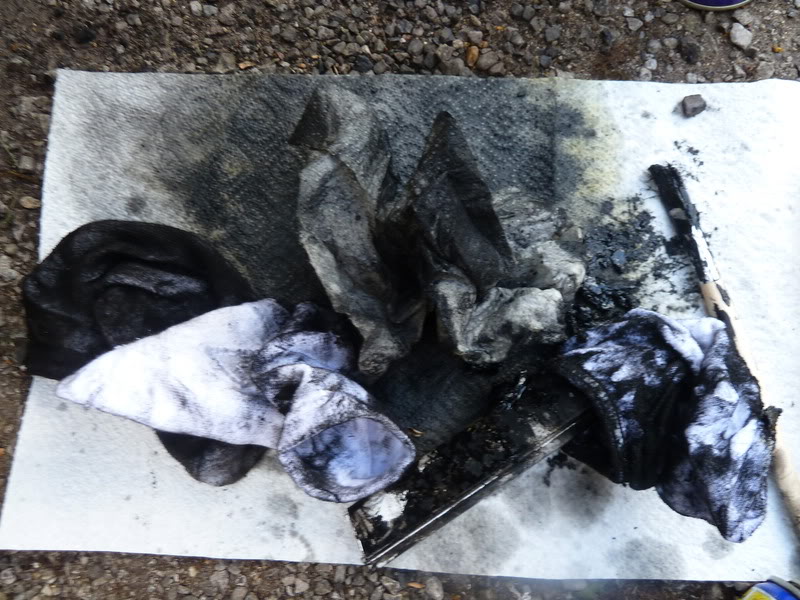
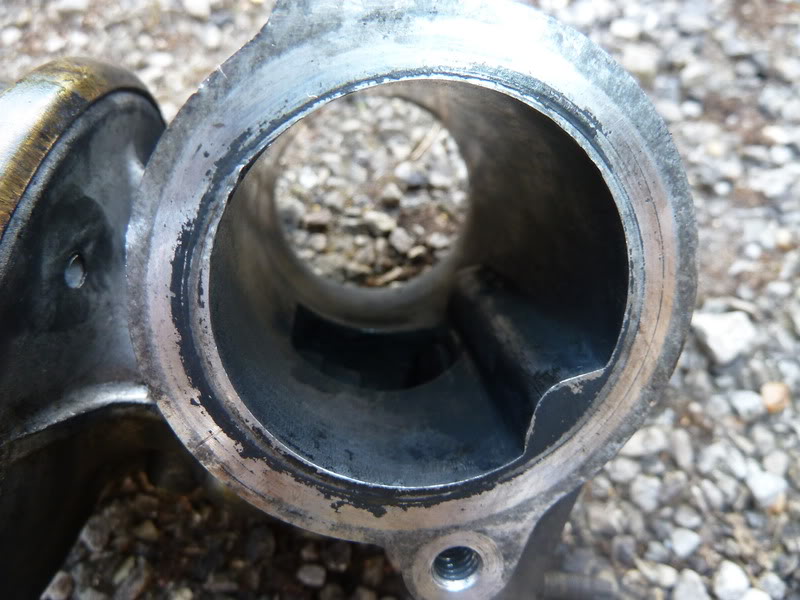
heres what i found .......
i used some brake cleaner spray which done a good job and old cloths
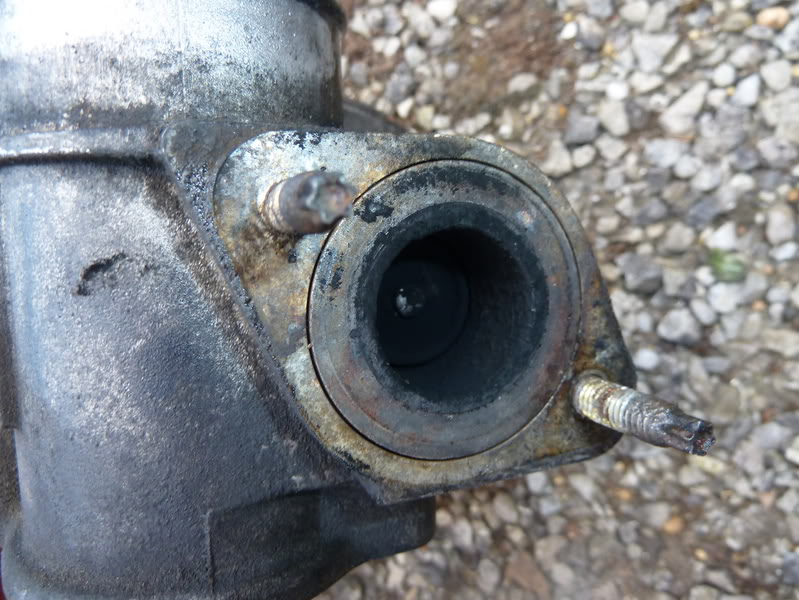
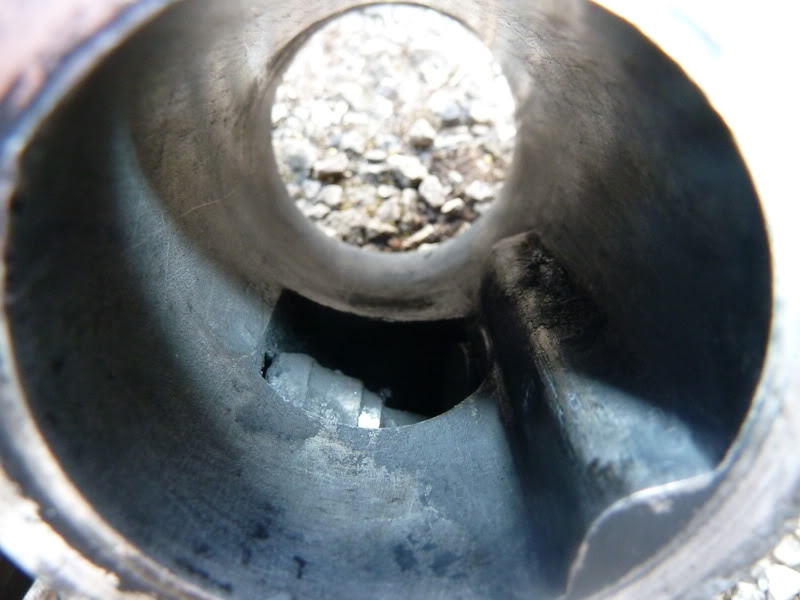
its getting cleaner ......
then i put it back on (dont forget to put the rubber tube back on)
the replaced the air box and connected all the plugs back on
JOB DONE
it took no longer then an hour and im a complete novice
Due to the ridiculous location of the two bolts holding the EGR unit to the pipe, it took a lot longer than I expected, but I eventually got the unit off and cleaned it. Actually, it was already pretty clean to begin with. Hooked everything back up and now this morning I'm getting lean codes. Wonderful. Time to start checking for air leaks.
Update: While digging around, I moved the hose that goes from the fuel pressure regulator to the throttle neck, and it split in two. I suspect that I might have caused a tear in it last night while messing with the EGR. I put together a quick fix using some gorilla tape (that stuff is the best), cleared the lean codes and ran the engine, whilst keeping an eye on the fuel trims. Everything seems within spec now, so I'm hoping I've found the issue.
Regardless, I'd like to do a proper fix and replace the hose. What exactly is that thing called? I can't find any info on it in the manuals.
If the hose you are describing is Part 7 in the diagram below, the parts manual just calls it a "Vacuum hose." It is part number AJ83877. jaguarmerriamparts.com shows the hose as available for $8.85, but I would recommend calling them to confirm it's the part you need.
The diagram is from the Electronic Parts Catalog, which you can download and install by following the instructions at this thread:
See below an idea of what's involved on cleaning the EGR, Albeit this was on an X type, the process should ultimately be the same.
Hi well i finally cleaned my EGR it today (pat myself on the back)
heres a step by step with photos ........
first of all you will need lots of these ...... Attachment 152264
first thing to do is to remove the air box, so i removed the air flow tube (mine have tap screws to hold them in place) your should clip off Attachment 152268
then i unplugged the 2 connectors plugs on the air box Attachment 152269
then i put it back on (dont forget to put the rubber tube back on) Attachment 152291
the replaced the air box and connected all the plugs back on Attachment 152292
JOB DONE
it took no longer then an hour and im a complete novice
Great post and glad to find one that actually had the images still up! Speaking of that, could you repay the picture that has stopped working? Cheers man


 lol
lol