When you click on links to various merchants on this site and make a purchase, this can result in this site earning a commission. Affiliate programs and affiliations include, but are not limited to, the eBay Partner Network.
The candle wax might not be an option as you can't get to the exposed threads at the end can you? Basically, you rub some wax into the exposed threads adjacent the fitting / nut. Then heat the bolt and the wax can get drawn into the joint through capillary actions. A bit like solder getting drawn into a plumbing joint. This can hopefully break the corrosion hold. Works on dissimilar metals and could be worth a try if you can get to some of the threads.
The candle wax might not be an option as you can't get to the exposed threads at the end can you? Basically, you rub some wax into the exposed threads adjacent the fitting / nut. Then heat the bolt and the wax can get drawn into the joint through capillary actions. A bit like solder getting drawn into a plumbing joint. This can hopefully break the corrosion hold. Works on dissimilar metals and could be worth a try if you can get to some of the threads.
To try and undo those Caliper Bolts I tried every 'trick in the book' or at least it looked that way to me.
I'd tried hitting Spanners with FBH's and Breaker Bars extended with 4ft Scaffolding Poles and even an Air Impact Wrench but nothing that I had on hand would shift them.
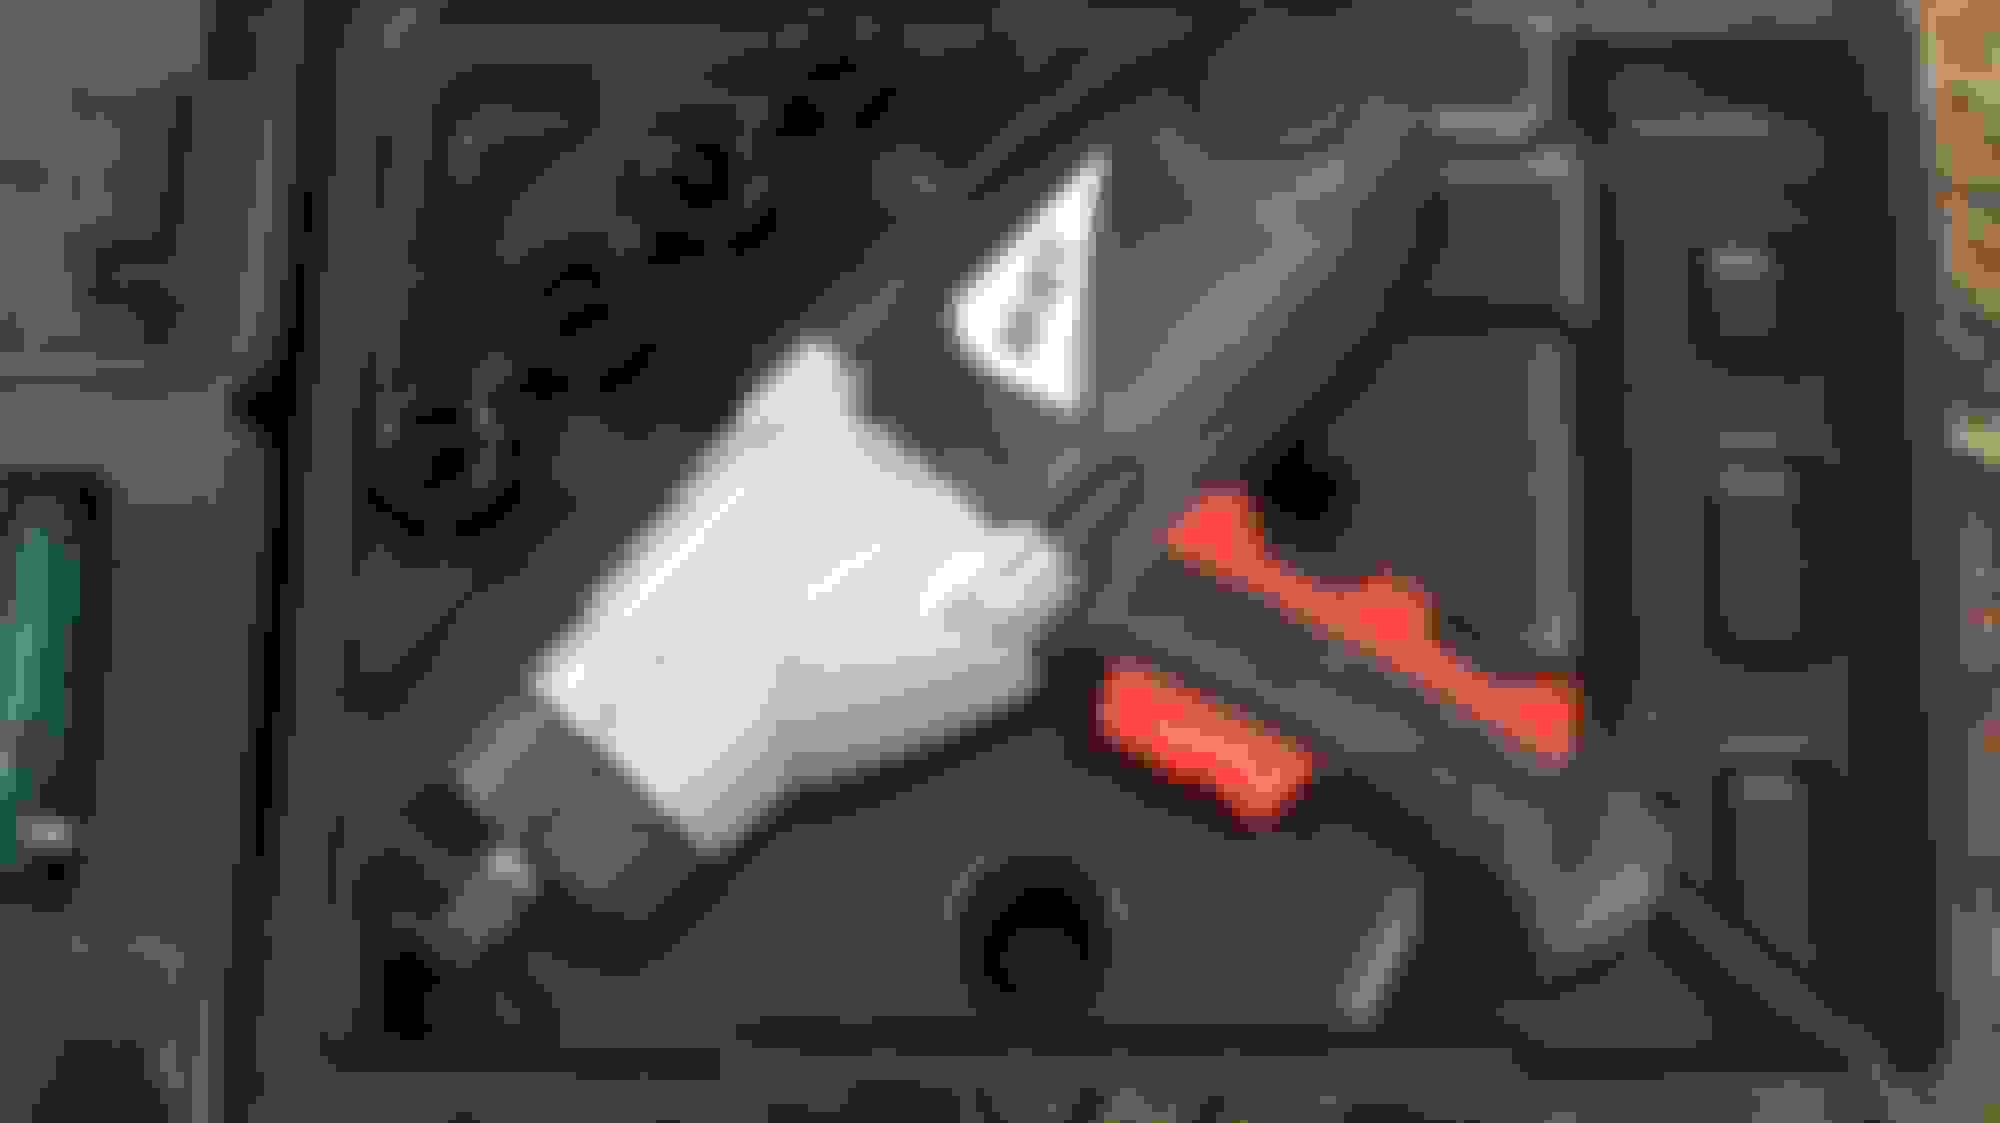
Until I came across a Gadget that I found on ebay, that was recommended with a string of 5 Star Reviews.
This was a Mains Powered 'Electric Impact Wrench' which unlike an Air powered one doesn't rely on you having the kind of Compressor to maintain the CFM you need.
It looked so good that I had to have one and for only �40 (�39-99) it was worth a punt.
So when it arrived this morning, I just could not wait to try it out!
But not on the Car to start with, I wanted to get the feel of it first in case it got out of control and broke my wrist.
Though no need to worry on that score, as I couldn't detect any 'kickback' whatsoever.
It's very well made and quite heavy at around 4.6kg with a Two Way trigger for Forward and Reverse.
So I thought lets jump in at the deep end and give it a real Test.
Which came in the form of a Land Rover Wheel, that had Wheel Nuts so rusty that I have never managed to ever get them off.
For things like this a drop of Oil would no doubt be of help but then that might make it too easy and I didn't want to do that.
The Nut on the Wheel was so rusty, that it was a job to get the Socket on but when I finally managed that the only thing now left to do was to pull the trigger.
Rocking the Trigger from 'Forward to Reverse' and then to my Amazement, 30 seconds later the Nut then came undone!
So I covered the thread in Copper Grease and used the Impact Wrench to put it back on, just as an experiment as I know that you're supposed to use a 'Torque Wrench'
While its not under load it runs like a drill but as soon as it meets resistance the hammer kicks in and if you give it a quick burst of power you can almost count the hammer strokes, so I gave it about 3 and then tightened it up with a Torque Wrench.
As Rusty as hell, that Impact Wrench is never going to shift it.
30 Seconds later, the Nut just came undone with no Oil or grease to help it along.
Having applied some Copper Grease a quick burst on the trigger whizzed it back on, after which I tightened it up with a Torque Wrench.
It's just an Amazing piece of Kit, one of the best things I have ever bought!
So having got used to the feel of the thing, it was now time to try it out on the Car.
Just one suggestion of warning - these small electric ones don't seem to have a variable torque control. They claim that you can vary torque through pressure on the trigger but in my experience all the power comes in at once. So I would politely suggest that you never use it to do up anything as you really don't want 295ib / ft applied to your wheel nuts or anything else! Also, on anything less than about M10 size it could easily strip threads. It's why I always put my air impact wrench on its lowest setting immediately after undoing a nut in case I forget and then use it to do tighten a nut.
Nonetheless, well done again on getting that undone!
As you say its on Full Power the moment you pull the Trigger but somehow that doesn't feel wrong, I never had the feeling that I wanted to Slow it down.
I've also got a Lidle 'Parkside' Air Impact Wrench but I haven't got a Compressor that's big enough to run it on Full Power.
So for me this was really the best way to go but unlike an Air Impact Wrench, this doesn't need a Compressor and is fully portable to use anywhere.
Under normal Circumstances, I would never use it to tighten up a bolt especially on a Car, it was just an experiment on a piece of junk that didn't matter.
But next time I go to the Scrap Yard for parts I'll be taking it along, as they know me and will let me plug it in.
Even so I'm glad I bought the 'Parkside' Air Impact Wrench from 'Lidle' if for no other reason that it comes with well over �20 worth of High Impact Sockets and an Extension Socket Bar!
Only �20 from Lidle, the sockets alone are worth that!
(Yes, I know there's one missing Its on my Torque Wrench)
Are you sure you don't have a Secret Army of Helpers hiding somewhere, you make the most Horrendous Jobs look simple!
I wish I did have that kind of army... I do basically everything on my own as no friends want to help. The only help I get is from my nearly 60 y.o. Pa, who can't do much as he hasn't got the patience!
Everyone wants to help me but I've had to learn the hard way that they don't know what they are doing and one of them left my Blue XJS on the Critical List.
So now I don't want them anywhere near when I'm working on my Cars.
everyone I run into I can see their eyes light up with dollar signs... and they give me a business card... one even told me he heard a dropped valve seat in my engine...
sad! (10k miles later . runs better that the day I bought it)
Having replaced all the Spark Plugs it was now time to refit the Injectors, which consisted of the Fuel Rail with all the Injectors attached.
Six of these were really gummed up and refused to work and so I thought that I would have them Professionally Cleaned.
For which I made a guesstimate of around �5 each, which just shows you how wrong you can be, as I had a Quote of a Whopping �250 OMG!
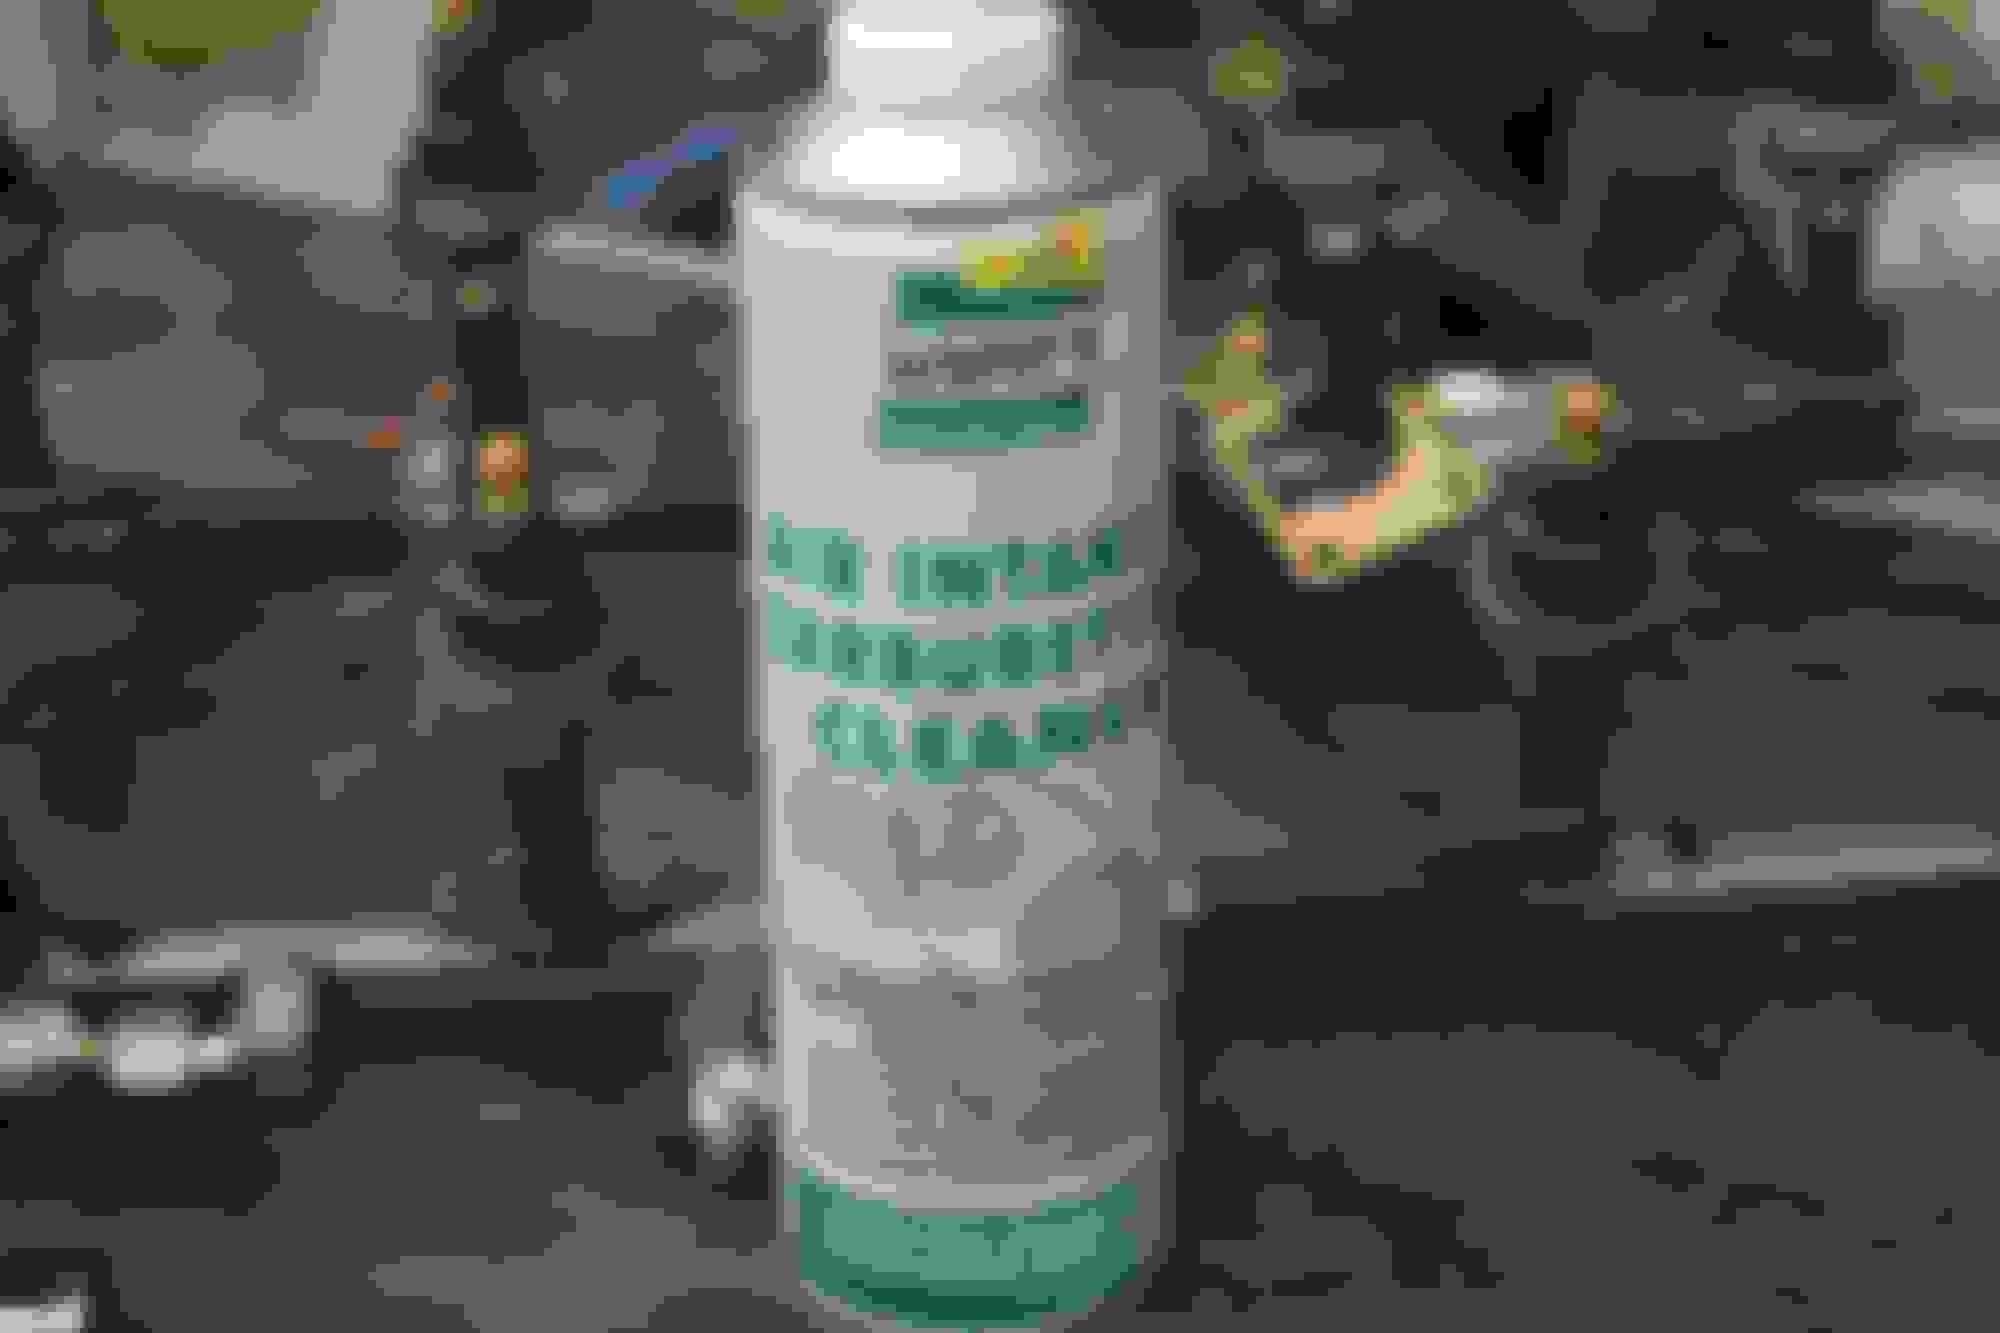
So I took the 'Nuclear Option' and decided to do them myself and bought a bought a Can of Wynns Carburettor Cleaner for the Princely Sum of �4-49.
Then squirted it into the Fuel Rail and forced it through the Injectors with some low pressure Air from my Compressor.
After which I Tested them with a 9 volt Radio Battery (PP9) although a couple of them required a 12 volt kick from a Car Battery.
Only put the Battery on for a Second as if it's on for any longer you could burn out the Coil and with a New Injector costing around �100 that's a mistake that you don't want to make.
It will either Instantly Spray or it won't and when I found one that refused to Play I squirted the Tip directly with the 'Wynns Carburettor Cleaner' and that did the Trick, while others also needed a bit of a 'Tap' with a Hammer on the metal part.
Un-gumming the Injectors was about as easy as falling off a very greasy log and in the process saved me around �245.
But before I could refit the Injectors back into the Car, I also had to replace the Injector Seals.
These are little Rubber 'O' rings that go on the Injector Tips to seal them against the Inlet Manifold, which basically Stops Petrol from Splashing out all over your Hot Engine.
And in case I forget to mention it, also helps to Stop your Car from catching Fire and Burning to the ground!
So replacing these is not really an option, especially as they are so small they should only Cost a few pence.
I needed 12 but tell you what, I think I'll make it 14 just in case I drop one on the ground (or should that be two)
Loads of firms are Selling these so they are not hard to find but when they told me the Price, I nearly fell over �24 for 12!
I thought they must be joking but they weren't!
That's more than I paid for 12 Spark Plugs!
Fortunately one of the Forum Members came riding to the rescue and I got 12 of these from 'Brit Cars' for under �5 and very good they are too.
Fitting them is dead simple you just slide them on like a Washer, which is more than can be said for the Fuel Rail which was a 'Nightmare' to put back!
Probably quite easy if you have someone to help but trying to do this all on my own was one of those jobs where you needed 12 pairs of hands,
as all of the Injector Tips need to go in together and if that isn't bad enough everything is in the way.
Putting the Injector Tips into the Inlet Manifold, reminded me of that game you see at Fun Fairs, where as soon as you bash one Frog, another one pops up.
The experience of doing this was totally surreal, its was just like something from a Science Fiction Movie!
With Two of you it only takes 10 minutes but on my own it took nearly 3 hours!
But when it was finally back in place with all the Injector leads on, all I had to do was turn the key and Start Her up!
Except of course it wasn't quite that simple because She wouldn't start!
This was the moment that I was thinking that I should 'Top Myself' and end it here, or maybe consider some 'Self Harming'
Everything was connected up and I only had a couple of Bolts left over!
But it Started to look like 16 years of Standing had taken its Toll.
At which point 'Greg' and 'Grant' both came to the Rescue!
To be continued..........
Trying to get this lot back on my own was an 'Out of body experience', that took me nearly Three hours!
Cleaning the Injectors was dead simple
That tiny little Rubber Ring is an Injector Seal
Many firms had these priced up at �24 for 12
Bargain or what!
That's more than I paid for 12 Spark Plugs!
I got 12 of these from Brit Cars for under a Fiver!
One of the 'New Injector Seals' with the 'Old One' just resting on top to make a Comparison.
Last edited by orangeblossom; Oct 12, 2016 at 03:01 AM.
The injectors have filter baskets in the top, before you put them back on it might pay to reverse flush the injectors to clean and junk from the filters.