When you click on links to various merchants on this site and make a purchase, this can result in this site earning a commission. Affiliate programs and affiliations include, but are not limited to, the eBay Partner Network.
I'm about to convert my 'federal' US 76 xjc to euro spec bumpers so thought I'd document progress and comments in a thread as a lot of people seem to discuss this but there's no clear 'how to' anywhere.
Removing the comedy fairground rubber covered bumpers is a simple process and will yield a few dollars in scrap value. The rear is just two big bolts and the side chrome bumper trim bolts which are the same as a series 1. the front is two big bolts and similar trim removal. What's behind the bumpers are two 5mph rams each end that the 'two big bolts' are attached to. To fit euro bumpers these need to be removed and replaced with mounts for chrome bumpers. I am using a US 73 series 1 rear bumper (with no license plate light) from a series 1 parts car. The front bumper needs to be imported from any market that had that build version, or a new repro bumper.
According to the shop manual removing the rams entails removing a nut on the inside end of each ram, which is mounted in a robust steel tube that is welded to the body. The front rams are accessible under the hood ( I have the radiator out but everything else is in place for now) and you can get a wrench on the nut. In theory you can then withdraw the ram, in practice they have probably been there for close to a half century and will need some encouragement and lubrication.
The rear removal is more problematic as the inside end of the rams and the release nuts are inside the exhaust cavity, so you will need to remove the exhaust system at rear.
I'll add some photos to accompany this as I progress.
The Euro front hood hinges are totally different and slip inside the frame rails. The USA spec hings are much stronger and boxed.
The rear pistons can be simply unscrewed as they have a long threaded end. Insert screw driver onto the bumper bolt hole and... lefty loosey. Then you're left with a gaping socket. I have simply welded a plate on to the socket face with a bolt welded through the center for stud mounting of the new Euro bumper.
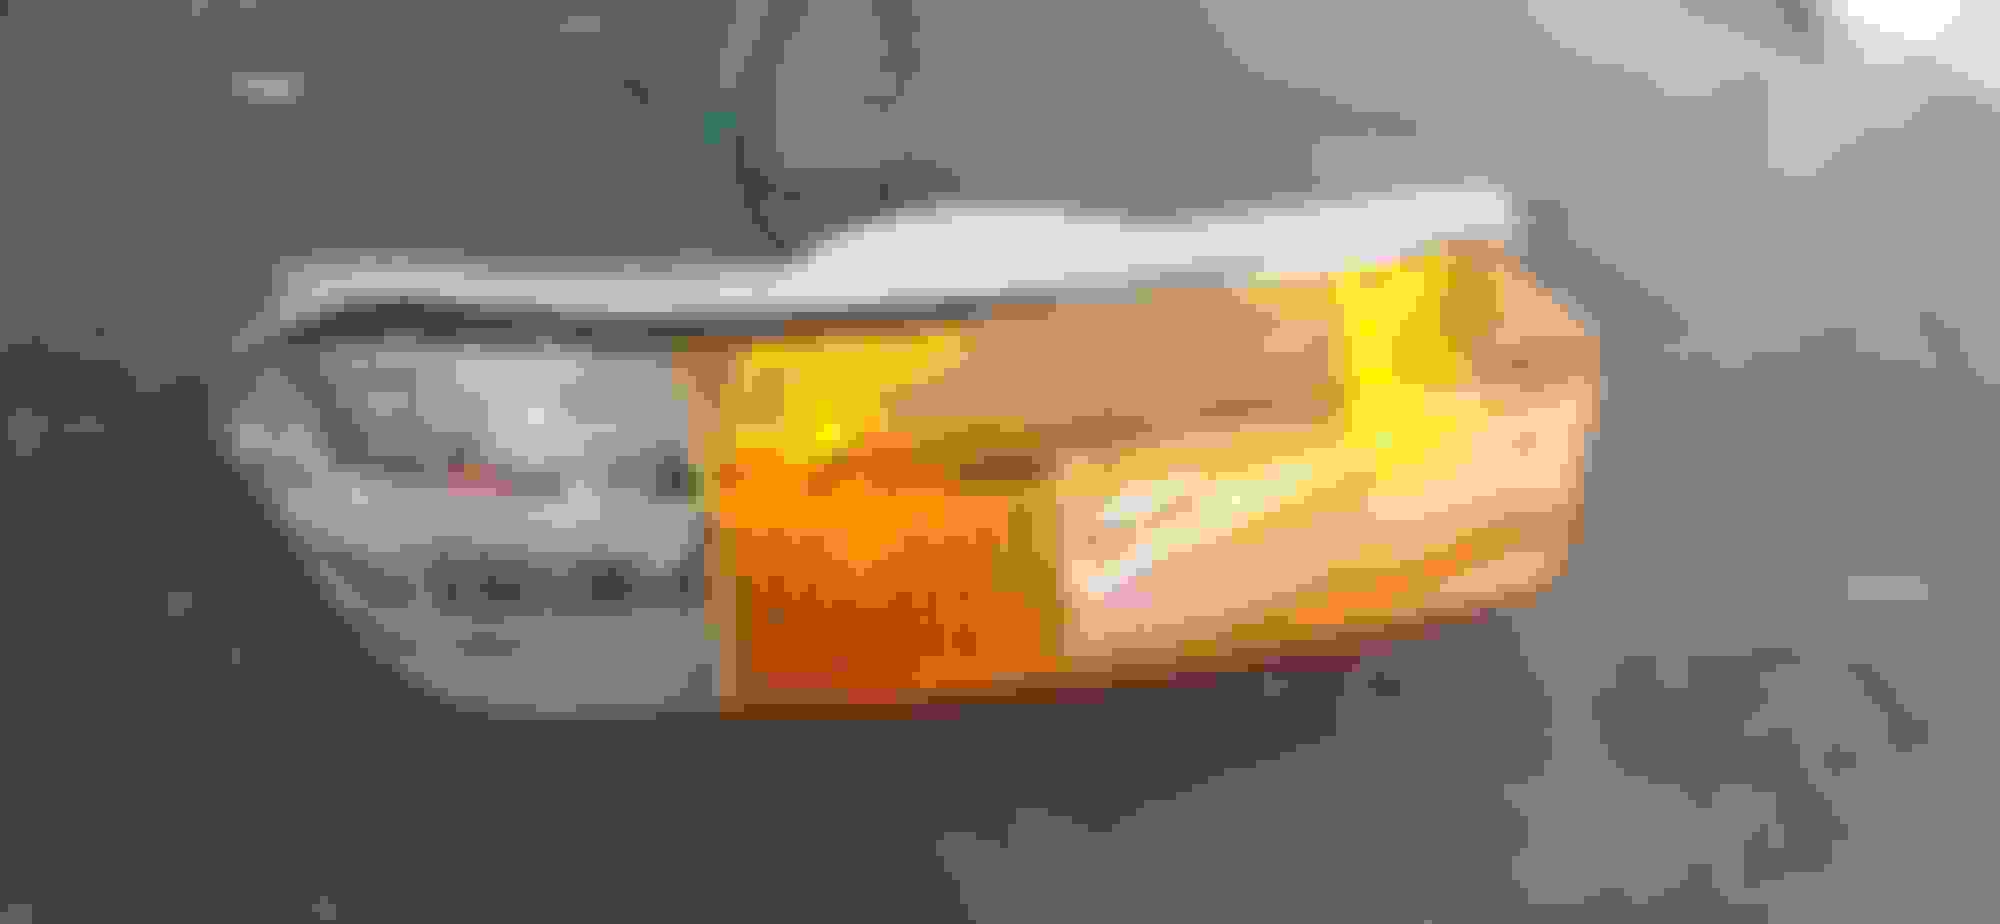
You also need a Euro Lower grill, rubber blocks,modified lower vailance and euro signal lamps to complete the look.
I've done it 3 times and wont again. Parts are getting hard to find and they are expensive and fragile. It is a great look though.
Last edited by icsamerica; Mar 15, 2018 at 06:51 PM.
The Euro front hood hinges are totally different and slip inside the frame rails. The USA spec hings are much stronger and boxed.
The rear pistons can be simply unscrewed as they have a long threaded end. Insert screw driver onto the bumper bolt hole and... lefty loosey. Then you're left with a gaping socket. I have simply welded a plate on to the socket face with a bolt welded through the center for stud mounting of the new Euro bumper.
That is my plan with the series 1 donor car rear bumper - but in this case make a female socket for the original bolts. I'm experimenting with cutting the rear bumper attachment area out of the series 1 and welding into the equivalent area on series II.
Originally Posted by icsamerica
You also need a Euro Lower grill, rubber blocks,modified lower vailance and euro signal lamps to complete the look.
I've done it 3 times and wont again. Parts are getting hard to find and they are expensive and fragile. It is a great look though.
I've got the euro front end parts but experimenting with adapting series 1 hinges and mounts, while retaining the strength of the ram area at the front. It is all very fragile as you say and would be good to protect bodywork a bit more in the vent of a minor whack by someone who can't park backing into it...
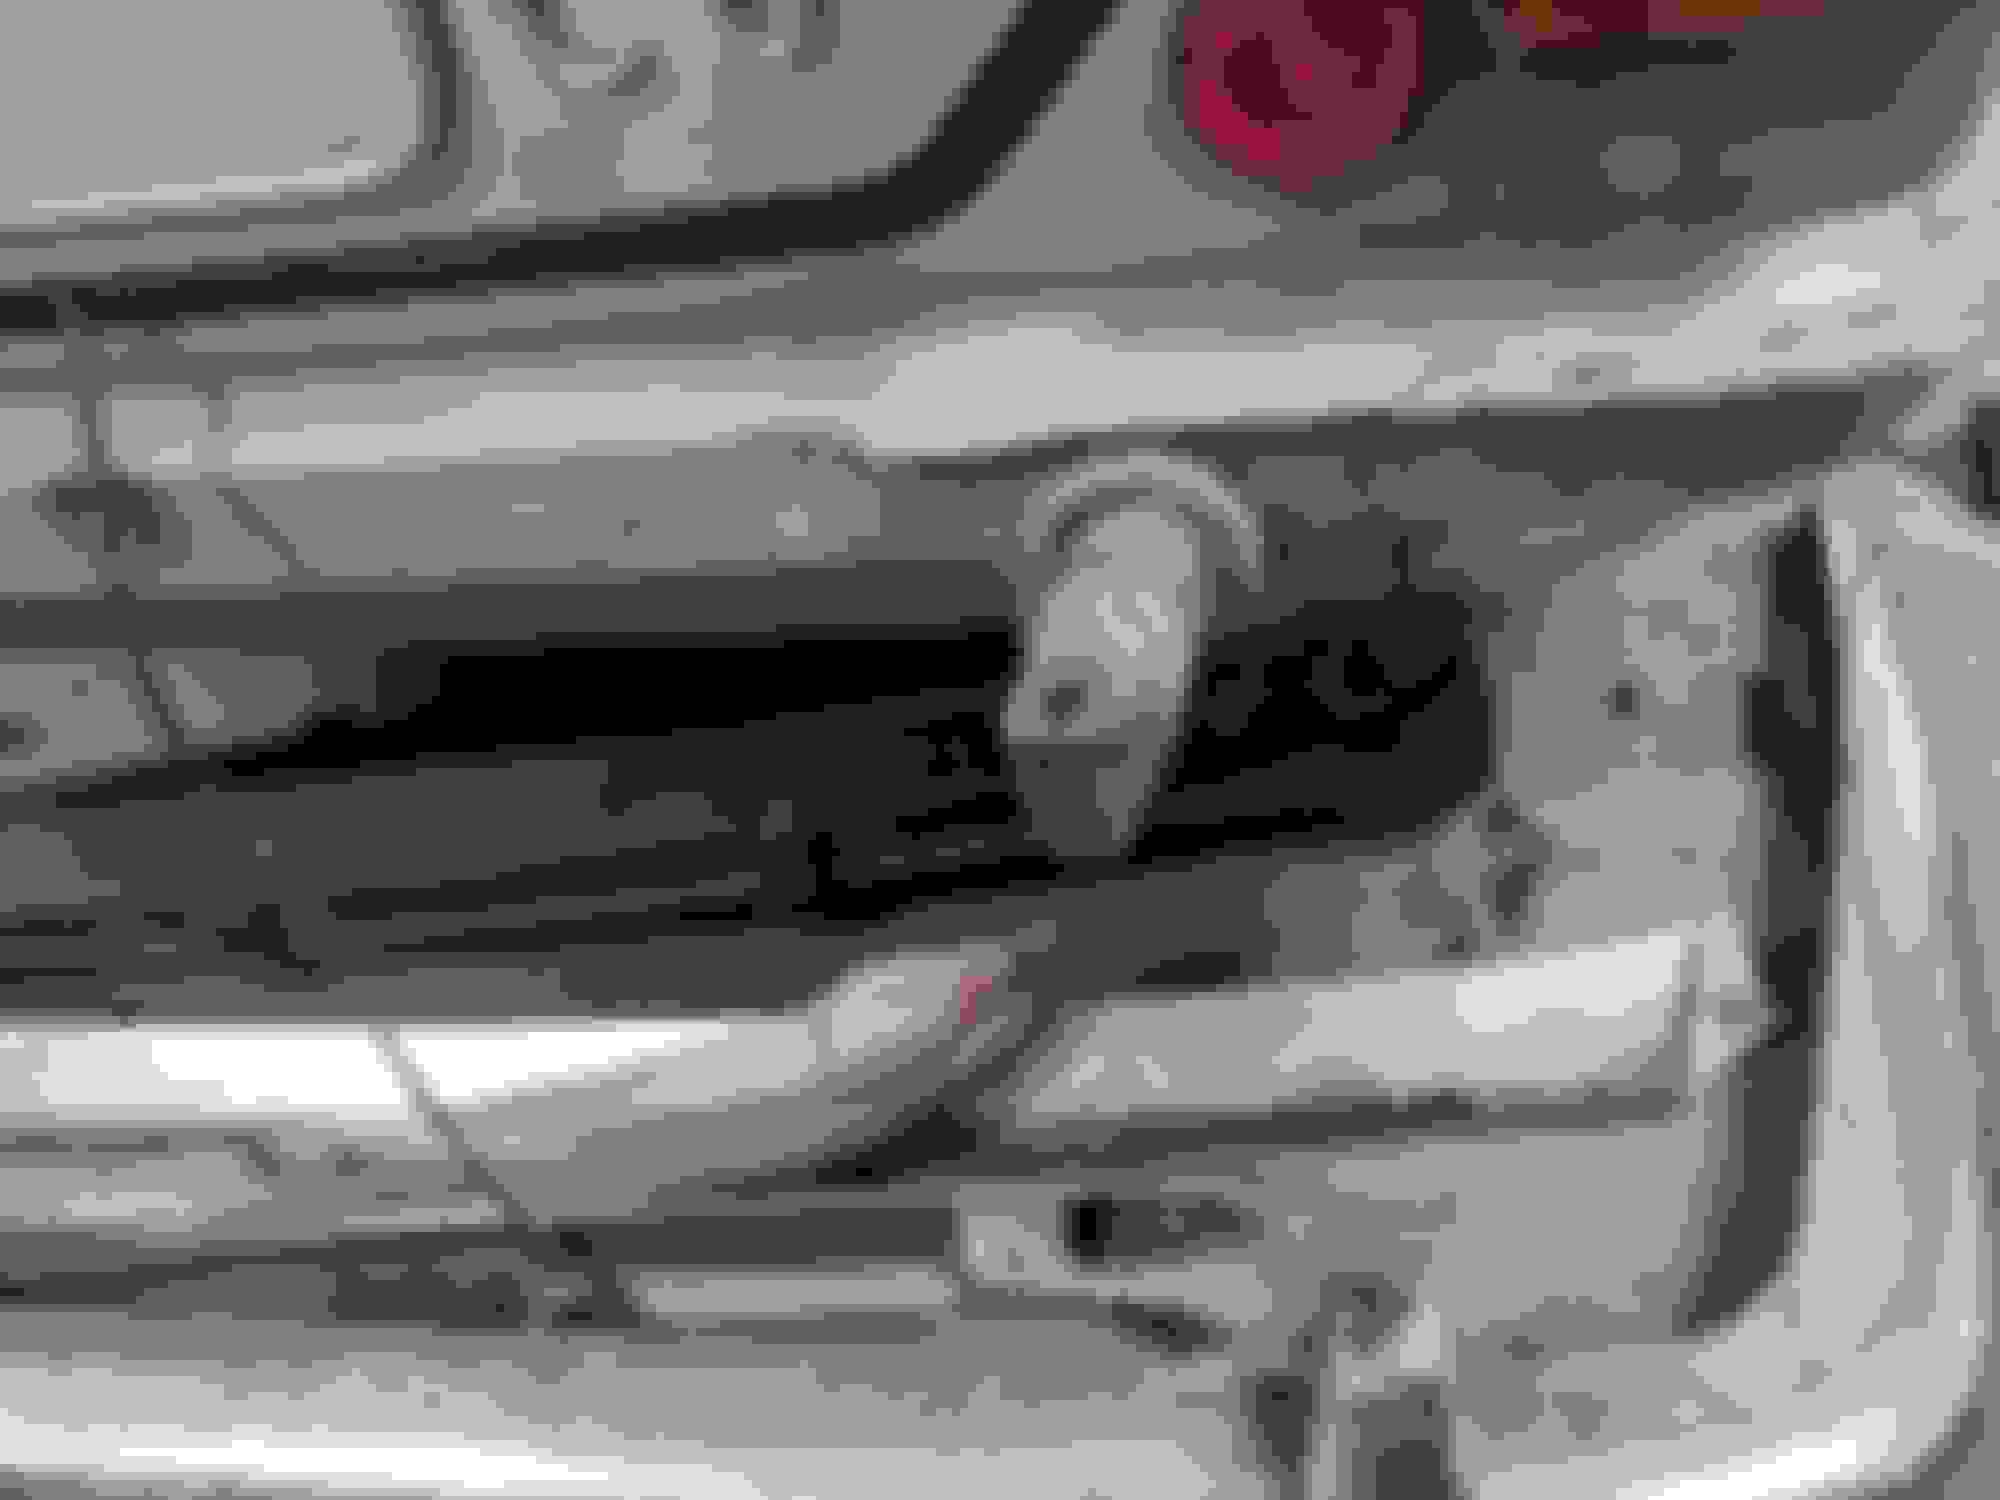
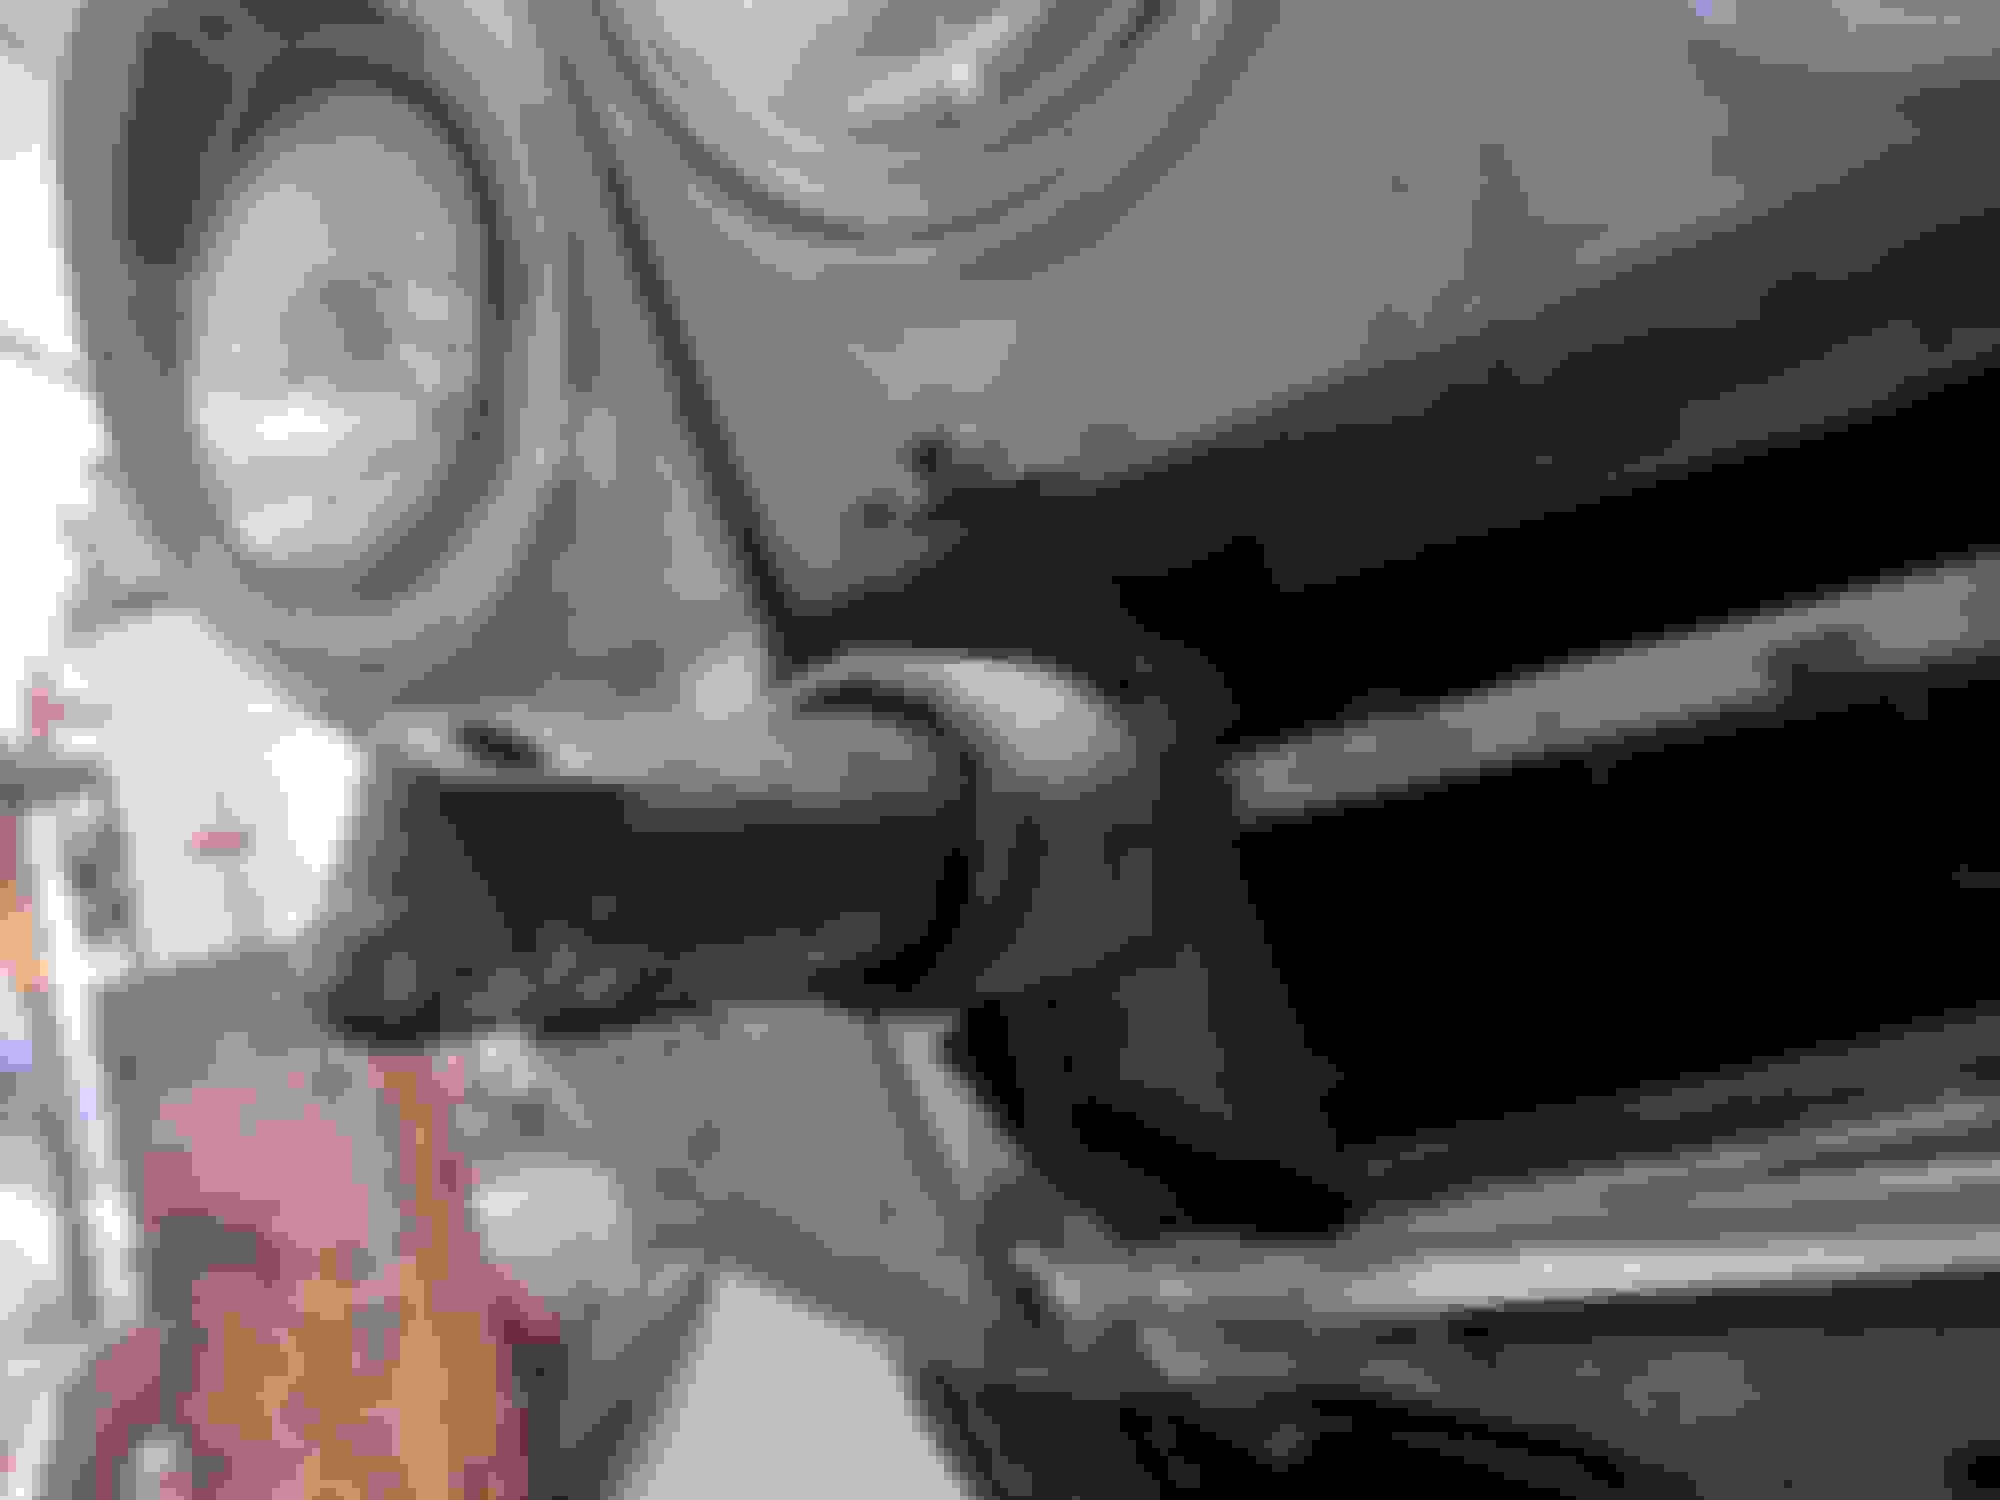
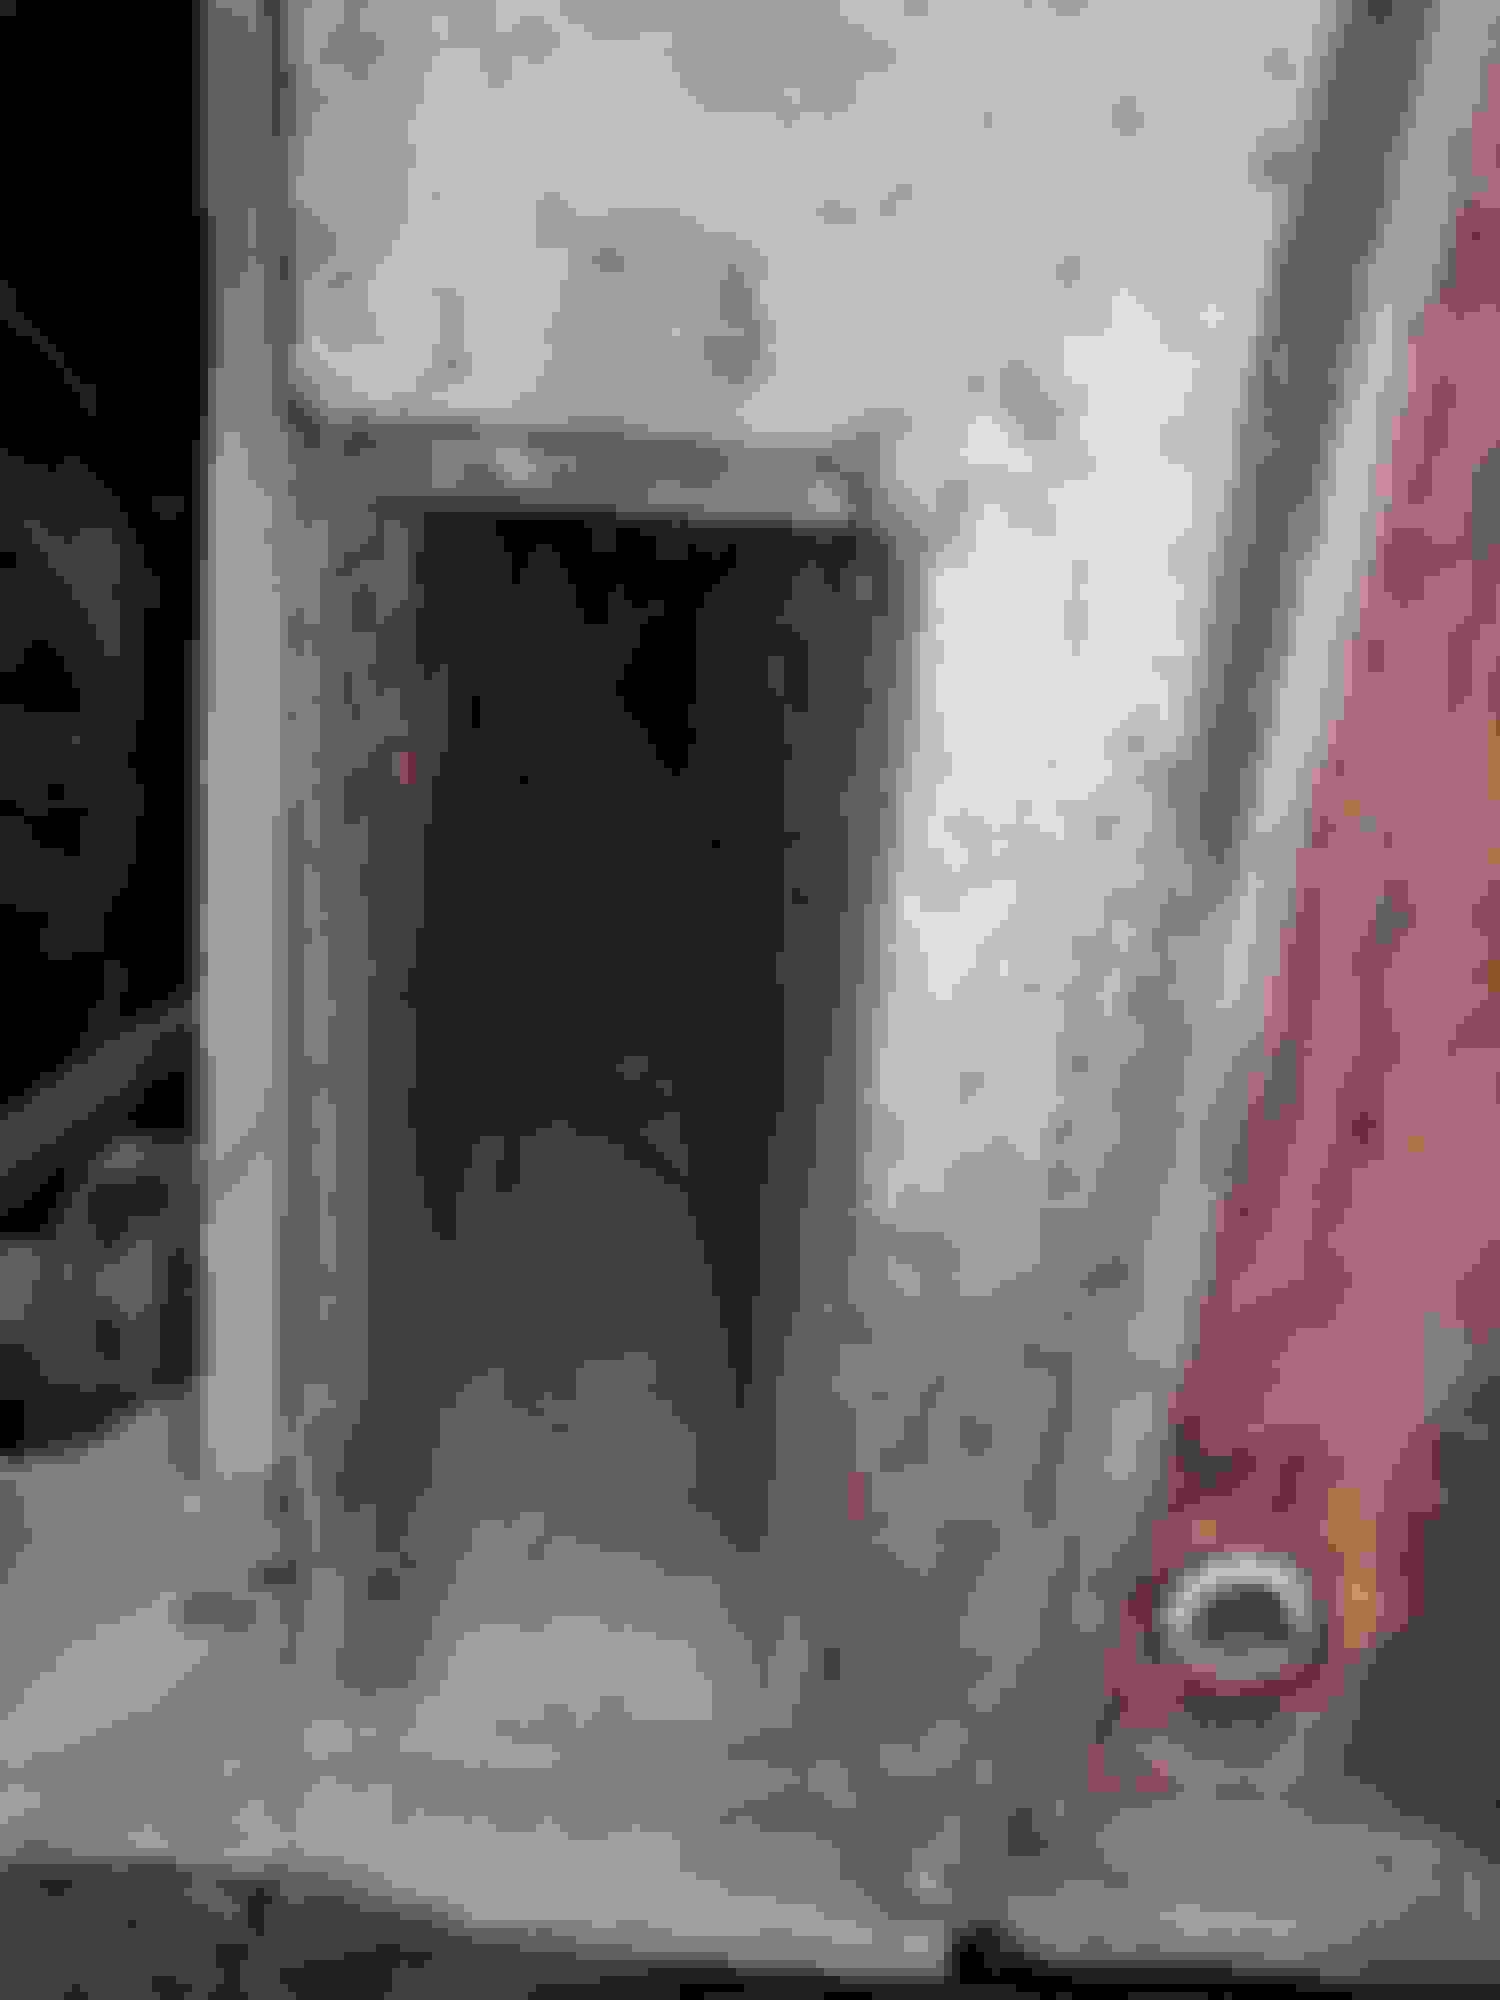
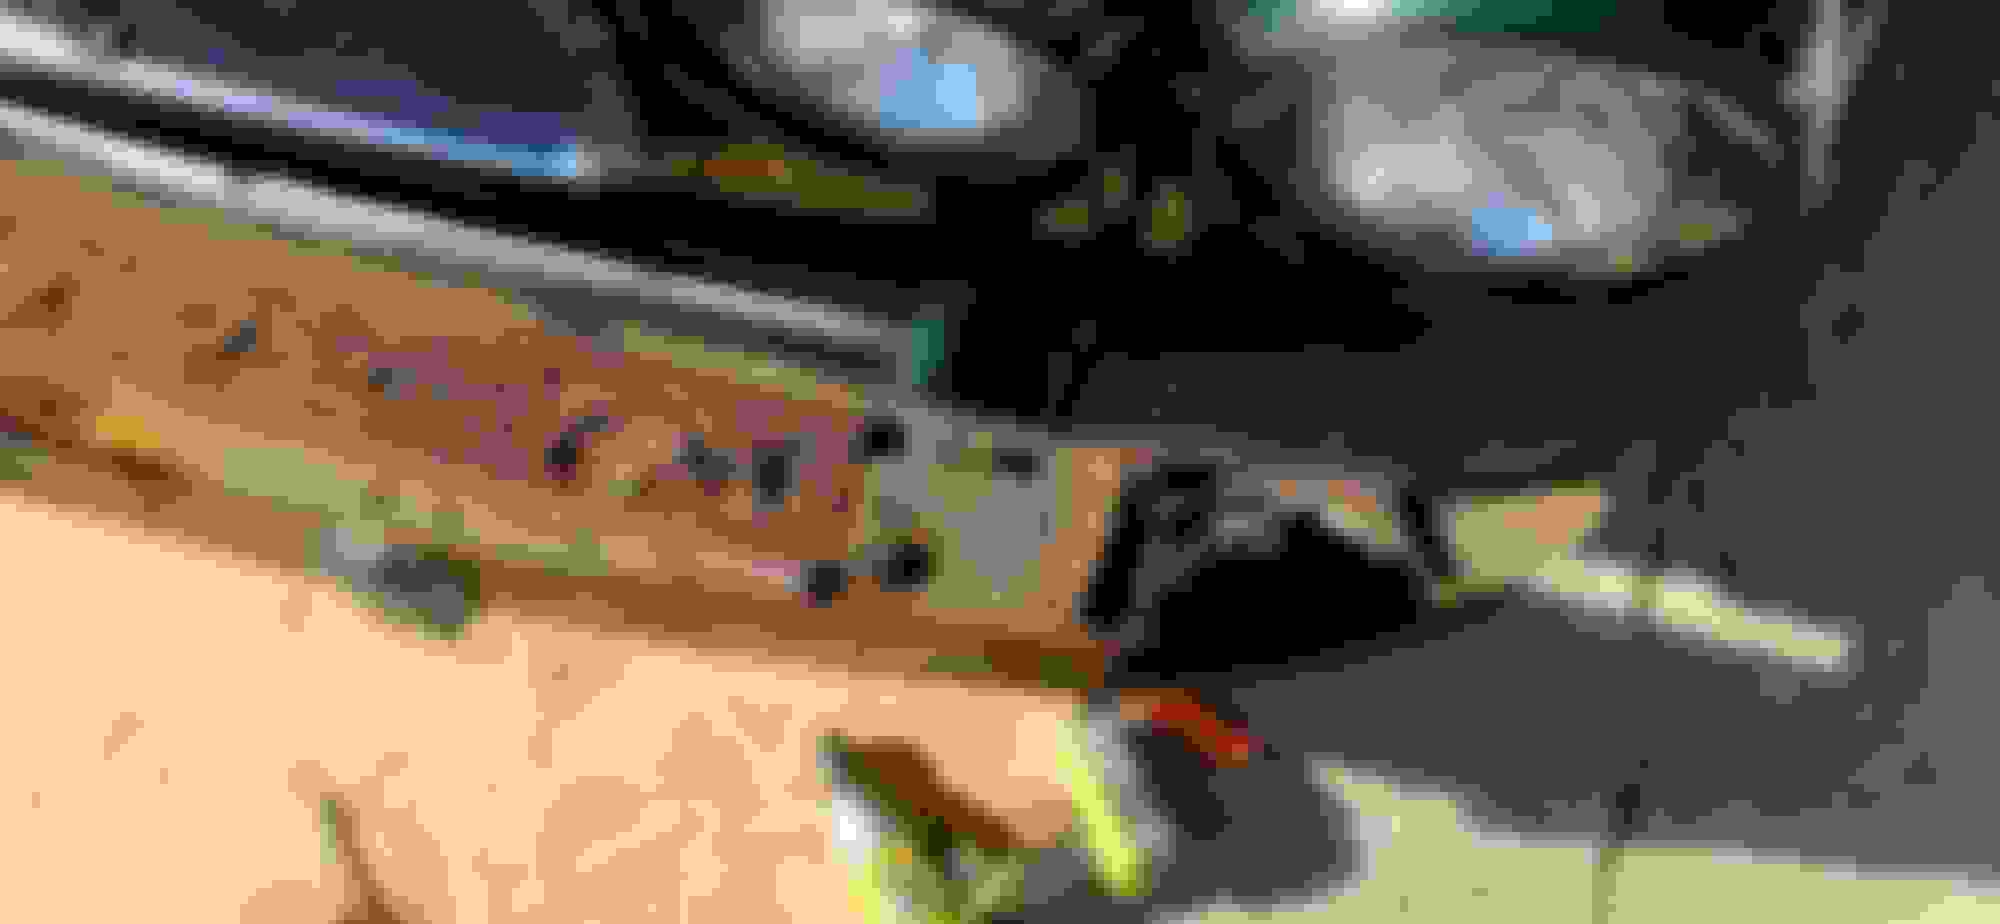
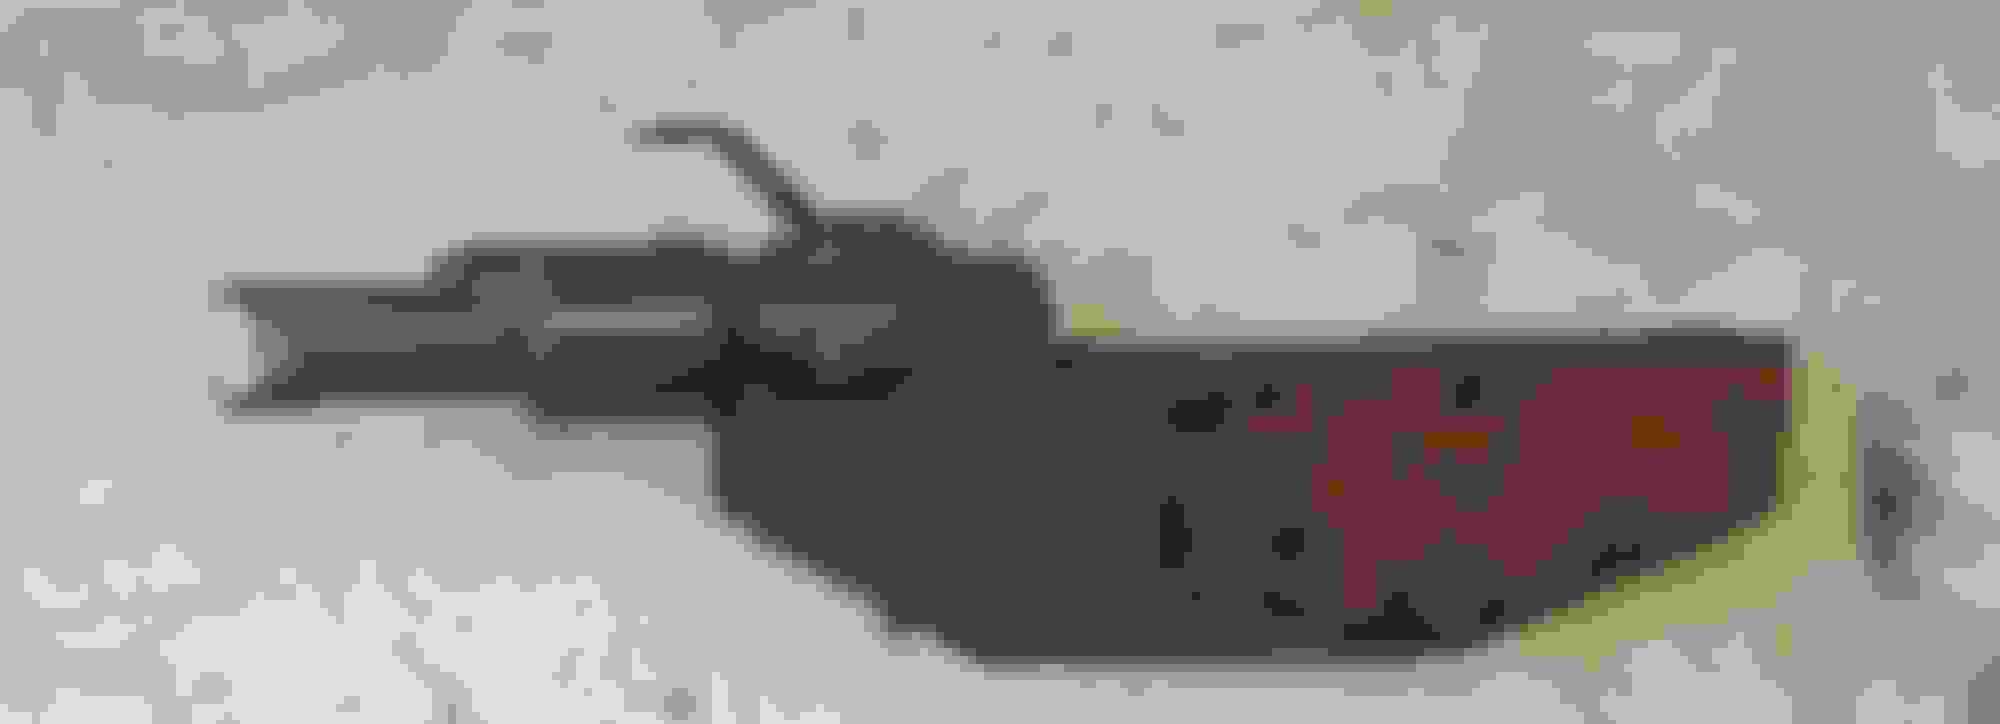
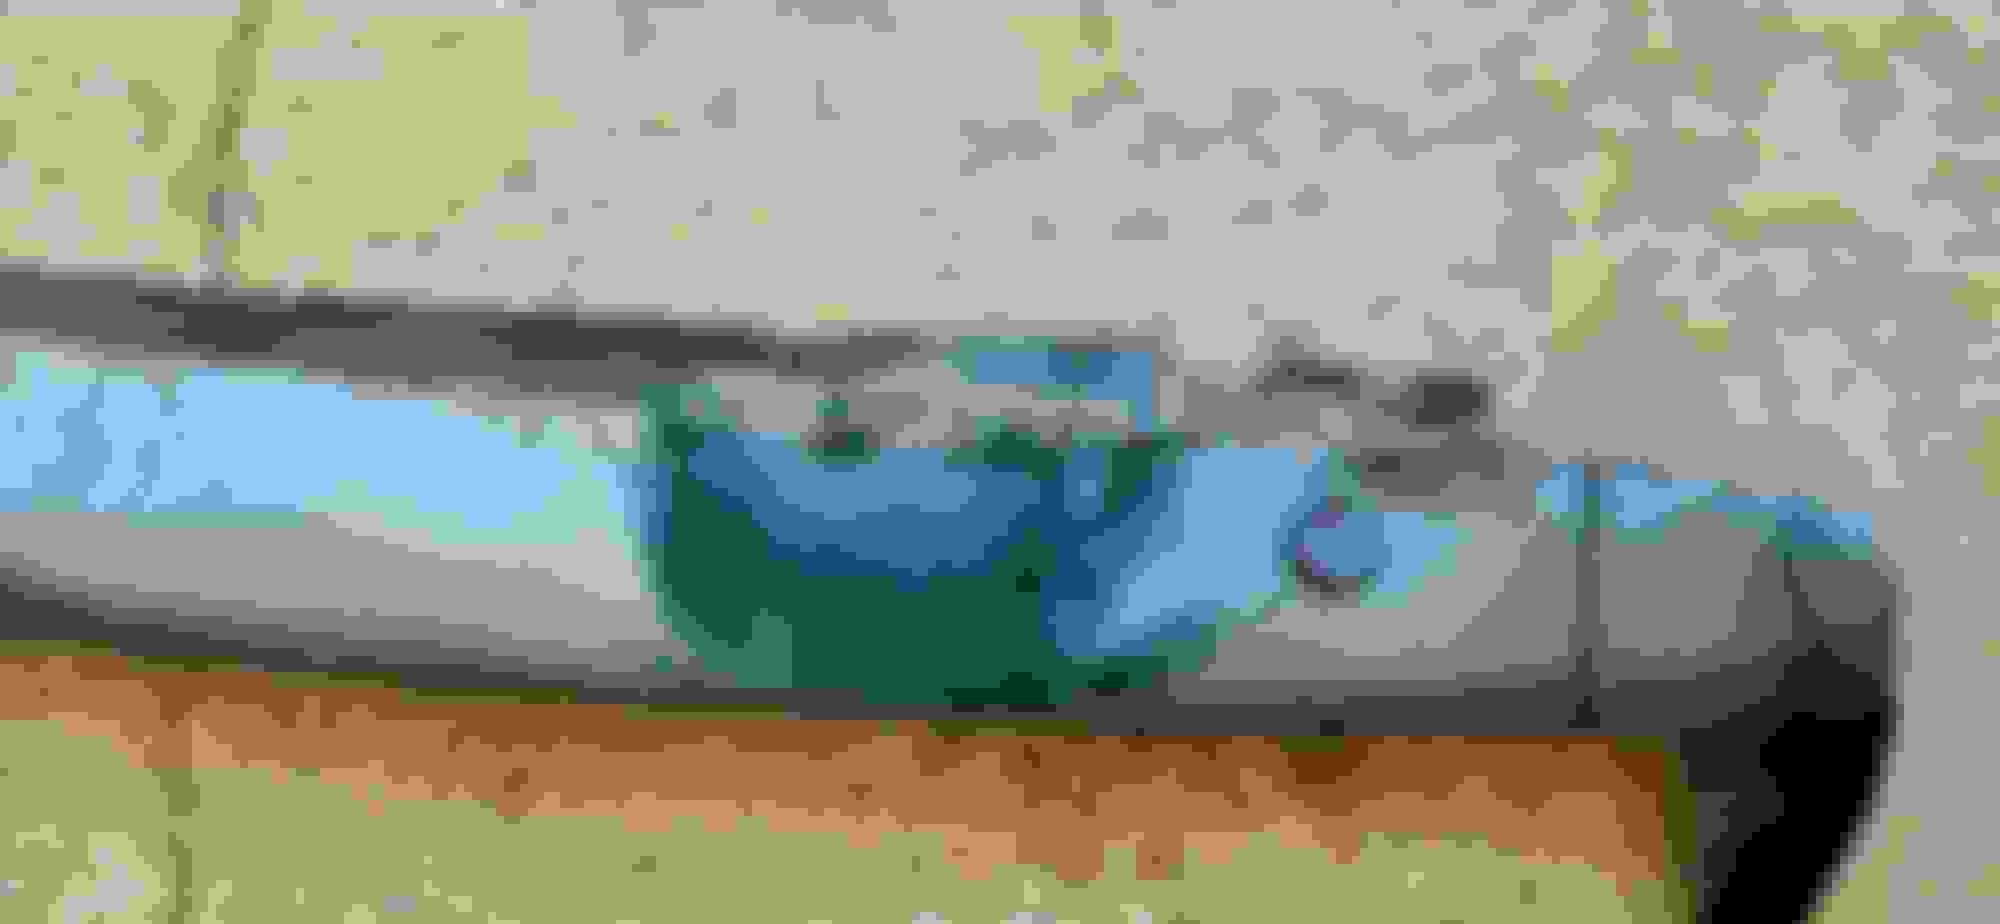
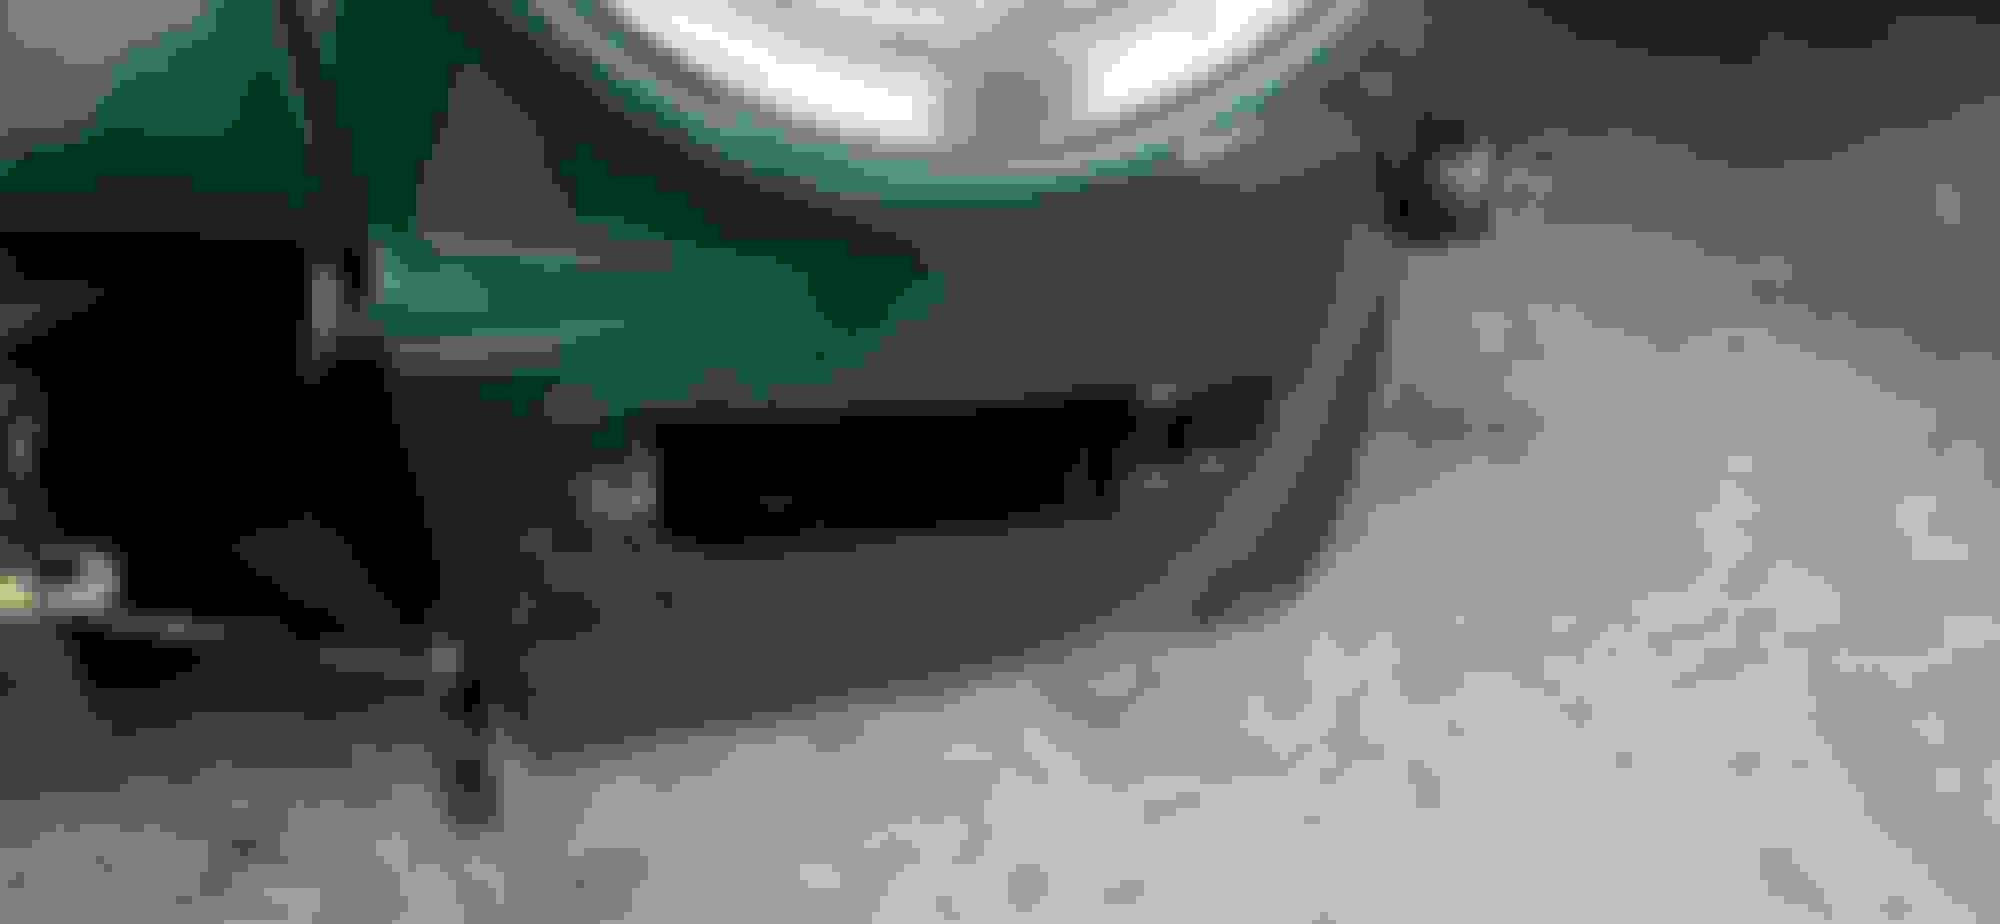
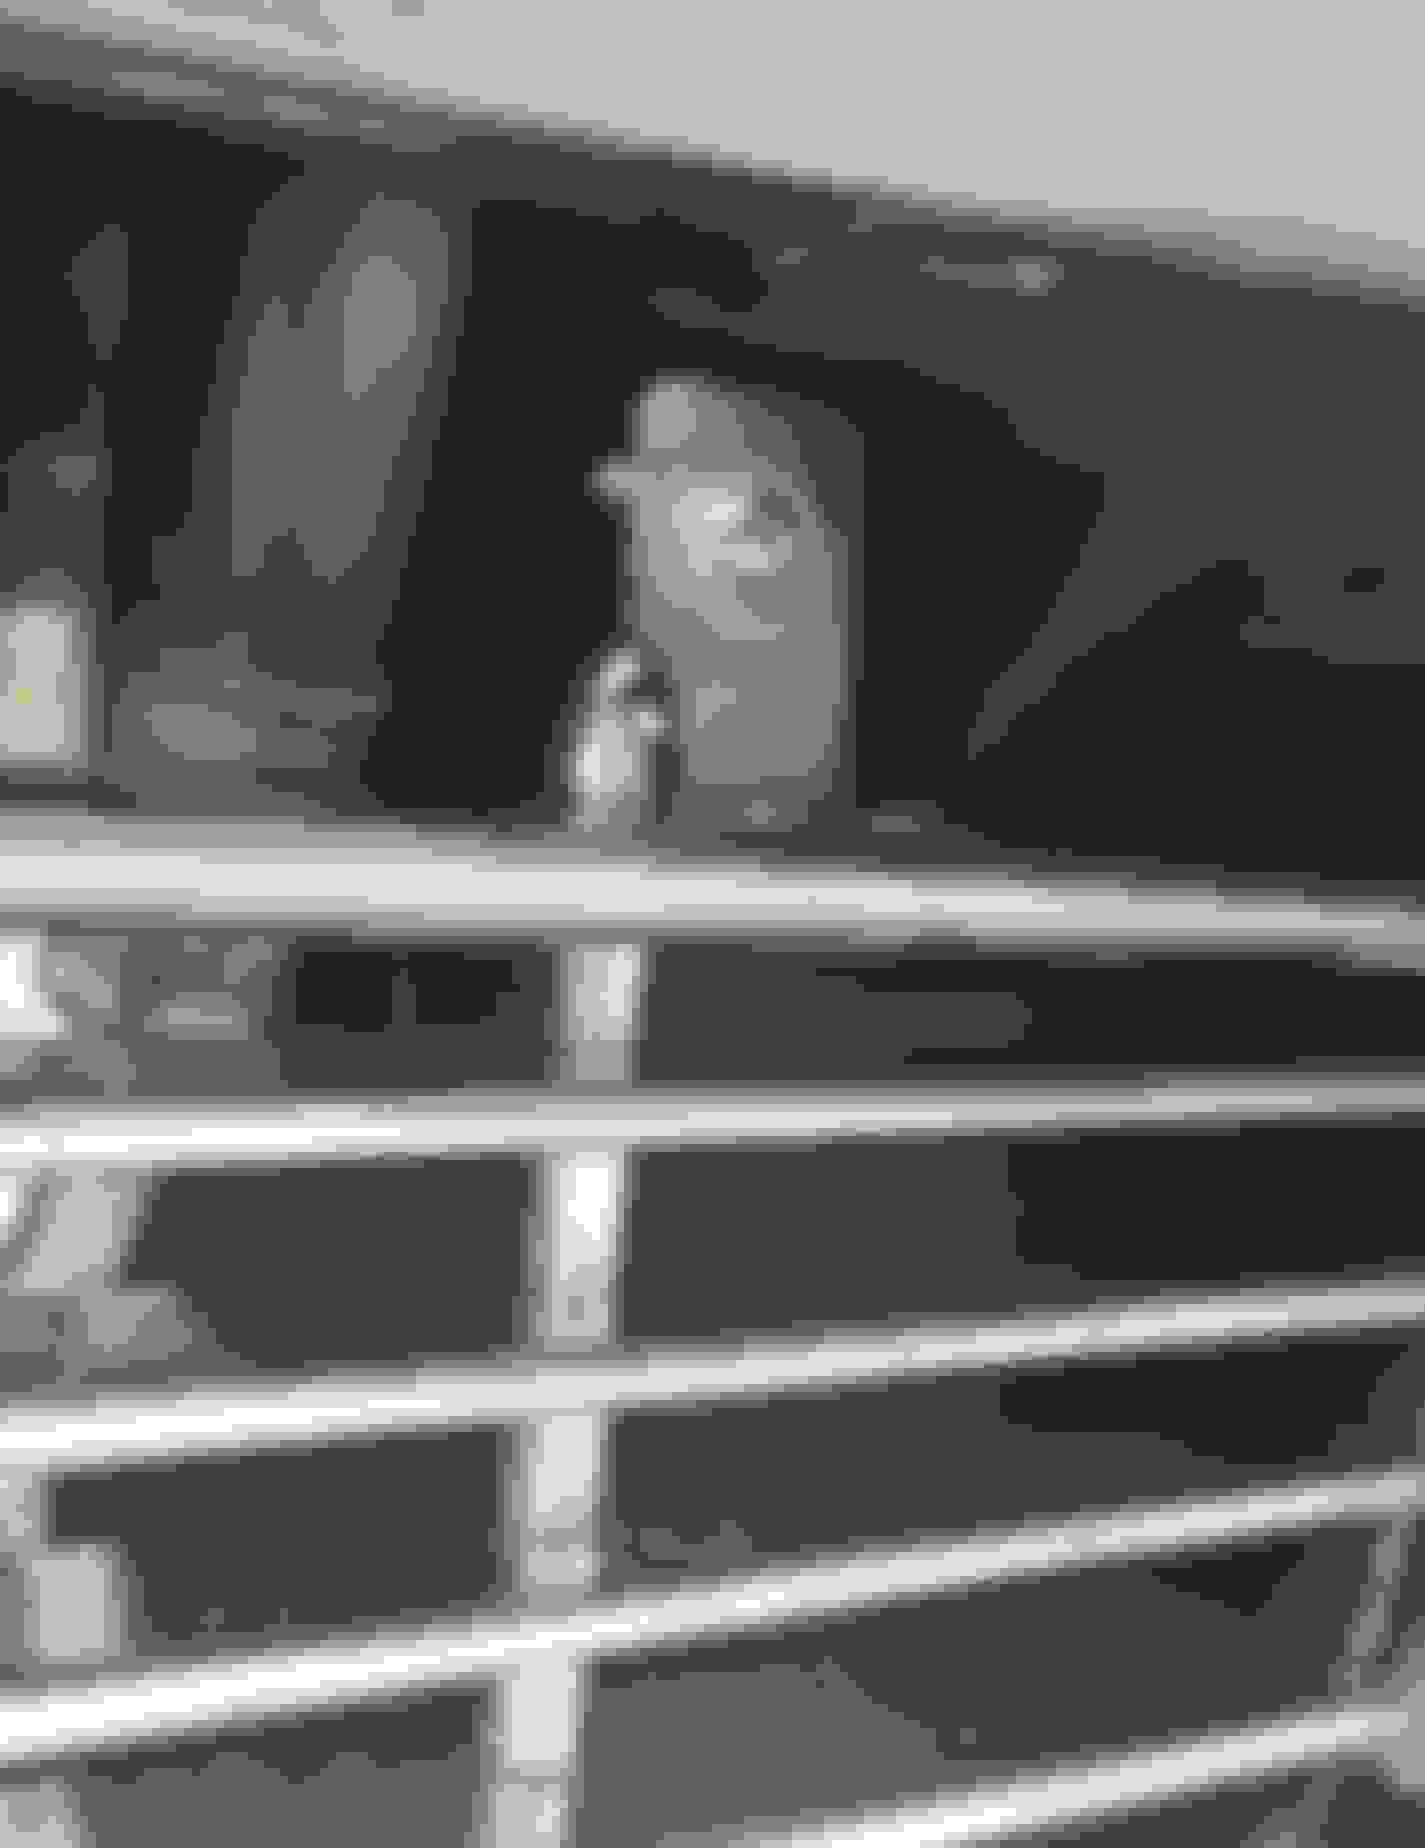
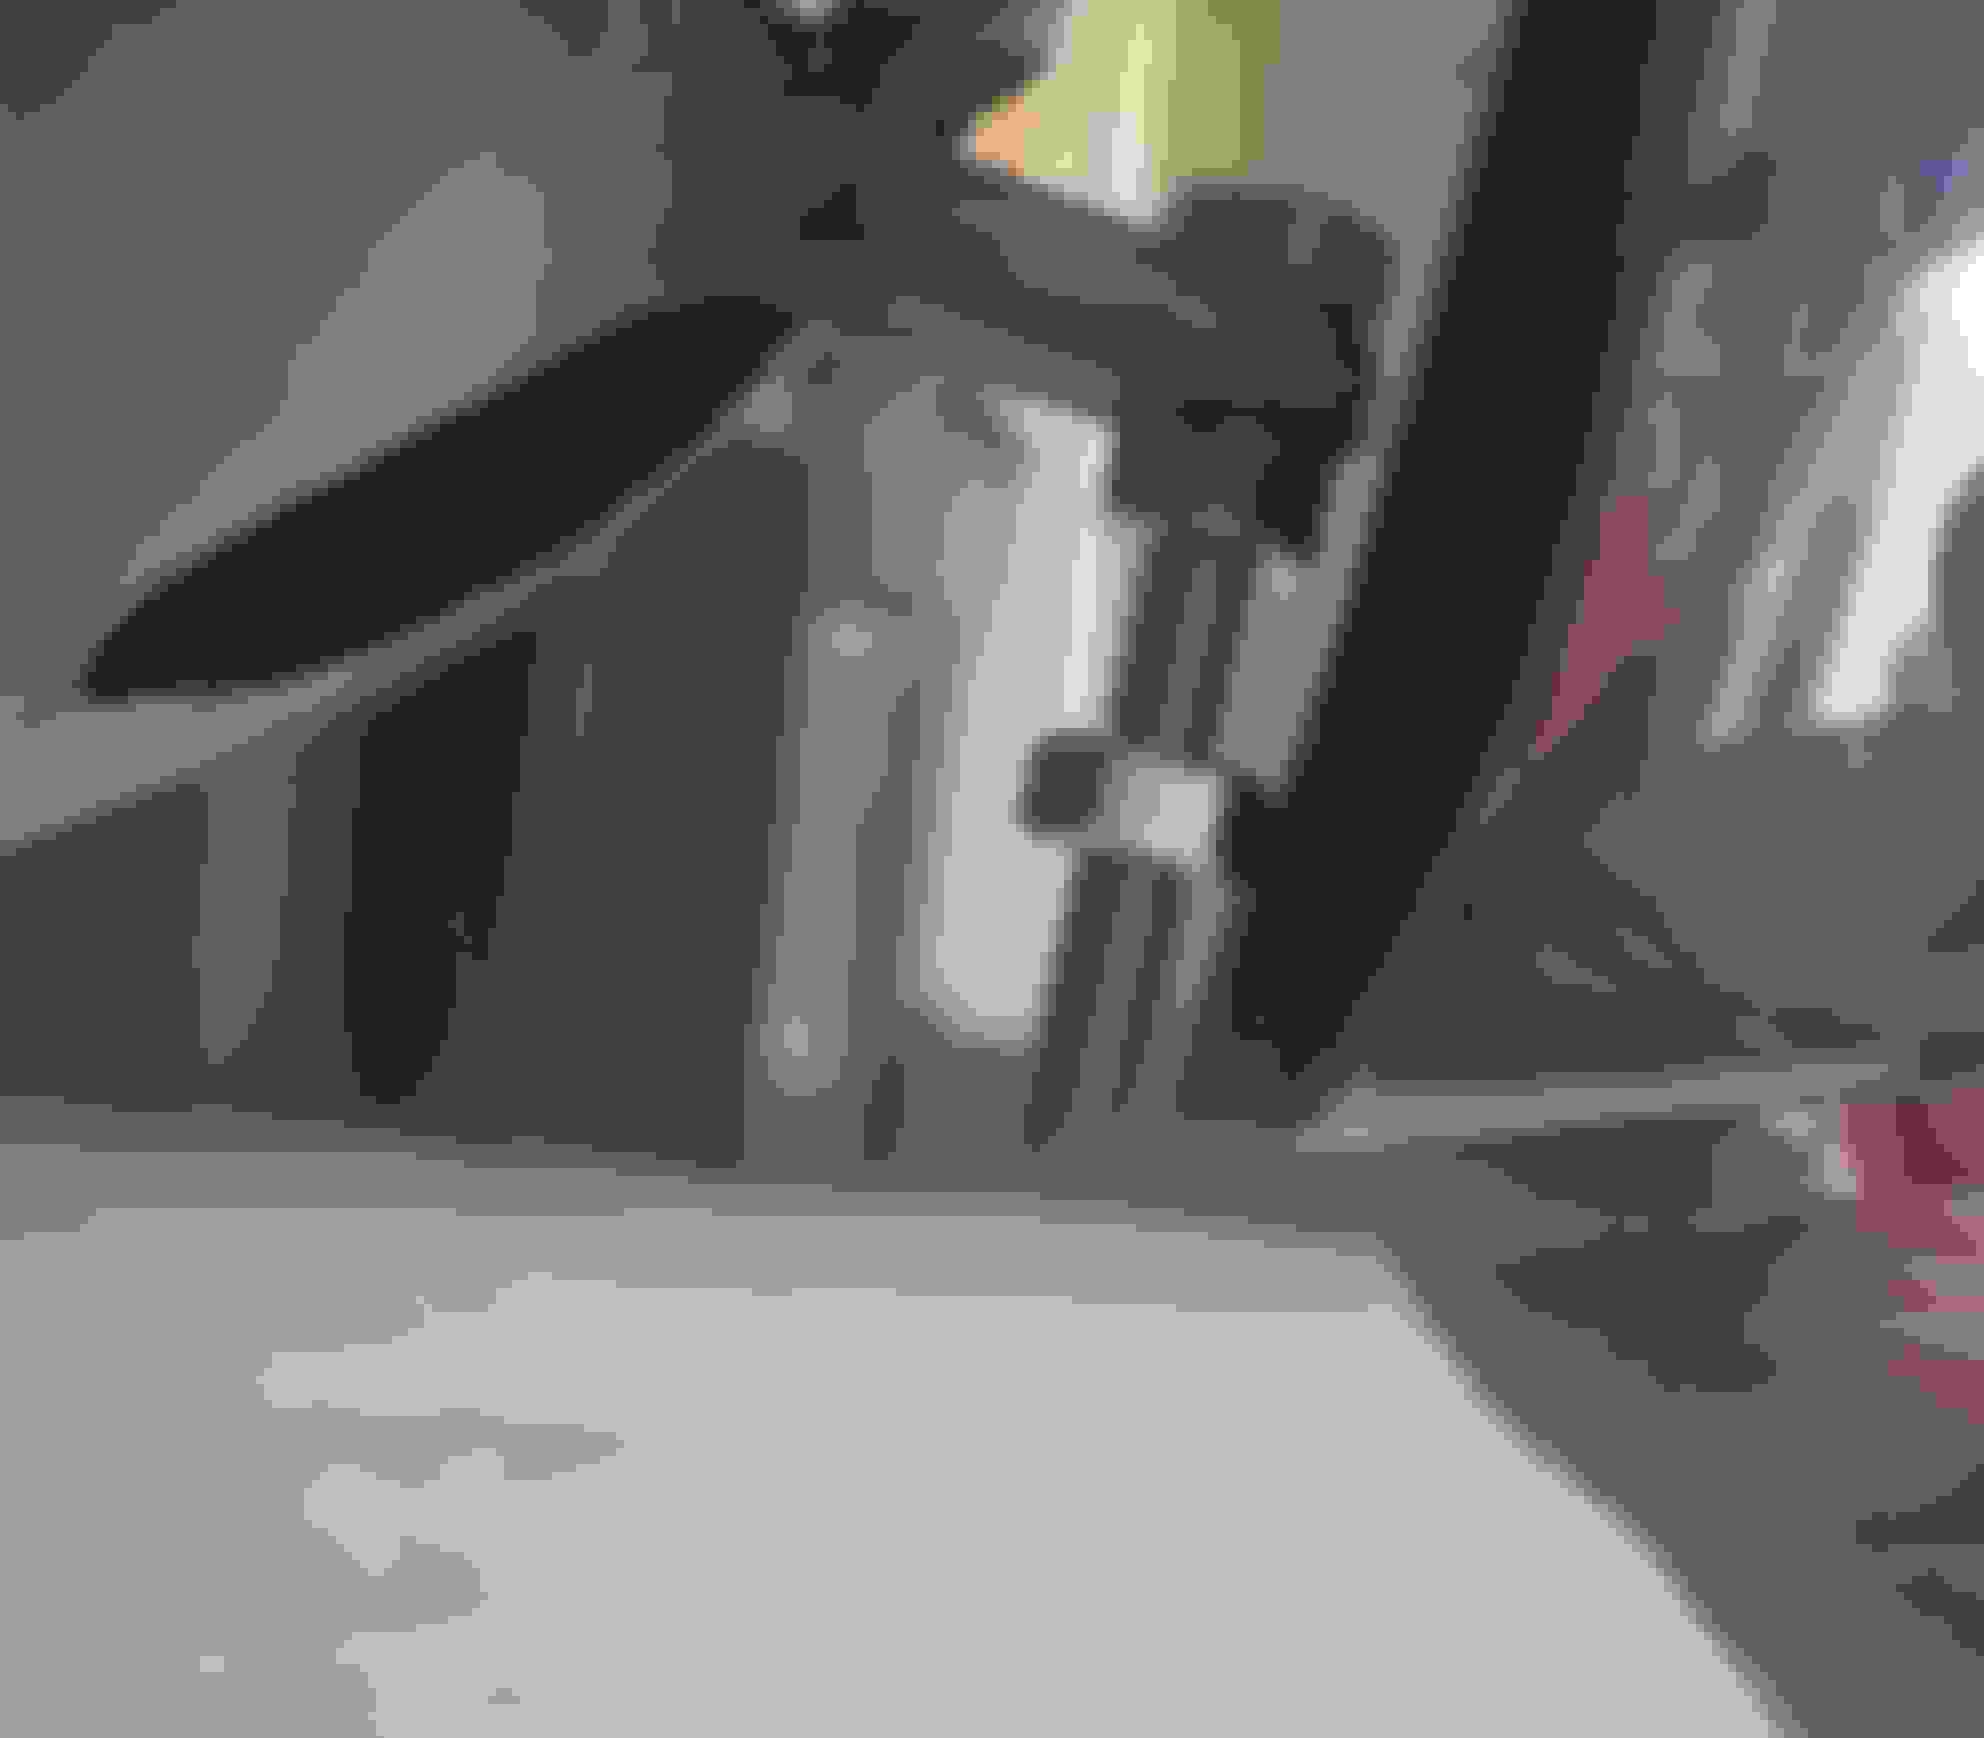
Various photos of the coupe denuded of 5mph federal bumpers. The regency red car is my S1 without bumper to show the two attachment points on that car.
Various photos of the coupe denuded of 5mph federal bumpers. The regency red car is my S1 without bumper to show the two attachment points on that car.
Rusty series 1 rear bumper below for reference
I am contemplating the same project on my 1976 XJ12L. Could someone please post some pictures of both versions of the hinges and possibly how they mount on the car? I have still not found a set of euro hinges and am wondering if I can modify my existing ones with some minor metal work and welding. Thanks
I am contemplating the same project on my 1976 XJ12L. Could someone please post some pictures of both versions of the hinges and possibly how they mount on the car? I have still not found a set of euro hinges and am wondering if I can modify my existing ones with some minor metal work and welding. Thanks
Here's a capture from parts manual.
The euro hinges are very weak whereas the Federal/US ones are too strong. I am going to experiment with fabrication to try and find a middle ground
I am contemplating the same project on my 1976 XJ12L. Could someone please post some pictures of both versions of the hinges and possibly how they mount on the car? I have still not found a set of euro hinges and am wondering if I can modify my existing ones with some minor metal work and welding. Thanks
Here's a capture from parts manual.
The euro hinges are very weak whereas the Federal/US ones are too strong. I am going to experiment with fabrication to try and find a middle ground. Rusty XJC posted a picture of the europarts further up thread.
Last edited by olivermarks; Mar 20, 2018 at 02:37 PM.
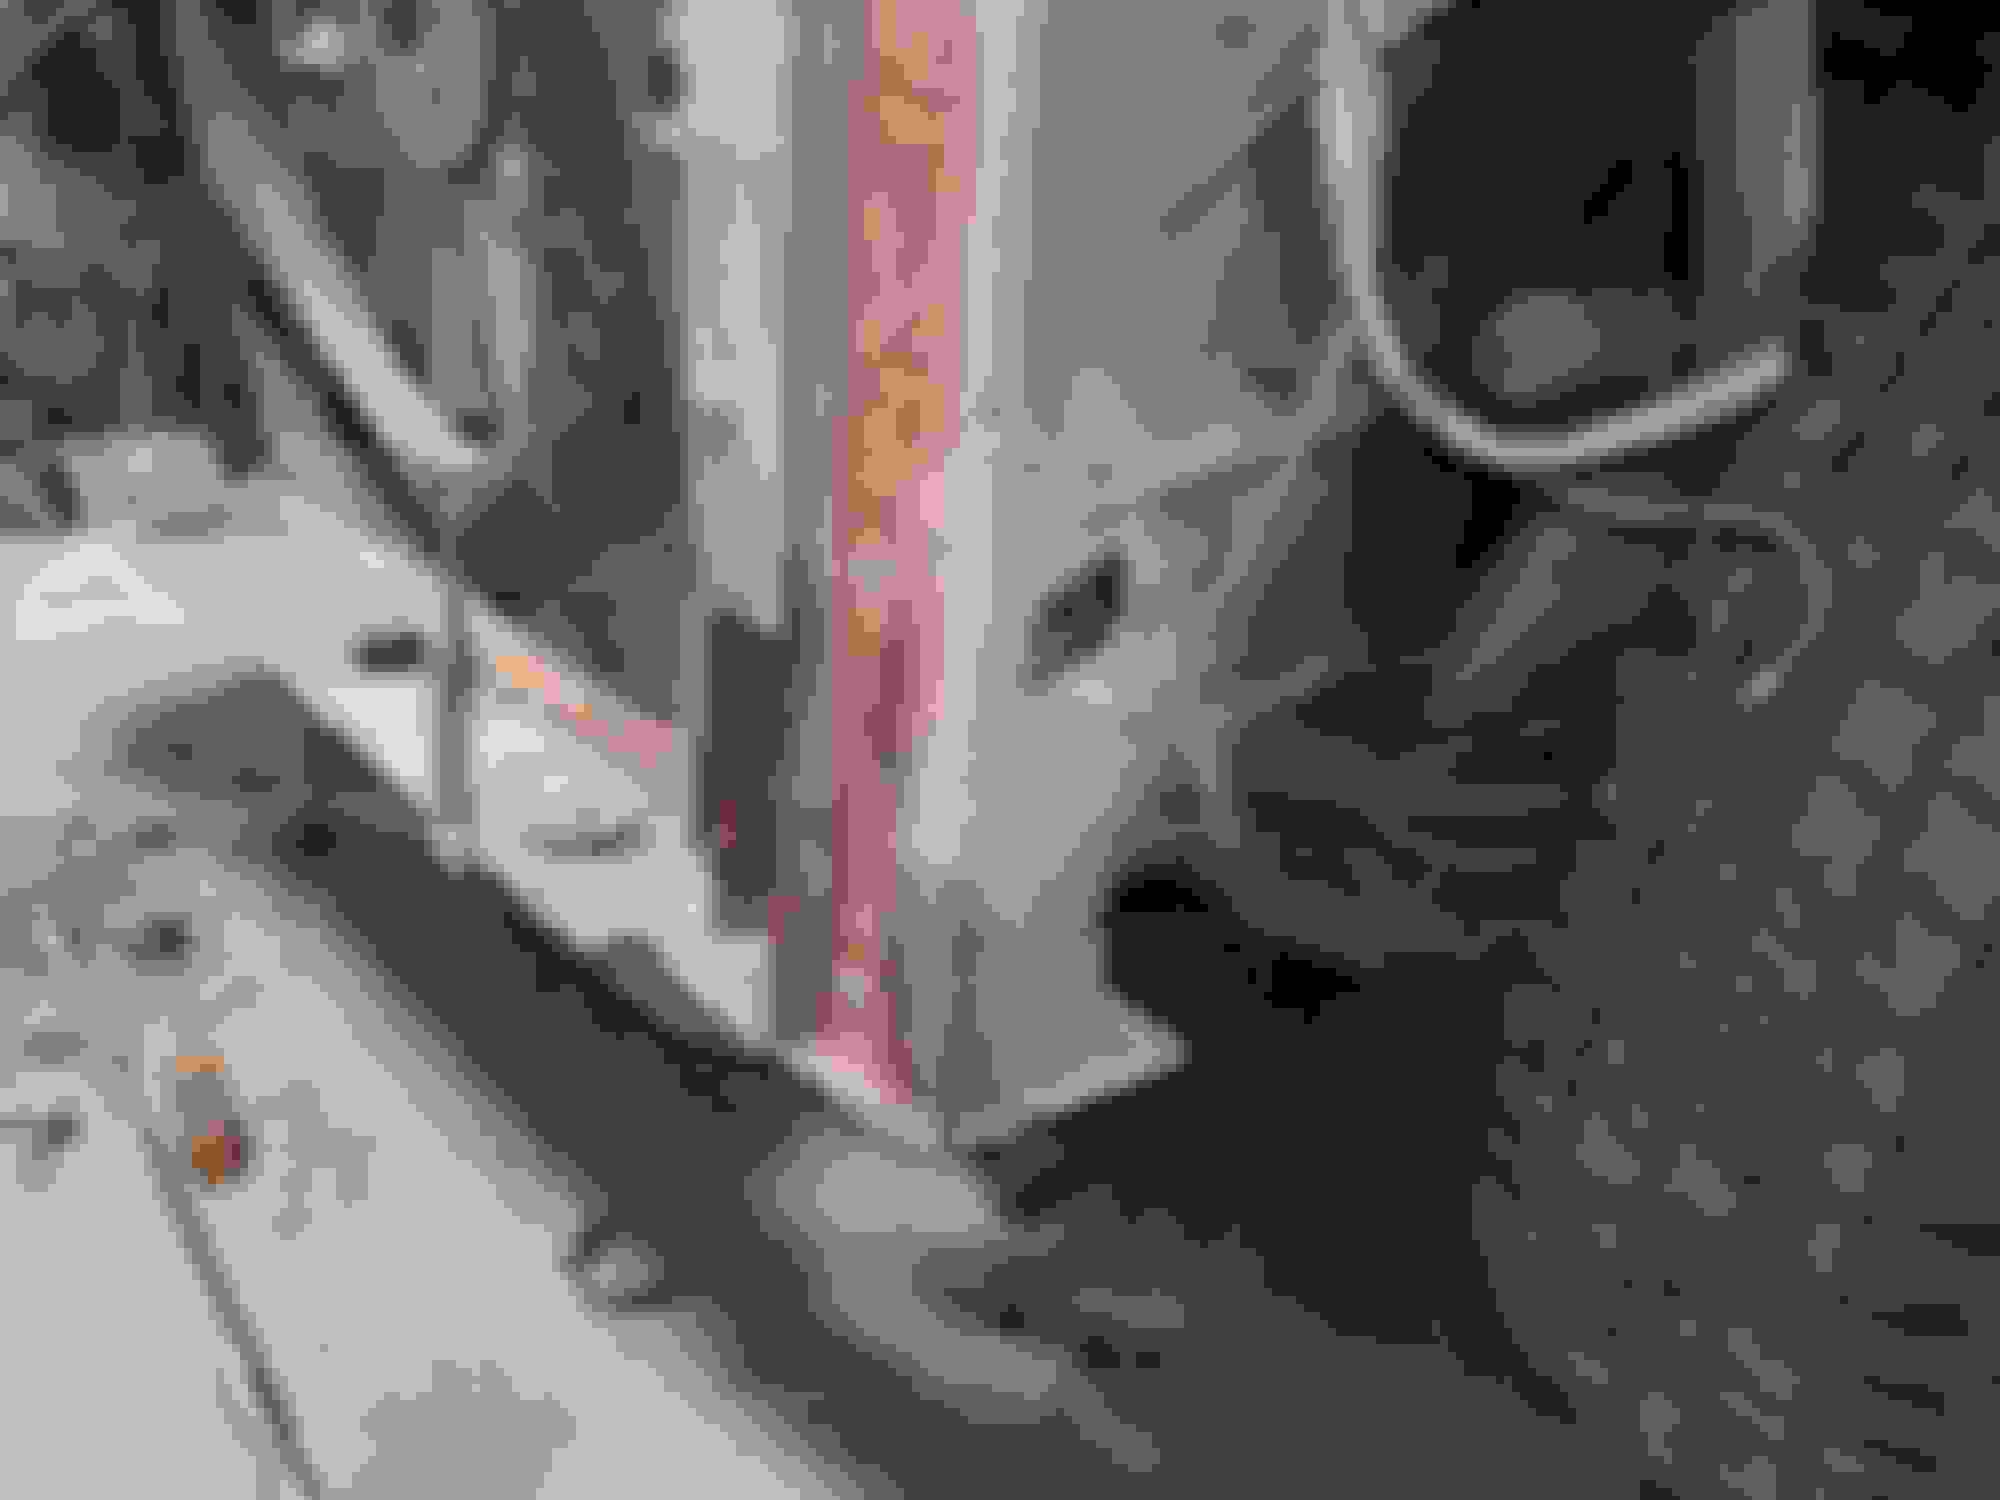
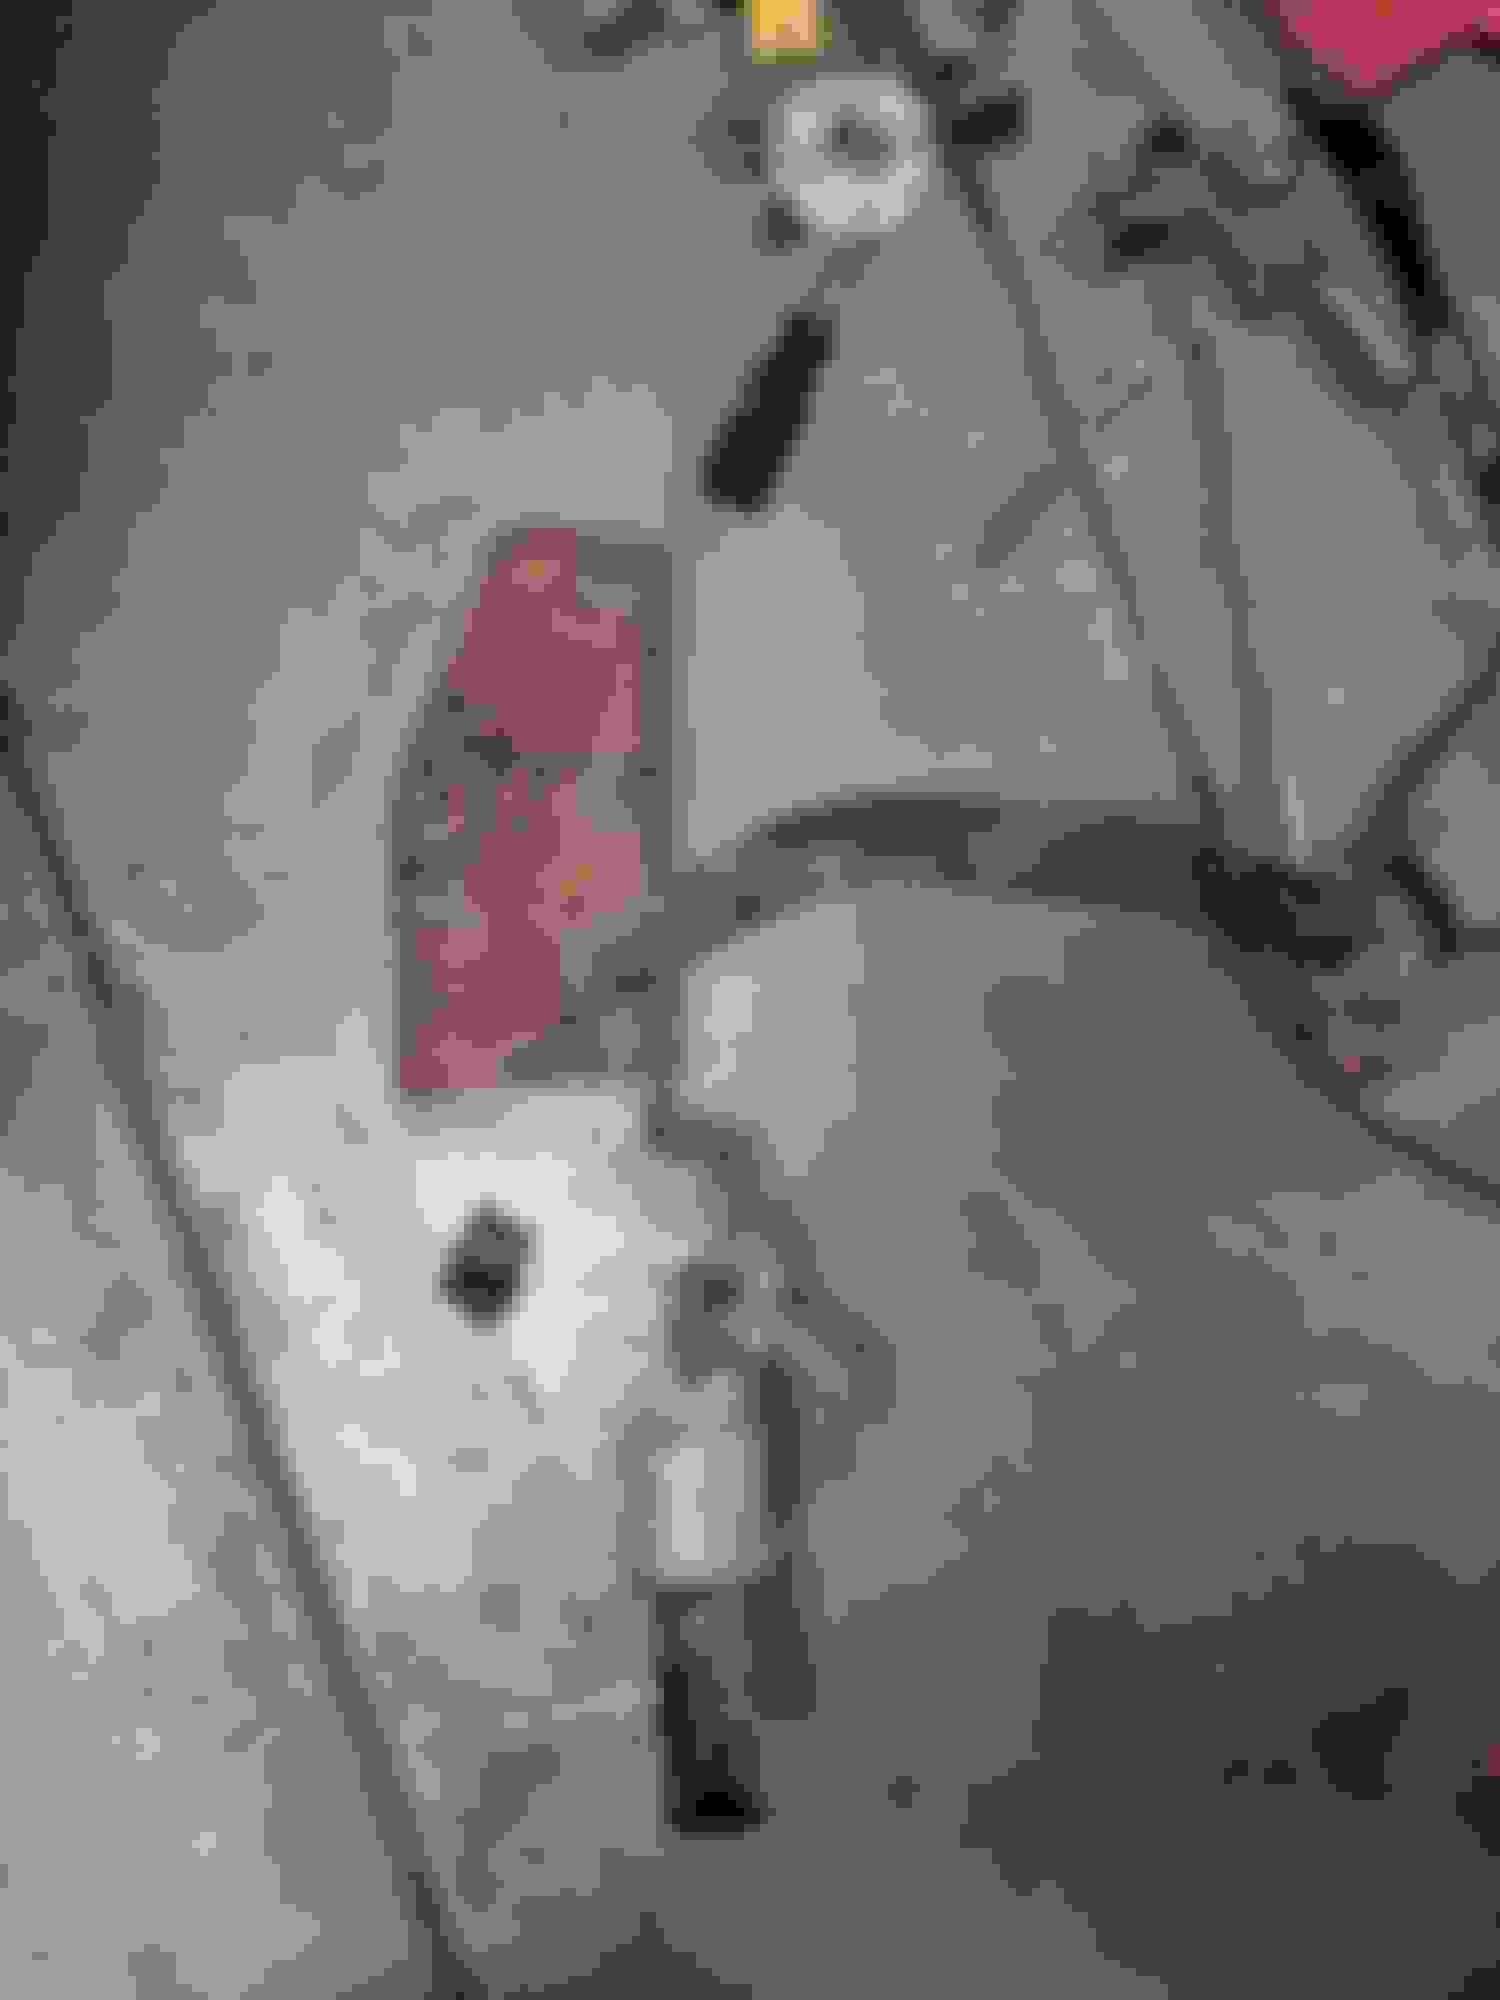
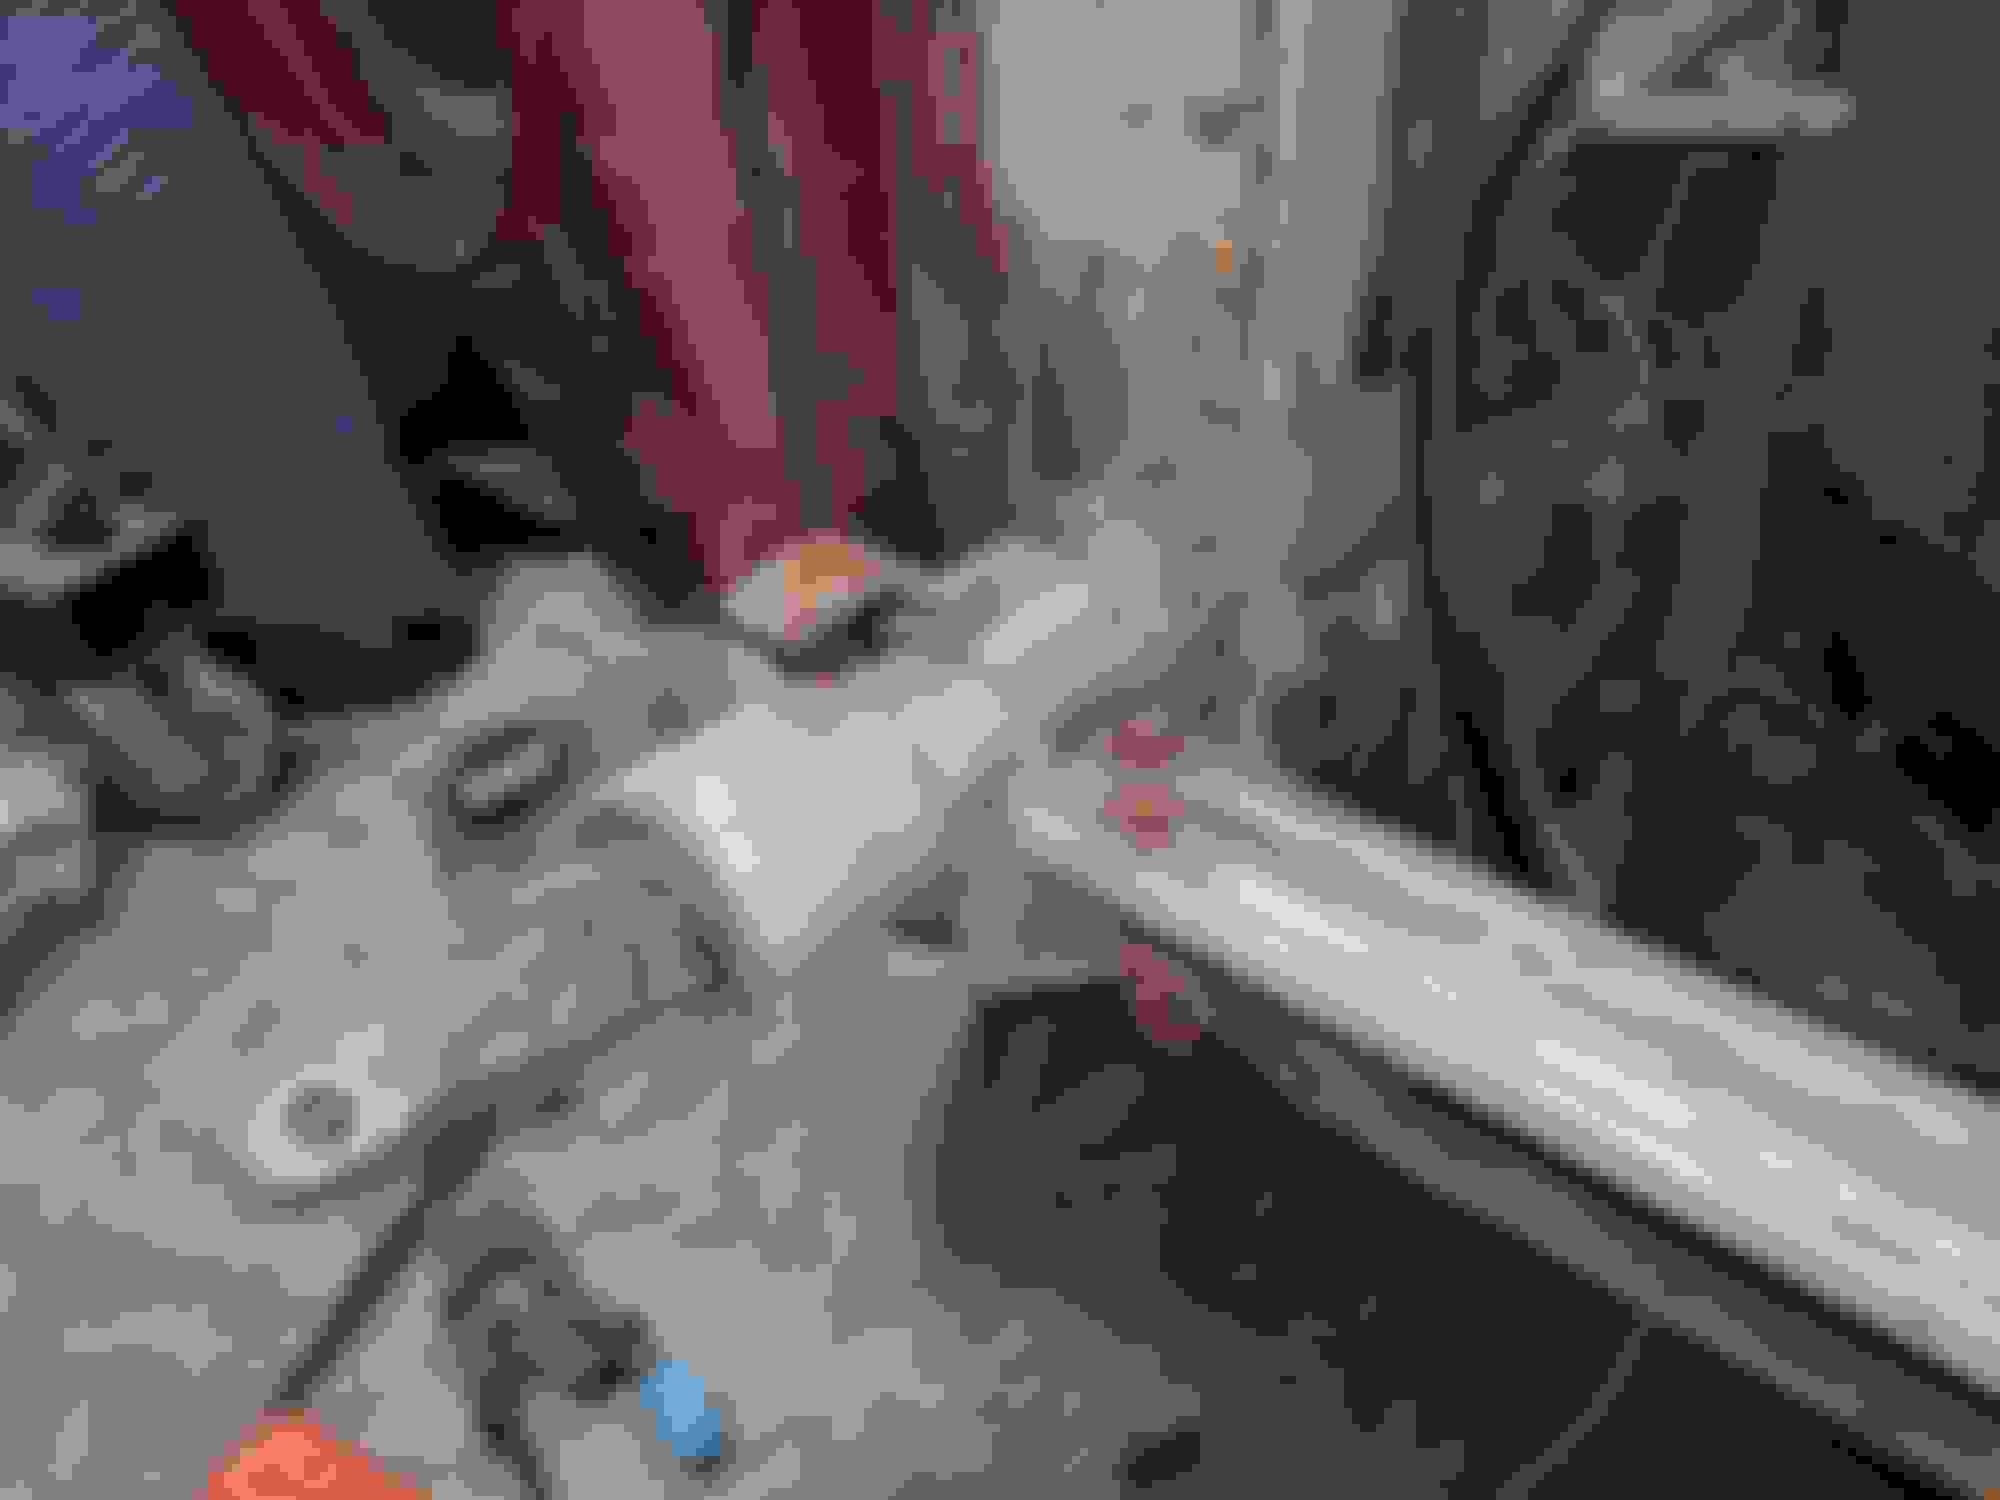
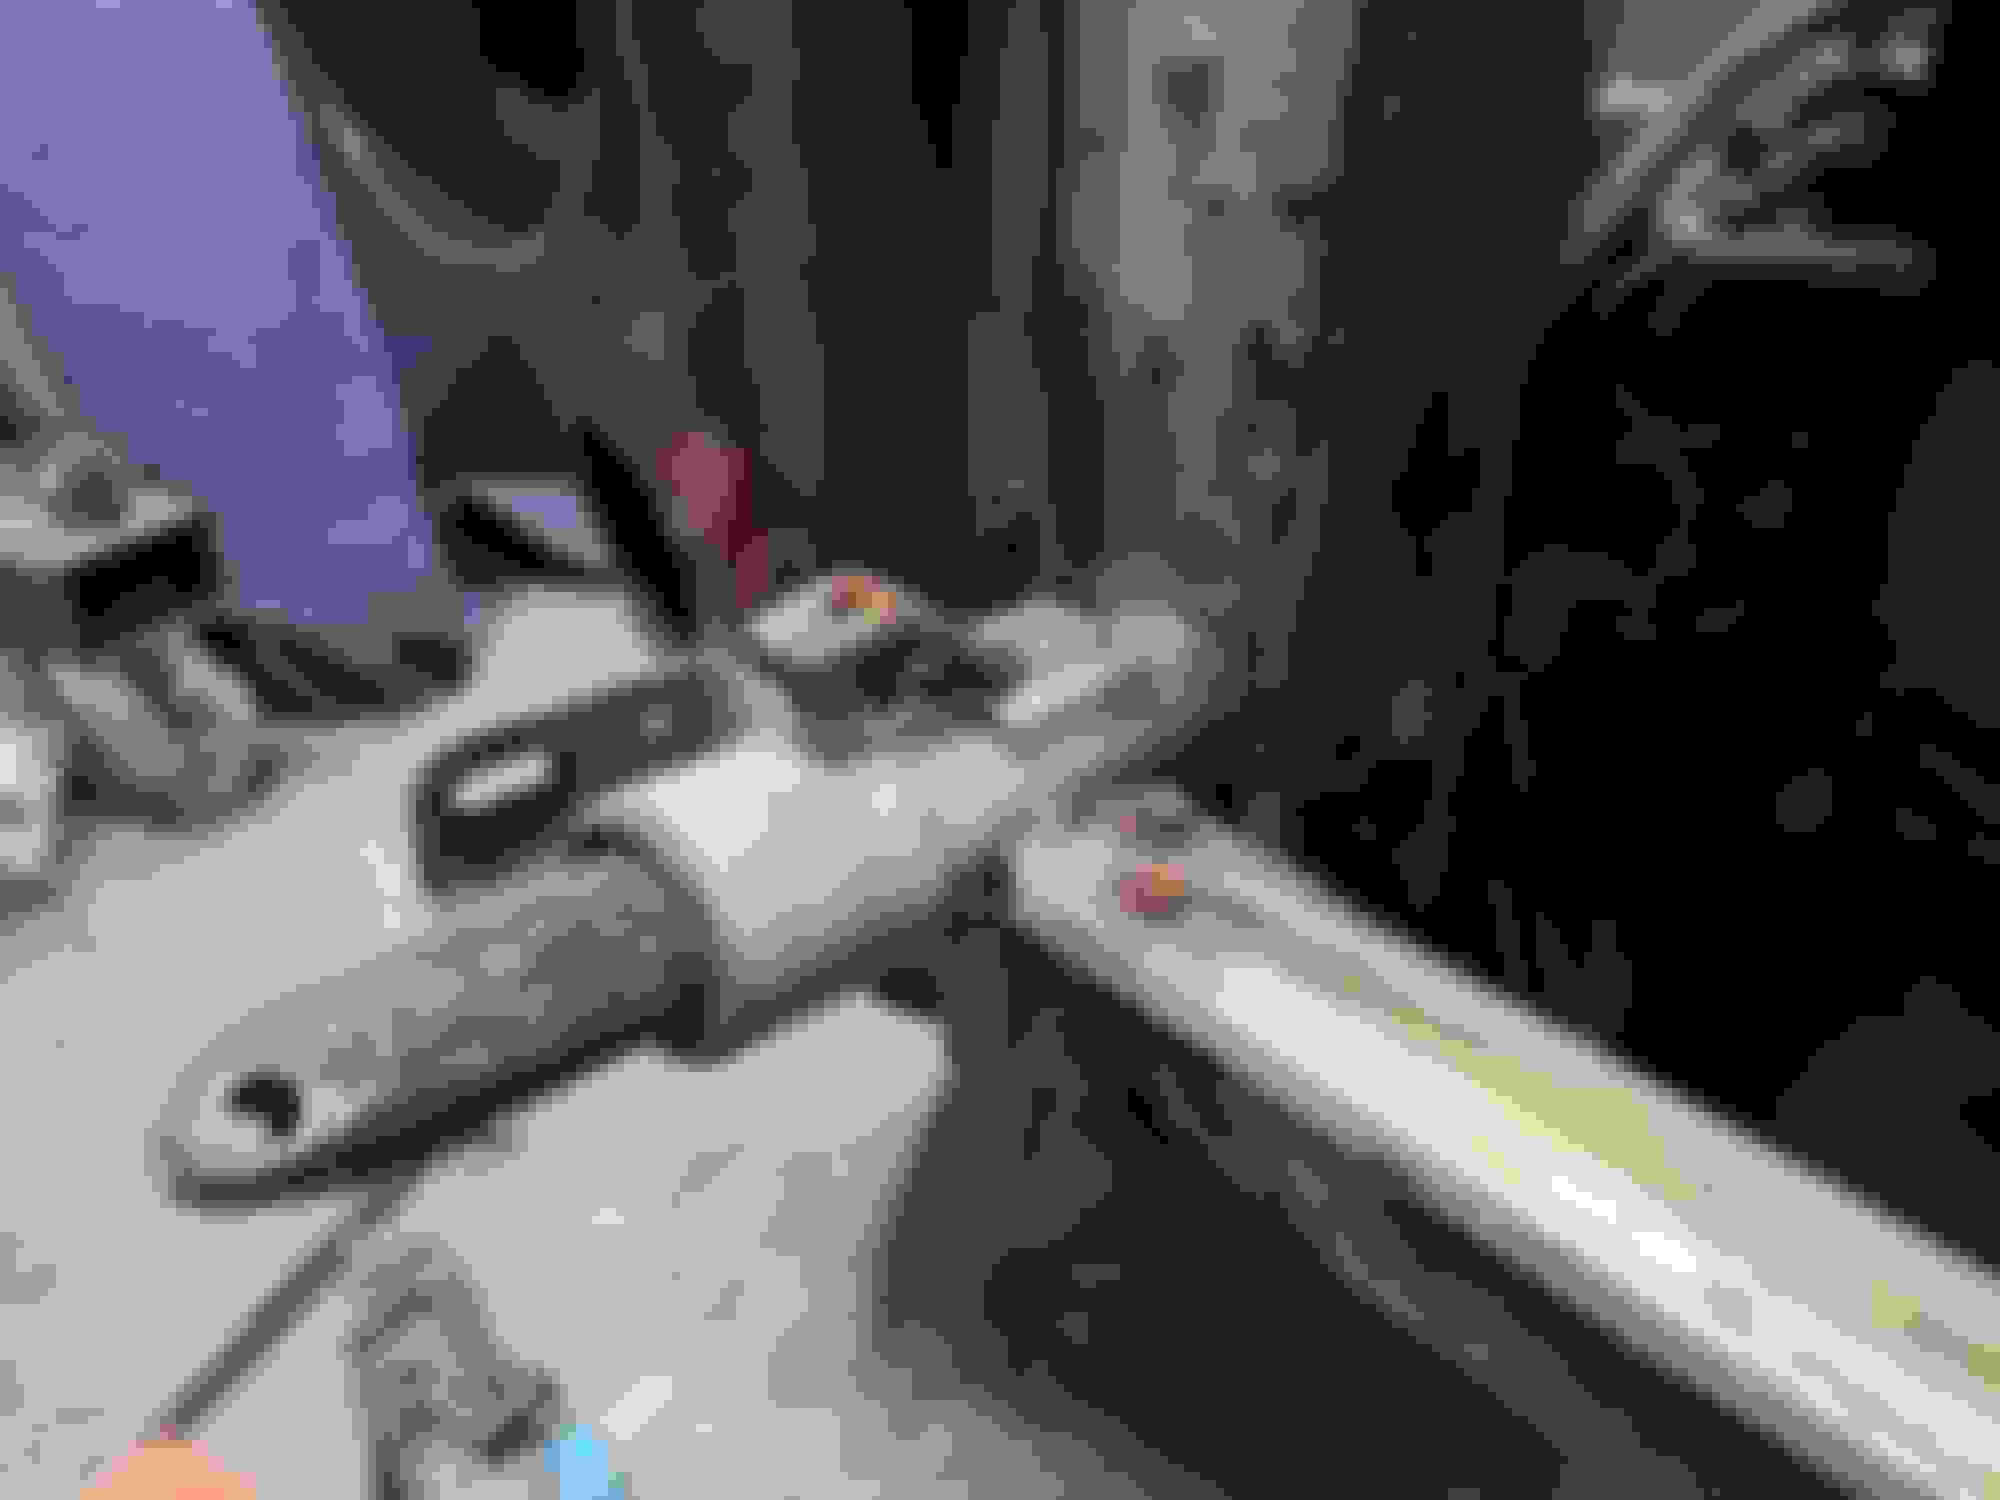
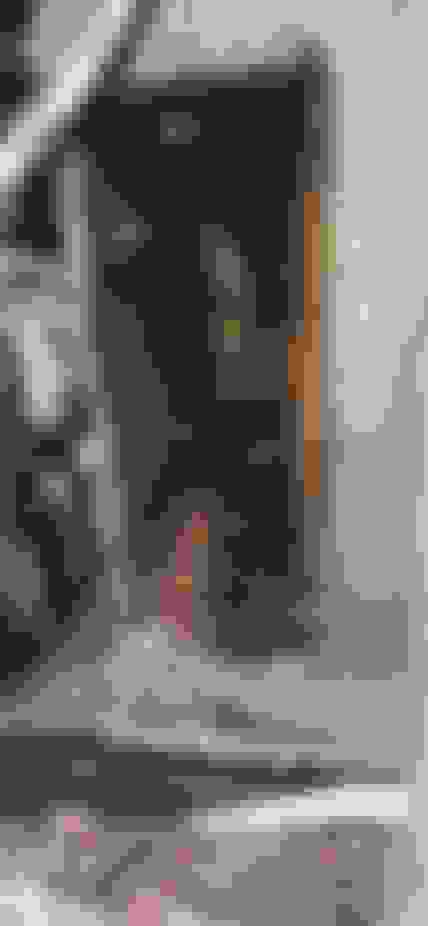
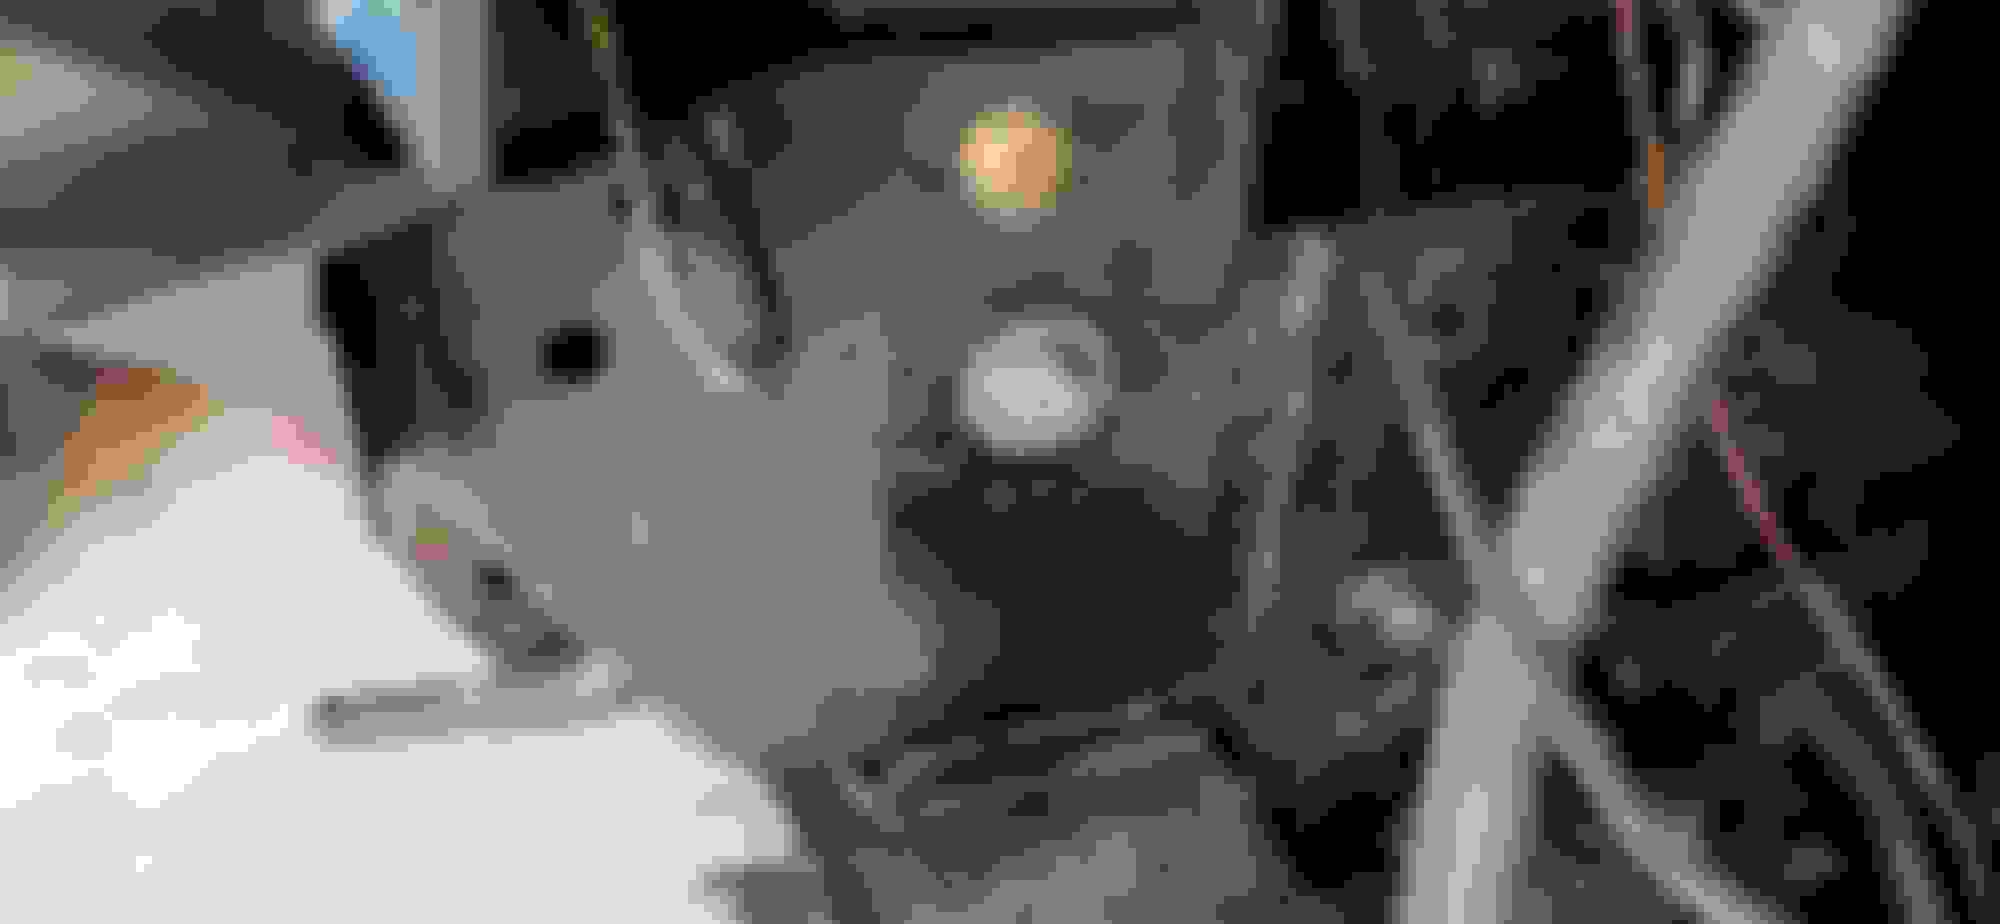
Some reference photos of front ram assembly disassembly. Radiator and aircon removed, a lot easier to see.
cavity for front bumper ram unit cavity for front bumper ram unit
If you have all euro parts it should bolt right up. I found some NOS hinges in the uk and bought a new valance from Robey. I'll take some pictures tomorrow when I will be where the project car is
If you're looking at this from a profit & loss perspective - the money and time you spend to switch to the Euro bumpers is unlikely to be recouped when you sell the car.
Generally speaking, most of us are not here because these cars make financial sense. We're here because we love the way the cars for what they are. We love the experience of owning, driving, maintaining, or even just admiring them. Most of us here have probably sunk more money into the car then we will ever reasonably sell it for.
If you like the Euro bumpers then you should do it - but do it for you. Don't do it thinking you'll get your money back for it down the road because the chances are - you won't.
I think all of us who have attempted this have had varying experiences. A year gathering parts then the work itself making discoveries along the way. At 79, not sure I have the energy to complete the rear this summer or the time. People actually think once you are retired you have all tyhre time in the world, ain't so.
Each of us are going to post a pics that may invite questions and that is the intention. We all have our own experiences ! Looksd like I may have to transfer them to my PC first.
Originally Posted by olivermarks
I'm about to convert my 'federal' US 76 xjc to euro spec bumpers so thought I'd document progress and comments in a thread as a lot of people seem to discuss this but there's no clear 'how to' anywhere.
Removing the comedy fairground rubber covered bumpers is a simple process and will yield a few dollars in scrap value. The rear is just two big bolts and the side chrome bumper trim bolts which are the same as a series 1. the front is two big bolts and similar trim removal. What's behind the bumpers are two 5mph rams each end that the 'two big bolts' are attached to. To fit euro bumpers these need to be removed and replaced with mounts for chrome bumpers. I am using a US 73 series 1 rear bumper (with no license plate light) from a series 1 parts car. The front bumper needs to be imported from any market that had that build version, or a new repro bumper.
According to the shop manual removing the rams entails removing a nut on the inside end of each ram, which is mounted in a robust steel tube that is welded to the body. The front rams are accessible under the hood ( I have the radiator out but everything else is in place for now) and you can get a wrench on the nut. In theory you can then withdraw the ram, in practice they have probably been there for close to a half century and will need some encouragement and lubrication.
The rear removal is more problematic as the inside end of the rams and the release nuts are inside the exhaust cavity, so you will need to remove the exhaust system at rear.
I'll add some photos to accompany this as I progress.