When you click on links to various merchants on this site and make a purchase, this can result in this site earning a commission. Affiliate programs and affiliations include, but are not limited to, the eBay Partner Network.
Larry, I personally do not pinch the hoses for the main fact that you risk hurting the reinforcement fibers in the hose by bending it too much. That leads to a weak spot in the hose. Will it destroy the fibers when you do this? Probably not. Are you straining them, I would think so. Besides, the amount of fluid loss is very minimal and you are going to end up flushing tons of fluid through the line anyways to do a proper fill. Why spend extra time trying to pinch off a line to not save you any work in the end. Seems a bit self defeating to me.
Keep in mind that any time you open up the brake line, you WILL!!!!! admit air. If you can do it and not, I want to see how you did it. Besides, you are normally putting in a new caliper if you are disconnecting the hose anyways. So, you have a big air bubble there anyways.
Hi Chris,
Of course, what I had overlooked and what does stop the annoying drip at a disconnected Banjo bolt..... is by keeping the brake pedal depressed. This closes off the master cylinder preventing fluid draining away via the open line. I clamped a short length of wood between the steering wheel and the brake pedal to keep the pedal down. Then all you need to do is open a bleed nipple to release line pressure in any of the callipers, then you can disconnect any or all of the banjo bolt(s) ..... Bingo!! no more drips.
I have one remaining difficulty - with the now rebuilt Rear Caliper(s) that damn spring on the handbrake lever is a bugger to refit !!
Is there an easy way to do this? (I've tried all the hard ways)
If you have a tip or recommendation - that would be highly appreciated.
Wanted to take the time to thank Thermo again...
I've rebuilt my rear calipers twice now with out having to replace any O-rings.
Saved me tons of money & gave me insight to the workings of these combination calipers
Cheers good sir!
Gary
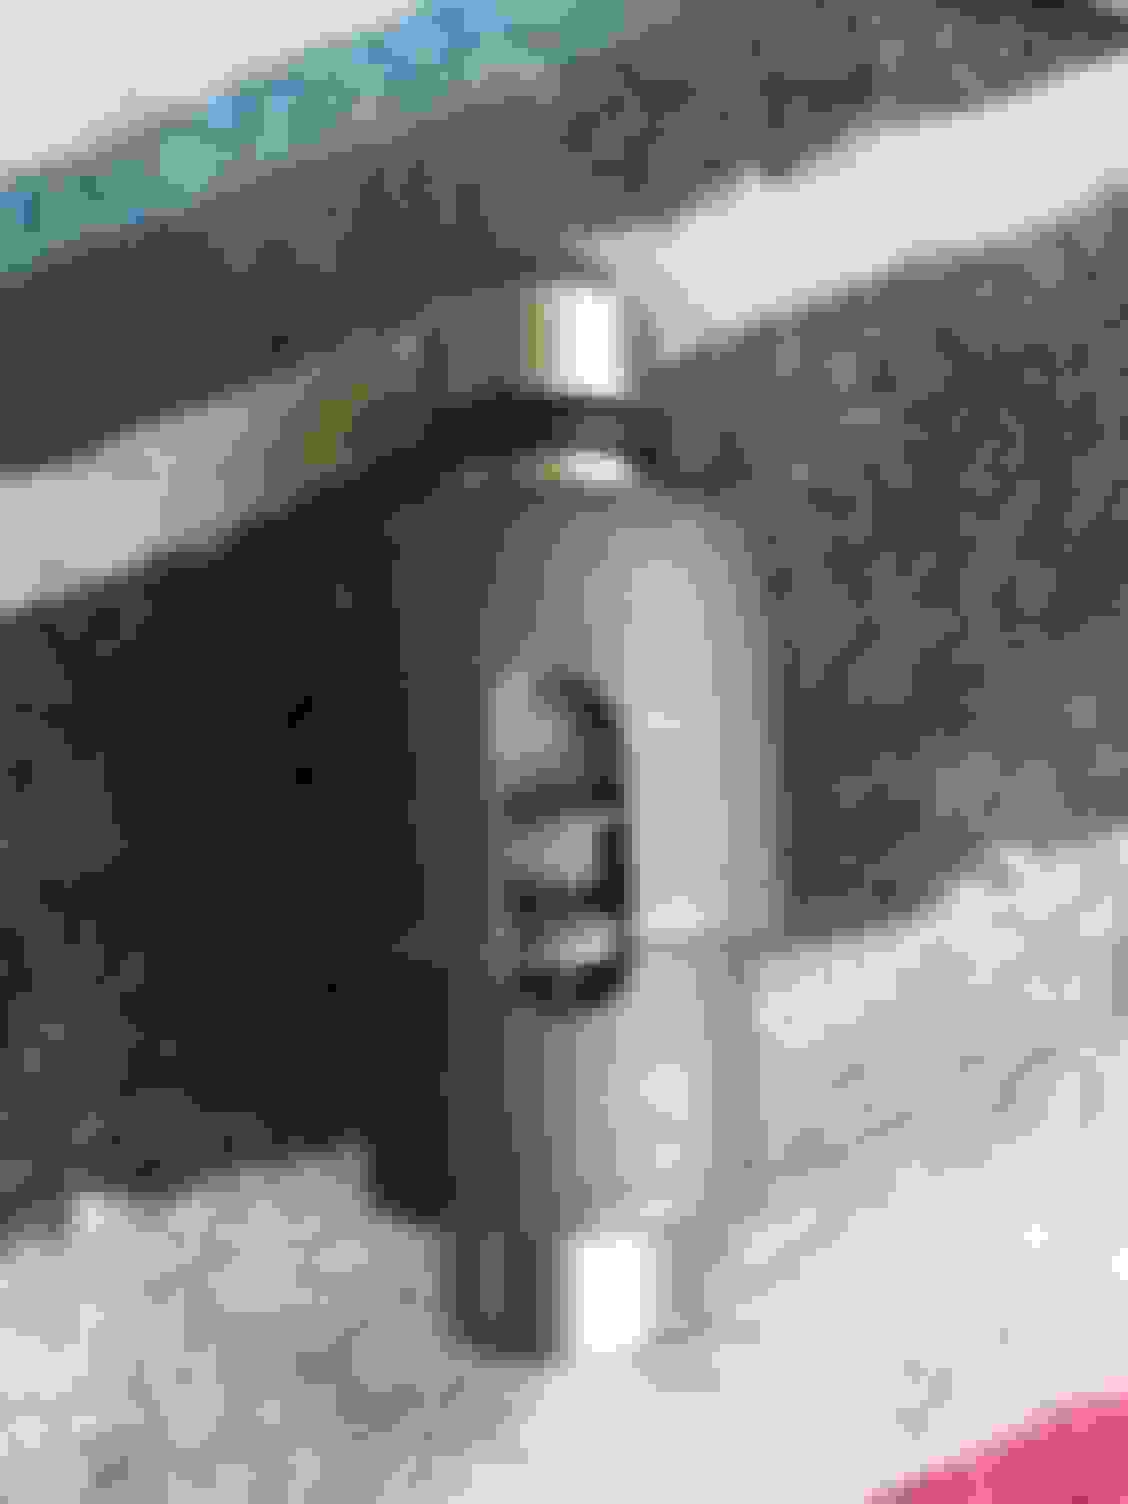
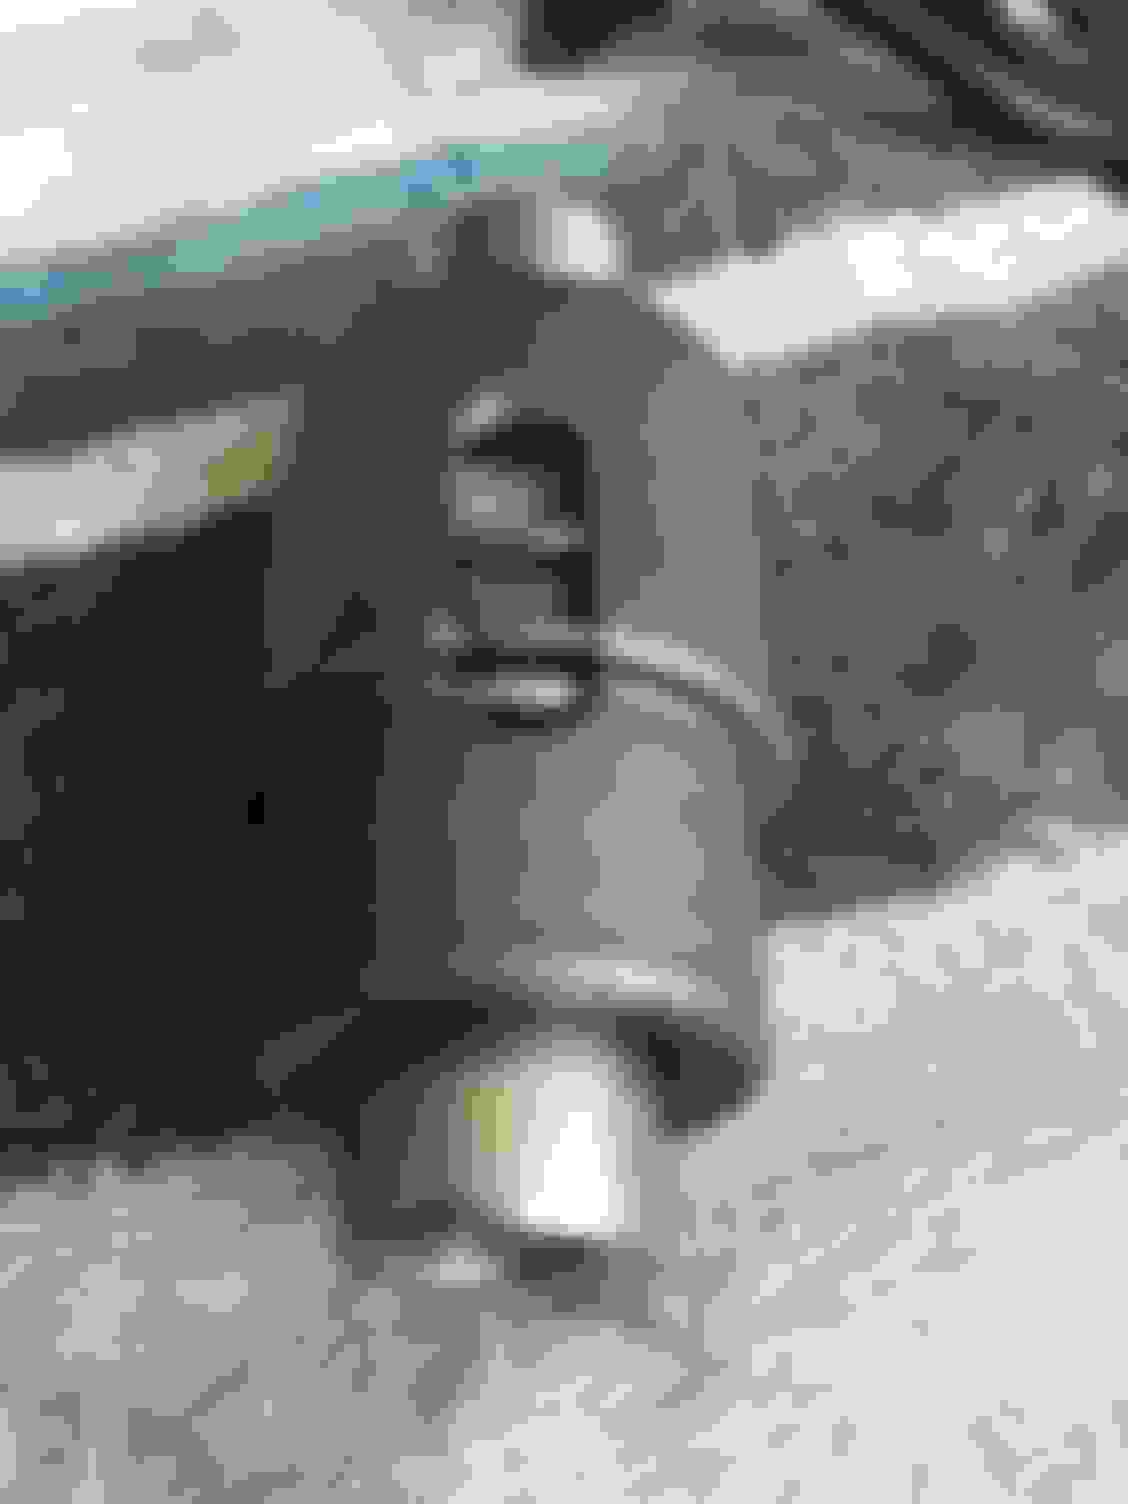
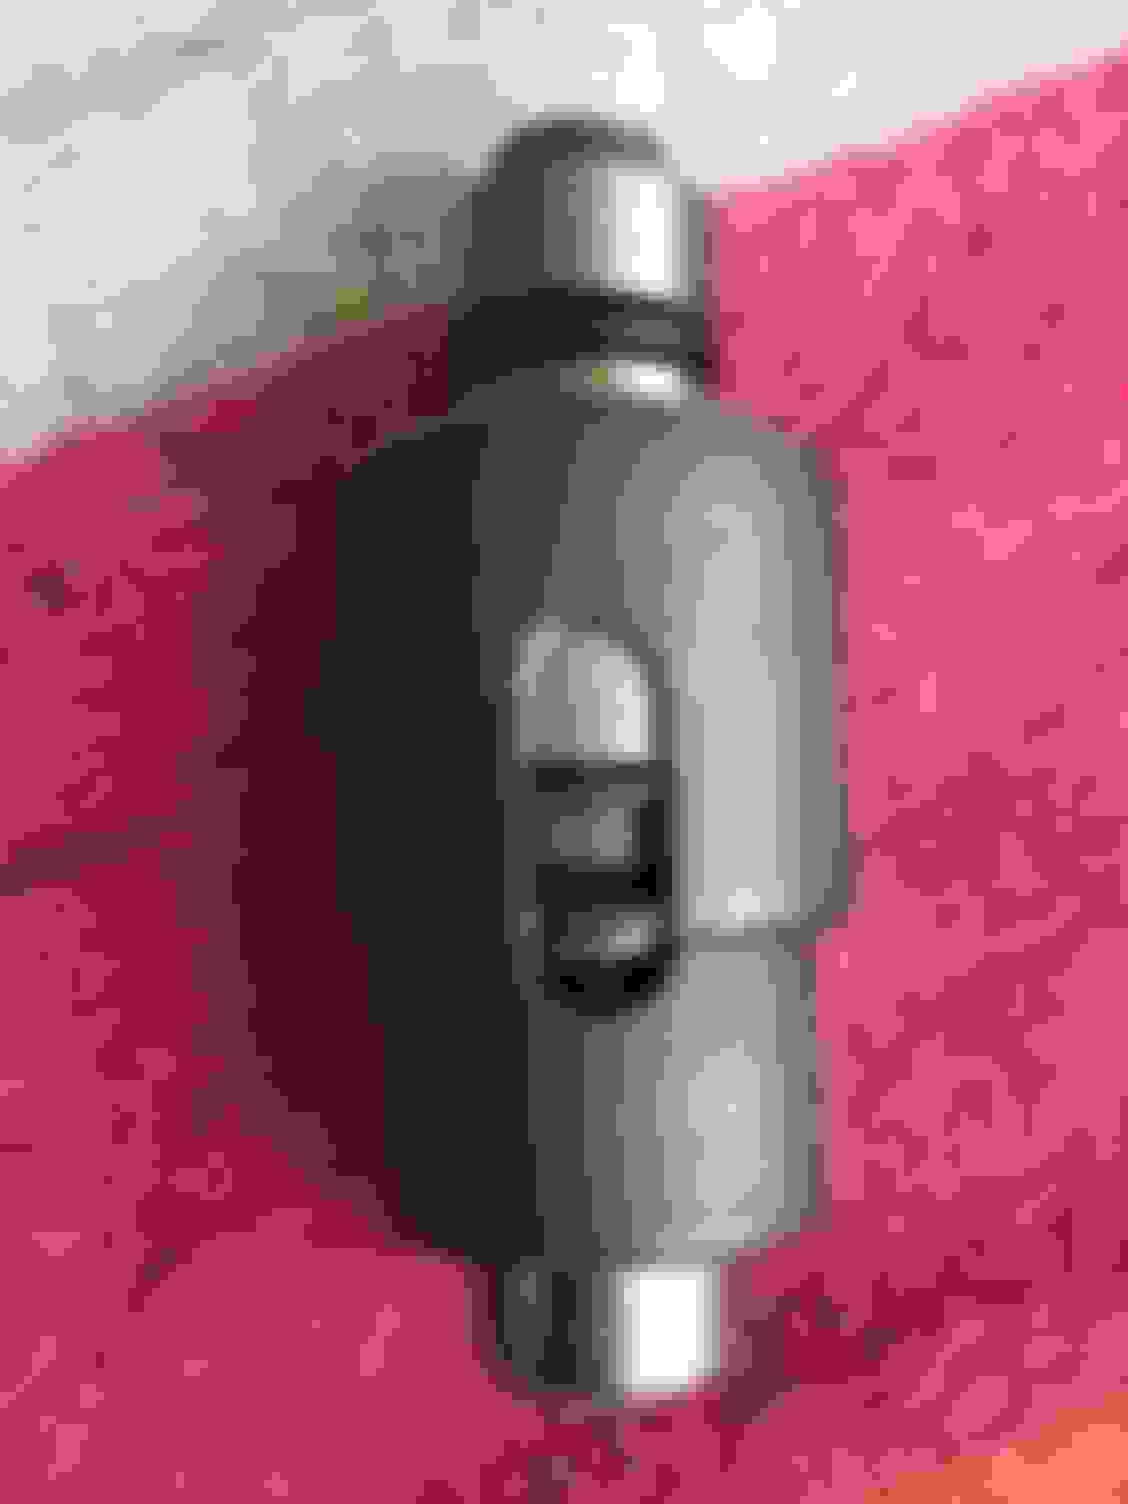
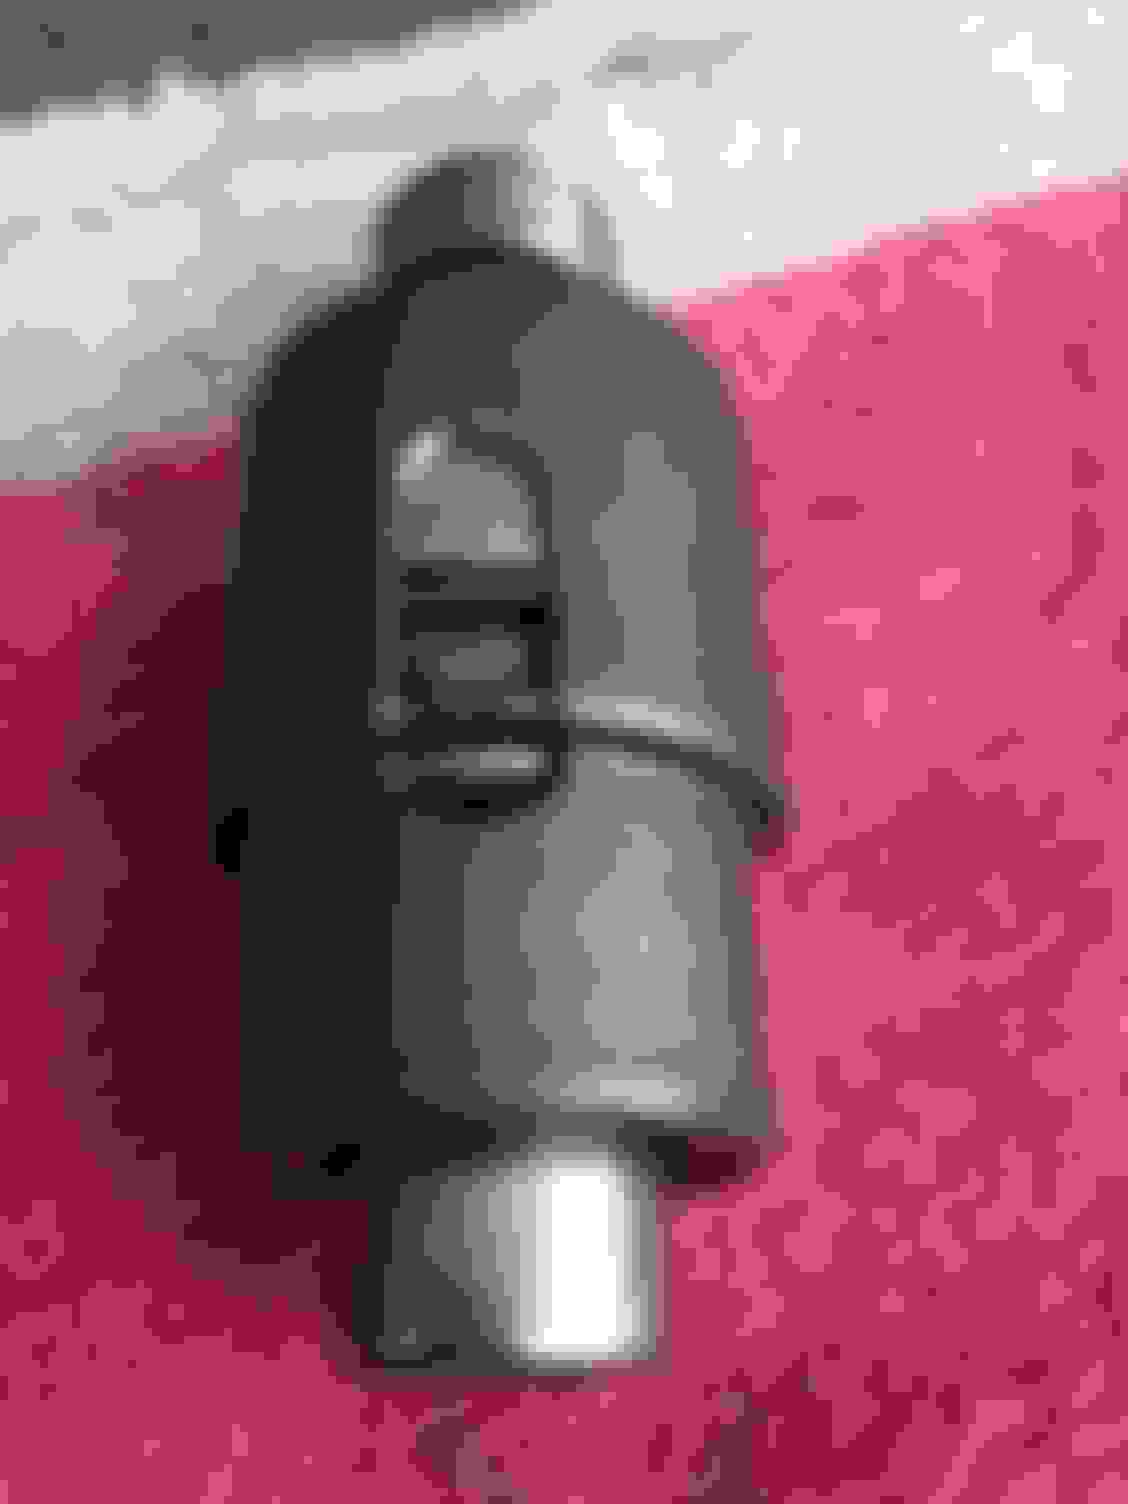
Yesterday I started following the original post and things were going well. Everything came apart and I only damaged one weather boot for the piston. I ordered two calliper kits (got new pistons because they were cheap enough, still on the shelf for another time) so damaging the boot/seal wasn�t a big issue. Everything went back together but one of the pentagon bolts wouldn�t seat and when done up only a fraction over finger tight the actuator refused to turn with the lever. Pentagon bolt out, everything rotated as it should. 10 hours after starting I found the issue, the outer and inner slots in the actuator on one side only weren�t aligned. Apparently it�s really important that they be aligned, who would have guessed? Only found it by accident. If your actuator when removed looks like the first two pics you�re good to start re-installing them. If it looks like the 3rd and 4th pics grab hold of the actuator body (with the outer slot) and turn the mechanism with the lever on the spline (even without the Tory head screw fitted it will turn ok). Save yourself time and frustration and potentially more seals/boots etc, make sure the slots align. Correct allignment Also correct allignment Not good Also not what you want