When you click on links to various merchants on this site and make a purchase, this can result in this site earning a commission. Affiliate programs and affiliations include, but are not limited to, the eBay Partner Network.
Note: I am creating this thread as not a means to repair a sagging headliner but to replace it with all new foam backing and new liner.
Hi guys. First off I have used the search button and read a few threads about the good ole sagging headliner issues. Some had some pretty good information but then again some were lacking some information so I thought I would get a new thread going here that might end up covering all aspects of this job that can vary as much as $1000 depending on the approach.
So, I will start out with my last two days of contacting local shops and upholsterers.
1) First guy I went to get an estimate from had done other work for me before but not car related and he is good. He told me the only way he would even touch replacing it is if someone else removed it. He told me flat out the rear window has to be removed to do the job properly and obtain the best professional results for reinstalling. Then naturally the window has to be put back. So he quoted me, if I brought him the removed headliner he would do the job for $250 parts and labor. But I then I have to have someone else put it back in and reinsert my back window. Not happy about that.
2) I contacted the best body shop in my town. He told me the exact same thing and quoted me for the whole job, window removal and all for $1000. For-Get-IT!!!!
3) Now being that I had read some of these posts in the past here on the forum I knew there was a way to bend the panel and get it out the back seat door. So, upon a recommendation from a popular shop here in town I went and saw another upholsterer who is suppose to be one of the best in town (but I had never heard of him until today...but then again I don't get to many things done, so there ya go!). So I went to him and explained what all the other shops had said and he told me he could get the panel easily out the back seat, redo the whole headliner with new material to match and put it back in for $200.00 TOTAL!!!! Naturally I was in love with this idea right away...but he was honest with me about one possible issue. He said that *sometimes* when they are reinserted where they have to bend them to get them back in, that a line might develop in the fabric which may or may not disappear over the course of a few days. That was the only warning he gave me. He also said he would guarantee the work for 3 years which I also found pretty darn good, especially here in warm California. He did also say having the rear window removed would be the easiest and most professional way but he is willing to do it the basic DIY way at a great price.
Ok...now that we are past the quotes and my options, let's talk procedure which is where I have been lacking information. The reason I would like this information is so I have some kind of instruction for whoever does this to follow and issues that may be ran into. Now I have read Thermos posts where he states the "B" pillars do not need to be removed which is a good thing since I would imagine they would be the biggest pain to remove because of the seat belts and all. (If I am even correct about that being the "B" pillar?) Anyhow I am going to take a guess here on procedure and please chime in if I am wrong, if there are hidden bolts, screws, tricks or anything that would help this process go smoothly and make this thread an end all for those interested in how this is done. So here goes:
BTW: I have NO sunroof
1) Remove sun visors - I believe you pop open a cap to get to the screws, undo the screws and then disconnect any electrical connections attached to it.
2) Remove Map Light Console - It is my understanding you pry it off with a flat blade screwdriver from the front or a trim removal tool and disconnect the wring harness to it.
2a) Pop off and remover overhead light and disconnect electrical.
3) Remove the "A" pillars. This is where I am confused. I have no idea at what area to pry the clips off or where a certain *strap* that people talk about is located and how to slip it off. I also assume the "A" pillars are the long pieces of plastic trim that follow along the front window to the dash? Last thing I want is damaged or broken pillars and clips. My car is mint on the interior (besides the sagging headliner) and I want to keep it that way!!!
4) Remover the 4 handles by popping of plastic covers and undoing the torx screws?
5) Skip removing the "B" pillars
6) Remove the "C" pillars which I assume are the ones by the back window. Once again I have no idea where to pry to get them to come off or if there is a strap on them also?
7) I would also assume the rear brake light area either has to be pryed off or a screw removed??? I know nothing about that.
8) At this point I would think the liner would be ready to come down bending inwards to get it out of the "B" pillars?
9) Move front seats as far forward as they will go and then lay them back as far as they will go.
10) Remove headline by bending it in a "U shape and taking it out the back passenger door. I have read edges can be sharp so use gloves. I think another question I have it when you bend it, should it be bent in a traditional "U" shape or upside down "U shape? Also that same question would apply for the reinstall.
Anyhow...that is kind of what I picture in my mind but I am sure I am missing things and man would it be great to have some photos of the pillars being removed and where the clips are and the best spots to use the trim removal tool. These are things I am sure most of us have no idea of when it comes to removing trim parts...which can easily break and be damaged.
So I hope we can make this thread an end all for all questions about our X-Type headliners and procedures and options. I have seen some threads in the past where owners of other types of Jags have chimed in but those procedures slightly vary including back seat removals and such so let's keep this all about the X-Type.
Thanks for listing to my rant and please correct any of my ignorance...I am still learning and this place is the best for it!!!
peace out,
daddylogan
Last edited by daddylogan; Jun 2, 2017 at 09:05 PM.
Have you tried a search on youtube? Lots of X-Type repairs there.
Yes...there are similar ones but not specifically for the X-Type. My goal of this thread is so X-Type owners can come to it and learn everything they need to know about replacing a headliner and what to expect when they take it to a shop to have it done. Also I am hoping to put together a complete and accurate step by step method for the DIY'ers.
Daddy, Thank you for the detailed walkthrough. Are you keeping your headliner dude a secret? How'd it turn out?
Hey Jag4!
I created this thread in hopes that those who have done this would chime in and make corrections in my "tentative procedure" which I put together by reading older threads and searching online. I myself have not done this yet for I don't believe my outline is complete and 100% accurate.
It is a delicate procedure and was hoping the gurus would step in and kind of guide this thread into a complete DIY for the headliner. The amount of money this thread could save is enormous as most shops want to take out the back window to do this and charge you around $1000. However there are little things that one might run into and without knowing certain removal techniques I can see things getting broken.
peace out,
daddylogan
Hi Daddylogan, I believe I've read some of the detail youre looking for in another thread. I'll have a seach and see.
Also, I'd like to see if maybe we can try and get this done around the same time to maybe save money? I must get this done soon as mine is getting bad. And I want to include some heat insulation above the headliner when I do get this done.
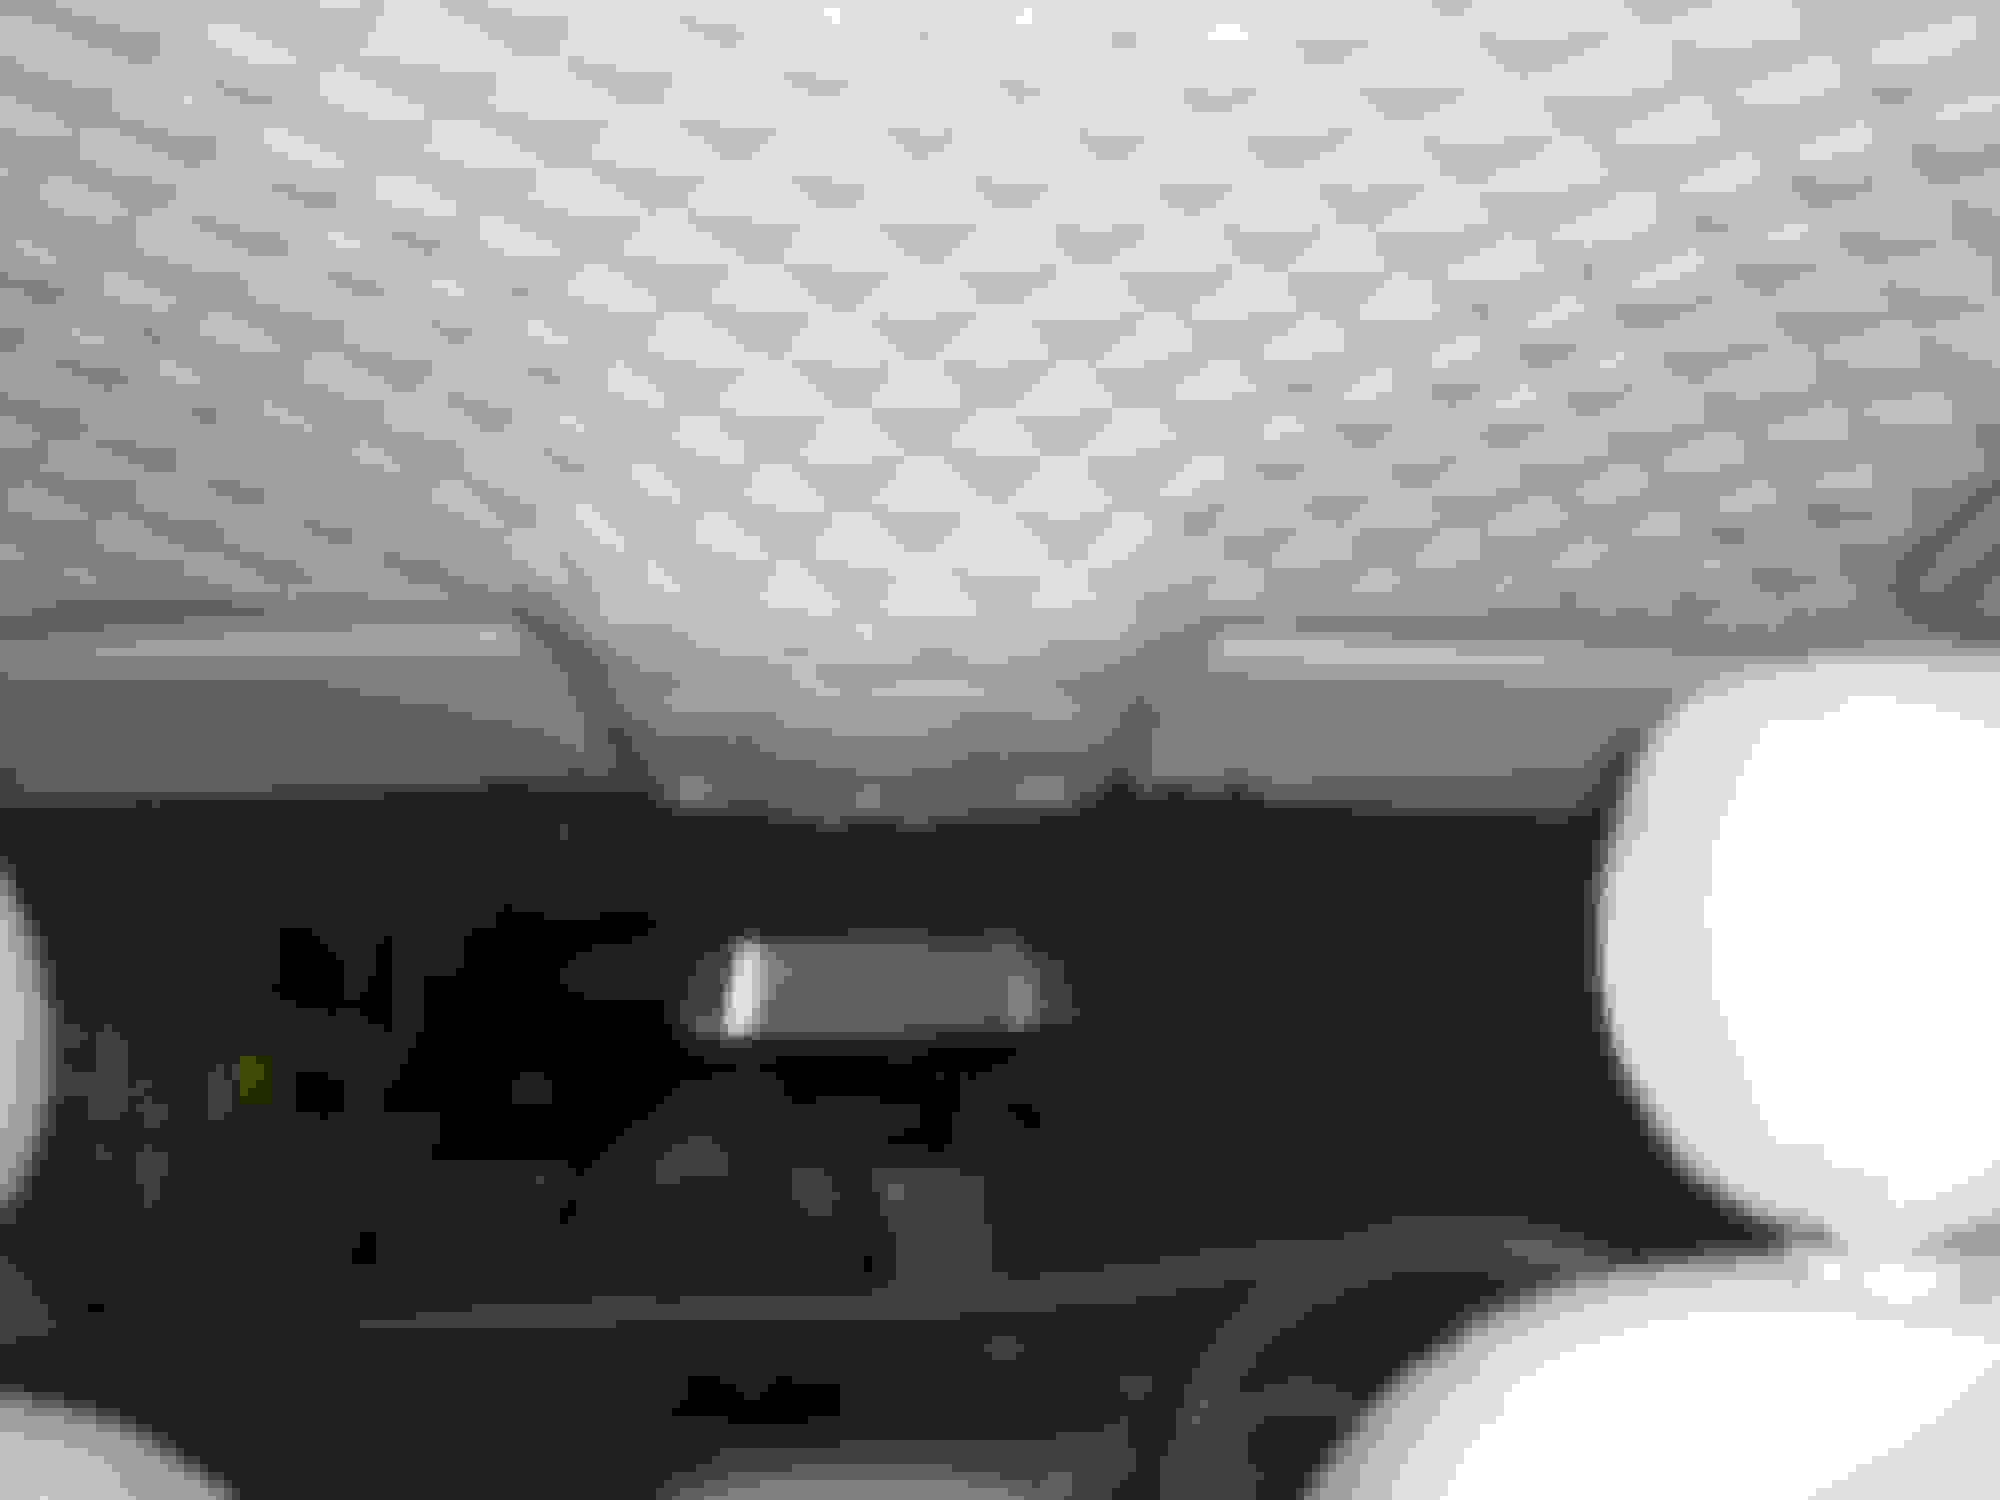
I seen a guy with a different car, but same sagging headliner problem, that bought some more decorative type than these, and did a complete diamond quilted sort of look for the entire roof. If you didn't know, you'd think it was some sort of custom interior.
More on the order of this look, he had a darker interior.
The first thing I did when my car came of the 18 wheeler that brought it over was drive to get a new headliner done. Well ,a couple of days after.
I knew the car had a bad headliner and had already purchased the material. I got quoted 600 for Labor at a highly rated shop in a good area. I was going to go for it until the guy who does the bodywork in my car recommended me to his friend. Ended up paying 250. But I waited 4 hours while he did the whole thing. He was extremely detailed, removed all old glue from the board and had a tremendous amount of patience. This is not a job I could have completed successfully myself, as I am impatient and tend to mess up jobs that require patience and pace like dying seats.
Ok, I'll bite. Who did the work? I'm looking for a reference in Los Angeles. Tks!
In the spirit of what I think you�re going for with this post, I�ll chime in. I just bought a 2002 X Type 2.5 with moonroof and typical sagging headliner. Tried 3M 77 spray adhesive to no avail, as foam underlayment is severely deteriorating. Fabric will stick, but just peels off more foam. Decided to remove headliner in order to remove all remnants of old foam and re-cover with new material. I haven�t found the material yet. I�m thinking a foam backed vinyl as it would be easier to clean. Anyway, removal has been a bit cumbersome and I�m only about half way. I removed the hand holds, 2 Phillips screws each, popped out the dome light and disconnected, loosened all pillars with a swift yank at the top, removed the visors, 3 T20 screws each and the visor clips, 1 T20 screw each. The center overhead is where I started having issues. The cover won�t pop off. It looks like it should from what I can see from prying the headliner down and looking at the back, as there are 2 spring clips holding it in place, but they won�t budge. Fortunately, a bit more force applied pried the main bracket tangs away from the body with a satisfying thunk. I�ll deal with disassembly of the console after I drop the headliner. Big surprises found so far: 1. ALL of the wiring is GLUED to the back of the headliner with what appears to be hot glue. This stuff was also used to affix the disconnect for the visor wires (both visors have lighted vanity mirrors). I had to pry the disconnects free from the back of the headliner, and scrape the glue off the connectors just to remove the visors. 2. All of the wiring to the headliner harness runs down the A pillars to disconnects just above the dash. In that location, it is very hard to pinch the connector locking mechanism to disconnect the cable. The harness is also attached to the body in 3 places on each A pillar with a plastic fuzzy peg zip tie device, which is easier to pry out of its hole in the body, than to un-zip tie. You have to remove the entire A pillar cover to access these, but once you have the top pulled away, the cover just slides out. 3. The headliner structure is a very soft foam-like composite material that feels like I could damage it easily by bending it too far. I�m trying to take my time and make sure not to break anything, which is difficult when you don�t know what�s behind everything. I�m not sure if it will work, but since I have the 60-40 fold down rear seats, I�m going to try to get the headliner out through the trunk. I�ll have my son helping me tomorrow and I�m sure we�ll be able to get it out somehow. I�ll post another reply when we do. I�ll se if I can get some photos, but I�m not sure if I�ll be able to post them here.
Plastic zip tie thingy and the hole it was in. DS A pillar PS A pillar Top of the center overhead console. The two white tangs pop into some holes in the body. Already bending the headliner just futzing with it. Harness glued to back of headliner. Connector for visor with glue all over it. It was glued to the top of the headliner about 1 inch to the right of that hole.
Last edited by James Festerman; Oct 3, 2017 at 10:23 PM.
There was one last gotcha in the center about a foot forward of the third brake light, a plastic spring peg that poked into a hole in the body. I was finally able to dislodge it by shaking the whole headliner forward and back a few times. The whole thing is much flimsier than I thought, it’s just a firberglass fabric mat that tears really easily. So, my idea of squeezing it through the trunk caused some minor damage to the edges. I think there was a comment above about the edges being sharp, definitely not, but my arms are all fiberglass itchy now. Removing the foam is a sticky orange mess! A wire brush makes the quickest work of it, but it still takes forever.
Not sure why this harness needed to be glued to the back of the headliner. Not sure why this harness needed to be glued to the back of the headliner. Not sure why this harness needed to be glued to the back of the headliner. Nope... Better, but hell nope... Gross... Everything in this photo is sticky.
Last edited by James Festerman; Oct 3, 2017 at 10:27 PM.
I have never done my head liner, but I'll have to some day, I saw some where some body have done diamond quilt like Dale Galley said, I think it's the best way to redo the head liner; It's give your car a custom look and it would never sagged again, treat it with double foam pad to increase the insulation; I'll do mine when the time is come. Tip on the A pillars: Because the factory skimmed on material, they wrapped only to the edges of the plastic cover, while you already at it, run your finger or some thing along the edge to turn the edge of material up about 1/16" then run a thin strip of clear silicon along between material and plastic edge then press the material down, it will prevent the material to peel off later, or buy the material to recover on top of existing one even it's not peel yet, cut it wider to give extra material on both sides and fold it over and glue it inside of plastic cover, it's will never peel again.
This is the headlining in my car. To be honest I did not know it was a custom headliner when I bought the car, but I, and everyone else who sees it, think it is really nice.