

I did my brakes!

Thread Starter
|
Senior Member
Joined: Jul 2012
Posts: 504
Likes: 66
From: Orlando, FL
I'm kinda proud! I've never replaced rotors before, and only once have I ever replaced pads, on an old Volvo. Anyway, the thing I found out is... it's really not that hard.
I started on the back because I figured they'd be the most difficult. But really they were the easiest. Removing the parking brake cable was straight forward. The caliper bolts came out easily. The rotors both came out with one or two bangs with a FBH. With a generous helping of anti seize the new rotors went on. My big fear was the piston, but I bought the 'cube tool' and it was a breeze. I used a c-clamp and a screw driver to ratchet them in. The both turn towards the front. I was going to paint the calipers but the paint kit I had ordered was, I guess, stuck in the Thanksgiving mail rush. And anyway my back was sore and I needed a hot soak in the tub. A job for another weekend. I had however cleaned the calipers ready for painting.
On to the front. The passenger (left side) was easy. The rotor simply fell off without any nudging, and the pads went on, screws back in, and all was done in less than 20 minutes. But the driver's side? Damn! My FBH worked overtime. Finally the rotor came off (see pics of the hammer blows it took). The hydraulic line was shorter than the rest. So I had trouble squeezing the pad in because I didn't want to stretch the line. Maybe I could have fitted the pads before replacing the caliper. After about 20 minutes of polite cussing, they both were seated. I put the thing back together and all was well in the world. Now to see if my car stopped!
Well, it did. The first few stops were a little grindey and noisy. But after a short drive the noise disappeared and I have brakes. The pedal is a little soft but I put that down to the old hydro fluid. My buddy comes back from Europe next week so that's next weekends project. But there are no leaks and I have nice shiny slotted brakes with new ceramic pads.
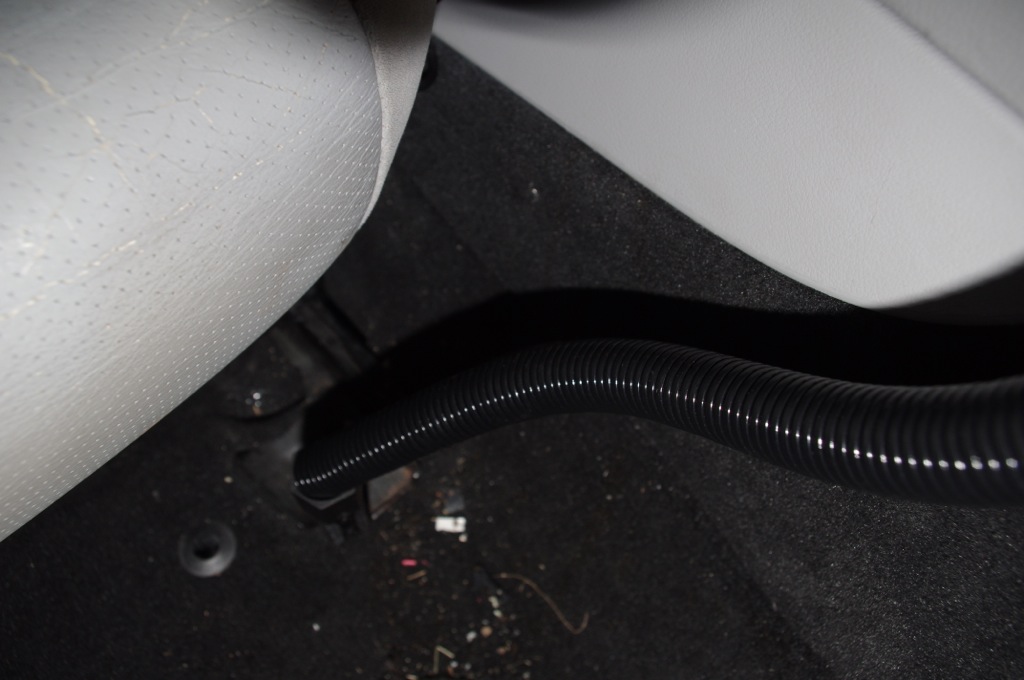
Here's me with the cube tool
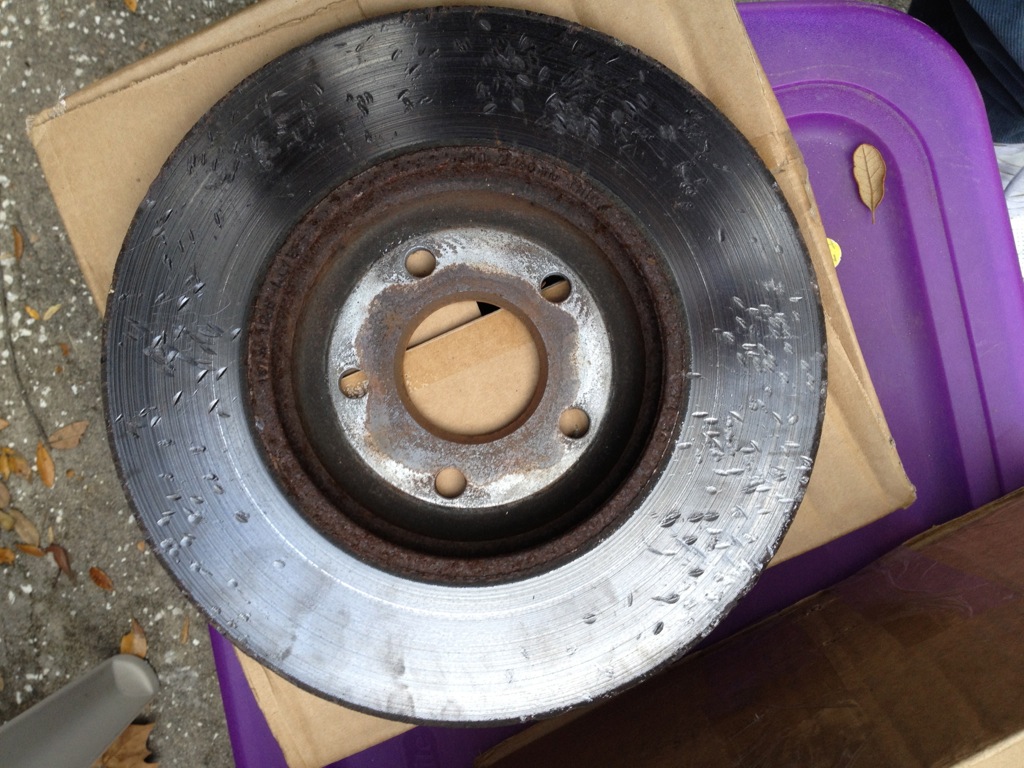
The stubborn front rotor
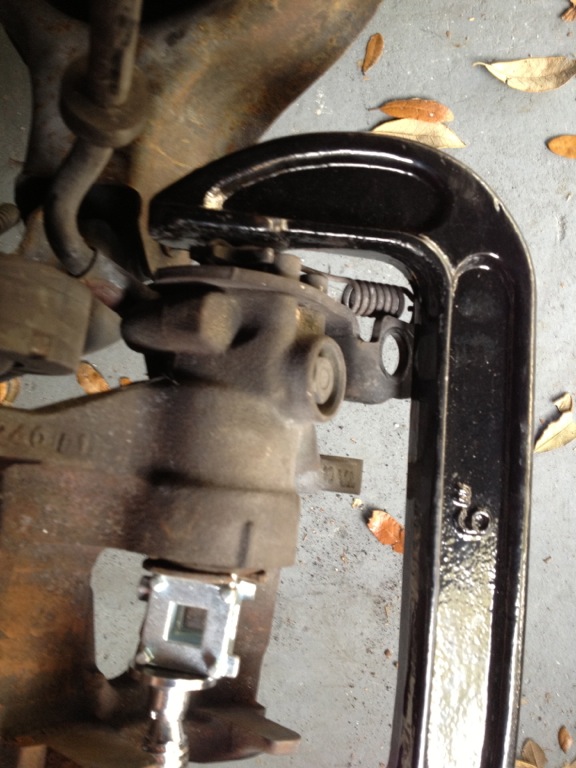
The C-Clamp and the Cube Tool
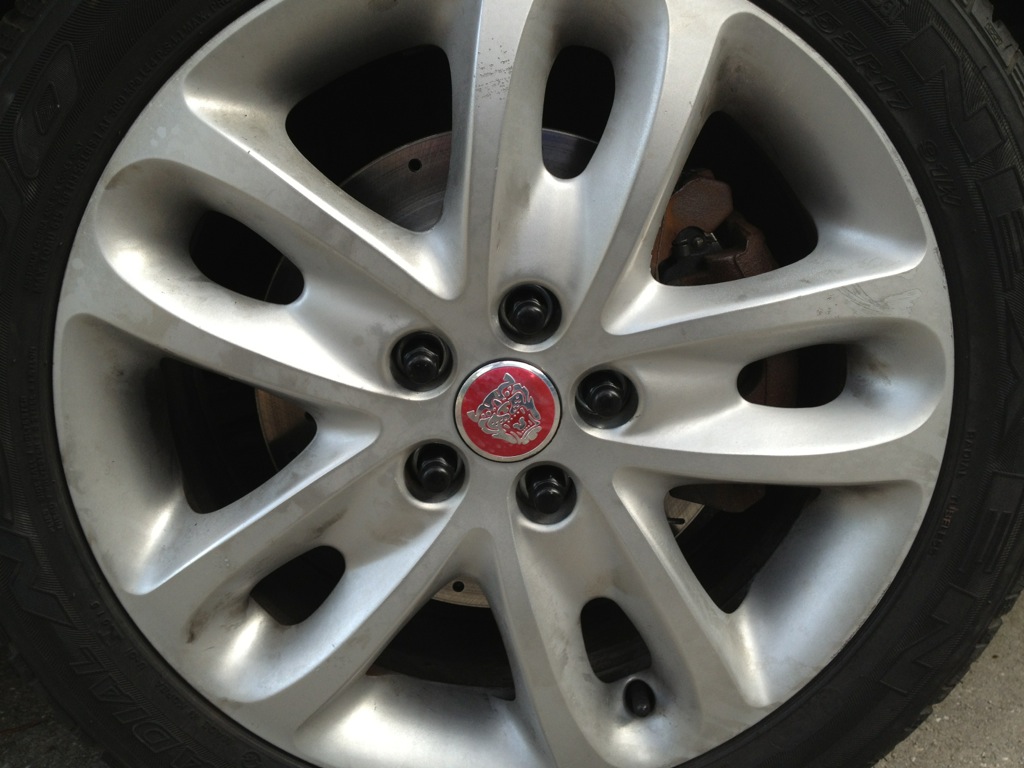
Nice new rotors on wheels that need a clean!
I started on the back because I figured they'd be the most difficult. But really they were the easiest. Removing the parking brake cable was straight forward. The caliper bolts came out easily. The rotors both came out with one or two bangs with a FBH. With a generous helping of anti seize the new rotors went on. My big fear was the piston, but I bought the 'cube tool' and it was a breeze. I used a c-clamp and a screw driver to ratchet them in. The both turn towards the front. I was going to paint the calipers but the paint kit I had ordered was, I guess, stuck in the Thanksgiving mail rush. And anyway my back was sore and I needed a hot soak in the tub. A job for another weekend. I had however cleaned the calipers ready for painting.
On to the front. The passenger (left side) was easy. The rotor simply fell off without any nudging, and the pads went on, screws back in, and all was done in less than 20 minutes. But the driver's side? Damn! My FBH worked overtime. Finally the rotor came off (see pics of the hammer blows it took). The hydraulic line was shorter than the rest. So I had trouble squeezing the pad in because I didn't want to stretch the line. Maybe I could have fitted the pads before replacing the caliper. After about 20 minutes of polite cussing, they both were seated. I put the thing back together and all was well in the world. Now to see if my car stopped!
Well, it did. The first few stops were a little grindey and noisy. But after a short drive the noise disappeared and I have brakes. The pedal is a little soft but I put that down to the old hydro fluid. My buddy comes back from Europe next week so that's next weekends project. But there are no leaks and I have nice shiny slotted brakes with new ceramic pads.
Here's me with the cube tool
The stubborn front rotor
The C-Clamp and the Cube Tool
Nice new rotors on wheels that need a clean!


Thread
Thread Starter
Forum
Replies
Last Post
xjrjag
X-Type ( X400 )
4
Sep 24, 2015 10:08 PM
Currently Active Users Viewing This Thread: 1 (0 members and 1 guests)