When you click on links to various merchants on this site and make a purchase, this can result in this site earning a commission. Affiliate programs and affiliations include, but are not limited to, the eBay Partner Network.
I thought I would share some pictures from this weekends project. Everything went smoothly and I'm very pleased with the results. I went with the Sirius XM Commander Touch kit. The display is full color, touch screen, and very easy to use. Enjoy!
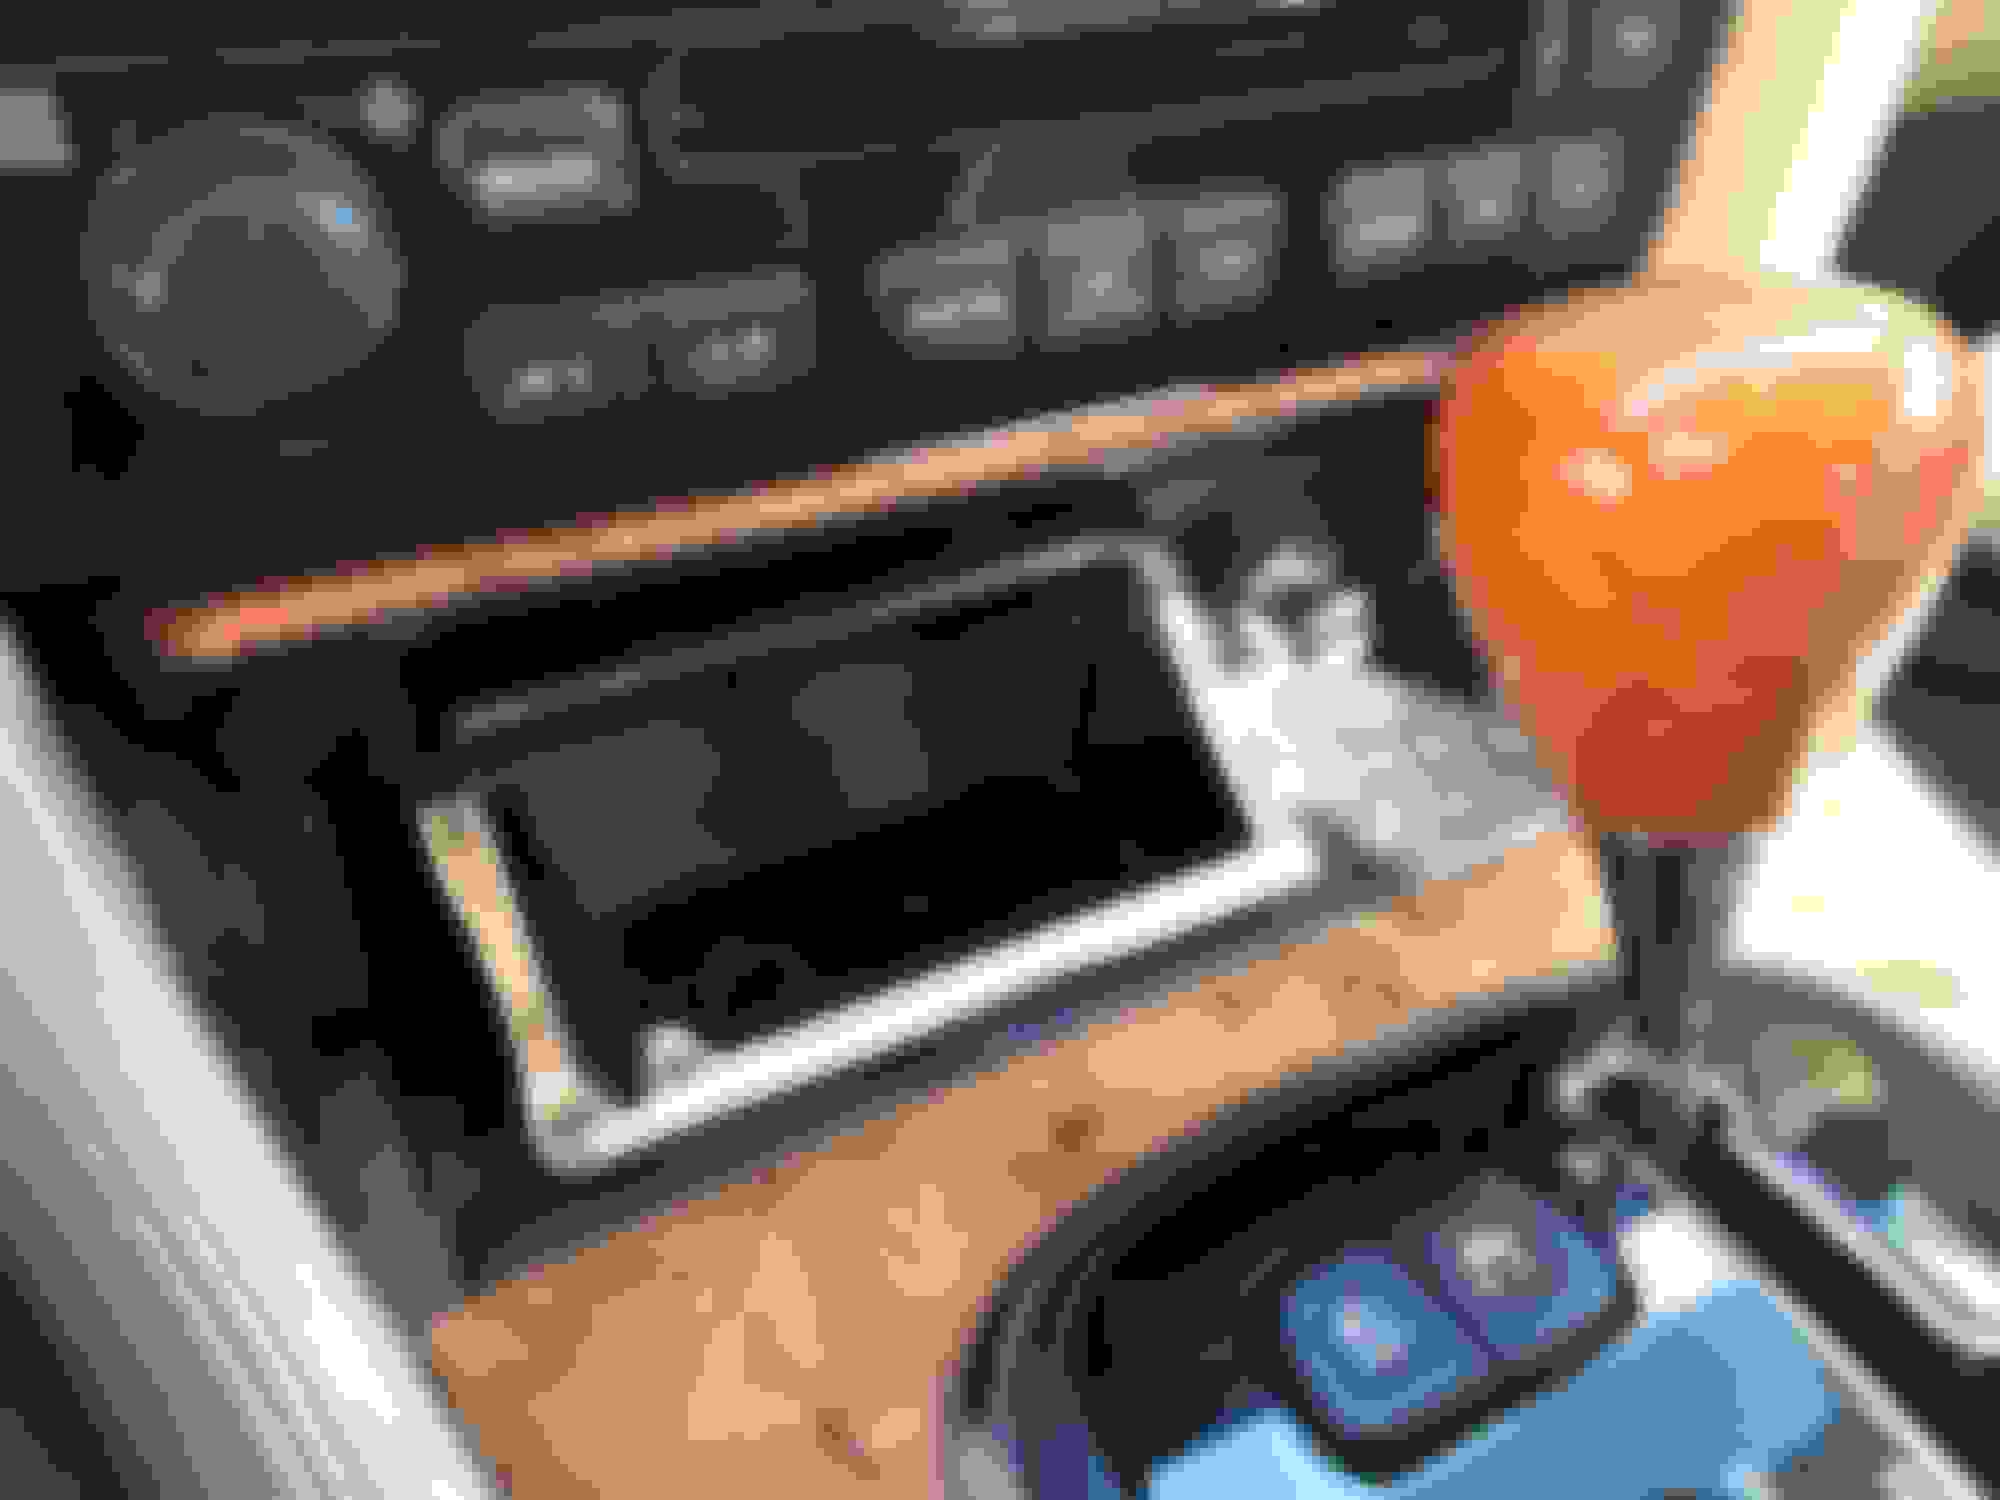
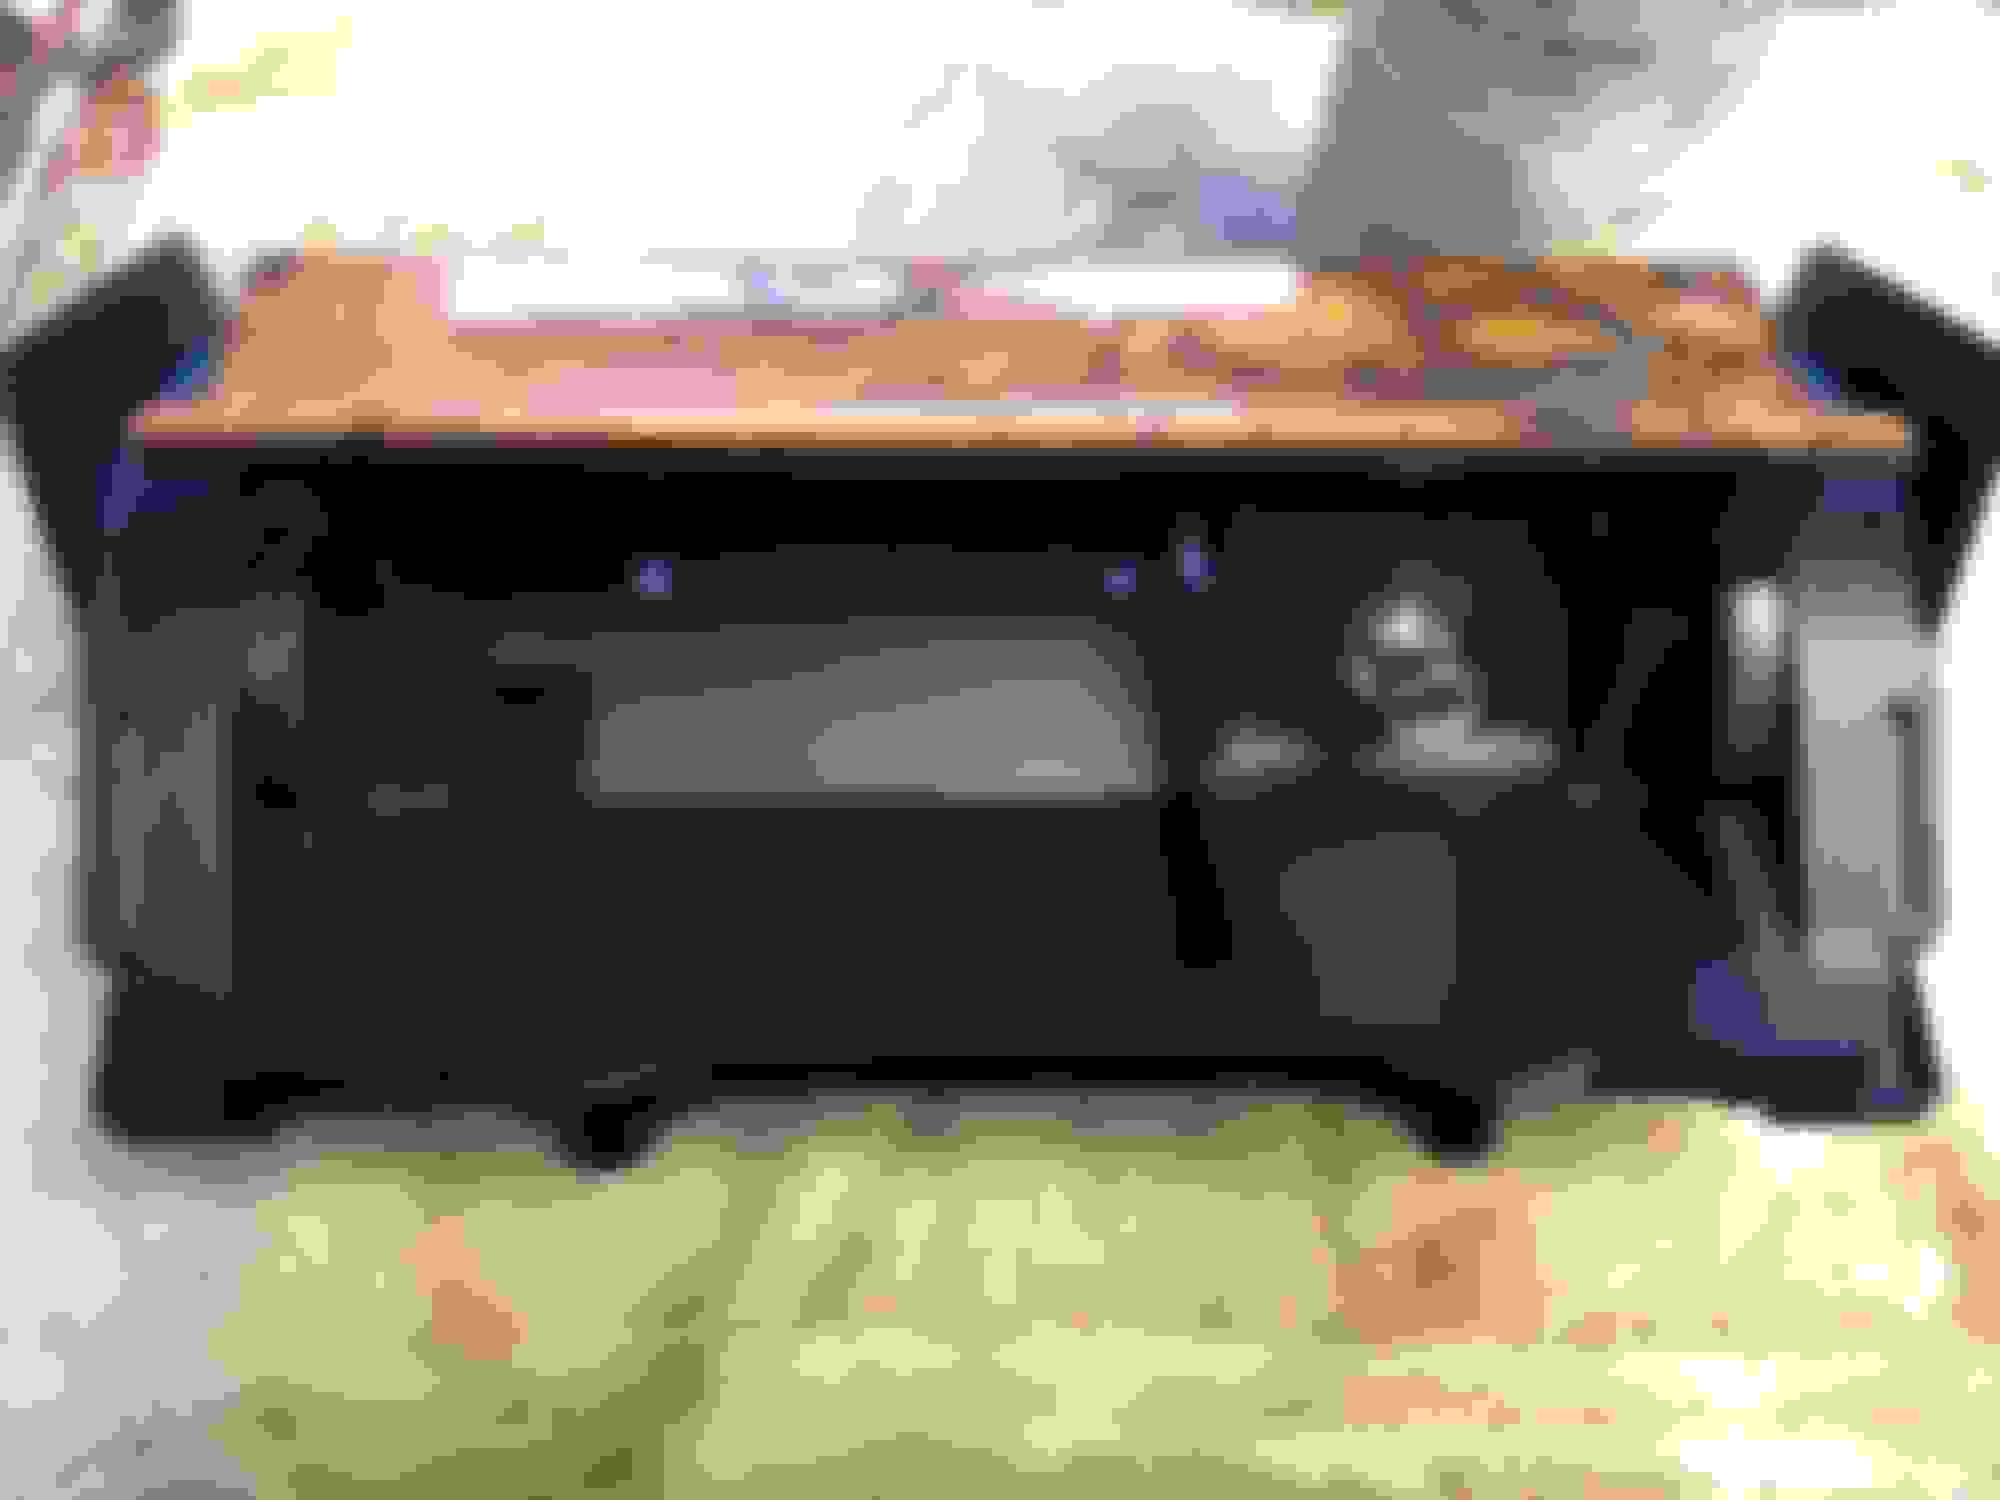
Relatively unused coin/ash tray.
Shifter trim prys up for removal.
Two of the screws that hold the console in, see screwdriver and finger. It's wise to remove the shift knob before going any further.
Rear register removes with a good pull.
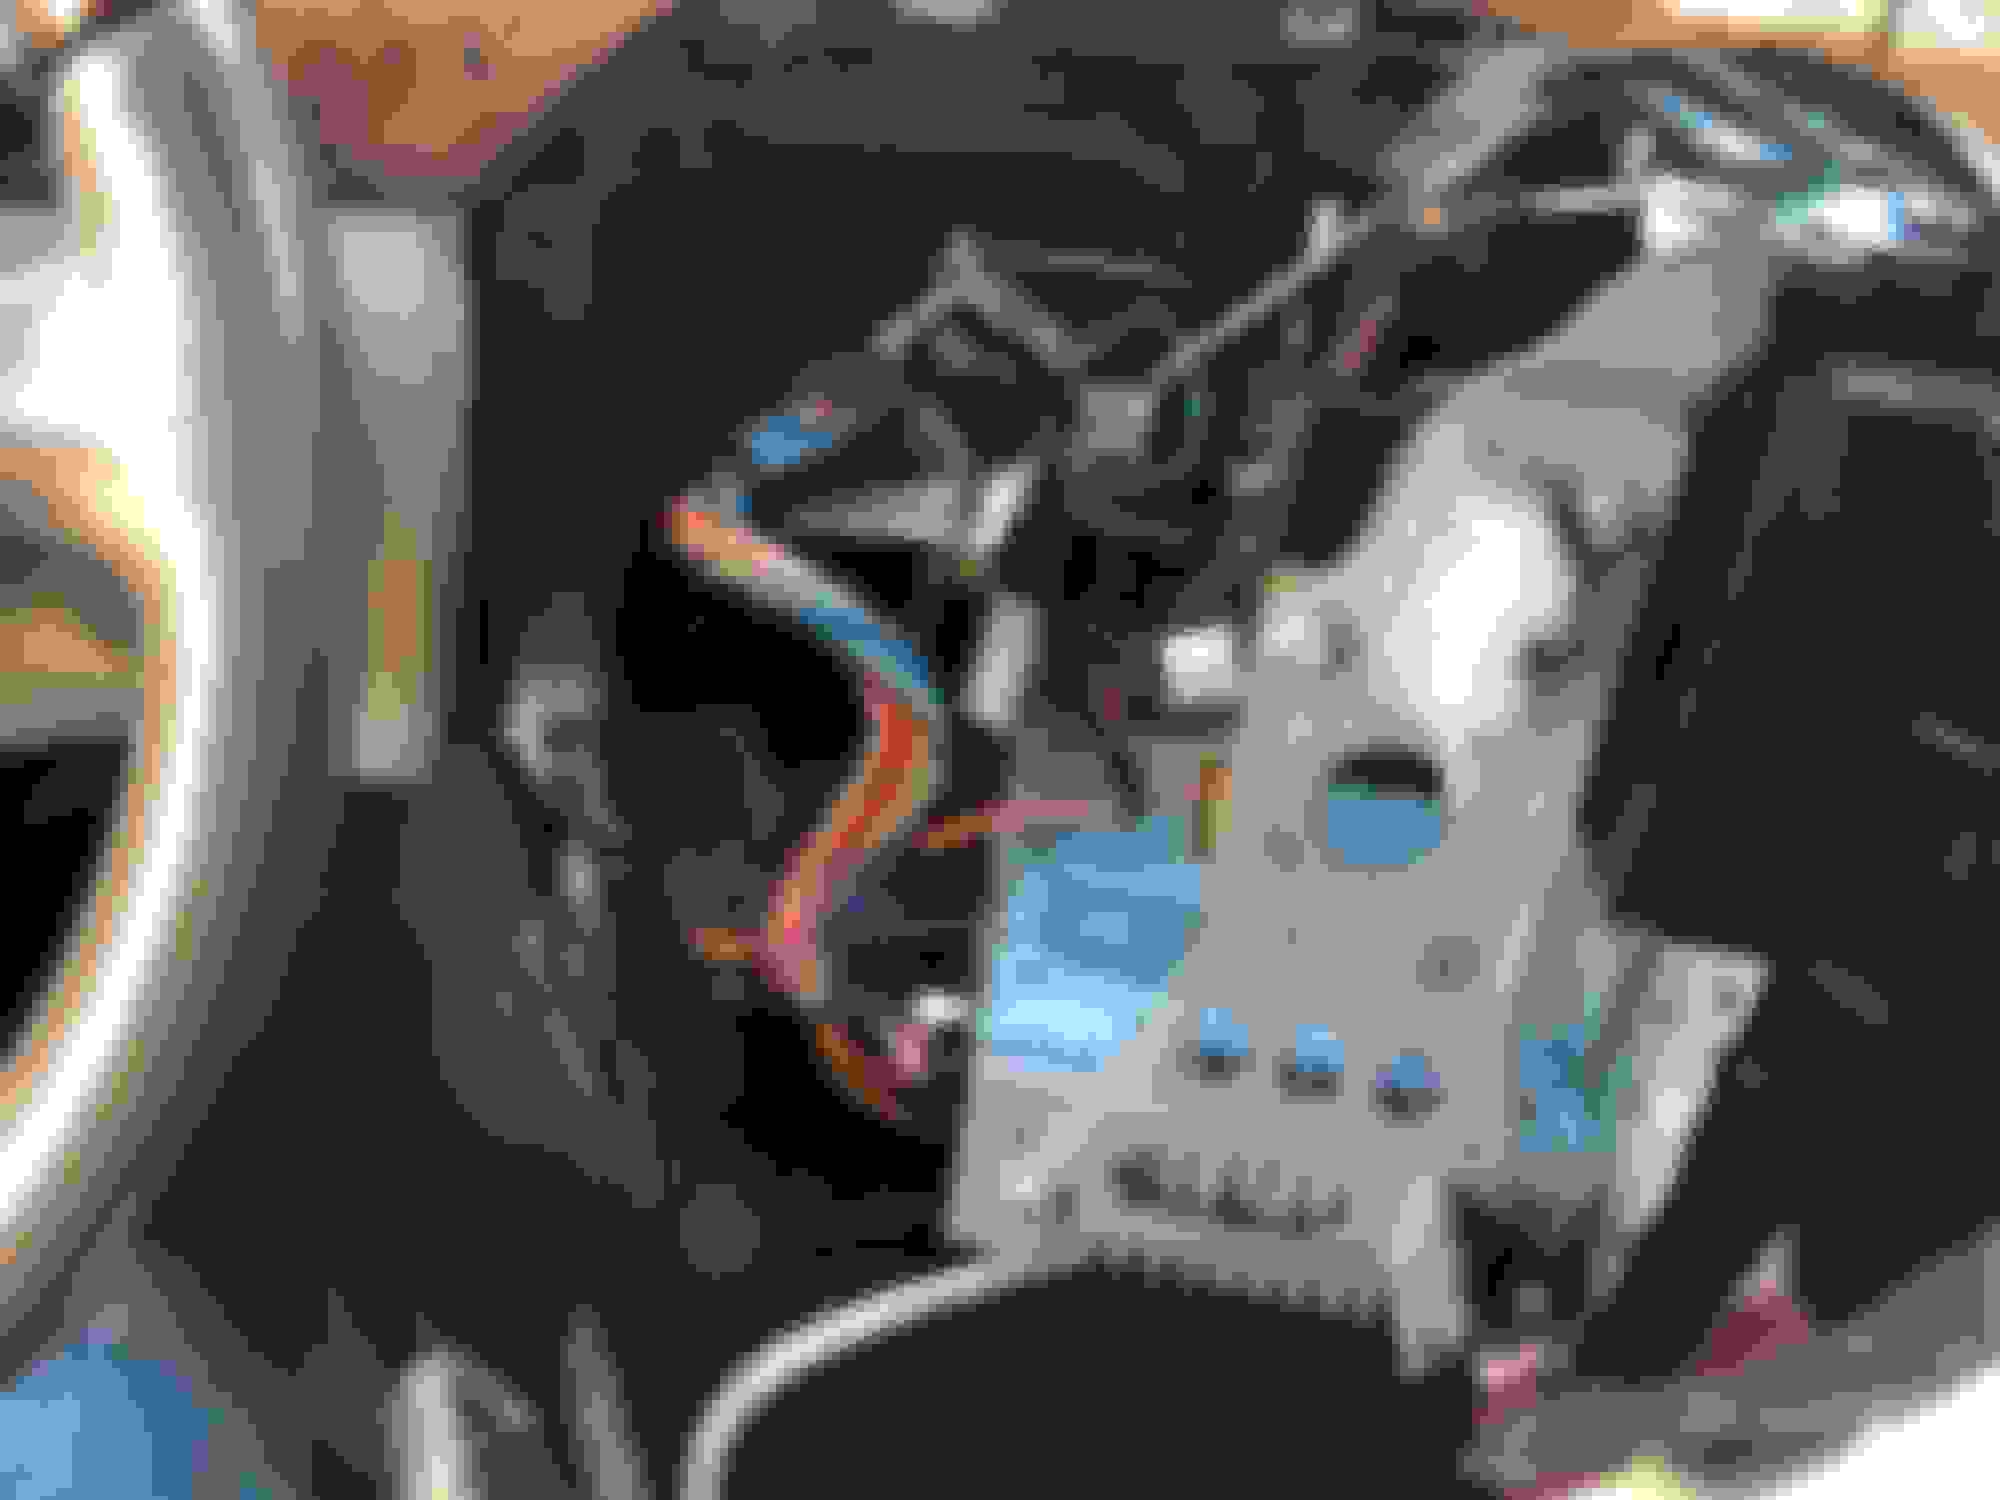
Unplug the connectors and remove the other two screws.
Slightly lift the rear of the console, and pull towards rear to remove. The clips at the top of the "hoop" can be stubborn.
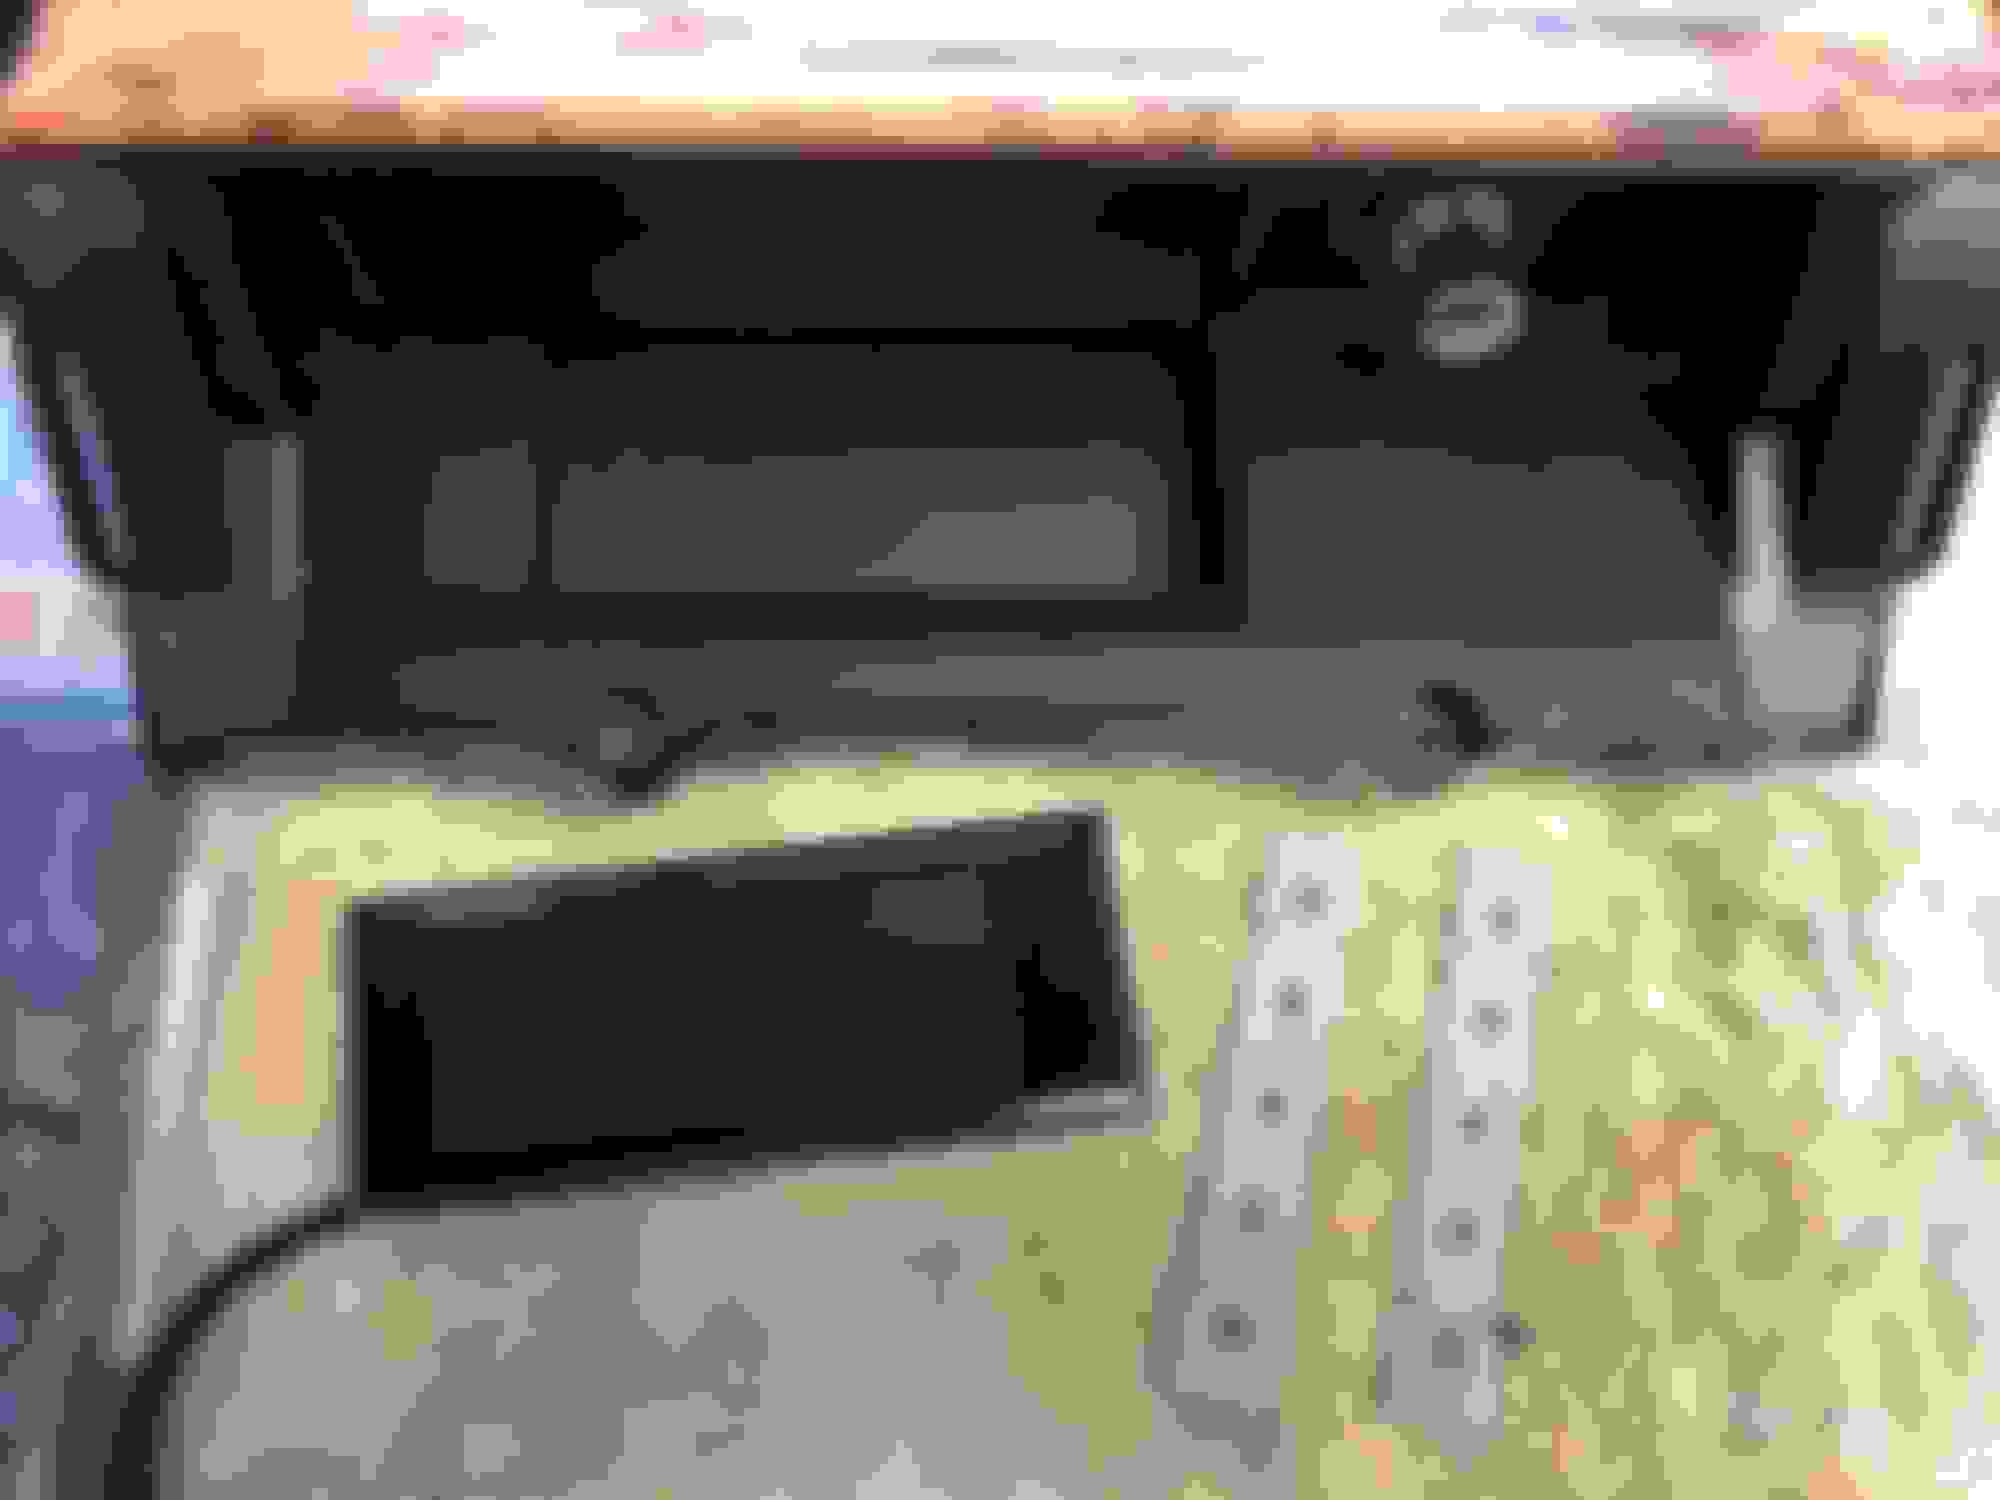
The ashtray assembly is held down by two phillips screws. Using a small pick or suitable tool to remove the caps that cover the heads.
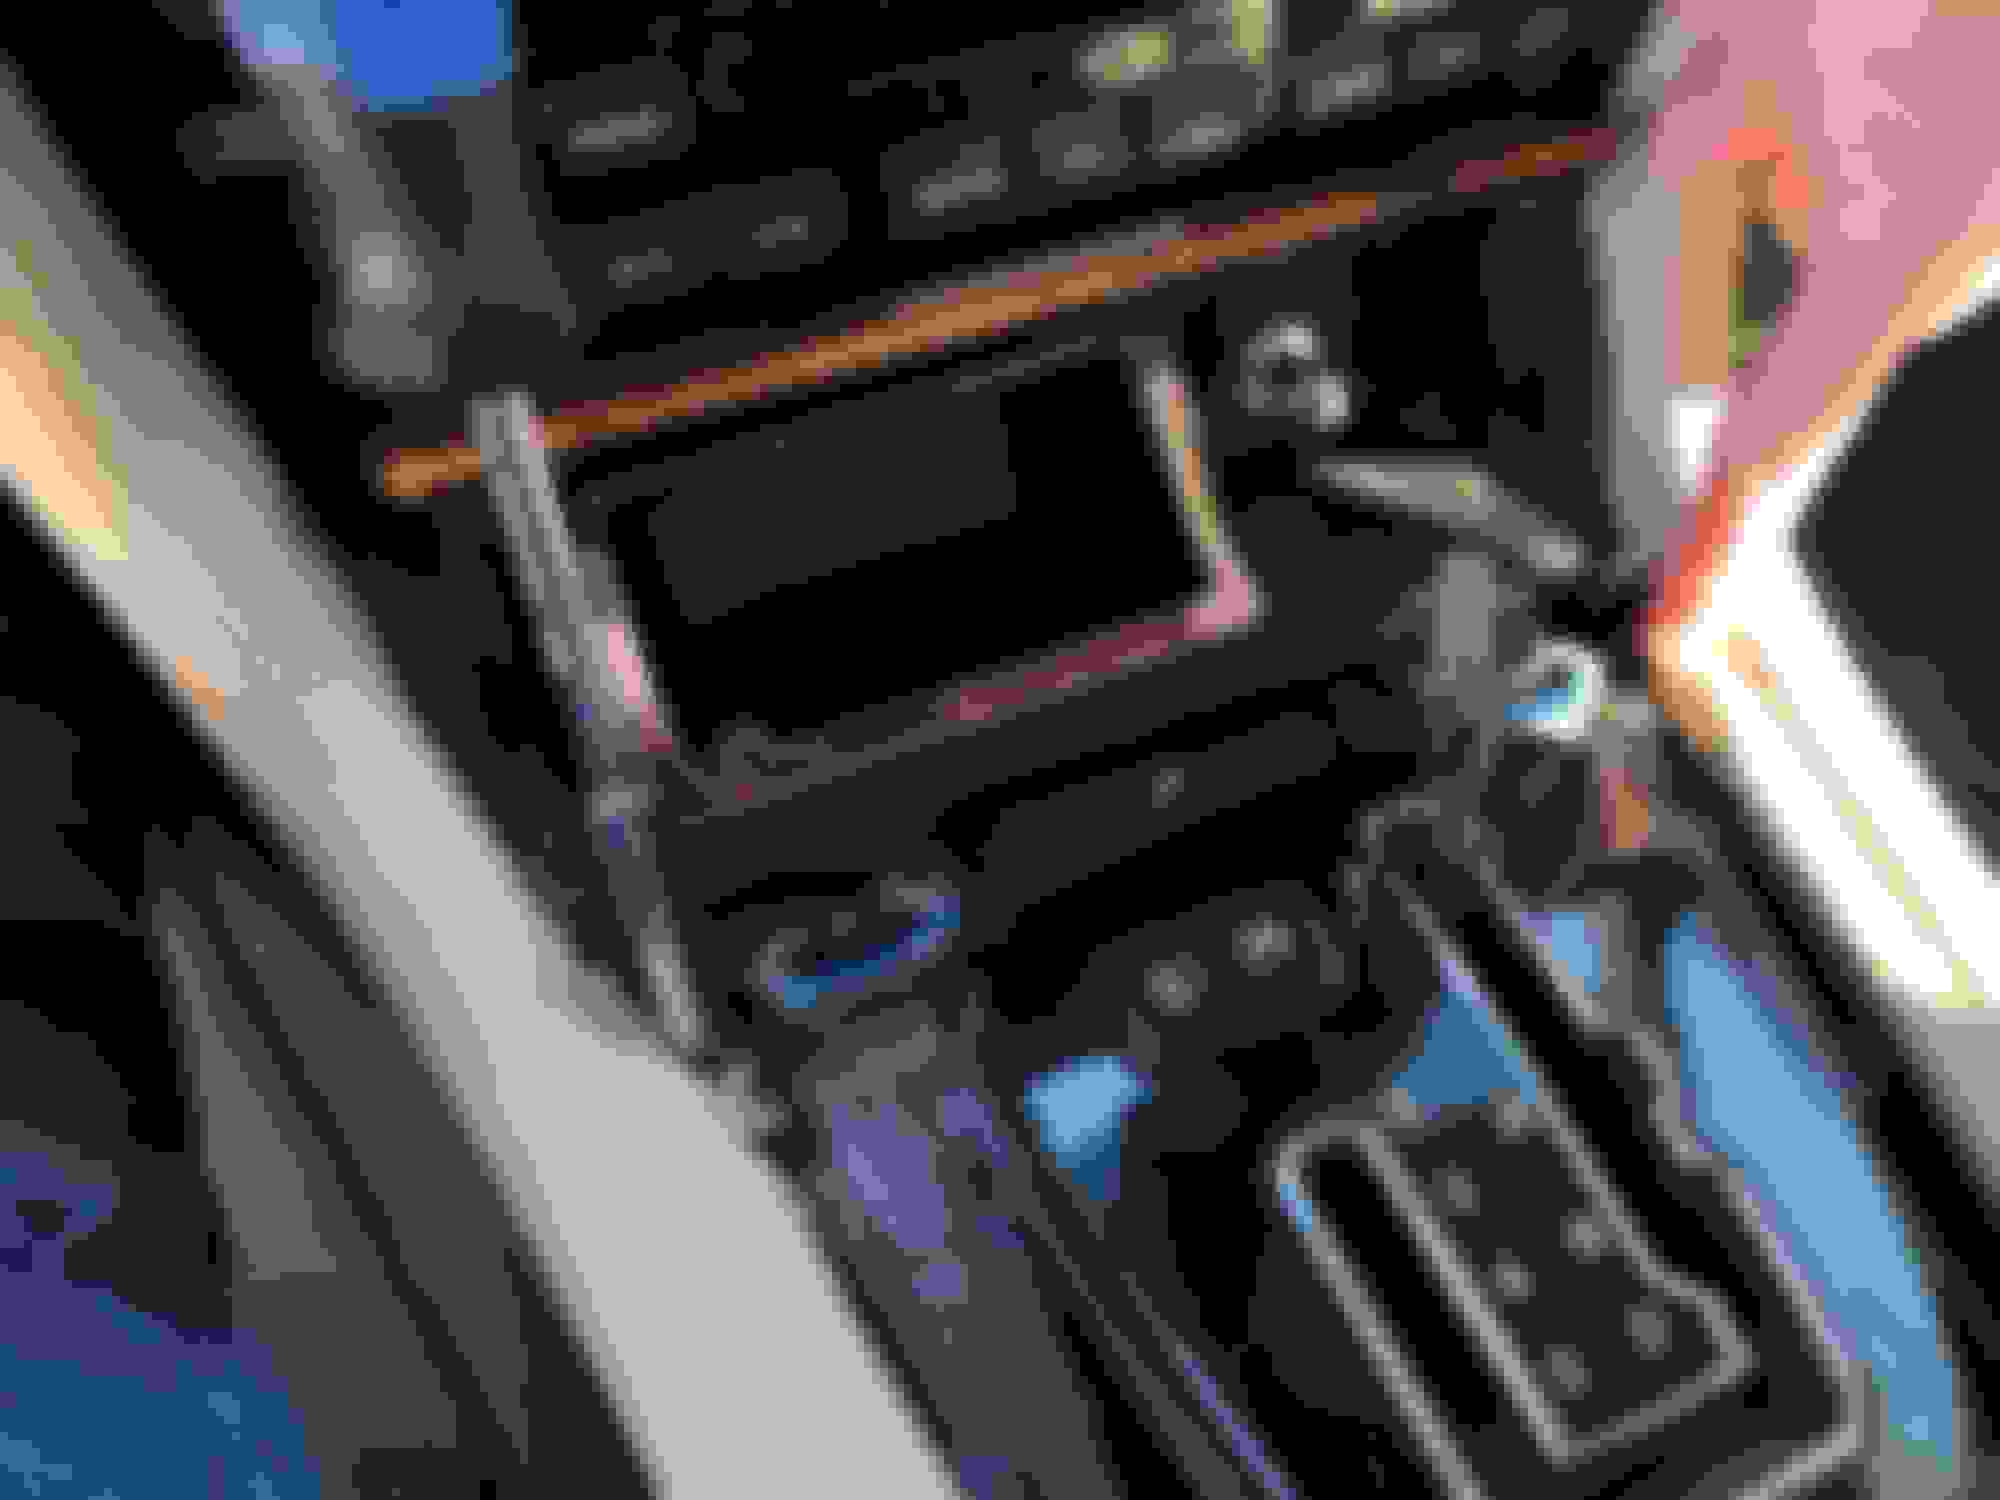
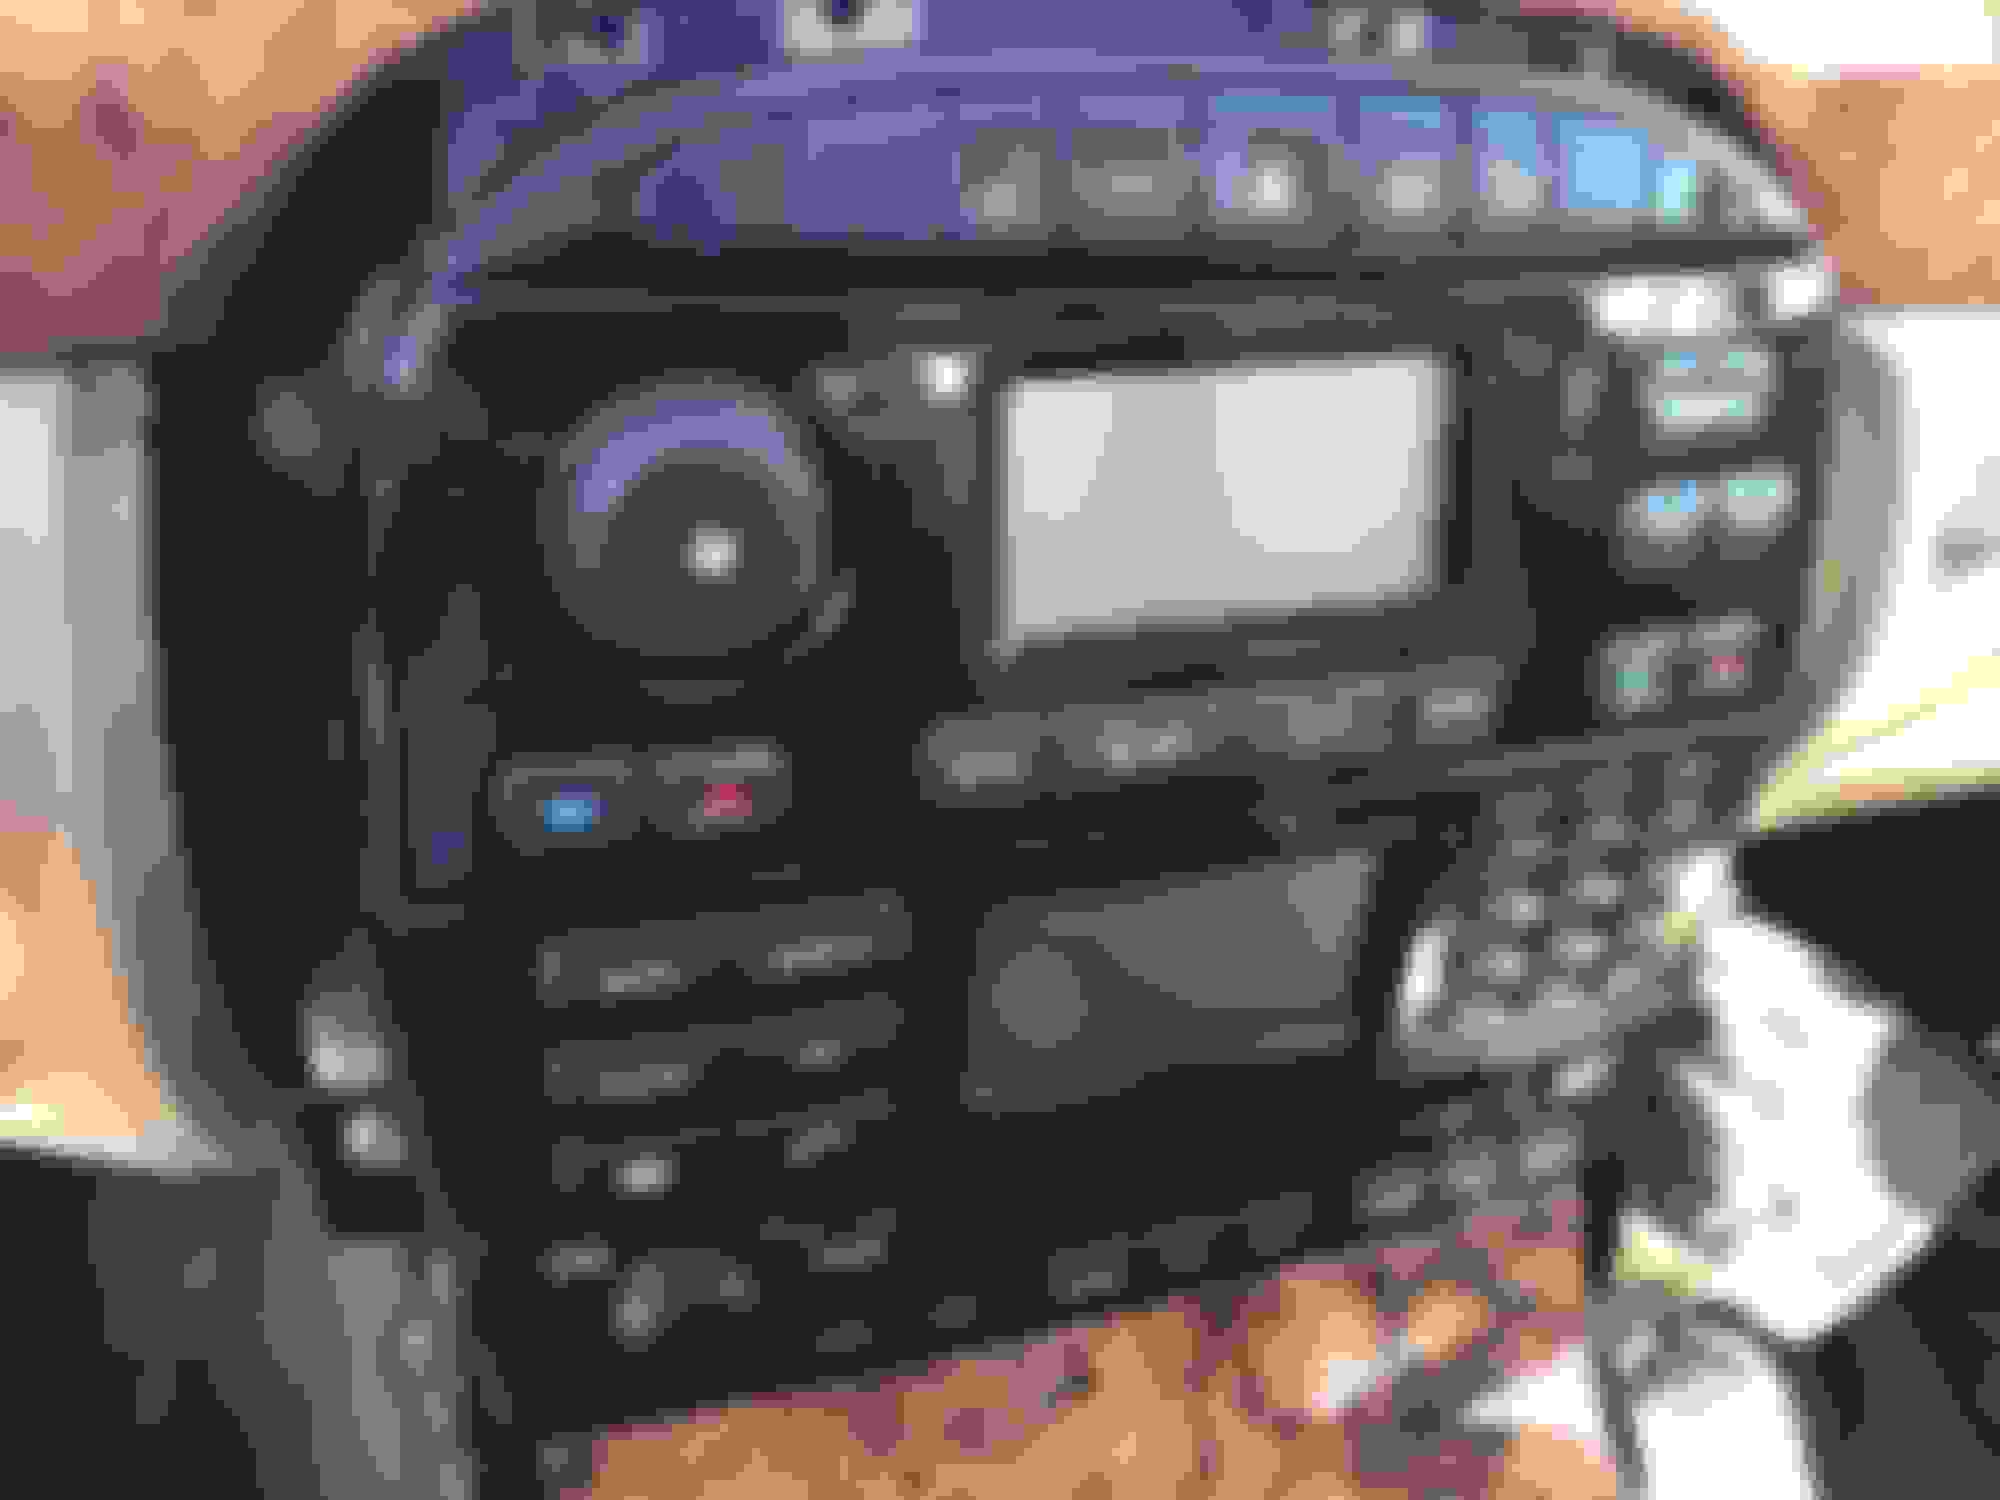
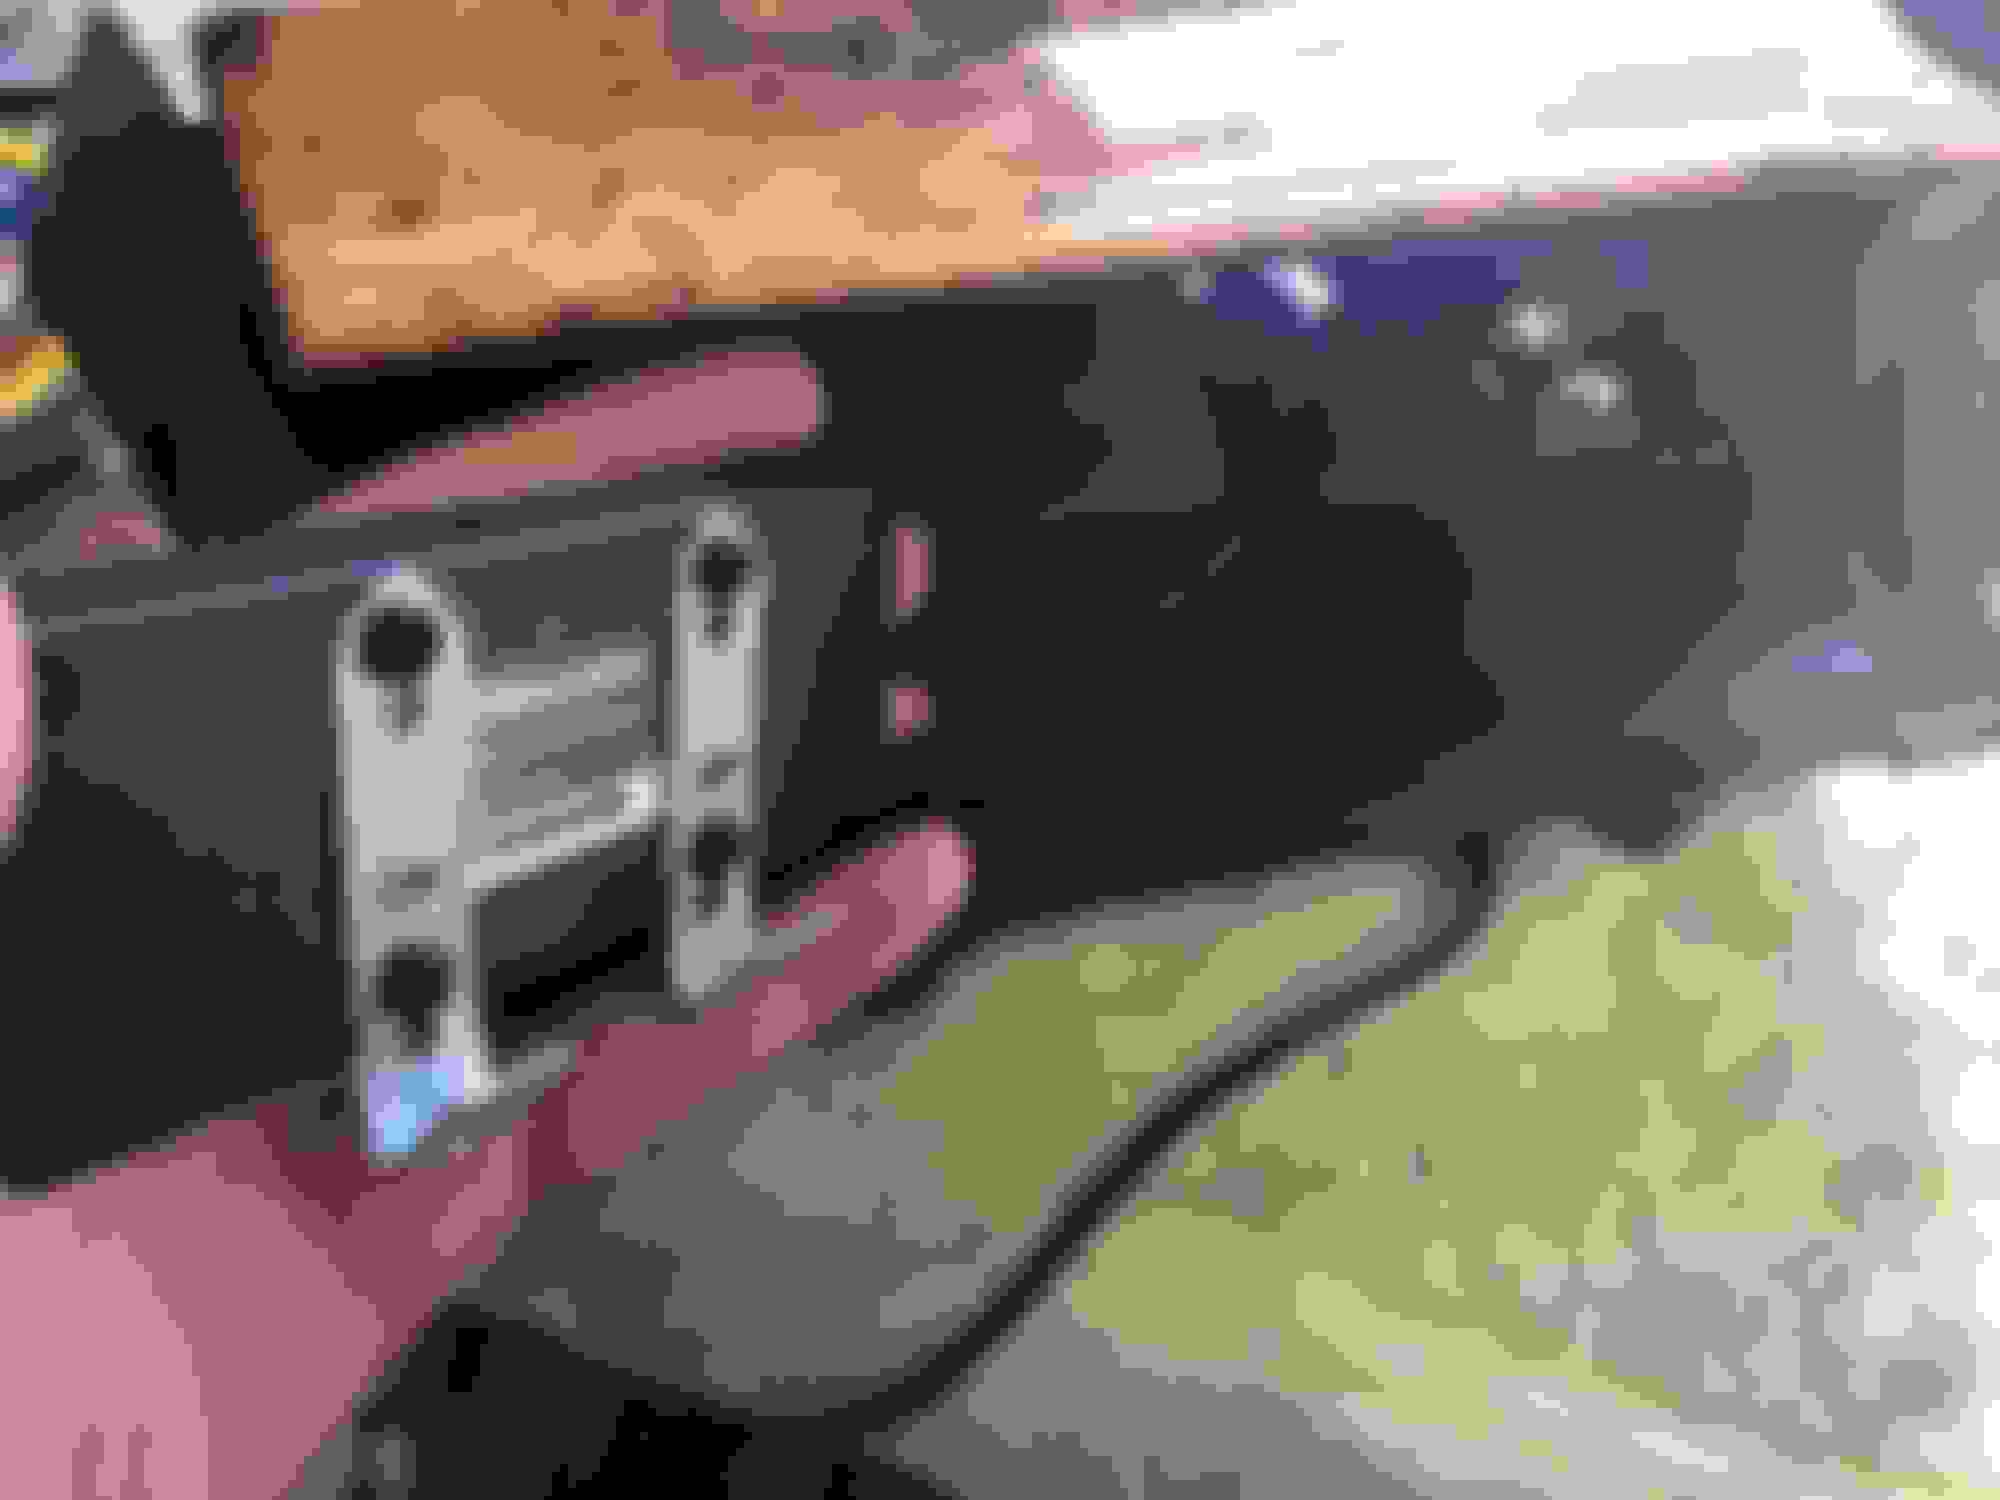
The center stack is held in by four screws, two visible on the left side of image.
Behind the scenes. A little more wiring than normal as I have the Audio Connectivity Module installed.
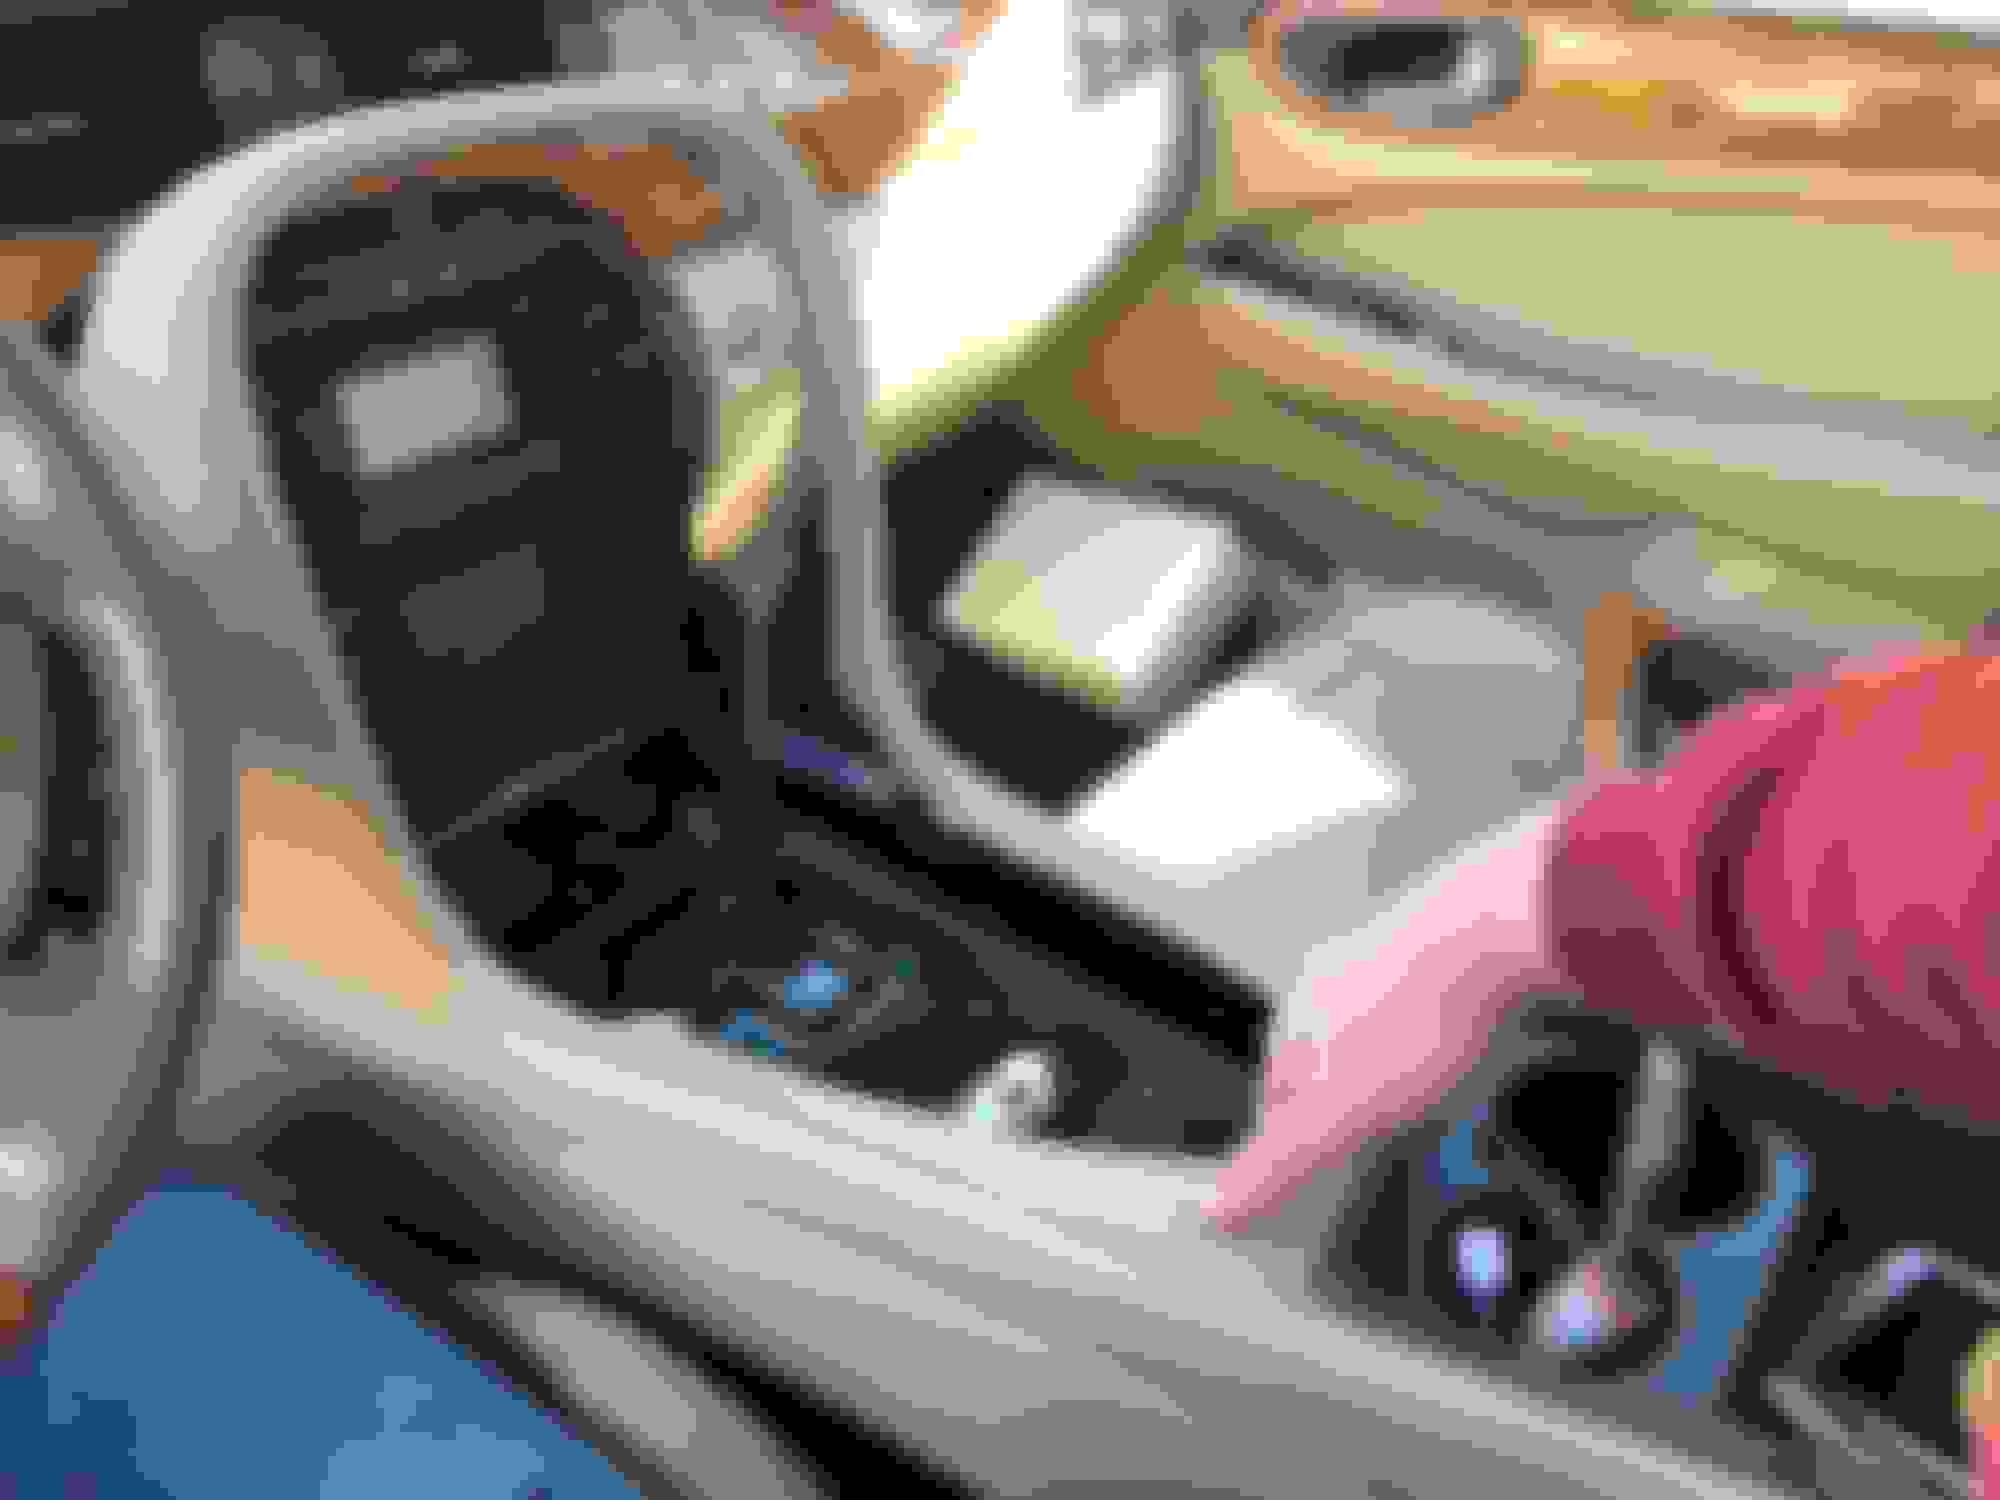
Ashtray removed and cleaned.
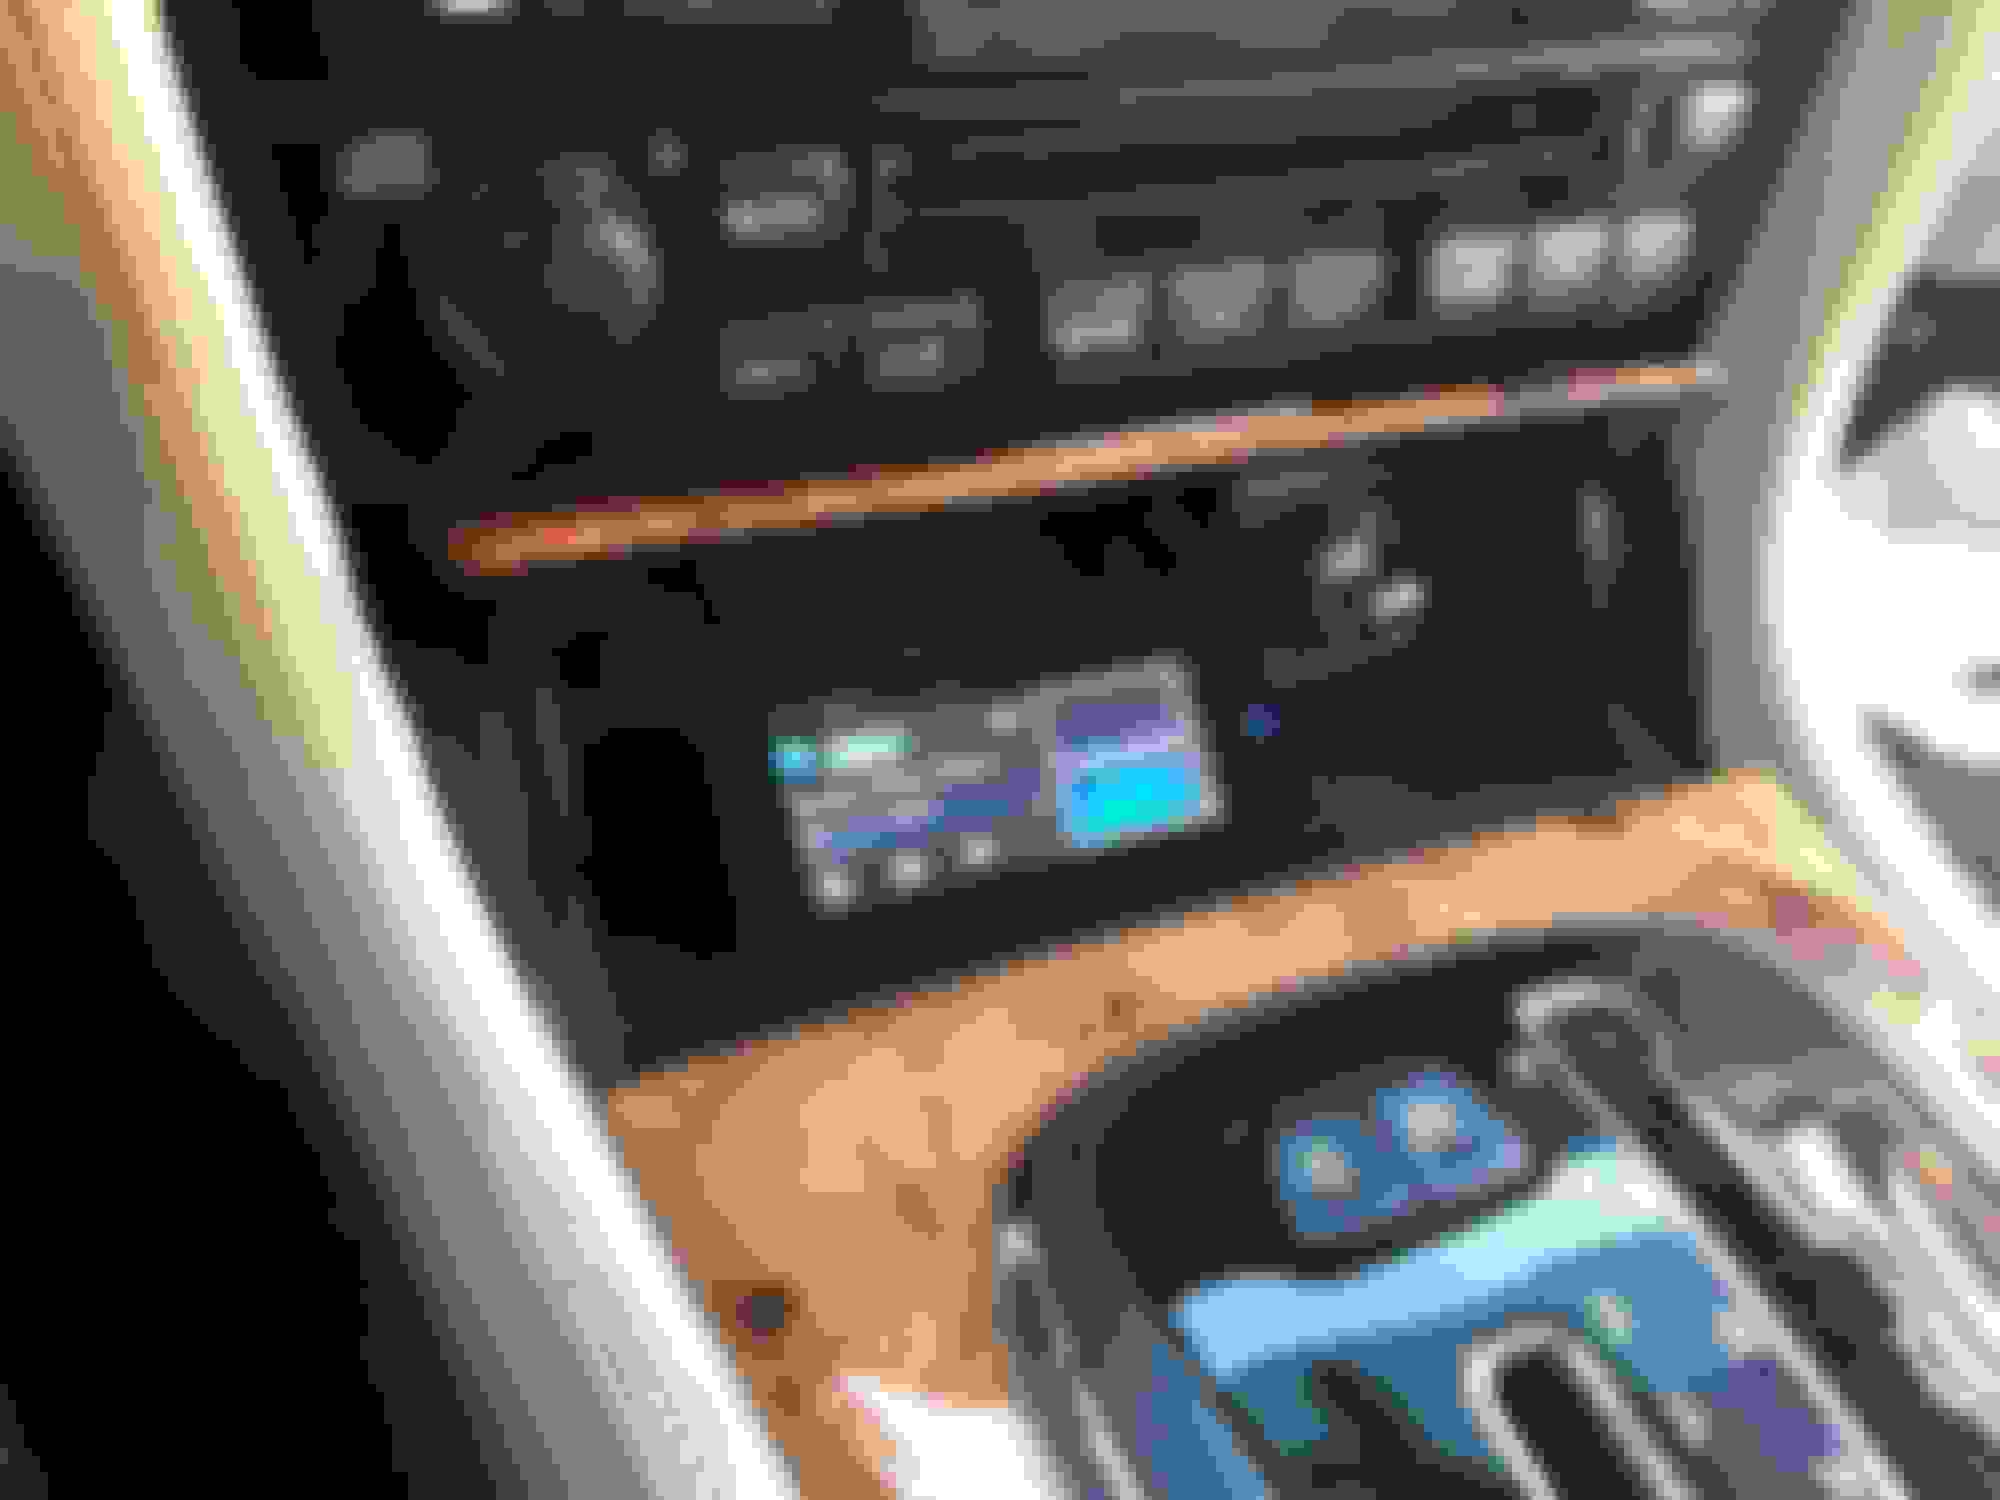
The control head and included mounting brackets. I added some holes to get the position I wanted.
Brackets trimmed, bent, and installed.
I made a paper template and used it to locate where to drill two holes for a small nut and bolt.
The receiver is small and fits nicely in a void behind the shifter.
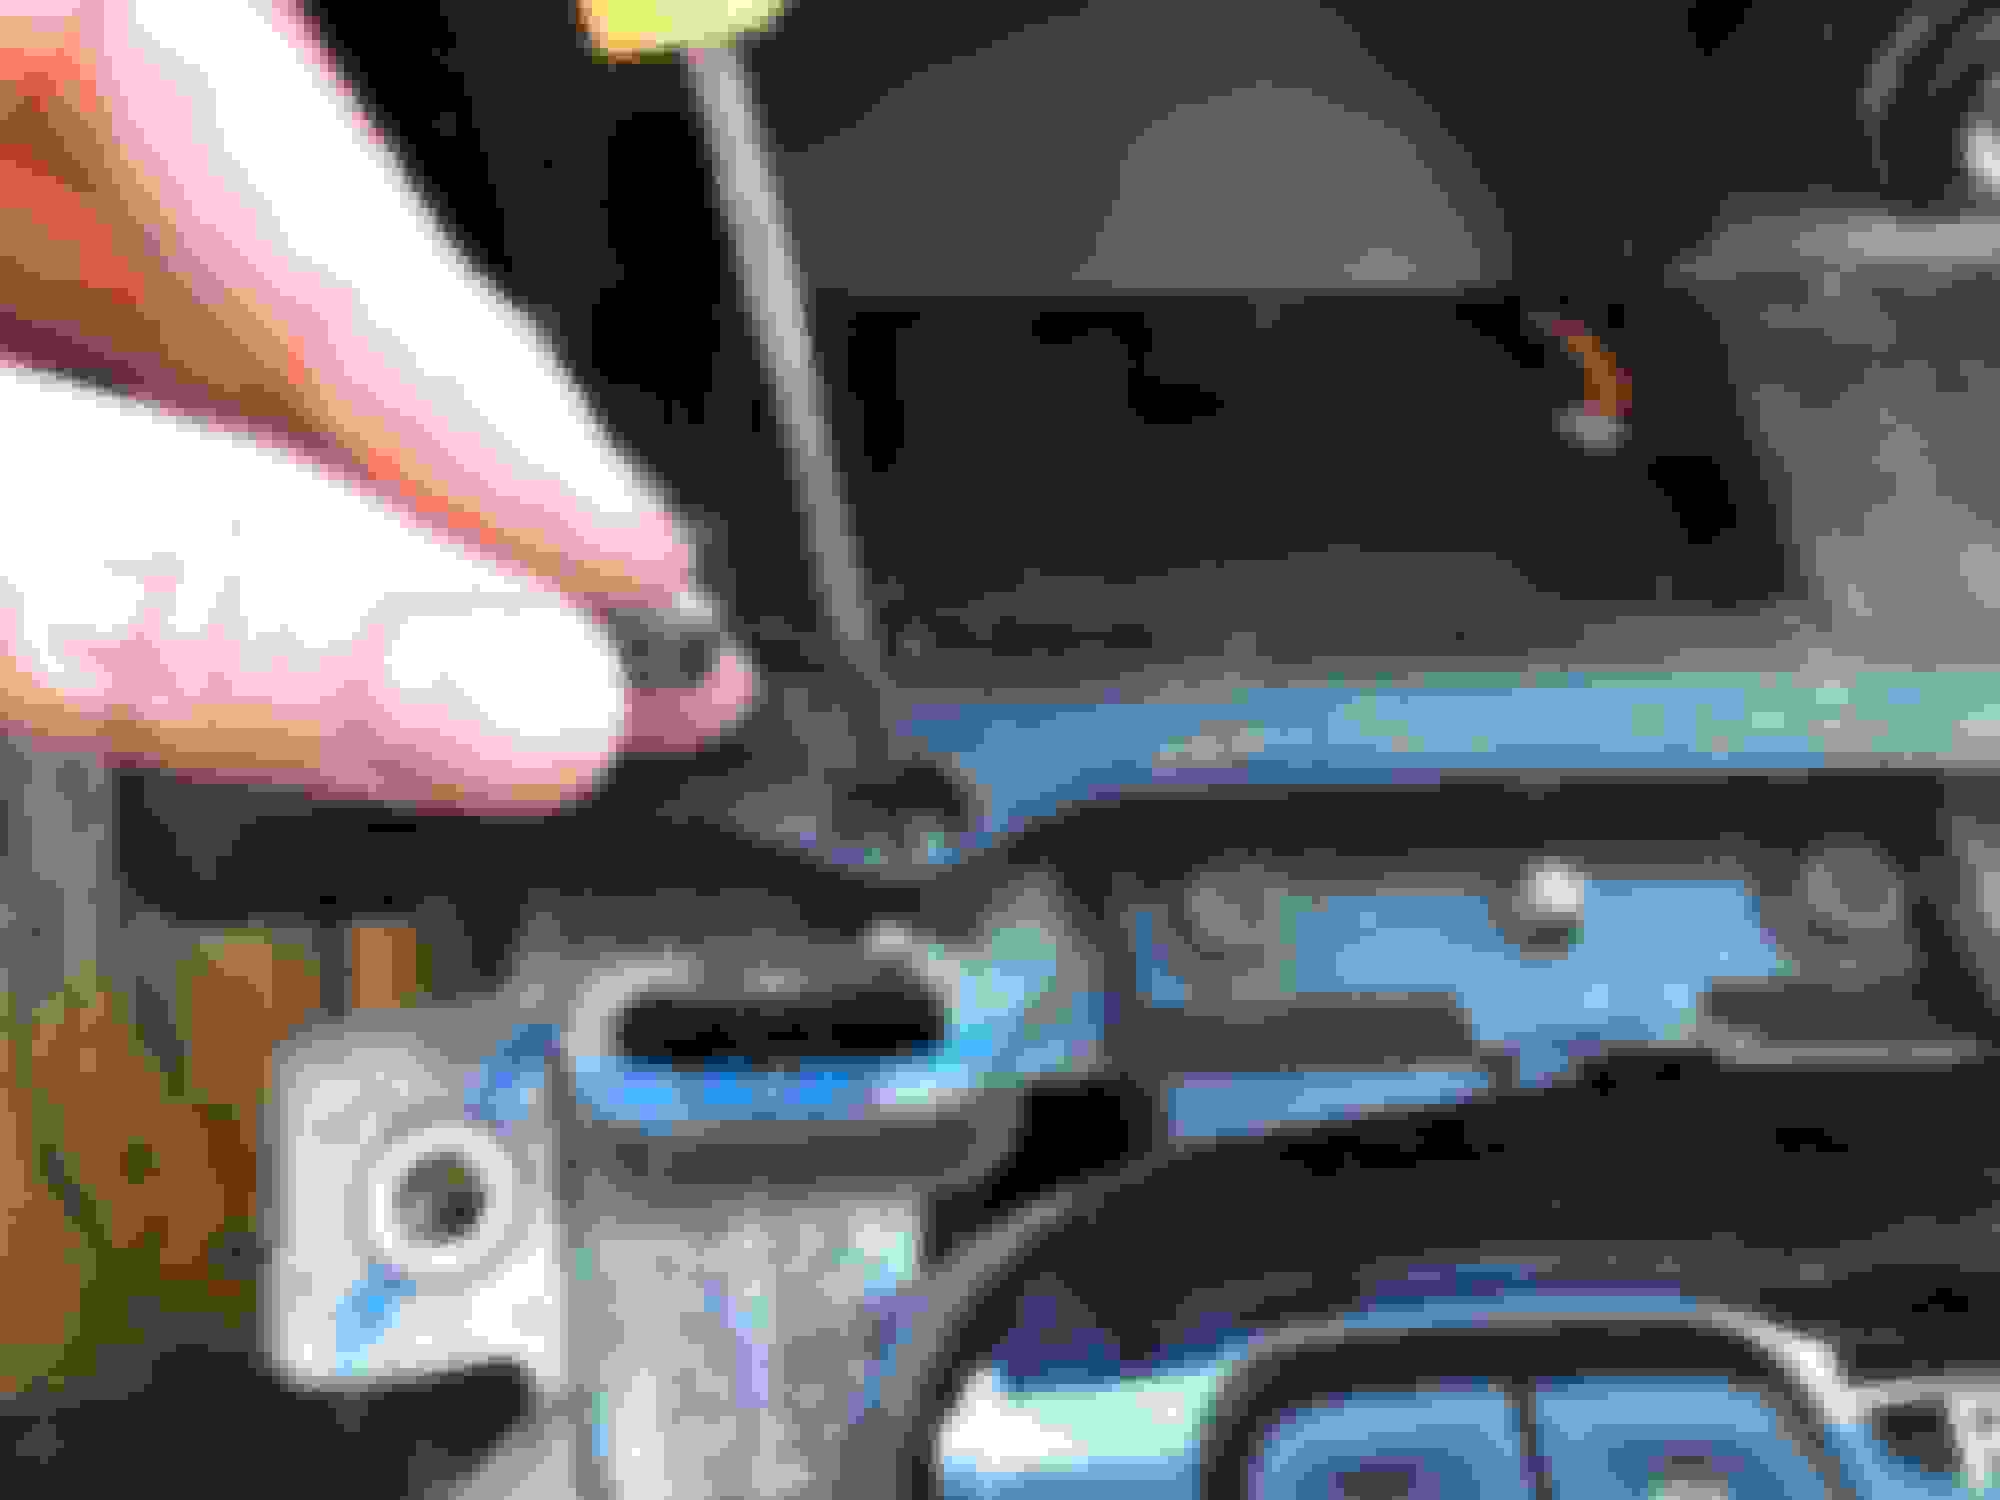
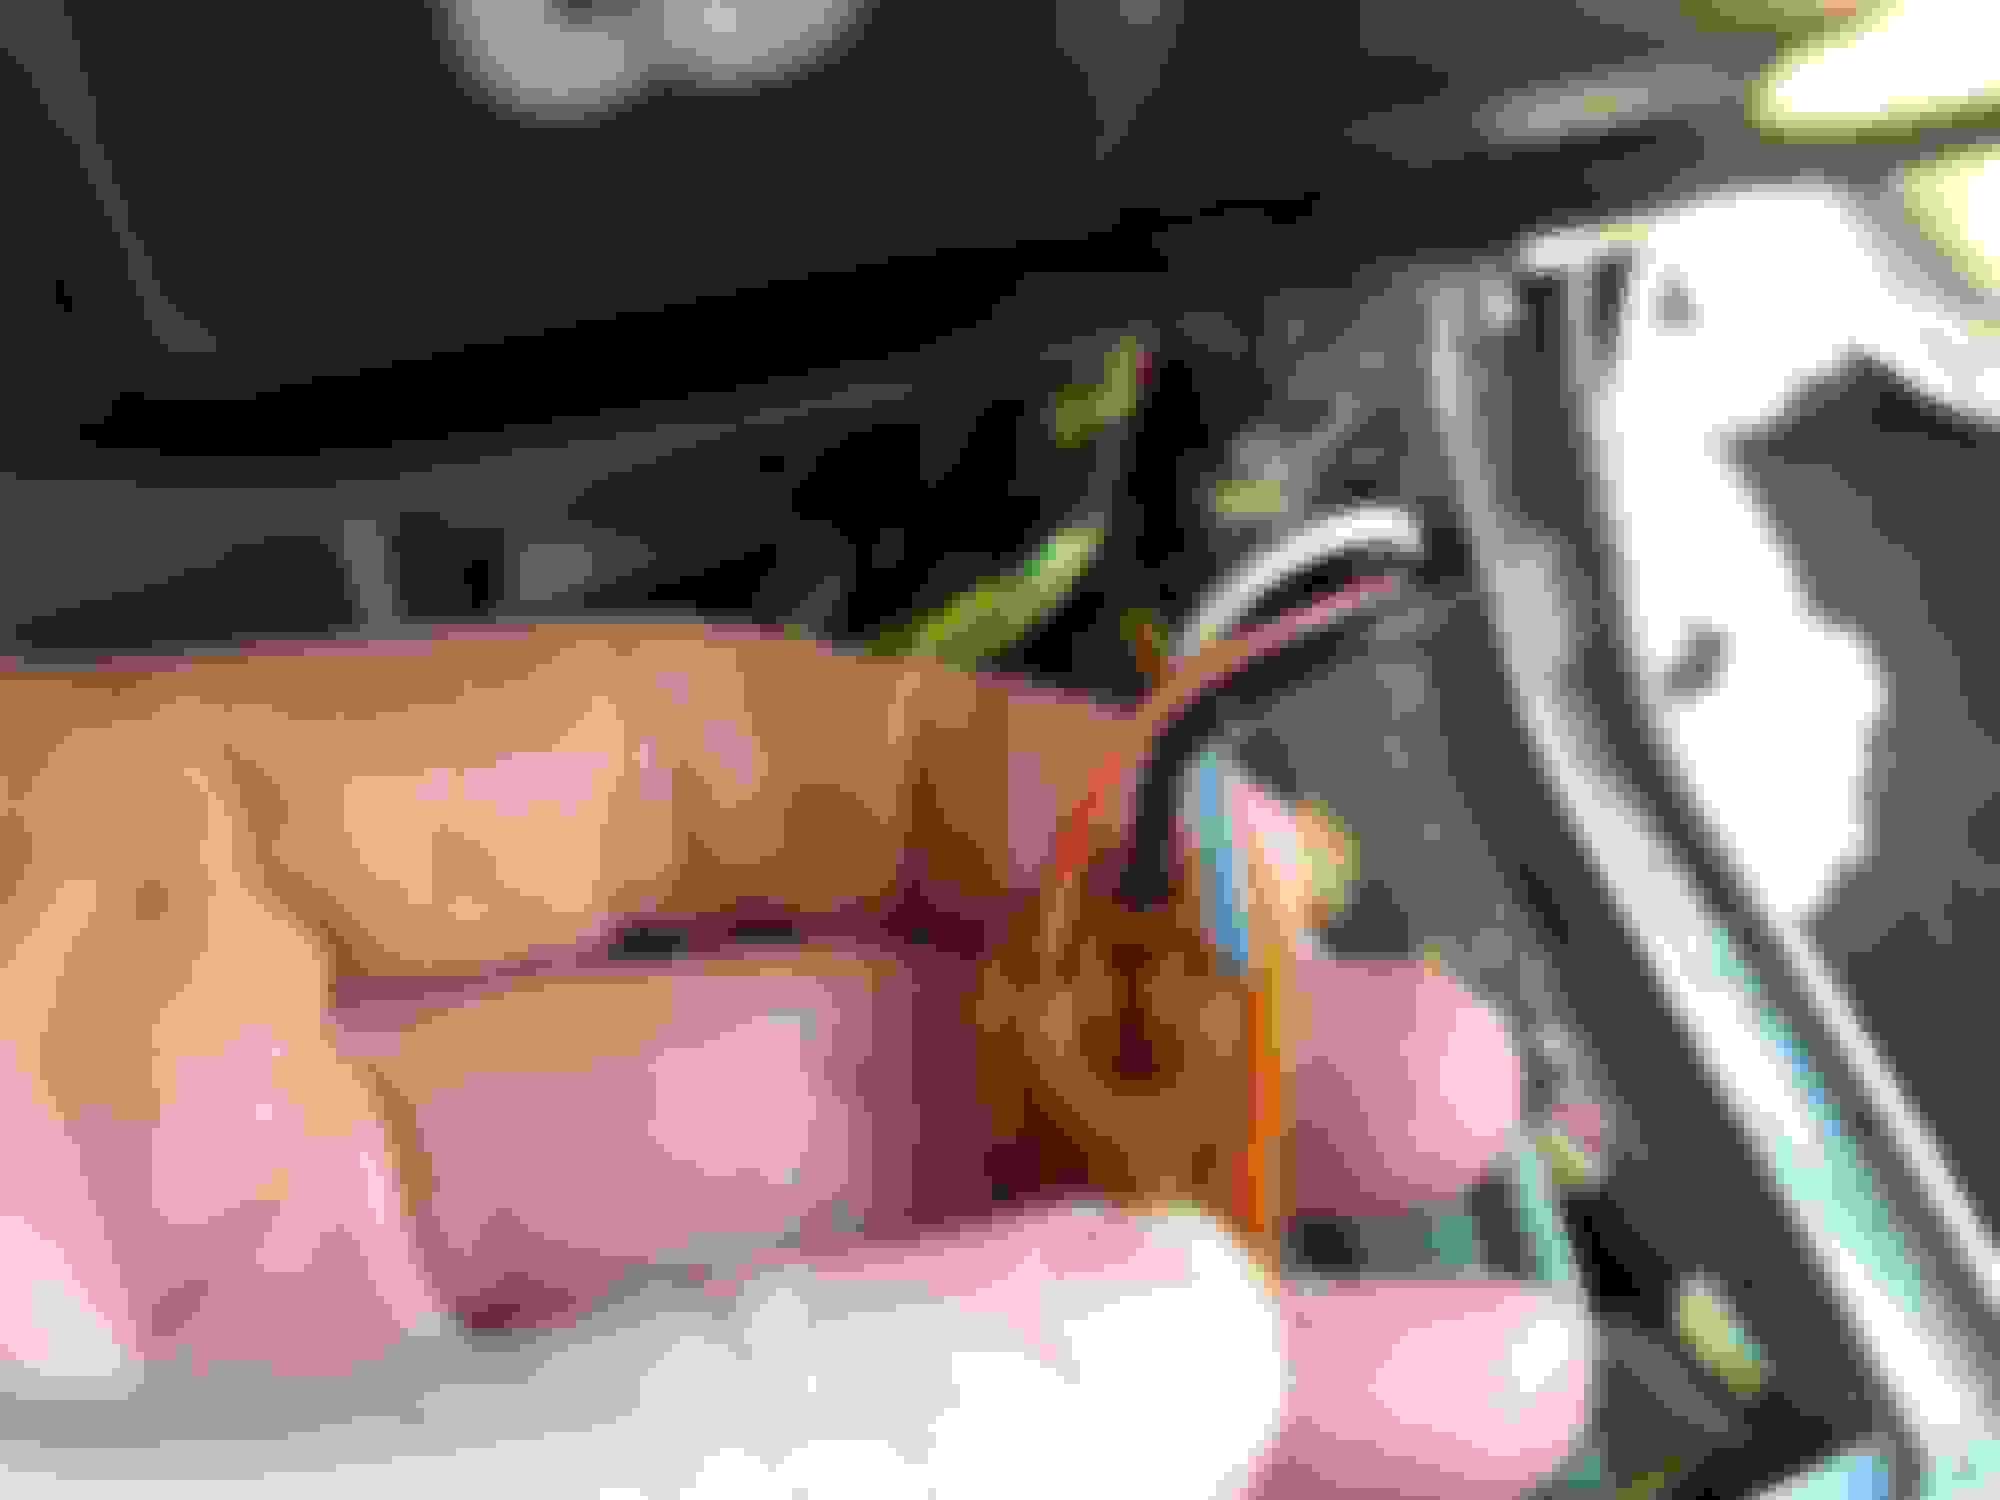
This is the connector to the cigarette lighter / power outlet in the ashtray. It's a great place to tap into for power. The unit needs a constant 12v feed, a switched 12v feed, ground, and an illumination signal to dim the display at night. The illumination signal and be found from the red/white wire on the left, and switched 12v from the blue/white wire on the right. Constant 12v can be found in the radio harness, and ground from a place of your choosing.
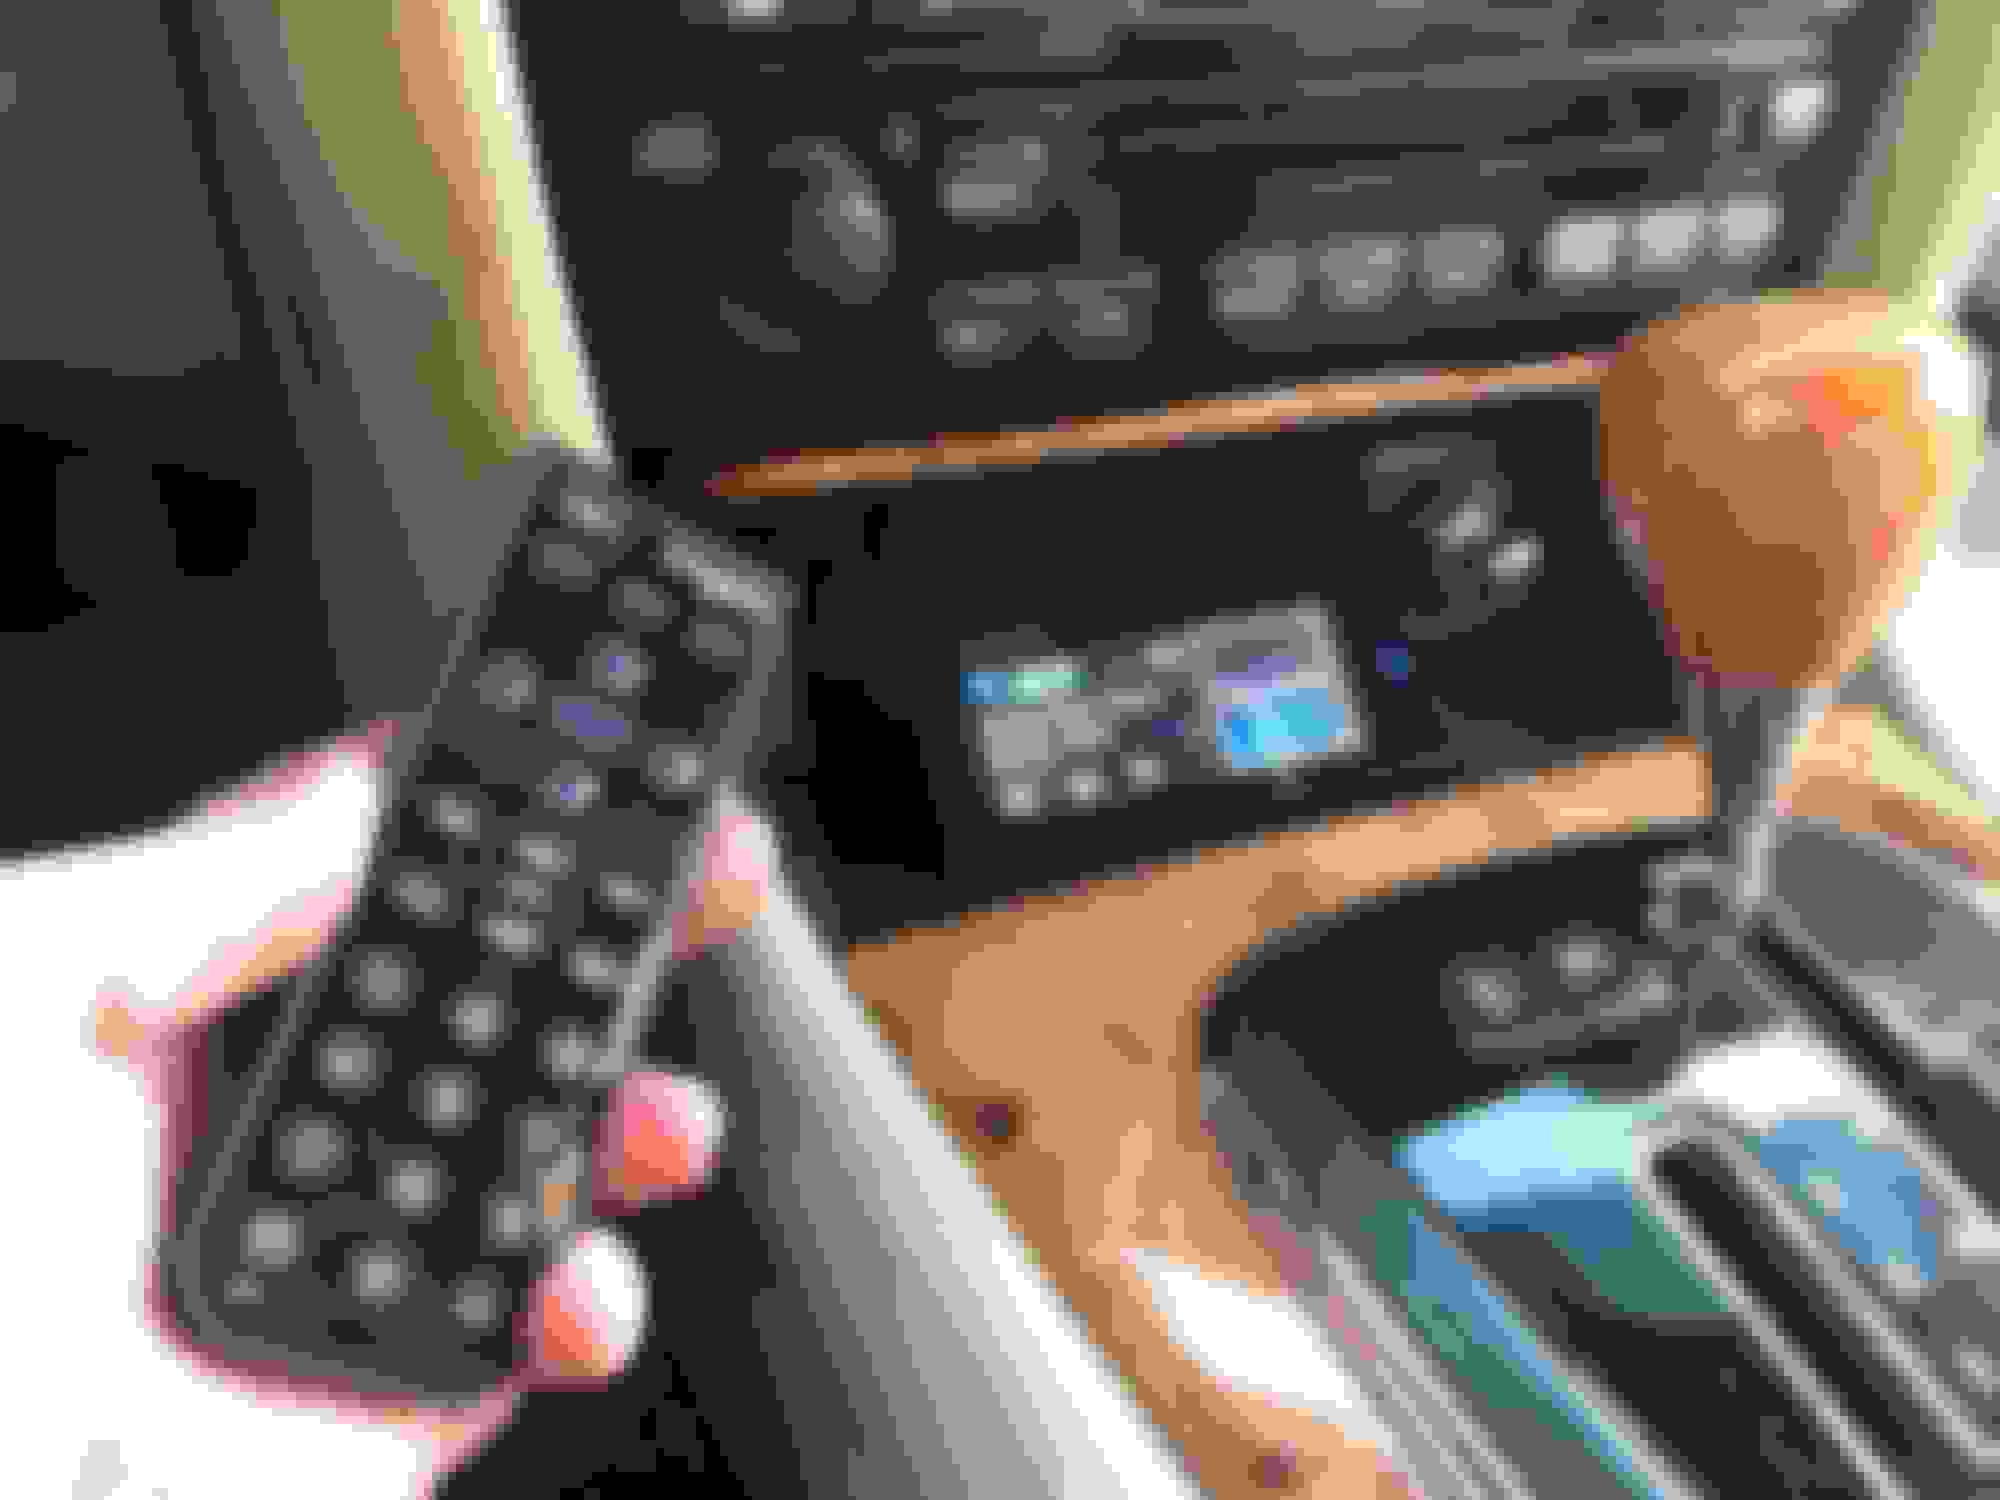
The remote did not come with the kit, but is very hand to have.
Very happy with the look, and the ashtray lid still opens and closes as normal.
I thought I would share some pictures from this weekends project. Everything went smoothly and I'm very pleased with the results. I went with the Sirius XM Commander Touch kit. The display is full color, touch screen, and very easy to use. Enjoy!
Relatively unused coin/ash tray.
Shifter trim prys up for removal.
Two of the screws that hold the console in, see screwdriver and finger. It's wise to remove the shift knob before going any further.
Rear register removes with a good pull.
Unplug the connectors and remove the other two screws.
Slightly lift the rear of the console, and pull towards rear to remove. The clips at the top of the "hoop" can be stubborn.
The ashtray assembly is held down by two phillips screws. Using a small pick or suitable tool to remove the caps that cover the heads.
The center stack is held in by four screws, two visible on the left side of image.
Behind the scenes. A little more wiring than normal as I have the Audio Connectivity Module installed.
Ashtray removed and cleaned.
The control head and included mounting brackets. I added some holes to get the position I wanted.
Brackets trimmed, bent, and installed.
I made a paper template and used it to locate where to drill two holes for a small nut and bolt.
The receiver is small and fits nicely in a void behind the shifter.
This is the connector to the cigarette lighter / power outlet in the ashtray. It's a great place to tap into for power. The unit needs a constant 12v feed, a switched 12v feed, ground, and an illumination signal to dim the display at night. The illumination signal and be found from the red/white wire on the left, and switched 12v from the blue/white wire on the right. Constant 12v can be found in the radio harness, and ground from a place of your choosing.
The remote did not come with the kit, but is very hand to have.
Very happy with the look, and the ashtray lid still opens and closes as normal.
Can someone please let me know what it would cost estimate for a professional to do this exactly. I simply abhore stereo installation

 03-18-2019, 10:32 AM