When you click on links to various merchants on this site and make a purchase, this can result in this site earning a commission. Affiliate programs and affiliations include, but are not limited to, the eBay Partner Network.
I’m sure most of you are aware already of the common issue with the steering rack bushes on the X300. The bush becomes soft with age and there is also an air gap that allows excessive movement of the rack relative to its mounting brackets, resulting in vague steering sensation.
The standard fix is to insert some nylon type shims between the outer edge of the bush and the rack body. This is covered very well by @Don B in this post
I had an issue with my rack in that the bushes had migrated out of the mounting brackets so the standard fix was not an option.
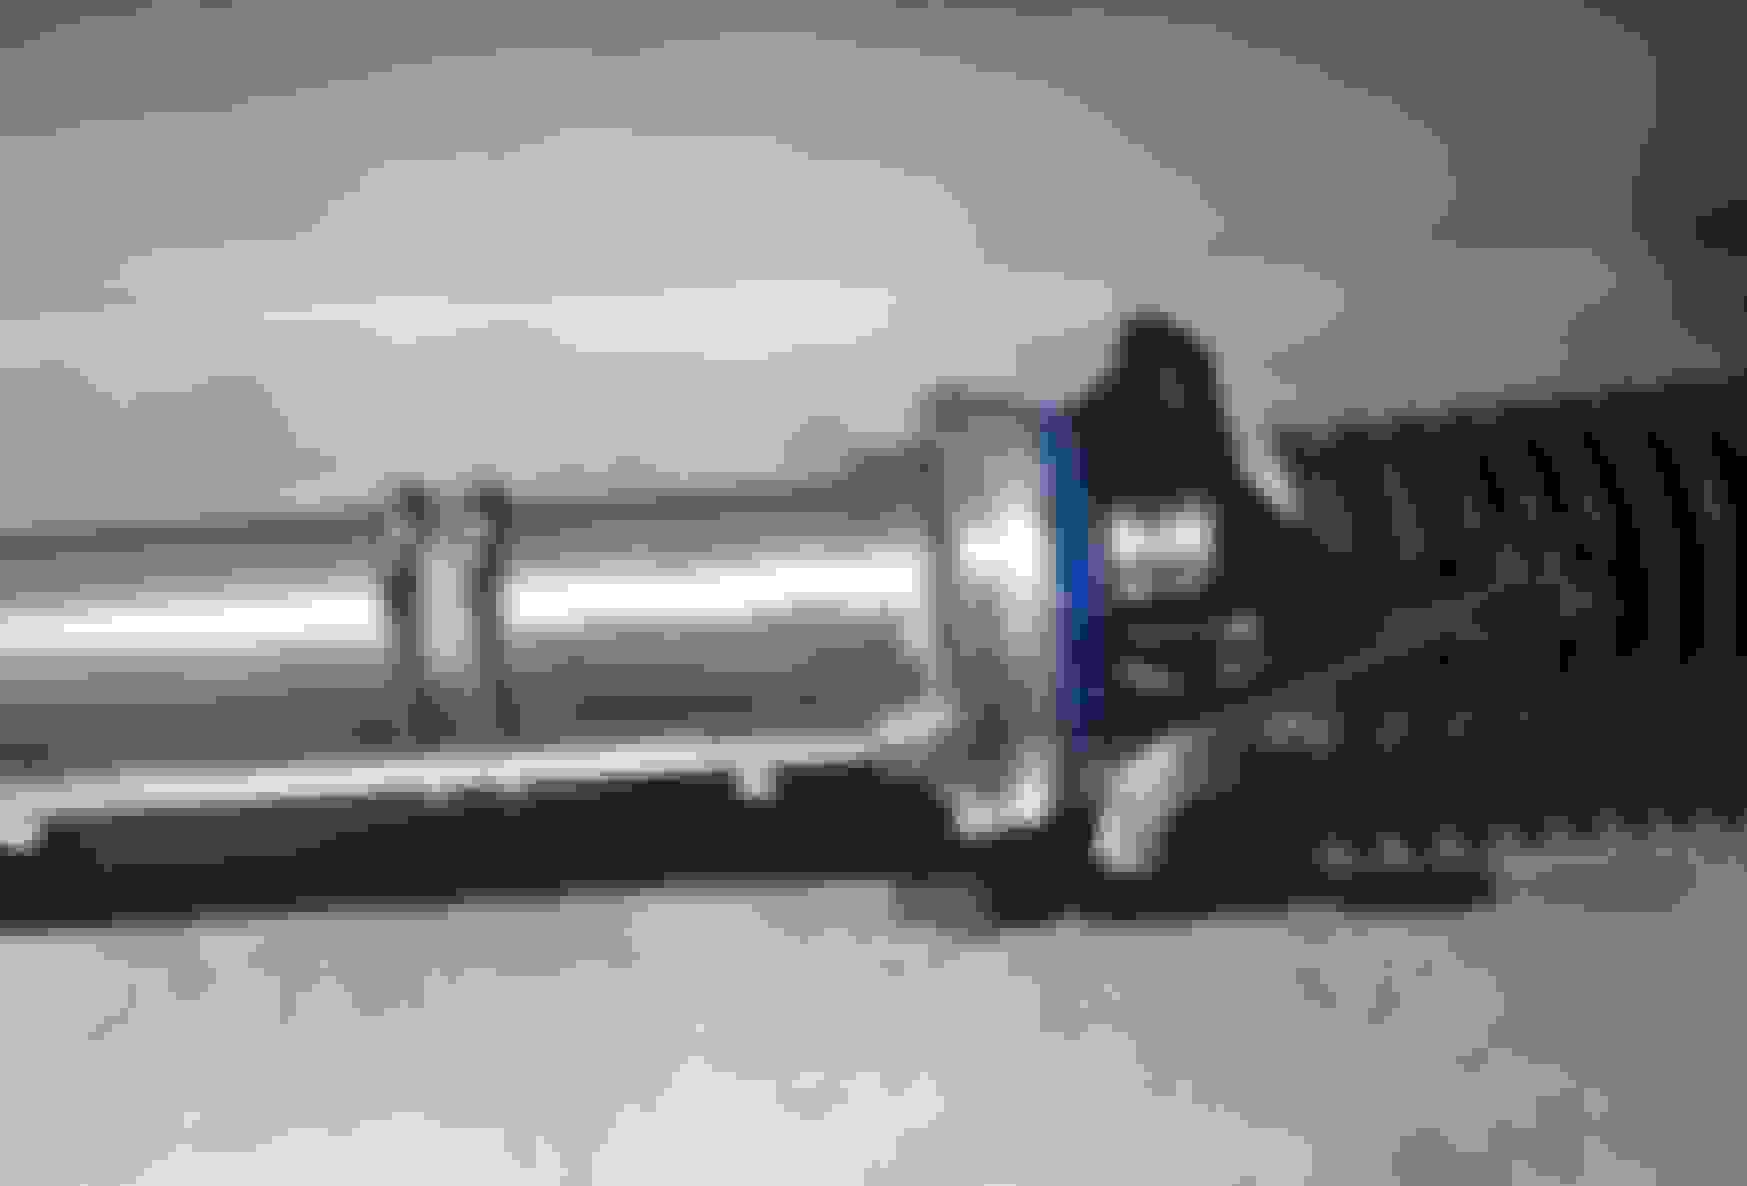
Here's a picture of the traditional fix. Credit @Cafcpete for the picture of his car.
I decided on an alternative approach. This also works for racks where the bush is still firmly in place where it should be. I know because I have done it on another rack.
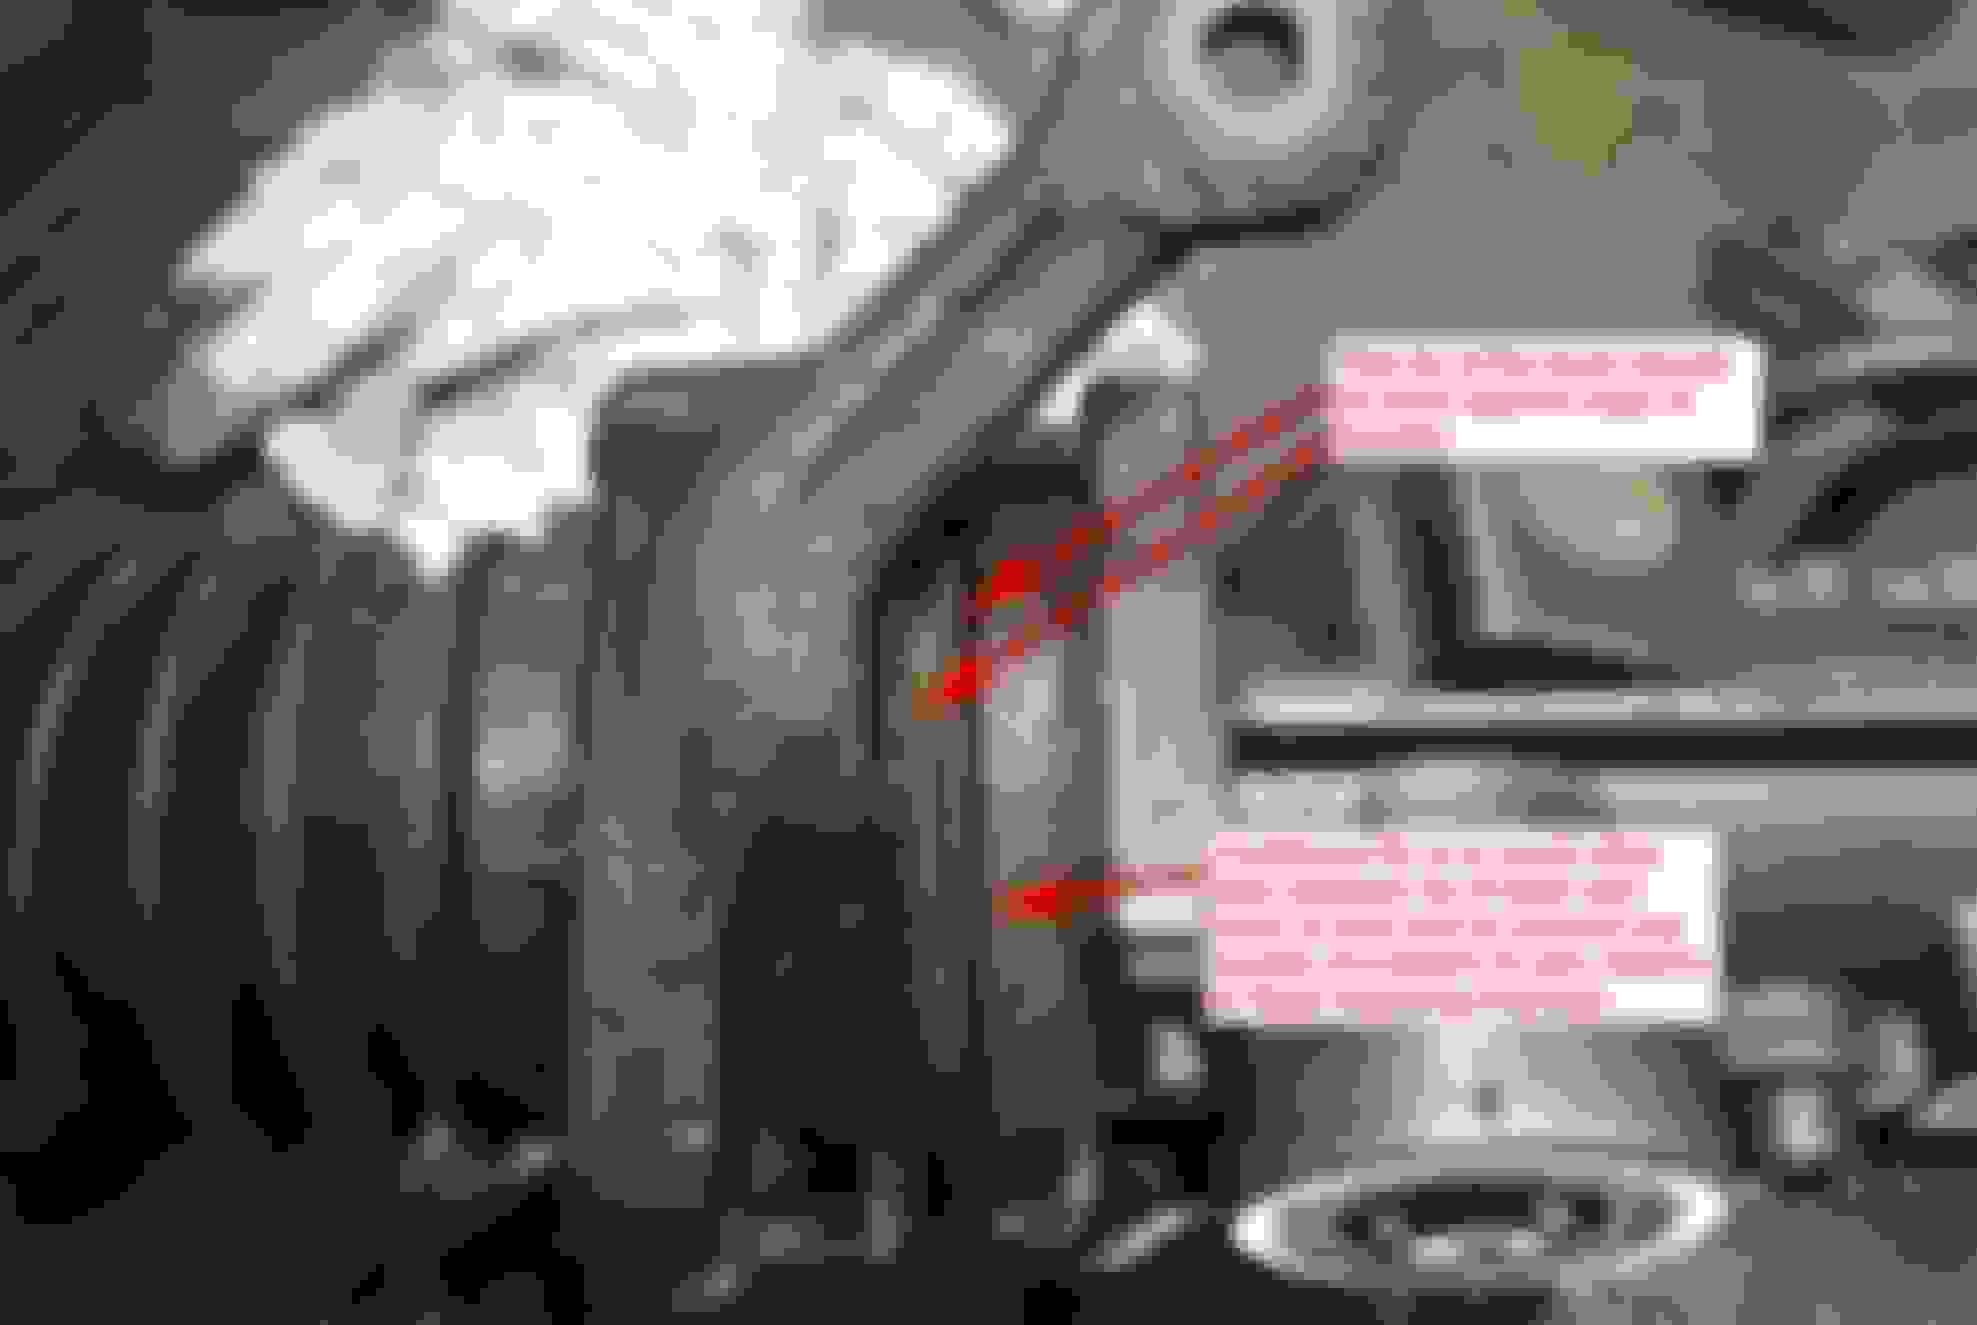
Firstly, I cut away all of the bush that was visible between the mounting bracket and the rack. Both sides. After a few tries I found the best tool was a coarse wood blade in a Multi-Tool.
I bought some Polyurethane Resin. This is a 2-part product that when mixed sets rapidly to a hard plastic. Various hardness grades are available. I chose a product that is Shore D 45 hardness (about same as Shore A 90). I did a trial casting with the product making a small piece about same thickness as the new bush would be. I tested it scientifically by compressing in a vice and also hitting it hard with a big hammer. It proved very robust indeed.
I then created a “mould” around where the new bush needed to be. It’s a tricky shape. I used a mixture of foil tape, silicone bleed tube, plasticine and hot-melt glue gun. I left a small gap at the top to allow the resin to be poured in to the mould.
After allowing the resin to set, the mould can be removed. I suggest doing this as soon as the resin has gone off, but not completely hardened. This will allow you to easily trim any excess resin with a sharp knife.
I refitted the rack, had the alignment checked and adjusted and road tested the car. No discernible extra harshness or vibration from the steering and the previous vagueness has gone, so I’m happy with the repair.
Last edited by Don B; Nov 20, 2021 at 10:27 PM.
Reason: Correct hyperlink
Do you think it could be done with the rack installed in the vehicle, maybe with a syringe to inject the resin into the "mold"? Or is rack removal mandatory?
Thanks for sharing your creative technique and great photos!
Thanks Don. I guess it would be possible to do this with rack on car but obviously much more difficult.
I think the hardest part would be getting a secure mould around the rack. That was tricky even with it on the bench. Even then I had some weeping from the mould and needed to keep topping up with a bit more resin until it started to go off.
are you free to join NASA and train for the Artemis (sp. ?) moon mission. With a creative
brain like you onboard the flight is sure to succeed no matter what unknowns arise.
Would we get to be on the talk show tour before ��
Before and especially afterwards. Afterwords so you / we could regale the viewers about how owning a Jaguar prepared you to fix the broken what-cha-ma-call-it with baling wire, super
glue, and baking soda.
That is a very elegant solution by b1mcp and I congratulate him on his ingenuity.
There is another much less elegant fix to the steering rack problem common to X300 and XJ40s.
It involves wrapping around the joint/rubber between the steering rack and the mounting with 1/8 inch or 3mm wire.
It is then held in place (and disguised?) with hose clips.
This then holds the rack firmly in place and stops the wandering.
There will be a bit more "road feel" as there is no shock absorption.
I have done this on an XJ40 and an X300 and assure you it does work.


 by compressing in a vice and also hitting it hard with a big hammer. It proved very robust indeed.