When you click on links to various merchants on this site and make a purchase, this can result in this site earning a commission. Affiliate programs and affiliations include, but are not limited to, the eBay Partner Network.
A few years ago, a U.K. Jaguar parts vendor and eBay seller began offering a “Steering Rack Bush Repair Kit,” said to fit the XJ40 and X300 racks. The “kit” was a pair of claimed "New Old Stock" nylon steering rack stiffening bushes, Jaguar part SPC1059. A little research revealed that these bushes were among the upgrades installed on XJR and XJR-S models beginning in 1988. Apparently, Jaguar never offered these bushes separately as service parts. Below is a link to the special parts list:
The bushes are thin plastic rings that slip into the gaps between the ends of the steering rack body and the mounting brackets. The bushes prevent side-to-side movement of the rack due to the rubber bushings molded inside the mounting brackets.In the past, I've read about owners who have used several wraps of wire or even thin U-bolts to serve this purpose, but I liked the simple elegance of the plastic bushes.
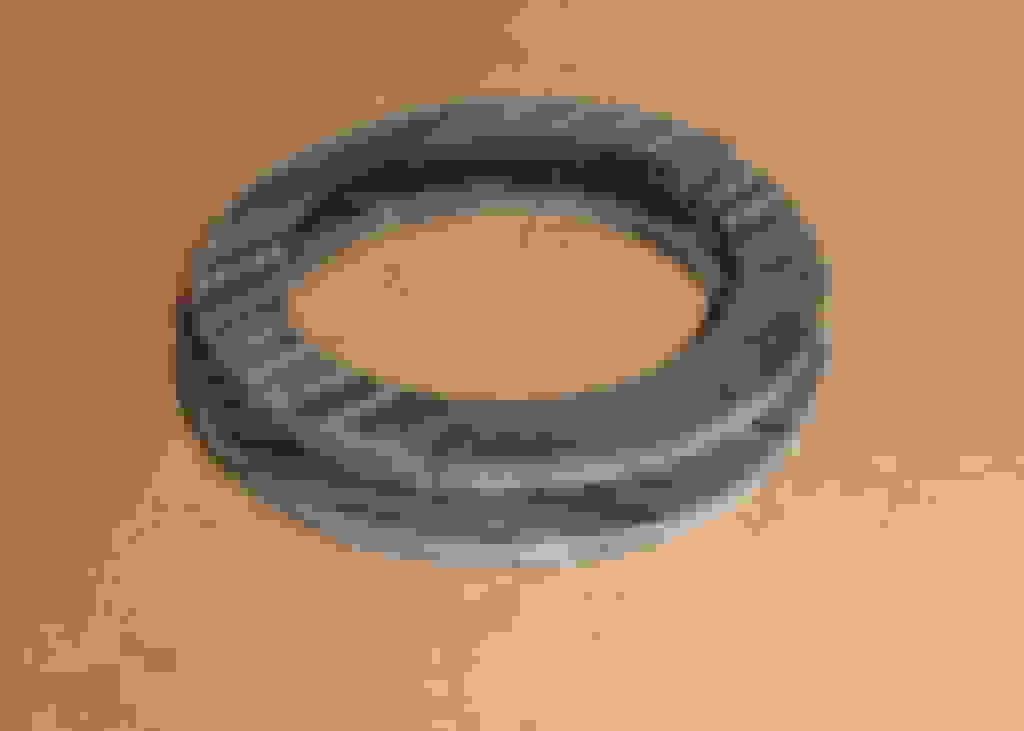
Here’s the eBay seller’s photo of the Jaguar OE bush:
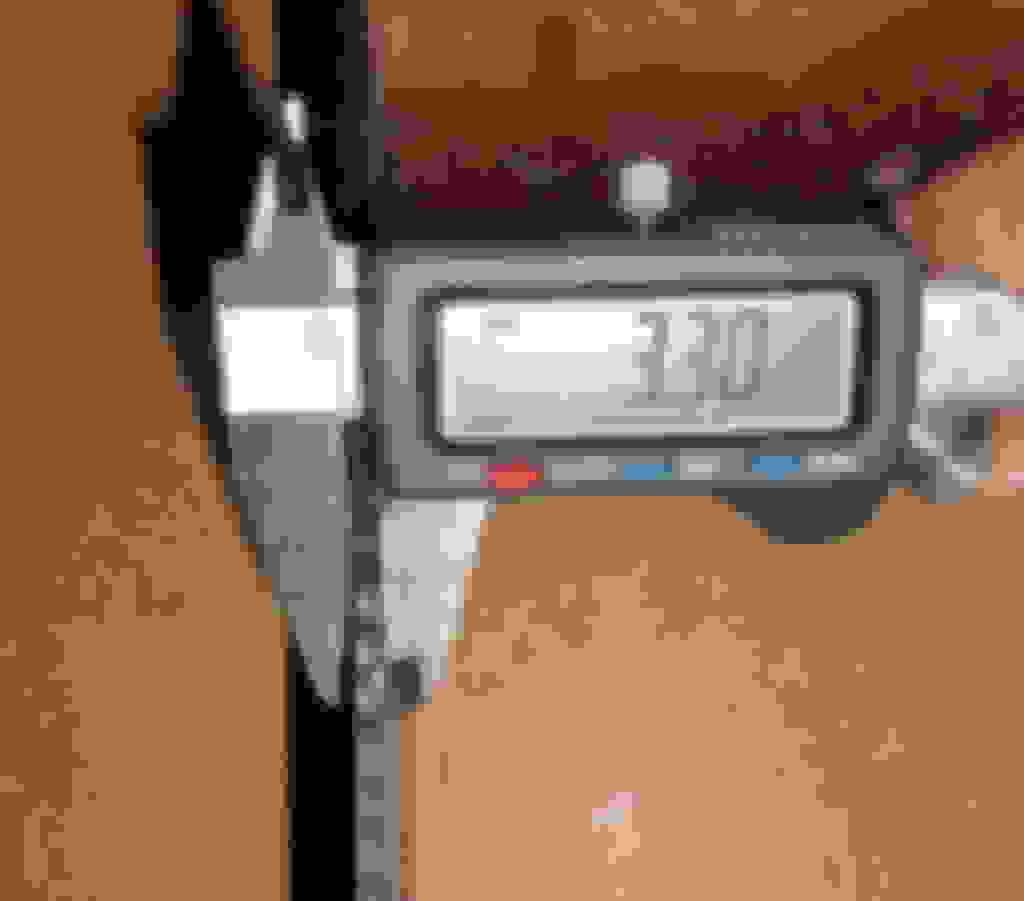
The eBay seller offered a limited number of sets at �36.64 / $55.41 (plus shipping outside the U.K.). I was tempted, but suspected I could make my own bushes for less than what would probably have been more than $65.00 with shipping costs to the U.S. All I needed were the dimensions of the bushes. Those came from Richard, a fellow Jag owner in the U.K., who ordered a pair for his X300 and kindly took careful measurements. I also learned from him that the bushes have a groove around their outer circumference to receive a wire to secure the bush in place, something I couldn’t have known from the eBay photo alone. With this information, I created a simple part diagram:
The next step was to find a suitable material from which to machine my bushes. Richard said that despite the fact that the OE bushes were made of a white plastic Jaguar called Nylon, he was concerned that real Nylon might not be sufficiently flexible to spread apart to slip around the steering rack. When I began installing my own bushes, I could see what he meant. The steering rack is the same size as the inside diameter of the bush, so the bush must be highly flexible to bend around the rack body. Richard suggested I look at polyethylenes, and after some research I opted for a High-Impact Resistant, Ultra High Molecular Weight (UHMW) Polyethylene made under the Tivar brand. Here's a link to Tivar specifications:
Given the 3.3mm thickness of the OE bushes, I ordered a section of rectangular bar 4 in. wide X � in thick, item number 8702K472 at McMaster-Carr (mcmaster.com). The price was $6.76 per foot. I only needed 1 foot, but I ordered 2 in case I made a mistake. The mistake I made was to order � in. material with the plan of planing it down to 3.3mm (0.1299 in.). After discovering just how tight the 3.3mm bushes were to install, I would highly recommend ordering 1/8 in. (0.125 in.) material, McMaster item 8702K446 at $4.69 per foot. The bushes will work fine and be just a little easier to fit. Here’s the plastic I ordered:
This is the part you don’t want to trouble yourself with, but I’ll show the photo for the historical record. I machined the poly bar using the surface planer. Even taking very light cuts, the planer did not like this thin, flexible material, resulting in bad sniping on the trailing end. A solution would have been to adhere the poly to a board with double-sided tape, but truly, you don’t need to mess with this at all:
With very light cuts, I snuck up on the final thickness:
With double-sided tape, I fixed the poly bar to a sacrificial board, then drilled appropriately-spaced center holes in the plastic for my router guide pin. I drilled holes in a router base at the correct radius points to rout inside a 58mm circle and outside an 83mm circle. I cut the outer diameters first, then the inners, so the bush rings would remain connected to the plastic with the center holes until all cuts were complete:
I used the edge of a small jeweler’s file to scrape the burrs from the edges of the rings:
I considered several ways of machining the groove in the outer edge of the bushes. I could have simply used a jeweler’s file to form the groove by hand. I could have used a luthier’s purfling tool to define the outer edges, but then would have had to remove the remaining material. I could have used a slot-cutting bit in either the drill press or router table, but I would have had to devise a means of controlling the depth of the cut. In the end, I opted for the Dremel router table mounted with a small spherical carving burr with a diameter about 1/3 the thickness of the poly bush rings (I just chose the burr size by eye):
By adjusting the position of the Dremel tool below the table, I set the depth of cut. The board clamped to the table served as a second guide fence to prevent the flexible plastic from deflecting. By rotating the poly rings over the spinning bit, I cut the grooves:
The bushes have a slot cut across their width. The most obvious reason is so they can be spread apart to fit around the steering rack. But why is the slot about 1/8 inch wide, instead of being narrower, like the kerf of a bandsaw? My suspicion is that the wider slot is intended to allow a small range of adjustment to ensure the bush can be tightened so there is no gap between the inner diameter of the bush and the body of the rack. The simple solution was to use the table saw to cut slots that are about 1/8 inch wide, using a push stick to help hold the rings securely while making the cuts:
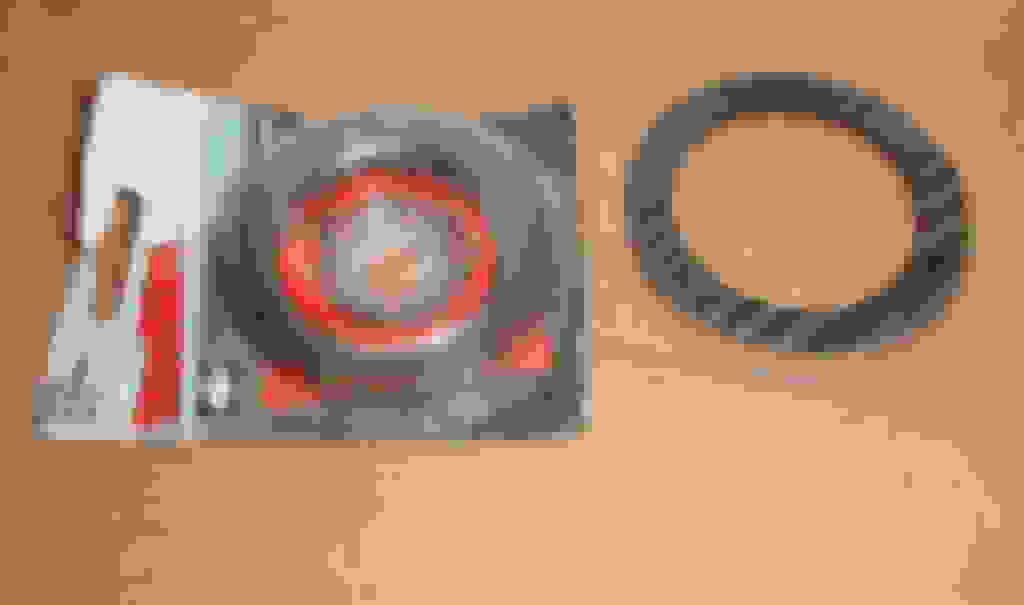
Given the function of the bushes, there's no need to polish the rough surfaces. Here are two views of the finished bushes:
For the security wire that fixes the bushings in place, I could have purchased some nice stainless steel brake safety wire, but I had on hand some standard steel wire in 19 gauge, so that’s what I used:
Installation began with clipping a couple of wire ties so a hydraulic line could be moved out of the way:
When I tried to install the first bush, the fit was too tight, so I started the engine and turned the steering wheel until the gap between the rack and mounting bracket increased to its maximum. The fit was still tight, so I used a piece of thick twine to first clean the gap, then to lubricate it with plastic-safe dielectric grease:
I lubed both sides of the bush with dielectric grease and worked it into the slot:
Working from below, I struggled to push the top of the bush down into the gap, so I used a long wooden dowel from above (in the engine bay) to work it into place:
I used a wide prying lever to fully seat the bush all the way around, then looped a section of steel wire around the bush:
I used lineman’s pliers to twist the wire snug but not so tight the metal of the wire might be weakened:
With the right end of the rack now immobilized and its play eliminated, installing the left bush was even more difficult. I adjusted the steering wheel to maximize the left gap, but still had to loosen the rack mounting bolts to gain enough clearance to fit the left bush. That’s another reason to use 1/8 in. plastic and not worry about the 3.3mm thickness of the OE bushes, which the factory would probably have fitted on the rack before it was installed in the car, making the job far easier.
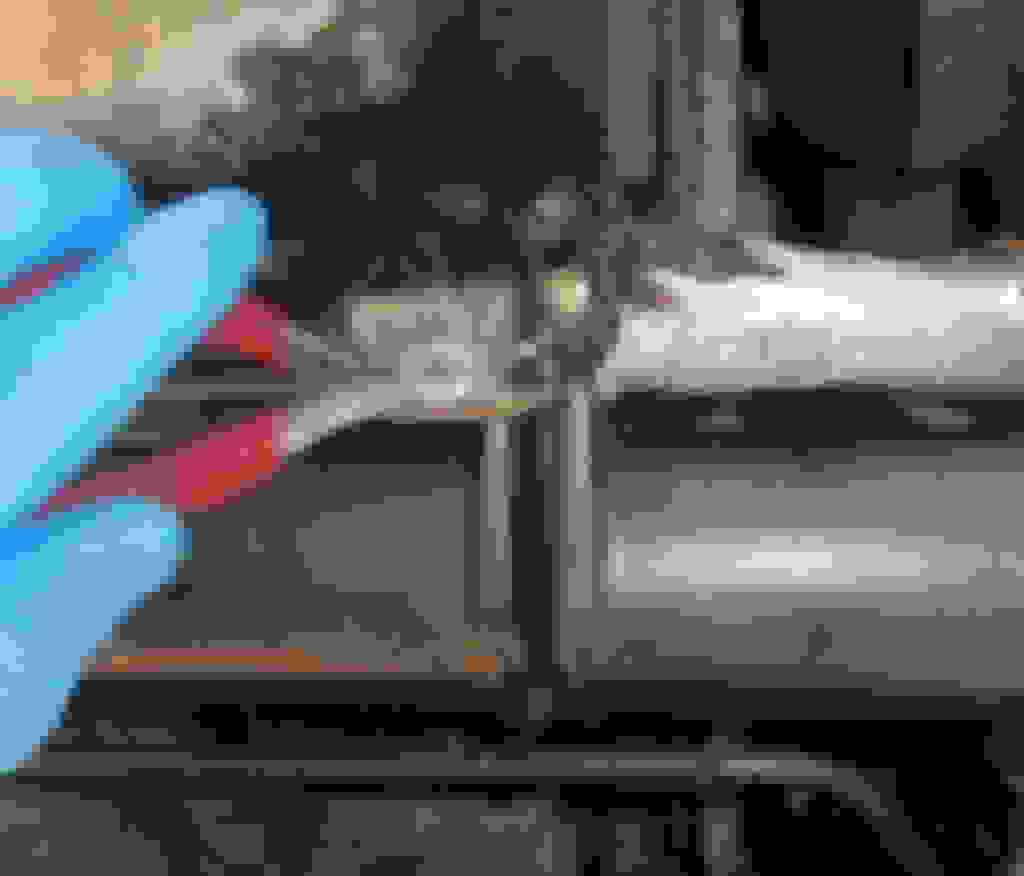
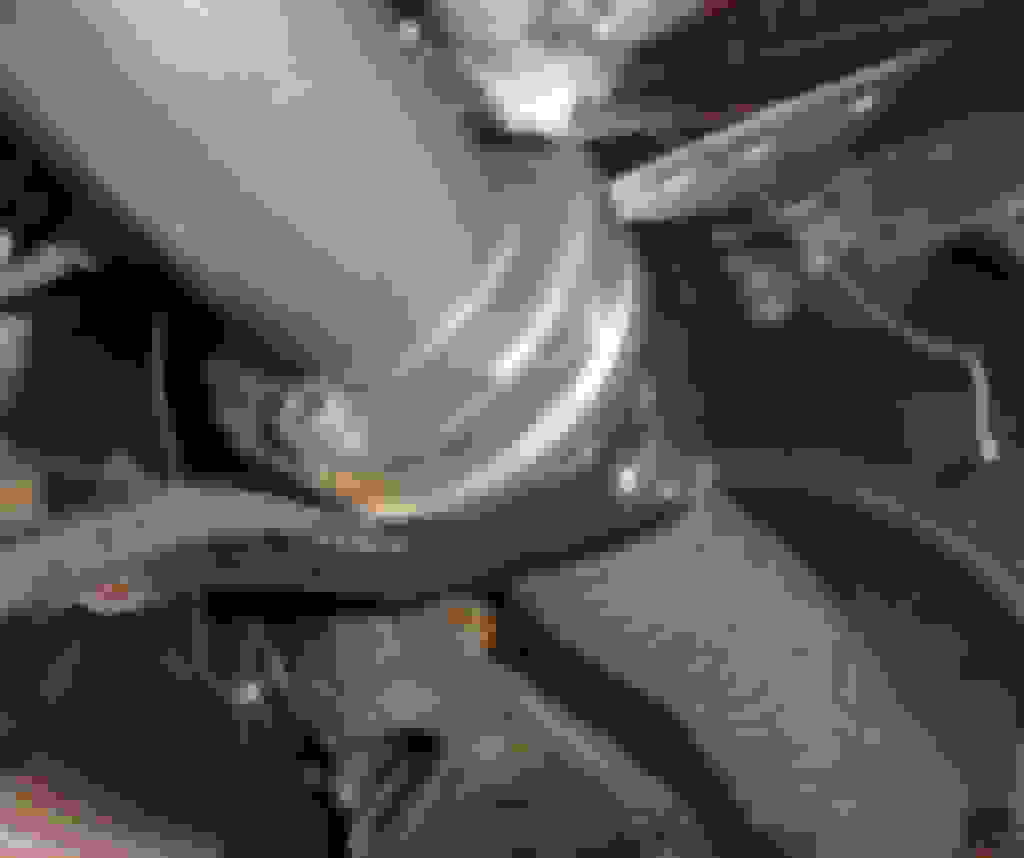
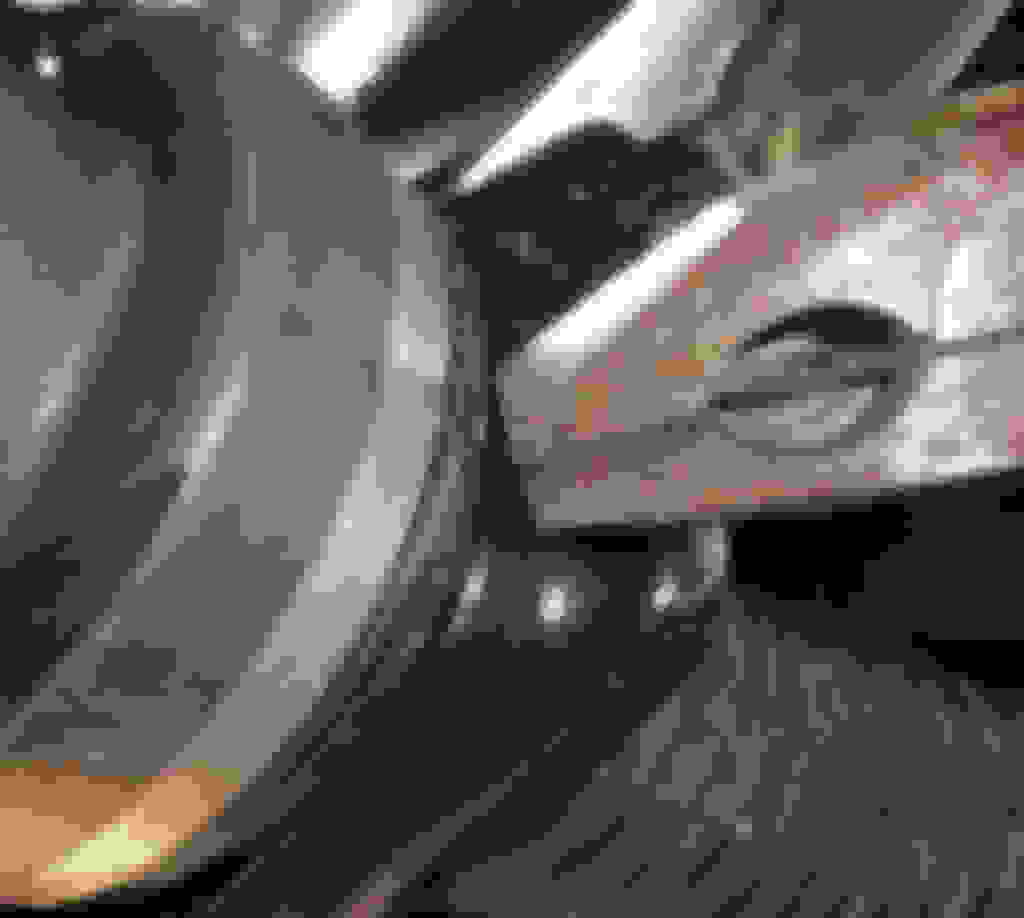
Here’s the final result, the bush installed and secured with wire (my wire twisting skills won't win any awards):
So was it worth it? For me, yes. The steering on our ’93 has always been more limousine than sports sedan, and these stiffening bushes remove a little of that frustrating imprecision. If your steering rack is worn and in need of replacement, these bushes won't solve the problem (or even make a noticeable difference). But if your rack is good, I think you’ll notice a worthwhile improvement in steering response, with no discernible increase in harshness.
I do not know whether these bushes, or similar ones of different dimensions, might fit the X308 or later racks, or Series III or earlier racks. Nor do I know if those racks have the same room for improvement.
The eBay seller appears to be sold out, and all of the OE Jaguar parts sources I've checked with either can't find the part number or list the bushes as unavailable. Fortunately, it's not too hard to make your own for about $10.00 and a little time. . Cheers,
Ive had to get a steering rack changeover but I can see movement side to side in the rack after I installed it. Took the rack back to the shop they said nothing wrong with it still solid. After reading so much it may just be that the mounts naturally allow for movement from the factory.
thought it might be the mounts worn on the subframe where it bolts on but Im reasonably happy with that now after buying some new nuts. The movement can be seen in the bushes.
Ive got on order a sheet of 3mm thick nolathane from which ill attempt to cut some spacers as per Don's advice.
From an internet search though I can see there may be better remedies available:
The movement can be seen in the bushes. Ive got on order a sheet of 3mm thick nolathane from which ill attempt to cut some spacers as per Don's advice.
From an internet search though I can see there may be better remedies available:
The bushings at the link you found look like the replace the original bushes on the steering rack. Aside from being very expensive, I don't know if they could be installed without removing the rack from the vehicle. And you would still have the issue of the rubber bushings allowing side-to-side movement, even if it would be more limited compared to your old worn-out bushings. For the difference in cost, it would be worth trying the stiffening bushes made from your 3 mm Nolathane. You may be happy with the result and save yourself $286.00 plus tax and $30.00 shipping.
Welcome to the Jaguar Forums. It's great to have you with us!
What a great idea to create a 3D printing file for the steering rack stiffening bushes. My son has a 3D printer, so the next time I need some your file will save a lot of labor.
Please visit the New Member Area - Intro a MUST and post an introduction so we can learn something about you and your Jaguar and give you a proper welcome.
This is a really rough solution to the problem of decayed steering rack mounting rubbers in XJ40 and X300 cars and if you are a concourse person you are advised to read no further.
The fix.
Over the ends of the area of the mounting rubbers thread a piece of 1/8 inch (3mm) diameter wire.
Then tighten the wire with pliers until the loop is seriously clamped down and then twist the wire ends (as per lock wire) so it is locked in place.
Then use a hose clamp over the whole thing to hide the "modification" from mechanics.
You have now locked the steering rack against the subframe, and you may get a little more road feel but will have far better and more precise steering. (no tram tracking)
Total cost? 10 cents?
I have done this personally to my own XJ40 and X300cars and have assisted other people to do the same.
Tried the wire....seemed a bit agricultural...bought a sheet of nolothane and tried to cut to suit, see above. This was difficult this stuff is tough. Anyway got something working , hope its not eating away at the rubber, steering more precise but heavier. Yeah and a bit more vibration feedback
My steering is all over the place and I've been looking for exactly this solution, Thanks!!
Although I do have a router, I thought it'd be a bit labor intensive to make these so I drew up a CAD file and sent it to an online lasercutting service. It cost 20 euros all included for 4 pieces out of black HDPE. I ordered 4 just in case I break 1 or 2 installing them and because of the minimum size I could order.
My steering is all over the place and I've been looking for exactly this solution, Thanks!! ...I drew up a CAD file and sent it to an online lasercutting service...
Nice solution, Dirk!
Check your lower control arm bushings - in my experience, they are the first suspect when you notice your steering feels loose or imprecise or the car tramlines with road imperfections.