XJ XJ6 / XJR6 ( X300 ) 1995-1997

x300 cam cover polish

Thread Tools
 
Search this Thread
 
  #1  
Old 04-15-2017, 10:18 PM
michaelmedina2005's Avatar
Senior Member
Thread Starter
Join Date: May 2016
Location: fullerton,california
Posts: 199
Received 72 Likes on 55 Posts
Default x300 cam cover polish

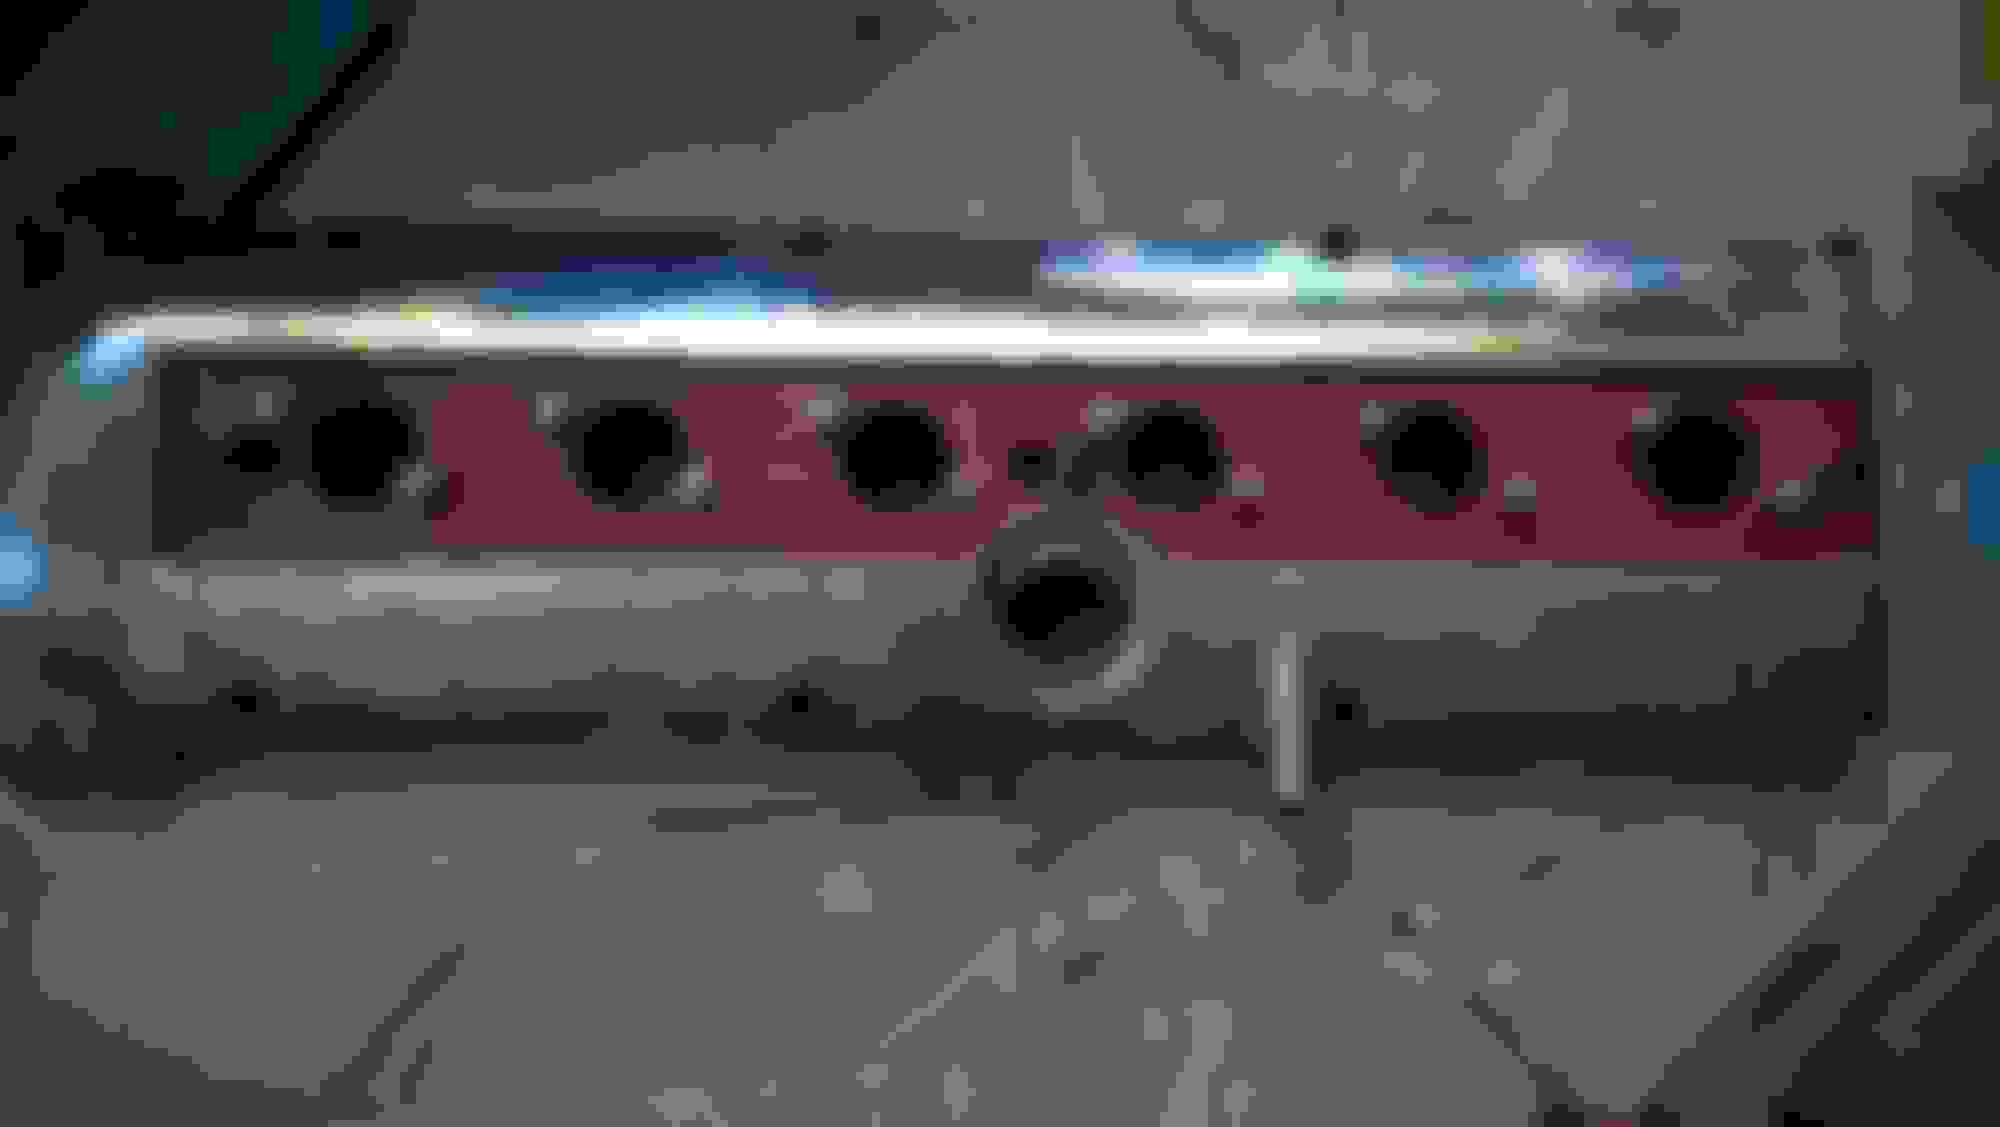
today i removed the cam cover because of several paint bubbling spots,i used paint remover 3x to finally get all the paint off for a inspection of what i had to work with.Several of the coil wells were pitted and only a few spots of paint were bubbled.i was going to paint the cover,but gave it a try with polish firdt,so far,so good,almost half way done.all by hand,me and my drill will sanding pads'i will cover it with high temp clear.the coil wells i will use high temp,non conductive varnish.since tomorrow is easter,i will do some more on monday,hopefully,tuesday will be the finish line


paint stripped


drill with wire wheel cleanup


test area


ok,full speed ahead


almost at the halfway point
 
  #2  
Old 04-16-2017, 11:11 AM
michaelmedina2005's Avatar
Senior Member
Thread Starter
Join Date: May 2016
Location: fullerton,california
Posts: 199
Received 72 Likes on 55 Posts
Default

better pic


almost at the halfway point
 
  #3  
Old 04-16-2017, 11:50 AM
al_roethlisberger's Avatar
Veteran Member
Join Date: Mar 2014
Location: Sanford, NC
Posts: 3,749
Received 672 Likes on 495 Posts
Default

Looks really nice, and another member here has polished the cover and several other pieces. The only downside he said that he has to maintain the polish very regularly to keep it bright.

I can imagine that the painted coating also helped prevent long term corrosion, so that may be another issue to be aware of if you strip off all the paint.

If you find that keeping it polished is too much work, an alternative might be to get it powder coated in a "chrome like" finish, which may be surprisingly close to what the polished magnesium looks like.

.
 
  #4  
Old 04-16-2017, 12:11 PM
EZDriver's Avatar
Veteran Member
Join Date: Dec 2010
Location: Holly Lake Ranch, Texas
Posts: 2,125
Received 277 Likes on 171 Posts
Default

Looks good on the outside. But what about the plug wells? That is where the real concern is. The plug wells have serious electrolysis corrosion. I bought a used cover off eBay that looked pretty good. But even that one had a small hole in the very bottom of the well at the rim. Filled it with JP Weld and hope it stays sealed.

Have fun with it but don't ignore the plug wells. When they corrode through it is junk.
 
  #5  
Old 04-16-2017, 12:44 PM
al_roethlisberger's Avatar
Veteran Member
Join Date: Mar 2014
Location: Sanford, NC
Posts: 3,749
Received 672 Likes on 495 Posts
Lightbulb

Originally Posted by EZDriver
Looks good on the outside. But what about the plug wells? That is where the real concern is. The plug wells have serious electrolysis corrosion. I bought a used cover off eBay that looked pretty good. But even that one had a small hole in the very bottom of the well at the rim. Filled it with JP Weld and hope it stays sealed.

Have fun with it but don't ignore the plug wells. When they corrode through it is junk.

....hence my thoughts on powder coating versus polishing.

At least when the plug/coil wells are partially flooded the corrosion of the bottom is probably slowed!


.
 
  #6  
Old 04-16-2017, 12:45 PM
michaelmedina2005's Avatar
Senior Member
Thread Starter
Join Date: May 2016
Location: fullerton,california
Posts: 199
Received 72 Likes on 55 Posts
Default

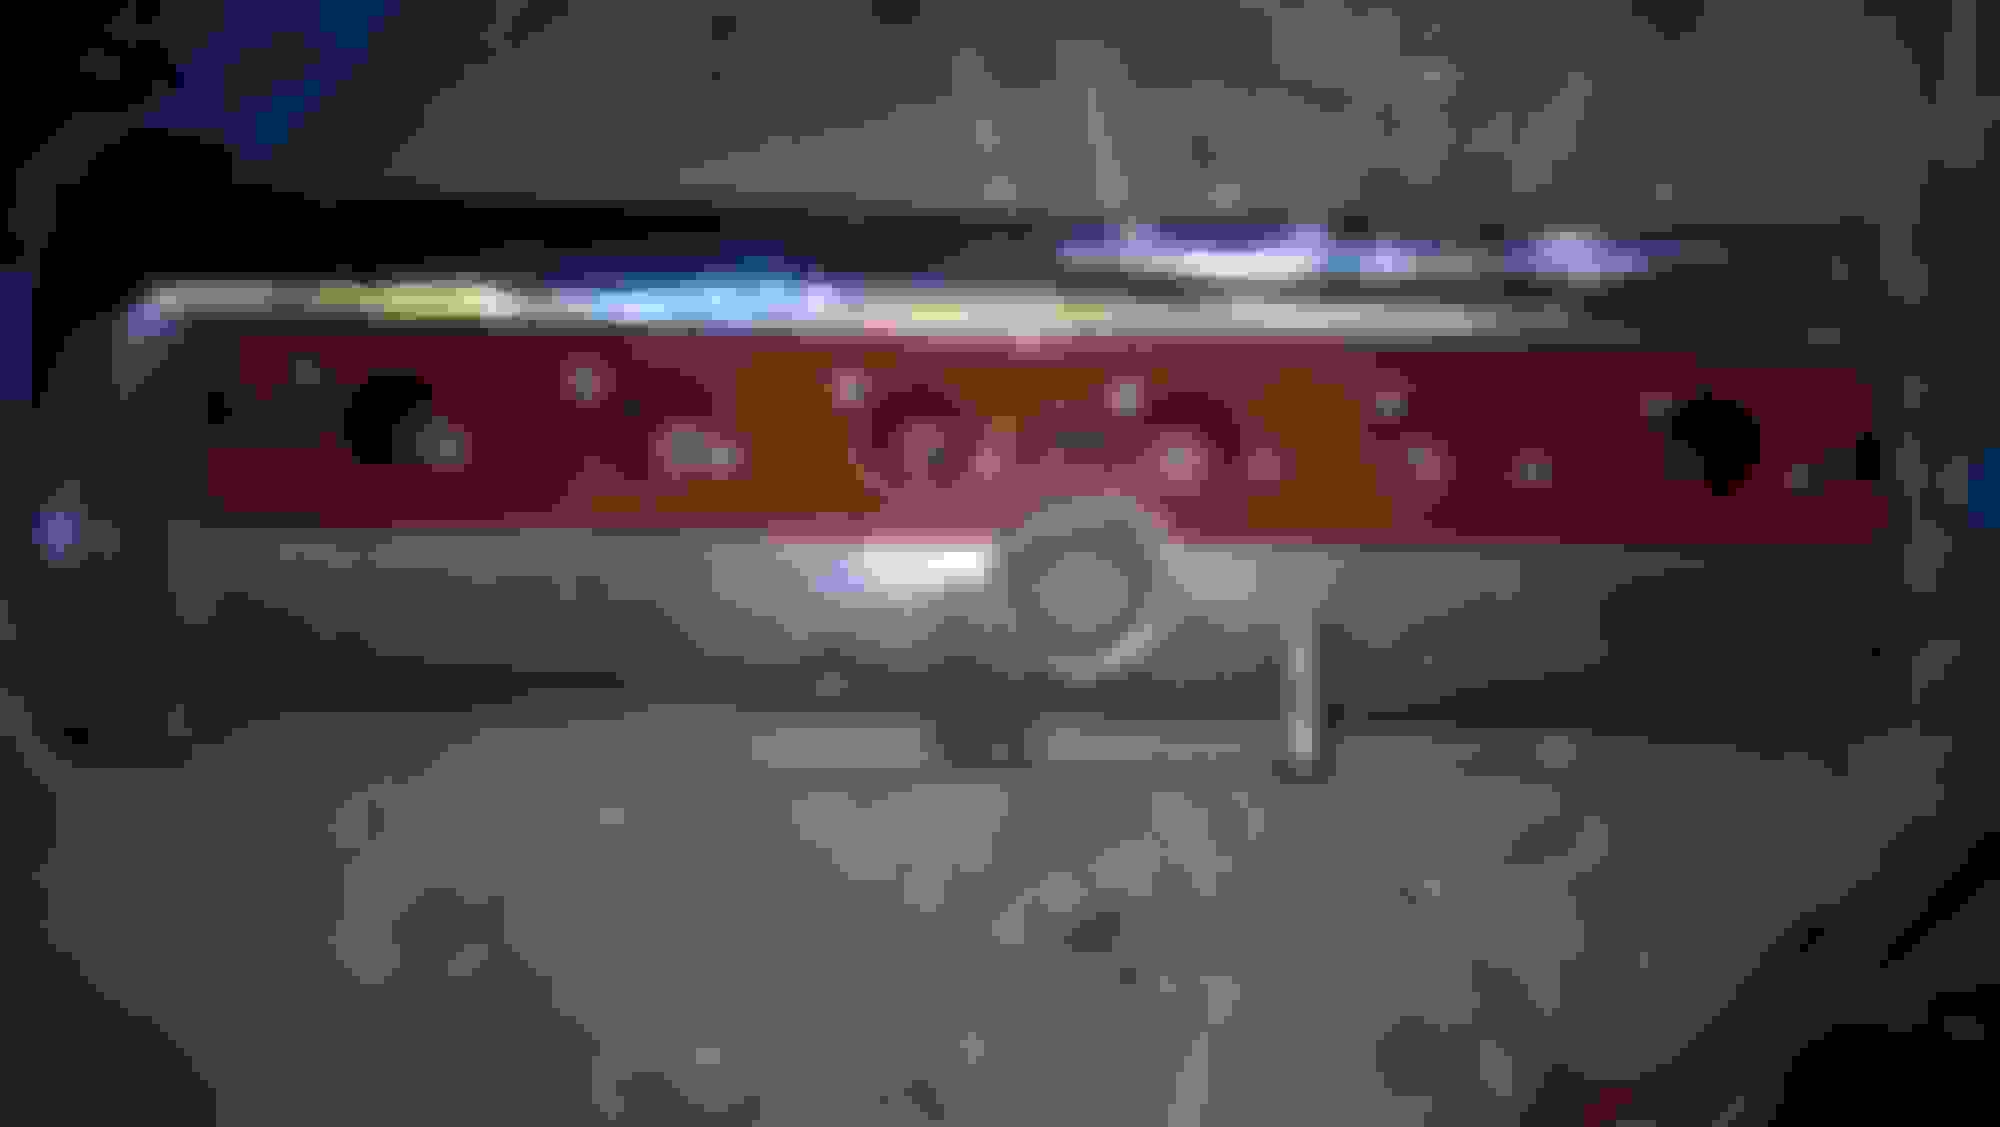
plug wells,yes,i did that today with a coat of high temp varnish, wells and on top surface,the wells did not produce any oil onto the plugs,so i guess that i am lucky


wells cleaned ,i am at the halfway point,may finish tomorrow...no rush


more light into the wells
 

Last edited by michaelmedina2005; 04-16-2017 at 12:47 PM. Reason: more information
  #7  
Old 04-17-2017, 02:03 AM
AL NZ's Avatar
Senior Member
Join Date: Feb 2013
Location: Napier, NZ
Posts: 961
Received 350 Likes on 224 Posts
Default

Could end up like a beautiful polished early XK engine.
How can you seal off the bare polished magnesium alloy?
 
  #8  
Old 04-17-2017, 02:55 AM
al_roethlisberger's Avatar
Veteran Member
Join Date: Mar 2014
Location: Sanford, NC
Posts: 3,749
Received 672 Likes on 495 Posts
Lightbulb

For reference, here are some links to a fellow member dfieldsend who's spent 100's of hours polishing a great deal of his engine bay... and his wheels too:


https://www.jaguarforums.com/forum/x...ne-bay-117237/

https://www.jaguarforums.com/forum/x...ne-bay-118877/


https://www.jaguarforums.com/g/album/2650160


.
 
The following users liked this post:
someguywithajag (07-18-2022)
  #9  
Old 04-17-2017, 03:03 AM
al_roethlisberger's Avatar
Veteran Member
Join Date: Mar 2014
Location: Sanford, NC
Posts: 3,749
Received 672 Likes on 495 Posts
Default

Another owner that polished his cam cover and intake, found elsewhere:

Jaguar XJ6 (X300) Straight Six - Detailing World

.
 
The following users liked this post:
someguywithajag (07-18-2022)
  #10  
Old 04-17-2017, 06:21 PM
michaelmedina2005's Avatar
Senior Member
Thread Starter
Join Date: May 2016
Location: fullerton,california
Posts: 199
Received 72 Likes on 55 Posts
Default

75% done
 
  #11  
Old 04-18-2017, 10:08 PM
michaelmedina2005's Avatar
Senior Member
Thread Starter
Join Date: May 2016
Location: fullerton,california
Posts: 199
Received 72 Likes on 55 Posts
Default

tomorrow i will coat the cover with eastwood metal protectant


  #12  
Old 04-19-2017, 09:42 PM
michaelmedina2005's Avatar
Senior Member
Thread Starter
Join Date: May 2016
Location: fullerton,california
Posts: 199
Received 72 Likes on 55 Posts
Default

well,i coated the cover with,"eastwood metal protect",i did not like the dull end result that it left on the cover,but,this began as a preventative maintenance exercise,also there was a lot of pitting that could not be removed,maybe a little later,i will use heavy krinkle red or black paint,,friday i will cover the coil pack cover with red carbon fiber wrap and se how that combo looks..
 
The following users liked this post:
aholbro1 (04-20-2017)
  #13  
Old 04-20-2017, 11:31 AM
smartobject's Avatar
Senior Member
Join Date: Dec 2010
Location: Memphis, TN
Posts: 212
Received 32 Likes on 29 Posts
Default

But that eastwood coating should keep you from having to keep up "maintenance" polishing, though, right?

I would like that dull, or matte finish, so I may do that too.

Did you get any pictures after the coating?
 
  #14  
Old 04-20-2017, 09:01 PM
michaelmedina2005's Avatar
Senior Member
Thread Starter
Join Date: May 2016
Location: fullerton,california
Posts: 199
Received 72 Likes on 55 Posts
Default

this is after the eastwood coating,ok,but it was much better before,i also used a micro fiber towel to make it a little better
 

Last edited by michaelmedina2005; 04-20-2017 at 09:03 PM. Reason: info
  #15  
Old 04-22-2017, 01:59 PM
michaelmedina2005's Avatar
Senior Member
Thread Starter
Join Date: May 2016
Location: fullerton,california
Posts: 199
Received 72 Likes on 55 Posts
Default


finished


not perfect,but much improved


Last edited by michaelmedina2005; 04-22-2017 at 02:08 PM. Reason: add pic
The following 2 users liked this post by michaelmedina2005:
aholbro1 (04-22-2017), fast Ed (04-23-2017)

Currently Active Users Viewing This Thread: 1 (0 members and 1 guests)


All times are GMT -5. The time now is 07:15 AM.