When you click on links to various merchants on this site and make a purchase, this can result in this site earning a commission. Affiliate programs and affiliations include, but are not limited to, the eBay Partner Network.
Here's a vid I hadn't seen before, the dude is a bit shaky, but you get the procedure, especially if you read the thread first. You'll see I did the same.
I attacked everything I could access with brake cleaner with no luck. I suspect the culprit could be the vacuum line at the P/S base of the throttle body that feeds the brake booster - when assembling the beast I remember wondering if the o-ring in there is really the only thing holding/sealing that line. BTW is that o-ring replaceable (it's original as far as I know)? Unfortunately this motor is stuffed into a Mark 2 and the area under the TB is virtually inaccessible. I'll have to remove the bonnet, and since there's no way to maneuver an aerosol can down there I'll probably have to remove the line, plug the opening and look for a change in the LTFT. I assume repeating the 15 mile loop I recorded earlier will be enough time for any change to show up? Let me know if there's another way to do this, as I'm not sure if running 15 miles without vacuum assist on the brakes makes any sense.
off the topic, where did you get the carbon fiber intake tube?
Thanks for the thread and video. Now I have to decide whether to remove the housing for the ECU/relays to access the damn o-ring, or remove the throttle body to work on it. Will probably do the latter to access the other lines and T buried under there. Custom can be a PITA.
The intake is something I fabricated. Let me know if interested and I'll post the process I used - simple but takes some time.
Anything worth doing...is worth doing right. These ladies require some upkeep to keep us smiling.
But in the end, the dance is wonderful, and it makes us smile.
I started with a new coolant sensor but no change in symptoms or LTFTs. After removing the bonnet I was able to position a mirror under the throttle body and discovered what I suspect is the problem.
As suspected the plastic locking device that fixes the brake vacuum line to the throttle body is missing. From the video HH posted it looks like I'm also missing an elbow fitting for the end of the vacuum tube that snaps into the locking device (what are the chances Jag has that available?). I can't imagine I would have removed that elbow from the vacuum line when disassembling the donor car, so I'm wondering if none was present on some cars? I also can't believe the beast has run some 15k miles as well as it has in its current state. Since I have to pull the TB I'll install a new part load breather tube and replace all vacuum lines while they're accessible. Will let you know how this turns out.
While waiting for parts I was able to pack some window butyl tape around the brake vacuum line at the inlet manifold. Cold starts over the next few days were flawless - no stalling or stumbling, and the beast seems to be running better overall. Unfortunately the LTFTs remain high - 19.5 at steady state or coasting, dropping below 10 under hard acceleration (no idea if this is normal). Suspect we still have vacuum leak(s)?, so with the TB out I'll replace everything I can think of vacuum related (both breather tubes, vacuum lines and elbows, O ring on the oil dipstick).
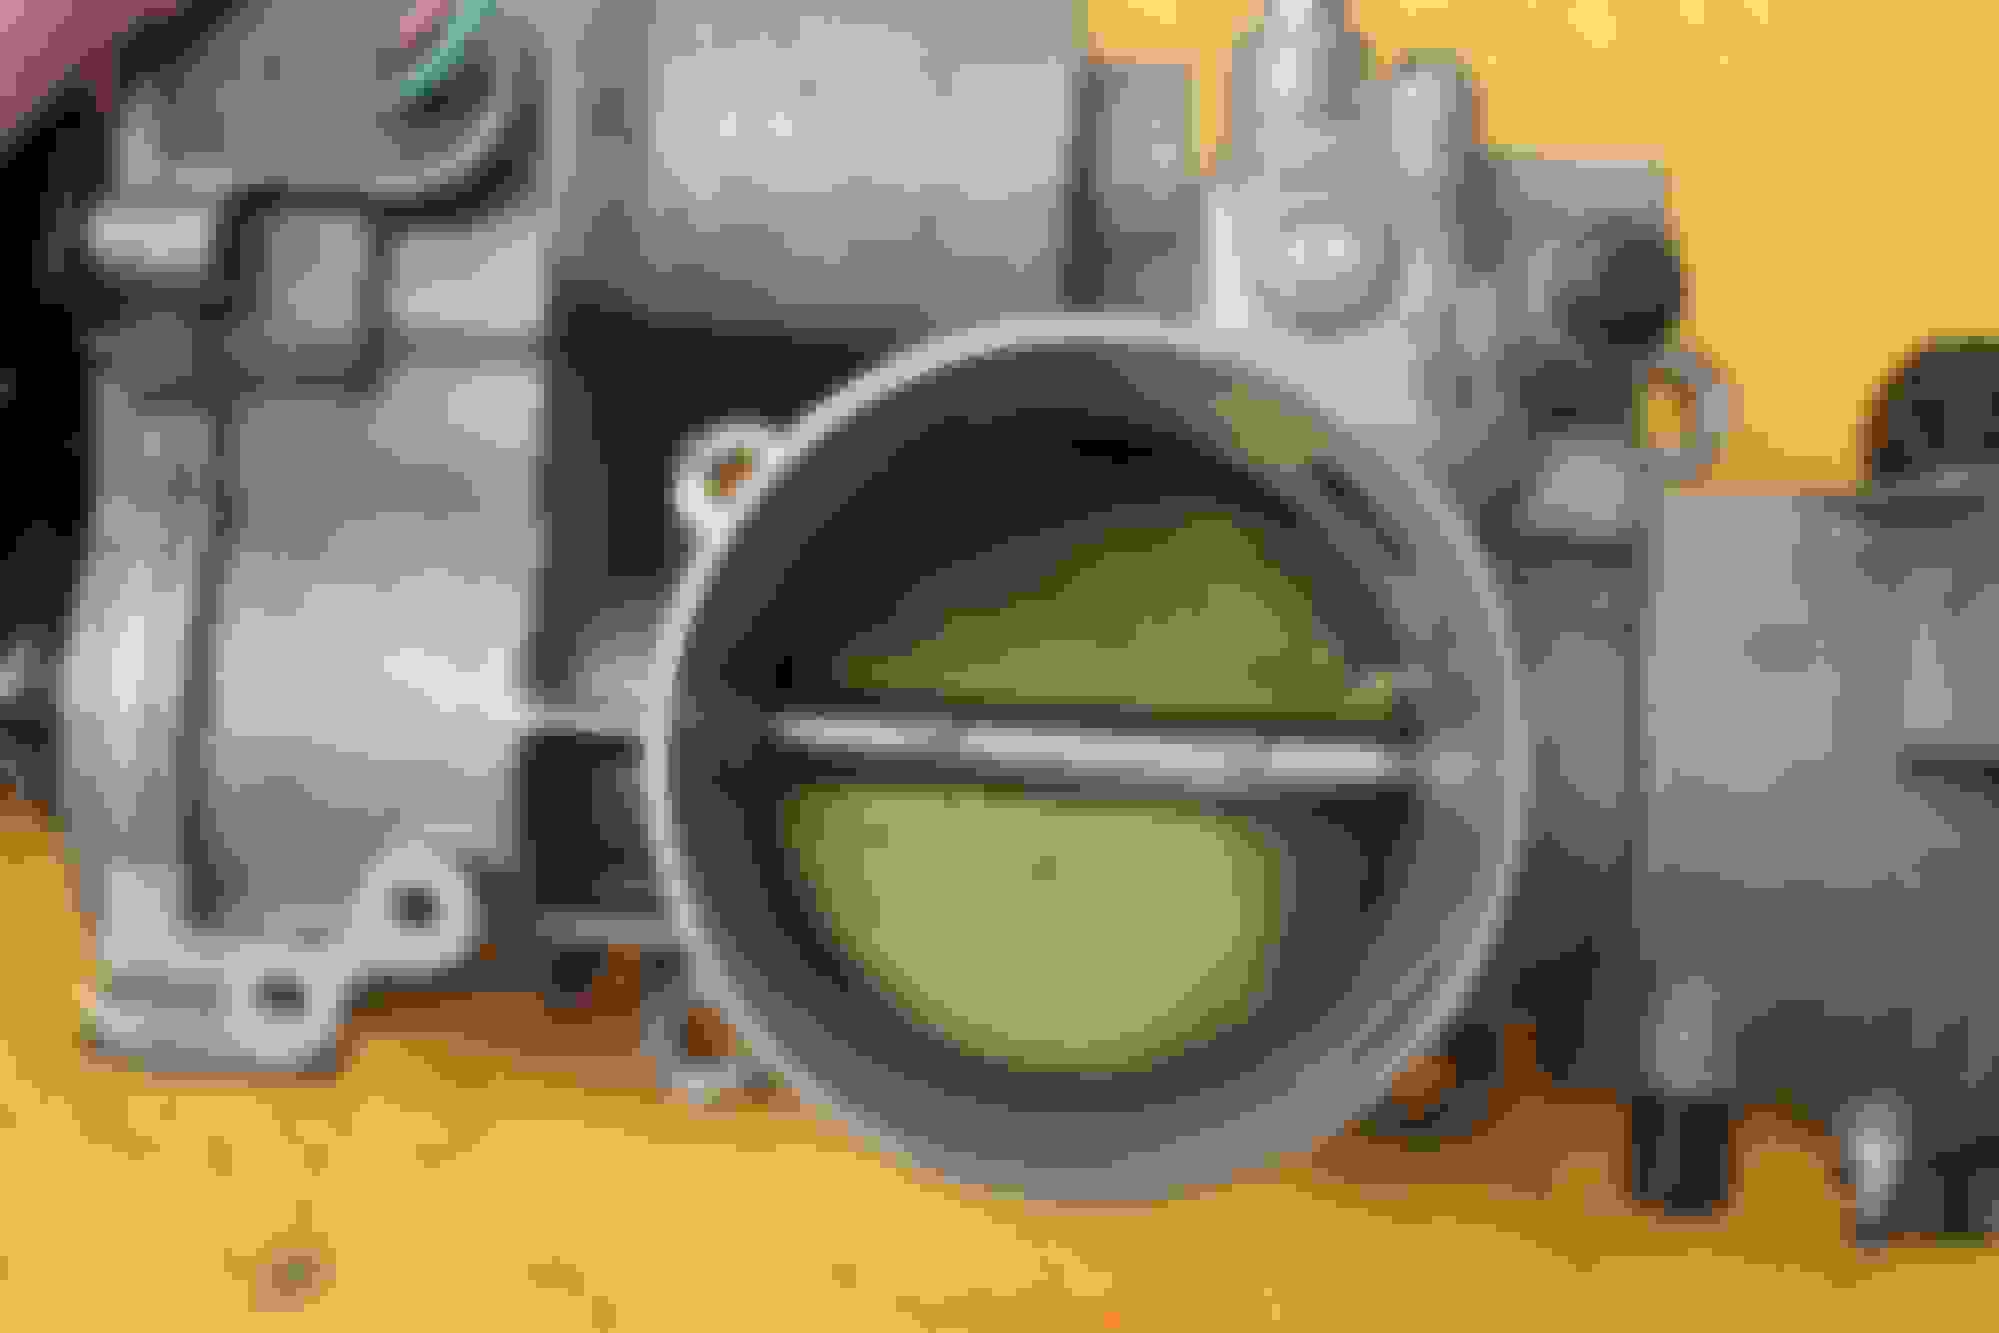
Here is my throttle body and inlet manifold, all of which were spotless about 15k miles ago when a new EGR valve was fitted - wondering if this a normal state or reflective of excessive fuel (I assumed they would still be relatively spotless after so few miles). I also notice a lot of oily deposits at the T where the part load breather connects to the inlet manifold - I'm assuming this reflects a leak in the area?
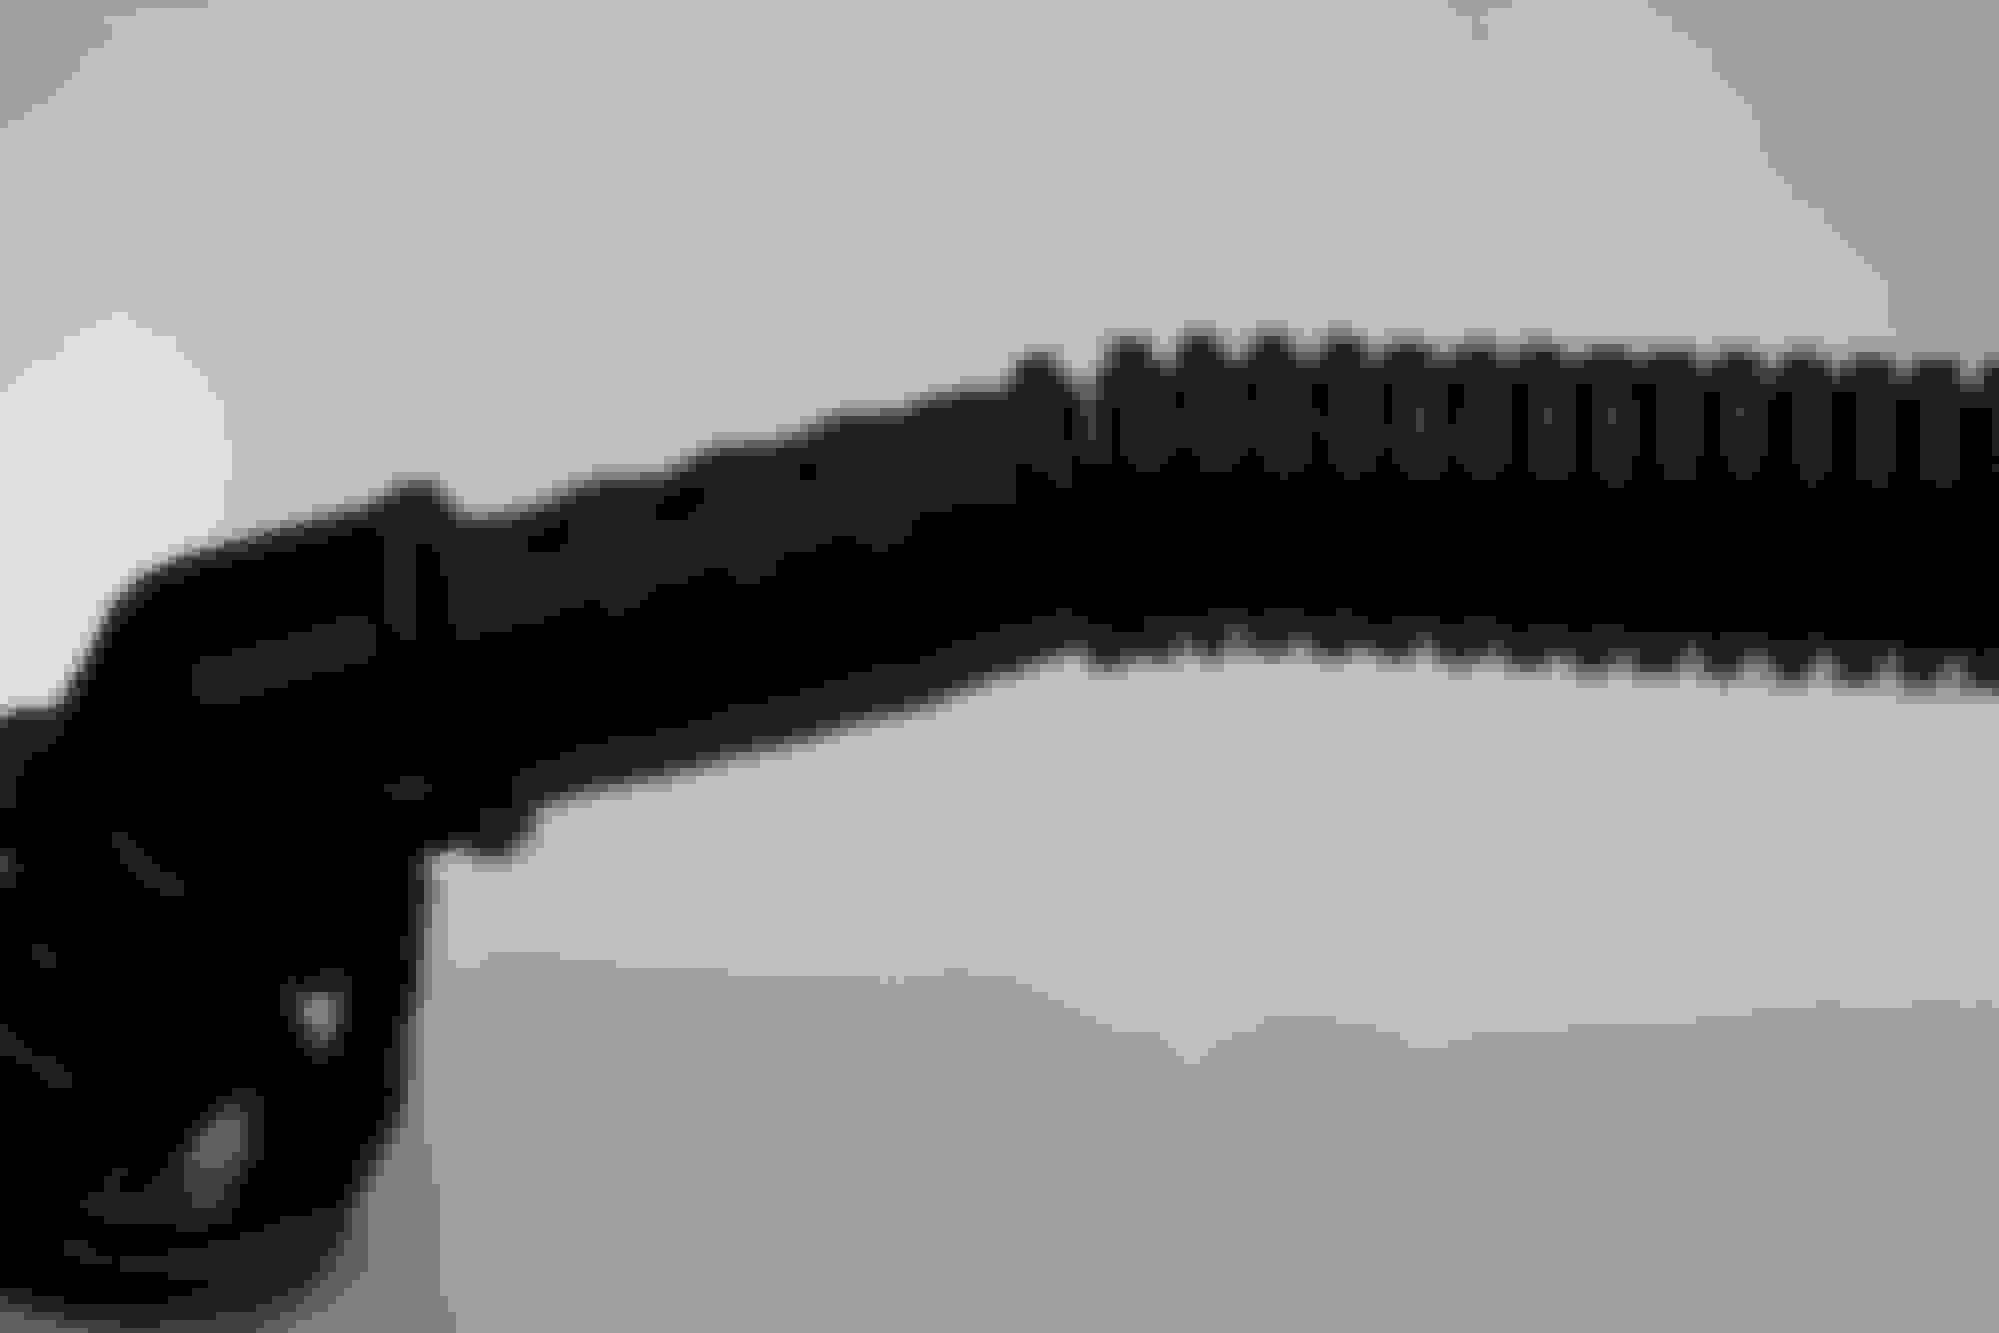
After pulling the part load breather tube I found this - not certain if this was caused by or simply worsened by the removal process. When checking for leaks with brake cleaner I concentrated on the fitting at the valve cover and not this area.
This is the end of my brake vacuum line. I assume there is no elbow as pictured in the video above, and that the raised portion acts as a stop for the plastic locking mechanism.
Last edited by Doug Dooren; Jul 6, 2022 at 12:03 PM.
Reason: add pic
Excluding the broken PLB hose, the pictures look normal to me. When you get done with putting it back together, before you start it up, do a hard reset to zero out the fuel trims. When you start it up, let it idle for awhile and let it do it�s thing. After it�s up to temp, take note of the LTFT and then just drive it for like 5 miles or so. When you get back, note the LTFT again after it�s idled another 30-60 seconds and post it here. IMO, if the LTFT is between �-10 and +10%�, I�d be good with that. Of course it�s always best to be closer to zero but there�s so many factors that would change that.
It is apparent the part was designed to be flexible, yet broke at the point where it no longer was.
These are the type of flaws that design engineers should be made aware of, so as not to follow
the same "estupido" lemming methodology. Sometimes I guess you just can't teach an old dog
new tricks.
To work with Jim's suggestion, the connector is a Norma Connector...https://www.bing.com/images/search?q...mageHoverTitle ...elbow or straight, you figure what you need.
...and in accord with the rubber fuel line (get it to fit the Norma), I'd also splice in the plastic that's good and use a spring band clamp (not a fan of screw down band clamps, but use what you got or can get, I guess). If the hose is larger than the plastic pipe, take an "O" ring (maybe 2 same size, width is what your obtaining) that fit, slip it over and clamp that.
You can get a multi-pack of "O" rings from Harbor Freight for about $5 and have some for future endeavors.
It is apparent the part was designed to be flexible, yet broke at the point where it no longer was.
These are the type of flaws that design engineers should be made aware of, so as not to follow
the same "estupido" lemming methodology. Sometimes I guess you just can't teach an old dog
new tricks.
As Jim stated, its 20+ yrs old....air is constantly drawing through the tube, drying it out ever so slowly and add the heat of the bay, it'll cure, hard in place and when moved...well, it cracks. It was state of the art, 25 yrs ago.
Remember, these are all oil byproducts and if not checked, will break and then your chasing what Doug has.
Wait until all these fancy electric vehicles the Gov't is forcing on us start drying up on say,...the batteries? They didn't get away from fossil fuels, they just put it in as a different commodity. All the interior plastic pieces and such, people are lazy and will sucker for anything if presented in the right package......ok, rant over.
Perhaps I was too harsh. Twenty years is certainly outside the time frame the Ford administrators expected
for these cars. "Throw away" technology is quite prevalent, but that rant is for another day. I think the real
issue, with me anyway, is that I grimace at the thought of these lovely and sophisticated cars being brought
to a point of failure by such an easily overlooked piece of hardware.
To that, the area that was overlooked, were the dash component holders. They have dried up way before they should have. I bought mine and it was only 4 yrs old and the dash mounting tabs were breaking then. Not that the PO treated her properly by any means, but still.
Finally received all the parts and got the beast buttoned up. After a hard reset I went to record the fuel trims but couldn't get the diagnostic tool to connect to the computer (it's always something). After a short run the tool connected right up - STFTs were bouncing around 1 and 2 and LTFTs between 7 and 8. Not zero by any means but certainly an improvement over the 19.5 prior to the repairs. Most importantly the beast is running smoothly on cold start with no stumbling, which is the problem that brought us here. Thanks again to everyone who helped me get this resolved - your input is much appreciated.