XJ XJ8 / XJR ( X308 ) 1997 - 2003

Coolant fill tank and upper shock mount bushings

Thread Tools
 
Search this Thread
 
Old Nov 17, 2018 | 10:48 PM
  #21  
Z07Brandon's Avatar
Thread Starter
|
Veteran Member
5 Year Member
Liked
Loved
Community Favorite
Joined: Jun 2017
Posts: 1,190
Likes: 322
From: Dallas, Tx
Default


This pic with my finger is what was dripping out of the fill tank when I removed it.
 
Reply
Old Nov 17, 2018 | 10:48 PM
  #22  
Z07Brandon's Avatar
Thread Starter
|
Veteran Member
5 Year Member
Liked
Loved
Community Favorite
Joined: Jun 2017
Posts: 1,190
Likes: 322
From: Dallas, Tx
Default


This is from the drain plug. You can slightly see the metal flakes.
 
Reply
Old Nov 18, 2018 | 09:12 AM
  #23  
Carnival Kid's Avatar
Veteran Member
Joined: Jan 2018
Posts: 1,841
Likes: 1,018
From: Redding CA
Default

Hmmm, I think your anti-freeze should be red in color, not green.

Pentofrost SF is an approved type.
 
Reply
Old Nov 18, 2018 | 09:40 AM
  #24  
Z07Brandon's Avatar
Thread Starter
|
Veteran Member
5 Year Member
Liked
Loved
Community Favorite
Joined: Jun 2017
Posts: 1,190
Likes: 322
From: Dallas, Tx
Default

I know it should be the red/orange antifreeze. The PO did a flush few years ago, and went to the green.
 
Reply
Old Nov 20, 2018 | 04:43 PM
  #25  
Z07Brandon's Avatar
Thread Starter
|
Veteran Member
5 Year Member
Liked
Loved
Community Favorite
Joined: Jun 2017
Posts: 1,190
Likes: 322
From: Dallas, Tx
Default

First pic is before all the work started.
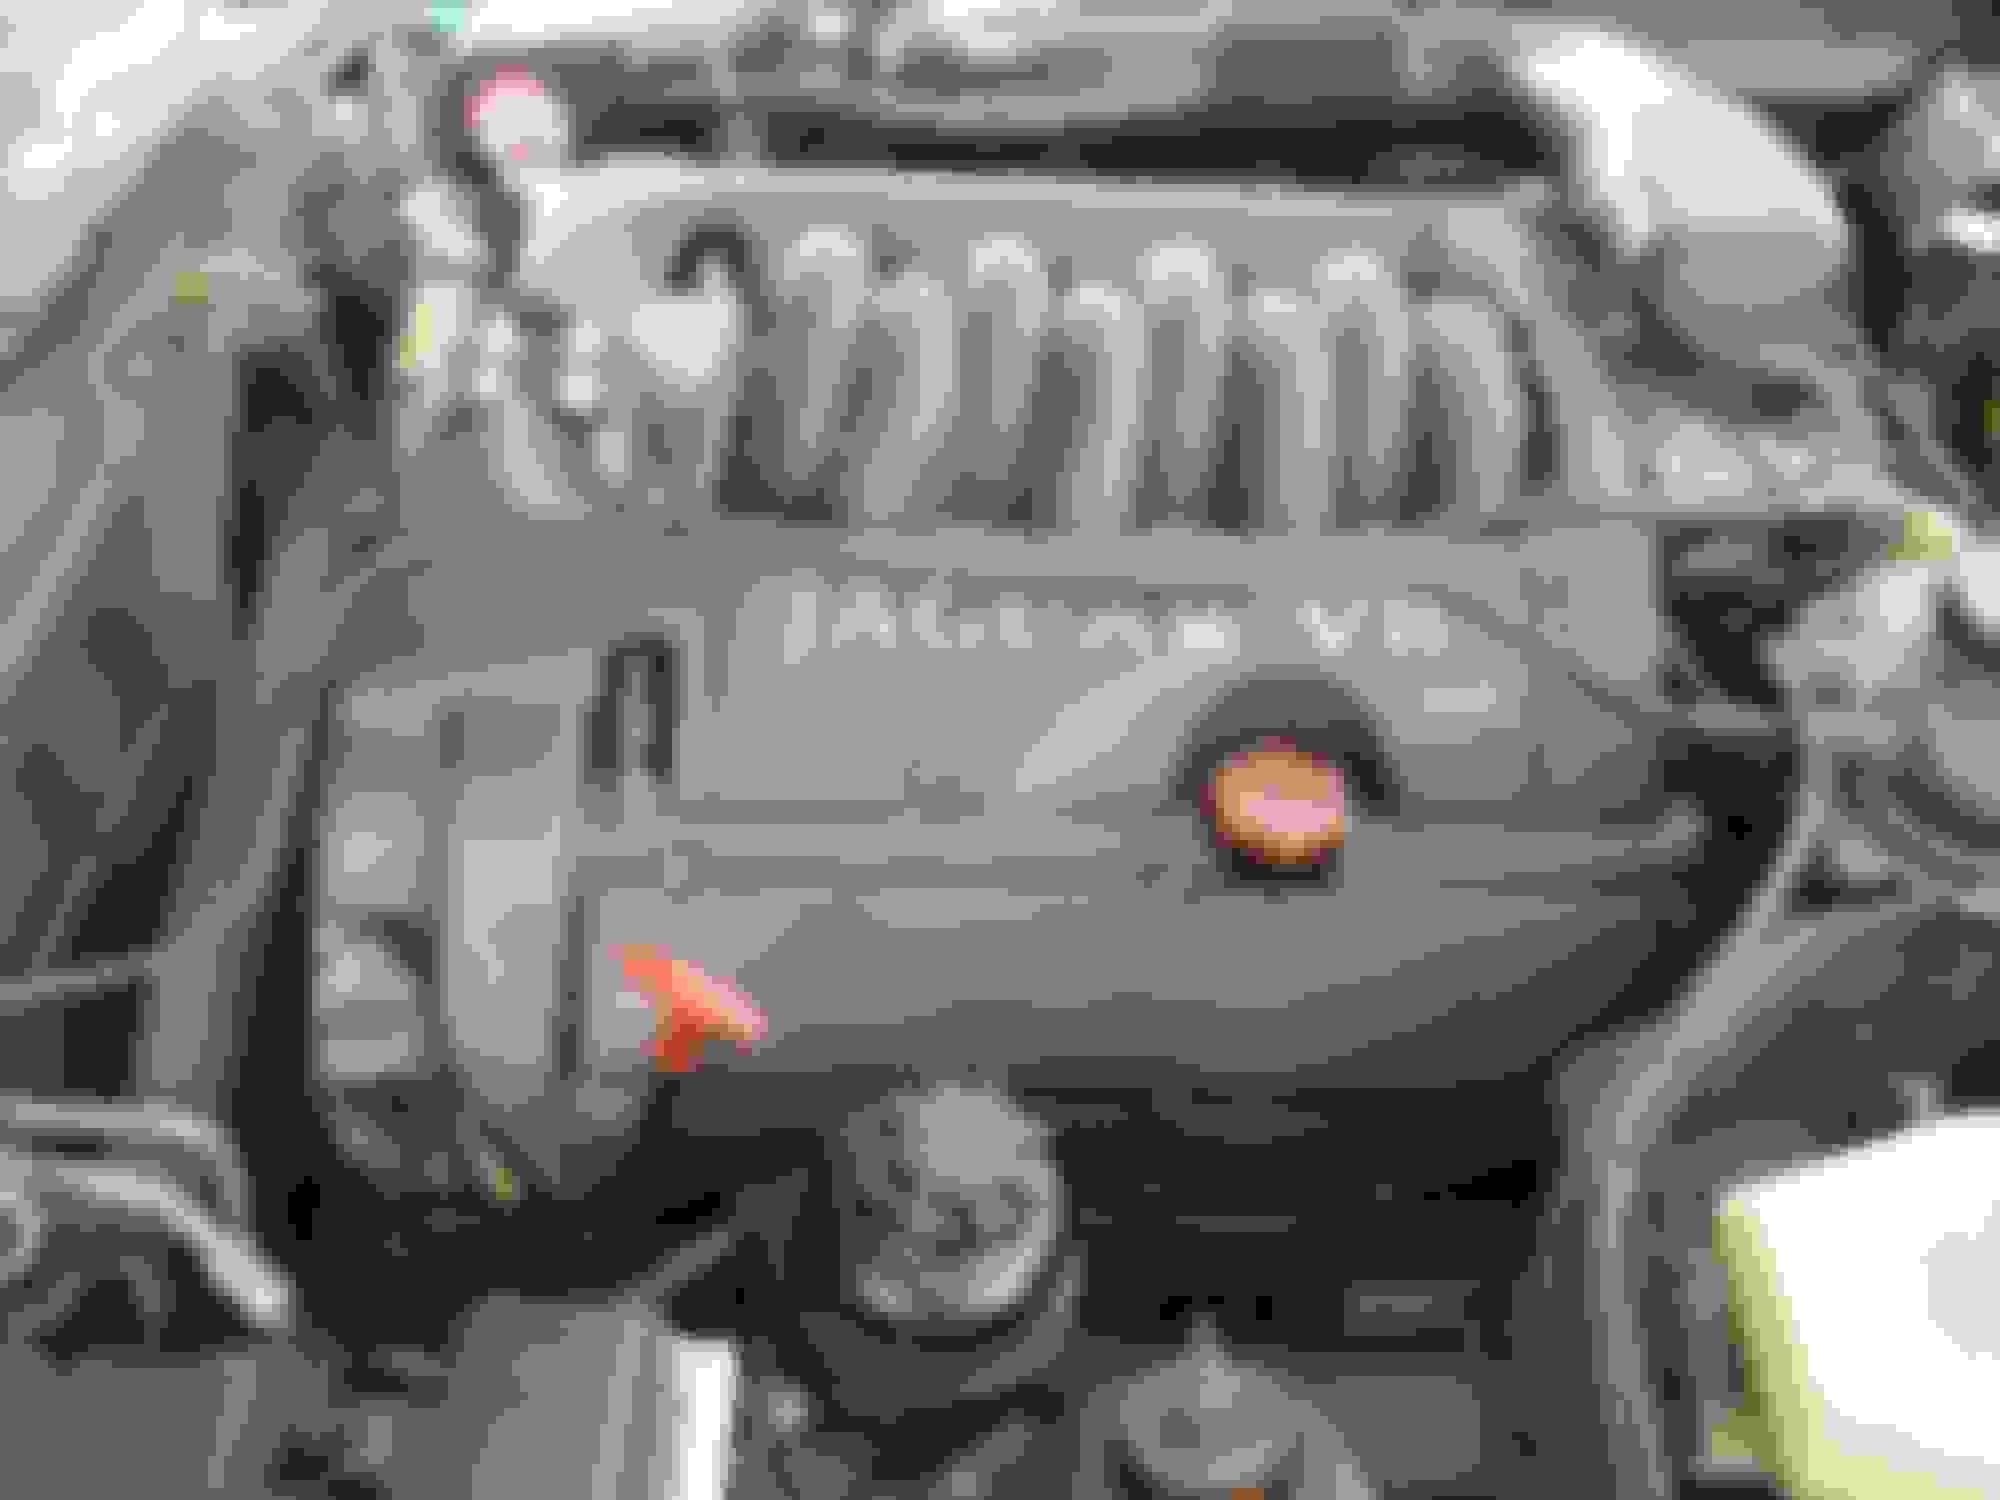
2nd pic is with the new hoses and tank.

Notice how in the 2nd pic, the hose that connects to the thermostat housing is bigger than the one I removed. Part numbers match on both. Leave it like that or? Hose was bought from eurospare uk.

 
Reply
Old Nov 20, 2018 | 05:13 PM
  #26  
Carnival Kid's Avatar
Veteran Member
Joined: Jan 2018
Posts: 1,841
Likes: 1,018
From: Redding CA
Default

Originally Posted by Z07Brandon
............. the hose that connects to the thermostat housing is bigger than the one I removed. Part numbers match on both. Leave it like that or? Hose was bought from eurospare uk.


OEM there is a clip that connects the two lines. (see above pic) I think I would put a tie-wrap around the two lines where they are the closet together, and then gently slide it up in increments over time when the new lines "relax" a little with the heat of the engine.

.
 

Last edited by Carnival Kid; Nov 20, 2018 at 05:19 PM.
Reply
Old Nov 20, 2018 | 11:09 PM
  #27  
01XJVP's Avatar
Junior Member
Joined: Aug 2018
Posts: 21
Likes: 0
From: New Jersey
Default

how difficult were the front shock mounts to install? youtube video??????
 
Reply
Old Nov 21, 2018 | 06:42 AM
  #28  
Z07Brandon's Avatar
Thread Starter
|
Veteran Member
5 Year Member
Liked
Loved
Community Favorite
Joined: Jun 2017
Posts: 1,190
Likes: 322
From: Dallas, Tx
Default

Thanks Carnival Kid, I'll do that.

Upper shock mounts, I haven't done them yet. But will do a how to, and pics when I do. I did find some good how to's on here, for the upper shock mounts.
 
Reply
Old Nov 21, 2018 | 08:50 AM
  #29  
Carnival Kid's Avatar
Veteran Member
Joined: Jan 2018
Posts: 1,841
Likes: 1,018
From: Redding CA
Default

Originally Posted by 01XJVP
how difficult were the front shock mounts to install? youtube video??????
Replacing the upper front shock mounts is one of the easiest tasks on a X308. Buy the units from Rock Auto, less than $20 a side.

Do one side at a time, do the passenger (right) side first, it is a little easier only because the power steering pump reservoir has to be moved out of the way on the driver (left) side to access a couple of the shock plate bolts on that side.

Remove the top nut on the shock first, then jack the car body up a little to release the pressure of the shock against the plate, (remove the wheel for better access and visual), you will see the shock shaft withdraw from the shock plate as you jack the car up and the suspension lowers.

Then loosen the bolts holding the shock plate to the body/chassis, fit the new shock plate, making sure the shock shaft is high enough to guide into the shock plate bushing, then bolt the shock plate in place. You may need to jack the car up a little or down a little as necessary to find the sweet spot where there is little-to-no pressure on the shock plate bolts so they line right up and drop right in, you will see what I mean..

It is an easy task, one hour max. for both sides.


.
 
Reply
Related Topics
Thread
Thread Starter
Forum
Replies
Last Post
apexjag
XK8 / XKR ( X100 )
26
Sep 24, 2019 12:52 AM
97XJR-Flausa
XJ XJ6 / XJR6 ( X300 )
12
May 31, 2017 12:54 PM
SilverXJ
XK8 / XKR ( X100 )
20
Feb 29, 2016 03:26 PM
OldMike
S-Type / S type R Supercharged V8 ( X200 )
7
Sep 23, 2014 09:32 AM
ixj8it
XJ XJ8 / XJR ( X308 )
7
Jan 6, 2012 06:58 PM

Currently Active Users Viewing This Thread: 1 (0 members and 1 guests)


All times are GMT -5. The time now is 07:26 AM.