
Instrument cluster left hand side not lit


Hi there - I am new to Jag's and have not long had a 1998 R reg XJ8. It came with a number of niggles which I am working my way through, learning how the Jag works as I go.. crossover pipe replaced, shot thermostat replaced, aerial confirmed as needing replacement etc.. :-) And I love it.. sort of a project to get things right on it.. I'm currently looking at a problem with the lefthand side of three cluster of dials having no backlight.. it is literally as if someone drew an invisible line down from approx 90mph on the speedo and eveything from there to the left has no backlight. It is a clean division between the lit and unlit halves.. should I be stripping out the instrument dials or looking elsewhere? I am just cautious as I am sure I read somewhere that there is a box that controls the lights on the cluster - but I dont know if it controls them in two halves or if it is going to be the cluster.. any help very much appreciated
Steve
Steve

Joined: Aug 2011
Posts: 619
Likes: 210
From: Wilmington, DE
Steve, welcome to the Jag world.
The instrument pack bulbs do go out. There are four bulbs that do the backlighting. I would suggest replacing all four at the same time. They are a standard 194 type bulb. I don't know what that is like in the UK but google it and you may be able to cross reference it. Just remove the wood covering the cluster and the four phillips head screws in the four corners. The two lower ones are covered by the respective switch packs. Make sure the column is all the way down. Pull the cluster towards you and stick your hand behind it to disconnect it. Once you have it out, you will see four white bulb bases. Just gently twist them counter-clockwise and remove. swap the bulbs and install. The rest is reverse of removal.
Pay attention to the clips holding the wood veneer on. Remove them from the wood and install them into their respective positions in the plastic panel that surrounds the cluster. This will provide a rattle free install.

Senior Member
Joined: Jan 2010
Posts: 110
Likes: 92
From: Kansas City, MO
Slap it...!!! No really... It's possible the bulb socket connections are getting corroded, and maybe needs a little nudge... Fixed it for me. Had couple "dark spots" on my cluster, hit the dashboard from top, and viola, all lights came back on... That was about a year ago...
Thankyou both for the warm welcome and advice. As I said I am still learning as I go.. at the weekend I learnt about the drainage for the fuel filler after heavy rain.. grin.. odd look on my face opening the fuel filler to a sea of water, but now it's something I know how to sort should it occur again. I'll get some contact cleaner, bulbs and have a go at this.. do I just lower the steering column and ease the wood effect off to get behind it to the cluster..
All these things are just minor niggles, and if I can fix them (even with my lack of mechanical knowledge :-)) I will be happy.. I love the car, it drives the smoothest of any car I have had to-date.. and oddly enough happy tinkering and fixing as I go..
All these things are just minor niggles, and if I can fix them (even with my lack of mechanical knowledge :-)) I will be happy.. I love the car, it drives the smoothest of any car I have had to-date.. and oddly enough happy tinkering and fixing as I go..
Joined: Aug 2011
Posts: 619
Likes: 210
From: Wilmington, DE
Yes, just tilt the column down (I assume your car has power or manual tilt) and grasp the wood piece with both hands in the two outer pods. You'll feel a good lip to grab onto and just pull it towards you with a good yank. I would reset the clips at this time so you don't for get later in the process.
As I told my neighbor before he bought his XJ8, you will not find a smoother riding car that handles well. Enjoy the car and use the forum. There are a lot of great and knowledgeable people on here.
As I told my neighbor before he bought his XJ8, you will not find a smoother riding car that handles well. Enjoy the car and use the forum. There are a lot of great and knowledgeable people on here.

Member
Joined: Apr 2011
Posts: 56
Likes: 2
From: Sacramento, California
In order to take off the wood, can you wrap a flat head screwdriver with a thin rag and sort of pop the wood from the clips?
Yes, just tilt the column down (I assume your car has power or manual tilt) and grasp the wood piece with both hands in the two outer pods. You'll feel a good lip to grab onto and just pull it towards you with a good yank. I would reset the clips at this time so you don't for get later in the process.
As I told my neighbor before he bought his XJ8, you will not find a smoother riding car that handles well. Enjoy the car and use the forum. There are a lot of great and knowledgeable people on here.
As I told my neighbor before he bought his XJ8, you will not find a smoother riding car that handles well. Enjoy the car and use the forum. There are a lot of great and knowledgeable people on here.
Joined: Aug 2011
Posts: 619
Likes: 210
From: Wilmington, DE
I've never used a screwdriver on it. I wouldn't want to risk fracturing the veneer or varnish. Just looking at the three holes. The two outer holes have a lip between the black plastic surrounds and the wood panel. Just put your fingers in there and pull on the wood.
Trending Topics
Veteran Member


Joined: Oct 2008
Posts: 1,838
Likes: 459
From: Virginia Beach, VA
Just yank it hard with your fingers and be careful you don't smack anything when it comes off. The four screws holding the instrument panel - 2 are under the pull-off button pods - are in deep recesses. Try not to drop them (famous last words). If you have a magnetic screw driver it helps. I temporarily taped them to the screw driver to put them back in. The ribbon type cables that go to the instrument panel have little levers on them that release also. It's really not a bad job.

Veteran Member

Joined: Aug 2010
Posts: 2,636
Likes: 1,636
From: Southington CT
Hi
Look at this Instrument Cluster R&I thread:
https://www.jaguarforums.com/forum/x...r-i-faq-57772/
Go to post#1
It has the instructions & illustrations of how to remove and reinstall the trim around the instrument cluster, also how to remove & reinstall the instrument cluster.
Since you are a new member and your number of post are less than 10, you probably will not be able to view the PDF files that are in the tread.
If you use the forum log out (on the top menu - all the way to the right), then you will be able to open and view the PDF files as a forum guest.
Jim Lombardi
Last edited by jimlombardi; May 9, 2012 at 06:50 AM.


And use only 3W bulbs. If you use 5W bulbs (from the parking lights), you'll have a problems later.
Also, be prepared, that soon you'll lose the illumination of the trip computer buttions and fog lamps buttons. So it's a good idea to replace those bulbs too.
Also, be prepared, that soon you'll lose the illumination of the trip computer buttions and fog lamps buttons.
So it's a good idea to replace those bulbs too.

Senior Member
Joined: Apr 2012
Posts: 126
Likes: 24
From: Germany
I have a related question: for the XJR and Super V8 drivers, is the "Supercharged" under the x1000rpm sign in the rev counter illuminated?
On mine it does not light up, the x1000rpm sign does but the "Supercharged" doesn't.
Not sure if this is a broken bulb or if the lighting dept was surprised when they heard of a supercharged version and didn't have time to fix it.
Mine is a 98 XJR so maybe it changed on later models?
Cheers
Lincoln
On mine it does not light up, the x1000rpm sign does but the "Supercharged" doesn't.
Not sure if this is a broken bulb or if the lighting dept was surprised when they heard of a supercharged version and didn't have time to fix it.
Mine is a 98 XJR so maybe it changed on later models?
Cheers
Lincoln

Veteran Member
Joined: Apr 2010
Posts: 7,657
Likes: 3,021
From: Arlington VA USA
I have a related question: for the XJR and Super V8 drivers, is the "Supercharged" under the x1000rpm sign in the rev counter illuminated?
On mine it does not light up, the x1000rpm sign does but the "Supercharged" doesn't.
Not sure if this is a broken bulb or if the lighting dept was surprised when they heard of a supercharged version and didn't have time to fix it.
Mine is a 98 XJR so maybe it changed on later models?
Cheers
Lincoln
On mine it does not light up, the x1000rpm sign does but the "Supercharged" doesn't.
Not sure if this is a broken bulb or if the lighting dept was surprised when they heard of a supercharged version and didn't have time to fix it.
Mine is a 98 XJR so maybe it changed on later models?
Cheers
Lincoln
BTW, it is a great time to install 'RealGauge' while you have the cluster out to replace the bulbs.
Last edited by WhiteXKR; Dec 22, 2012 at 06:03 PM.
Senior Member
Joined: Feb 2013
Posts: 458
Likes: 131
From: Metro Detroit, MI
This thread was a help to me as I replaced my bulbs tonight, however for the life of me I couldn't get the screws lined up with my magnetic screwdriver - even tried re magnetizing it. Here is a trick i have used in the past that worked well here and may help someone else in the future.
Push the screw through a piece of masking tape, wrap around a screwdriver and insert. Once it is tightened the tape will be cut and tear away from the screw and the bulk of the tape comes out with the screw driver - save for a little washer like piece under the head. They lined up and went in first time on each one after that.
Pic1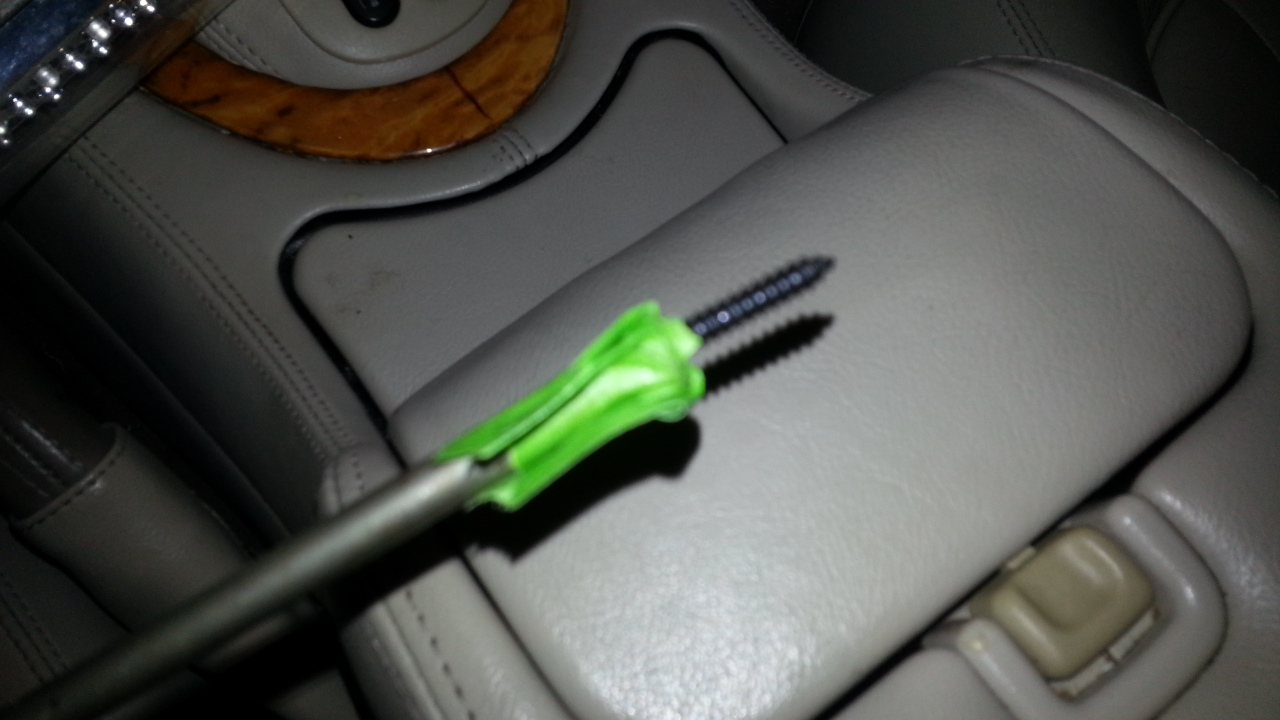 Pic3
Pic3
Push the screw through a piece of masking tape, wrap around a screwdriver and insert. Once it is tightened the tape will be cut and tear away from the screw and the bulk of the tape comes out with the screw driver - save for a little washer like piece under the head. They lined up and went in first time on each one after that.
Pic1
Pic3

Thread
Thread Starter
Forum
Replies
Last Post
redrover41
XJ XJ6 / XJ8 / XJR ( X350 & X358 )
23
Sep 25, 2015 01:33 PM
Currently Active Users Viewing This Thread: 1 (0 members and 1 guests)