When you click on links to various merchants on this site and make a purchase, this can result in this site earning a commission. Affiliate programs and affiliations include, but are not limited to, the eBay Partner Network.
My rear headrests have gotten a bit faded from 28 years of sunlight through the back window. Finally made the leap and ordered a few products.
I picked up an 8oz bottle of Isis Blue (JEF) leather/vinyl dye, an aerosol can of JEF for trim pieces, and some prep solution.
My goal is to get the back of the rear headrests done, touch up a couple little spots, and, if all goes well, redye the Coffee sunshades that were in my '96 XJ12 to Isis Blue for mounting in this car. I would need to add the sunshade hook pockets to the rear window upper trip, but that shouldn't be too bad.
Anyone have any experience dyeing interior trim other colors, like blue over tan? If it works, I'd like to also do the same to the Coffee gearshift surround... The XJ40's is black, but I think it would look lovely in Blue.
As a note of interest, in my 15 years of using PayPal, I've never had a transaction need to be "reviewed." I used PayPal to pay for the Isis Blue aerosol spray and PayPal says it'll take 24-48 hours to complete a review due to "government regulations". I hope I'm not on some kind of watch list now! It's a really unfortunate color name. lol
I am in the process of restoring my (new to me) 1992 Jaguar Sovereign. Over the past week I have been searching the Junk Yards for the trim pieces which were pretty much deteriorated to the point of no return.I was taking the trim out to do the headliner and the pieces were so brittle, if you looked at them the wrong way they would crack and fall to pieces.
I was fortunate to find 3 XJ40s within a 150 mile radius from my home and was able to pick up all the trim pieces that I needed, but of course the wrong color.
2 of them had grey interiors while the other had blue.
Long story short, I got all the pieces I needed, including the four door cards complete for $100.
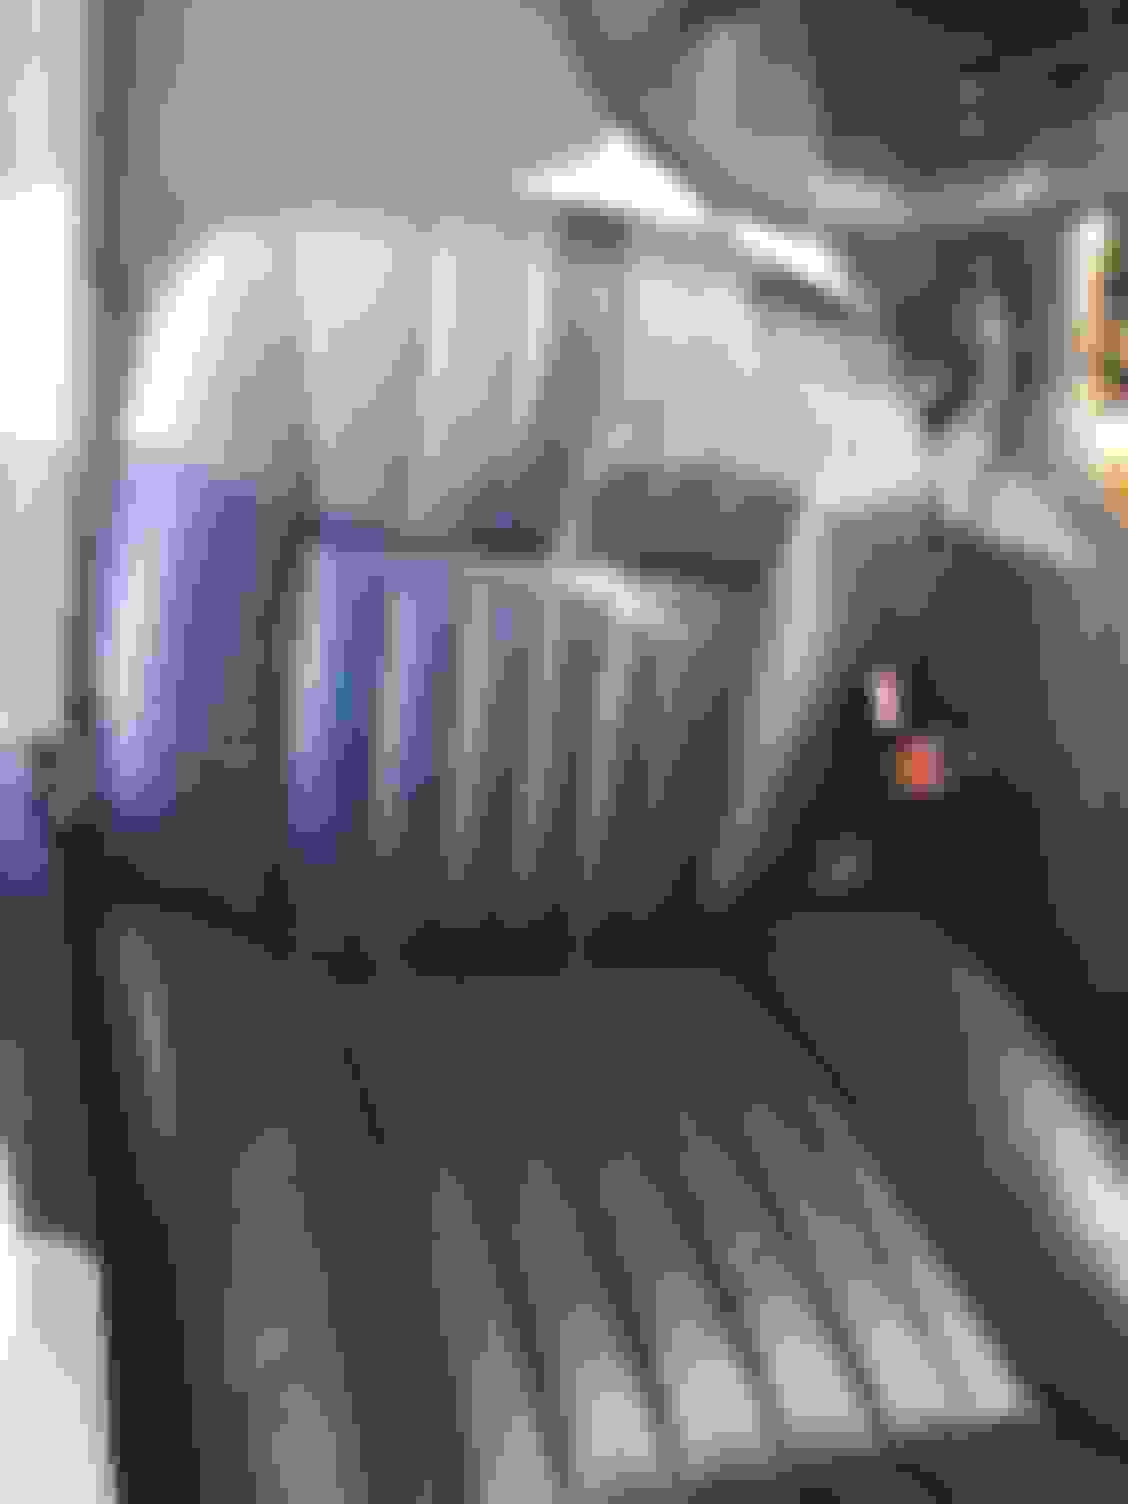
For the last 2 days I prepped all of the trim pieces and today I dyed them to match my seats.
In the second picture, the center console was also dyed today.
Since I have enough dye, I am also going to freshen up the seats and the original door cards. I only took the door card from the JY because the price was right.
Don't let the color fool you in the second photo. It looks lighter because of the flash on my camera.
Last edited by sanchez; Jul 14, 2019 at 12:39 PM.
Reason: add info
Looks very nice! Any advice on the prep work? Depending on how the headrests end up looking, I may go over the front seats as well.
Is your car Silver or Diamond Blue? My 1992 Sovereign is Diamond Blue and I quite like the dark blue interior, but I�ve wondered what tan would look like if I ever did a swap. VDP interiors are a lot easier to find in tan.
Here�s my rear headrest. Quite noticeable when photographing from the inside. I would tint the car but RI�s laws are very strict and wouldn�t be worth tinting for the low % they allow. $250 fine per piece of glass.
Not to hijack Sanchez' thread, but I thought I would chime in on leather prep since I have done a lot of it and learned a few things. My primary source of knowledge has been the Leatherique company's training instructions. To summarize the process that has worked well for me:
1. Treat the leather with Leatherique Rejuvinator rubbed in by hand to condition and soften the leather and to lift contaminates out of the pores. Continue to apply until all areas of the leather remain wet for an hour. Allow to sit with the car in the sun for several hours. It sounds counterintuitive to apply a conditioner first, but unlike most conditioners, Rejuvinator soaks deep into the pores and floats contaminates to the surface where they can be easily cleaned away.
2. Wipe away excess Rejuvinator and clean the leather with any of the good water-based leather cleaners (Leatherique Prestine Clean, Gliptone, Zaino, Chemical Guys, Griot's, Zymol, etc.)
3. Lightly wet-sand the leather with 600 grit sandpaper lubricated by water or Leatherique Prepping Agent, taking care to sand just enough to remove and smooth the top layer of dye without creating suede anywhere. If you already have spots of suede, apply dye to those areas, allow to dry for a day, then wet sand to match the surrounding surfaces.
4. Use Leatherique Prepping Agent to de-grease the surface of the leather. It has a distinctive smell and is probably a commercially-available solvent, but I have not managed to figure out which one it is, so I just buy it from Leatherique.
5. Fill any cracks that remain with a good crack filler (Leatherique, Leather Medic, etc.). Apply very thin layers to build the surface up to flush with repeated applications. Trying to fill deep cracks with single applications has never worked for me and has always resulted in extra sanding of excess filler around the edges of cracks.
6. I have not had success with dye from spray cans lasting very long, but if that's what you have, apply it in multiple thin layers just until the desired coverage is achieved. Save laced seams for last and be careful not to overload the thread with dye or it will make the threads look like plastic and spoil the appearance of genuine leather.
7. If you are using dye from a bottle, thin it with 10 percent distilled or filtered water and apply with a 1-inch artist's watercolor brush. Apply multiple very thin coats until desired coverage is achieved and again, save laced seams for last and wait till your brush is almost dry from covering other areas, then dry-brush the threads in the laces until their color is just right but before the thread is saturated with dye. You can also apply liquid dye with a small sponge.
8. To work around contrast-colored piping, use a standard business card or 3X5 index card as a sliding mask to protect the piping from dye as you work your way along. You can also mask the piping with painter's tape or liquid frisket, but it's a lot of extra work and if you're careful you won't need to do it.
9. Allow the dye to cure for at least a couple of days before sitting on the seats. Longer is better and will give the new dye the best chance of lasting.
10. To restore the luster of freshly-dyed surfaces, buff with a clean microfiber towel.
I've probably forgotten some things but will try to remember and edit this post later.
Would you consider Hide Food to be an appropriate option for that rejuvenating step prior to dyeing? I ask only because I have a jar already.
Even if I don�t decide to dye the seats, it would be a good idea to feed the leather now as I haven�t done it in a few years and the weather is right! 92 today!
I have both liquid and aerosol dye on the way, but no filler. I may pick some up, although I don�t think I�ll need much as the standard Sovereign leather quite hardy compared to VDP leather, at least going by my X305.
I have been using the Leatherique technique also for prepping the upholstery.
I also redid my Series 3 with the products from Leatherique.
This time around for the XJ40 I purchased the dye from a company near me called FINISHMASTERS. I took a sample of the color from under the seat and they matched it perfectly.
@ NTL1991: That looks very fixable. Without repeating what DONB posted, the prepping is the most important step in the process.
I had extra Leather rejuvenator from Leatherique and I applied it about a week ago and left it on while I did other stuff on the car.
I am also in the process of fixing some cracks in the leather of the driver seat. Rejuvenator first, then I used their Leather repair product. I still have to apply a couple of coats of the leather repair to get it as perfect as possible.
The only problem with the 90s XJ40 leather is that the dye is Lacquer based. In order for the rejuvenator to soak in, the lacquer based dye has to be partially removed.
The leatherique people told me to use Lacquer thinner to remove most of the dye before applying their rejuvenator. It worked.
Below is a pic of my Series 3 interior Series 3 seats
Would you consider Hide Food to be an appropriate option for that rejuvenating step prior to dyeing? I ask only because I have a jar already.
I guess it depends on whether your Hyde Food is the thicker cream or paste type based on lanolin, coconut oil, neatsfoot oil, mink oil, etc., or a thinner type of oil. Leatherique Rejuvinator is a fairly low-viscosity liquid that soaks into the leather really well, while my assumption is that the cream or paste conditioners may not soak in as far. The thin viscosity of Rejuvinator also seems to help dirt and other contaminates to float up to the surface, while my assumption is that the thicker conditioners may trap some dirt deep in the pores.
But you can't hurt anything by trying. Why not apply some Hyde Food to an area of your leather, let it soak for an hour and apply more so the surface is wet and allow to soak again. If any part of the surface appears dry after an hour, apply some more Hyde Food and let it soak. Then clean with a good leather cleaner and a soft white cloth so you can observe how much dirt is being drawn from the leather. If you get a lot, then the Hyde Food is probably helping with the deep cleaning and may be fine for your prep.
If you are concerned that it doesn't soak deeply into the leather, you could buy a bottle of Rejuvinator for your dye prep and save your Hyde Food for the first post-dye conditioning maybe six months from now.
Excellent, sounds like a plan. Thanks Don and sanchez!
Here's the condition of my seats now. They're not too bad, and the wear is typically evident only in bright sunlight or when the sunroof is open.
From the looks of the results posted here, I think they could definitely be improved, though! I will look into the Leatherique system and the Rejuvinator.
Your seats are in very good condition and look like great candidates for the sponge application method. Using liquid dye and wearing rubber gloves, you slightly wet the sponge with dye and then work it in to the leather, applying multiple very thin coats. I think it would go very quickly on your seats.
There was an episode of Wheeler Dealers when a pro leather restorer used the sponge method on the seats from a car Mike and Edd were renovating and I was amazed at how fast the dye job went. After the prep work, most of the time was spent letting coats dry in between applications. The dye applications themselves only took a few minutes each.
My Dye is coming in today. I'm debating whether to remove the seat back from the car, or do the dyeing with it in place, looking through the rear window as I do it. If I do, it's only an extra 10 minutes or so.
I'll post some before and after shots of the headrests, and depending on how it does, I may tackle the front portion of the rear seat bottom cushion as well.
My Dye is coming in today. I'm debating whether to remove the seat back from the car, or do the dyeing with it in place, looking through the rear window as I do it. If I do, it's only an extra 10 minutes or so.
You won't be surprised that I recommend removing the seat back to do the dye work. If I recall there were only a couple of screws along the lower edge and then the back just lifted up off of some hooks, but I may be confusing the XJ40 with one of the other Jags in which I've had to remove the rear seat back.
One thing to think about is that they don't call it "dye" without reason. If you drip it on your carpet, or any plastic, or accidentally splatter it onto your C-pillar trim or headliner, you will probably not be able to clean it off.
Good point, Don! Isis Blue drips on Savile Grey carpet and trim will not look good!
BUT, If I take the rear seat out, I might also be tempted to take out the parcel shelf and trim to retrofit those X305 sunshades! :P I've even been toying with the idea of installing the pair of X305 boot lid lamps in the molded side carpeting panels of my trunk. I'll be using it a lot more now that it's finally dry!
I completed my seat and trim repair and redye. The interior is pretty much all back together with the exception of the center console. I have to take it apart to find out why the radio does not work. Headliner. Will take a better photo later on
After rebuilding the front suspension on my '90 Majestic, I'm ready to start my next project, the repair and re-dye of my interior.
My initial plan is to strip the lacquer from the rear seat, and repair a torn seam, a small hole and a small tear, using a filler and backing fabric. I hope to save the leather.
It's thirty years old and DRY. It seems to dis-integrate while I look at it. After the tears and hole are repaired, I will strip the lacquer and try to rejuvenate the leather, then use the sponge method for re-dye. I completed a similar project on a '96 VDP I owned, using a small spray gun. That job finished up nicely. My major concerns are the extremely dry and fragile leather, and the condition of the foam seat cushions.
Hi Roger,
I would highly recommend Leatherique Rejuvinator for your dry leather. Several applications over multiple days may remoisturize and soften your leather and will help float out dirt and contaminants. If you then use Leatherique's Prepping Agent before applying the new dye, the Rejuvinator will not prevent the new dye from adhering.
When you say you will strip the lacquer, do you mean you will wet-sand the surface with 600-grit wet-and-dry sandpaper to just remove the top surface of dye, or do you mean something more involved?
Remove as much of the lacquer as possible with a chemical stripper like acetone, lacquer thinner and so forth, whatever works with the least amount of damage (?) to the leather.
The lacquer appears to be impervious to leather conditioners and as great as it looks it is detrimental to the leather. I used Leatherique on the '96 and like it very much!
I don't think you want to remove that much of the old dye. It is not lacquer, it is a water-based product very similar to latex paint, except the pigment particles are much finer and actually penetrate the fibers of the leather. It may appear to be non-porous, but if it is the original dye, it is porous and will allow Leatherique Rejuvinator to soak in and contaminants to float out.
Leatherique recommends only removing the top surface of the old dye using 600-grit wet-and-dry sandpaper and either water or their Prepping Agent as the lubricant. Your Majestic probably has the contrasting piping (Mulberry?), so I would recommend using water as the lubricant to reduce the risk of damage to your piping, unless you intend to re-dye the piping as well.
Removing too much of the old dye can leave a suede texture surface that is far more difficult to re-dye successfully, so I personally recommend just reducing the top layer of dye per Leatherique's instructions.
What I recommend is scuff-sanding with water and 600-grit (or 320-grit if your leather has very thick dye as in the X308s), then carefully wiping down with Prepping Agent to de-grease and prepare the surface to receive the new dye.
To get dye along your piping without coloring the piping, I use a 1-inch wide flat artist's watercolor brush and a business card slid down between the piping and seat leather to help keep dye off of the piping. I find the best results come from applying multiple very light coats of dye. Thin the dye by adding distilled water to about 10% of the total volume. If you do not thin the dye or apply it too heavily, the leather grain will be obscured and look like plastic. Also, save any stitching for your last coat or two, and use a brush with most of the dye wiped off on a paper plate for a dry-brush effect on the stitching. If you apply too much dye to the stitching, it will glob up with dye and look like molded plastic instead of real thread.
Hi Don, thank you! I spent last night in front of the TeeVee and on my lap top researching the process. Yes I agree
with your recommendation. My Majestic has the original leather in magnolia with mulberry piping. The finish on the rear seat looks good but the leather is
so dry it's extremely fragile. The front seats, arm rests and console are worn and must be stripped and re-dyed. If ? I can get reconditioner to penetrate the dye and soften the leather I may only repair the tears in the rear seat and retain as much original finish as possible? I've had no luck in reconditioning the leather in the past including use of Leatherique products. This project will start as a journey of cautious discovery...