When you click on links to various merchants on this site and make a purchase, this can result in this site earning a commission. Affiliate programs and affiliations include, but are not limited to, the eBay Partner Network.
I have an engine question for whomever. There is an XJC on Ebay right now with a malfunctioning Cadillac engine in it. I would be interested to return it to a Jaguar engine. Presumably if the body weren't *******ized, it would be possible to go back to a straight 6 or preferably V12. Any thoughts on that?
That is exactly-ish what I am doing. The 350 I pulled out left no lasting modifications to my car. There are plenty of rusted XJ6's out there going for cheap. You could get everything you need with one donor car!
Used to be we'd immediately ignore the swapped cars. Now, it's the best way to get a (sometimes) decent car at a realistic price, especially with the coupes. Lots of sixes and twelves out there to purchase. Maybe not a project for the fearful, but I'm on the edge of doing the same thing. Go for it, and please keep us posted!
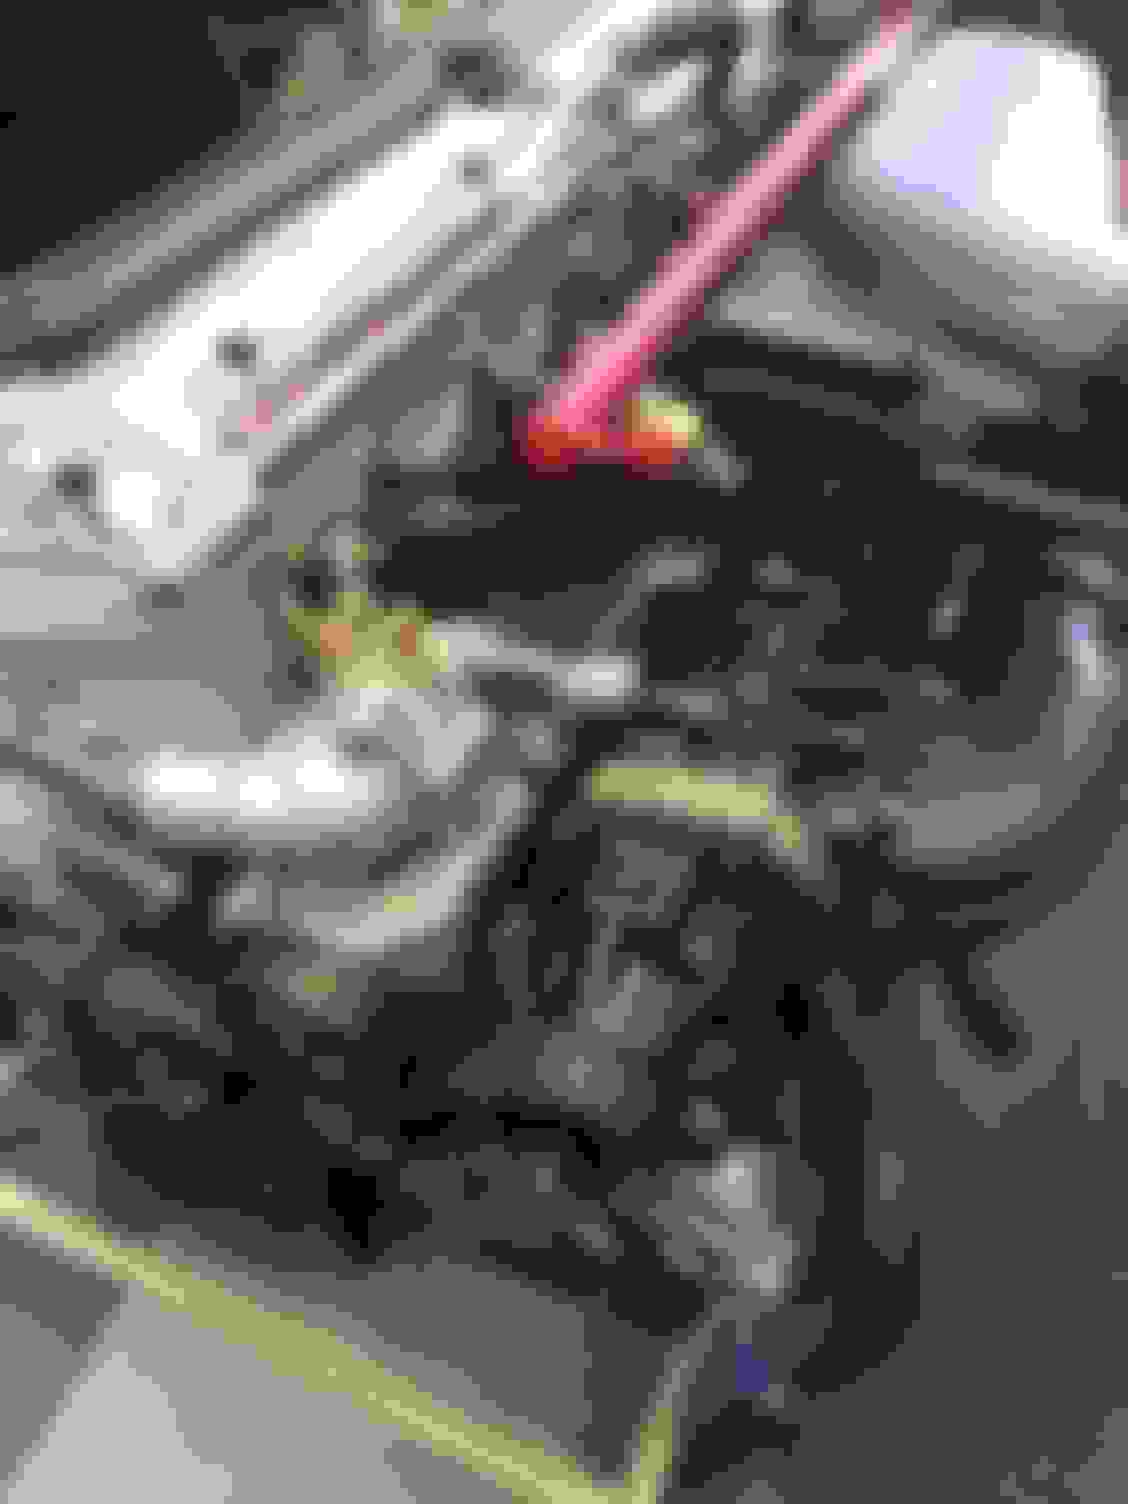
Here is an update with photos. I have managed to get the front suspension completely rebuilt, The engine cleaned up and wired- (Mega-squirt Ready) I spent a crazy amount of time finding all new connectors for the electrical items on the engine).
Rusty
The Engine is a work in progress . Now I have the un-fun part of cleaning up the engine bay.
Really nice work and you're an inspiration. Really great becasue this quality of work adds value and creates interest in the classic jaguar restomod segment.
Thanks! Everyone I�m hoping the rest of the engine bay brings it all together.
I�m not sure the polished valve cover is going to make it to the end. It is way to fragile.
The Idea is for the XJR parts to be subtle in the engine bay. Which will be black.
Now it�s time to fill about 50 holes in the inner fenders!
Rusty
Last edited by Rustyxjc; Mar 25, 2018 at 10:06 AM.
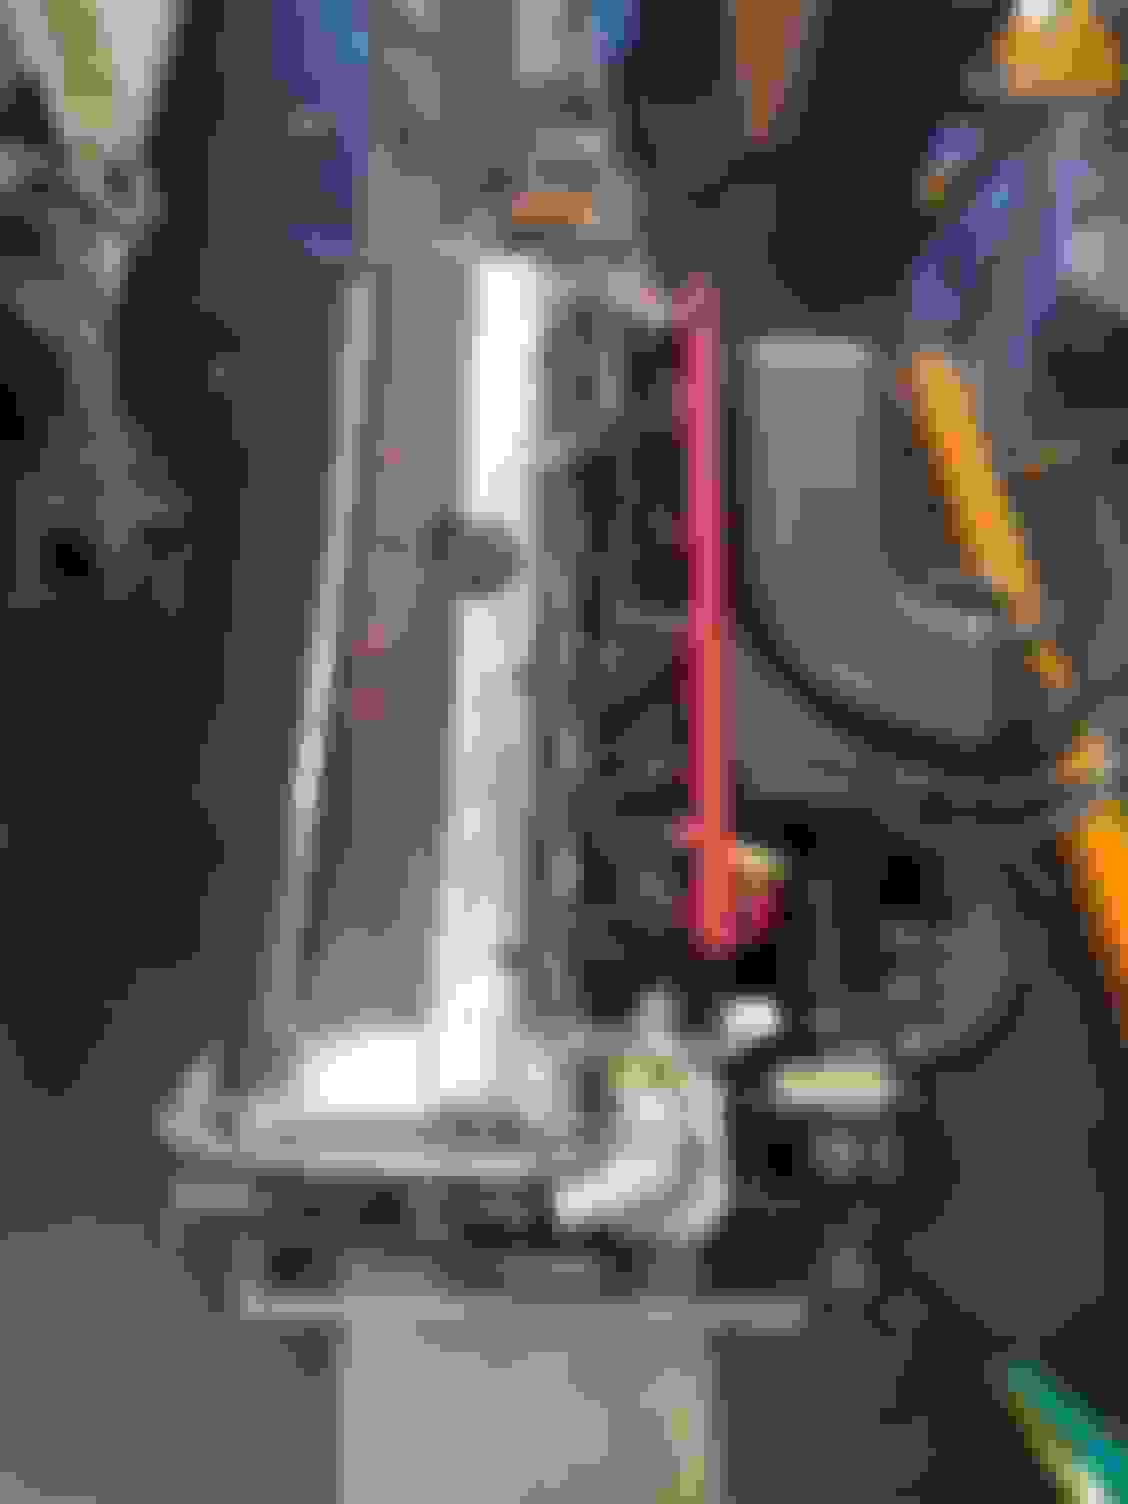
Wow, this is beyond impressive. I have a dumb question: The photo taken from over the transmission - what in the world do all those wires go to? If they all go to the ECU, where are you going to mount it? My series3 with fuel injection V8 has the wires under the carpet and the ecu under the passenger seat where it gets dirty, rattles around and interfers with the seat adjusters.
That is one of the beauties of Jaguar Forums, that I can follow along with fantastic projects that are light years beyond my skill and resources and I can pick up little tricks and tips that I can do. Keep up the good work.
You are correct most of the wires go to the ecu or gauges. I will be locating everything behind/under the Dashboard. I have removed the entire heating system and will be replacing it with a new Aftermarket system from restomod air. There is plenty of space to spare!
Small Progress Prior to the engine going In I put a battery on it and did a compression test. (I probably should have done this sooner but I wanted to le the Oil I sprayed in to have time to work, I wasn't planning on months though!)
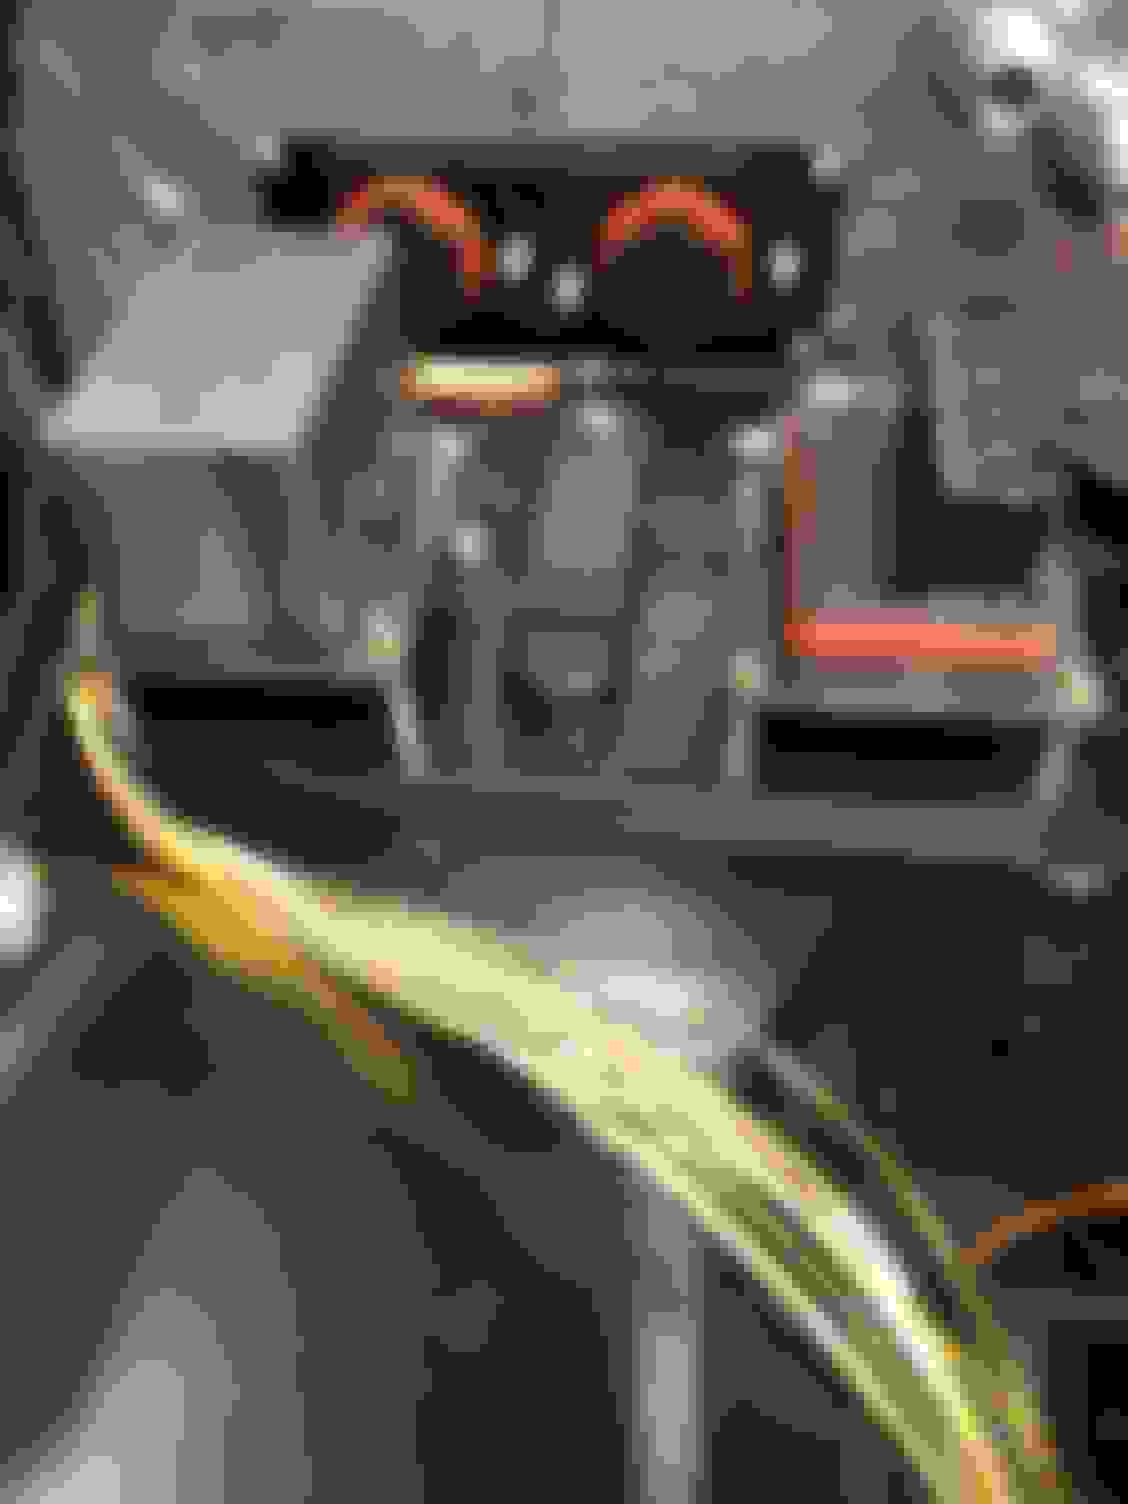
Wow, that looks fantastic! Love the firewall. Is that Zero Clearance heat shield?
Yes it is a very nice fiber foil composit. I had to make a cardboard template with everything removed as it is a once and done type of product. I did the entire trans tunnel as well.
I've been wrestling with My wiring needs and have settled on relocating the Battery to the Trunk and giving My self Ample resources under the hood. As well as in the cabin. 2018 demands lots of electronics!