When you click on links to various merchants on this site and make a purchase, this can result in this site earning a commission. Affiliate programs and affiliations include, but are not limited to, the eBay Partner Network.
I used a heat gun and scraper on mine. It came off very easily. When the top-coat finish just starts to get bubbles, stop heating and run your scraper under the veneer.
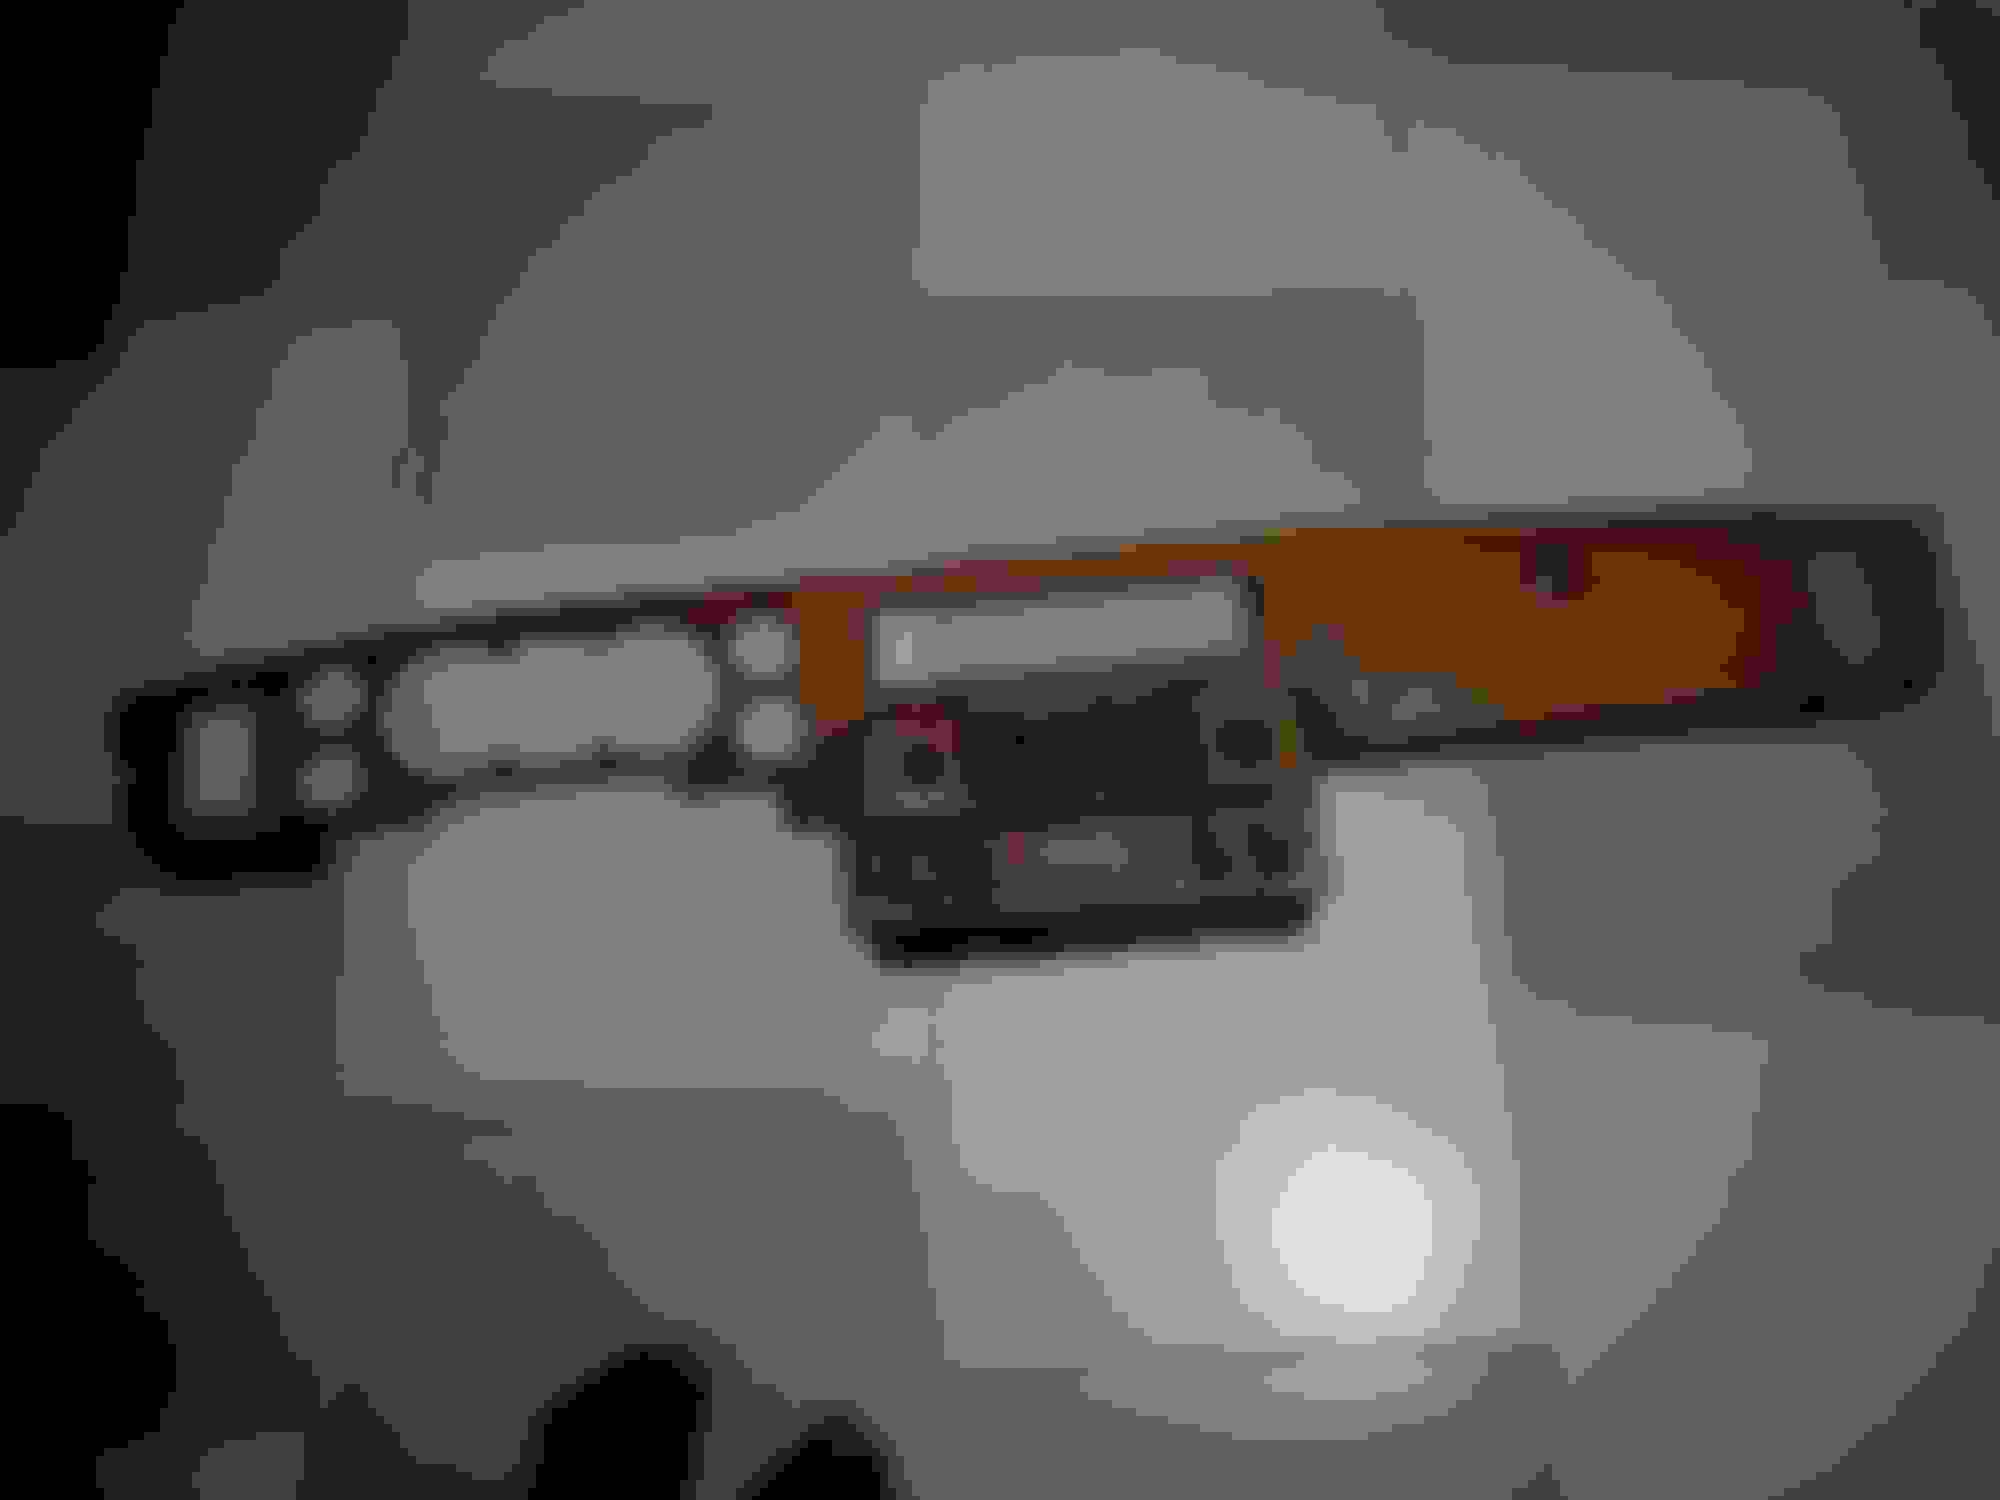
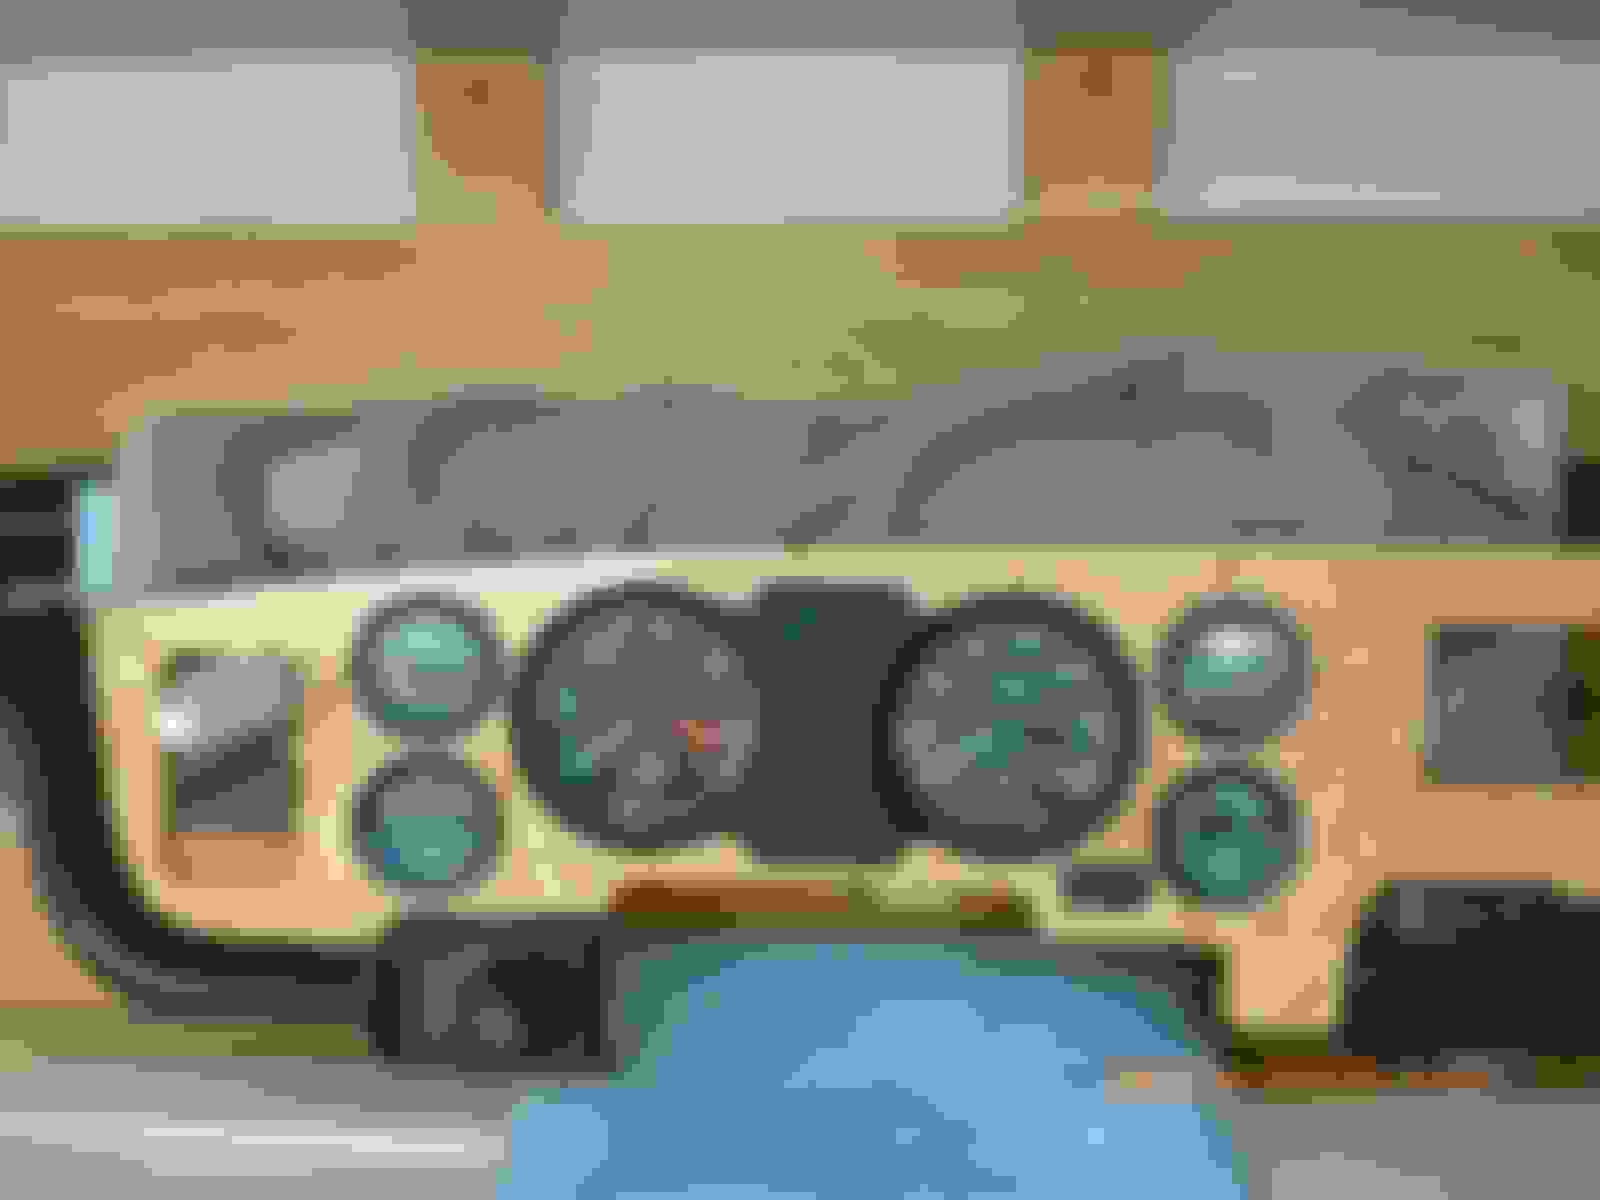
I have been able to find my way out dismantled the dash wood.
i will send to a carpentry shop tomorrow to see if we can clear the old surface and spray it again.
Forgive me if the photos are not clear because is night here and I have dim lights in my room.
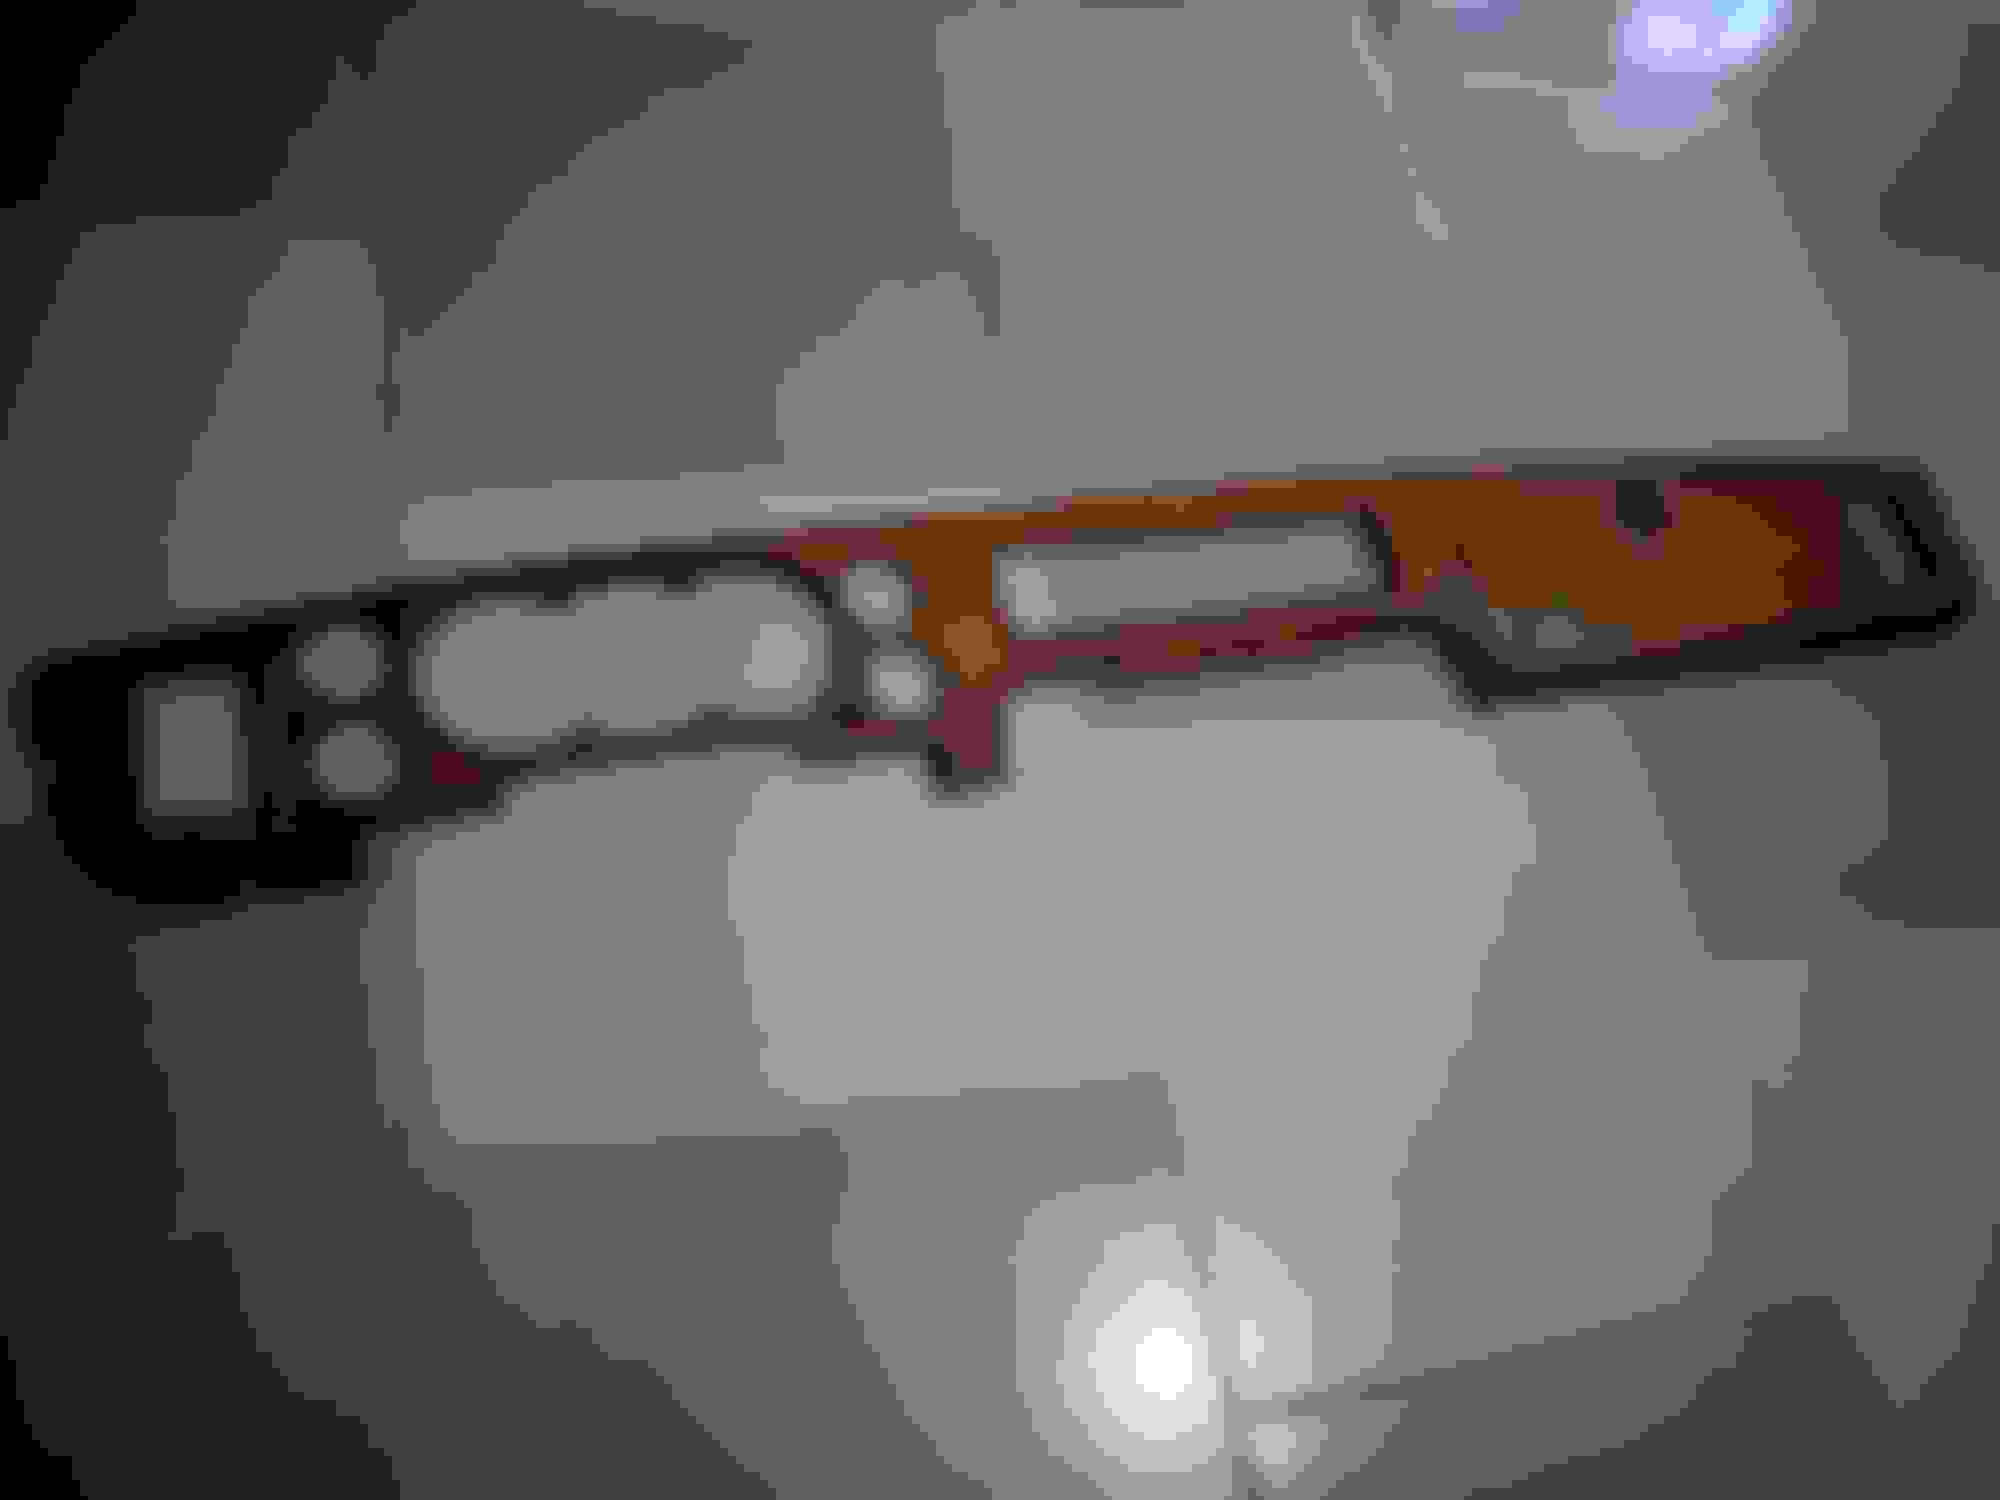
You can see the there pearls on the wood surface.
If you have anyway I can do it to look like the original, am all ears to that.
The way I did it on the wood on my xjs was to GENTLY with a sharp scraper remove all the loose bits of lacquer without scratching the veneer, it is thin and fragile. Then GENTLY heat the varnish in small sections until slightly bubbled and scrape off carefully.
Lightly sand the veneer and repair any damage (I'm sure your carpentry shop should be more aware than I am about this. Just make them aware that the veneer is very thin and fragile over plywood or metal, it's not solid wood.
There is nothing actually stopping you picking a veneer you like and getting the carpentry shop to reveneer it....I always liked olive wood....
Then re-varnish with the best high temperature lacquer you can get hold of. The best are two part varnishes, apply a light coat, let it dry and lightly sand, repeat once or twice more and put further full coats on until you get the depth you require.
I found a great source for these parts on XJ6 series cars. I have no affiliation other than that of a well satisfied customer. They refinish, but do so on their own inventory. of panels so you can order and then replace without down time on the car. No core charge either. www.myrtleltd.com
The shop is in the UK and it works best to call them to order. Excellent finish, all the veneers are "booked" to the center of the car. They have all these panels shown on their website, plus some that aren't otherwise available: steering wheel rim, lighting and ignition panels, rear window switch panel or VDP rear window/cigar lighter panel, shift and window switch "ski jump panel" and the extremely rare AC/radio panel. Prices seem okay to me, I think about equal to having the original parts professionally refinished. But much easier and faster.
The way I did it on the wood on my xjs was to GENTLY with a sharp scraper remove all the loose bits of lacquer without scratching the veneer, it is thin and fragile. Then GENTLY heat the varnish in small sections until slightly bubbled and scrape off carefully.
Lightly sand the veneer and repair any damage (I'm sure your carpentry shop should be more aware than I am about this. Just make them aware that the veneer is very thin and fragile over plywood or metal, it's not solid wood.
There is nothing actually stopping you picking a veneer you like and getting the carpentry shop to reveneer it....I always liked olive wood....
Then re-varnish with the best high temperature lacquer you can get hold of. The best are two part varnishes, apply a light coat, let it dry and lightly sand, repeat once or twice more and put further full coats on until you get the depth you require.
For sure, I will partly have this done together with the carpenter.
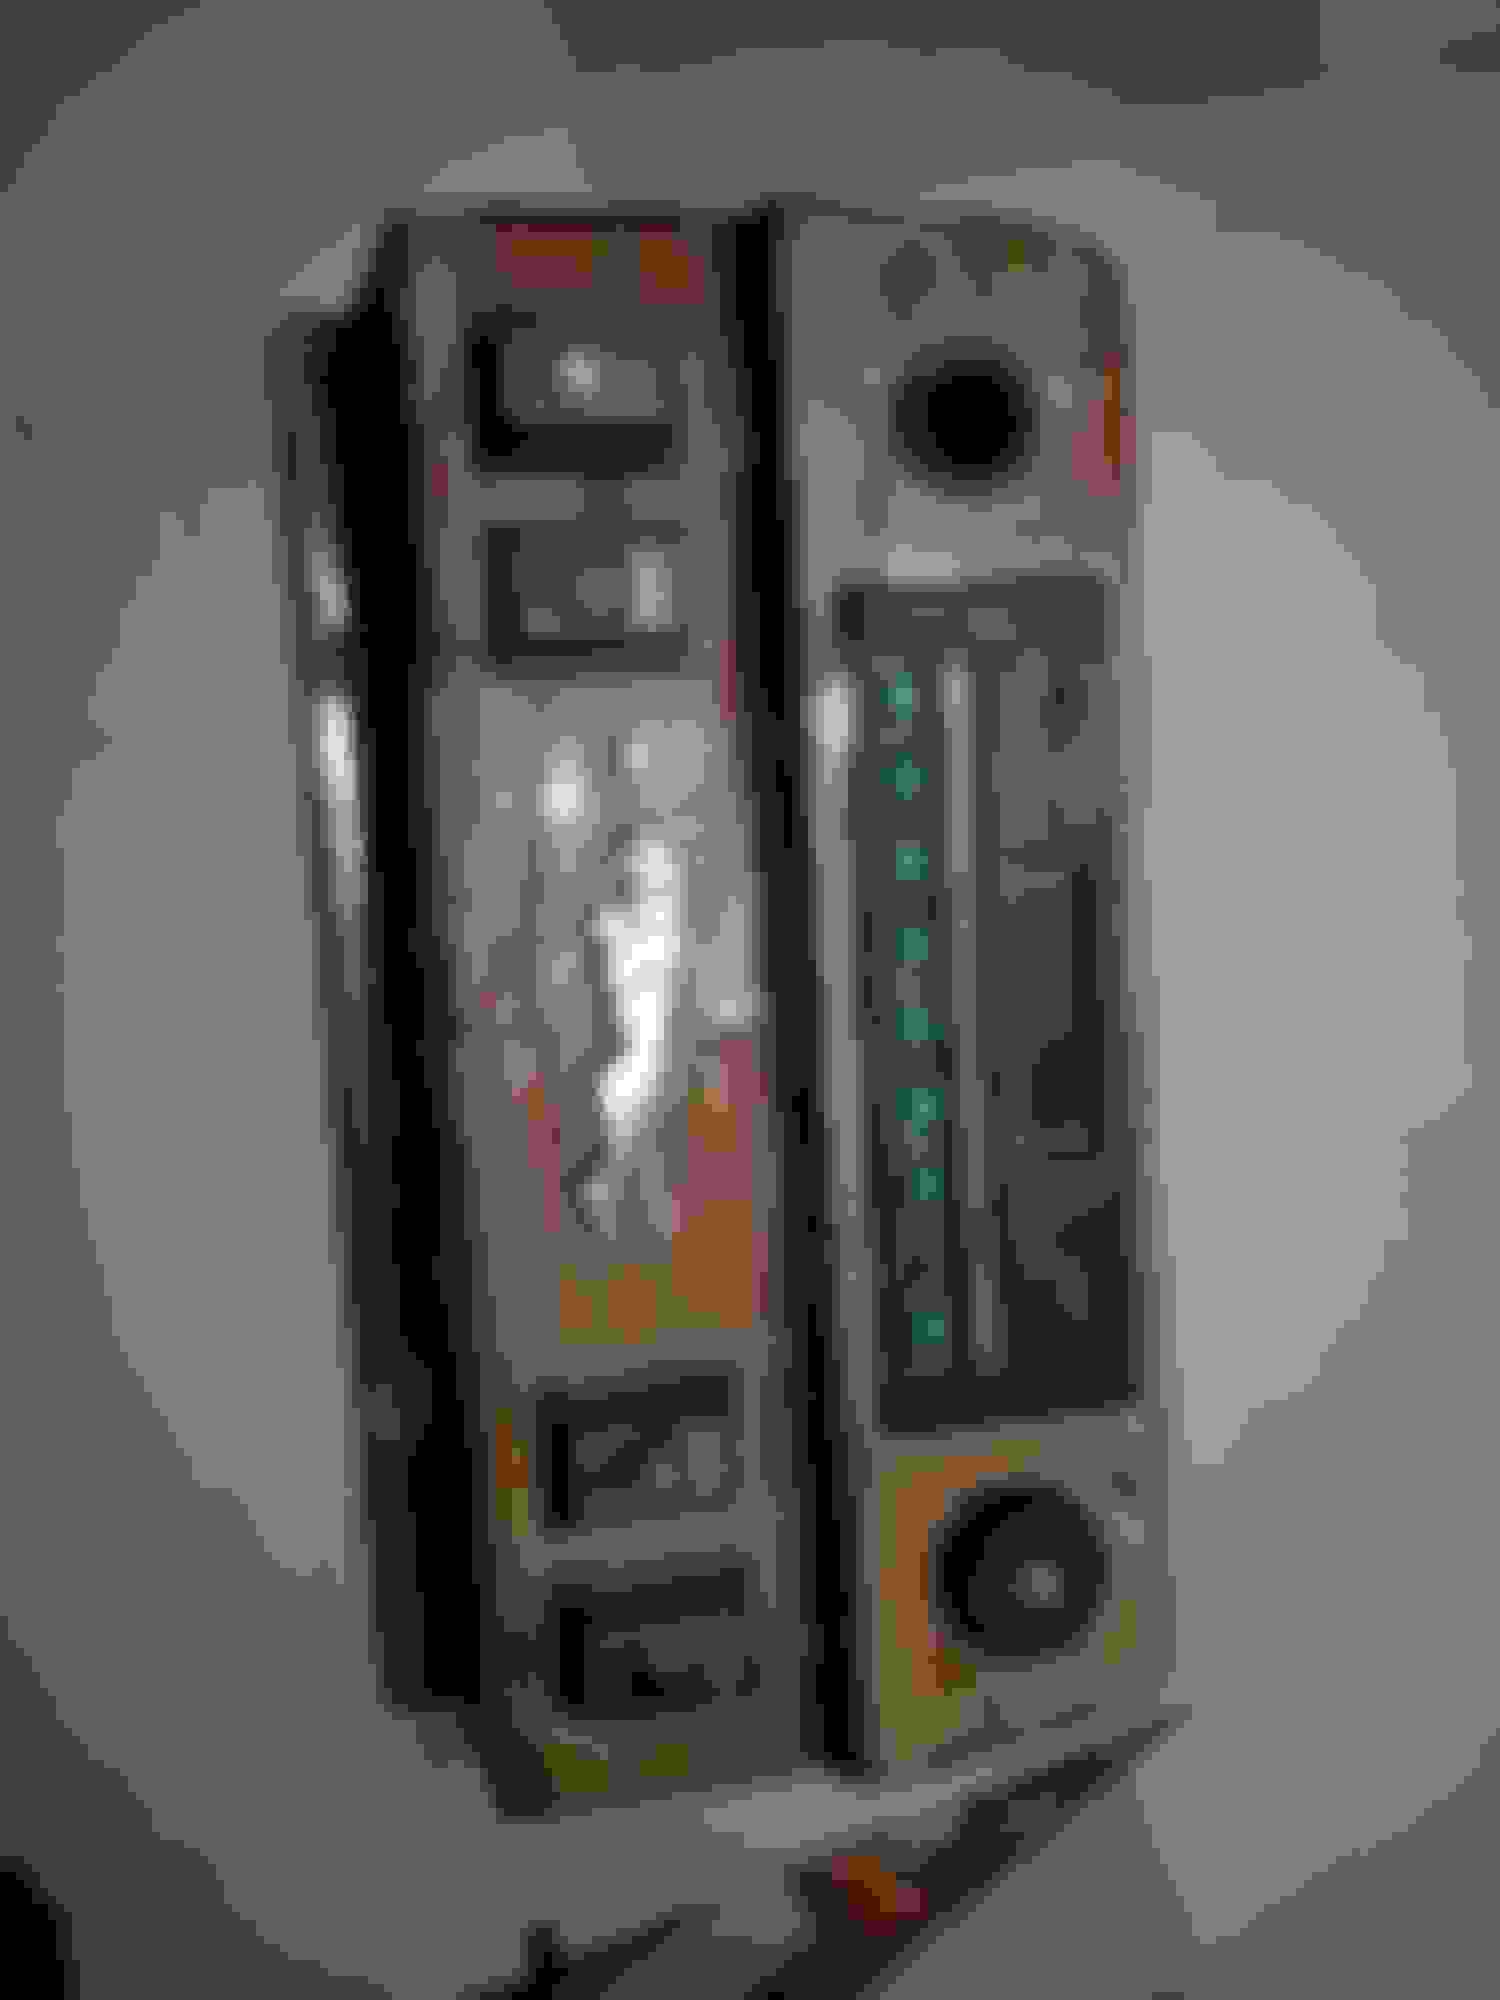
The dimming rheostat has a small pin on the support collar behind the part you turn. Depress it with a pen and the knob will pull off. The pin is spring loaded in the hexagon rheostat shaft retaining the knob. Removing the rheostat is a bit of a problem because the nut that holds is on a bracket behind the panel and difficult to get to without the right tool. Also probably corroded in place judging from the pictures.
I had the cigar lighter out recently, but I don't remember how to get it out. I think when viewed from the rear it's pretty intuitive.
Thanks Nileseh,
Now I have gotten the dimming rheostat out from instructions.
Am waiting for another expert idea on removing the cigar lighter.
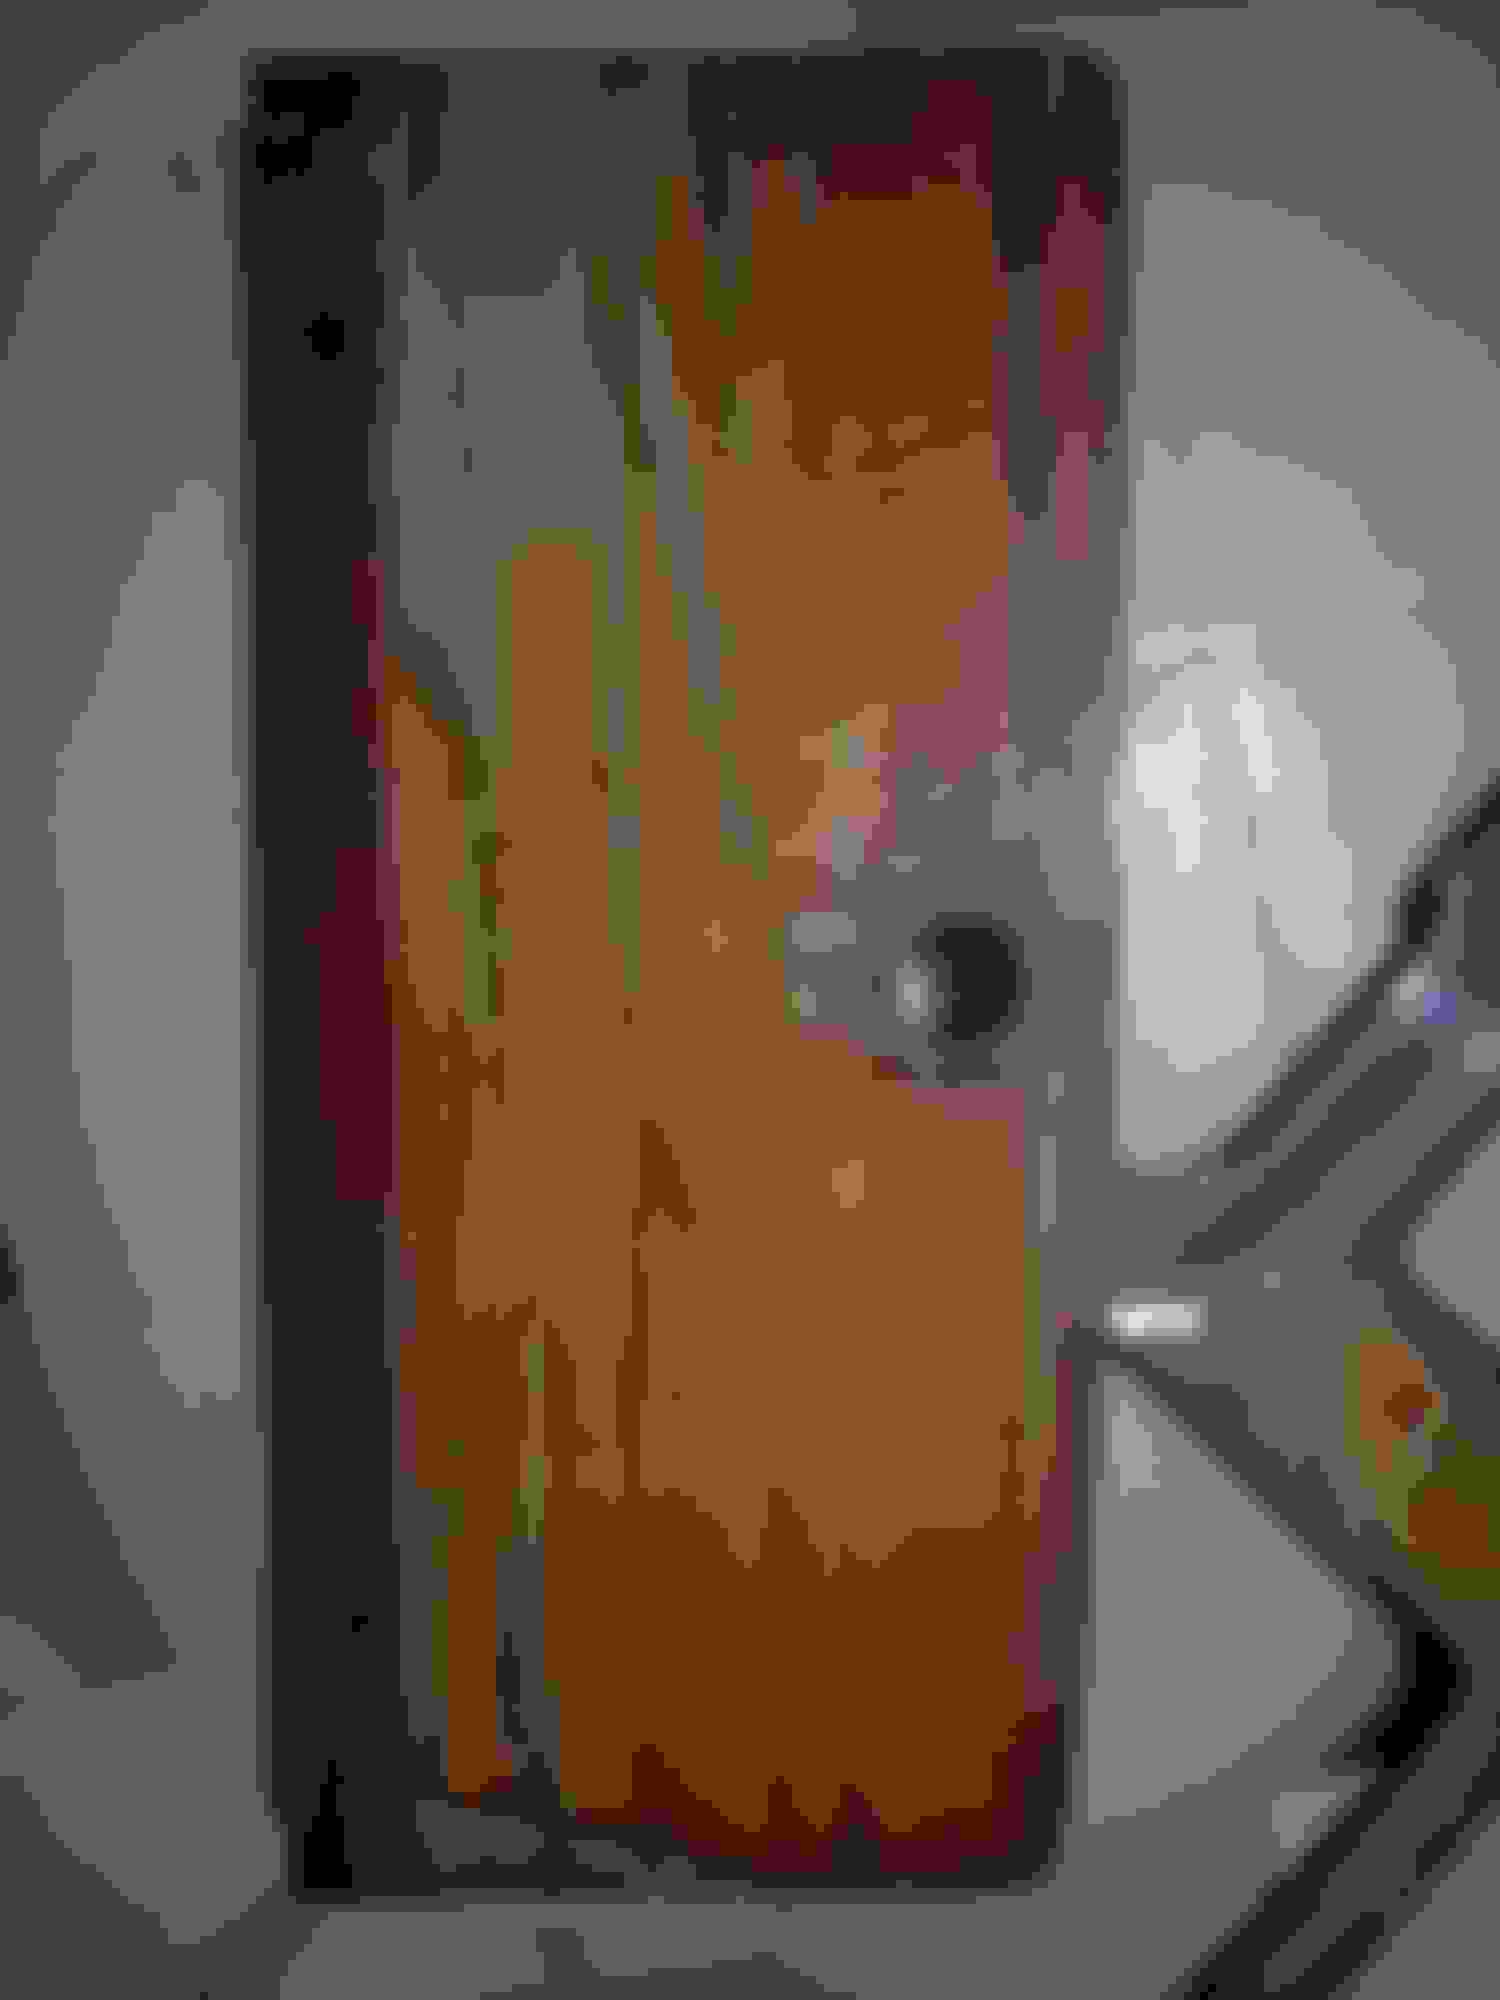
This is more than refinnish!!! the pictures show chunks of veneer missing. It is a replace the panels or remove the damaged veneer and replace it with the veneer of choice.
I tried a few times to re veneer the metal center piece, where the trip computer is, never could get a satisfactory look for me, so i gave up, and hit the whole thing with a belt sander then painted it black... , far from perfect solution, but it looks better than it did!!!
I actually painted mine with a burl wood finish using an 80+ year old technique because I couldn't access new veneer due to the virus lock down and I got tired of waiting. So far, anyone who's seen it doesn't believe me when I say it's not real wood. I tell them, they look closer, and still doubt what I tell them. Of course they don't own one of these cars so they don't see the obvious differences of finish, color, and wood grain. A Jag owner would see the difference immediately. I'm actually glad I went this direction...very satisfying to complete a unique project like this.
Last edited by Emil Wojcik; Jul 20, 2020 at 03:03 PM.
Reason: typo
I tried a few times to re veneer the metal center piece, where the trip computer is, never could get a satisfactory look for me, so i gave up, and hit the whole thing with a belt sander then painted it black... , far from perfect solution, but it looks better than it did!!!
Looks great, i like it but how did you removed the cigar lighter thing?
that is one of my head pains.
moreover if am not able to reveneer the metal center piece, i will go your way
I actually painted mine with a burl wood finish using an 80+ year old technique because I couldn't access new veneer due to the virus lock down and I got tired of waiting. So far, anyone who's seen it doesn't believe me when I say it's not real wood. I tell them, they look closer, and still doubt what I tell them. Of course they don't own one of these cars so they don't see the obvious differences of finish, color, and wood grain. A Jag owner would see the difference immediately. I'm actually glad I went this direction...very satisfying to complete a unique project like this.
removing the cigar lighter is done from the rear of the panel.
once the panel is pulled off, disconnect the two wires from the rear of the lighter housing.
stick your thumb inside the lighter to hold it from moving, with the other hand turn the rear hub either way pushing it towards the panel, there is a large spring inside pushing the rear hub out, so you push it towards the panel while turning it to disengage it from 3 tabs at the end of the lighter.
Thanks Jose,
Am now done with the removal of cigar lighter from the center panel base on your above instructions
I'll throw my two cents in here on the dash topic.
My dash wood was not in terrible condition, but I was not going to leave it as it was. I removed the old finish and veneer with a heat gun and almost sharp gasket scraper. Came off very easily. I didn't care for the dark traditional walnut, so I chose birds-eye maple raw veneer from Veneer Supplies (no affiliation). They also have the correct adhesive for veneer to wood applications. When I re-veneered the metal central panel, I had a couple of choices for adhesives in mind. Polyurethane glue (gorilla, et al) or original JB Weld, I chose the latter. I holds like cat hair to your best dinner suit and is easy to work with (within reason). Because I left out the trip computer and radio, I needed to do a little fabrication prior to veneering and I'm happy with the results. I veneered both pieces straight across and cut all the openings and trimmed the edges with hole saws, forstner wood bits, and a router. It's impossible to cut the holes in the veneer first and have them line up perfectly during glue-up.
Veneering is not physically hard, but you need to have all the appropriate tools, adhesive, cauls/platens, clamps/vacuum bags, clean work bench, as well as an understanding of wood and how different finishes and adhesives will react to each other. To anyone not familiar to this process, I would recommend research and then practice on a couple of pieces of scrap plywood (or whatever you plan to use for the real thing). When you feel comfortable, go for it. There is any kind of wood veneer out there that you can imagine.
Here's a couple of pics from my dash project.
Dave
P.S. I used five coats of semi-gloss lacquer on mine because I didn't want a shiny surface. Glove box door. Main dash panel.