When you click on links to various merchants on this site and make a purchase, this can result in this site earning a commission. Affiliate programs and affiliations include, but are not limited to, the eBay Partner Network.
As promised in the New member/welcome section I'm posting some pictures of my series 1 and the ongoing restoration.
First day ! <br/>The car was originally bought and driven in Italy, a few years back a gentleman bought and brought it to Poland thinking of restoration but eventually decided to sell it untouched.
The car was in a rather poor state, but fortunatelly most of the original parts were there. Given the fact that it spent most of it's life in Italy the amount of rust was limited. <br/>
4.2 engine with twin SU HS8 carbs and A.E.D., BW 12 transimssion. Unfortunatelly it was not running when I bought it, because someone removed fuel pumps. It was a big gamble, but since I planned to do a overall restoration I figured anything can be fixed. As it turned out ( I will post some pictures of engine rebuild later) it was worth it .
Also interior looked like it has seen better days. but again, it was all there.
I will post more pictures of things I have already done to the car later.
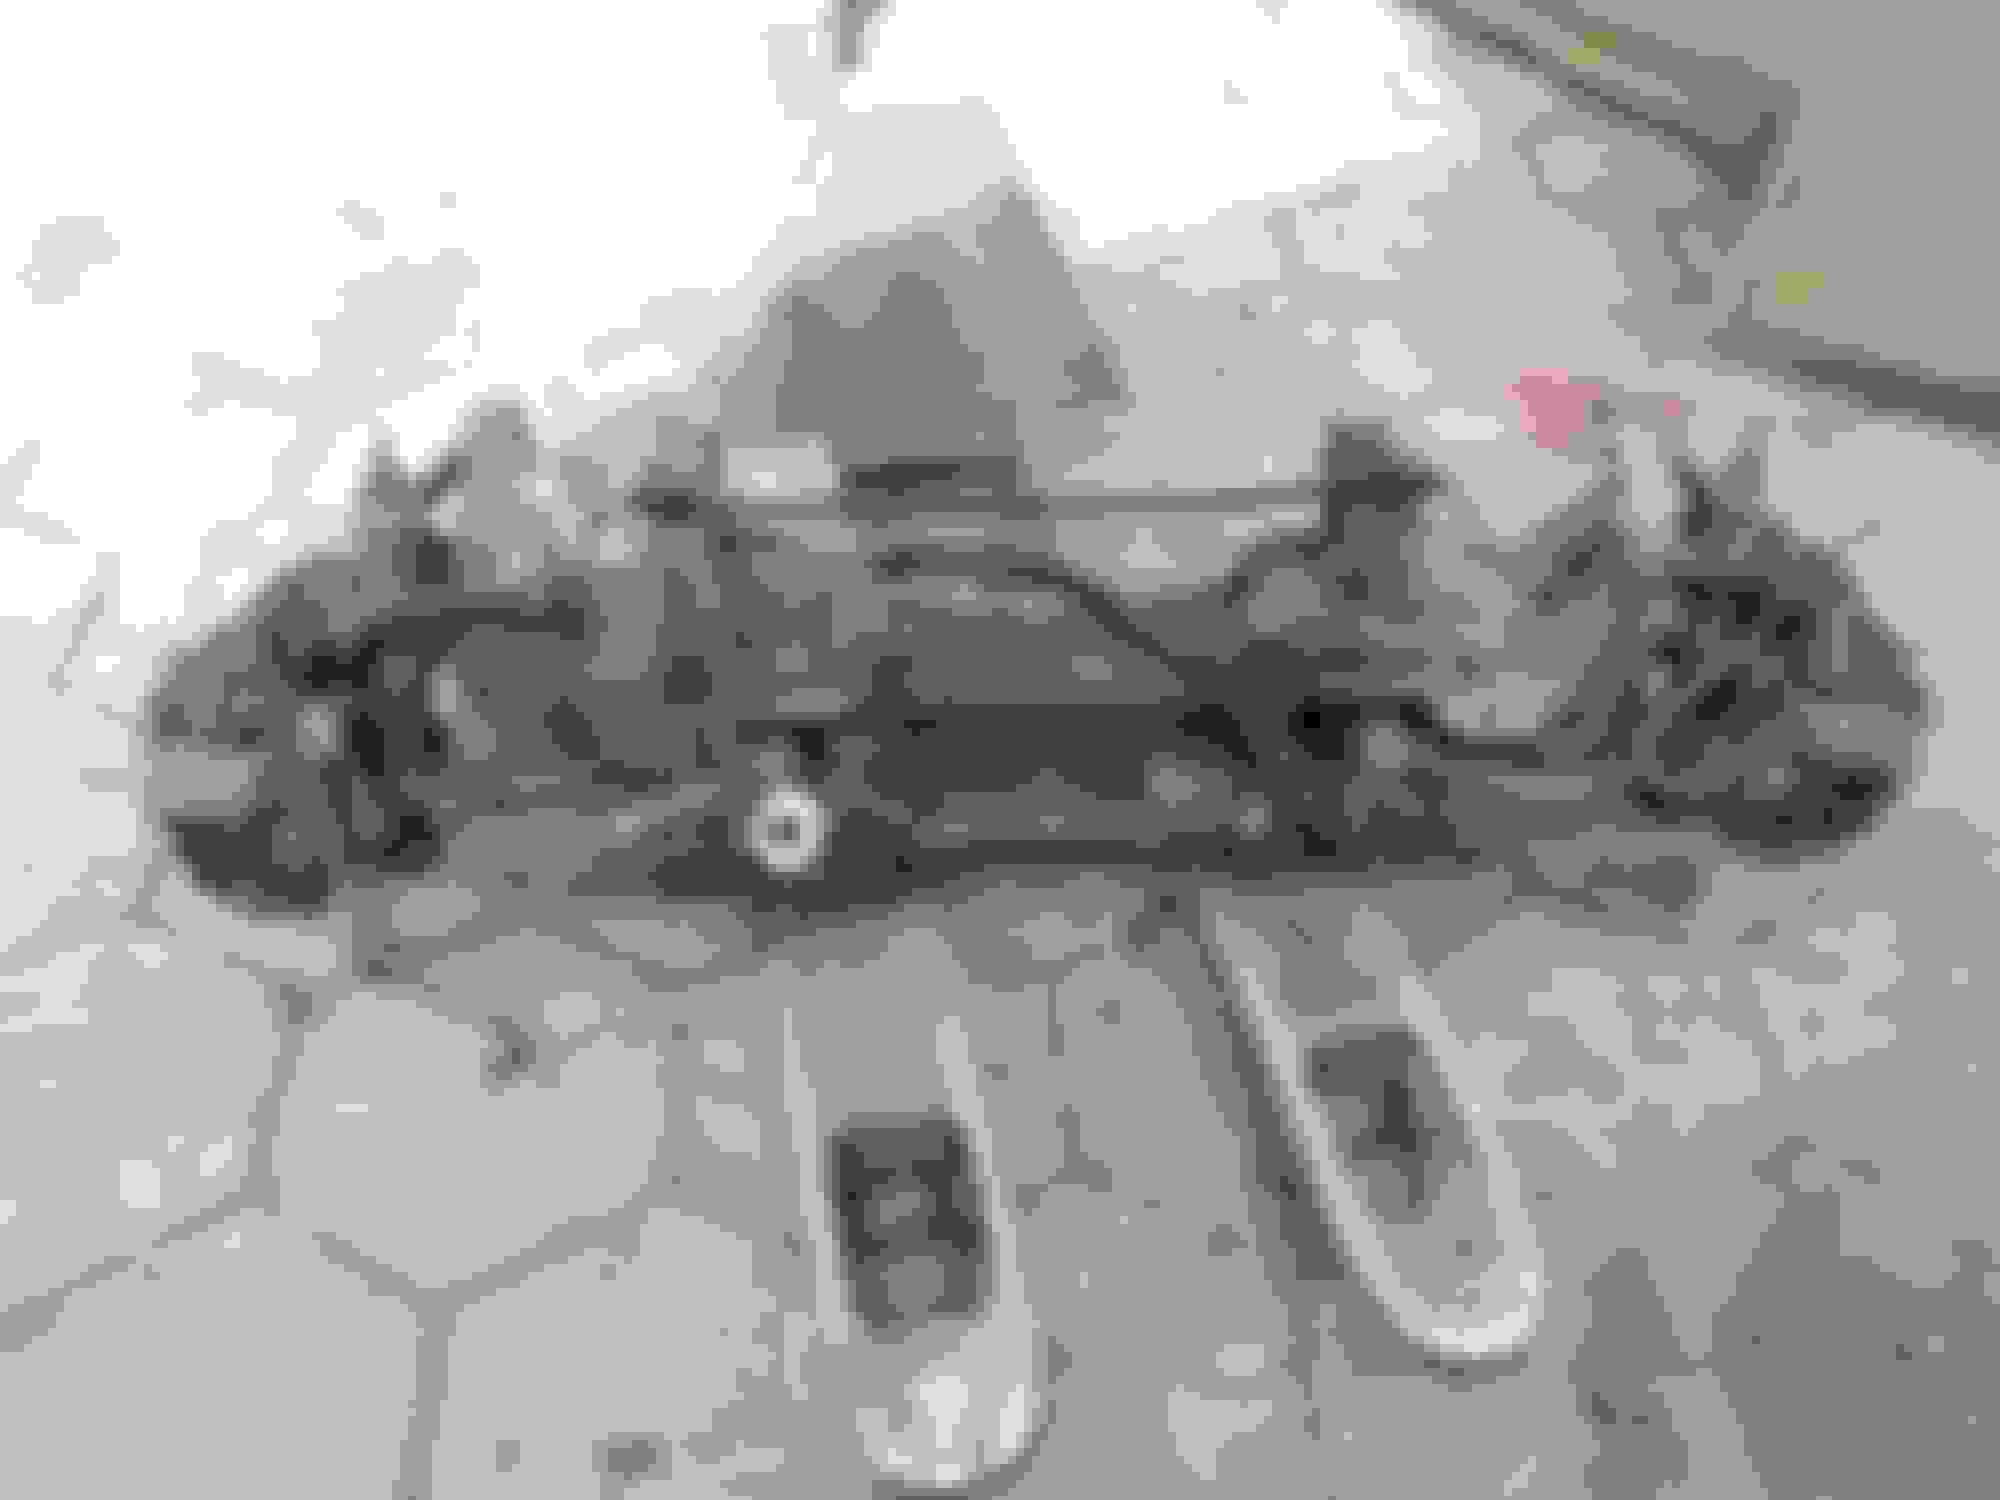
Engine out. Just after removing the radiator I noticed that the front crossbeam is completely rotten. Also the battery area was in a poor state, all covered in rust
A closer picture of the damage. Still, nothing that can't be fixed with a piece of metal, welder and most essential tool- hammer.
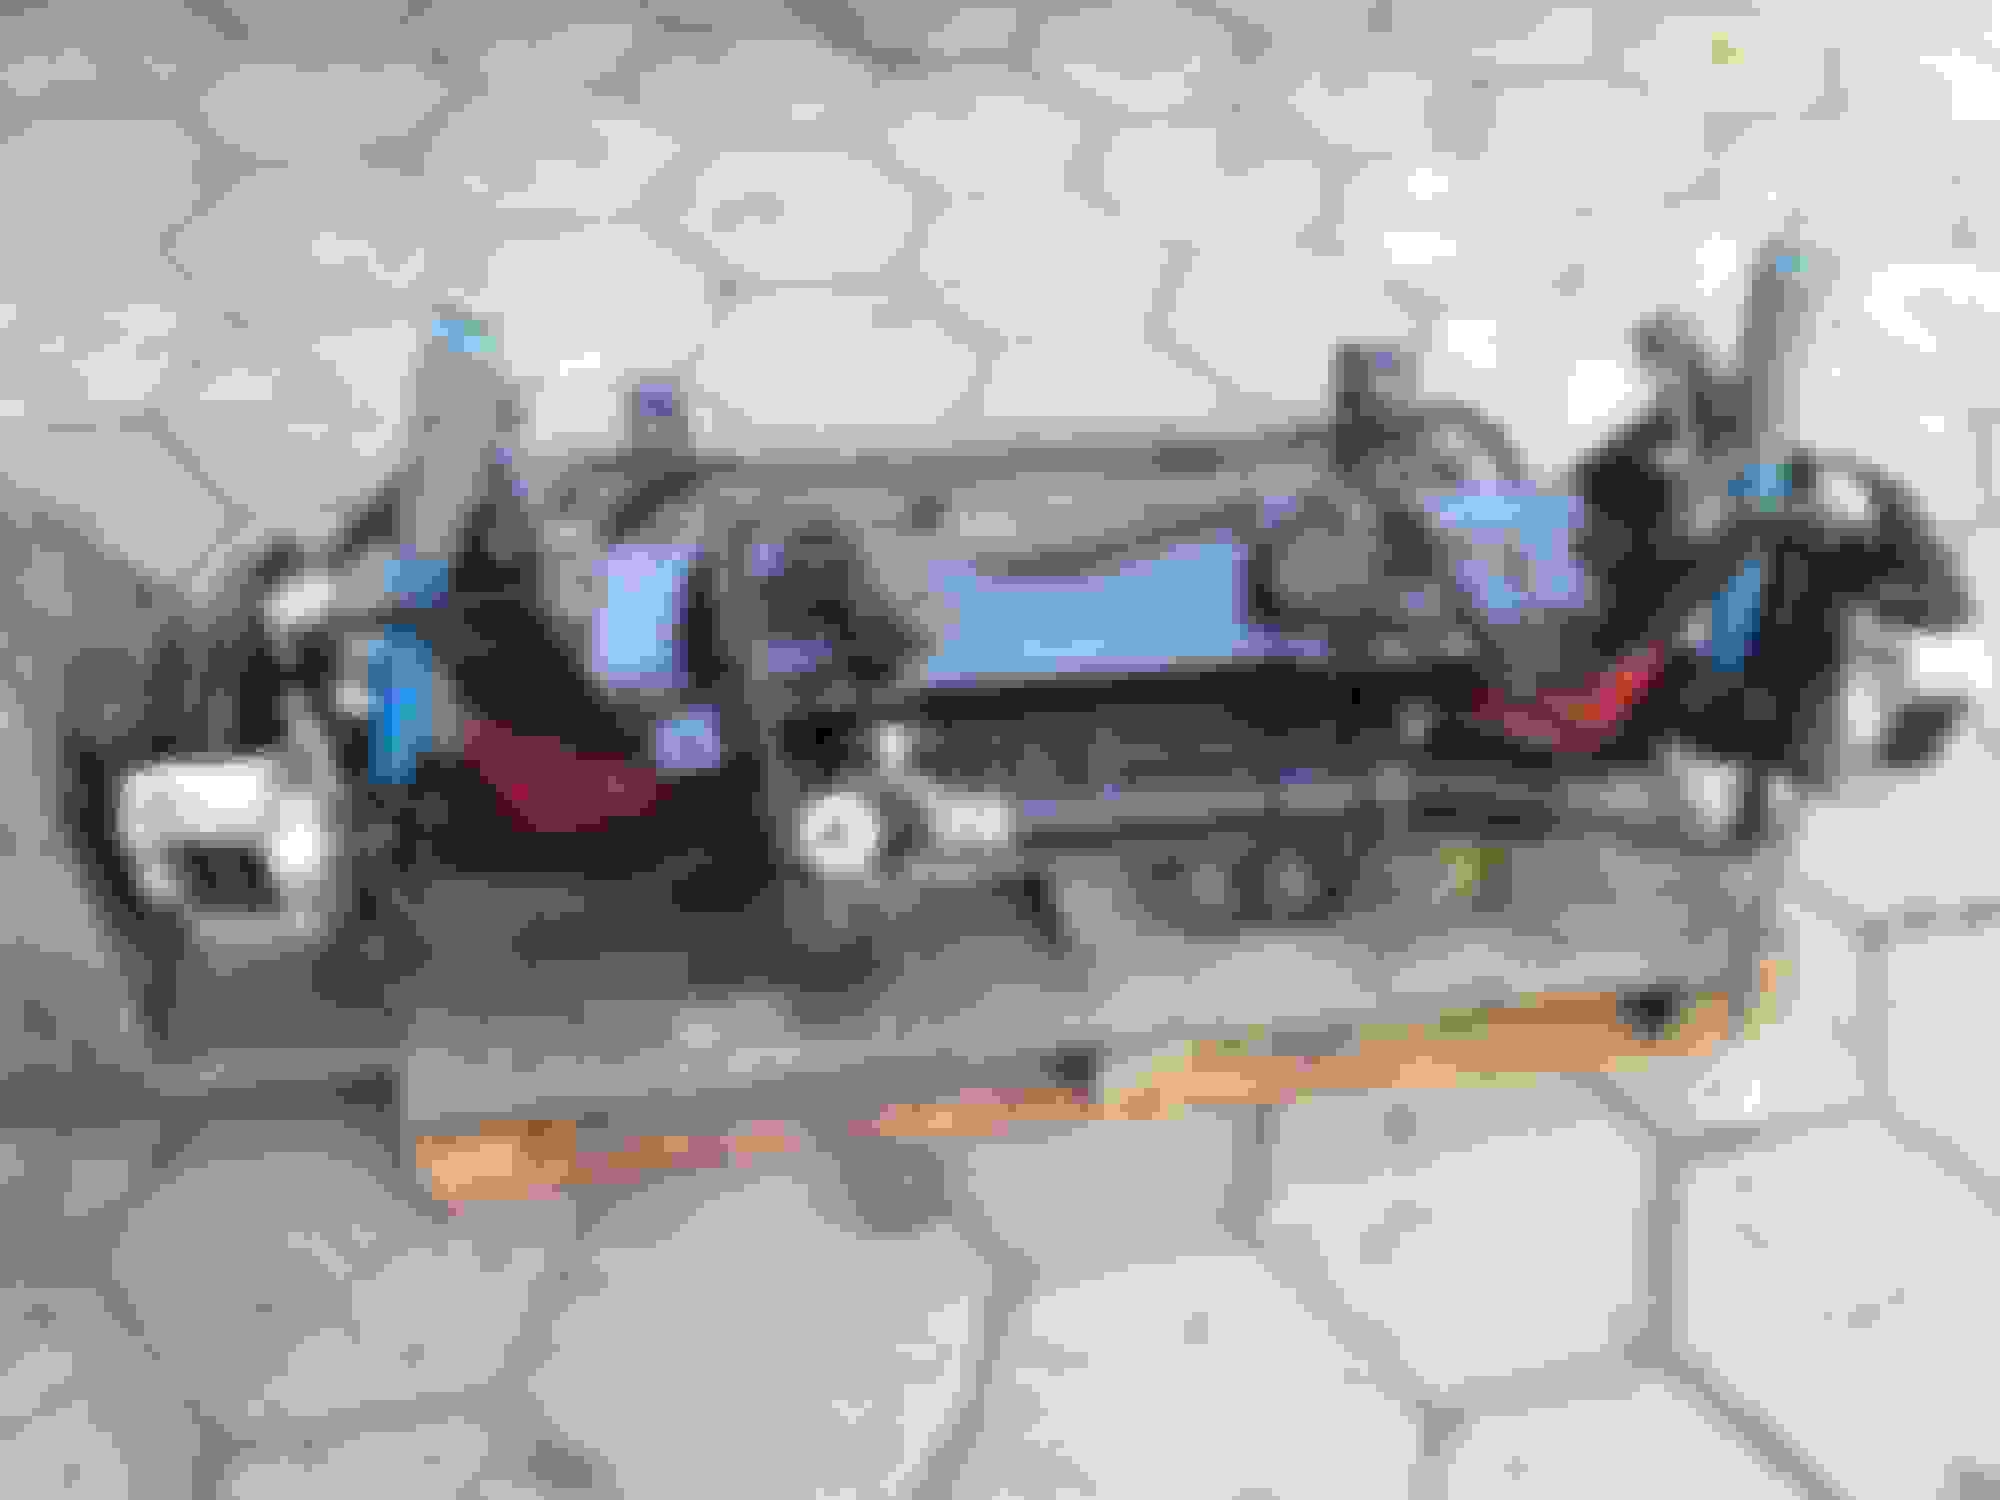
Before cutting the piece completely I welded some screws to a metal rod on both sides and tightly fastened them to the frame where front suspension was mounted. Maybe I was being too cautious, but I wanted to be sure that the original dimensions weren't distorted.
I made a new piece and welded it into position. <br/>
Welcome to the Xj6 section!
As Clarke says, we Do love to watch restorations.
I don't think you're being overly cautions by welding that bar across the front, especially as you're not sure of the body integrity yet. Better safe than sorry, as they say.
I ordered new parts for the job. I decided to switch both upper and lower balljoints to more modern, "single use" type, rather than refurbish the old, adjustable ones with shims.
Meanwhile I sent all the components to sand blasting and powder coating.
I had a bit of struggle compressing the spring but in the end nobody got hurt
Here is the final effect:
3. Time for rear suspension.
Just like the front I disassembled the whole unit, sand blasted and powder coated. This one also was pretty greasy due to a leak from differential. I changed the oil seels and overhauled the unit.
Ordered also wishbone bearings, all 4 shock absorbers as they were worn and replaced rotors with brake pads.
Got everything ready to assemble.
Before
After
Before
After
As for the brakes, apart from the seals I had to replace some pistons because they they were rusty I suppose because they were sitting for a long time.
Anyway I freshened the calipers up a bit
Lovely job ! Brings back some memories, I can tell you ! You're very wise to replace the front ball joints with the modern type as they last 10 times longer. The inner top joints called Slipflex can be a PITA and you should check them every year for corrosion.
A tip for that front cross-member is to put a few washers between the front valance and that member when you're putting the front valance back. What happens is leaves and other crud collect in there and allow a little salty lake to form that then wrecks the cross member ! By spacing the valance about 1/8" away from the cross member, the water can drain away.
I am sure impressed. quality work and moving right along!!
And resources to envy. Pallett jack, lathe. No envy comment removed, appreciation inserted.
And, do I see boards on the floor covering an antique grease pit!!!!
Way back when I was working my way through college, I had a night job. Old time, even then, service station. Out door grease pit. I even did a few oil changes and lube jobs. Dark, no lights. flashlight only. And, I was alone, so I serviced the gas customers as well. It was a major brand and on a major highway, so up to about midnite, it was active. After that, I could do my home work. 12 hour shifts, 6 to 6. I forgotten if I even got a day off. Owner/boss worked the day shift, 6 to 6 as well. OD guy, former Chef!! But, OK.
As I said before, the engine wasn't running when I bought the car, but I tried to turn it manually it wasn't seized. Except loads of dirt (found suspicious amount of nut shells, a pair of pliers and a bee's nest ), grease, some missing tubes and details it wasn't so bad.
I put the engine on a stand and took the head of the block. Surprisingly it went easier than I actually expected.
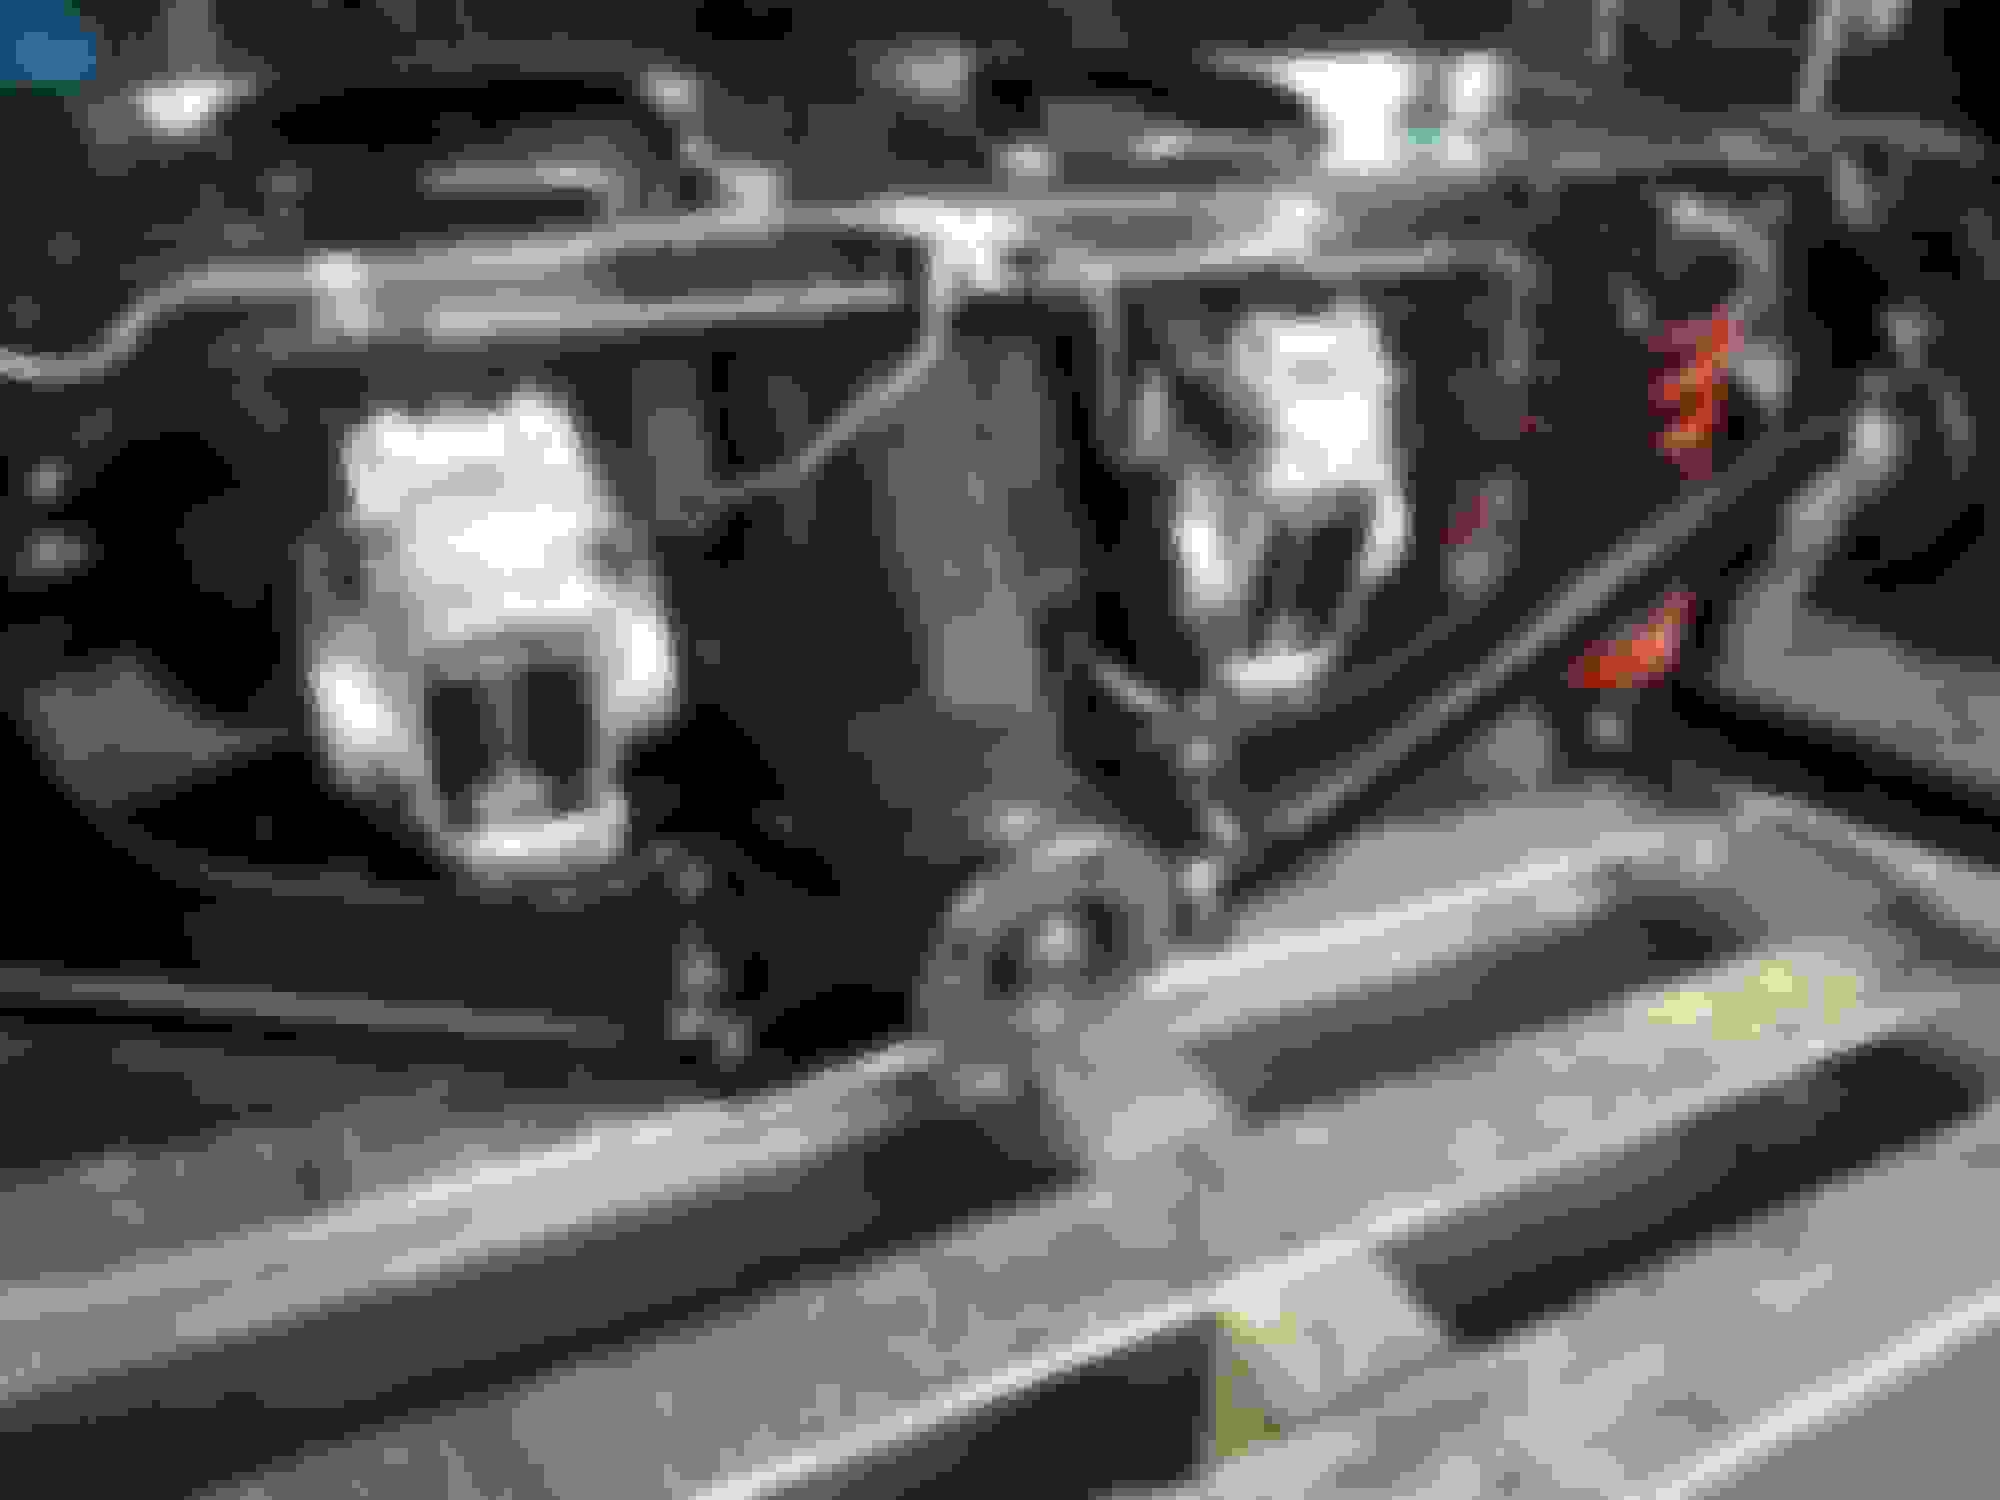
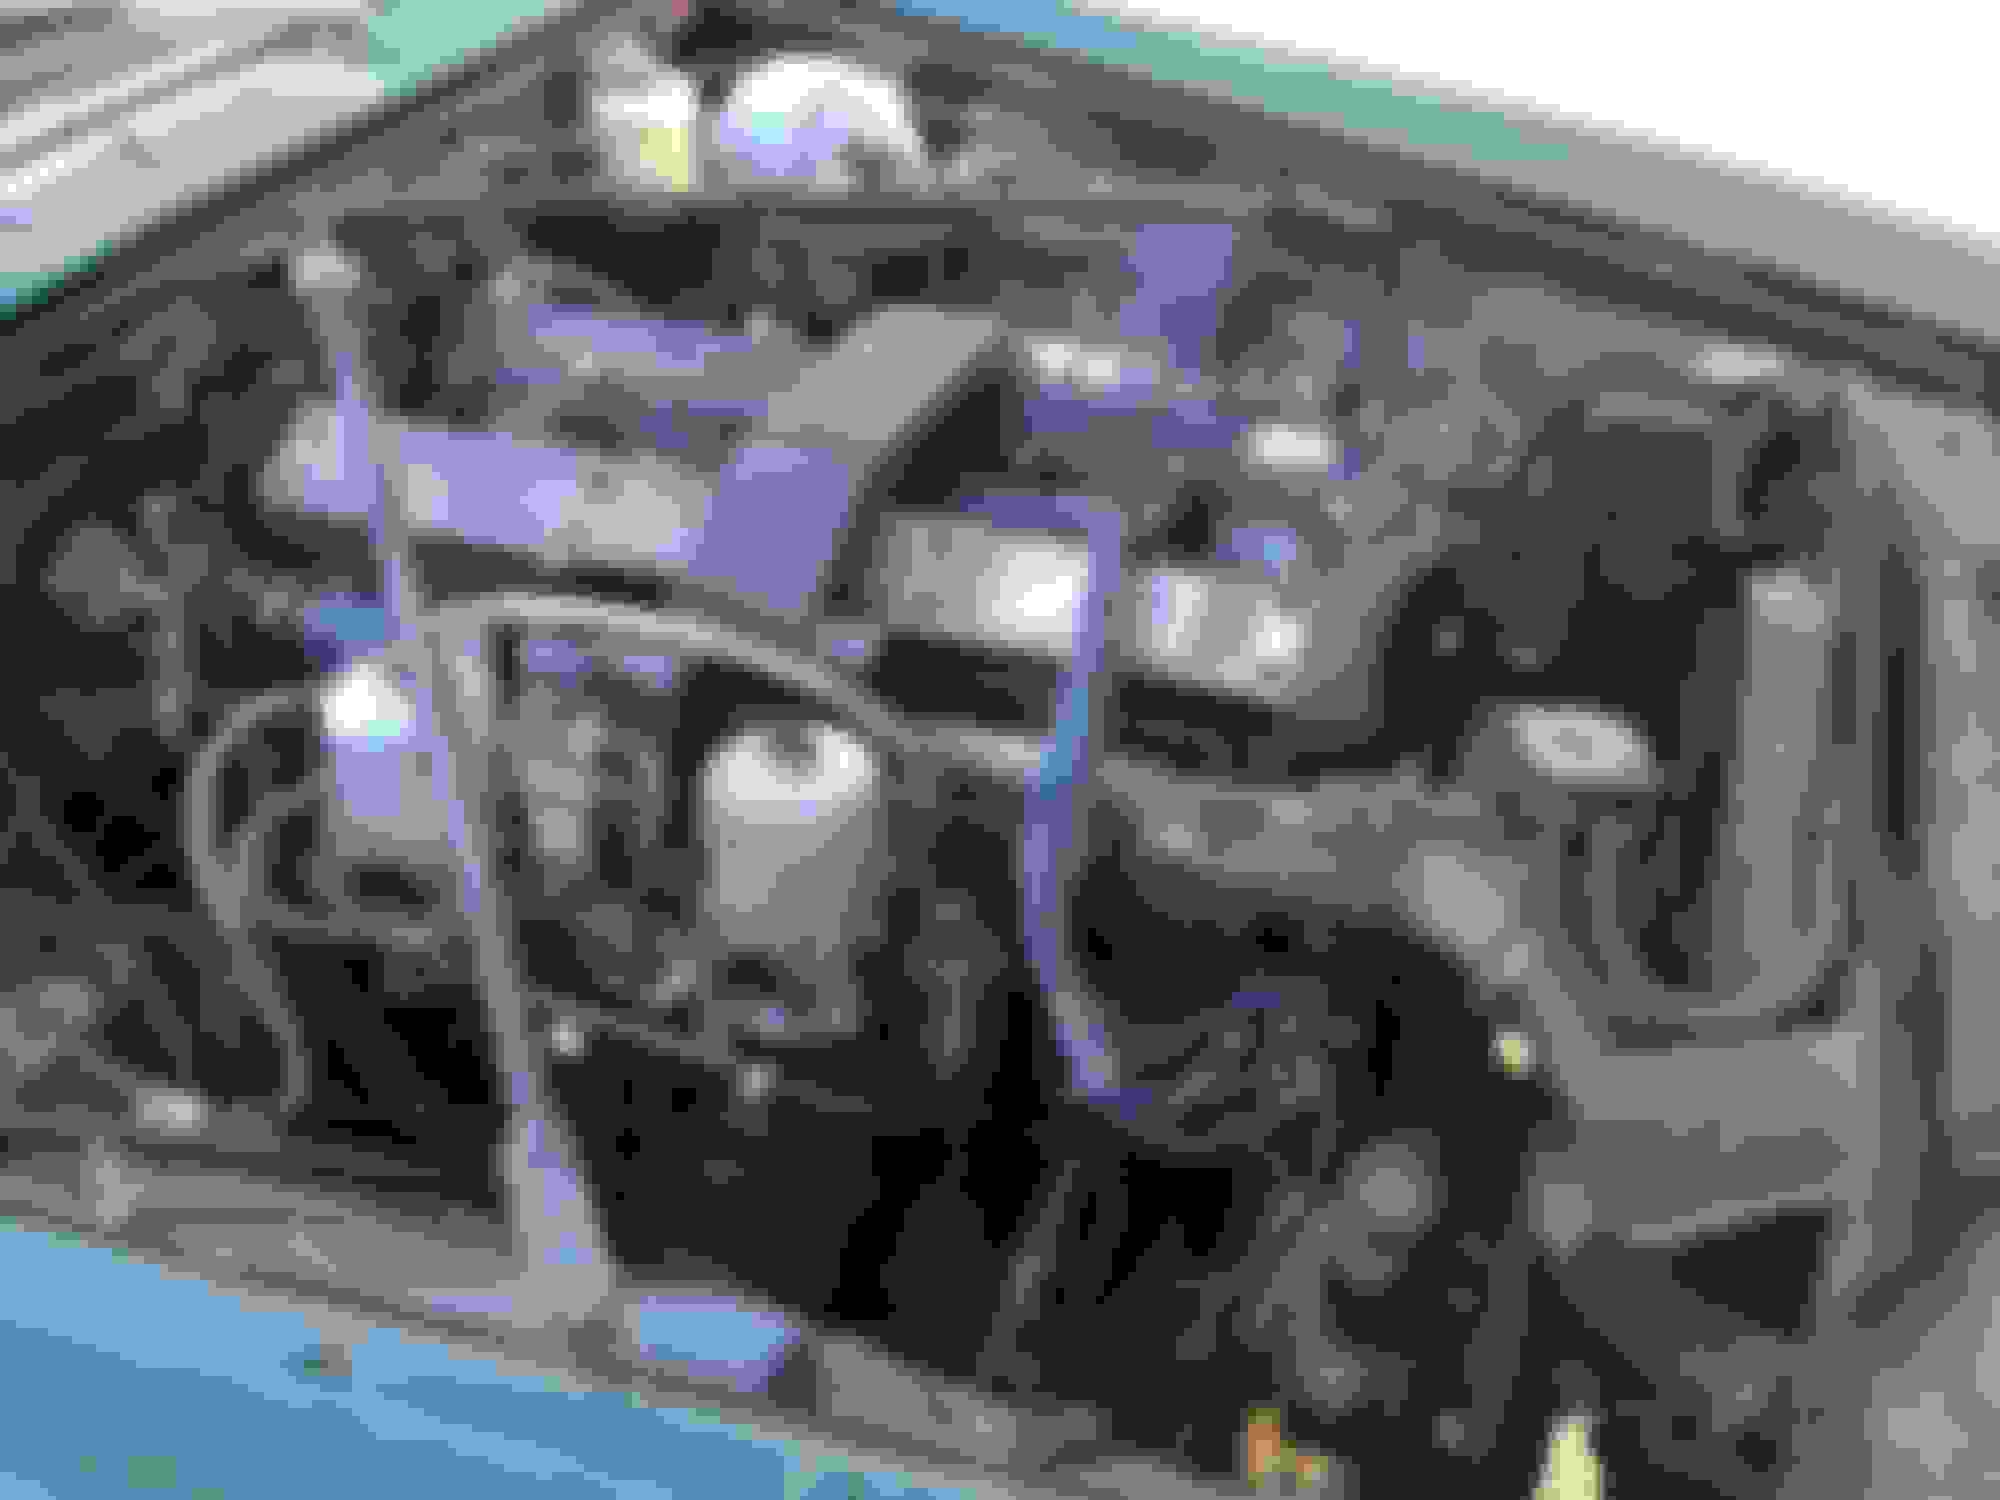
All of the cylinders in all their glory.
A closer look at the cylinders and pistons.
At first glance, it seemed that the engine itself, although not running, was in a fairly good condition. The odometer reads 64000 and given the state of engine components I would guess it has done 164000, unless it has been well looked after and it's 264000km.
There was no lip on cylinders and the surface wasn't scratched, covered with rust etc. Admittedly, pistons were covered with carbon deposits but after a good steam clean they were like new.
The shell bearings didn't seem very worn but some of them had minor scratches and showed a bit of discoloration. I planned to change them anyway so ordered a whole set.
The crankshaft looked good and wasn't scratched, I also measured it with a gauge and it kept all the original dimensions.
As for the cylinder head a good, old-school valve test with kerosene showed that they were airtight. I changed valve seals, and and measured if it was straight.
After all essential mechanical work there was just the esthetical part left.
Before
After
Before
After
Before
After
I also did a full service of carbs, which looked as if someone had refurbished them not long ago, I couldn't say the same about A.E.D though ( changed diaphragm, main valve with its seal and all the other seals)
I did upgrade the ignition system with a PowerSpark magnetic type, which from my experience with other cars, not only make life easier eliminating adjusting the contact point gap once in a while, but also makes the spark stronger ( or at least that's what the manufacturer says ) It's a pretty straightforward job, although the waterproof cover needs a bit of changes. I will post a picture of this later.
[QUOTE=JagCad;1206370]
And, do I see boards on the floor covering an antique grease pit!!!!
You sure have a good eye for details Carl At that time i was temporarily working in an old garage which used to be a some kind of a service station, so it is in fact a grease pit.
Gearbox:
A clean oil on the dipstick made me optimistic. The joy didn't last long bacause as soon as I dropped the oil pan I noticed a metal element on the bottom of it. I haven't had much experience with auto transmission before so I spent a while trying to figure out what it was. A full diagram made me realize that it was a braking band strut. What initially was suppose to be a minor overhaul turned into a full disassembly.
Below you can see what I found inside
one end of the band has cracked and was lying loose inside the gearbox
A rather cheap fix but labour intensive. Having all of the components on the bench I changed clutch plates and seals to be sure I won't have to remove the gearbox again.
I cleaned valve body and changed the seals.
Btw. to all of those who attempt diassembling valve body : make sure you are careful during the job not to lose any of the ***** that serve as valves which are inside. I accidentally dropped them on the floor and it took me forever to find them, not to mention the time I spent trying to determine their original position.
Thanks, I will visit my eye doc later this month. I never do well with their machines.
Yet, as far as I am concerned, I see very well. Even if I am 85!
Oh, oh, the trans is what parked this car, huh. If it slips, fix it or don't drive it, lesson!!
That will be a very nce car when you are done. Kudos.
This is beautiful. That engine looks better then the crate 350sbc I just bought for my 72. Wonderful work. I think the original designers would kill to have one it that fantastic condition.


 All covered in grease and dirt which thankfully prevented major rust.