When you click on links to various merchants on this site and make a purchase, this can result in this site earning a commission. Affiliate programs and affiliations include, but are not limited to, the eBay Partner Network.
So, after procrastinating a bit, I've finally decide to commence the 3 Ds (Do it once, Do it all, Do it right) on my pre-HE! I'm not quite sure how far I'm going to go but as a minimum it will be:
- all coolant hose
- all fuel injections hoses
- injectors cleaned
- replacement injection loom
- replace yellow fan and viscous unit (a touch noisy anyway)
- radiator flush (possibly a recore)
- thermostats
- inlet manifold gaskets (I'll use x300 ones and cut to fit)
- oil pressure sender units
- possibly cam cover and D-seals (apparently changed 10k miles ago?)
With the car on the ramp, I took a deep breath, removed the rad bleed screw and inserted a thin tube. I then tried to syphon out the rad. As the tube had to be very thin, it was laborious and I only get about 2 pints out before I was getting frustrated. So, I put a bigger tube down the header tank and syphoned from there. Pretty quickly, I had two washing-up bowls of very clean coolant drained out.
At that point, I stared at the sheer complexity of engine bay and decided to come home and have a think.
No doubt, the first of many questions:
As I'm stripping the coolant & hoses, rad and fuel injection stuff, is there an optimal order to start tripping it down? I'm assuming that I've still got coolant in various places, so I'm thinking of the best order to strip the hoses to minimise the amount of remaining coolant that will come out (Note to self - Why didn't I set the heater to max before I started?) I'm also thinking whether it's easier to strip the fuel stuff first before starting on the coolant stuff?
Paul
That engine bay looks wonderful. Are you sure all the hoses are old? The ones I can see look fine. Is the loom brittle? I know we all say di etc, but that looks like it has been done!
The bay's not too bad but I do want to really improve it. Although it's had plugs, leads, cap, rotor arm, FPR etc all done in last year, and lots of other mechanical history, including apparently cam gaskets and oil sender and seal being done 4 years / 12k miles ago, I can't find anything which shows any of the coolant hoses or fuel elements (apart from filter) being changed. And although many of the hoses are clean (the car has only done 44k) with no leaks, I do quite like the idea of doing the penance of the 3Ds! Also, when I undo any rubber bits such as the air connections etc, I can tell they are all original and a bit swollen. So, I'm going to bite the bullet and do it. It'll also give me a good excuse to clean the valley and the engine generally.
I'll start tomorrow and unless someone suggests otherwise, I might pull the inlet manifolds and fuel rail and pipes first and then do the coolant side when I've got more room to spare. Apart from 24 nuts, is it just a few fuel feed and return pipes, plus the throttle capstan and disconnection of throttle cable before I can pull the whole lot off? Also, would you pull the whole lot with the injectors or take the injectors out separately?
Tks Greg,I'll start tomorrow and unless someone suggests otherwise, I might pull the inlet manifolds and fuel rail and pipes first and then do the coolant side when I've got more room to spare. Apart from 24 nuts, is it just a few fuel feed and return pipes, plus the throttle capstan and disconnection of throttle cable before I can pull the whole lot off? Also, would you pull the whole lot with the injectors or take the injectors out separately?
Paul
For 100% sure remove the induction as a unit. It is just the fuel pipe disconnect, the throttle rods and the cable to disconnect (the capstan is not mechanically connected to the intakes), the servo take off, ant advance/retard pipework from the dizzy, the ECU take off from the balance pipe and the crankcase breather pipe from the manifold (all this on an HE at least, your car may be different. Also the aircon/fuel cooler needs disconnecting. Removing the airbox outer that is clipped on makes things easier too. Be very careful to not let the ECU pipe drop down the gap onto the gearbox (string it before undoing it and tie it to the wipers somewhere) as it is impossible to get at it engine in car!
Once this is off the whole deal becomes miles easier. the half moon seals, dizzy access, cam cover gaskets etc etc are dead easy.
You may not want to do this, but I have an idea that on this model the FPR is sited at the back, bottom, of the capstan tower and is inaccessible if the induction is in place. If so you might think about re-siting it as Jaguar did - eventually - on the HE to the front of B bank. I have actually seen an original HE with the FPR on the capstan tower! In any event you will have to undo fuel unions on the FPR to get the induction off. And I would for absolute sure renew the FPR, even if you do not move it. I feel, as it is OEM, the site is the worst possible place for it!
Attached a photo of my HE induction off as a unit. Good luck with the car.
here is the photo of the very early HE FPR arrangement, apologies if your model does not have it sited here.
Paul
i have just been enlightened by the WOz about the FPRs. It seems you have two, one for each bank, and they are adjustable, and on your second pic they are visible in between 3 and 4 intake runner each side. And you have to adjust then individually apparently! So good luck doing that...
I would NOT remove the Intakes and Injectors/Rails etc as one, the risk of damage to those round tube rails is too high in MY opinion.
I would remove the rails ONLY, and store them safely.
Then remove the Inlets, side for side.
The Injectors can be pulled from the Inlets on the bench, so new seals can be fitted.
Adjusting the 2 FPR's is SIMPLE.
I have a PDF somewhere, I think, and if not , I will write one for you in the next few days. You wont need it until its all back together. I wont forget, Greg will throw a brick on my roof in a day or 2, just in case.
The PreHE is superior to the HE cooling system. When you drain it, and bottom hose off, and let it go is the best, that steel header tank will drain at the same time. The HE does not.
DO NOT worry about that heater tap, your Jag is simply NOT that good at holding vacuam, so when the vacuam drops that heater tap defaults to HOT, (Open) so all sweet. Just look at the tap, and ensure the arm is in the DOWN position, it not, remove that small hose, just in case your Jag is "special", or use a screwdriver to FORCE that arm down, and then replace the heater tap, simple again.
48 beers for starters, many more to came.
Have fun.
Last edited by Grant Francis; Feb 11, 2020 at 04:12 AM.
Reason: spelling still sucks
Thank you so much for your input. Really appreciated but probably lots more questions to come!
I'm looking at my photos of the engine and now debating which hoses to undo and which hoses to cut to remove the rail separately? As regards the injectors, if the top hose clamps are undone, will the rail pull off or shall I just carefully cut halfway along each injector hose?
I understand why it may be preferable to remove the rail and inlets separately. It's just a shame as I do like the look of Greg's whole assembly coming off in a couple of hours!
If I could only find my remote DVD drive, I could fire up my workshop manual and get some clues!
Still not sure why I can't syphon any more out of the LH side of the radiator. Otherwise I can see it causing a lot of mess when I remove / cut that lower hose. It's really awkward to get to under there.
I just MIGHT go down the storage unit and start this afternoon!
OK, LH radiator tank has a baffle part way down, so remove the Banjo bolt on the RH side, that tank is unbaffled, just the trans heat exchanger to fiddle past, and your hose will reach the bottom.
These PreHE hold about 25ltrs, so I reckon some mess is in your future regardless.
Slice through the Injector hoses at the 1/2 way point. Removing the hoses on the bench has waaaay less risk of damaging those spigots than fiddling in situ.
Paul
I expect you know this already, but when you undo the 24 manifold nuts, have a magnet on a stick with you (or even better in close proximity to your socket), as dropping some of the nuts and washers is inevitable. This is even more likely when re-assembling! Also, immediately the manifolds are off, stuff rag or garage paper into the head intake ports, and get the rags etc ready beforehand.
BEFORE, and I mean BEFORE you lift those Inlets, ensure ALL items, such as trays of sockets, nuts, washers, clips, beer bottle tops, are removed from the engine bay and placed at least 3 metres away. Those exposed 12 holes will draw any stray metal item in a heart beat.
Then LOOK AGAIN. Once something falls down those holes, its engine out, heads off, and way too many beers later, will it be fixed, OH, and the bank balance will take a serious hit.
I have done this task many., many times, and I always ensure any stray humans are out of the garage, I want NO interruptions with this task. Once caught, 3 times shy.
ALSO
You will NOT have an ECU vac take off on the balance pipe, That is taken from a hose between the inlets, dead centre, and a T with that 3rd hose to the MAF sensor on the rad support panel.
So, after a relatively unproductive afternoon, I managed to syphon another 6 pints of coolant out of the rad by taking Grant's suggestion and removing the banjo bolt and inserting a pipe down the unbaffled right hand tank of the rad.
I then removed a few of the nuts from the rad top panel to disconnect the receiver drier, but got slightly confused by two other brackets which seem to link the rad to the top panel to the rad itself. That needs more investigation.
After depressurising the fuel system by popping the inertia switch and turning over the engine (for the life of me, I couldn't find the fuel pump relay in the right hand side of the boot. Anyone know definitively where it is on a 1979 pre-HE?) I then stared at the morass of fuel pipe connections and tried to work out the best way of disconnecting them to follow Grant's suggestion of removing the fuel rail prior to the inlet manifolds. I'm trying to avoid just cutting the pipes as some are clearly new and I'd like to remove all the fuel system intact if possible until I decide what's going to be replaced.
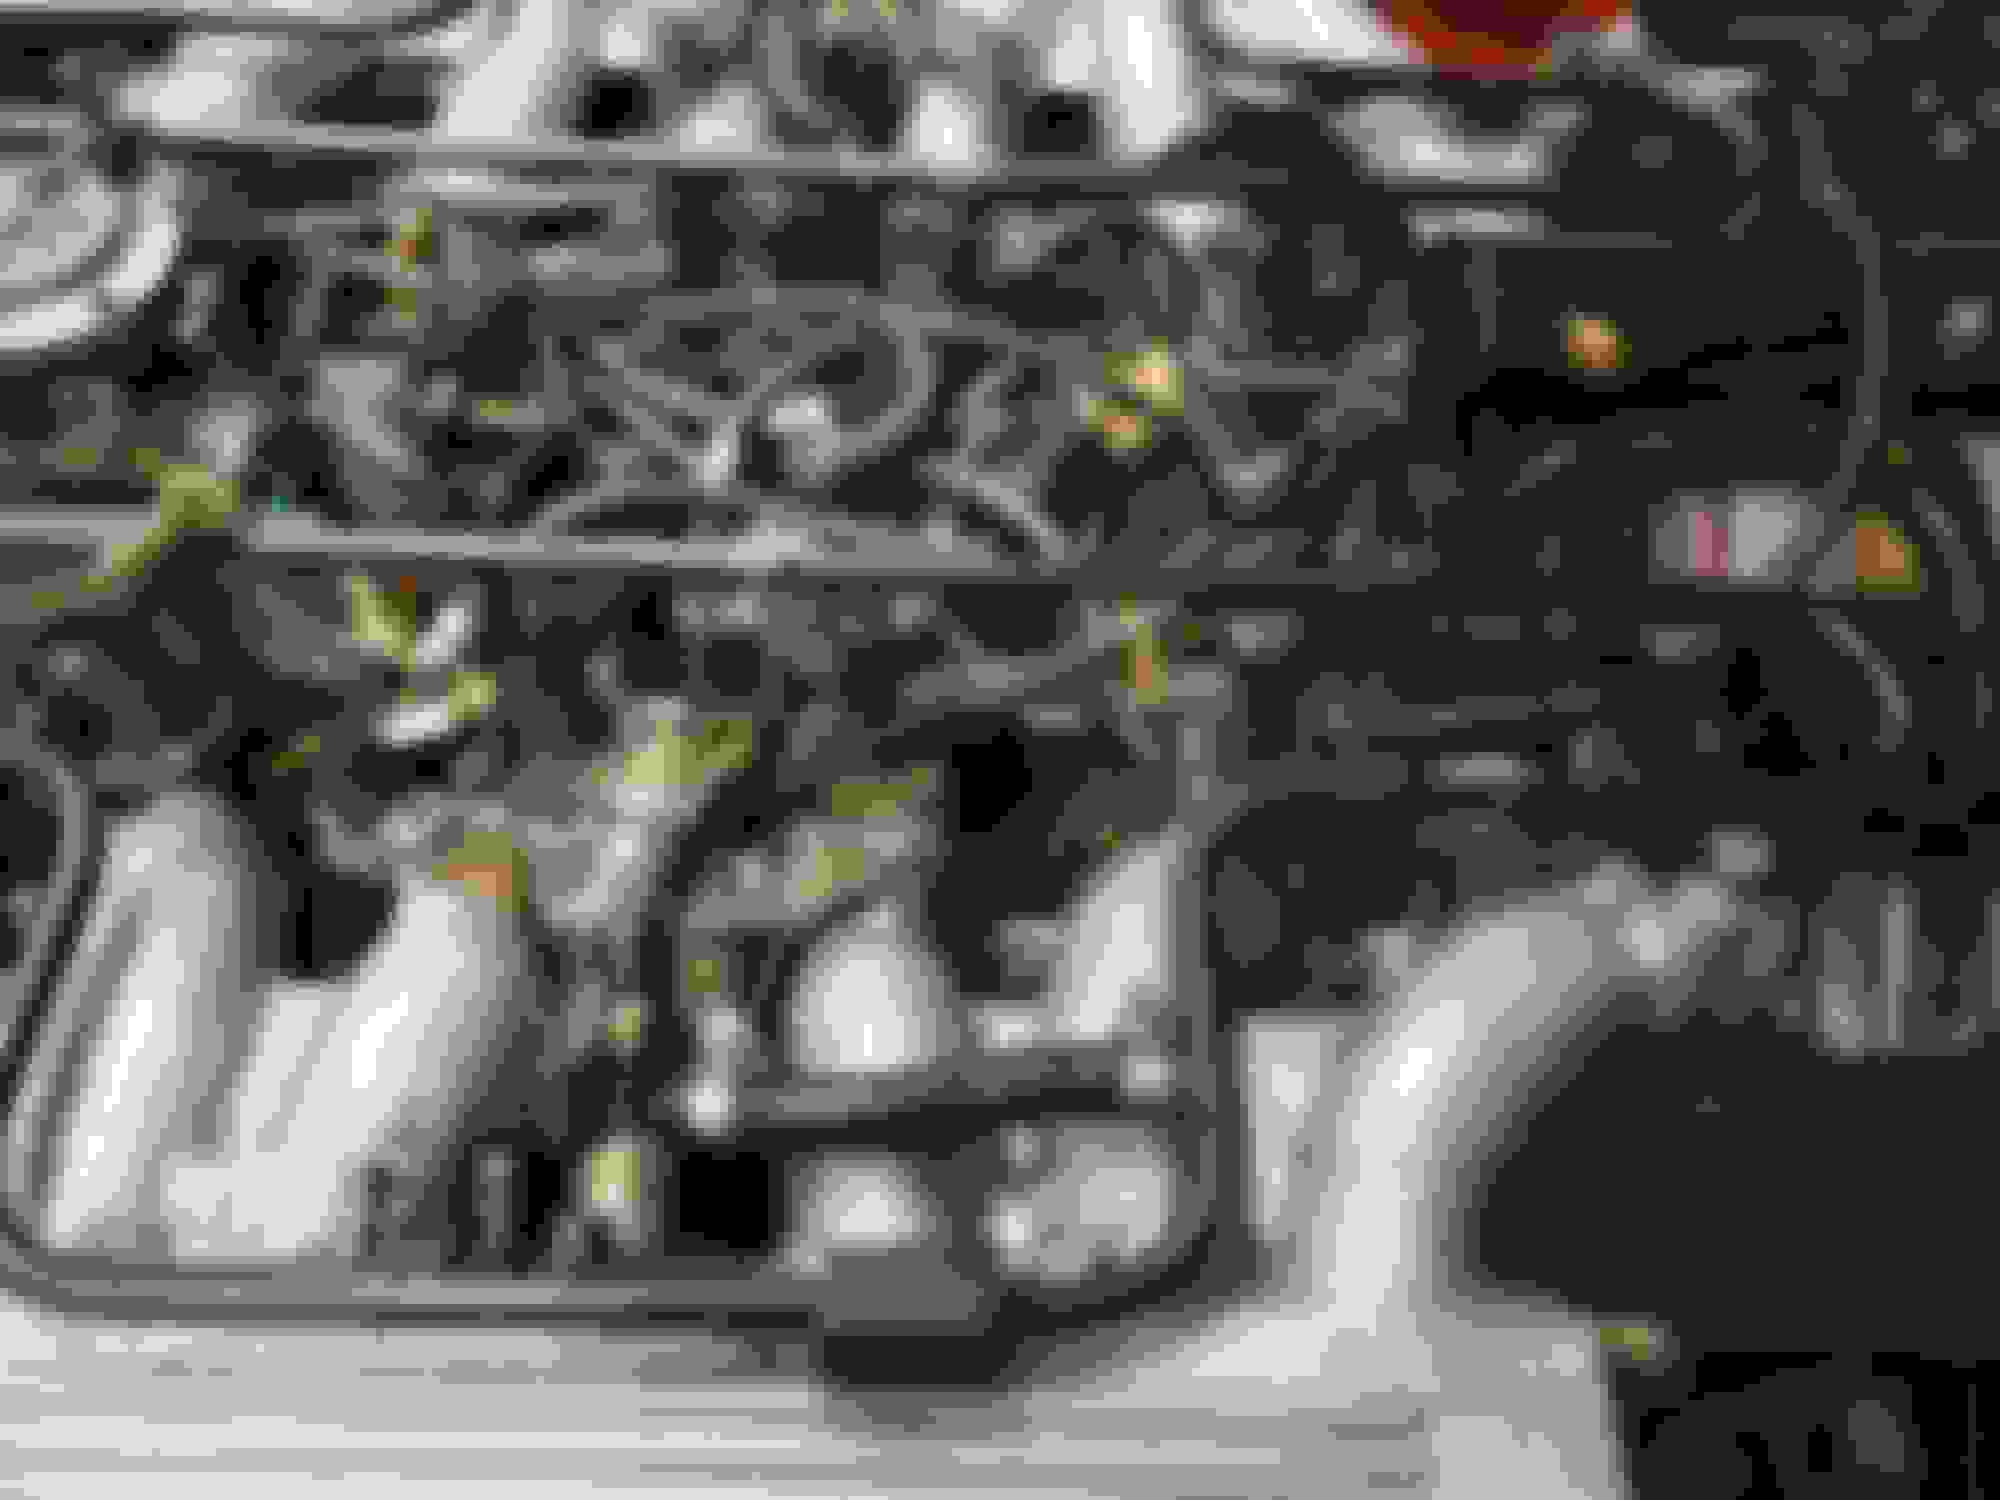
Based on the pic below, has anyone got any suggestions as to whether its easier to disconnect the feed pipe to the FPRs at the forward lower end of the inlet manifolds and then to remove the FPRs with the fuel rail? Or is there a better way? I also still haven't decided whether I should lift all the injectors with the rail or undo all the clips and remove the rails and leaving short pipes and injectors in to be later removed with the manifolds?
The second question concerns the throttle attachments. Is it easier to just disconnect the cable, then disconnect the rods at the outer end, leaving them connected at the capstan and just turn them to face the windscreen, which would seem to give sufficient clearance to remove rail and subsequently manifolds?
And just to finish for tonight, why do I have a plugged vacuum elbow attachment on the balance pipe as shown below? Has a PO modified something? What is normally connected here on a 1979 pre-HE?
Far be it for me to discourage you but I would seriously consider leaving well alone, unless there is something 'shouting and screaming' for it to be replaced, as my big worry is what 'might' happen in the case of trying to undo a bolt from an Alloy Block, that may not have been turned by a Spanner in over 40 Years!
Just suppose a Bolt snapped off or it stripped the thread, then you could suddenly find yourself in a 'Nightmare Situation' from which there is no escape
Those Injector Hoses look pretty fresh to me and I only pulled all my Injectors out, not because I wanted to but because I had to and pulled the whole rail out of the Car with the Injectors attached, which I wouldn't do in your case as if those Tubes get damaged its game over!
Much better to do it the way 'Grant' said and cut the Rubber Pipes between the Rail and the Injector, Crossways not Downways, as if you cut a groove in those Tubes you'll never stop it leaking and those Injectors could well be harder than teeth to pull out
As for the Throttle Linkage Rods, they just snap on and off, with Spring Loaded Ball Bearings, just don't get them mixed up, when you are putting them back
It's your Car and its up to you but if it were me then I would say, 'if it ain't broke don't fix it'
As if 'The Jaguar God's' are not on your side things may not go back the same, especially when dealing with an Alloy Engine
Last edited by orangeblossom; Feb 12, 2020 at 06:28 PM.
The clamps at the rail "should" allow the hoses to be persuaded off the rail spigots. The PreHE only has a swaged "bulge" on the rail spigots, as apposed to the barb arrangement at the Injector.
FPR hose, likewise with the clamp off should be able to be pushed off the rail spigot.
I would remove those crossrods, AFTER you label them A Bank, and B bank. They are handed, as in one (and I forget which one) is LH threaded at the adjuster.
If you decide to cut the hoses off the spigots, GREAT CARE is required. A MINI nick of the spigot area will give you a fuel leak, fact. Fear not, if a spigot is nicked, simple use fine "wet/dry" paper, and remove that nick. This has worked for me hundreds of times.
That balance pipe is simply a HE balance pipe, NO idea why its on you car, The HE used that spigot for the ECU vac supply hose, and as said, yours be different.
I reckon?????? the fuel pump relay is on the radiator top panel, RHG side on the Sedans, never paid attention on the XJS, but I doubt Jaguar changed the wiring until the HE demanded it.
Radiator brackets, oh boy, its been YEARS, but the A/C condensor had some odd top flat brackets tucking under that panel. The radiator is held by pins through rubber bushes, top and bottom.
Take snaps, I reckon you are, and label everything. memory sucks after a few hours.
Paul
Lots of advice here! May I suggest a further variation?
I would unclip the throttle rods both ends and get them out of the way. This is a 30 second job, they are just sprung over a round pop-bead type thing. By the way, to adjust them just loosen the lock nut each end and spin the rod, one end is LHT and one end RHT, like a turnbuckle. Then just turn the capstan and pull out the nipple on the end of the throttle cable from its hole in the capstan.
There is no point at all in fooling about with the injector to rail pipes and wondering f they can stay or go. Just carefully cut the pipes in the middle, well away from the metal each end, and then buy and fit new pipes throughout. Then you can remove the rail on its own, and then remove all the manifold fixings and injector clamps much more easily. I would take Grant's warning about the fragility of the pre-HE injector rails very seriously. All this stuff does not take long once the items are out of the car, and you know, in the end, you will renew all the injector pipes anyway! Just not worth taking any risks with the metal pipes etc.
Ditto the rail to FPR pipes.
Grant knows where the vac signal to the ECU comes from on a pre HE (I think he mentioned it in an earlier post?) but (purely out of interest) that crosspipe is not a normal HE one, which has the vac takeoff on the gearbox side of the pipe. Also it looks too small bore to me, could it be an unused gearbox modulator vac signal takeoff?
Post a snap of the radtop panel and I am sure we can advise about removal, I cannot quite visualise what you mean from your post.
I realise when one starts on a V12 the entire thing looks terrifying to start with, but, as Grant and OB said, take LOTS of snaps, make diagrams, store all the parts for a given sub-system (eg manifold bolts, radiator fixings) in separate plastic ice-cream containers (or similar) with the lids clearly labelled, and all will be well. You will be absolutely amazed how quickly all the new shiny parts go together on the re-assembly, and how confident you will feel after the work has really got your mind round the V12's apparently impemetrable complexities!
I managed to find a few hours today to try and move forward a bit with the car.
But first, I remembered that I had some lovely original owner documentation (including the British Leyland Supercover Booklet!) that came with the car. Knowing that Jaguar used to give quite detailed maintenance information in their basic drivers handbooks, I opened up the pack and found the following chart which implies that the fuel pump relay is indeed somewhere near the radiator top panel on a pre-HE. (There was also a logical diagnosis table for a No-Start or Poor Running situation on a pre-HE. I'll compare it against Grant's helpful thread and see if it would add any value if I post the table in that thread.)
However, when I got down to the car storage unit, I completely forgot to look for the relay, although I know it's definitely not sitting on the rad top panel. Maybe it's hidden in front? I'll look at the weekend.
I'd decided to take Gregs approach and remove the fuel rails separately from the inlet manifolds. So, I took a deep breath and first removed the Air Filter boxes and the Throttle Rods. Then the vacuum pipe between the inlet manifolds. I then decided to remove the main fuel pipe that feeds the fuel rail pipes. With the fuel filter disconnected and drained and the connectors between the fuel pipe and the fuel rails undone, I then removed the pipe. Tick!
Next step was to remove the fuel balance pipe between the 2 Fuel Pressure Regulators. That's a bit more convoluted with connections under the inlet manifolds plus the fuel cooler connection.. But with plenty of rags catching the spilt fuel from the various pipes, I eventually removed it. Tick!
And then hesitation crept in! Do I cut the injector connection pipes as suggested, or lift the rails with the injectors attached, or try and disconnect the connector pipes at the rail and just pull of the rail first? Well, I loosened the top clips on two of the injectors on the A-bank and tried to wiggle the rail from the connecting pipe. It didn't feel as if I could get any movement there, so I retightened the clips and thought about cutting the pipes. And then I got nervous. Not having seen one taken apart before It's really difficult to work out exactly where is the safe place to cut the pipes. Is it exactly in the middle or not? Having heeded all the horror stories of not nicking the fuel rail, in the end I chickened out, packed the tools away and came home to have a beer and seek the collective wisdom of those reading this.
Well, is there any reason why I shouldn't just unbolt all the injector retaining plates (which seem fairly accessible) and lift the rails with all the injectors, or is there a really good reason why I shouldn't do this? If so, can anyone give a precise measurement of where to cut all the connector pipes?
Thank you Boys and Girls. I'll now go and open the first beer!
Undo the 24 injector plate nuts, and lift the assembly out.
Do the separation on the bench.
I suggest refitting the Injectors (much later in time) with the new pigtail hoses, THEN work the rial/s into the hoses, and that will test your patience, BUT, trying to line up the Injectors into the holes when fitted to the rail and not nick the lower seal, will be worse.
I have seen that schematics before, and I am convinced it is for the Sedan, as in XJ12. All mine were laid out exact;y like that, and the XJS cars had the MAP #3, on the RH side, near the RH top hose. I had it wrong before, too many bloody hours with the V12 does that to the brain, as well as lack of beer of course.
There are no factory relays out the front of the radiator support panel.
Paul
Well done on progress so far. Removing and not dropping the tiny nuts on each injector clamping plate is not that easy with all in place, so you must have a magnet on a stick there too. Also, injectors are not always that easy to pull free of the intakes, so great care doing that to ensure the rail is not stressed. Why not try it on one side and see what happens, then if the injectors will not release easily, then cut?
If you decide to cut the injector pipes, to find the right pace use a pair of snipe-nosed pliers to squeeze the pipes in the middle and you can easily feel if there is anything under the pipe or not. Then a nice serrated 4 inch blade kitchen knife works a treat!
By the way, what happened to the radiator problem?