When you click on links to various merchants on this site and make a purchase, this can result in this site earning a commission. Affiliate programs and affiliations include, but are not limited to, the eBay Partner Network.
EBC a very good choice OB. Which ones have you gone for, green, red, ultimax or what?
Greg
Wifes Minivan
drove into our tire place ask how much for front break Job...
79.00 ..they replied and PARTs....
I said I got the parts
79 Labor they said
I showed them the Slotted and drilled rotors and the EBC Pads...
45 minutes later and a $ 79
I then put the EBC sticker on the back of her mini van
( oh I just bought her a 2014 minivan for my birthday so I get the old one now... with the EBC)
they do have Hi temp Brembo sticker that go on you calipers
Last edited by Jonathan-W; Nov 16, 2016 at 09:33 AM.
Wifes Minivan
drove into our tire place ask how much for front break Job...
79.00 ..they replied and PARTs....
I said I got the parts
79 Labor they said
I showed them the Slotted and drilled rotors and the EBC Pads...
45 minutes later and a $ 79
I then put the EBC sticker on the back of her mini van
( oh I just bought her a 2014 minivan for my birthday so I get the old one now... with the EBC)
they do have Hi temp Brembo sticker that go on you calipers
Hi Jonathan
Another one of us sorted, so that's great!
By the way your bespoke Bonnet/Hood Strut supports are working like a dream!
I took the Protective Covering off and the Stainless Steel I made them from looks Amazing, so I did one for the Boot/Trunk on my Grey Car.
These are just what I wanted, as I much prefer this design.
I can understand that. The problem with uprated pads (i.e. the Greenstuff, Yellowstuff or Redstuff) is, that they need certain temperatures to perform right. The black "standard" ones, normal roadgoing pads, will always work BUT in the really rare case of using them really really really hard (like 20x a full emergency stop from 100 mph straight after each other within a few seconds), they tend to fade and wear down REALLY quickly.
The uprated ones are better in that situation, but then, in daily driving, tend to have LESS braking than the standard pads. Greenstuff is JUST ENOUGH for daily driving with the odd "sprint" every so often. Red and Yellow will basically only work well for high speed or track days.
If fitted EBC Turbogroove discs (drilled and slotted) with Greenstuff pads all round. The fronts were great but the rears, because the C30 wouldn't brake as much at the rear compared to the front, were always squealing. So I in the end replaced the rears with some new ATE pads. All worked well then.
Since then, I've decided I'll stay "Plain Jane" well, kind of. Normal pads and discs. As I don't want to "thrash" my XJ-S, I'll leave them standard, maybe good aftermarkt (like Brembo or so) but always keeping standard in my mind.
That is Interesting, I was beginning to think I was in the minority, as someone who prefers the Standard Pads.
The Big advantage with 'Green Stuff' is you know the design of the Pad that you are getting, so that takes away the problem, of ordering something from a generic design and then find that they send you something else.
Indeed. Generic is always a problem. But after buying some pads for my C30 from Volvo with 'Made in India' you some time lose awareness... You never know where your production is made today...
Indeed. Generic is always a problem. But after buying some pads for my C30 from Volvo with 'Made in India' you some time lose awareness... You never know where your production is made today...
Agreed!
My New Radiator Hoses, that I got from a Jaguar Main Dealer were OEM and not made in the UK.
After having to leave my XJS out in the open for a Month while I put on some New Calipers and Brake Pipes.
I covered her over with a Covercraft Breathable Cover (Which I can highly recommend) and then put a Waterproof Cover over the Top of that, as we were having a lot of bad Weather and Rain.
But when I took the Covers off, I could see that the Soft Top was showing signs of Mould! Arrgh!
Fortunately I had a bottle of Jaguar Soft Top Cleaner that came with the Car, which I had never used before, as this Car had never seen rain and as such I have never washed the soft top and neither had the previous owner either.
So I didn't have much choice but do so now.
Those of a Nervous Disposition had better look away Now!
Jaguar Soft Top Cleaner that came with the Car which I have never used before but this Stuff is Amazing!
When mixed with Water it bubbles up like a Soufle (whatever that is?)
So I got a very Soft Household Brush and spread it all over the Soft Top while it was Raining!
Which was perfect timing as the Rain then Rinsed it off!
This Jaguar Car Cleaner seems to Whip up into a very Stiff Foam
Cleaning the Soft Top in the Rain with Jaguar Soft Top Cleaner, which is Amazing!
I let the Rain wash the Foam Off and then the following day it looked like This!
Still not dried out from the Rain of the previous day and all those little white specs are from the Car Cover which have since all blown away.
Wow, now that is a lesson.
I cover mine with a Cover craft interior cover... with the to down... (why... ?cats!)
and Harbor freight moving blankets with it up... and just let it rain on the moving blankets... (why...? cats!) (less use of the lint roller that way)
the odd thing about them is that the outside gets soaked.... and the rain runs off... lift it up and the under side is dry... next to your top
I can, after the rain is done, remove the wet blanket(s) carefully folding them as to not drip water on the top and the top underneath the blanket(s) is DRY... and I can fold it down right away... saves time on waiting to lower you convertible top after a shower... I do have to take the blankets and unfold them in the back yard to hang out to DRY though... ( or they will mold)(or spoil.. you know the smell of a wet towel someone wadded up, yuck )
I guess the trick is it has to be breathable or it molds...
that water proof cover trapped the air and moisture and that was when it could prosper...(the mold)
I have some water proof tarps and I will now use them very sparingly
Last edited by Jonathan-W; Nov 17, 2016 at 09:26 AM.
But this is nothing like anything I've ever used before, this is a quality piece of kit and had it not been raining as it is doing right now, would have had the consistency of something like Shaving Foam.
And the Result was just Amazing!
Where in the World are you now Bro, are you back home with 'The Goose'?
Exactly the same as me then, got lots of Stray Cats in the Garden and they even get into the Garage, as they love to sit on the Car so a Car Cover is essential.
But 'Cherry Blossom' has sat outside for 16 years in all Weathers and not a trace of rust, thanks to that Breathable Covercraft Cover that I Covered her with.
But this is nothing like anything I've ever used before, this is a quality piece of kit and had it not been raining as it is doing right now, would have had the consistency of something like Shaving Foam.
And the Result was just Amazing!
Where in the World are you now Bro, are you back home with 'The Goose'?
Nah home this coming Tuesday mate, still offshore
First beer then female affection then back to the Blue Goose
Bleeding Teves Brakes on a Pre-Facelift XJS V12 Part One
First a great Big Shout Out to PTJS (Paul) who Showed me how to do this a couple of years ago, on my Pre-Facelift XJS V12.
If the Reservoir ever runs out of Brake Fluid then you have to Bleed the Low Pressure Side of the System, before you even get around to Bleeding the Calipers.
Should you decide to omit this Step then there is every chance that you will never managed to Bleed all of the Air out of the System and get that all important 'Hard Pedal' you are after.
The Teves Master Cylinder/Actuator
As Fitted to my 1989 and 1990 XJS V12's
No matter how many times you have done this before, what you are about to do is 'Hardcore' and will not only Tear Your Nerves to Shreds, Faster than putting Carrots through a 'Blender'
But get this Wrong and you will Cry more Tears than a Father at His Daughter's Wedding, even if he cannot wait to see the back of her! (you have been warned!)
So if You're an Adrenaline Junkie, forget about 'Bungee Jumping' and do this instead.
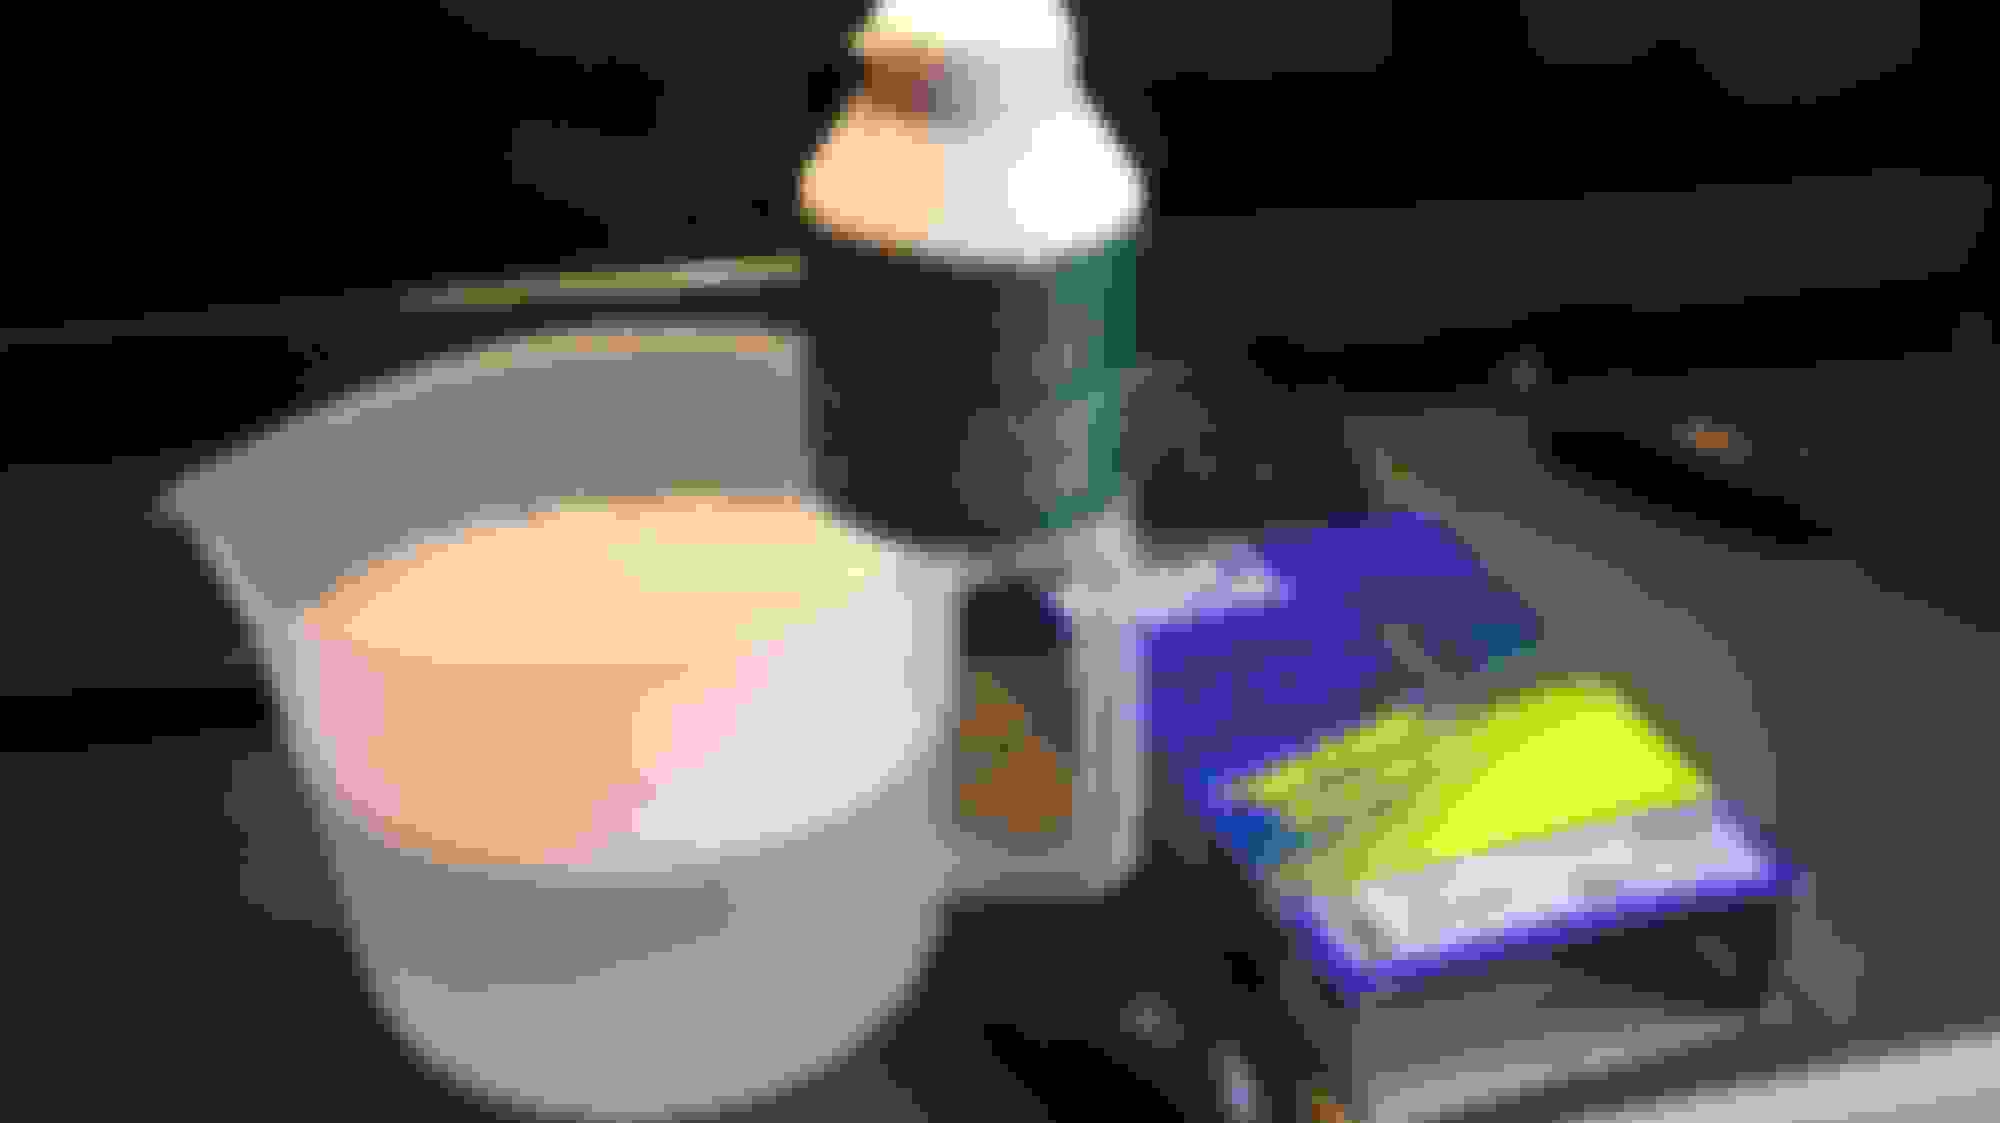
After you've opened the Bonnet/Hood put a Stack on Cushions or Similar on top of the Engine somewhere near the Front, because if the Bonnet/Hood should Accidentally fall it could knock a Jug of Brake Fluid right out of your hand and all over your Car.
Which will instantly Strip your Paintwork in a Heartbeat.
Do NOT let Brake Fluid anywhere near the Paintwork.
Cover the Wings/Fenders and every piece of exposed Bodywork in Old Towels or Blankets and have a Bucket of Water Standing by to Sluice down any Spills.
Especially Cover all the Bodywork right in Front of the Windscreen/Windshield and better Not to wear gloves, as if you get Brake Fluid on your Hands you want to know about it before your Car's Bodywork does.
Then get some Spray Grease of Spray Oil or some WD40 and Spray this all over the Inner Wing/Fender around the Area of the Brake Pump Actuator, all the way down to the bottom of the Car.
Because this is going to make a mess with Brake Fluid Flowing everywhere in that Area, even if The Reservoir looks Empty.
Then get yourself a Sheet of Tin Foil (The Heavier the Better) and make yourself a Water slide, like the ones they have at Disney Land, although on a 'Slightly Smaller Scale'
Which runs from the Brake Pump and Exits underneath the Car into a Container for later disposal.
The Photo while give you and idea of how it should go.
That was not the Scary bit but the Next Bit is!
Do NOT Start the Engine
Do NOT Even Turn the Ignition on.
Do NOT Even think about it or let it cross your mind!
First of all de-pressurise the System with 20 Pumps on the Brake Pedal (Ignition OFF!)
IMPORTANT! That SHOULD De-Pressurise the System BUT YOU CAN NEVER BE SURE!
So Proceed with Extreme Caution!
And if possible do what you are going to do with a Big Piece of Rag or a Towel Over the Top of Your Hands while you work underneath it.
Because Brake Fluid Could come Squirting out like a Water Pistol and catch you unawares.
Those were just precautions. Now comes the 'Real Deal' so first take a look at the Photo Below.
This is the Inlet of the Low Pressure Side of The Brake Pump that's the one with the Accumulator 'Black Ball'
That little Spring Clip held in Place with a dab of Red 'Loctite' needs to be pulled out (easy!) but don't lose it!
Now Take a Good Look at that Braided Hose ESPECIALLY THAT FITTING ON THE END.
This is a Right Angled Elbow going into the Low Pressure Side of The Brake Pump.
Its held in Place by that little Spring Pin that you just pulled out and also by an 'O' Ring on the End of that Elbow that goes into the Pump.
Now the Real Fun Starts! Because that Elbow that's held in place by an 'O' Ring has to be Pulled right out of the Brake Pump.
But of course its NOT quite that Simple!
Because if its been in Place for 26 Years, it won't even move! let alone want to come out.
And in Case I forget to Mention it, It is made from PLASTIC which will have become BRITTLE after all that time.
So in the Name of 'All That's Holy', Whatever you do DON'T BREAK IT!
One or two members on here have gone and done that.
Just Hold the Braided Hose gently while minutely trying to rock it up and down, while at the same time Blasting that Fitting with WD or Penetrating Oil.
Then move the fitting up and down a little bit more each time but don't put any strain on it, or that Elbow will break (so take your time and be careful)
IF/When you manage to free it off, so that you can rock that Braided Hose and Fitting Up and Down to about 10 Minutes on the Clock Face. You're Nerves may already be Shredded in an effort not to snap it off.
But you are Still on the Nursery Slopes, as it has got to Come out of that Pump and not only will it not want to but behind it is more Brake Fluid than you will ever want to see running Free inside the Engine Compartment of your Car.
Hence the need for the Channel that you made from Tin Foil.
I've lost count of the number of Times that I've PM'd Paul (PTJS) to tell him that this Fitting won't come out.
Or the Number of Times that Paul has insisted it will.
So You have to very gently Rock it up and Down, while at the same time trying to twist and Pull it out.
Its that kind of little Nightmare Job, that turns your legs to jelly and your nerves to shreds, in case you break it.
If you can sense its about to come out then if you haven't already done so cover the whole Pump including your hands with a Cloth, just in case of any Residual Pressure, which as I may have mentioned. Can have Brake Fluid Squirting Out (Though hopefully not)
If you have filled the Reservoir then as soon as you pull the 'Plastic Elbow' out of the Brake Pump, Brake Fluid will come pouring out under Gravity.
But if you haven't done that, then put your finger over the Pipe while someone else fills it up for you.
Then let the Brake Fluid Start to Flow into the Tin Foil Channel until you have a Stream with no Air Bubbles from the Reservoir to the Plastic Elbow,
Then with the Brake Fluid still pouring out, put the Plastic Fitting back into the Pump to Stop the Flow.
Which may be just as hard to do as it was to pull it out, as it has to be pushed in really tight in order to get the Pin Back.
And then as soon as you've done that, chase the Brake Fluid out of the Tin Foil Channel with Loads of Soapy Water but just in that Area not over anything else and then Scrunch up the Tin Foil Channel and push it out underneath the Car
Together with any other Rags that you packed around, that by now may be soaked with Brake Fluid.
Then get a Sponge and Soapy Water and Wash away every single trace of Brake Fluid that you can find, or it will Strip the Paint off.
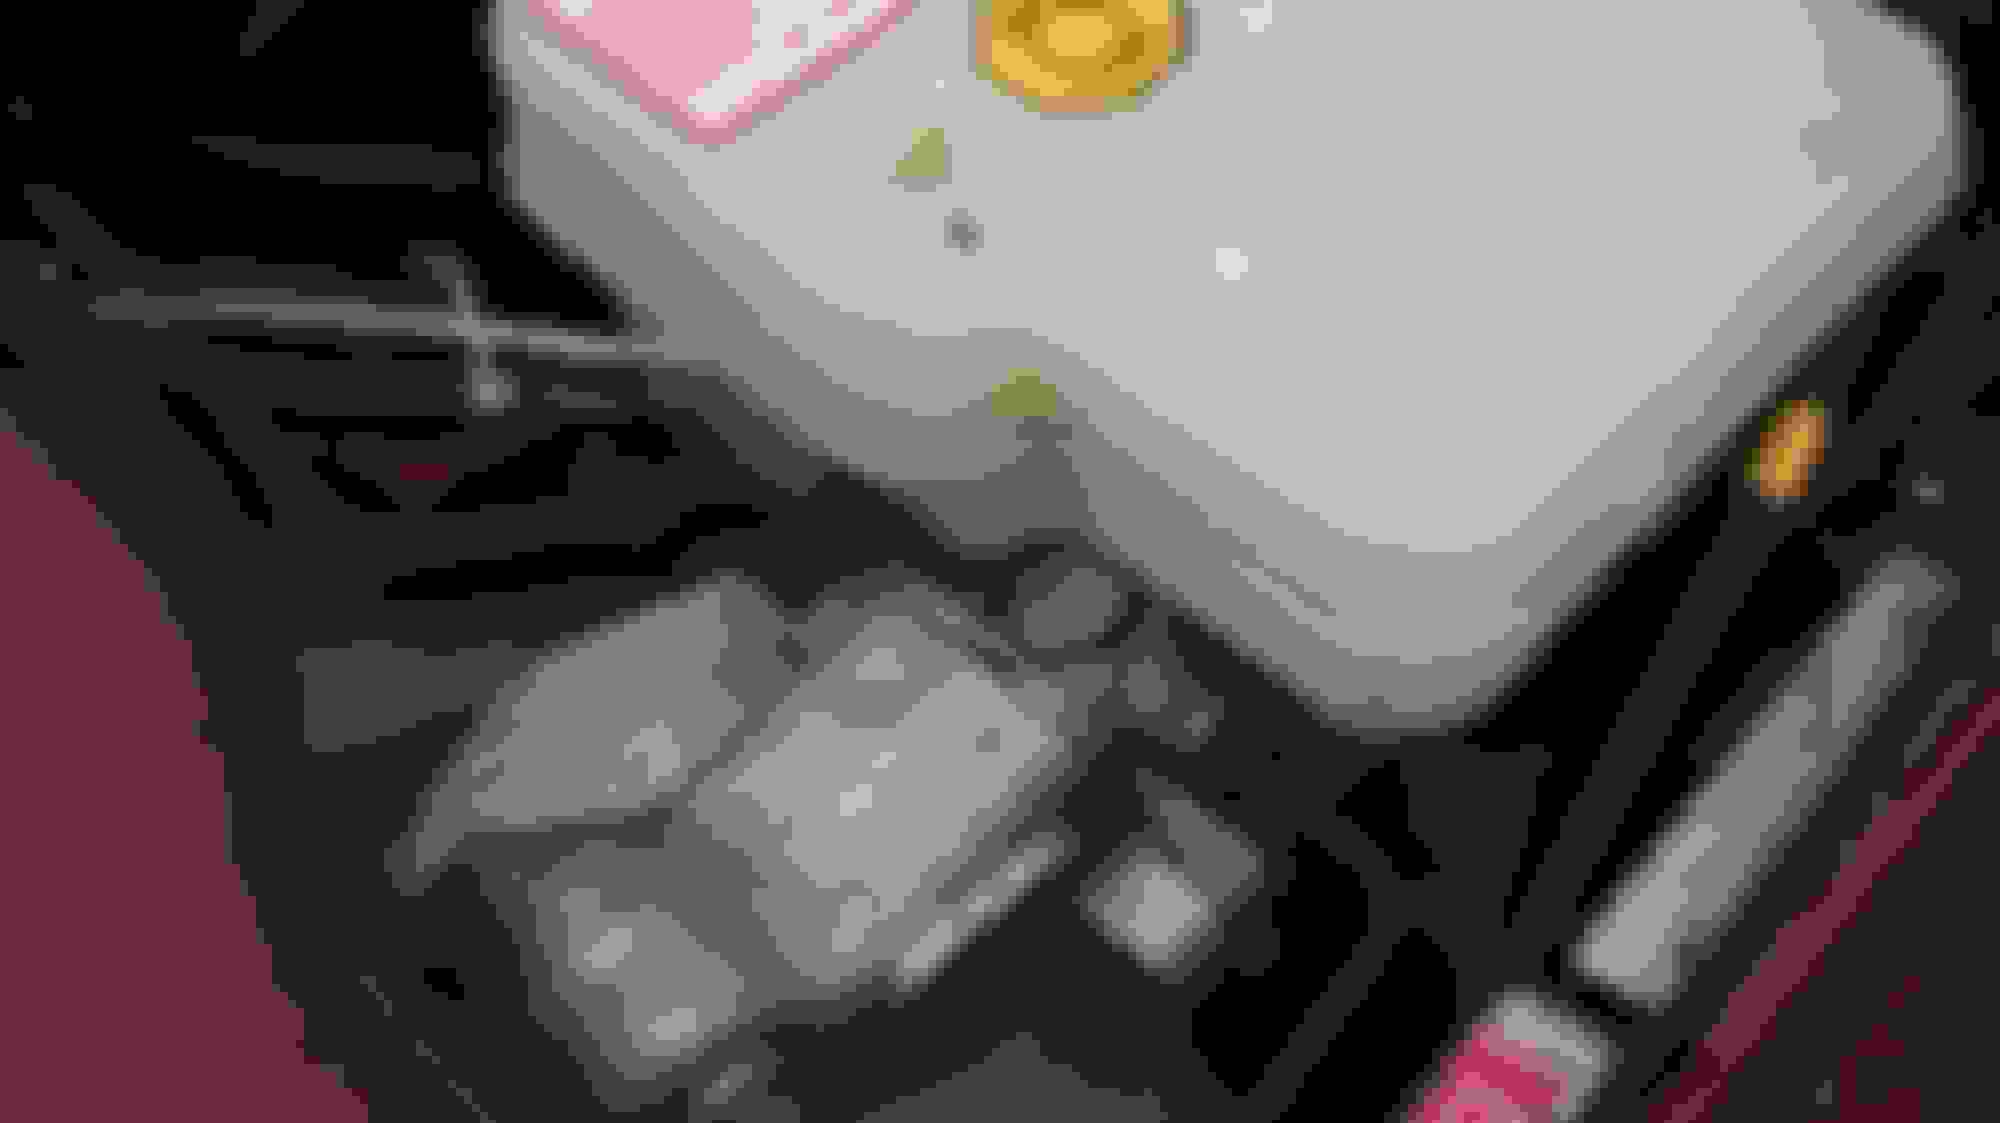
The Brake Accumulator and Pump
Pack Rag all around it as its going to make a mess.
With the Tin Foil Channel in Place, Gently Rock the Braided Pipe while Pulling the Plastic Elbow out of the Pump.
Its going to make a bit of a mess with Brake Fluid going everywhere.
Just above that Green Paint you can see the Plastic Elbow with its Hard to Pull Out 'O' Ring
Wash any Splashes of Brake Fluid Off Immediately Afterwards, or it will Strip the Paint!
Cover Everything with Towels
You cannot be too Careful, as this is a little job that can make a very Big Mess!
Note: The Boulster in Case the Bonnet/Hood Falls down, while you are Topping up the Reservoir with Brake Fluid.
Spilled Brake Fluid can Strip Off Paint in an Instant so be very Careful.
That is all there is to it!
Hopefully you won't have to do it often, so now you deserve a Big Drink, if only your hands can stop shaking enough to hold the glass.
This is only to Bleed the Pump, Bleeding the Brakes comes later!
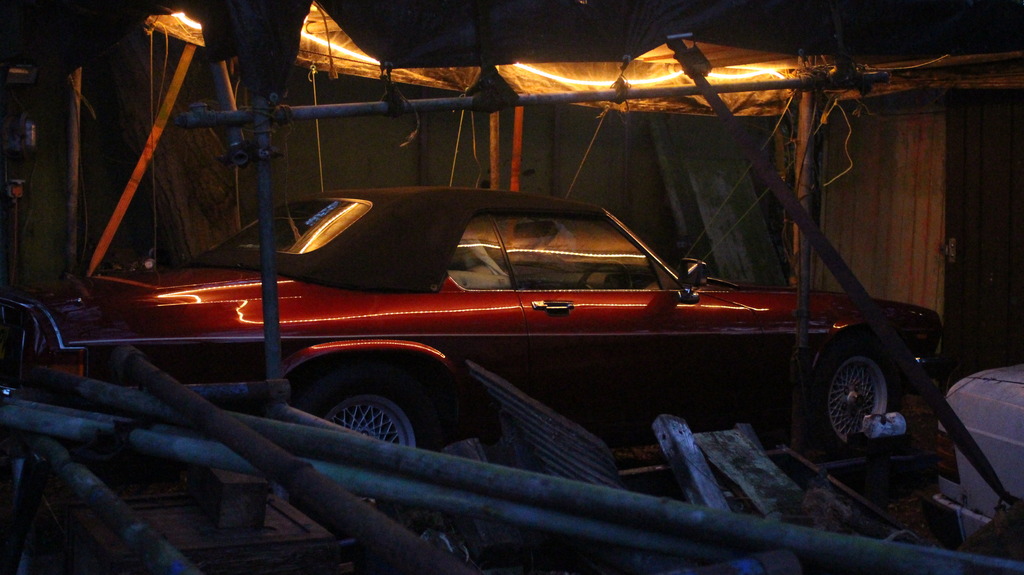
With Winter fast approaching, I wanted to get 'Cherry' back on the ramp undercover until Spring.
But even in the depths of Winter there are always times when you can do stuff, like fitting the New Radios that I bought in the Black Friday Sales.
Bluetooth/Mp3/Hands-free. etc Reduced from �40 to �15
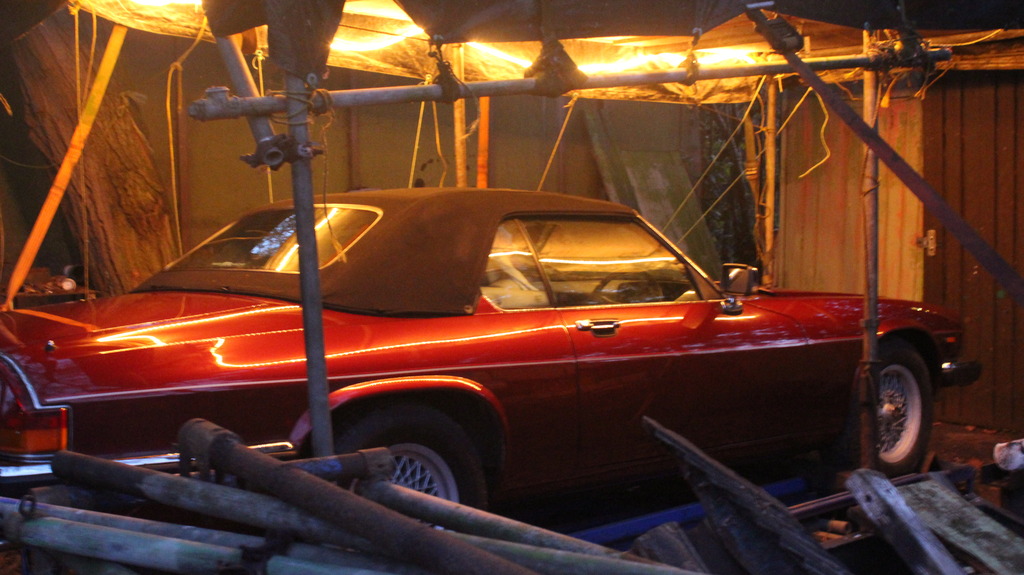
Providing that you can manage to see what you're doing, so I planned to fix up some Fluorescent Lights, underneath the Canopy which is over the Ramp.
Until I came up with an even better idea, as when I went into a Charity Shop/Thrift Shop
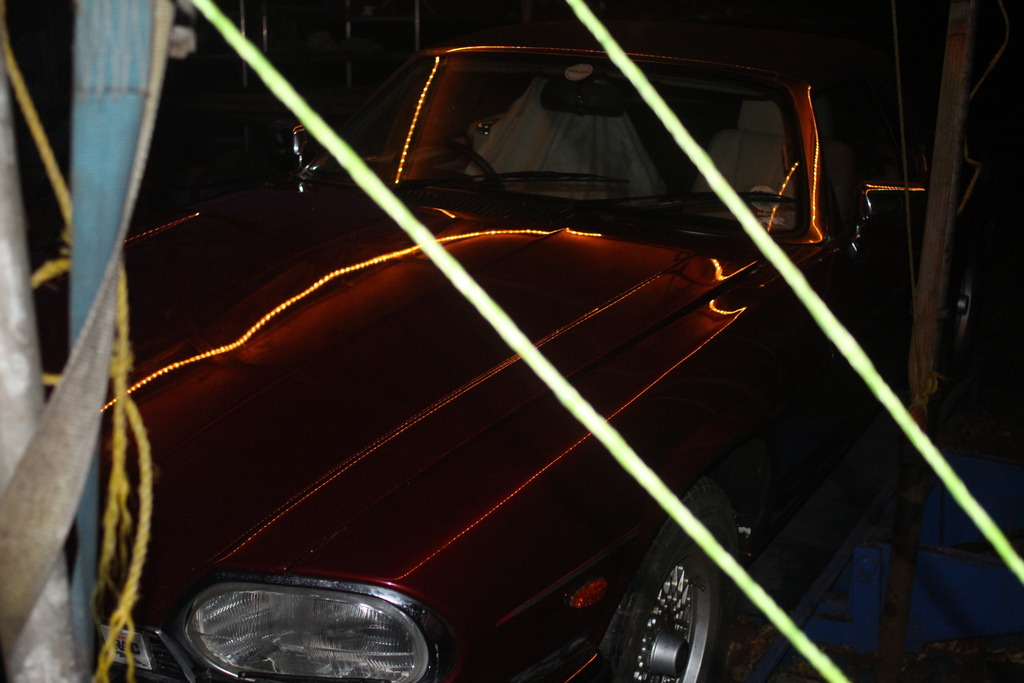
I saw a Static Rope Light in a box of Christmas Decorations Only �2 Bargain or What!
So I got them home and ran them round the inside of the Canopy and then when I had switched them on (no Celebs available) found they gave out a massive amount of Light in all the right places.
Does anyone have any idea how much they cost to run?
Thats a nice color of red, what is the exact jaguar color code ? I am thinking of painting my champagne colored xjs silver, also my original stereo has an alarm built in that sometimes stays on when its in the mood, did u ever have that problem ?
Thats a nice color of red, what is the exact jaguar color code ? I am thinking of painting my champagne colored xjs silver, also my original stereo has an alarm built in that sometimes stays on when its in the mood, did u ever have that problem ?
Hi Johnde
There are no Paint Code Stickers on my Car and I've looked everywhere.