When you click on links to various merchants on this site and make a purchase, this can result in this site earning a commission. Affiliate programs and affiliations include, but are not limited to, the eBay Partner Network.
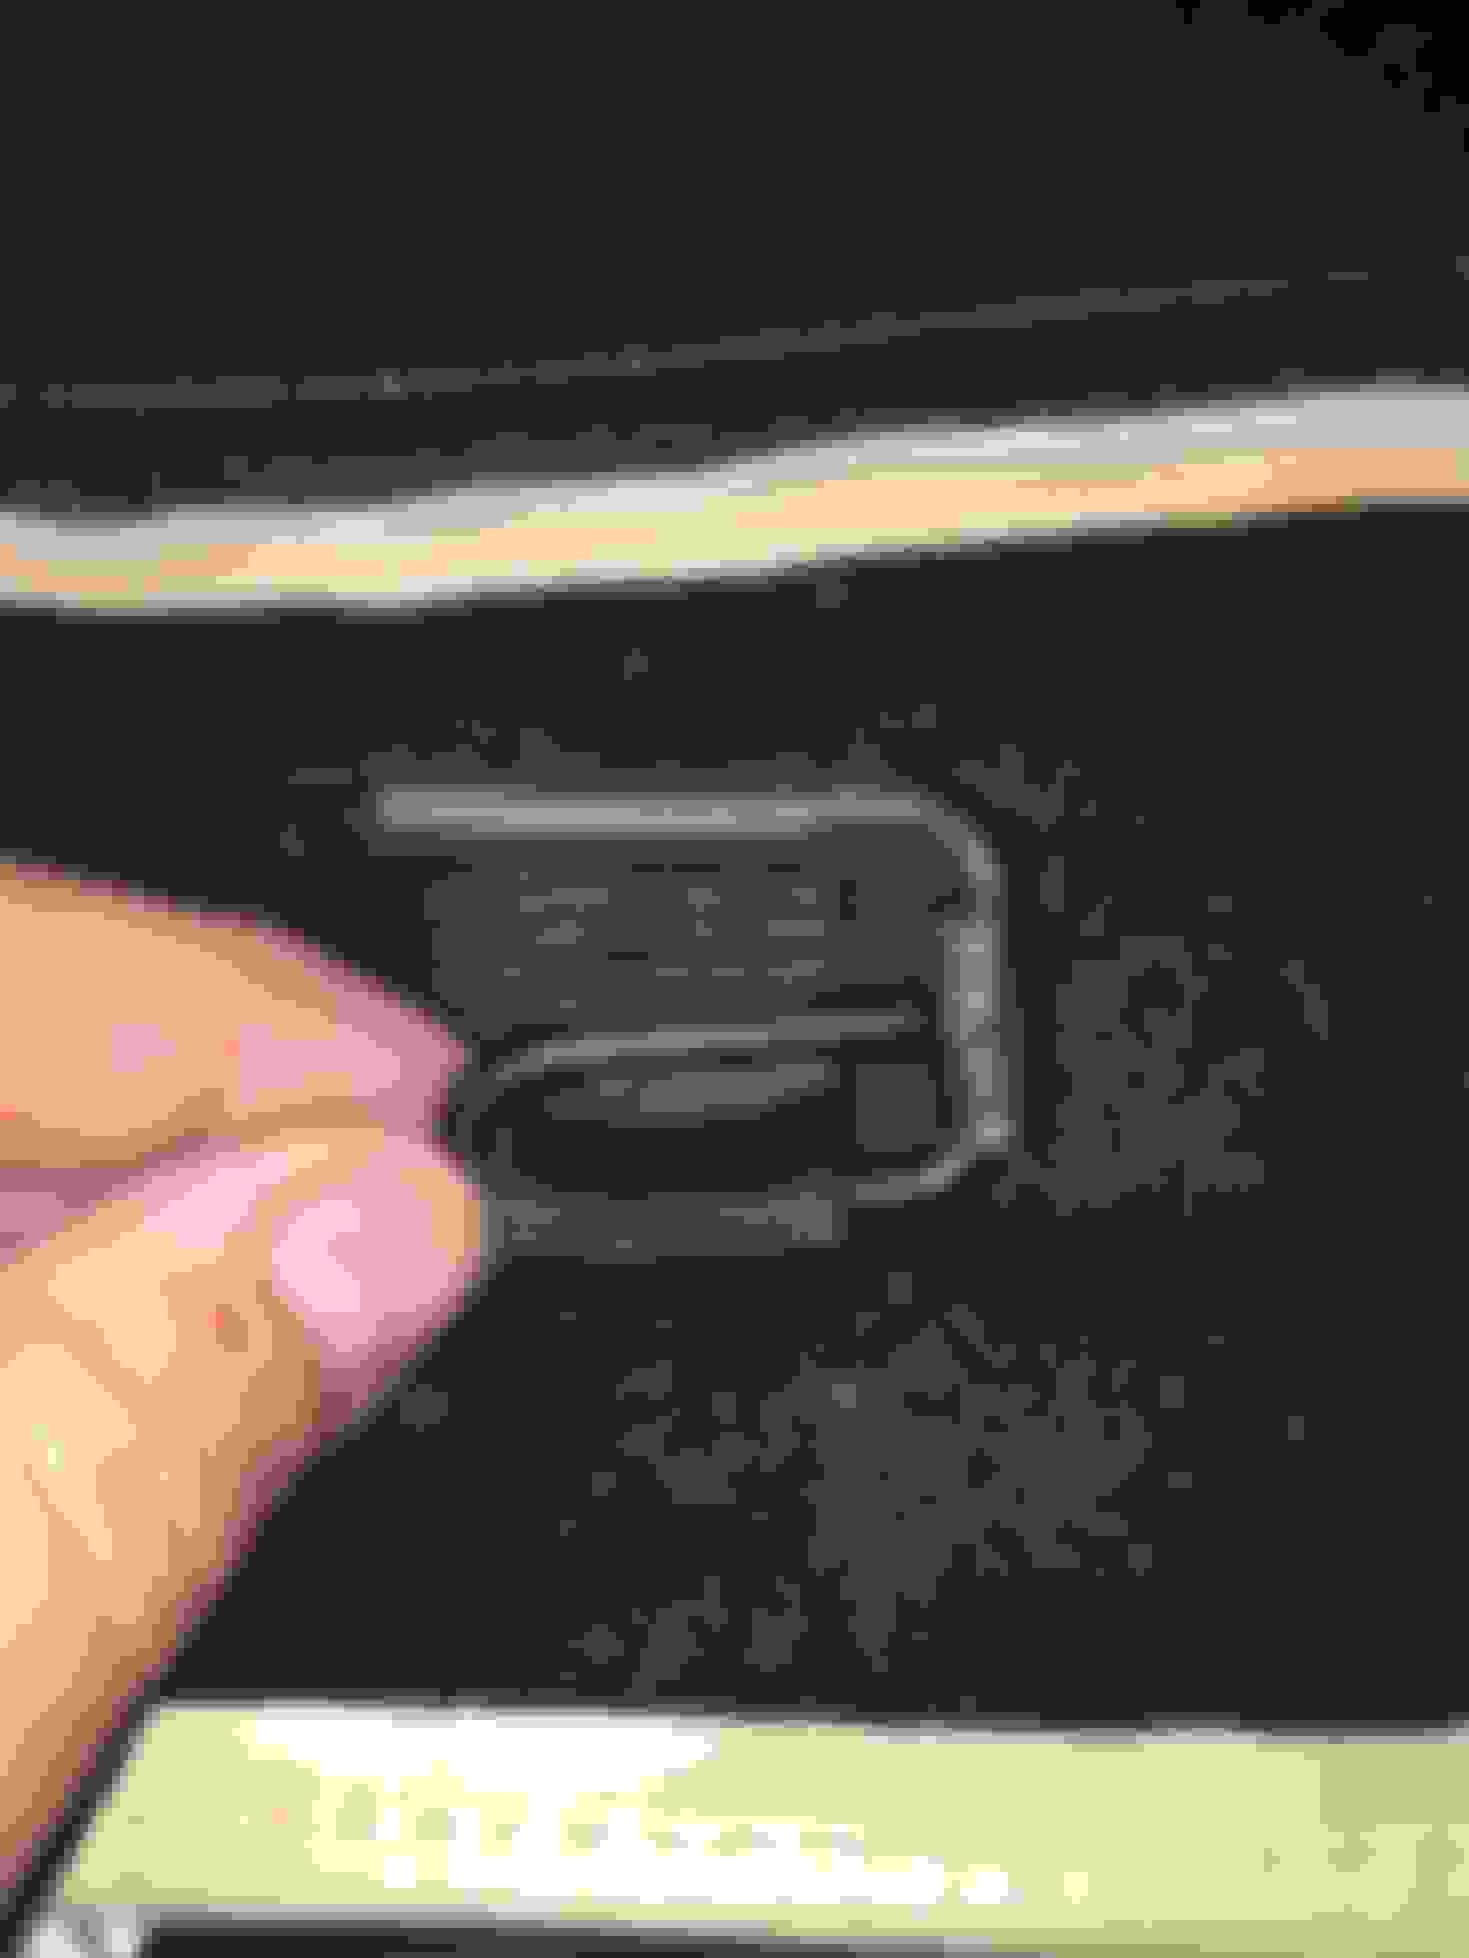
All of us with convertible tops that have the type of cover for when the top is held down around the outer edges that those little metal bars that slide into the loops knows that they often tend to work their way out in the wind while driving plus the risk that them hitting your paint can do when installing or removing the cover. No matter how careful you are your always at risk of the tips of one of those things brushing the paint and leaving a scratch.
This is a little trick I came up with awhile back that I thought I'd share which helps both problems. This is my 3rd or 4th one over the years and this time I decided to take some pictures so I could pass it on to others.
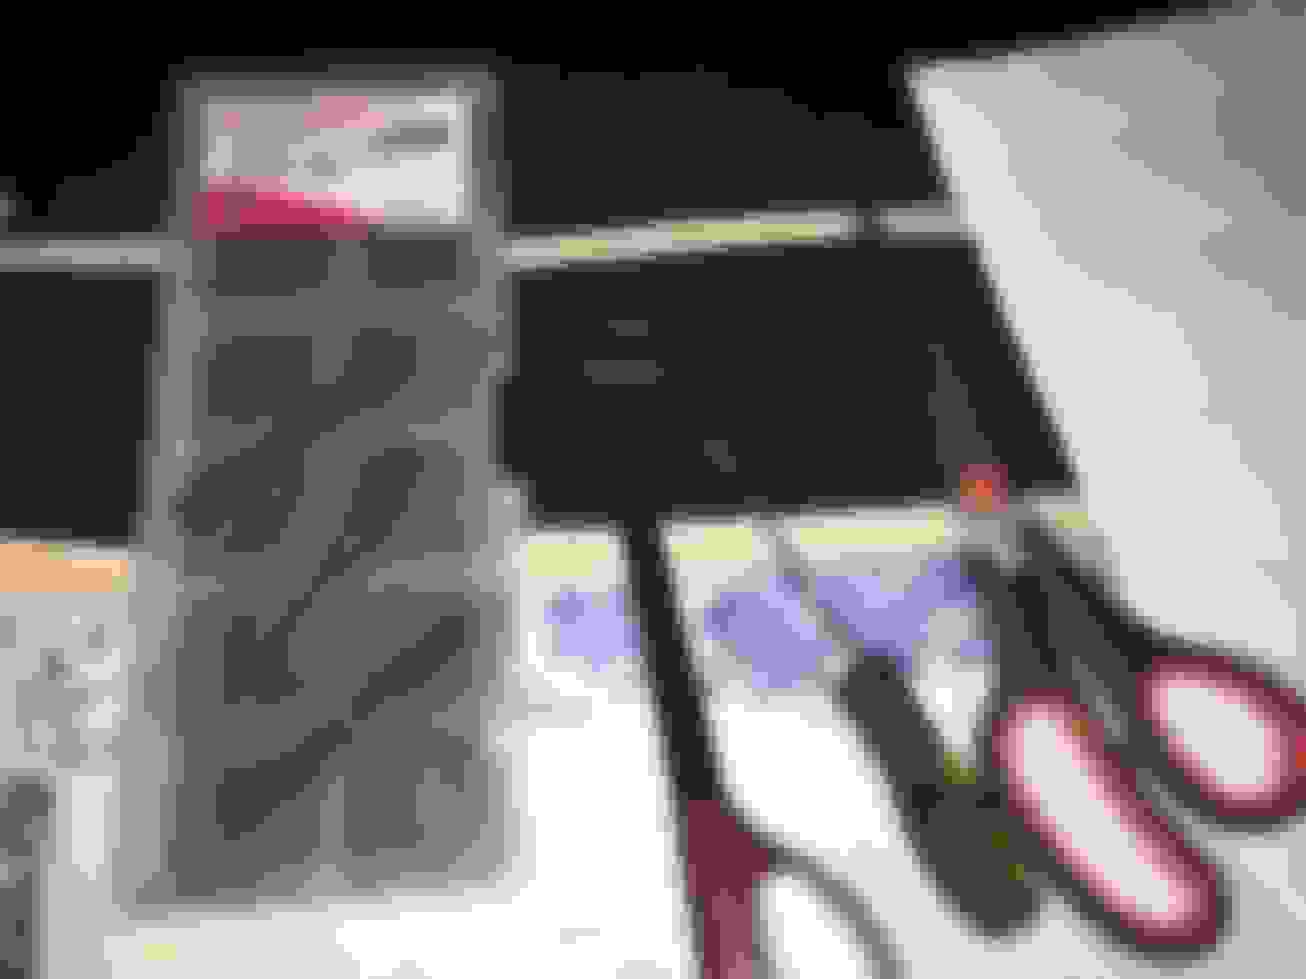
You need to find heat-shrink tubing just large enough to easily slide up onto these parts, a cigarette lighter or I prefer one of those lighters with the long nose for lighting fireplaces (and yes, actual flame works better for this than say a heat gun or hair-dryer), a paperclip or very small allen wrench, any kind of long thin tool that can fit between the heat-shrink and the metal, and some kind of mild liquid lubricant. I used leather care just because I had it handy but any kind of lubricant that will DRY so that it's kinda sticky or tacky will do. Depending on if your heat-shrink is pre-cut to about the right length or is on a long roll you may also need scissors. I use a box of various sized heat shrink that I got from Advance Auto Parts (I'm sure others also sell them) just because I keep them around for other work, and the length turned out to be perfect without me needing to cut the tubing.
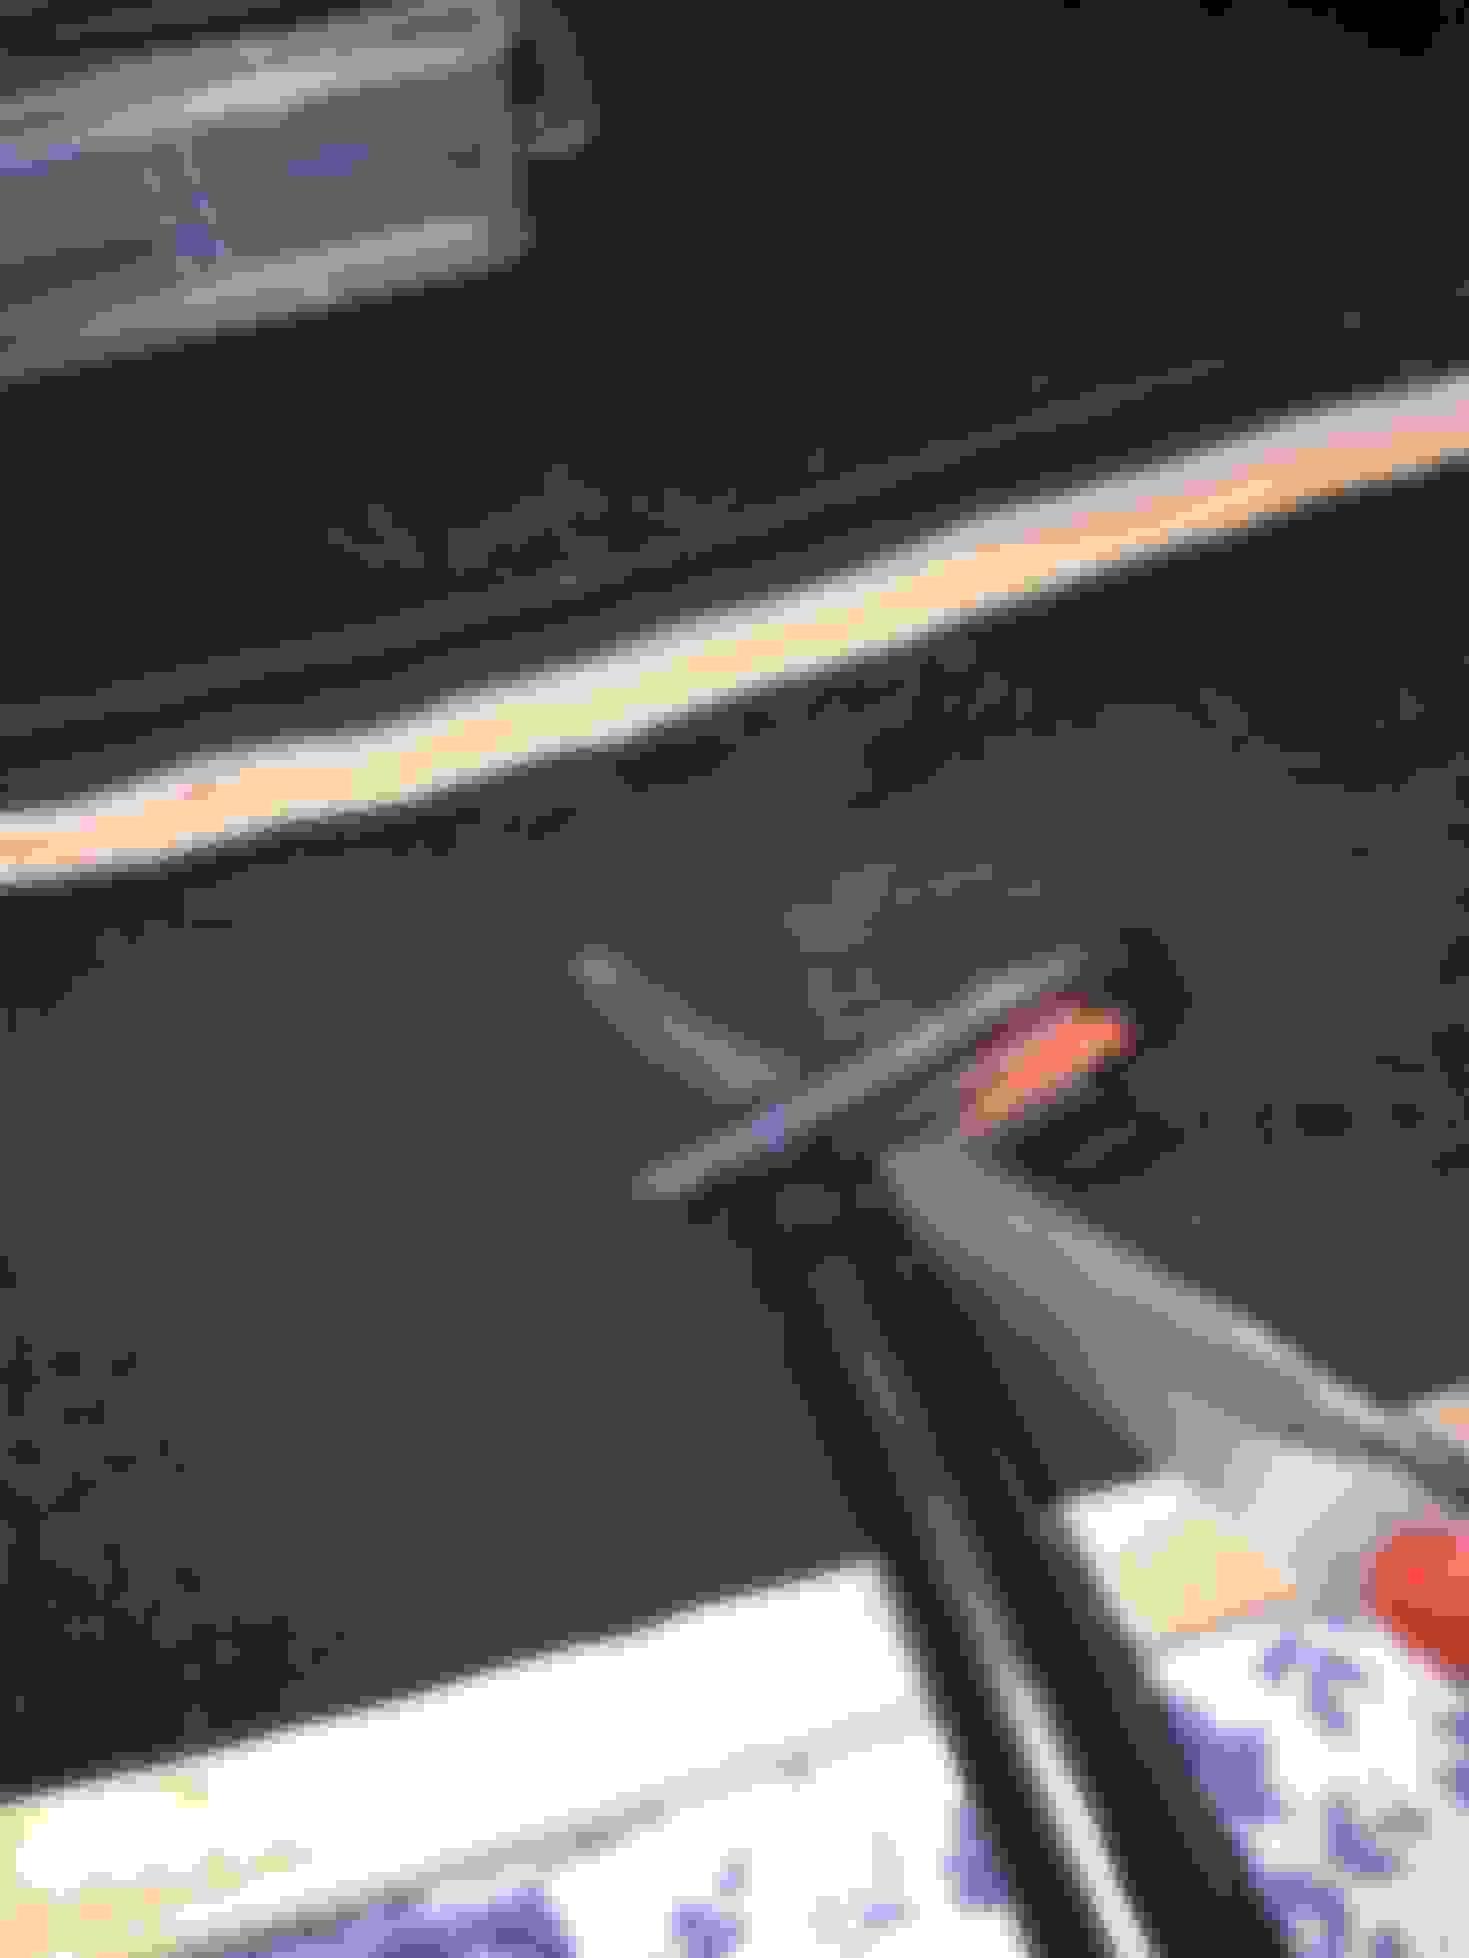
Once you cut your heat-shrink a little long (or like mine already was the right length) you want to take your lubricant and put a drop on the metal bar just ahead of the bend and on the bend, don't put it on your heat-shrink or anywhere it will get on the heat-shrink near the end that will be left sticking out, it will keep the shrink from sticking to itself properly. You just need enough so it helps the heat-shrink to slide around that corner, the paperclip or other small thin object may also help by inserting it and using it to work the heat-shrink around the corner (be sure not to poke a hole in your heat-shrink) but if your lubricant is good you wont need it. Your lubricant serves two purposes, helping work the heat-shrink past the bend was the first.
Work your heat shrink around that corner and almost all the way up to the next bend. If the length of your heat-shrink is correct you should have about 1/4th to 1/3rd of an inch sticking out past the end of the metal. Do NOT cut this off, you want a little overhang!!!
Now heat it moving your flame up and down it evenly, be sure to flip it over and get it from the other side. Your heat-shrink will shrink and as it gets warm take your fingers and squeeze together the bit that is sticking out past the end of the metal, if it's the right temp (will be pretty warm so have tough fingers) it will stick and bond to itself, that's why you didn't want lubricant on this end.
Now, while it is still hot you may notice you still have wrinkles in your heat-shrink where it made that bend, this is the second purpose for your lubricant, while it's still nice and warm gently take your finger and smooth out the wrinkles, the lubricant inside the corner will allow the now shrunken and still hot heat-shrink tubing to smooth out. After you have it nice and smooth move your heat back over it end to end one last time and then let it cool. The heat shrink should now totally cover the part of the metal that's in danger of hitting your paint, should be smooth and tight, and once cooled it won't be slipping back off. If you ever need to remove it you can cut it down the length with a razor blade and peel it off, though I'm not sure why you'd ever need to.
Leave the little extra that you flattened out, it covers the end of the metal where it was cut off during manufacture which is usually the sharpest place on it and the most likely to scratch your paint and the extra heat-shrink sticking out a little past the end doesn't hurt anything.
Once it's totally cooled and had about an hour to sit up your top cover is now ready to use. The heat-shrink not only helps make it much less likely to accidentally scratch your paint, but the slight extra thickness it adds plus the extra friction the rubber of the heat-shrink has vs. the painted metal piece also helps it not to vibrate out of the loops on your car when driving down the highway. Once the cover is installed on your car none of this can be seen anyway.
Last edited by SouthernGypsy; Apr 26, 2015 at 05:43 PM.
What a great idea! I am forever hitting these against my paint, mostly when I am putting it on, even when I think I'm being careful. And I can see they'll stay attached much better with the heat shrink. Thank you!