
Engine bay pics.

Thread Starter
|
Veteran Member
Joined: Oct 2011
Posts: 1,738
Likes: 70
From: WV
lets see them. My jag appears to be suffering from a severe case of amateur mechanic/electrician. ive noticed severel things out of place and missing, so instead of asking you what each thing is, how about you all post some good pics of your engine bays so i can get a good idea where everything goes.
TIA.
TIA.
Veteran Member
Joined: Apr 2010
Posts: 2,055
Likes: 194
From: New Hampshire
It's supposed to be a beautiful day today, so I'll try to remember to grab my camera and take a few pics. The wires on mine will look different for a few reasons. I've replaced most of it, and what wasn't needed has been removed. I've deleted the A/C, cruise, airpump, secondary coil, relocated the amp and added an electric fan. I've also replaced the fuel injection harness.
I won't be able to post them until Monday or Tuesday. I currently hold the world record for the slowest internet connection at my house, so I can't upload until I get to my office.
I won't be able to post them until Monday or Tuesday. I currently hold the world record for the slowest internet connection at my house, so I can't upload until I get to my office.

Veteran Member
Joined: Jul 2010
Posts: 7,362
Likes: 1,241
From: Austin tx and Daytona FL.
Trending Topics

Thread Starter
|
Veteran Member
Joined: Oct 2011
Posts: 1,738
Likes: 70
From: WV
Very nice. that one is particularly good. quick question, where do the air rails get air from? the heads? i cant see any other place. ive seen some people remove them all together. how do you block the holes in the heads if thats the case?


Senior Member
Joined: Jan 2011
Posts: 883
Likes: 173
From: Columbus, OH
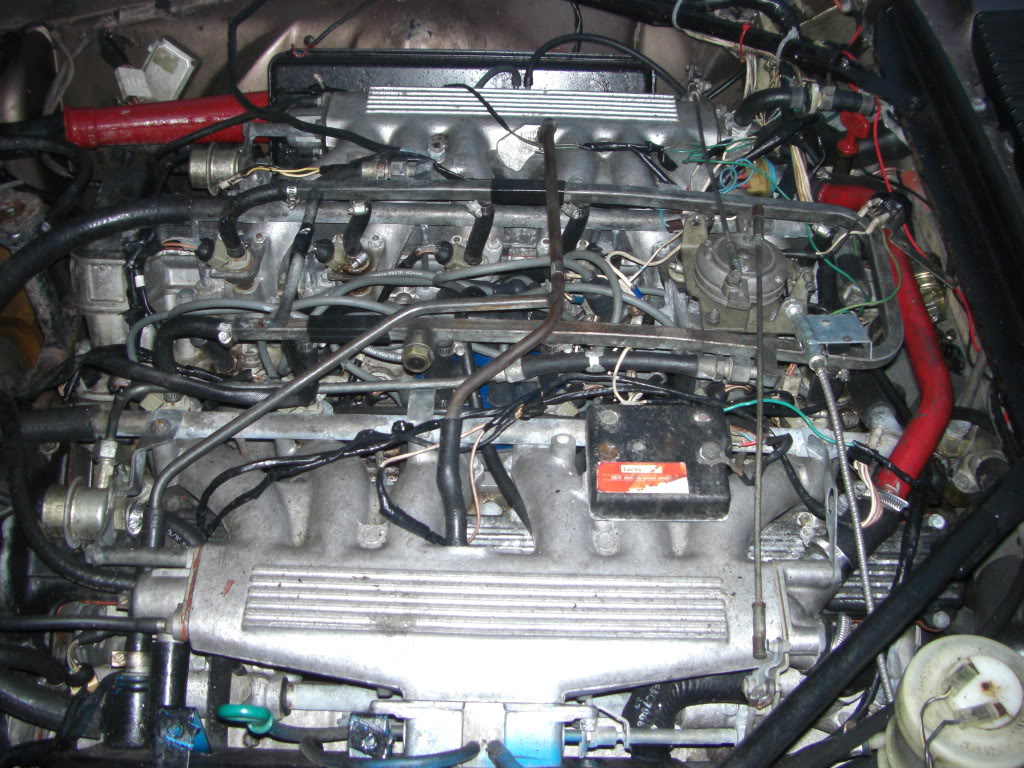
Here is mine, when I was finishing my FI harness.
BTW, when you do yours, I suggest you run new wires in hear tubing, along the fuel rails. This way there will be no more excessive heat exposure, like it is inside the Vee. Here is my video and I approve this message!
1982 Jaguar XJ-S V12 perfect engine! - YouTube
BTW, when you do yours, I suggest you run new wires in hear tubing, along the fuel rails. This way there will be no more excessive heat exposure, like it is inside the Vee. Here is my video and I approve this message!
1982 Jaguar XJ-S V12 perfect engine! - YouTube

Veteran Member


Joined: Mar 2008
Posts: 25,544
Likes: 11,744
From: Pacific Northwest USA
Oh, absolutely. Getting the wires up out of the vee is about 90% of the upgrade. Exotic wires, heat-proof sheathing, etc is just icing on the cake :-)
Cheers
DD
Thread Starter
|
Veteran Member
Joined: Oct 2011
Posts: 1,738
Likes: 70
From: WV
now all you need is some Rouge type hood louvers.
Veteran Member
Joined: Mar 2008
Posts: 25,544
Likes: 11,744
From: Pacific Northwest USA

Thanks.
Lots of work but none of it very difficult.
If you resign yourself to 2-3 weekends to, essentially, remove everything on top of the engine for repair-replacement-cleaning-painting, it really isn't all that hard. Sorta fun, actually. Just take lots of pics and make good notes :-)
As I mentioned elsewhere, do it all at once and be done with it.
Cheers
DD

Thread Starter
|
Veteran Member
Joined: Oct 2011
Posts: 1,738
Likes: 70
From: WV
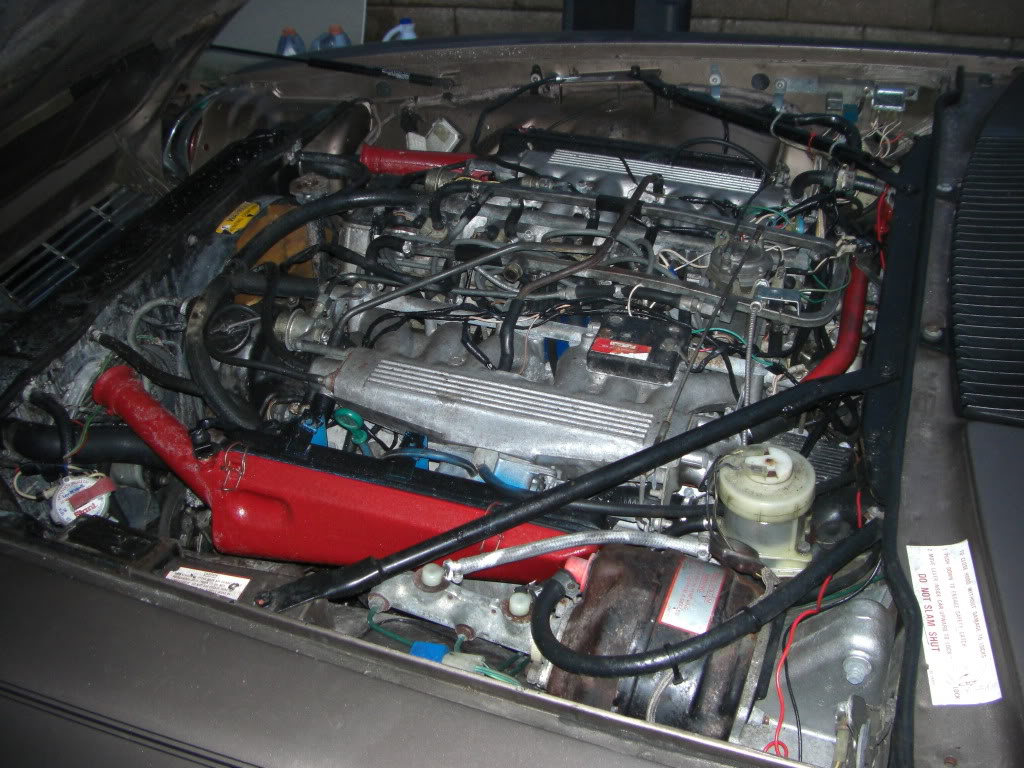
well heres mine. as you can see someone has tampered with it quite a bit. there are capped off vacuum lines everywhere, the throttle linkages appear to be missing bushing and theres some slop in them, the AC and smog pump have been removed, along with the cruise control bellows. even little things like the TPS has been removed and laid aside. i bolted it back on the other day but its only got two wires plugged into it, and a post for a third wire that is no longer connected.
all that white antifreeze residue is from my epic journey home (which ill save for another thread.)
all that white antifreeze residue is from my epic journey home (which ill save for another thread.)
Last edited by M90power; Mar 19, 2012 at 09:47 PM.