When you click on links to various merchants on this site and make a purchase, this can result in this site earning a commission. Affiliate programs and affiliations include, but are not limited to, the eBay Partner Network.
What's the best option for a reliable home repair? I know I can get it soldered at a rad shop, and other pro repairs, but is JB tank weld a reliable solution for minor pinholes? Is there a better epoxy repair material? Or is it not an option
I have wire brushes, wire wheels, and phosphoric acid for the repair prep. I'm thinking to prep it, patch it, paint it and give it a coat of plastidip on the bottom.
Bought a Bill Hirsch fuel liner kit and decided it sketched me out farrr to much to have that inside my tank.
What I did was remove the tank and sand all the paint off of the bottom. Most of the problem spots seemed to be at spot welds. I put the provided epoxy (most kits have it) on any of those spots or any others that seemed they could be a problem in the future, like welds that weren't as filled.
Then I took the tank liner and coated the bottom of the tank until it was white (the stuff is fairly thin and translucent). Be sure to scuff the tank with some lower grit paper so it really sticks, because this stuff will peel off in sheets if not. If the kit comes with an etch, then use that!
This was about a year ago and I haven't had any issues since then. Let me also point out that I had a venting issue and I think this exacerbated the problem. The extra pressure is what really caused the gas to seek out any holes and then open them up more. I drilled a hole in my gas cap as a quick and dirty temporary fix until I can get around to looking at the evap system.
EDIT: Idk about specific brand but the only plasti-dip I used was totally eaten by gasoline (on a motorcycle tank), not sure it is the best way to go here, you want some type of epoxy base.
Last edited by sidescrollin; Jul 20, 2016 at 02:06 PM.
Whaddup. Same problem in my 1988 here.
...
EDIT: Idk about specific brand but the only plasti-dip I used was totally eaten by gasoline (on a motorcycle tank), not sure it is the best way to go here, you want some type of epoxy base.
Thanks sidescrolling
I was thinking of using the plastidip over the epoxy and paint just to prevent the eventual re-rusting from occurring.
I was thinking of using the plastidip over the epoxy and paint just to prevent the eventual re-rusting from occurring.
The tank fits sort of tightly in its space, I would be afraid the plasti-dip would peel off some on installation.I would think you would be better off with some regular spray paint as long as it has time to cure.
The tank fits sort of tightly in its space, I would be afraid the plasti-dip would peel off some on installation.I would think you would be better off with some regular spray paint as long as it has time to cure.
Thats a good point. I understand clearances here are tight.
Current plan is to pull the tank, clean exterior, POR-15 cleaner, etch and liner, fill to flush any exterior corrosion with epoxy, paint to original then mask two inches from bottom and coat the bottom with spray-on bed liner.
Should add little to tank size but give me a future free of concern about this particular issue.
I assume what is happening here is that the fuel cools at night and then when driven the car warms humidity condenses on the tank and runs down to the mat where the tank wicks it underneath. 30 years later and even a well painted tank will corrode.
Thats a good point. I understand clearances here are tight.
Top to bottom they are tight, as long as the sheet of neoprene you stand it on is not too thick, say 1/8 inch, you will be OK after your treatment though. Anything made of foam is a bad idea under the tank as it holds the fuel and its smell indefinitely. Plenty of room to the sides where the tank is held by about an inch of hard-ish foam each side.
Originally Posted by JigJag
Current plan is to pull the tank, clean exterior, POR-15 cleaner, etch and liner, fill to flush any exterior corrosion with epoxy, paint to original then mask two inches from bottom and coat the bottom with spray-on bed liner.
I am in the process now of repairing my fuel tank. Mine had been sitting 13 years. If you search for motorcycle tank repair there is tons of info out there. I ended up going with the POR 15 gas tank repair kit. Once you remove the tank and gas clean out the inside with your water hose and slosh it around and keep dumping. Then use the POR 15 kit. First step of kit is to use the degreaser product which will dissolve any varnish, oils, gas in the tank. You do this part twice. And clean out with water. I found it is easiest to fill up the tank full of water then dump do get out the degreaser residue. Then you should have s pretty clean tank. Next step is the rust converter and metal etcher product. This will cause a lot of the rust to go away. I did it twice but my tank wasn't very rusty just filled with a ton of varnish. Some people stop at this point, but the final step is to use the provided special paint. I ended up screwing this part up as I left it in the tank too long. You need to ensure it is on a dry day and you only have a few minutes to roll the paint around before it dries. I had it in there for 10+ min trying to get it everywhere in the tank and it dried about an 1" thick on the bottom. I will be using paint remover to get it out this weekend and redo the paint. I am going to apply Por 15 black paint to the outside once the inside is complete. I too had some small rust on the bottom of the outside of the tank.
Thanks for the step-by-step! Always good to hear actual process explained!
I'm going to do the POR liner and I definately want to avoid it all hardening in there! I'll be quick! Super hot day expected here tomorrow so I expect everything will be accelerated.
My plans are dashed! Ordered the POR liner from a local napa with a paint shop. Guy ordered POR rust. I'm taking it as a suggestion from the universe not to do the liner. Read a number of reviews for all the tank liner products discussing failures. Delamination was common across every brand. Everytime someone would suggest a "better" brand that I hadn't searched I'd find the same failure posts for it.
Exterior tank epoxy, paint and undercoating. Interior POR cleaner, rust treatment if I find interior rust and that's it. I'll just have to pull it again if that doesn't hold long term.
I'll pull it again next weekend for the POR-15 internal liner. There's a lot of pinholes inside the tank that need a good sealant coat.
Pinholes
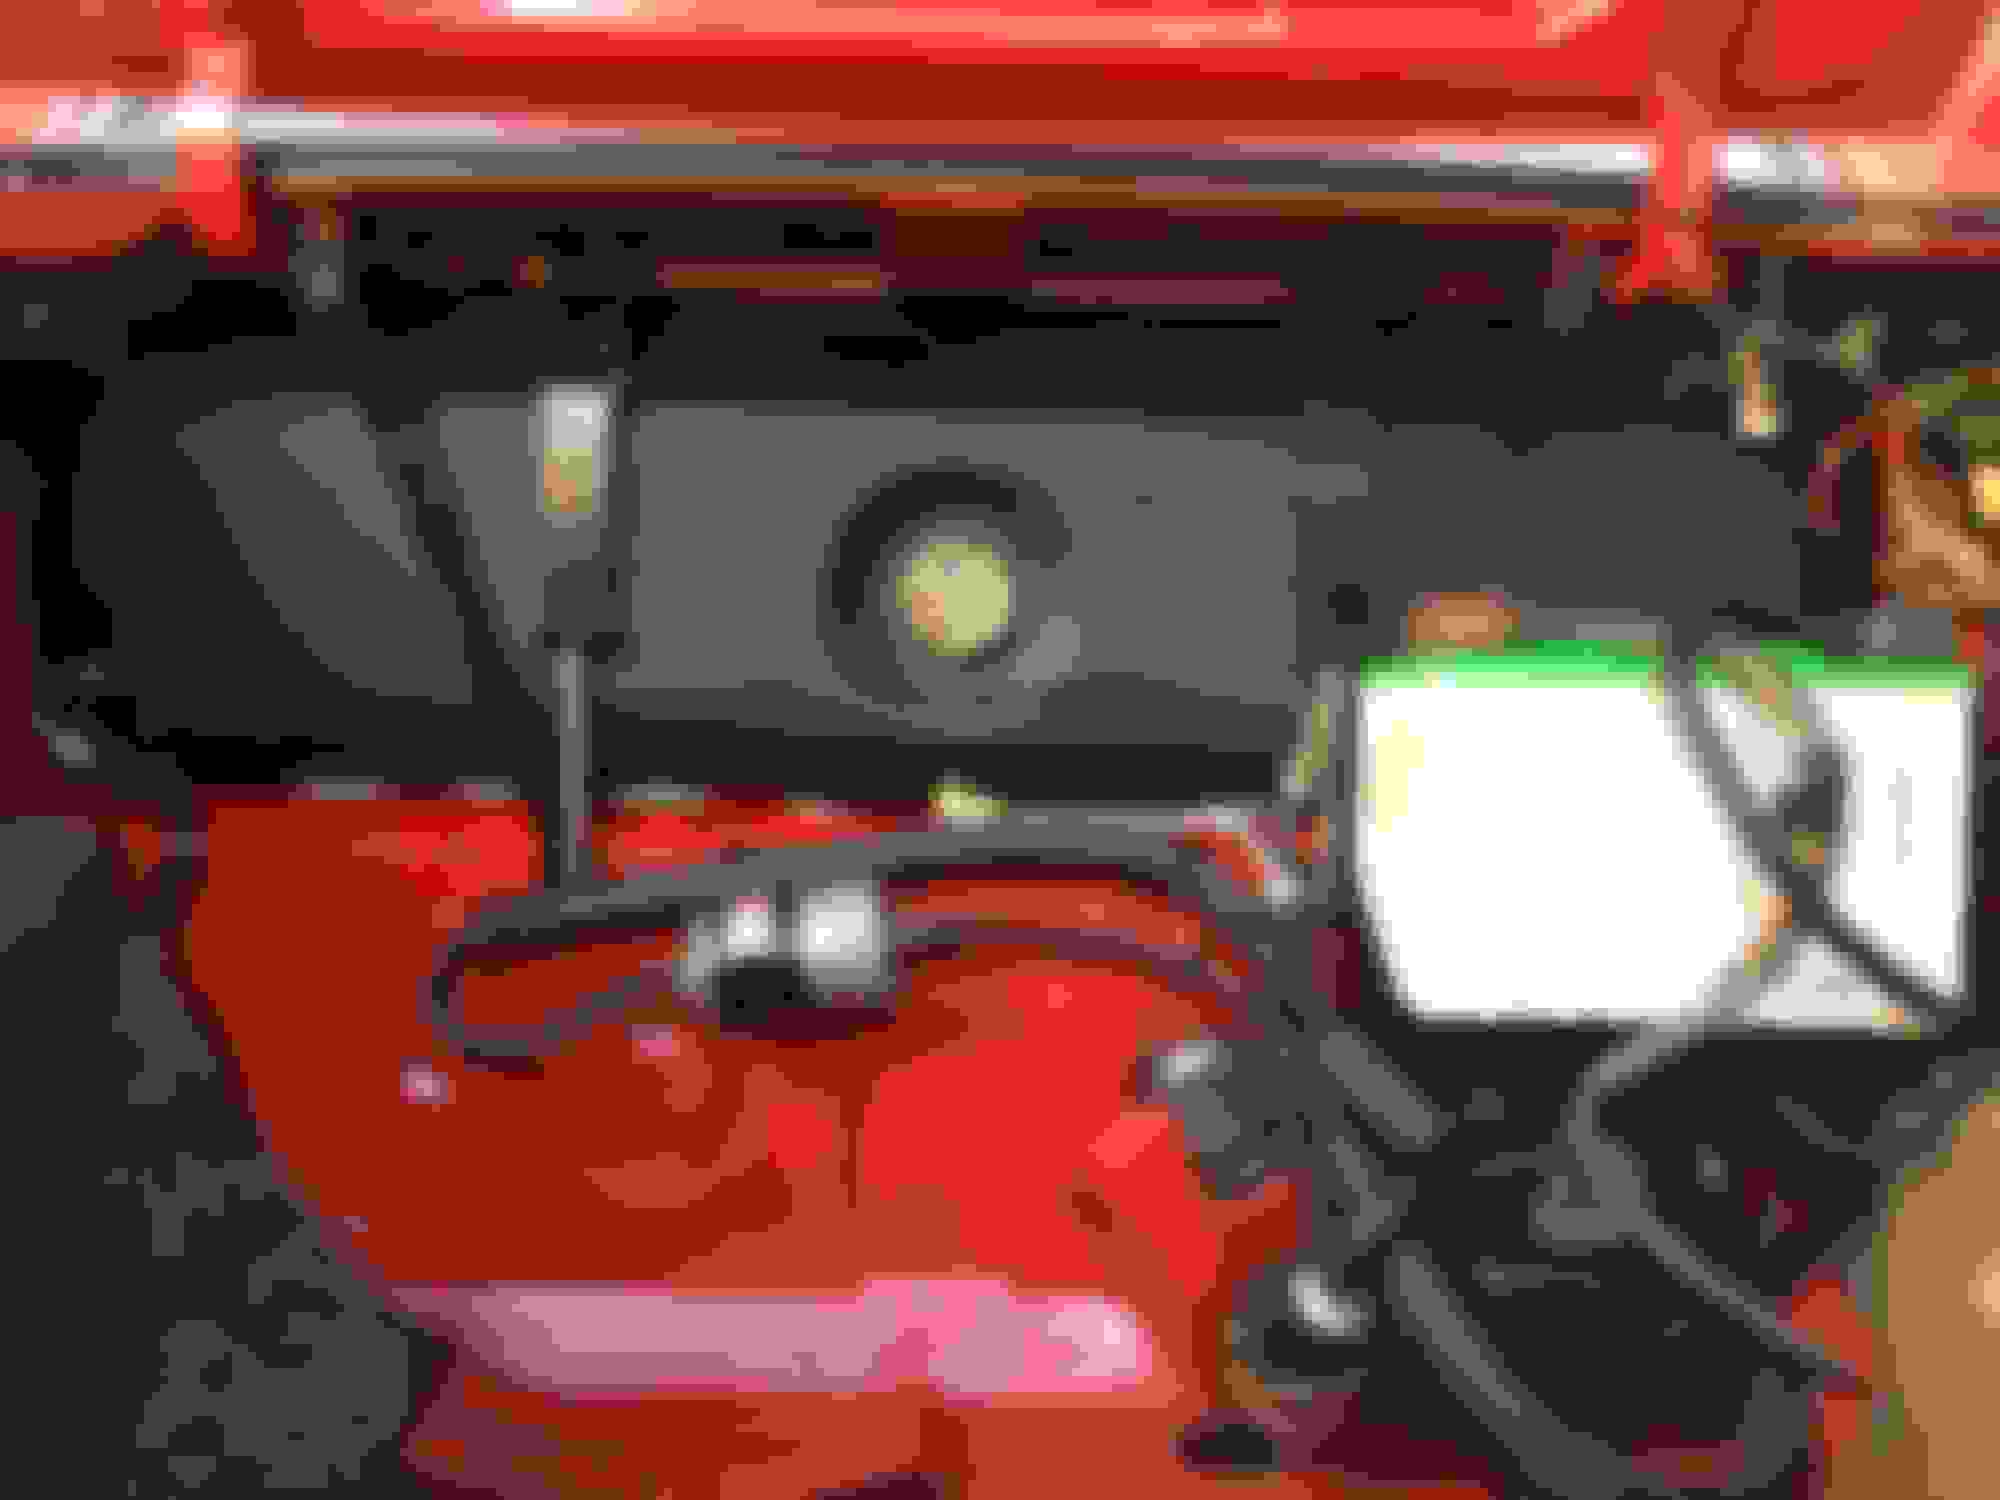
But I sealed all the holes. More than 30 once I got through poking it with a hose hook tool. Anywhere I could poke through I did. The tank patch epoxy and then a full layer if permatex liquid metal filler. Here's the final coat.
Permatex filler
And painted...
I didn't have a source for neoprene sheet this weekend so I used neoprene backed Teflon furniture movers. Should allow condensate to evaporate away. I'll check this next week and evaluate its long term viability.