When you click on links to various merchants on this site and make a purchase, this can result in this site earning a commission. Affiliate programs and affiliations include, but are not limited to, the eBay Partner Network.
Cheers guys. Brilliant idea GiF. I zipped down to Beaurepairs today (tyre mob in Oz) and the bloke was more than happy to give me 4. Tyres pretty heffty....couldnt fit two ontop of each other jacked up to current 3 feet.....might have to crank her up higher tommorow if other husbandly/ fatherly chores dont keep getting in the way lol
Computer motherboard confirmed dead so still doing the forums by phone at the moment.
But again cheers.....you guys are the best. Feel alot safer underneath her now
Stay tuned...
Last edited by paulyling; Feb 28, 2018 at 04:08 AM.
Heh guys. Can't believe I haven't touched this post since February! The poor ole Goose has been having a long nap.
Well I got back under the car today and made a start. Didn't get the cage out but made some steps forward:
Firstly I printed out the wise GiF's step by step guide and had it by my side.
I then had to read through this thread to figure out where I was at and that was to start taking out the silencers and rear exhaust.
Well the silencers weren't much a problem but even with the wheel removed I could not remove the short section of rear exhaust from the cage. I just have it dangling for now:
Triangular Mount that connects the bent section of exhaust to the straight coming from the front:
First silencer out not major dramas. A bit rusted on:
Couldn't get this out. Just have to let it dangle for now:
So after the exhaust I disconnected the flexible brake line coming into the rears:
This was a bit of a pain but I found the easiest way was to keep the flexible pipe connected to the cage.
Now..this is where I hit a road block. Trying to take out the handbrake cable from the top middle of the cage. I can't even barely budge it. Even took out the spring on the LH side where it terminates. Is there any easier way to do this? I tried bringing both spring brackets together but I can barely move it. Any ideas?
Well..I had to stop there as it was getting on my nerves and thought it time for a beer. I appreciate any feedback as always guys.
Hi Paul
Good to hear you are still with us. OB will be reading this, as he has to drop the cage too! Handbrake:
Ensure HB lever is fully off. Move the driver's seat right forward, then peel the carpet off the sill behind the driver's seat (and behind the HB lever). You will see the outer of the cable and two nuts locking it in position. 9/16ths I think. Separate the nuts and loosen the cable outer. Do not loose the special end piece that goes over the outer and the inner p[arts of the cable.
Nip back under the car, and using pliers pull the cable inner as far out as you can.
When refitting, often the cable seems far too short. If so, ask Madame to activate the lever as follows while you pull the inner out under the car: Press button and keep it pressed; move the lever up and the down a couple of times while you pull the inner for all you are worth as she releases the lever.
As Greg said, I'm following this with interest as I may have to do exactly the same on 'The Ice Princess' and all because of a broken off rear Brake Bleed Nipple!
While ironically all that other running gear is A1 but if I have to do the same as you and take the Cage out, then I will renew the Calipers and Rotors just as a matter of course
Because when you've got the Cage out, then it would be a bit crazy not to and just as a matter of interest or not as the case may be
I also had to remove one of those rear Silencers and I couldn't get it out of the Cage either, so I just left it dangling in the Cage and was able to tie it up out of the way to give me enough room to work
But don't let the long pipes dangle, as they would put a strain on the Exhaust Pipe Manifold and might break something, so tie them up out of the way
Here are a couple of Pics of the Hand Brake Adjuster, which you will need to Slacken off which seems to take for ever unless you are able to turn the nut by hand, once you've undone the Lock Nut
Keep at it Bro you'll get there and do keep those Pics coming!
The Hand Brake Adjuster behind the Front Seat tucked into the Sill
G'day guys. Progressed a few more steps today. Only took me a week to get back under the car but I guess no race aye?
So the handbrake issues....well err umm.....the problem with that is that it was still ON! Whoops. Because it is hard to tell if it is on or not I just powered up the dash and just looked to make sure the HANDBRAKE light was off. Much easier now lol!
Ok so next step was to unbolt the drive shaft to the diff. As GiF mentions I marked two opposing bolt holes with cable ties so I know where to line up when it goes back.
Then it came to the radius arm clamps...easy enough.
Finally for today I attempted to remove the radius arm from the body but not really sure what the best plan of attack was or really how it is supposed to come off. Just looks like the rubber wants to rip. Any clues? I tried jimmying it off with a crow bar and also some love taps with a hammer but as I am not sure how it attaches I just wanted to verify:
Cheers in advance guys. Very small steps. I had to run off as the two boys were up to mischief and I had to run off!
p.s has the forum rules changed? I am having a hell of a time trying to put up photos in the usual fashion
Last edited by paulyling; Jun 23, 2018 at 04:17 PM.
Same here with Posting Pics and Links, everything looks a bit different to how it was before and doesn't seem to work so well for some reason?
Anyway back to the Car and although I am nowhere near Starting this job, this time I'm looking to you for inspiration, as those Trailing Arms look a 'Nightmare' to get off and I am still very reluctant to hit them with a Chisel and a FBH
And as such I'm very Tempted to undo the other end
As for the Speedo Sensor, mine is in the IRS Cage and looks deceptively easy to take out, although on closer inspection it makes taking off the Trailing Arms look easy!
Its looks unbelievably almost an impossibility to get a Spanner on the only nut that's holding it although I think that 'Jay Jag Jay' may have found a way
Taking out the IRS is a Job that I've never wanted to do, although I think that sooner or later I'll have to give it a burl
Why have you got to take yours out, if you are only replacing the Caliper Rubbers, I think that you can do this without removing the Cage
Take a large cold chisel, Paul, and whack it with a lump hammer with the pointed end of the chisel right on the join where the top of the metal cup in the middle of the bush meets the welded cup on the body. HARD whacks mind, and it will pop off. Might need a few, but it will come off. Prying will not do it, you need shock loading!
Greg
p.s has the forum rules changed? I am having a hell of a time trying to put up photos in the usual fashion
Yep, you can no longer upload small pictures. They go to full screen width. I much preferred adding a few small pics and people could click on them to see larger images if wanted to.
Thanks for the response guys. Gee can't believe it took me a week to respond! (My apologies). Well anyway....about to give a few hard hits with the hammer...
Sorry I am having a hell of a time posting the way I usually post. It just keeps hanging my end. New Forum structure?
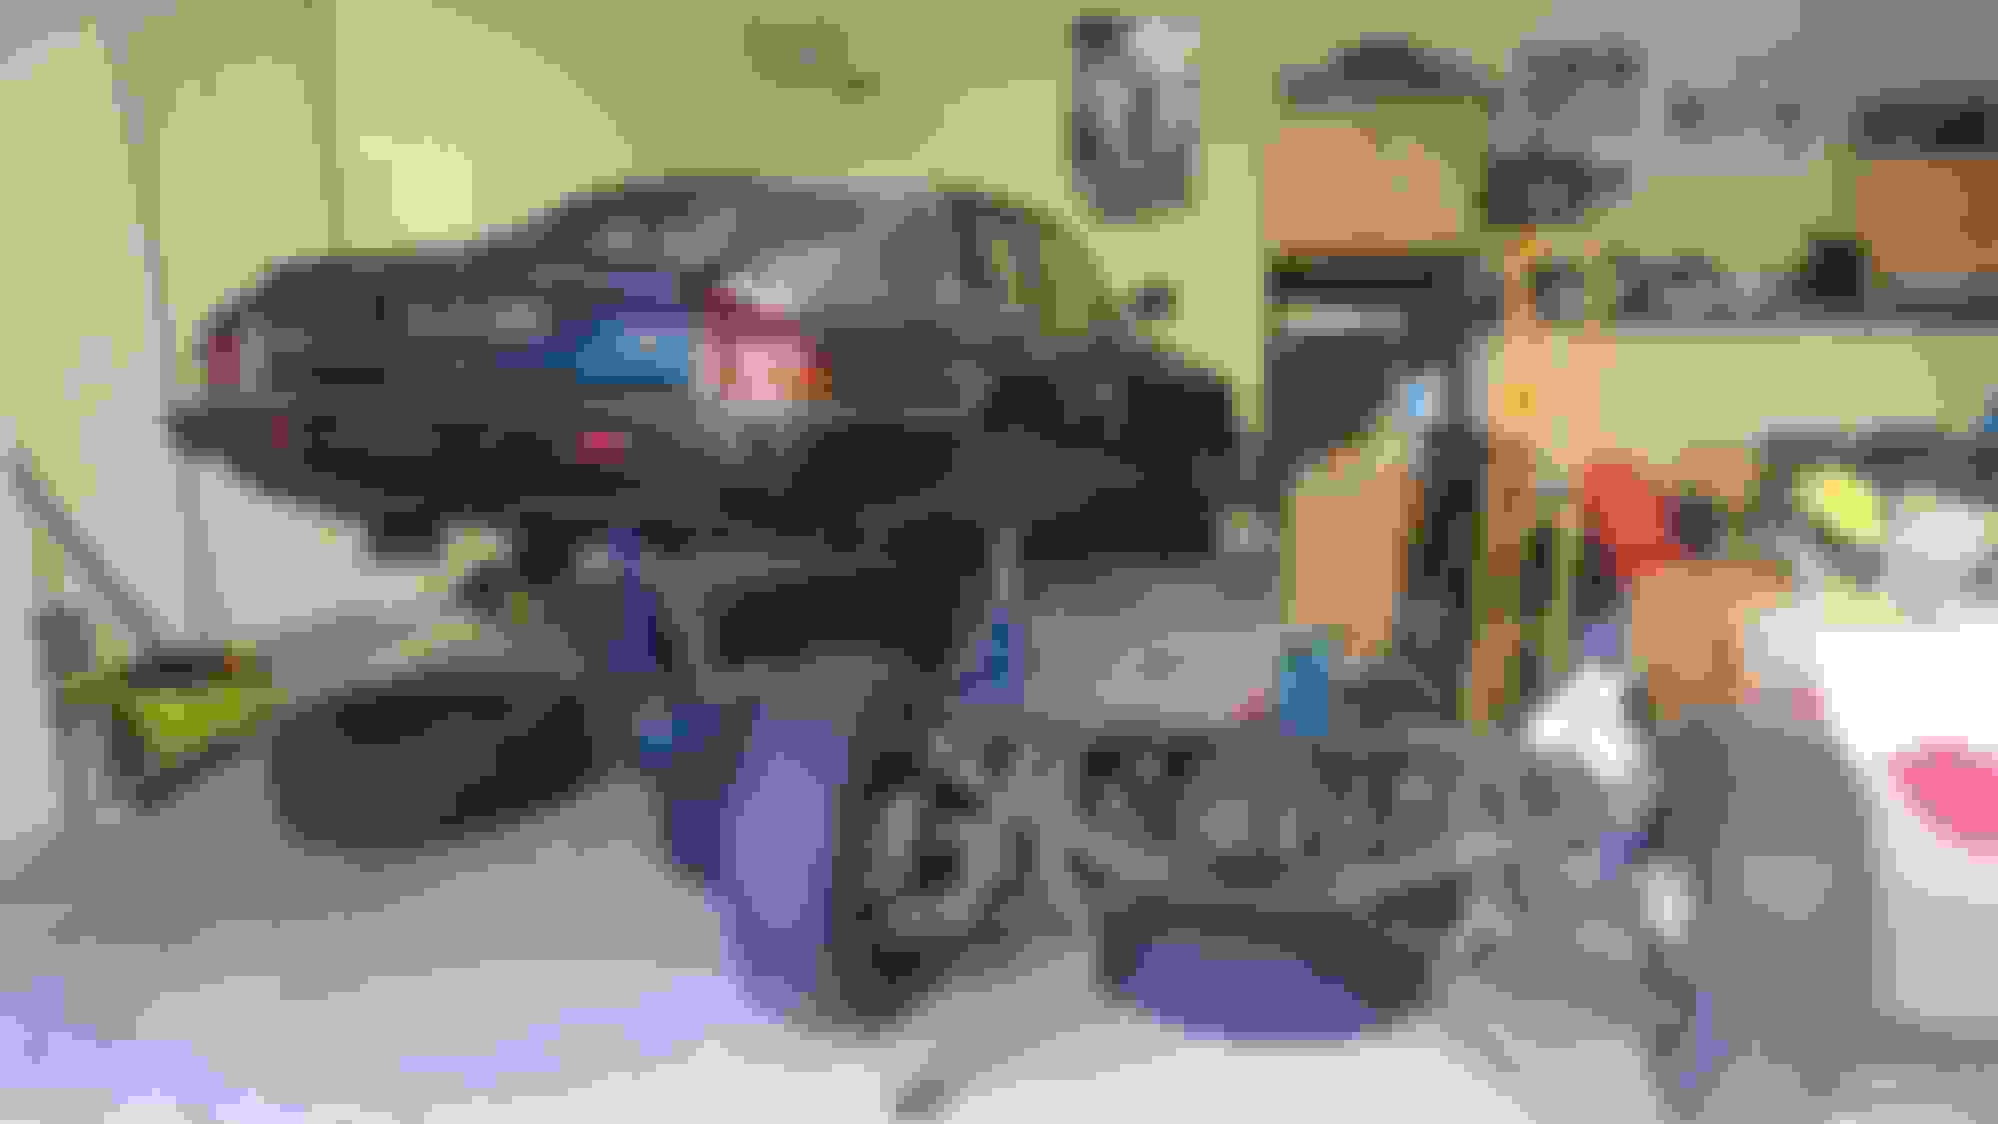
Anyway, I'll try again...I actually got the cradle out 2 days ago. A little bit nerve racking I must admit with only the 11 year old son to help keep an eye out and to keep it steady when i lowered it. But lo and behold, it went without a hiccup.
Also those radius arms were a little scary. I didn't want to bang them out too hard with the chisel but yeah...as Greg says...ya kinda have to give them a few thumps!
Also worth noting or remembering that yeah, she just wants to drop down on the diff end. I had to put a tyre underneath to stop it crashing to the concrete, but surprisingly enough, the whole cradle wasn't as heavy as I thought and is easy enough to kinda pull up to wheel it out (if that makes sense).
Big thanks to GiF's step by step guide at the start of this thread. It was very helpful. Now for the 2nd stage....new calipers, rotors and the list goes on. Something tells me getting it all back together will be harder!
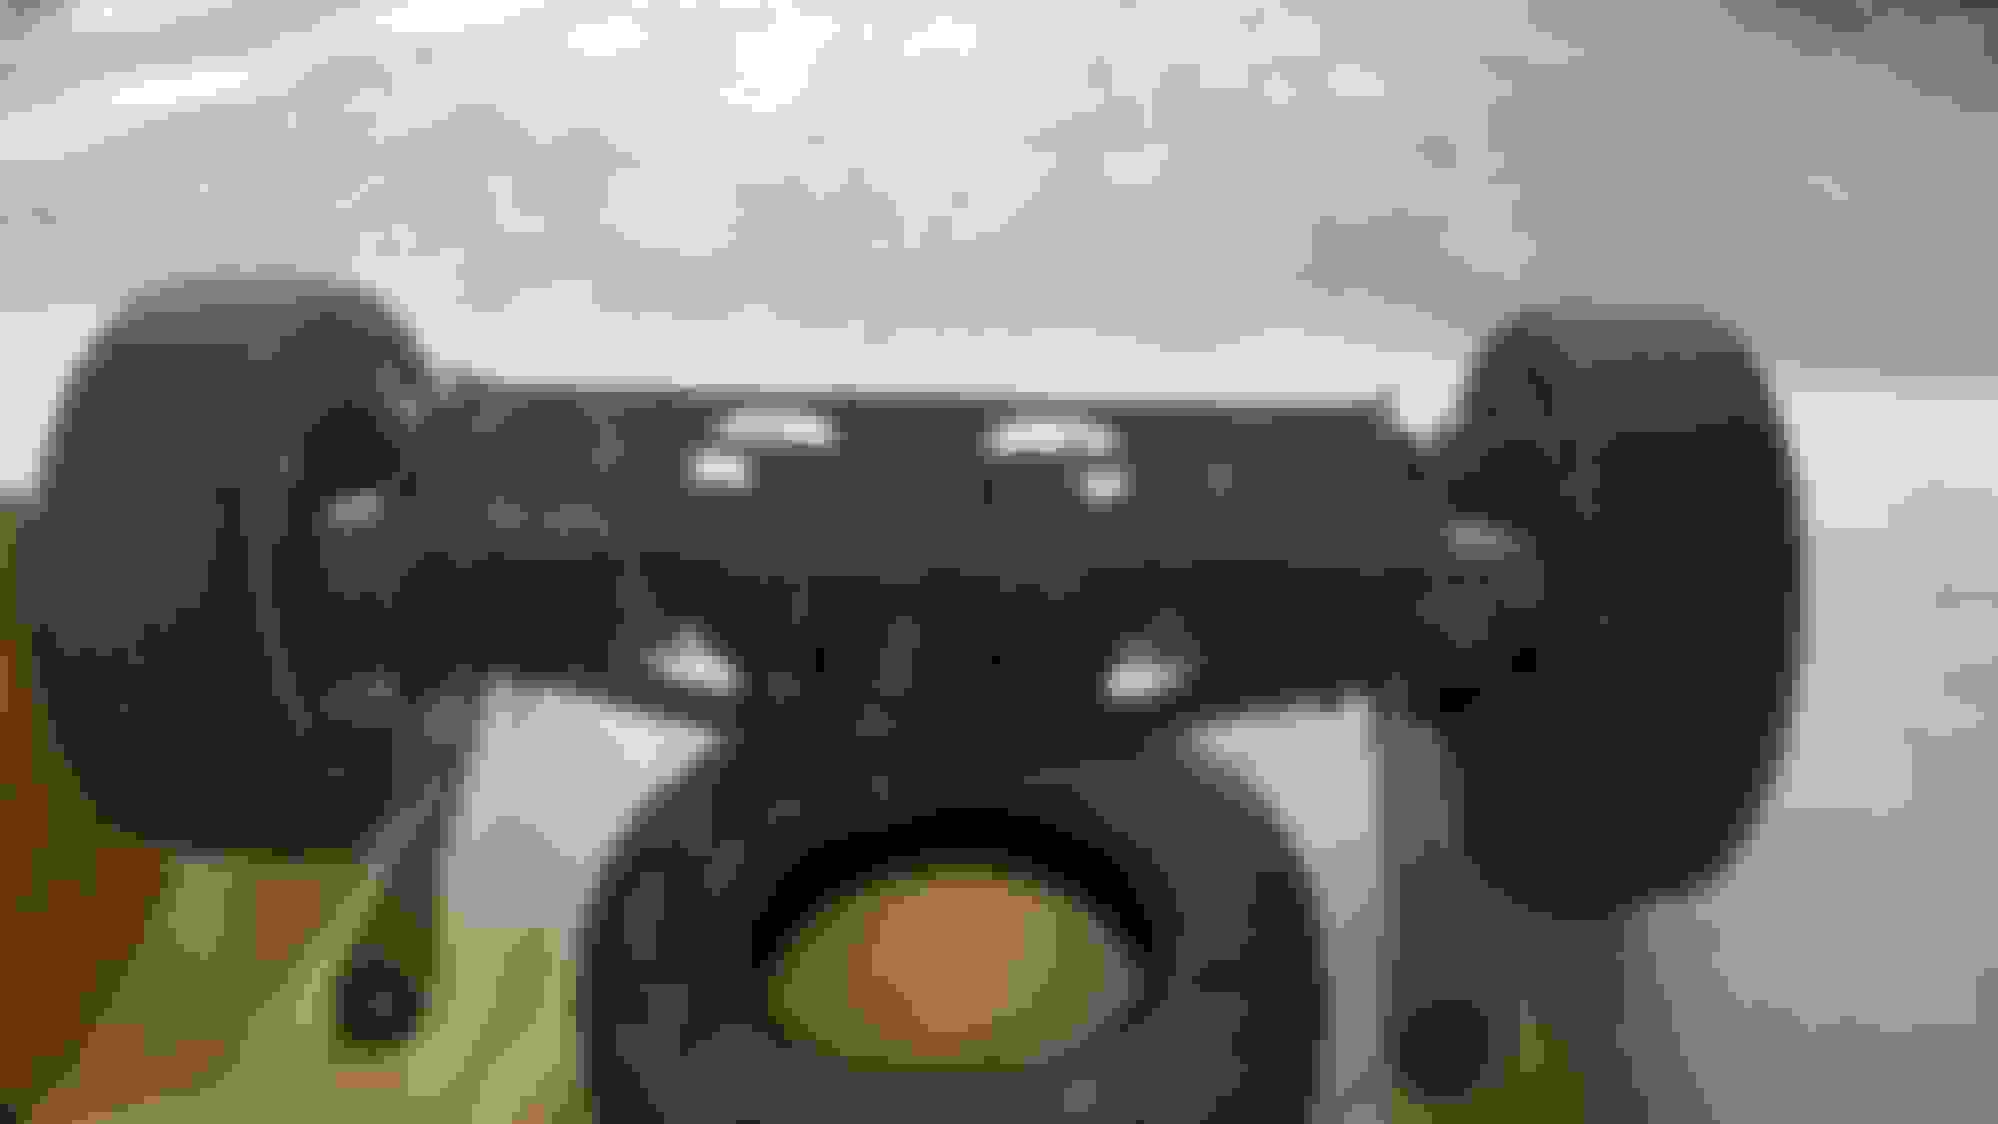
Radius Arm out. Looks like I need new rubbers.
Pretty much just these two brackets each side hold the cradle in place!
Stage 1 complete!
Last edited by paulyling; Jun 30, 2018 at 07:15 PM.
How long do you think it would have taken, if you were working continuously?
You might have to get some new Trailing Arms by the look of those?
What was the hardest part of doing it, as you've made it look so easy, although it probably wasn't
I've also had the Puter hanging up with those big pictures: Next time that it starts to hang, stop it loading in the Browser Bar at the Top and then Start it again and it should load up
Well done again!
You've inspired me but I'd still rather not do it if I don't have to
Cheers guys. O.B to answer your question. If I was motivated and had no interruptions I reckon the job could be done in just a few hours. For some reason it took me a few months lol!
In my case I was lucky. There wasn't really any seized up bolts and most weren't rounded. The only hard part was the unknown (ie. haven't done it before). The way Greg broke it down each step was quite easy. The only hair raising bit however was just finally lowering the cage as I didn't really know what was going to happen.
Anyway...I am back to work tomorrow....so a pause on this project. Have a fair bit of free time in August so will be continued....
Massively impressed by your achievement, let's just hope the next part goes as easy but we have the 'Rust Bug' in the UK where things like undoing Brake Pipes can literally throw a Spanner in the works (like my seized rear brake bleed nipple on 'The Ice Princess')
And a Speedo Sensor in the IRS, which looks like a 'Nightmare' to undo!