When you click on links to various merchants on this site and make a purchase, this can result in this site earning a commission. Affiliate programs and affiliations include, but are not limited to, the eBay Partner Network.
After a bit of trial and error with the tool, I made a small mod adding a ~20 degree bend 3 inches back from the blade which improved alignment.
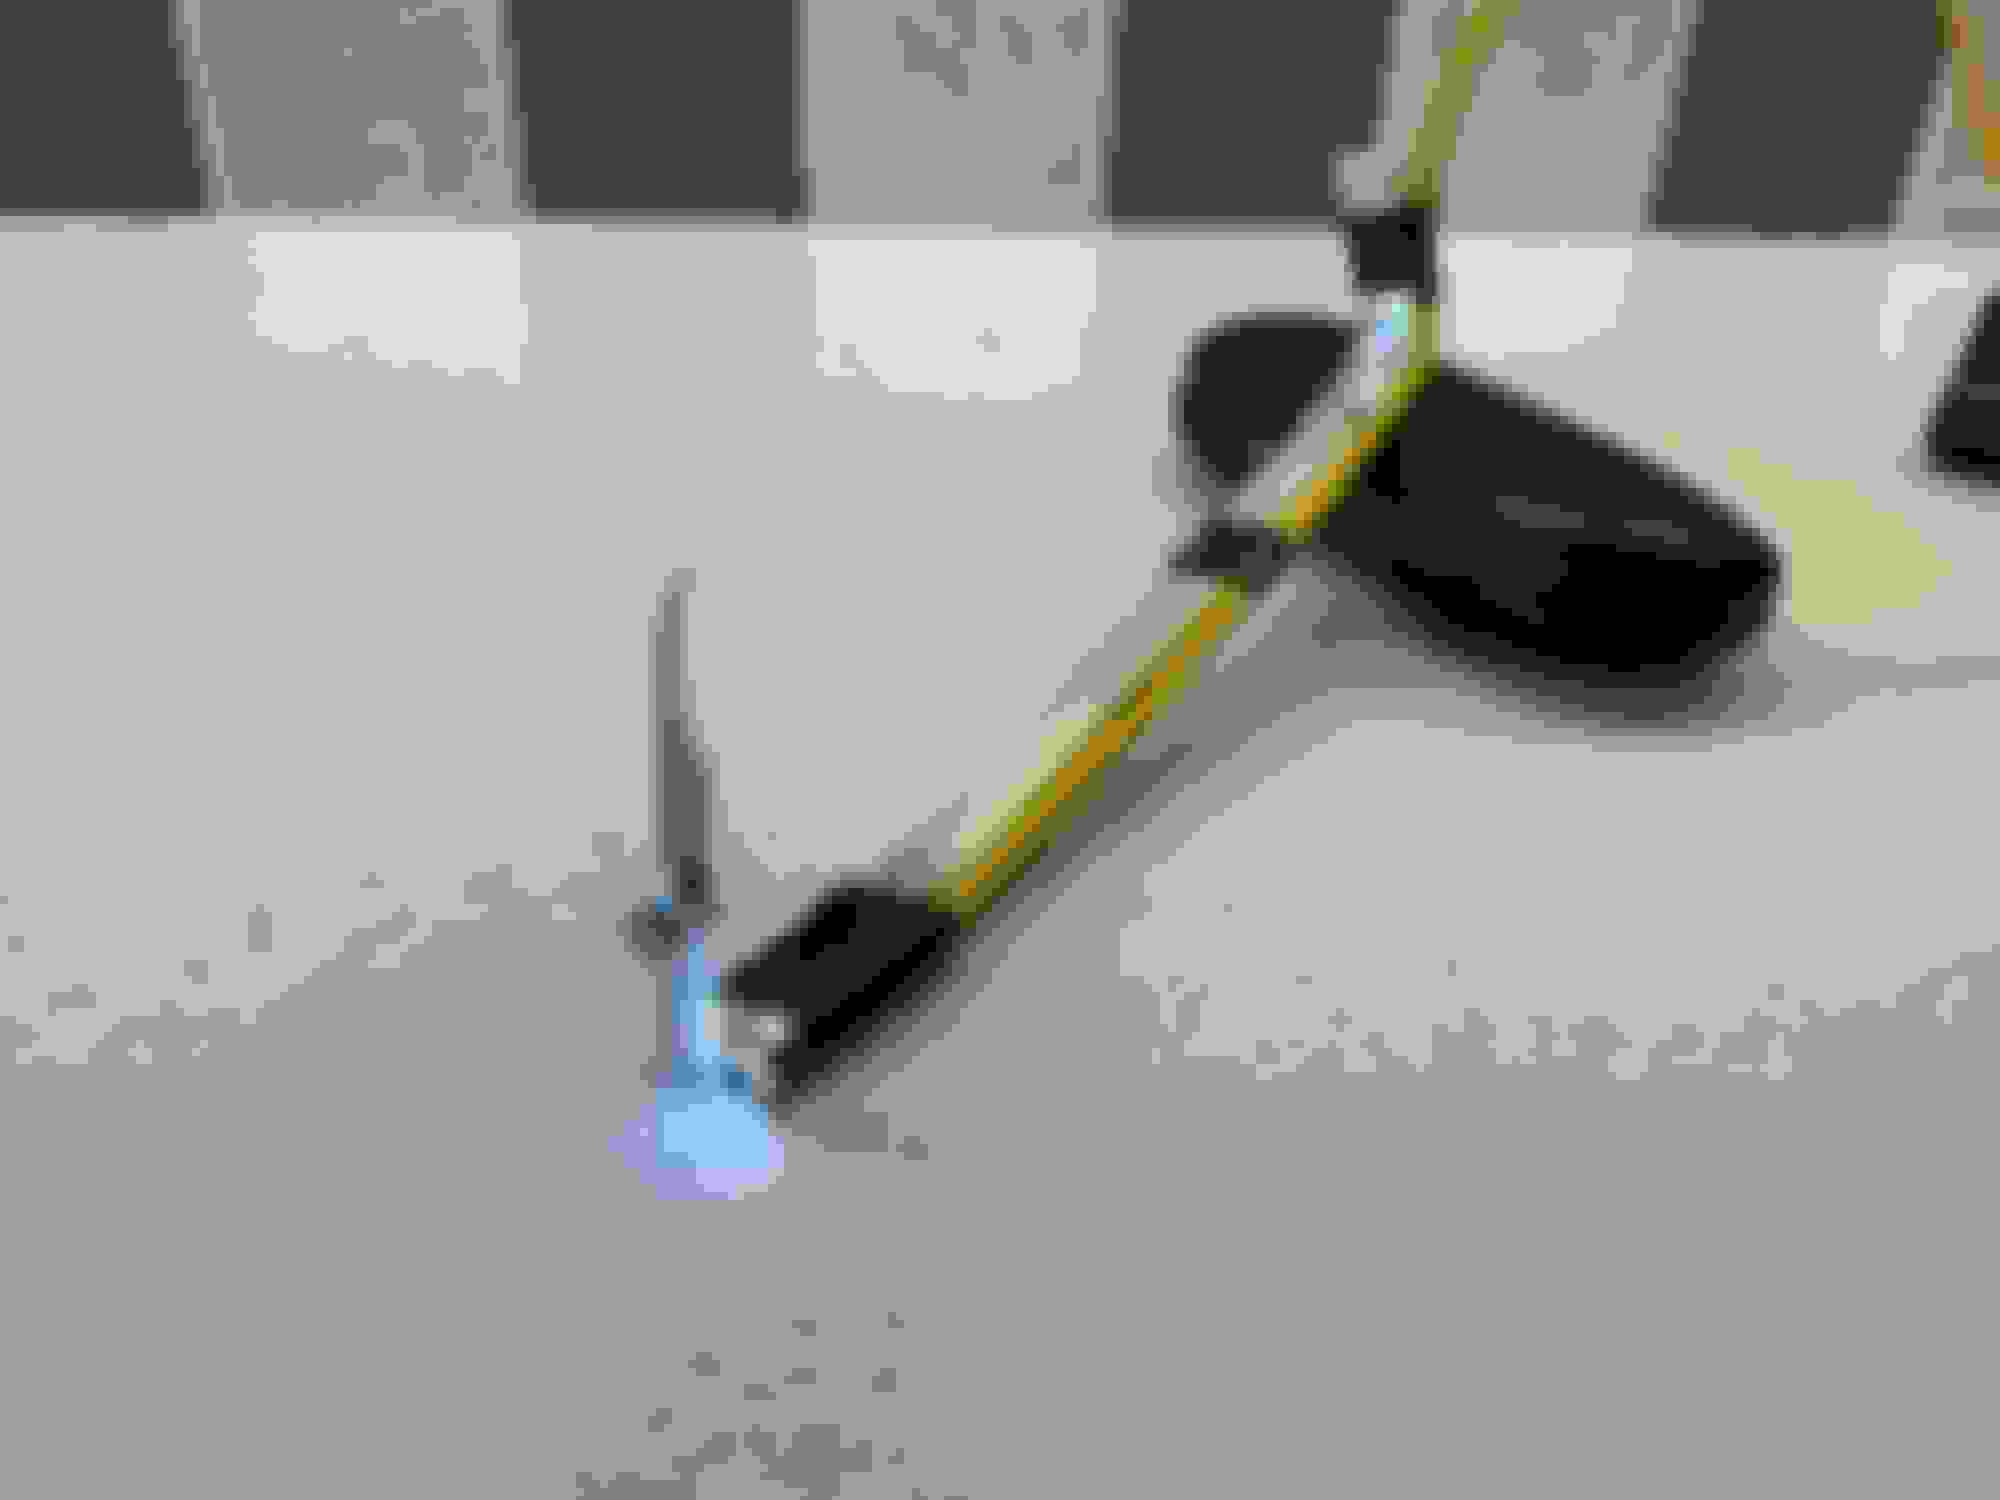
After struggling to position the camera AND manoeuvre the blade into position, I taped the camera to the tool and used the second lens to give a perfect view of the blade!
Here are some pics that may help others�
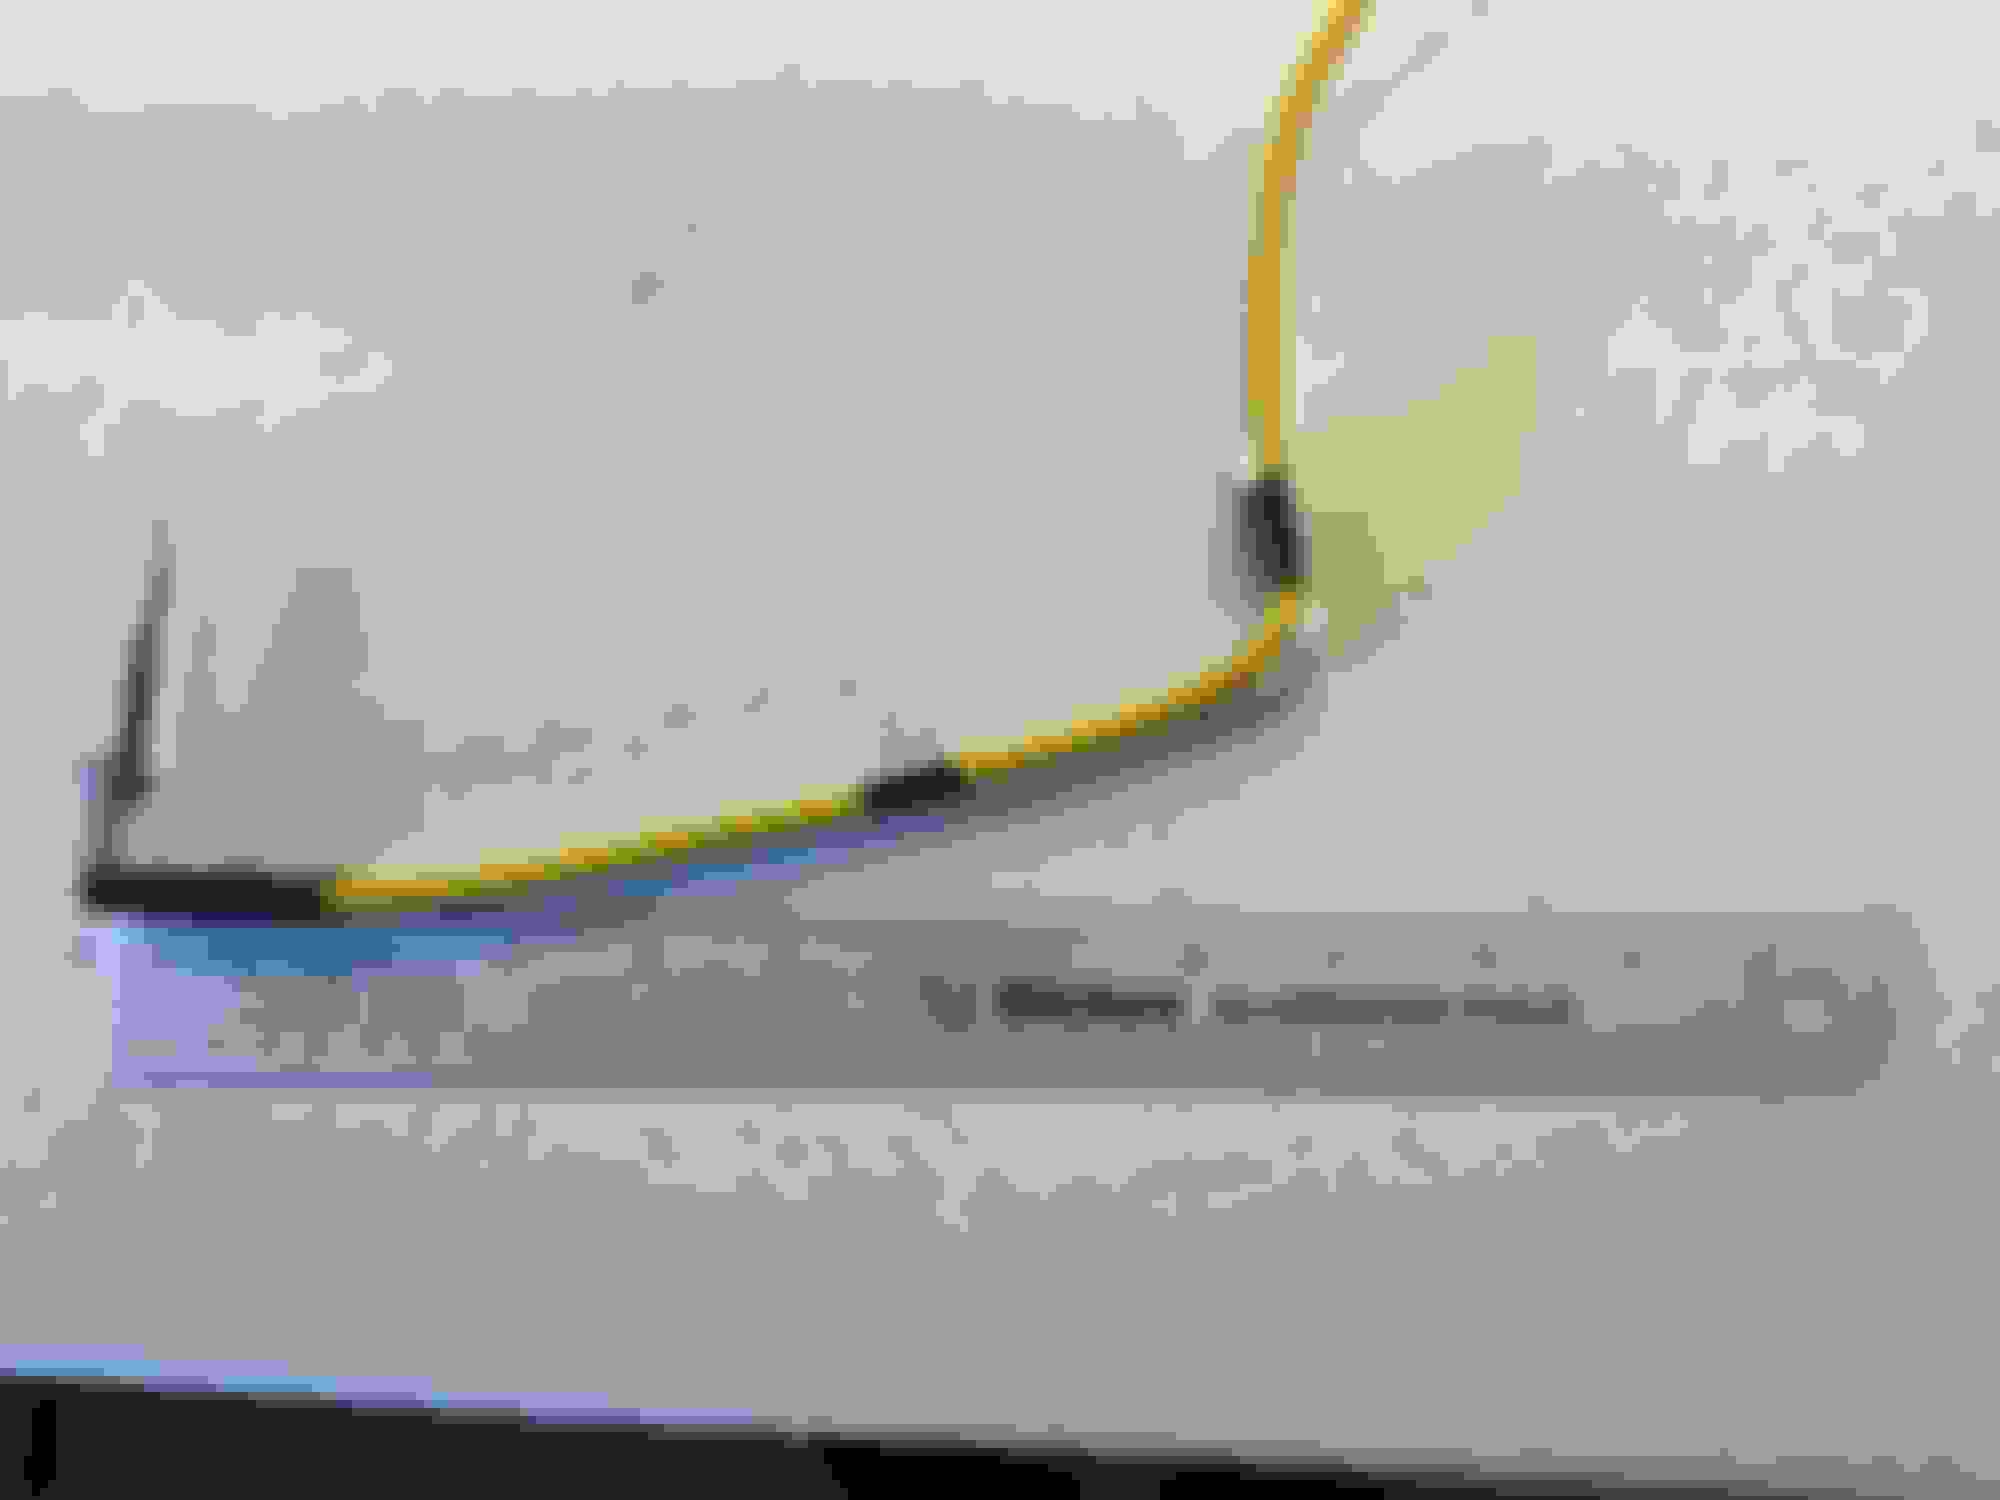
The tool follows AJ�s original design with the addition of the 20 degree bend about 3� back from the blade. (X-Acto blade and aluminium flat bar from eBay)
The tape marker at 5.75� follows AJ�s advice and makes it easy to locate where the hole is.
Forward facing camera and dimmable leds Side facing camera with dimmable led � you can show both views simultaneously on your iPad connected over WiFi I cut down and reduced the width of the tool from the bend to the blade to stop it snagging on the edge of the hole. I also used a 4mm nut and bolt which made it easy to change the blade after a few failed attempts
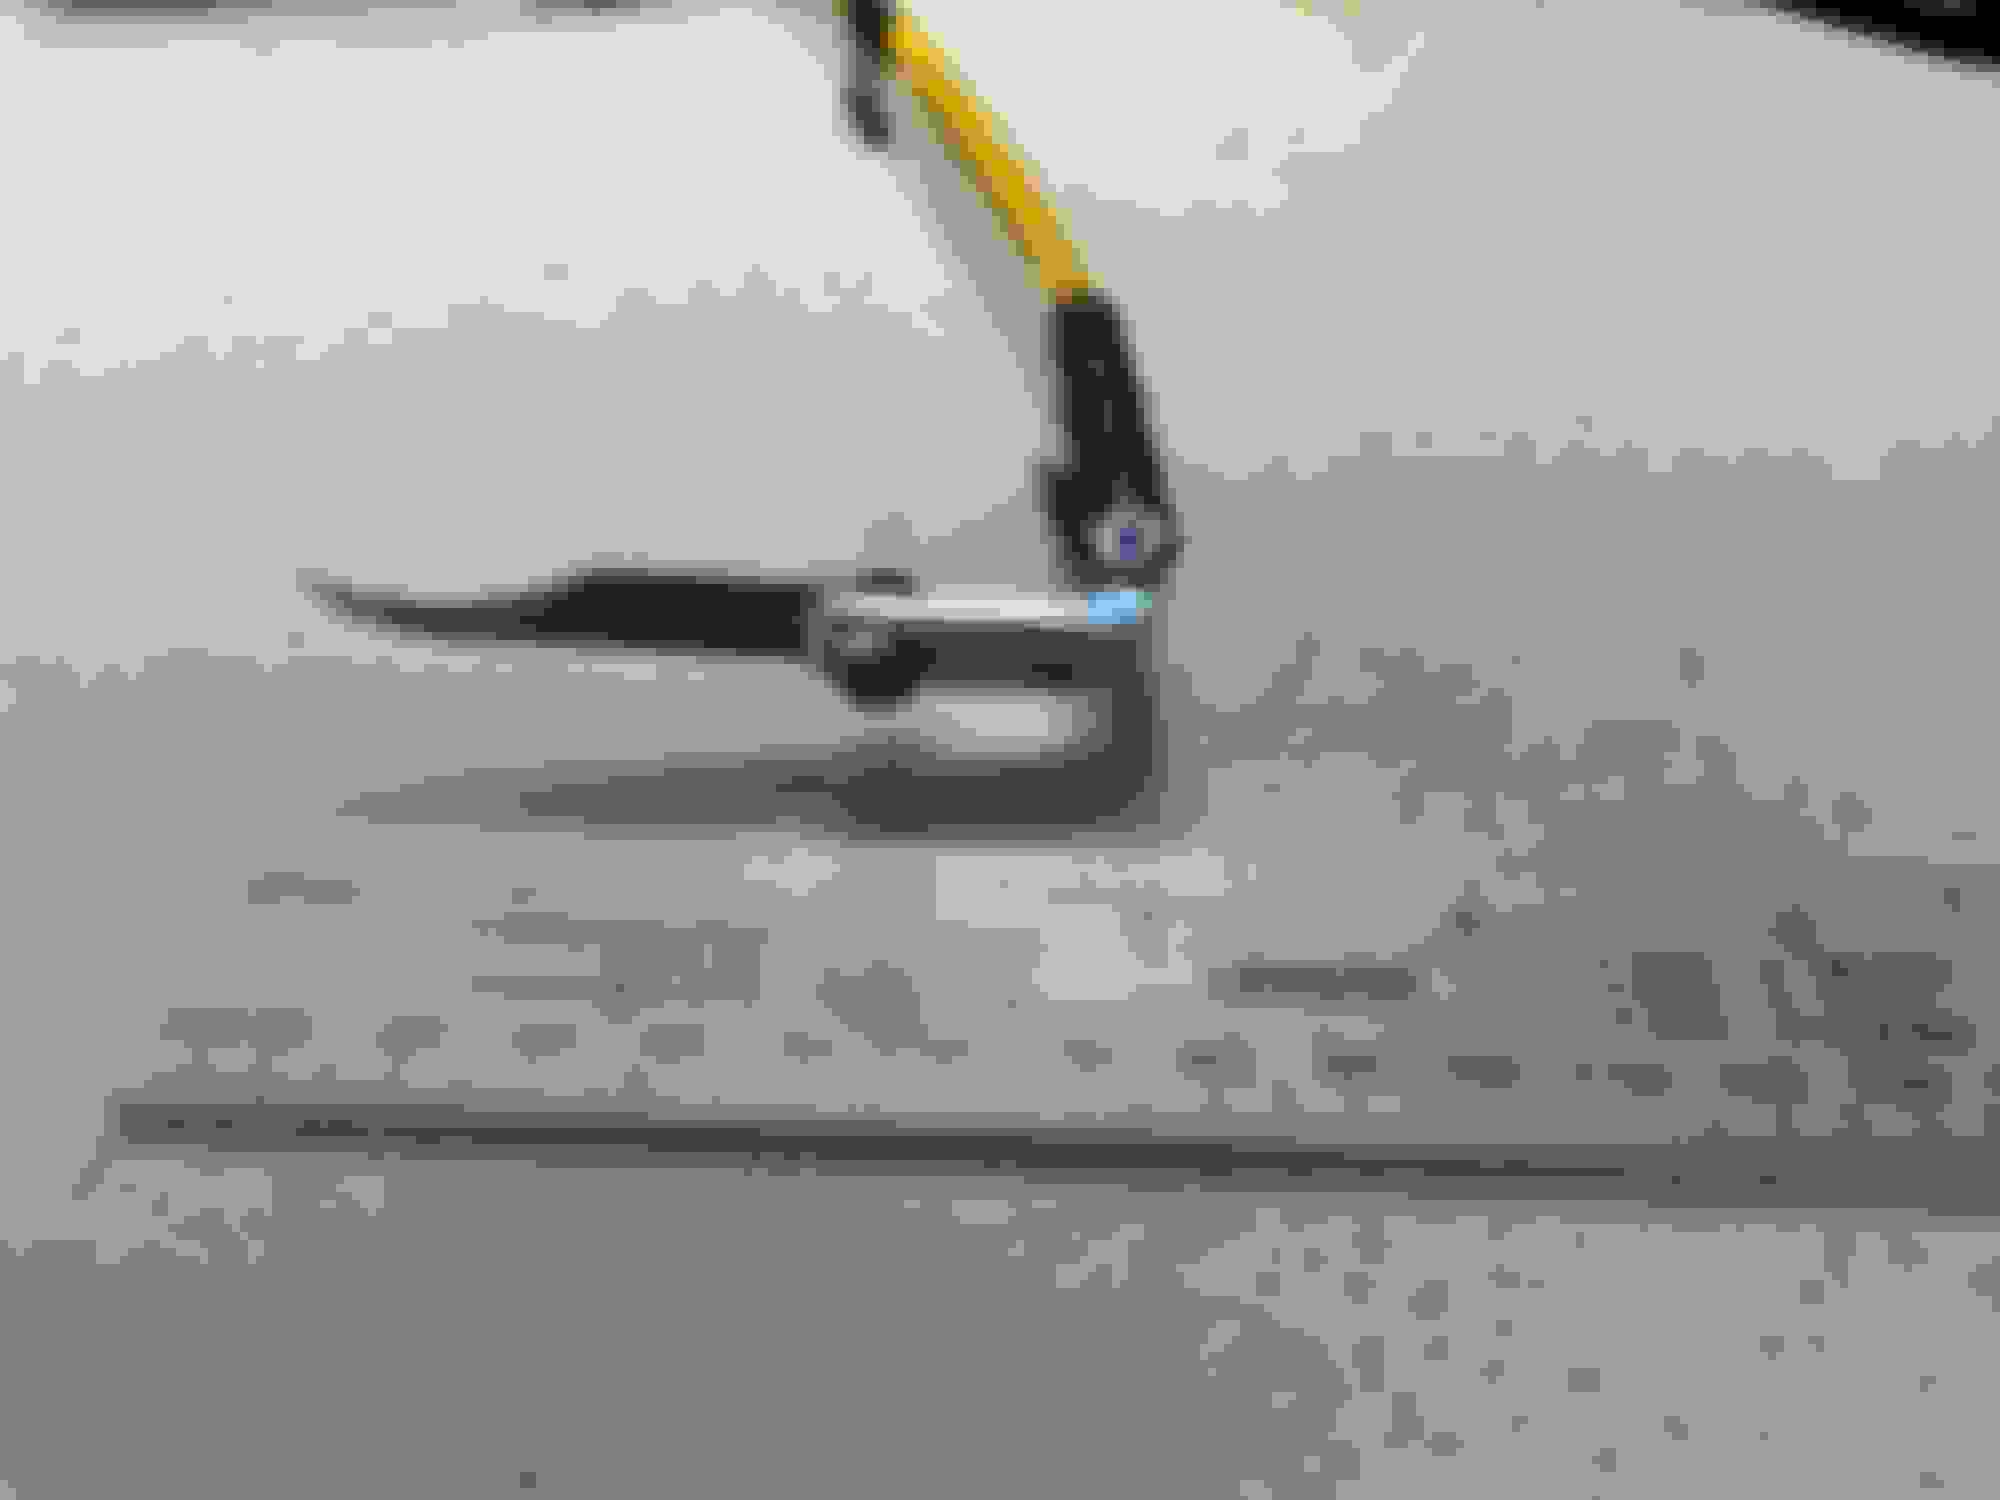
The duck bill is about 2.5� up the hole, it protrudes horizontally from the firewall.
The camera is great for positioning, it doesn�t give much of a view when you start sawing but at least you have some confidence that you�re in the right place.
Side camera pointing upward into the hole showing the duck bill protruding horizontally forwards through the firewall Here is the camera attached to the tool giving a very clear view of the blade
I thought the blade here was a bit too close to the firewall� I didn�t want to cut it too close and risk a leak in the car Positioned better this time Managed to remove one side of the duckbill which I hope is enough. Couldn�t get any final pics because at this stage my hamstrings were loudly protesting at my contortions!
I took the car for a good run with the A/C on maximum cooling�.
no more dripping in the passenger footwell and some healthy puddles under the car!
Job done for about fifty quid and I�m sure the endoscope will be very useful in future!
Hope this helps others facing similar problems!
Well done my friend! The use of that dual lens endoscope was genius! Didn�t know such a thing existed. Saved you hours of poking around blindly for that hole.
Great job! I'm struggling with my MY10 5.0. I already replaced blower motor (stopped working due to rust and water) and cannot find a duckbill using endoscope camera.
Jut to Add - https://victorsservicecenter.com/common-repair/
Thanks for all these pics and everything. I had to pull the engine on my JAG and figured I would remedy the A/C problem while engine is out.
some shops drop the transmission to reach the poor designed duck bill.
also a duck bill drain works great on a boat not so sure about a car.
wish I had seen this post sooner but glad to finally fix the A/C Drain issue for good...
Hi, I'm Sorry but it's near impossible on a S/C as there is no room to get down the firewall. Your only option is to lower the gearbox on the mounts or pull the dash. I had a quote for about �400 to remove the dash and replace the duckbill which I thought not too bad but in the end the gearbox option worked.
Hope you get it sorted.
Cheers Ian
As a 6�6� guy with big hands, trying to fit my hands into tiny places always results in lots of screaming followed by cuts and slices. So I would try another route. From the inside of the heater box.
the duckbill is there to drain condensate. But since its under the car, they didnt want leaky exhaust to be sucked up inside the car so they closed down the drain. So cutting it off leaves you open to get exhaust gases inside.
so you need to get the drain open again. And then lubed up so it doesnt stick together.
a combination of spray ac coil cleaners sprayed into the evap coil area and some mineral oil (or any other viscous lube) with some pressurization does the trick. You have to block off the vents and spray the crap out of the evap coil intake to get the cleaner to pool at the bottom of the heater box and let it soak for a long while (maybe days). It needs to work its way past the minerals that stuck to the drain. Then block the vents and hit it with pressure to force it thru the duckbill. You could try using the blower for pressure or fashion up a way to use an air compressor. You need to get that cleaner to work its way into the drain and not blow it out the ducts. They make s cleaner that s to get rid of musty odors from coils that got wet and left to form mold or mildew but ive not tried it. That stuff would probably be good to try Then the mineral oil lube. Problem is it can leave some stink if you dont rinse it all out
a good fizzy type coil cleaner will be a bit more aggressive. Theres probably a better chemical that could be used but it cant harm the coil or the other components so be aware or that. Coil cleaners are generally safe. Simple green is a good choice. Just dont use anything acidic or youll kill your evap coil
the duckbill is there to drain condensate. But since its under the car, they didnt want leaky exhaust to be sucked up inside the car so they closed down the drain. So cutting it off leaves you open to get exhaust gases inside.
Erm...nope. The duckbill is above the transmission. Exhaust fumes can hardly be a problem in the place where it is located. And that would also require a leaky exhaust to begin with.
Erm...nope. The duckbill is above the transmission. Exhaust fumes can hardly be a problem in the place where it is located. And that would also require a leaky exhaust to begin with.
You mean the transmission thats right between two exhaust pipes, 4 o2 sensors screwed in those exhaust pipes, and behind a set exhaust manifolds?????
ya none of those could possibly leak.
and with a belly pan theres no way exhaust gas could pool up and get into an open hole to the heater box!
just forget I said anything George! You got this covered.
for anyone else with an open mind, you can read all about duckbill �one way back flow preventing valves� here Duckbill valves
Wouldnt it be easier to just try something like Brody�s Condensate drain cleaner versus making wolverine finger knives or sticking sharp pointy evap puncturing tools into small holes you cant readily see or feel??
I mean, they make condensate drain cleaners for a reason.
You mean the transmission thats right between two exhaust pipes, 4 o2 sensors screwed in those exhaust pipes, and behind a set exhaust manifolds?????
No. I mean the transmission, as in "gearbox". So let me rephrase to make this perfectly clear: the duckbill is located in a hole right above the gearbox.
And cutting its tip makes the fix permanent, unlike using a condensate drain cleaner, which would require cleaning on a regular basis (with the occasional wet passenger footwell as a reminder to do it).
To each his own, but as far as I'm concerned, I'd rather go for the permanent fix. Which is on my to-do list for this weekend BTW.
Happy, now?
Last edited by George Abitbol; Jul 19, 2022 at 02:37 AM.
Erm...nope. The duckbill is above the transmission. Exhaust fumes can hardly be a problem in the place where it is located. And that would also require a leaky exhaust to begin with.
Originally Posted by Aarcuda
You mean the transmission thats right between two exhaust pipes, 4 o2 sensors screwed in those exhaust pipes, and behind a set exhaust manifolds?????
ya none of those could possibly leak.
and with a belly pan theres no way exhaust gas could pool up and get into an open hole to the heater box!
just forget I said anything George! You got this covered.
for anyone else with an open mind, you can read all about duckbill �one way back flow preventing valves� here Duckbill valves
Originally Posted by tarokyama
LOL we got a genius here.
Originally Posted by George Abitbol
No. I mean the transmission, as in "gearbox". So let me rephrase to make this perfectly clear: the duckbill is located in a hole right above the gearbox.
And cutting its tip makes the fix permanent, unlike using a condensate drain cleaner, which would require cleaning on a regular basis (with the occasional wet passenger footwell as a reminder to do it).
To each his own, but as far as I'm concerned, I'd rather go for the permanent fix. Which is on my to-do list for this weekend BTW.
Happy, now?
not really. Not sure how changing transmission to gearbox makes any difference.
cutting off the duckbill is like removing your colon because youre constipated. Be a lot easier if there were some liquid that would solve the problem.
much like cutting off the one way duckbill valve instead of using a cleaner�. Just saying
FYI your comparison is totally lame, as your constipation doesn't come due to poor colon design.
But to each his own...if in your sheer genius you want to keep using a cleaner on a regular basis while every single one of us dumbasses here goes for duckbill surgery so as to be rid of the issue once and for all, more power to you...sorry, we're just too stupid to grasp the extent of all this genius.
Wouldnt it be easier to just try something like Brody�s Condensate drain cleaner versus making wolverine finger knives or sticking sharp pointy evap puncturing tools into small holes you cant readily see or feel??
I mean, they make condensate drain cleaners for a reason.
Count me in as confused. Where would you pour this stuff? How do you access the evaporator drain pan?
Count me in as confused. Where would you pour this stuff? How do you access the evaporator drain pan?
Same here. I've been following this with interest as my 2008 XKR currently drains fine, but I understand that it's only a matter of time before the duckbill clogs. Since mine is a 4.2 supercharged, access to the duckbill from behind the engine seems to require flat 2-dimensional arms. So I would be quite ok with an annual chemical treatment if that were a viable alternative. BUT - unlike the duckbillectomy options that have been well documented with pictures, descriptions, etc., @Aarcuda 's method seems hypothetical instead of a step-by-step DIY instruction.
3-4 months ago I tried the method posted by Chris77 (on the 10-05-21 (post 2449854)) with total success, the only thing I did differently was I put a sharpened spike on the tool with the camera (Dual Lens Camera Wifi Endoscope Hd1080p 2.0mp 8mm 5.5mm 3.9mm Rigid Cable Led Ip68 Waterproof Borescope For Android Iphone F300 - Endoscope Camera - AliExpress) rather than a cutter blade, I did it this way to preserve the integrity of the duck bill.....I reasoned that it's shaped that way for a purpose. So with the tool positioned I massaged (prodded) the end of the duck bill and voila, the duck bill opened and dropped 2 puddles of water on my garage floor each side of the trans tunnel. The next day I put a generous amount of silicon grease on the tip of the spike and massaged it into the opening of the duck bill. Every couple of weeks after returning from a drive I put the air-con on 'Lo' with the fan on full and check under the car for water and so far so good, water on the driveway and not in the passenger footwell!
The pics supplied are the result of using Chris77's method of solving the duck bill issue.
The only thing I did differently was I used a sharpened probe with the endoscope Dual Lens Camera Wifi Endoscope Hd1080p 2.0mp 8mm 5.5mm 3.9mm Rigid Cable Led Ip68 Waterproof Borescope For Android Iphone F300 - Endoscope Camera - AliExpress to pry open the closed duck bill, rather than a cutter, this so I could retain the integrity of the duck bill as I reasoned that it's designed like that for a purpose
Following opening the duck bill I liberally coated the probe with silicon grease and coated the inside opening of the duck bill with it to hopefully inhibit the fusion of it's rubber sides again
I did this 3-4 months ago and have had no problem since.
I would suggest to any new readers of this thread to go back to the thread starter DpezXKS the pioneer of this method, then to the post (No.35 and 44) of kj07xk for and updated tool and important notes, dimensions and pics to locate the opening where the duck bill is located. then finally to the post of Chris77 for the latest incarnation of the tool.
Last edited by KiwiAuldPhart; Jul 23, 2022 at 11:30 PM.
Reason: spelling and addition