When you click on links to various merchants on this site and make a purchase, this can result in this site earning a commission. Affiliate programs and affiliations include, but are not limited to, the eBay Partner Network.
Is there a 'how to' for removing the side gills trims?
Anyone know how easy it is? I heard there is a fastener on the inside of the wing so must be a sod to get to? I want to have mine painted in midnight black so colour coded rather than silver.
I know there are some 'clip over' add ons but i would prefer to get them painted i think and i cant see any black ones anyway.
I also want to colour code the rear silver 'jaguar' boot trim. I would imagine that is easier to get off?
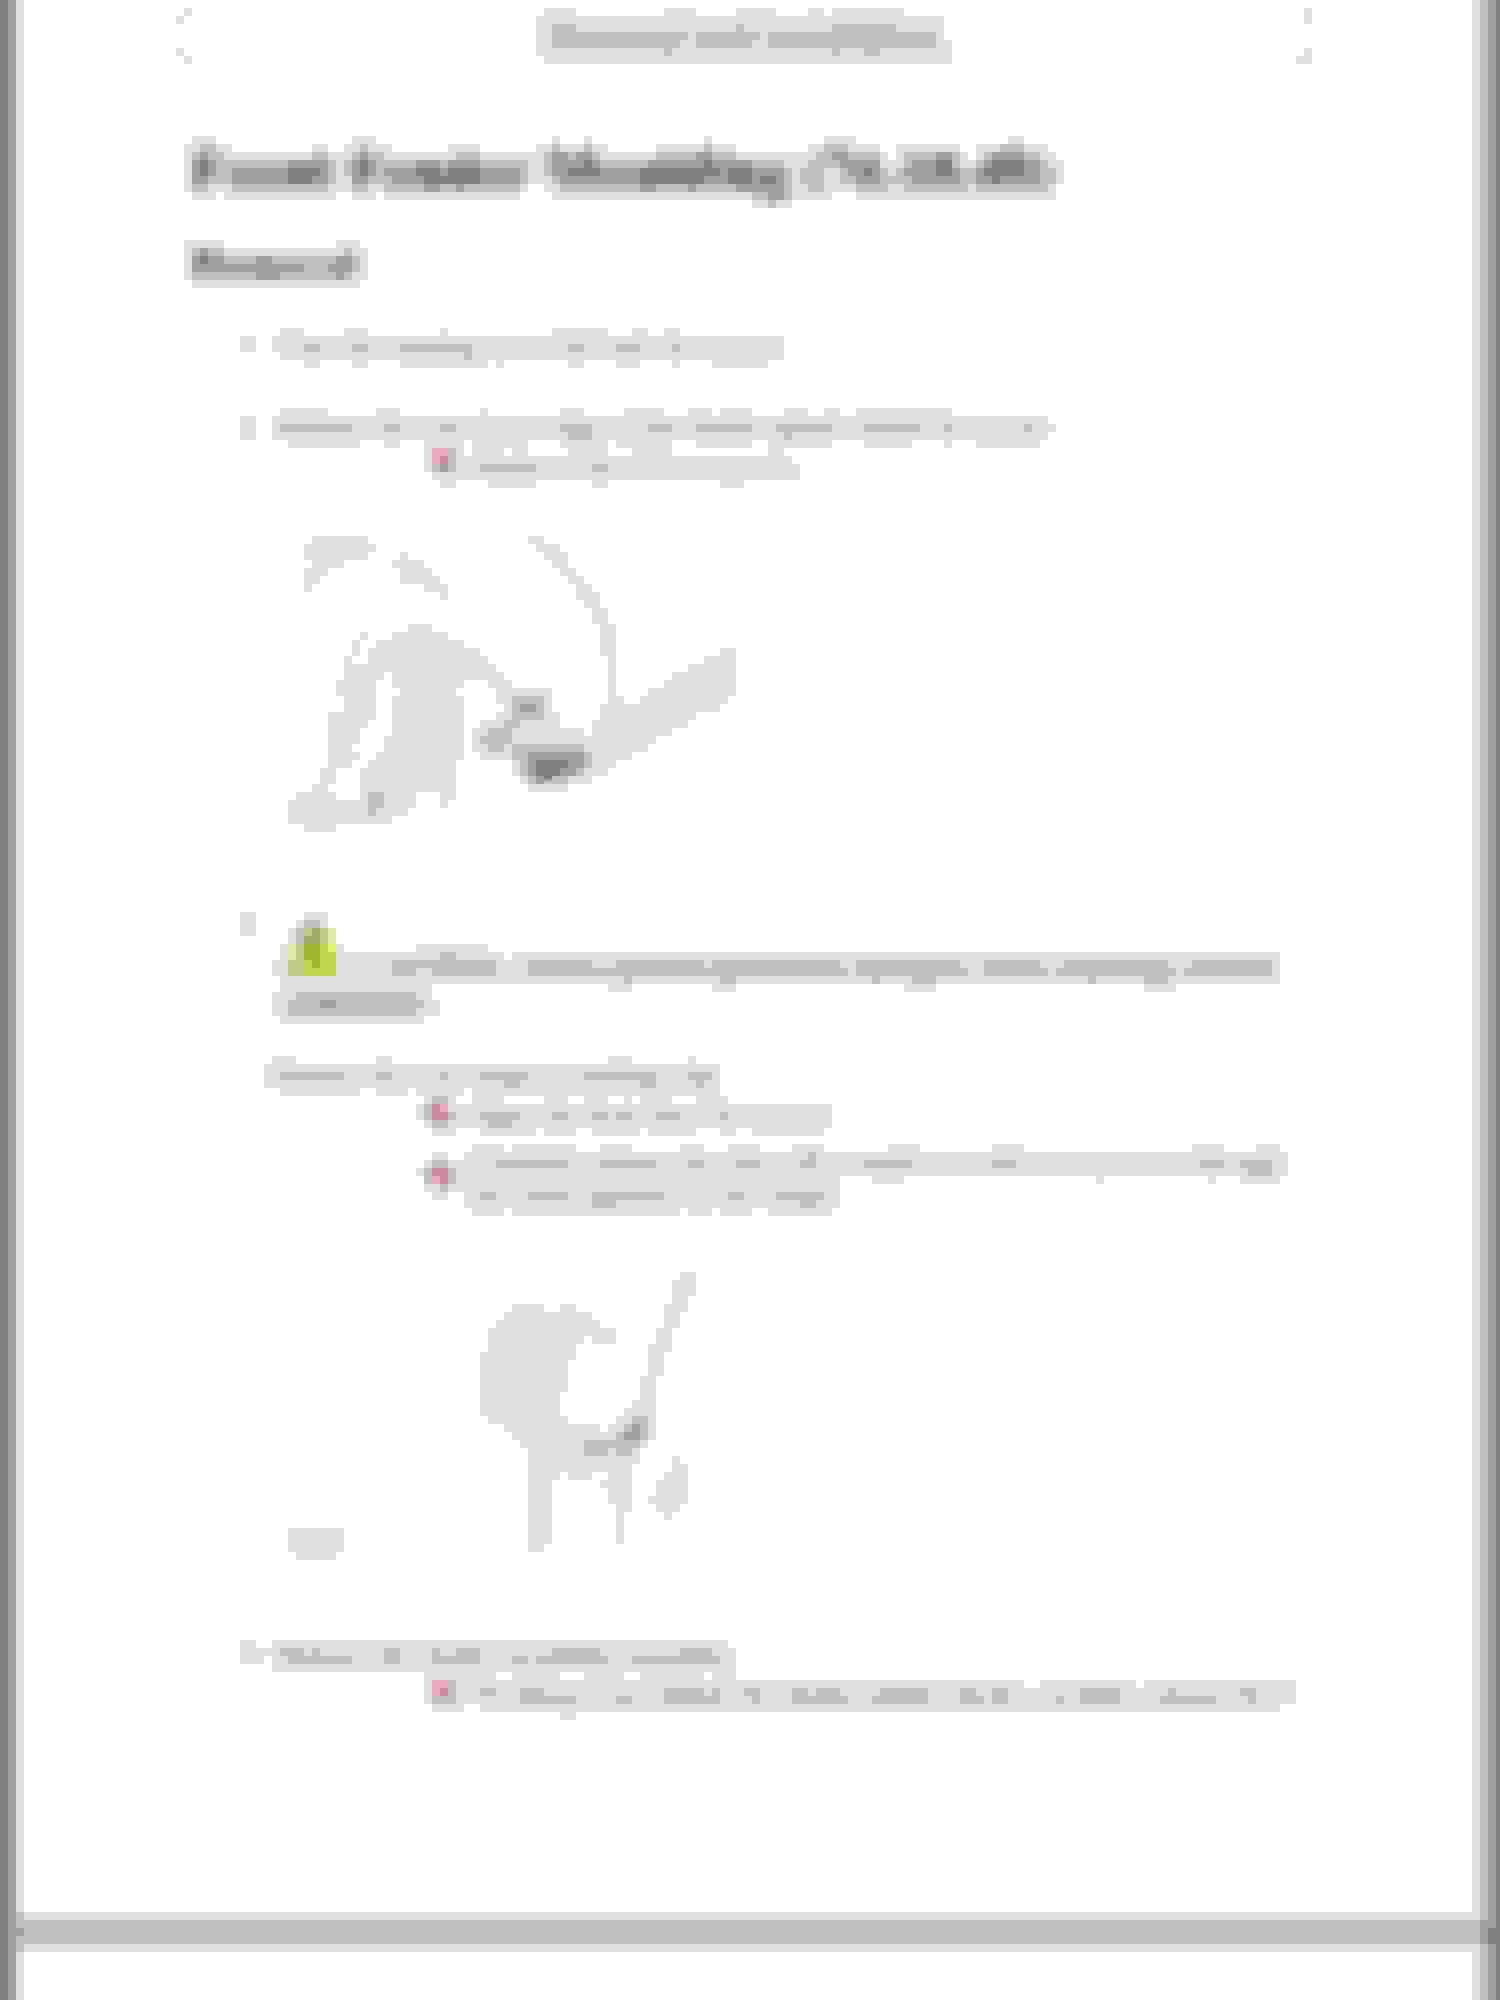
Removal of both items are covered in the Workshop Manual, which can be obtained from a vendor via the Internet.
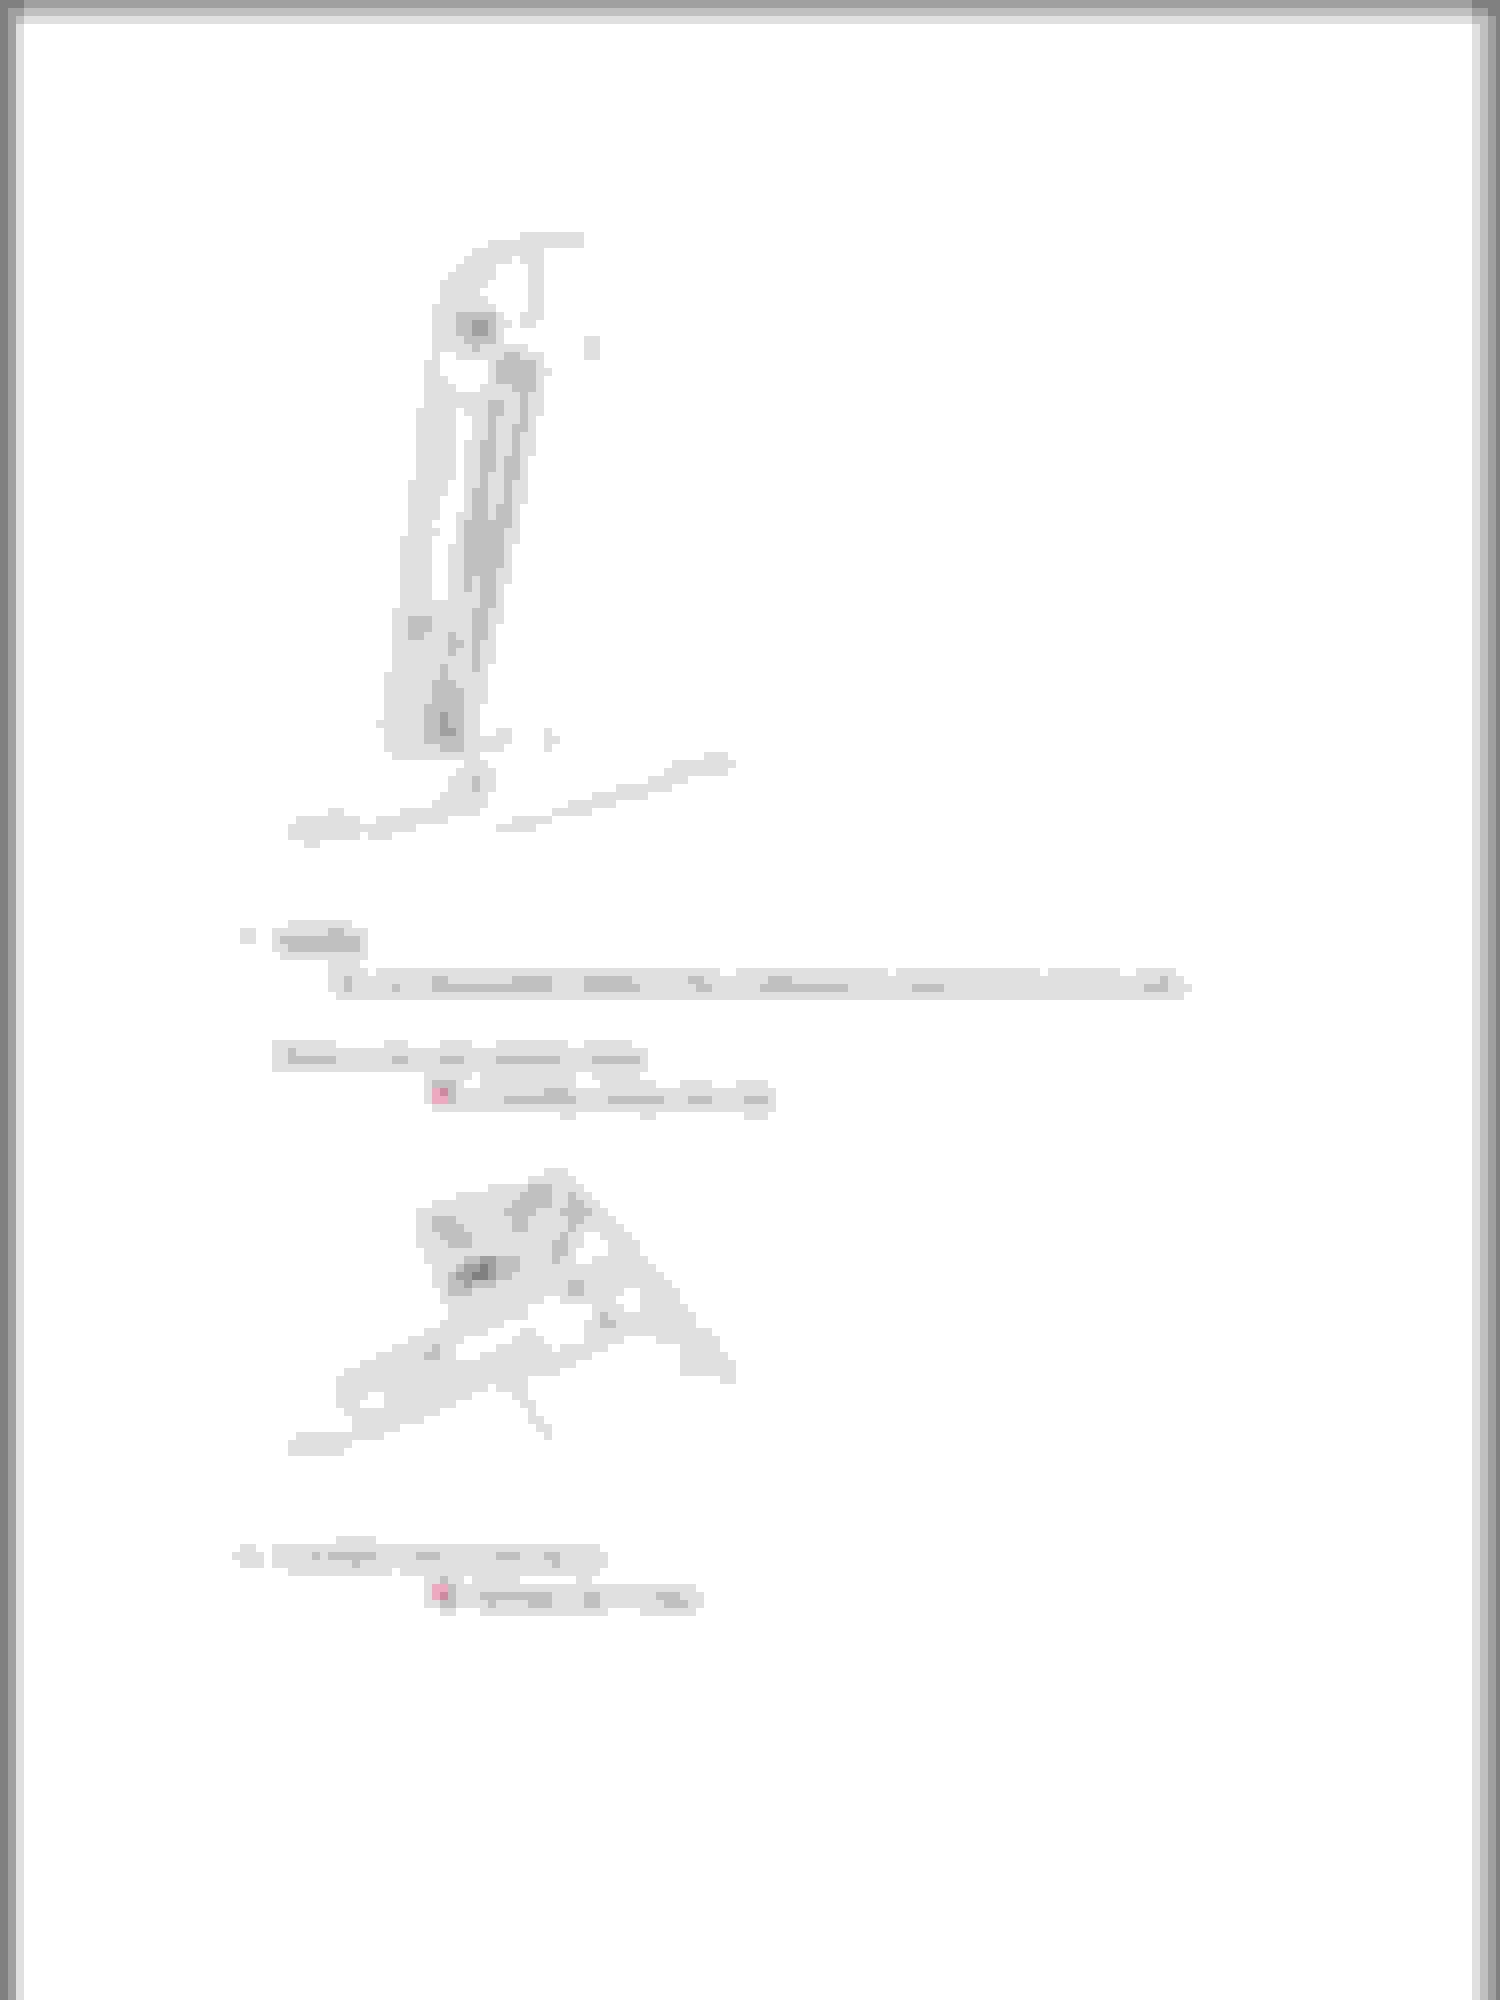
To remove the trim on both front wings, remove the trailing edge of the inner wheel arch cover Torx screws. Next, with the door open, carefully release the retaining clip through the small aperture in the wing.
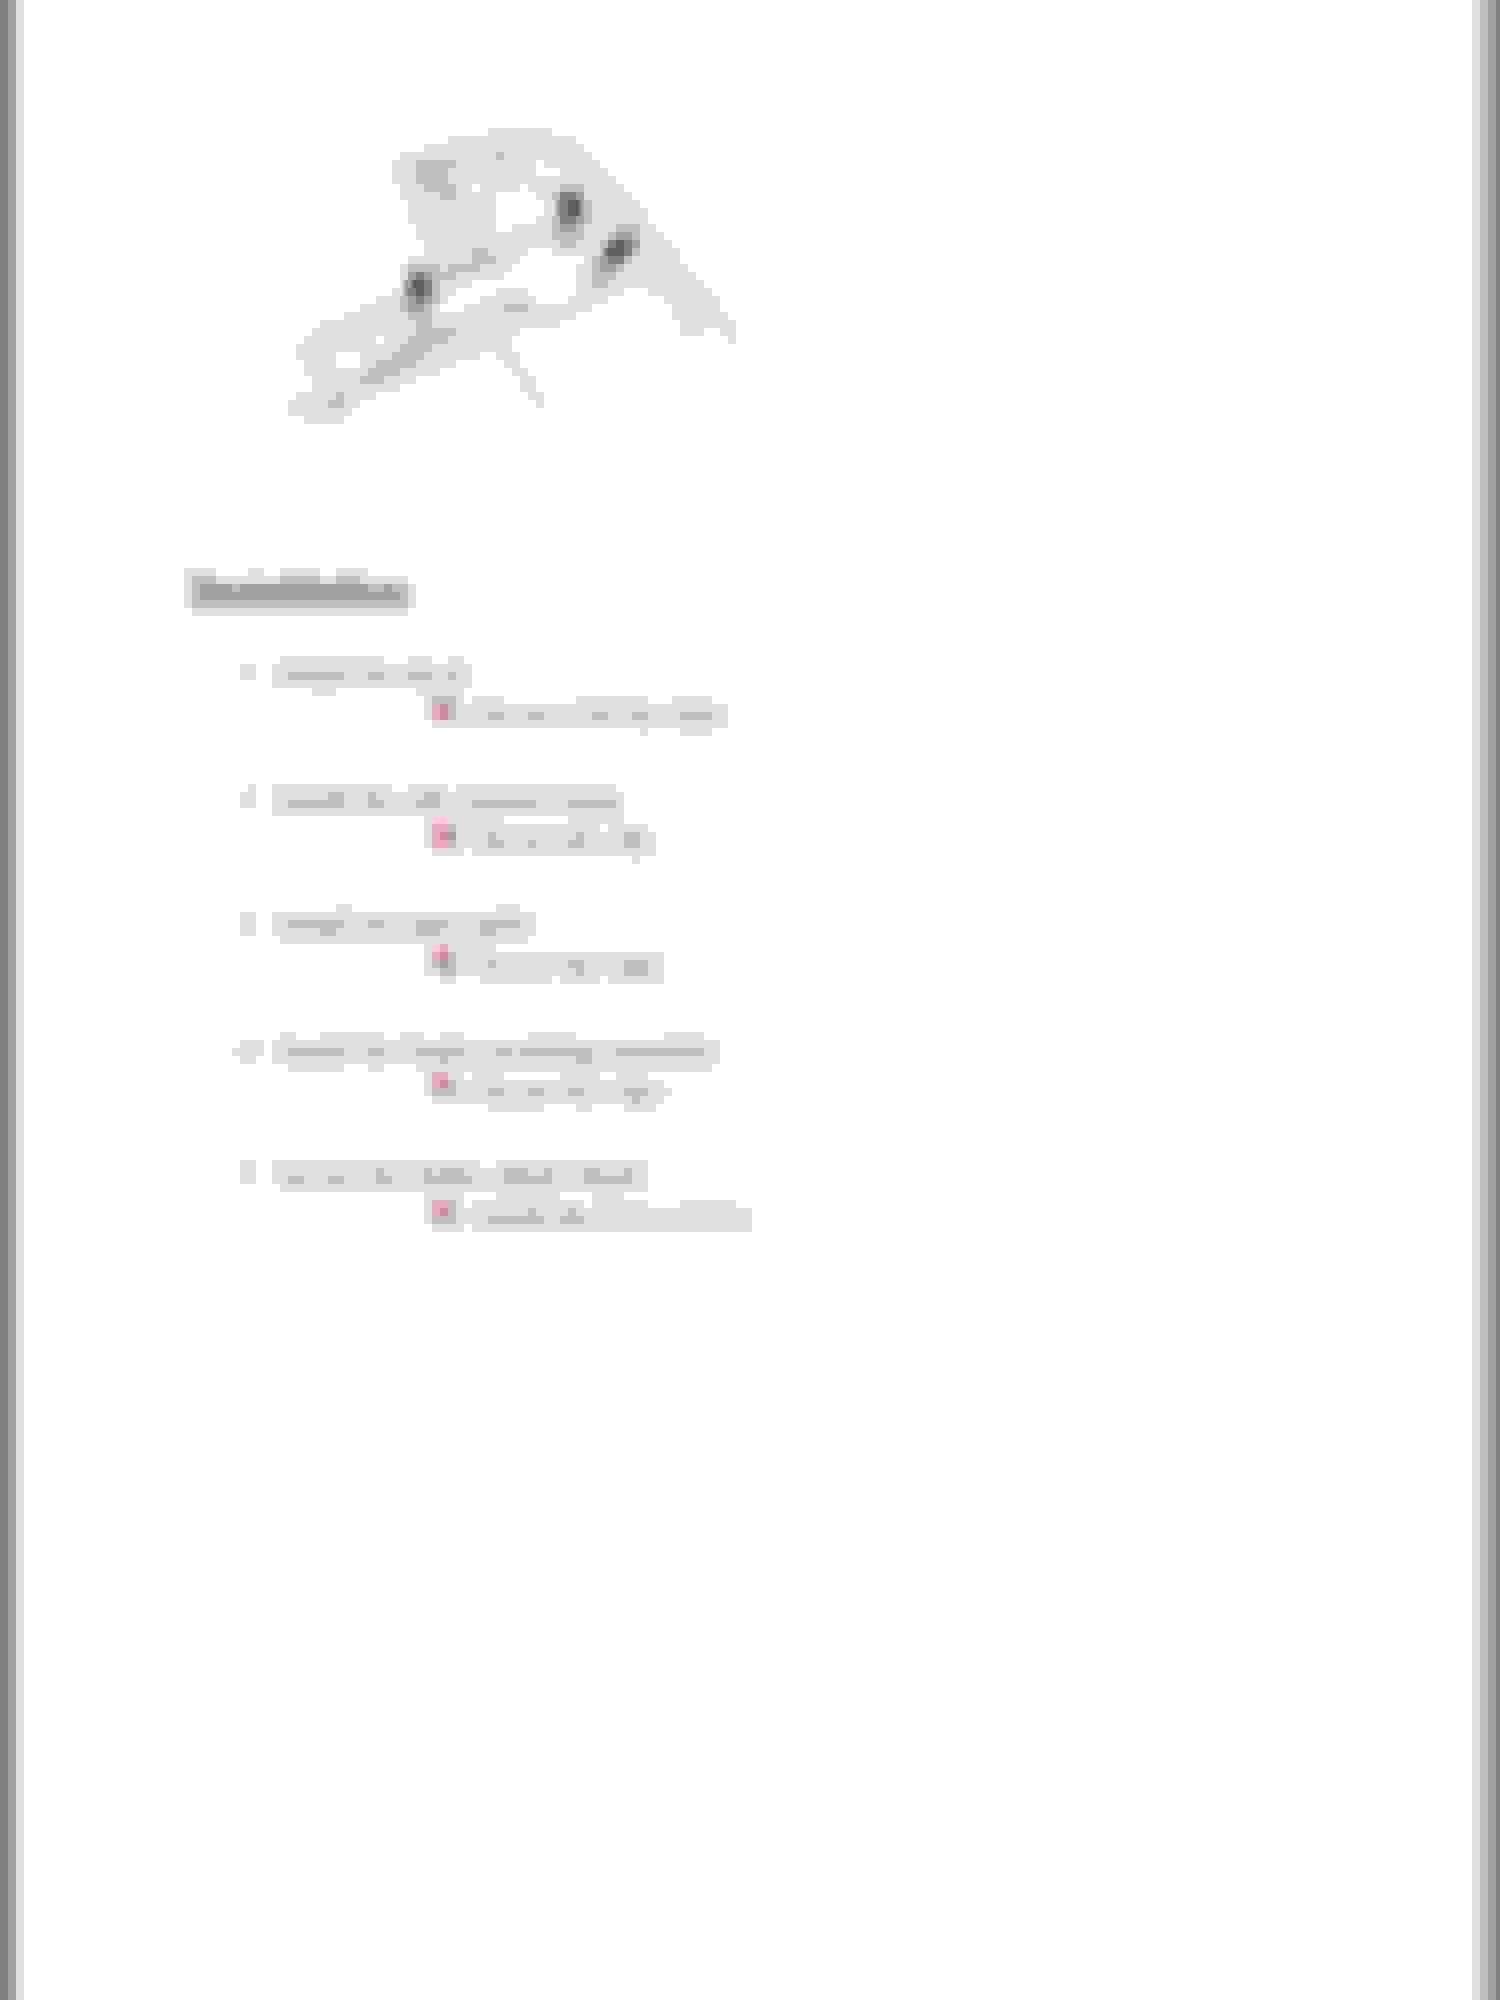
The rear number plate lamp holder retainers can be accessed once the trim is removed from the rear boot lid/hatch.
Thanks NBCat! I'll have a look at that. Not sure why the door would have to be open but I'm sure it will all become clear! Pleased it can be done from the wheel arch anyway. Cheers
The door must be open to gain access to the back side of the wing. There is a small opening for a screwdriver to be inserted to carefully release the locking tab.
The door must be open to gain access to the back side of the wing. There is a small opening for a screwdriver to be inserted to carefully release the locking tab.
I am not aware of anything on the XK that looks silver that isn't in fact chrome plated plastic.
The fender vent and rear Jaguar script panels are regular painted plastic. The fender emblems are chrome plated plastic. One of mine is delaminating...
My side gills are painted silver but the boot trim is chromed on mine if you mean these pieces!?
Only just getting around to removing these! Yes these are the panels I want to remove. My rear boot/trunk trim piece isn't chrome though and just silver. Im getting that carbon effect hydro dipped to match the RS diffuser I'm fitting. Not sure if to get the side gills in the same or just painted? I'm thinking just colour coded painted. Also thinking about the wing mirror covers in carbon? Just a bit nervous removing them without snapping the clips!
The fender vent and rear Jaguar script panels are regular painted plastic. The fender emblems are chrome plated plastic. One of mine is delaminating...
Accurate, except for 2008 and 2009 XKR Portfolio models.
The first illustration shows the securing clips. Note the warning "Carefully remove the louvre, the securing clips may break". Jaguar plastic can break if you just look at it the wrong way!
My side gills are painted silver but the boot trim is chromed on mine if you mean these pieces!?
Just removed the rear bit, mine is the same silver as the side gills, not chrome effect. Wasn't as straightforward as I thought! I also undid the electric release switch then while working, the boot/trunk latched shut! For a minute, I thought was stuffed to get it back open! Luckily the interior release still worked, few!! Will post pics when back end updated.
Further help please guys with removing side gills.
I've got the tech sheets (below)but stuck and wasted the afternoon . I started on the drivers side (well uk side!). Removed the wheel arch lining expecting to see the clips at the back but the washer bottle/loom/pipework is sandwiched in front of it. Is the other side easier?
With the door open I can see the small aperture at the top of the panel rear. Tried with a little screwdriver but can't feel where it fits or how to release, must be a knack? Is it a push motion or lever?
If I get this released, would I be able to release the other clips without removing the washer bottle? Just don't want to disturb the water seals etc.
I guess the other side might be easier?
The tech sheets don't really explain fully and I'm conscious of snapping something!
Anyone give better instruction please?
I want to get them painted but anyone have the clip over panels? Don't fancy them tbh as wouldn't be an exact colour match.
Last edited by Swisstone; Mar 24, 2018 at 11:18 AM.
The instructions are rubbish. Spoke with a dealer and they said one of two ways, remove the wing in entirety or break them off and for new ones. I used a thin plastic card to release the clips but not all survived the ordeal. I refitted the originals but I�ve spares in case they are needed at some point.
The instructions are rubbish. Spoke with a dealer and they said one of two ways, remove the wing in entirety or break them off and for new ones. I used a thin plastic card to release the clips but not all survived the ordeal. I refitted the originals but I�ve spares in case they are needed at some point.
Thanks, did you release the chrome top bit first through the door aperture or after releasing the 5 other clips? That seems to be a different clip. Is it a straight out push while sliding the badge fwd? As everything is hidden, just guessing!
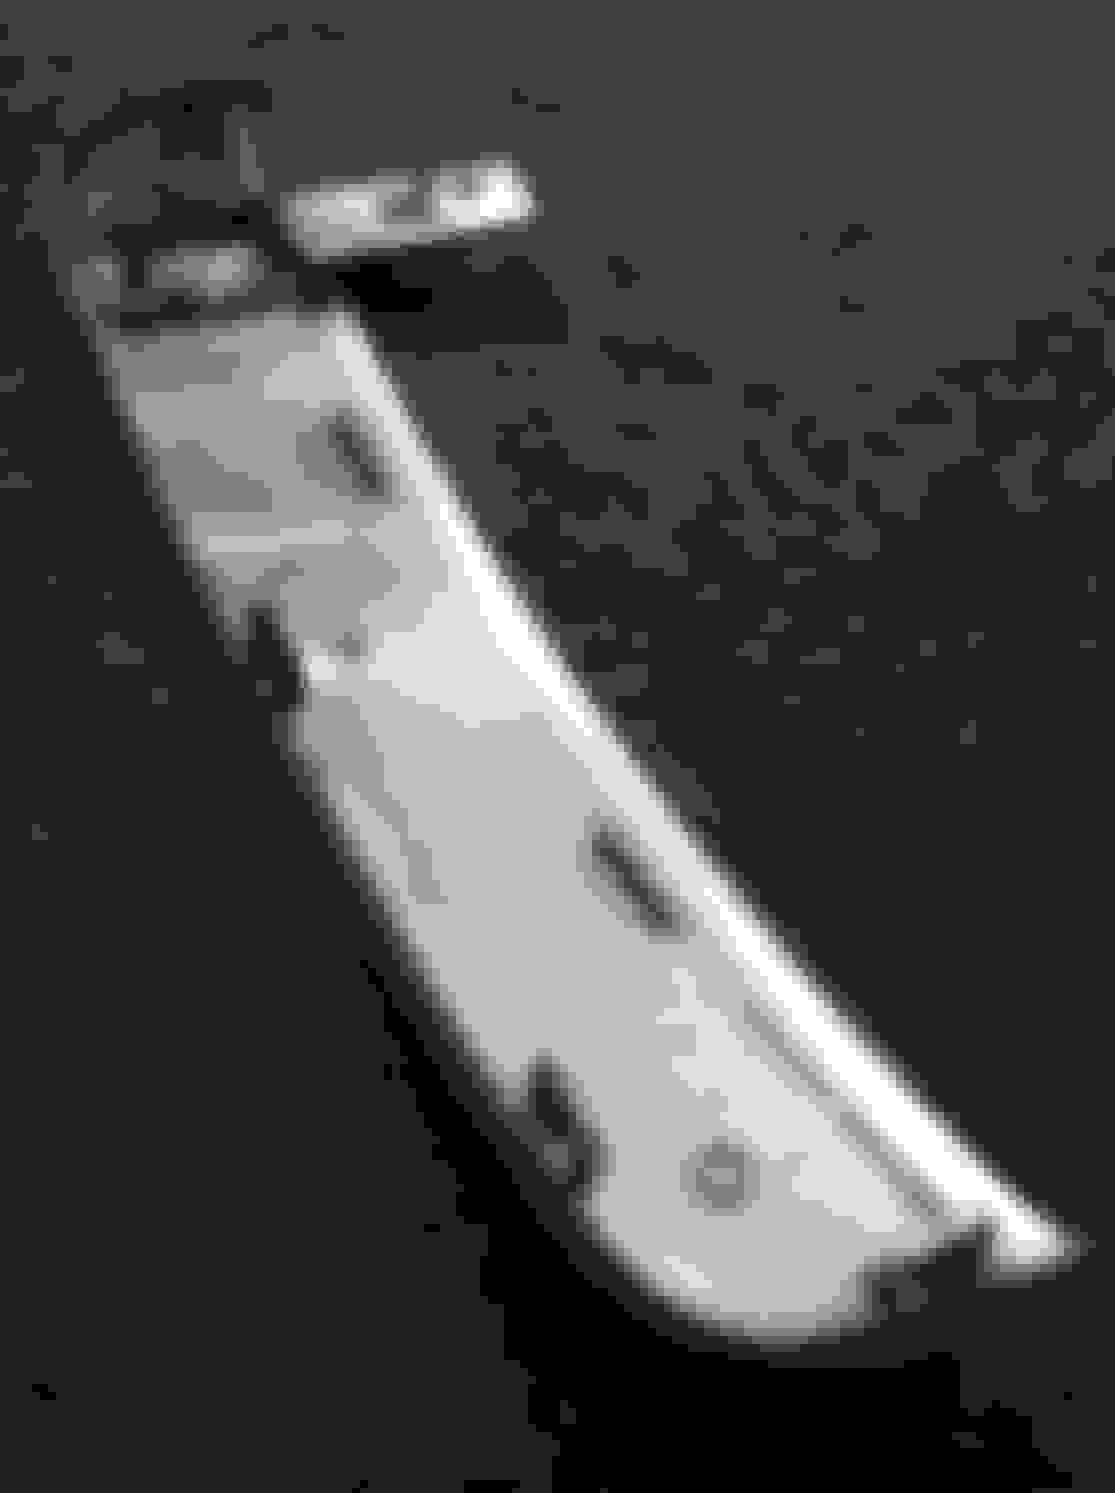
For anyone thinking of doing this, pic below of back showing the clips so you can see what's needed.
You can follow the instruction sheet for one side (side without the washer bottle sandwiched behind the wing!) by removing back half of wheel lining and you can just get your hand in.
The clip holding the front of the chrome badge that you access through a small hole in the door gap is impossible! I used mirrors and tried everything but it will break! No matter which way you press or lever, they are solid. Not major as the rest hold it firm anyway or a dab on glue when putting back on should sort it.
Release the other 5 by pressing the tabs slightly. They can still break but only one did so not a problem.
Once off and I knew their locations, I could get the harder side off by using a credit card to slide in behind! Lever each one out in turn. I had a clip release set but no use in this case. Once off, you still won't be able to remove the chrome badge so don't try as not removable! What you can do is press through the two small tabs at the end and the badge will pivot up enough to wedge and mask off for painting.
Will post some pics one the rest is done! Having RS spoiler, side gill vents and spats for carbon RS diffuser painted.


 . I started on the drivers side (well uk side!). Removed the wheel arch lining expecting to see the clips at the back but the washer bottle/loom/pipework is sandwiched in front of it. Is the other side easier?