When you click on links to various merchants on this site and make a purchase, this can result in this site earning a commission. Affiliate programs and affiliations include, but are not limited to, the eBay Partner Network.
Has anyone ever had a problem with the rear window seperating from the cloth on a convertable top? The '08 XKR I bought has this leak. The dealership is having a new top put on at no cost.
Last edited by GGG; Dec 31, 2018 at 02:20 AM.
Reason: Edit typo in thread title
The window is glued on a factory. There's no way to replace or reglue it, according to a official documentation. So, the replacement of a top is must. Some guys tried to glue it back, but no luck.
They could. But it would fall off very soon. A OEM process includes very high temp. and pressure condition while guleing a window.
Also, the replacement of a top is not that easy - lot's of adjustments and trial-and-errors are involved.
The dealer offered to do the repair or refund $2000 so I assume the new top must be around 2k. They also said there was an upgraded top option and they are getting that top.
The dealer offered to do the repair or refund $2000 so I assume the new top must be around 2k. They also said there was an upgraded top option and they are getting that top.
The dealer offered to do the repair or refund $2000 so I assume the new top must be around 2k. They also said there was an upgraded top option and they are getting that top.
Only $2000? Not nearly as bad as I thought. I wonder what this "upgraded" top is--a special material?
My plan for when the glue came undone on the rear window was to park it in the bad part of town with an iPad in the passenger's seat...
I found a glue that works and seals, when i get home I'll let you know the name. It was from a boat supply store. I got a quote for $2500 since my Carmel colored top is no longer made but the hang up was they couldn't promise the new top would not separate as well. I have an 08 XK.
My 07 XK rear window just started to separate at the lower passenger side. It seemed like an easy enough fix with 3M Marine grade adhesive/sealant.
Steps:
I taped off the area that needed repair
Applied the 5200 with a precision tip
Rolled up a towel inserting it from the inside passenger side against the rear window
Placed a second thick towel on the trunk lid passenger side
Laid a 40lb bag of Scotts Bonus S fertilizer across the rear window area passenger side (this seemed to work well based on the fact that the bag of fertilizer was moldable around the area being repaired and also had decent weight to press agains the repaired area forcing the top agains the glass
By the way, I just happened to be at my local dealer a couple of weeks ago looking at an 09 XKR and someone had tried to do a home repair on the entire back window - it looked horrible.
Good job....ends any controversy that this can not be done and owners have to go thru a cost of $4000 to $5000.
The marine adhesive has been mentioned before and is very similar to the repair that is recommended by Jaguar in their TSB ref this issue.
Now we know that fertilizer is good for something other than making grass grow. Very creative indeed.
My 07 XK rear window just started to separate at the lower passenger side. It seemed like an easy enough fix with 3M Marine grade adhesive/sealant.
Steps:
I taped off the area that needed repair
Applied the 5200 with a precision tip
Rolled up a towel inserting it from the inside passenger side against the rear window
Placed a second thick towel on the trunk lid passenger side
Laid a 40lb bag of Scotts Bonus S fertilizer across the rear window area passenger side (this seemed to work well based on the fact that the bag of fertilizer was moldable around the area being repaired and also had decent weight to press agains the repaired area forcing the top agains the glass
By the way, I just happened to be at my local dealer a couple of weeks ago looking at an 09 XKR and someone had tried to do a home repair on the entire back window - it looked horrible.
I had two 3" separations on opposite sides of my rear window.
After doing some research I found that there were three products that were recommended:
1 Rhino Glue (mail order direct only)
2 Teromix 6700 (Jag recommendation and can't find anywhere in the US)
3 3M Marine adhesive sealant 5200
As my cousin works for 3M in the aerospace division, I figured a quick call might be a good idea.
I described this common issue to him. 3M also makes P590 and DP190 - these are primarily for glass windshields but more for fixed front windshields and able to withstand crash test regulations. They also need priming with glass primers. His recommendation, all things considered was for the 5200 in black.
Here is what he told me to do...
First clean and thoroughly scuff the inside of the joint with emery cloth. Really go to town on the glass - the fabric will clean up easily. Next wrap a cloth around a spatula, soak it in acetone and wipe vigorously side to side and in and out. Keep doing this until the cloth comes out spotless. DO NOT USE ANY TYPE OF ALCOHOL FOR THIS - IPA or otherwise!!!
Next mask off the window line with blue tape
Now, hold the joint open with a couple of wooden skewers and using a small spatula smear a thin layer of the 5200 on the fabric side and leave it to tack for about and hour.
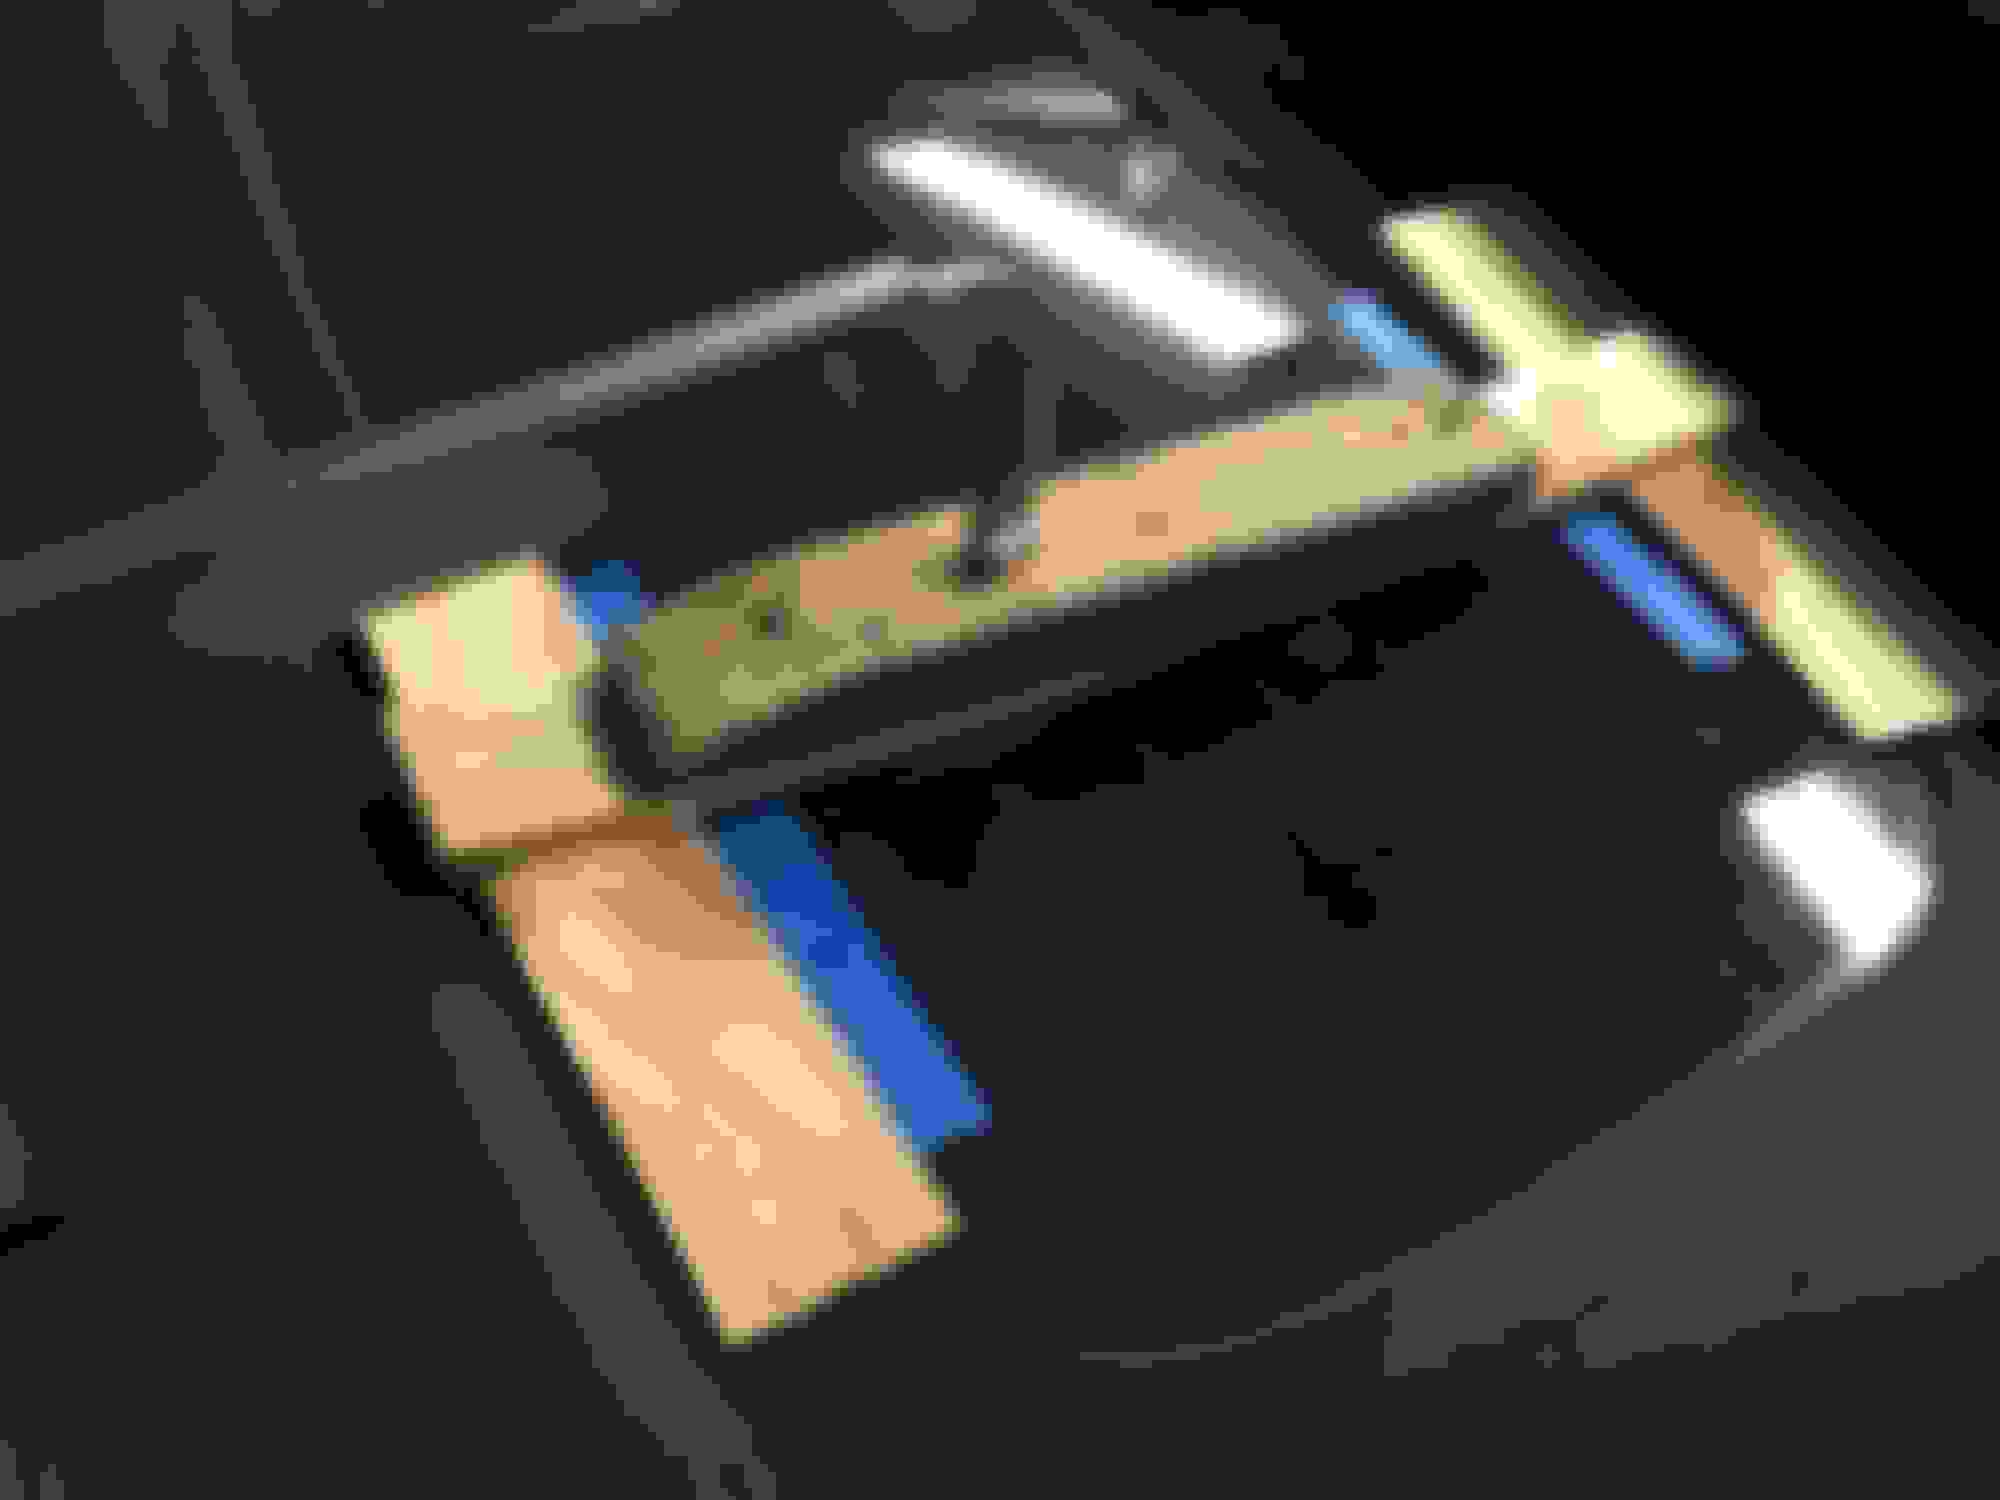
Now you can form a 3 mm bead using the applicator tube the length of the separation. I constructed a frame using some wooden splints, a piece of 1x2 and a deep vise clamp - please see the picture. There is also a piece of wood on the inside of the glass for protection. Do NOT clamp this too tight; only enough to hold the joint flat and to shape, or you will squeeze all the glue out - It needs to stay in there!
The next morning remove the clamp and the blue tape (or you will have a nice unique decoration on your window) Replace the clamp for another 36 hours.
After 36 hours the top can be folded down and left for another 5 days - 7 days total for full curing. At this time I am assured that the glue bond will be stronger than the glass or the fabric, in fact it should withstand a 600lb shearing force!
I will let you know how this works out.
Quick warning - this stuff is NASTY! I have no problem using photographic developer or thinners as a finger bowl but this stuff will cause severe allergic reactions and is highly toxic. Please use gloves and clean up any spots with acetone immediately.
Phil
Last edited by philbone; Aug 16, 2016 at 02:16 AM.